1. Intro
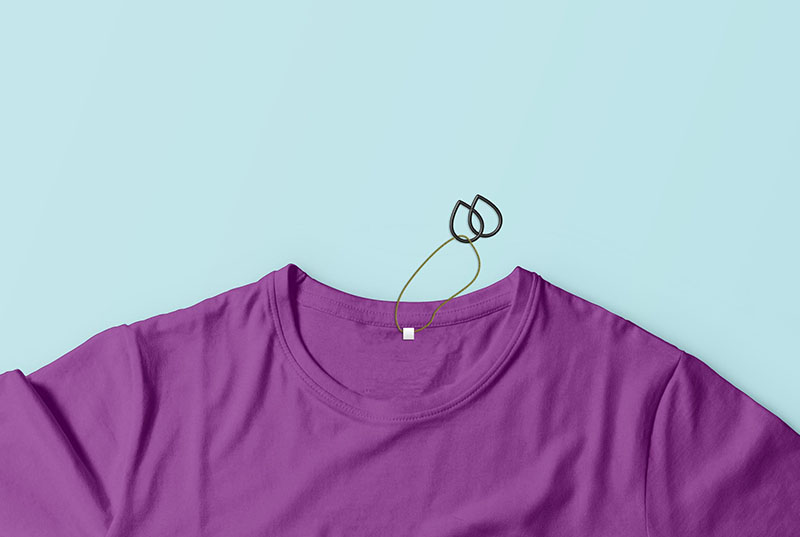
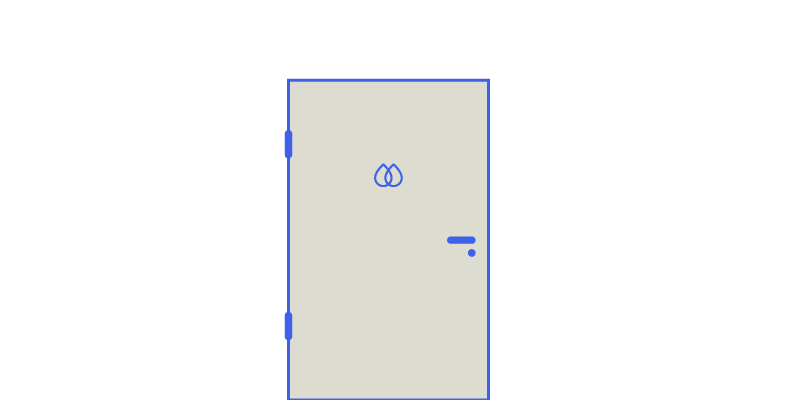
For this week i decided to produce the emblem of my studio/silkscreen lab Sacrèm. The original scope for this was to attach it to our t-shirts as label, so it make sense to have a reusable mold. In order to produce this kind of label the pre-mold made with the cnc shoulded be enough accurate (the logo should be 30x25mm with fillets on borders), but we had some software issues with the smaller milling machine, so we used the Shopbot with a 3mm mill. So I changed my main application to a plate for the entrance door (70x60mm), but i decided to still try to fabbricate the label (failing).
2. CAD files (Rhino)
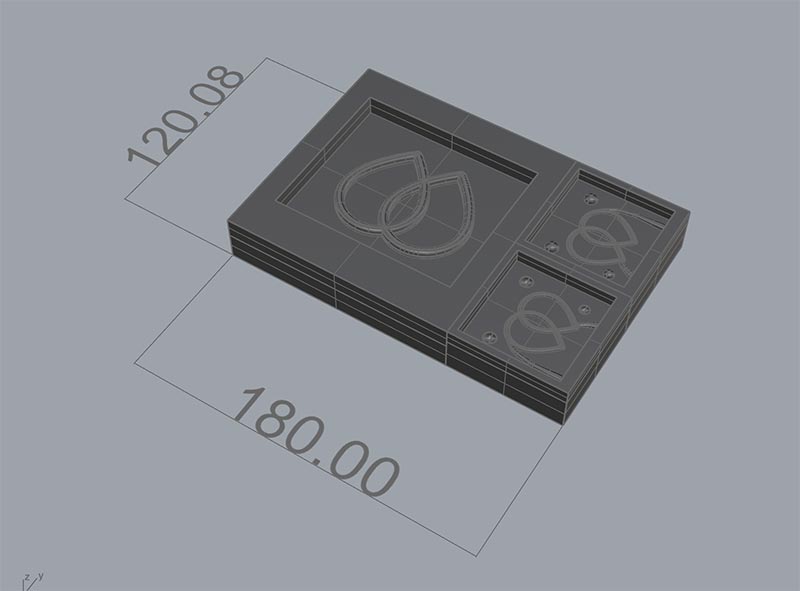
For the door's plate one should be flat, so a single valve mold will done the job, for the label I decided to fillet both sides so I needed a two sides valve.
STL file download
Sacrèm plate and label by volt23 on Sketchfab

3. Milling the pre-mold
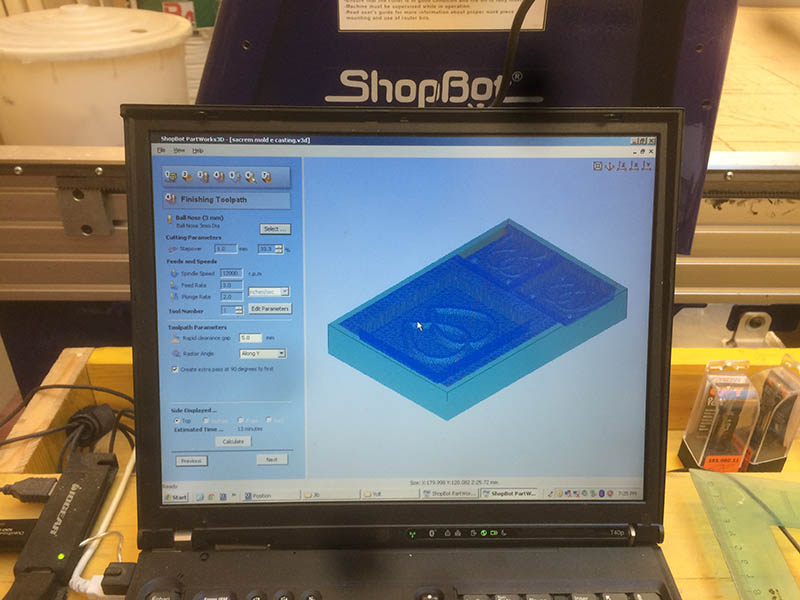
As mentioned before I used the shopbot in order to mill the pre-mold. For the rough cutting I used a 3mm end mill and a 3mm round mill for the finishing (x&y 1mm overlapping); as material for the mold I used the foam.

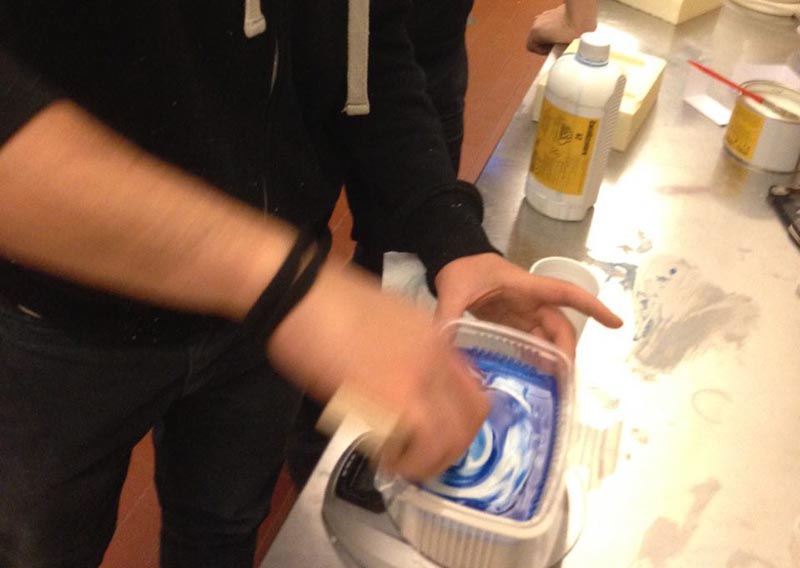
4. Molding with silicon rubber
For the mold I used the silicon rubber. I took a bit of rubber then I loaded it on a electronic scale and added the 5% of catalyser and mixed it for about 5 minutes.
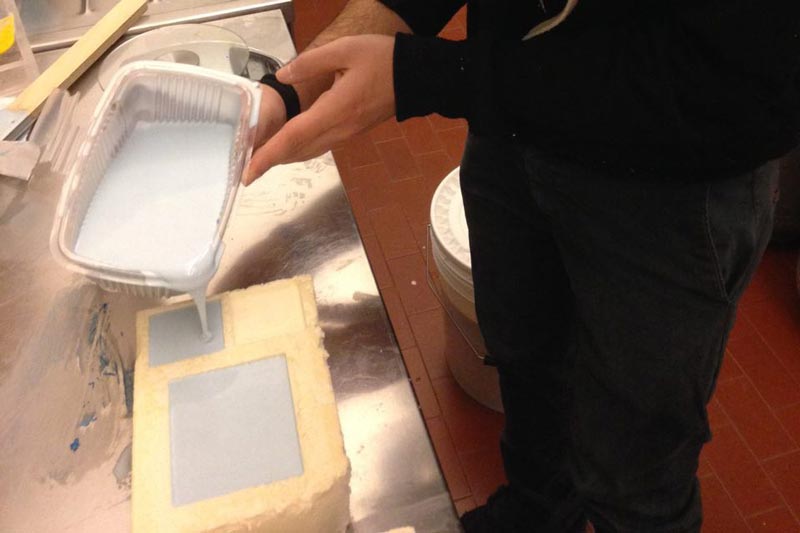
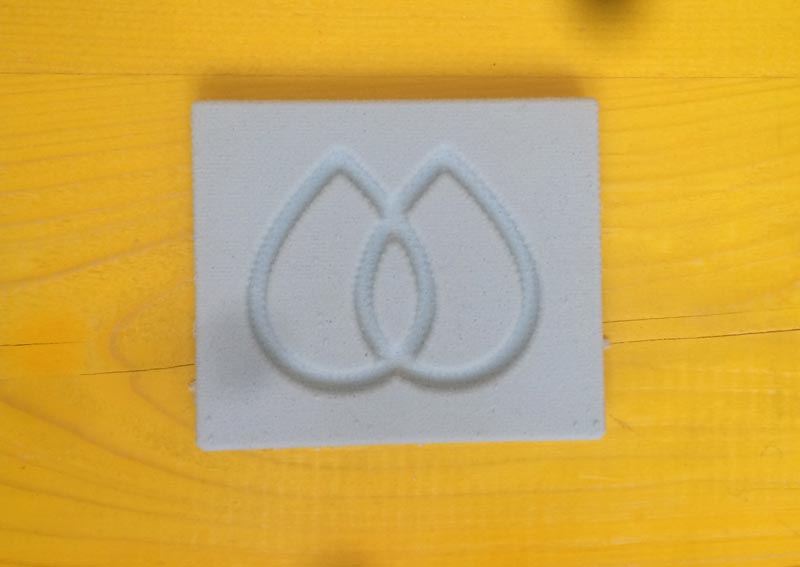
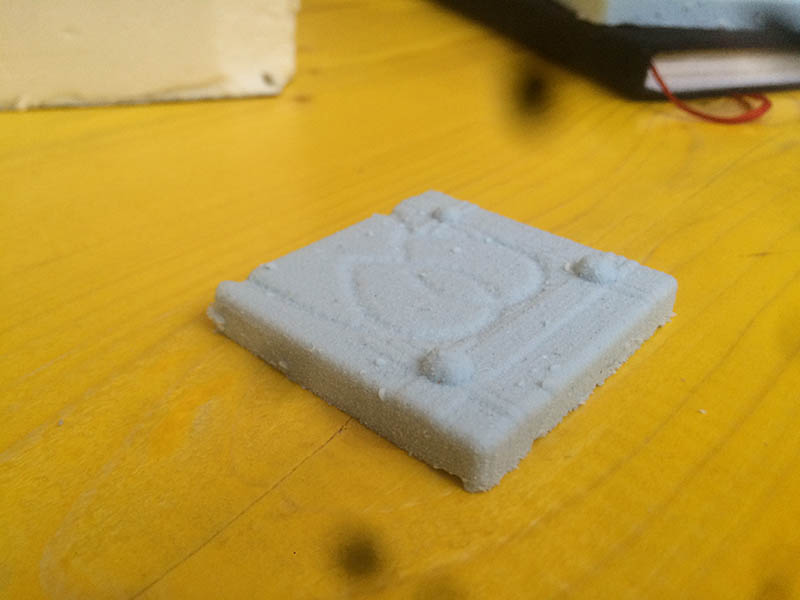
5. Casting with ceramic gypsum
The final cast will be made with resin, but for a first test i decided to use gypsum: I mixed it with water until it was liquid, but enough viscous then I poured it into the mold. I left it rest for one night and this is the result. It's a bit rough cause of the foam material.
