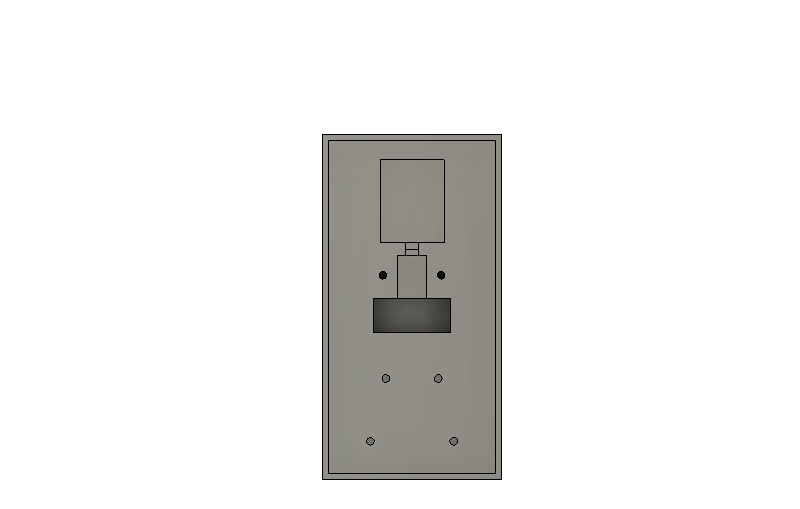
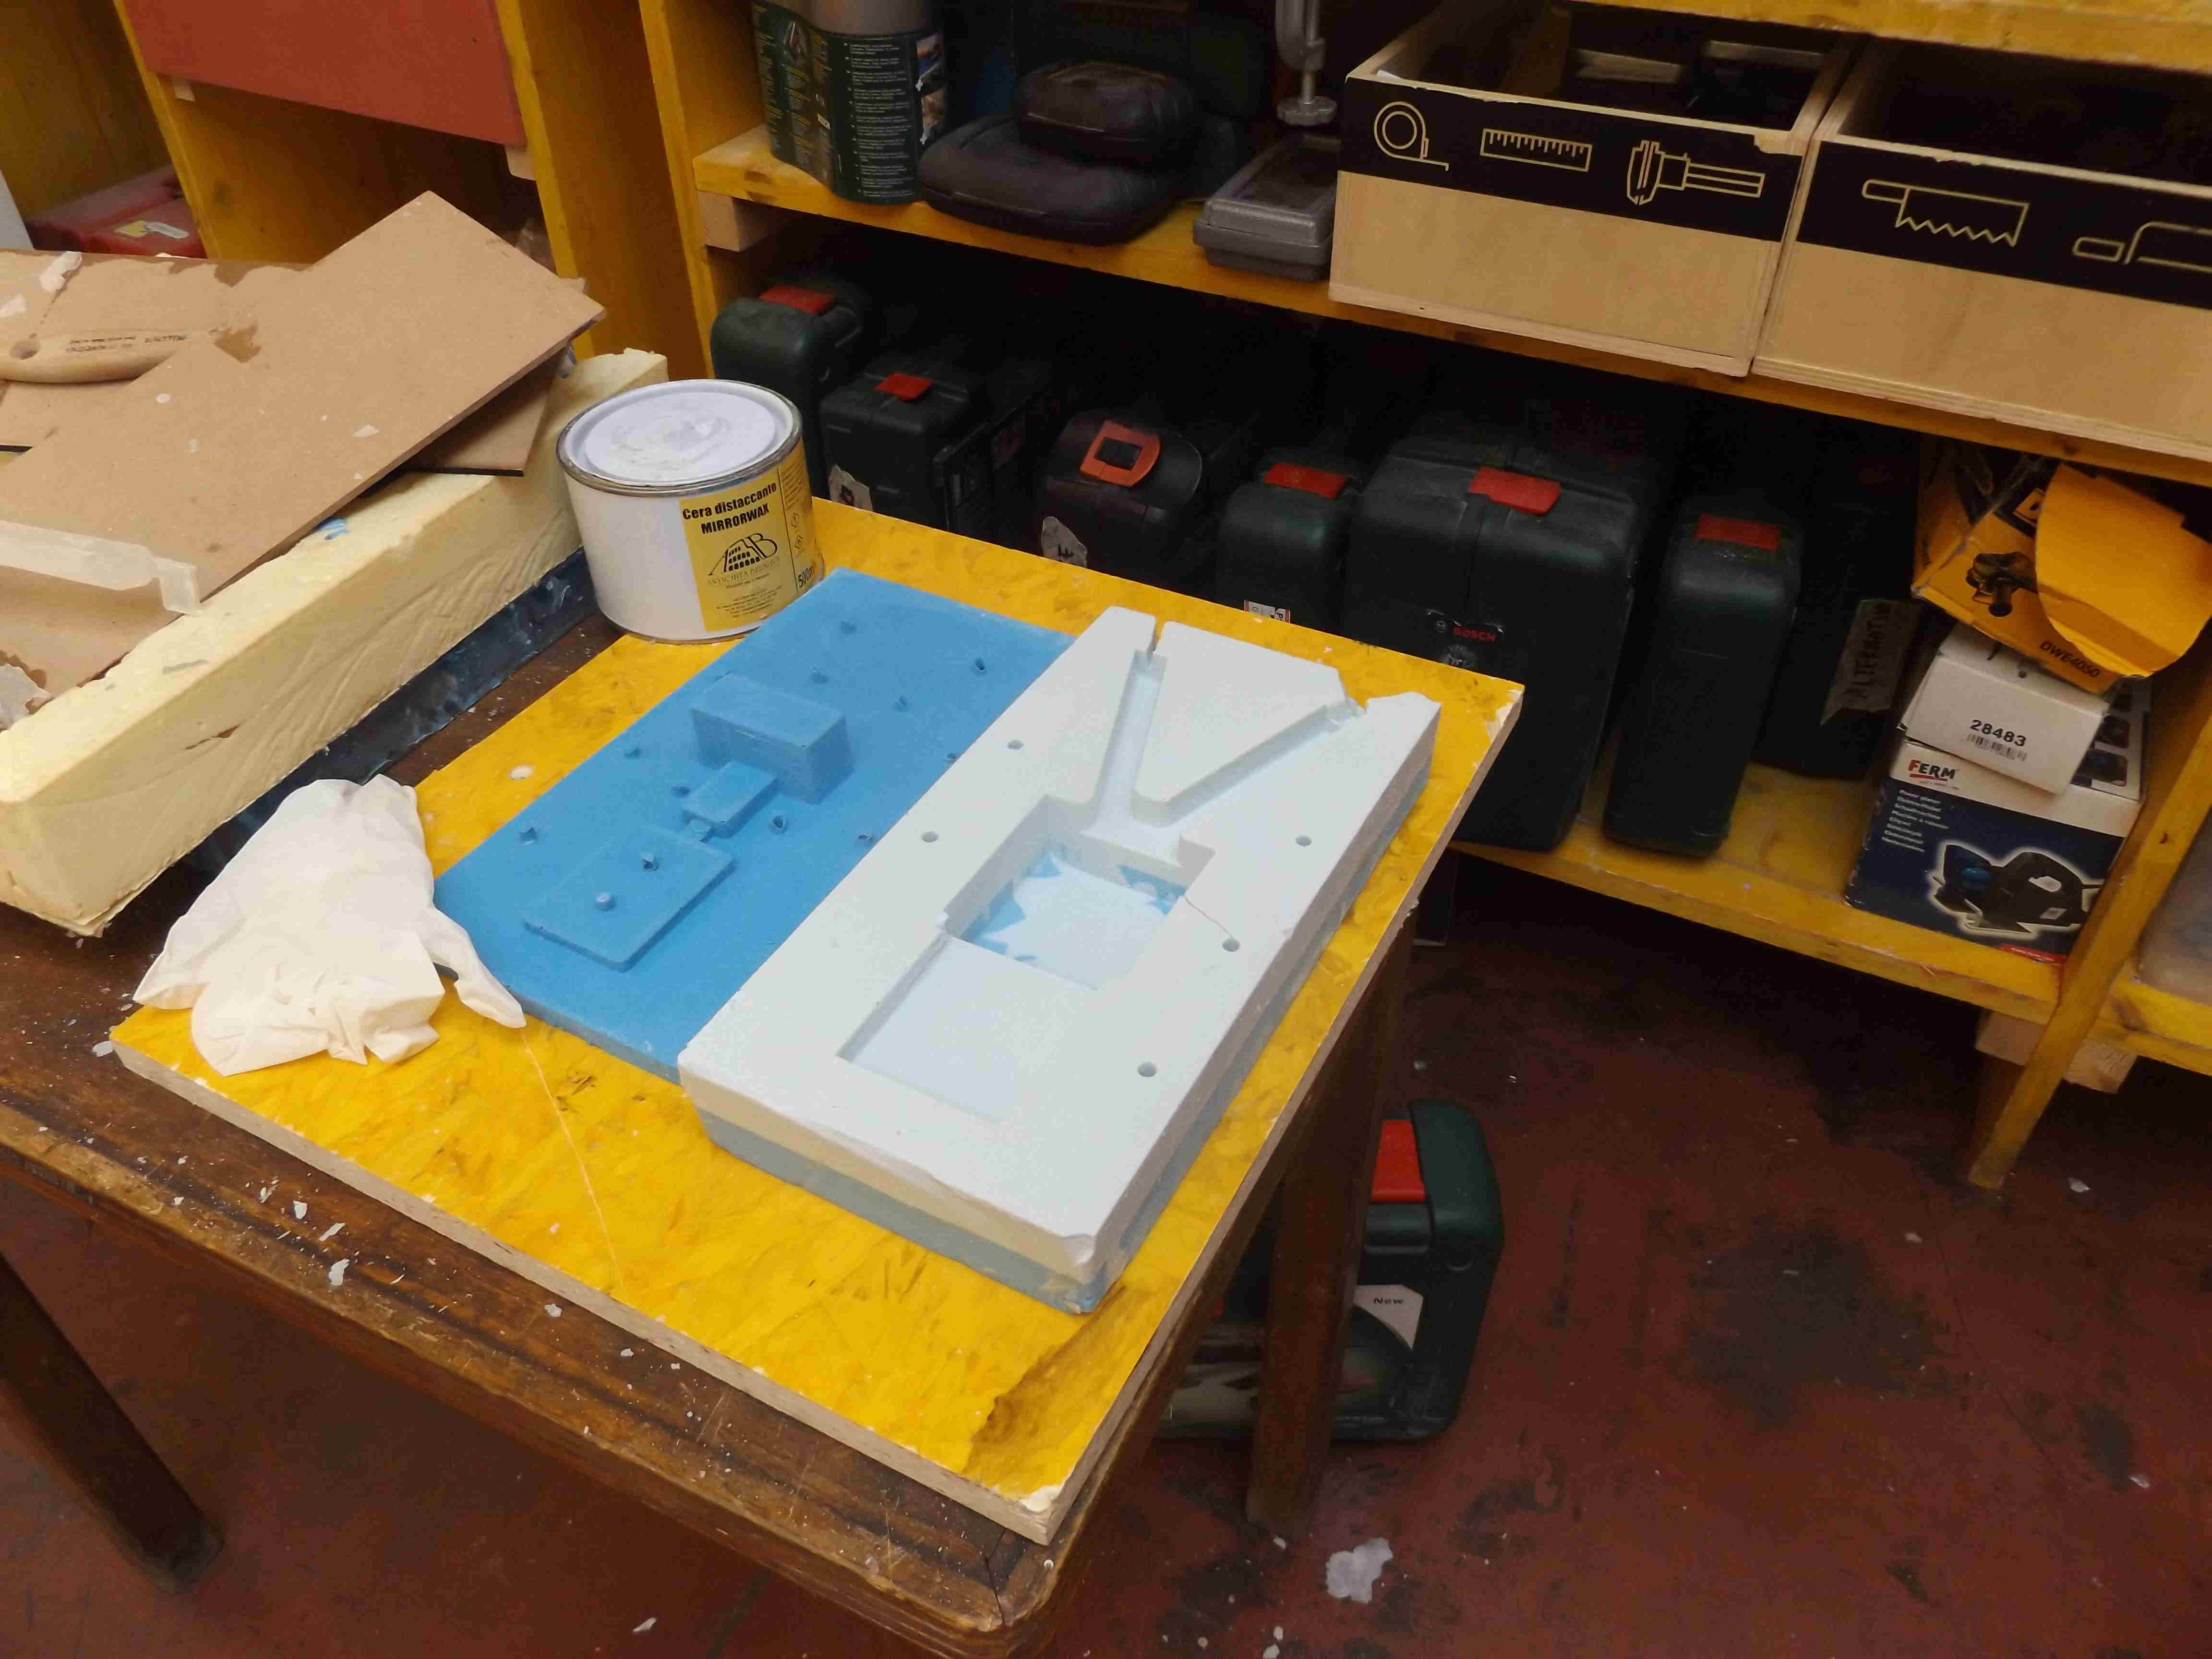
 here are the positive and negative foam molds I made in shopbot.
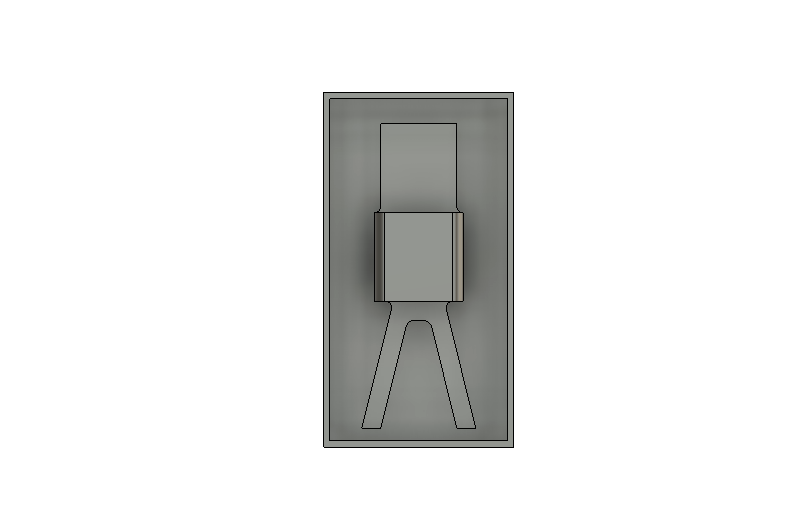
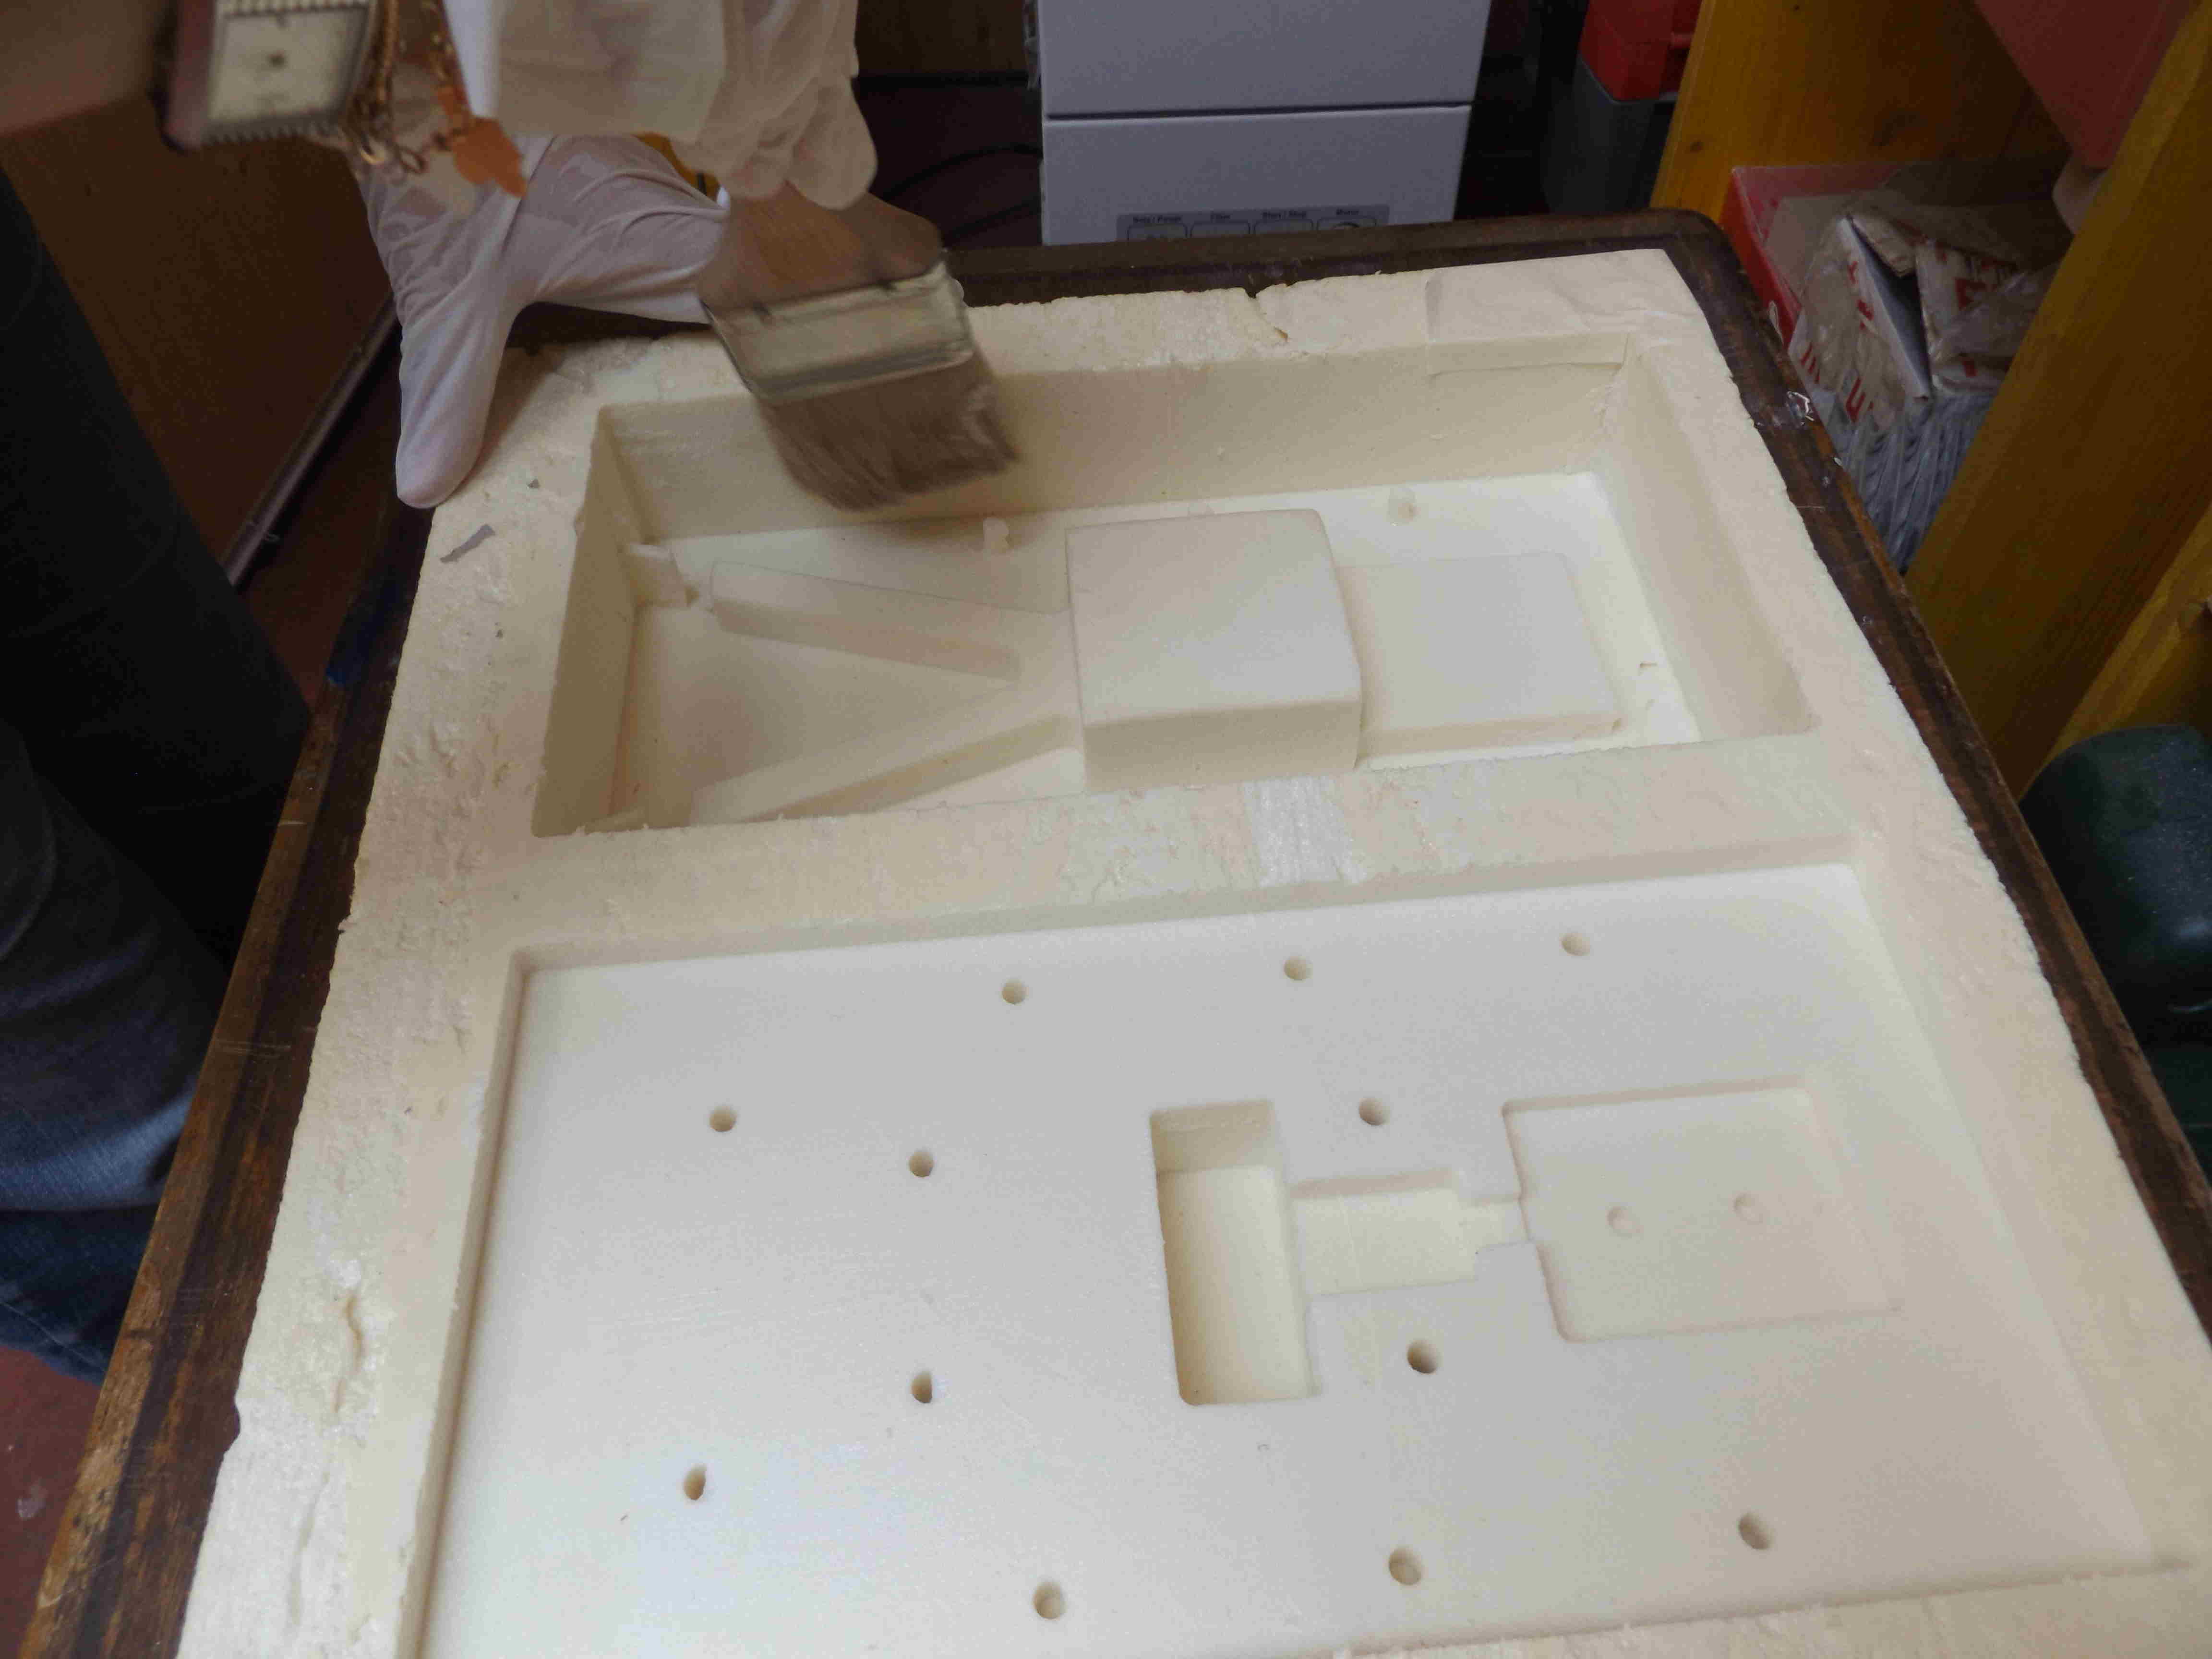
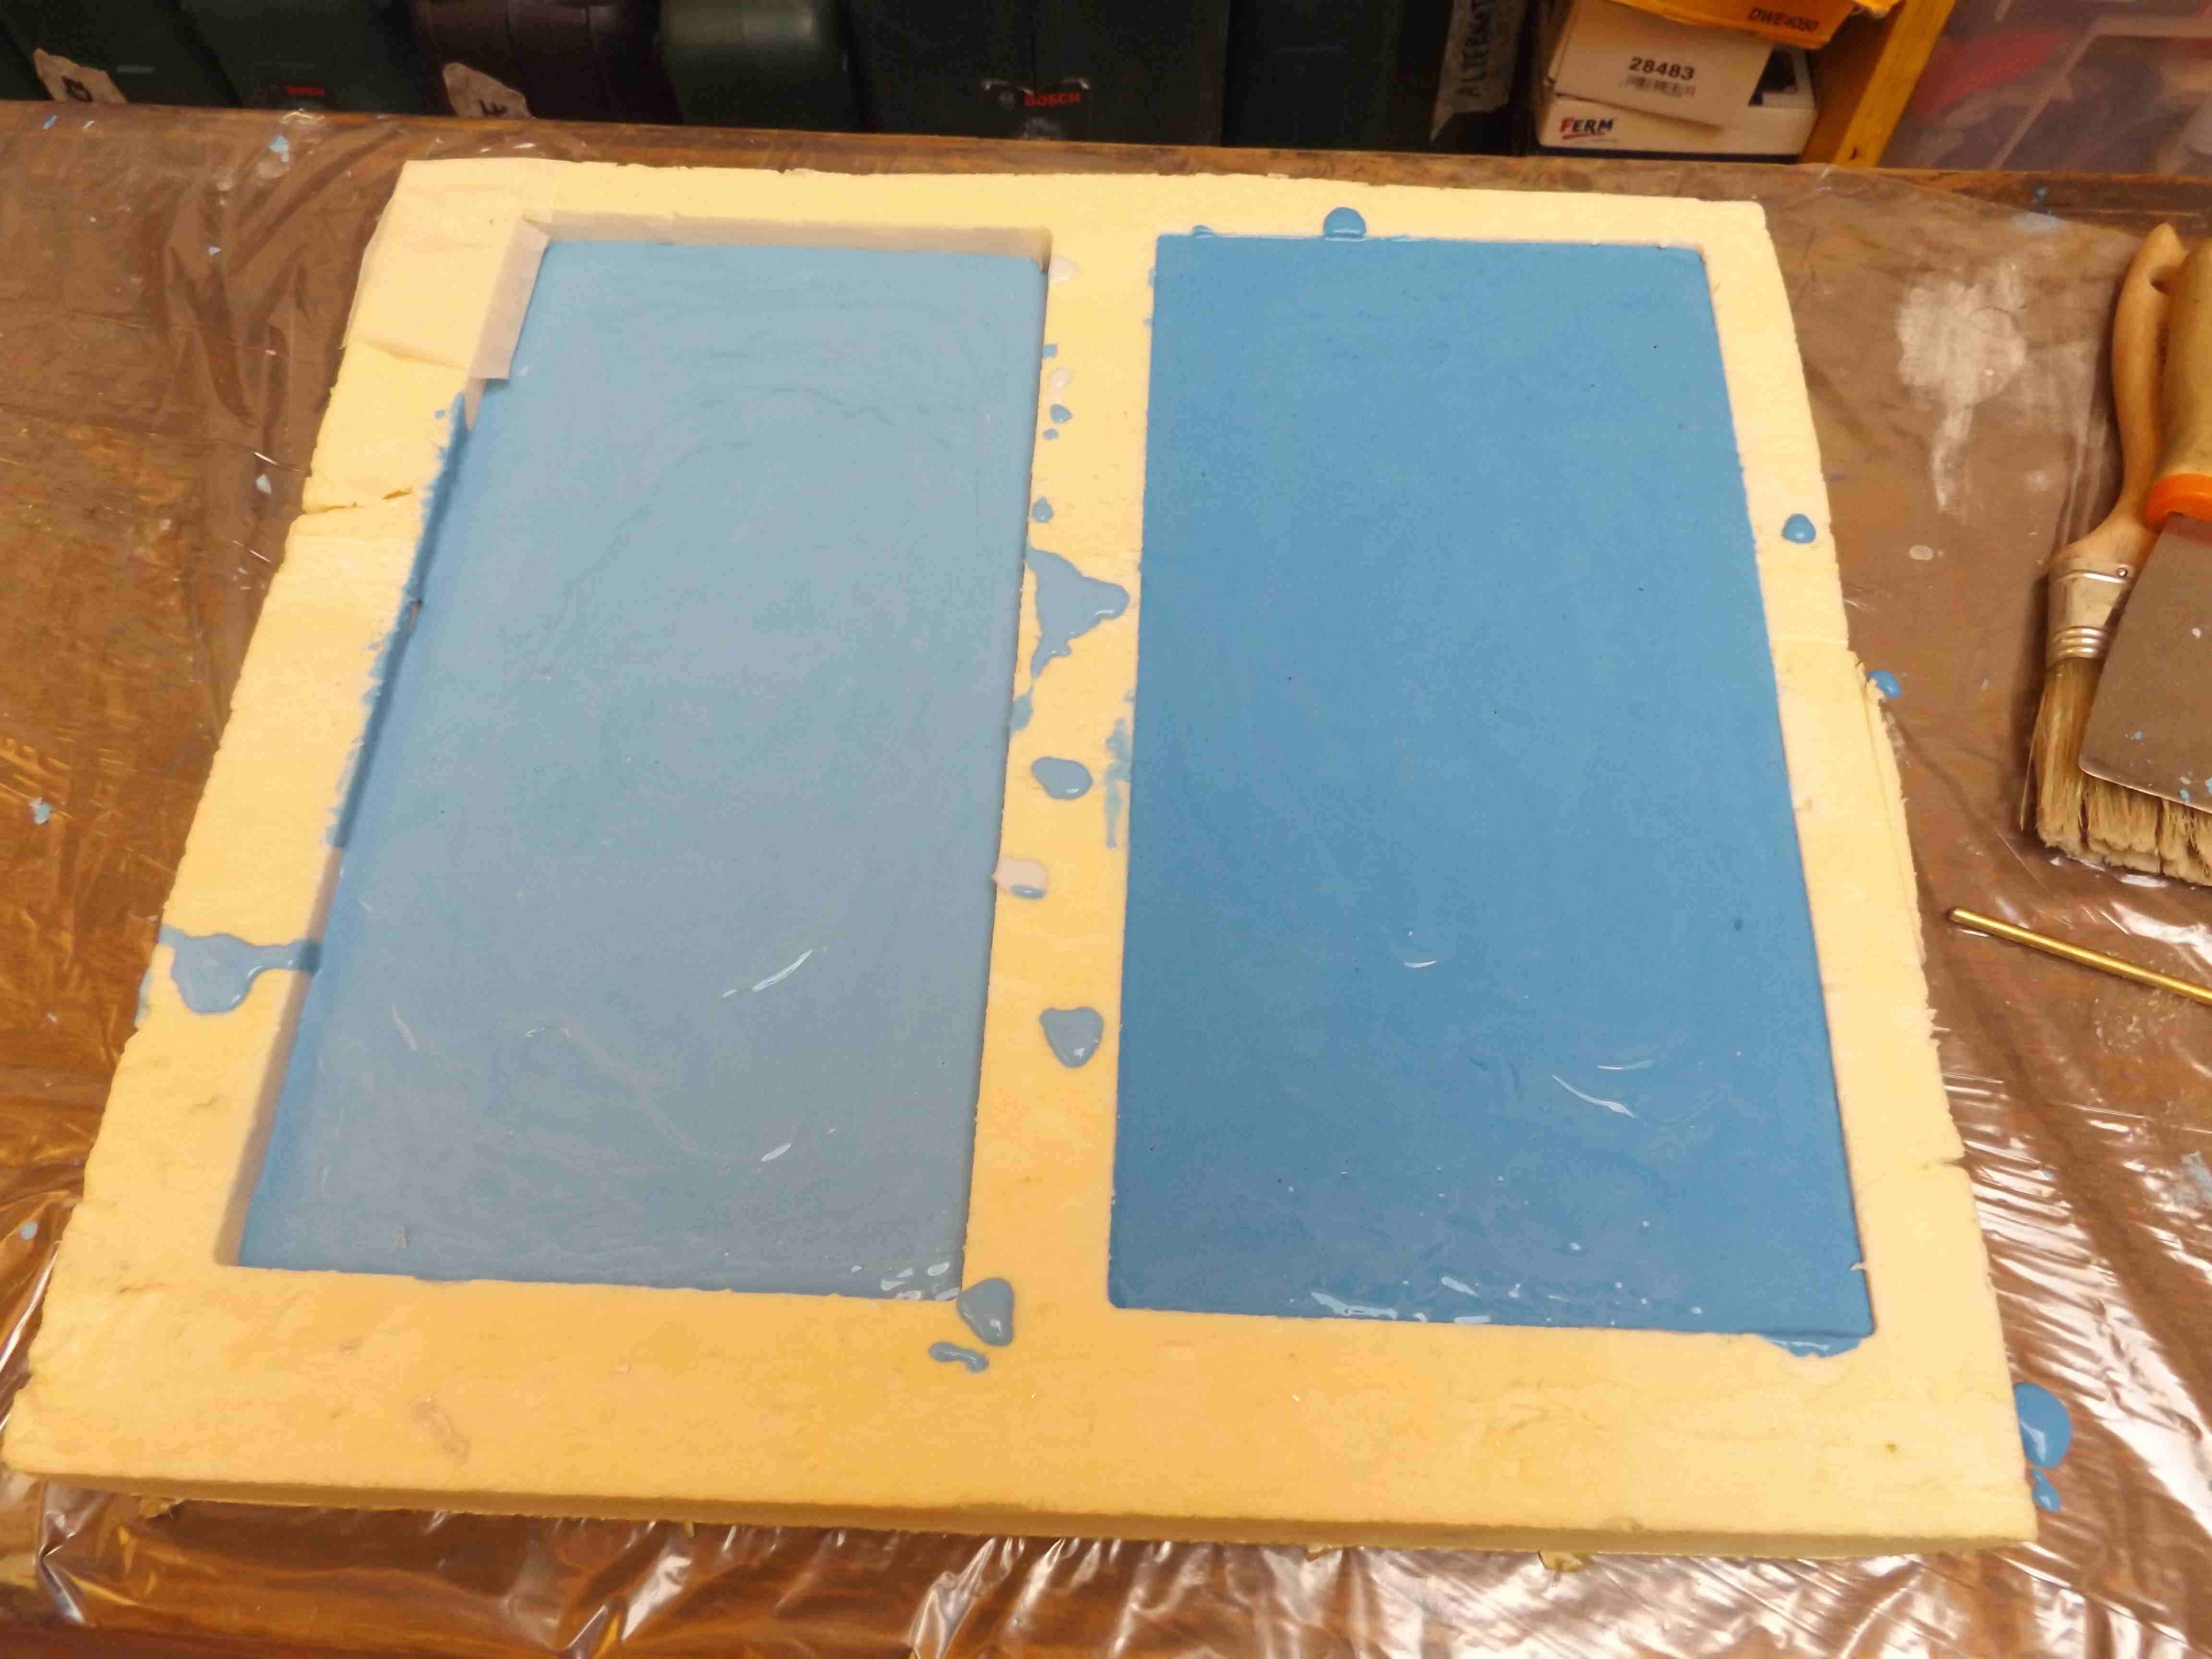
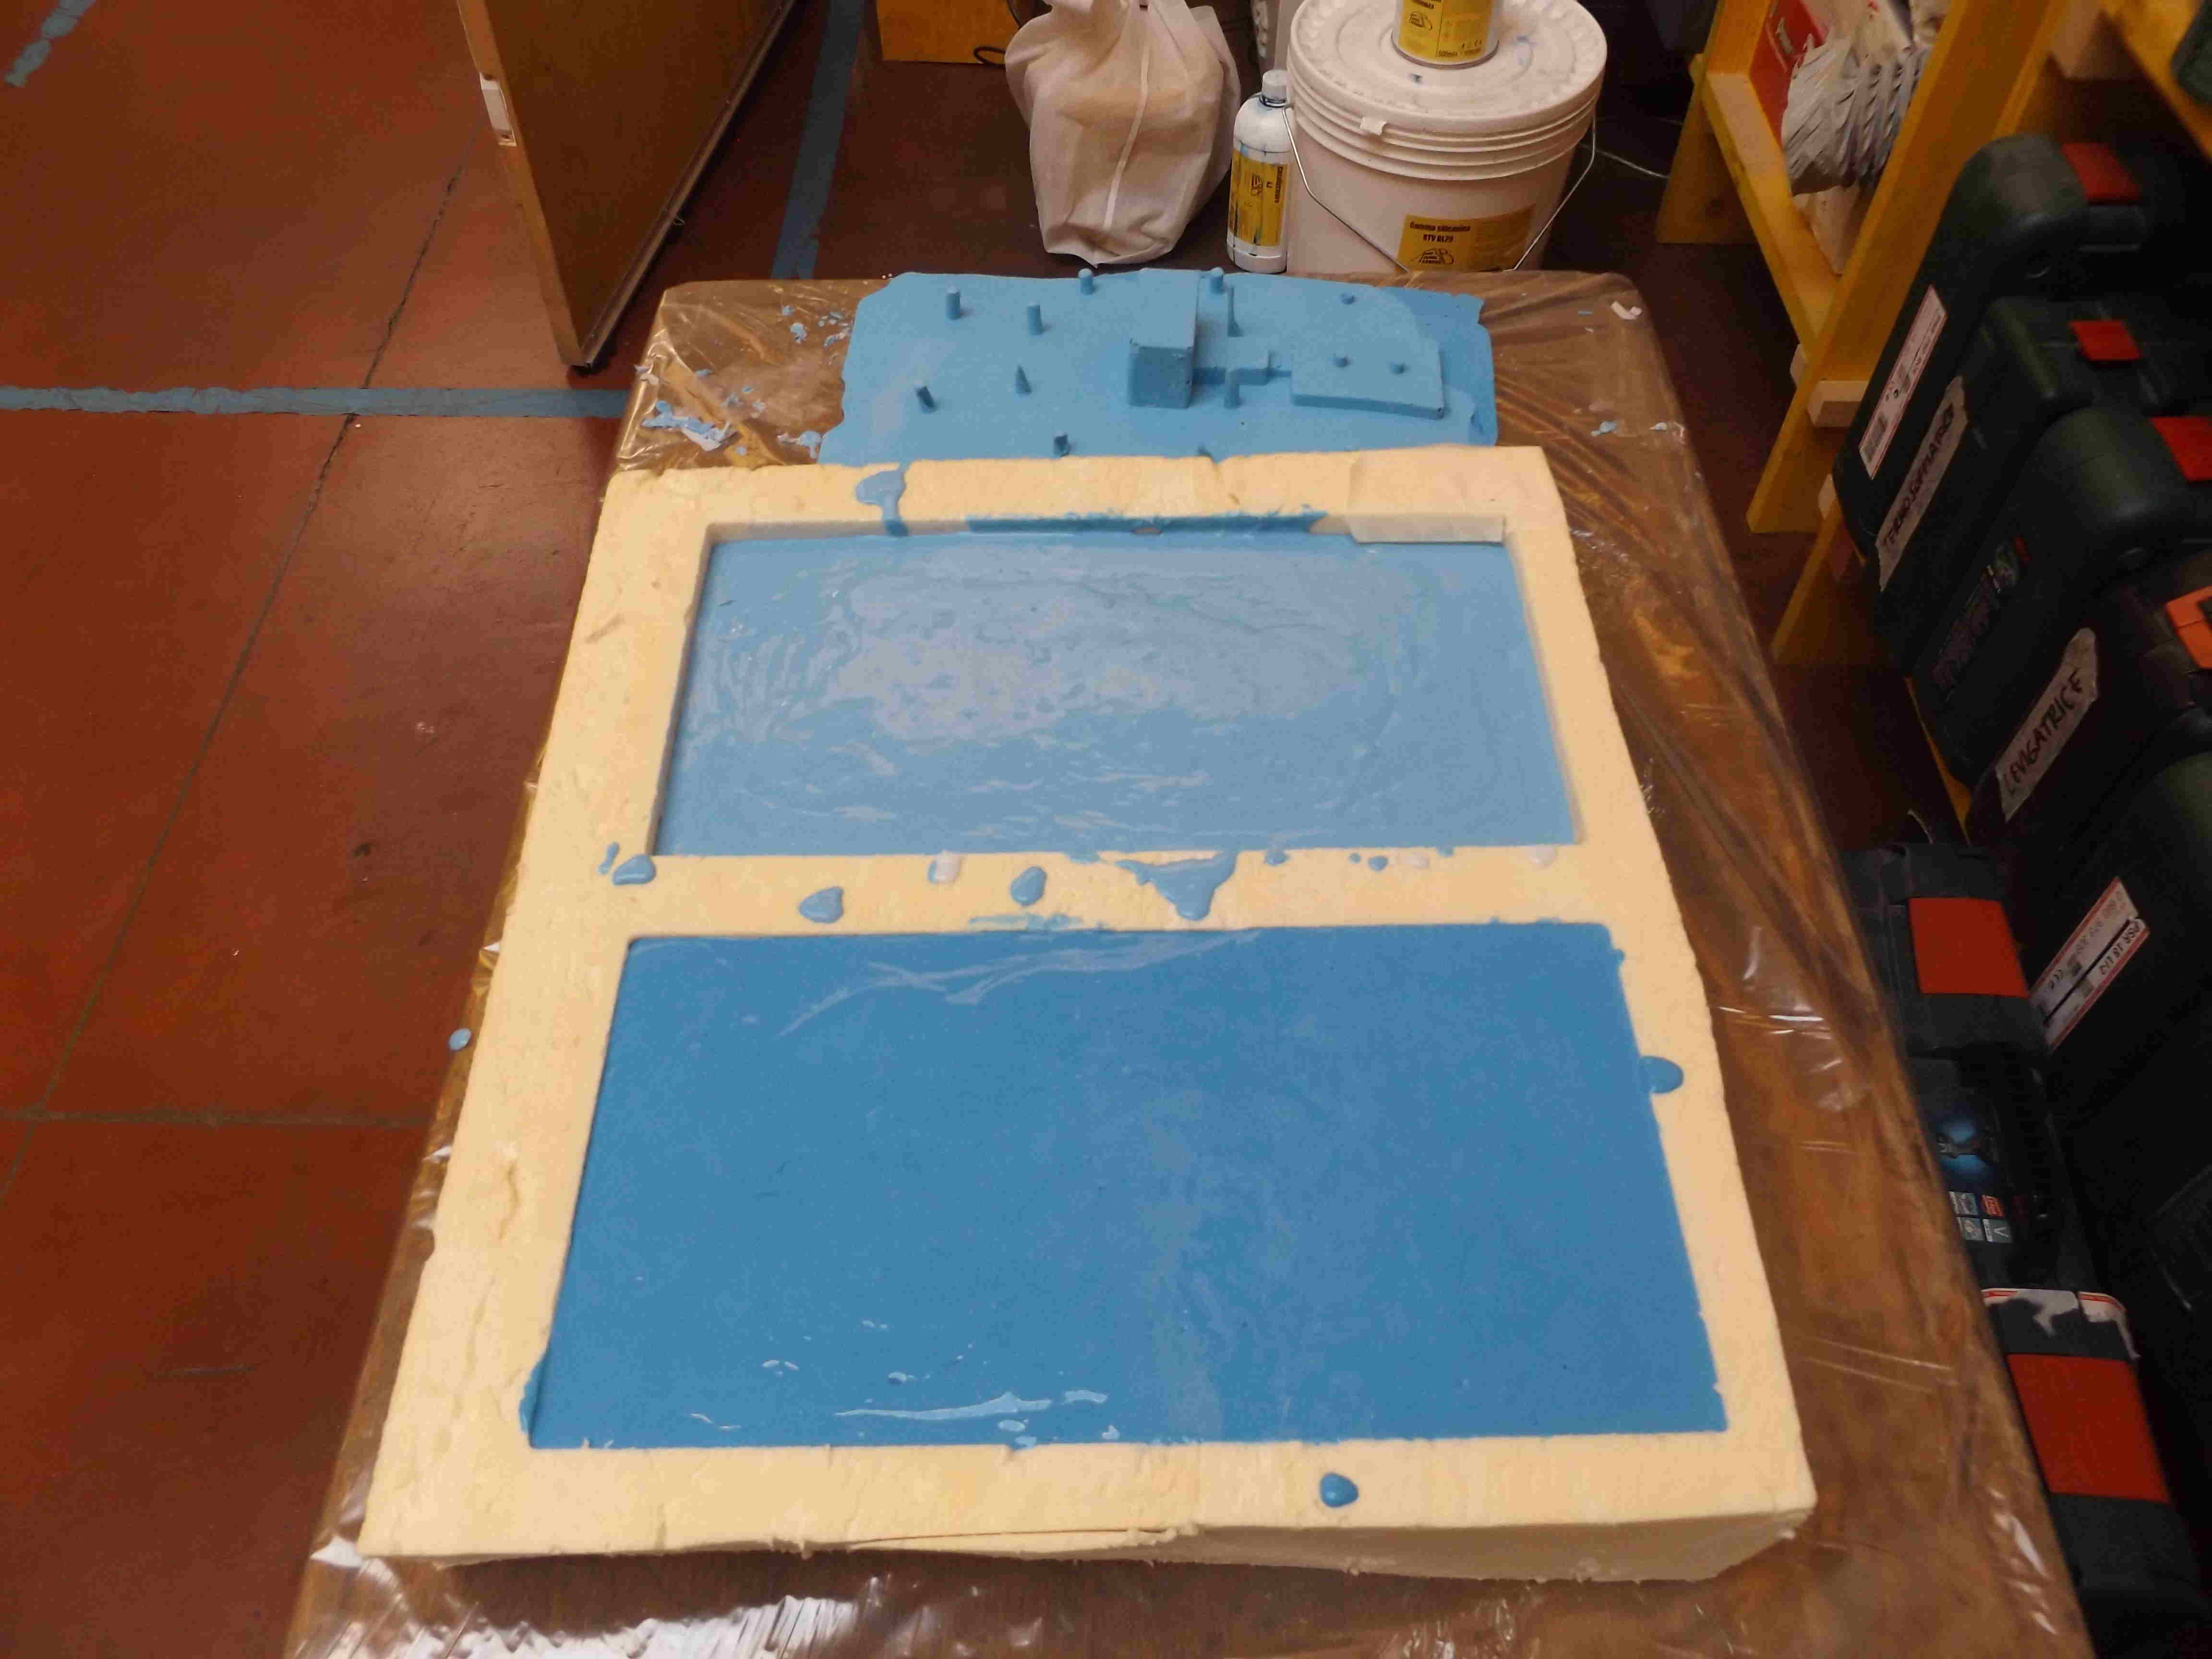
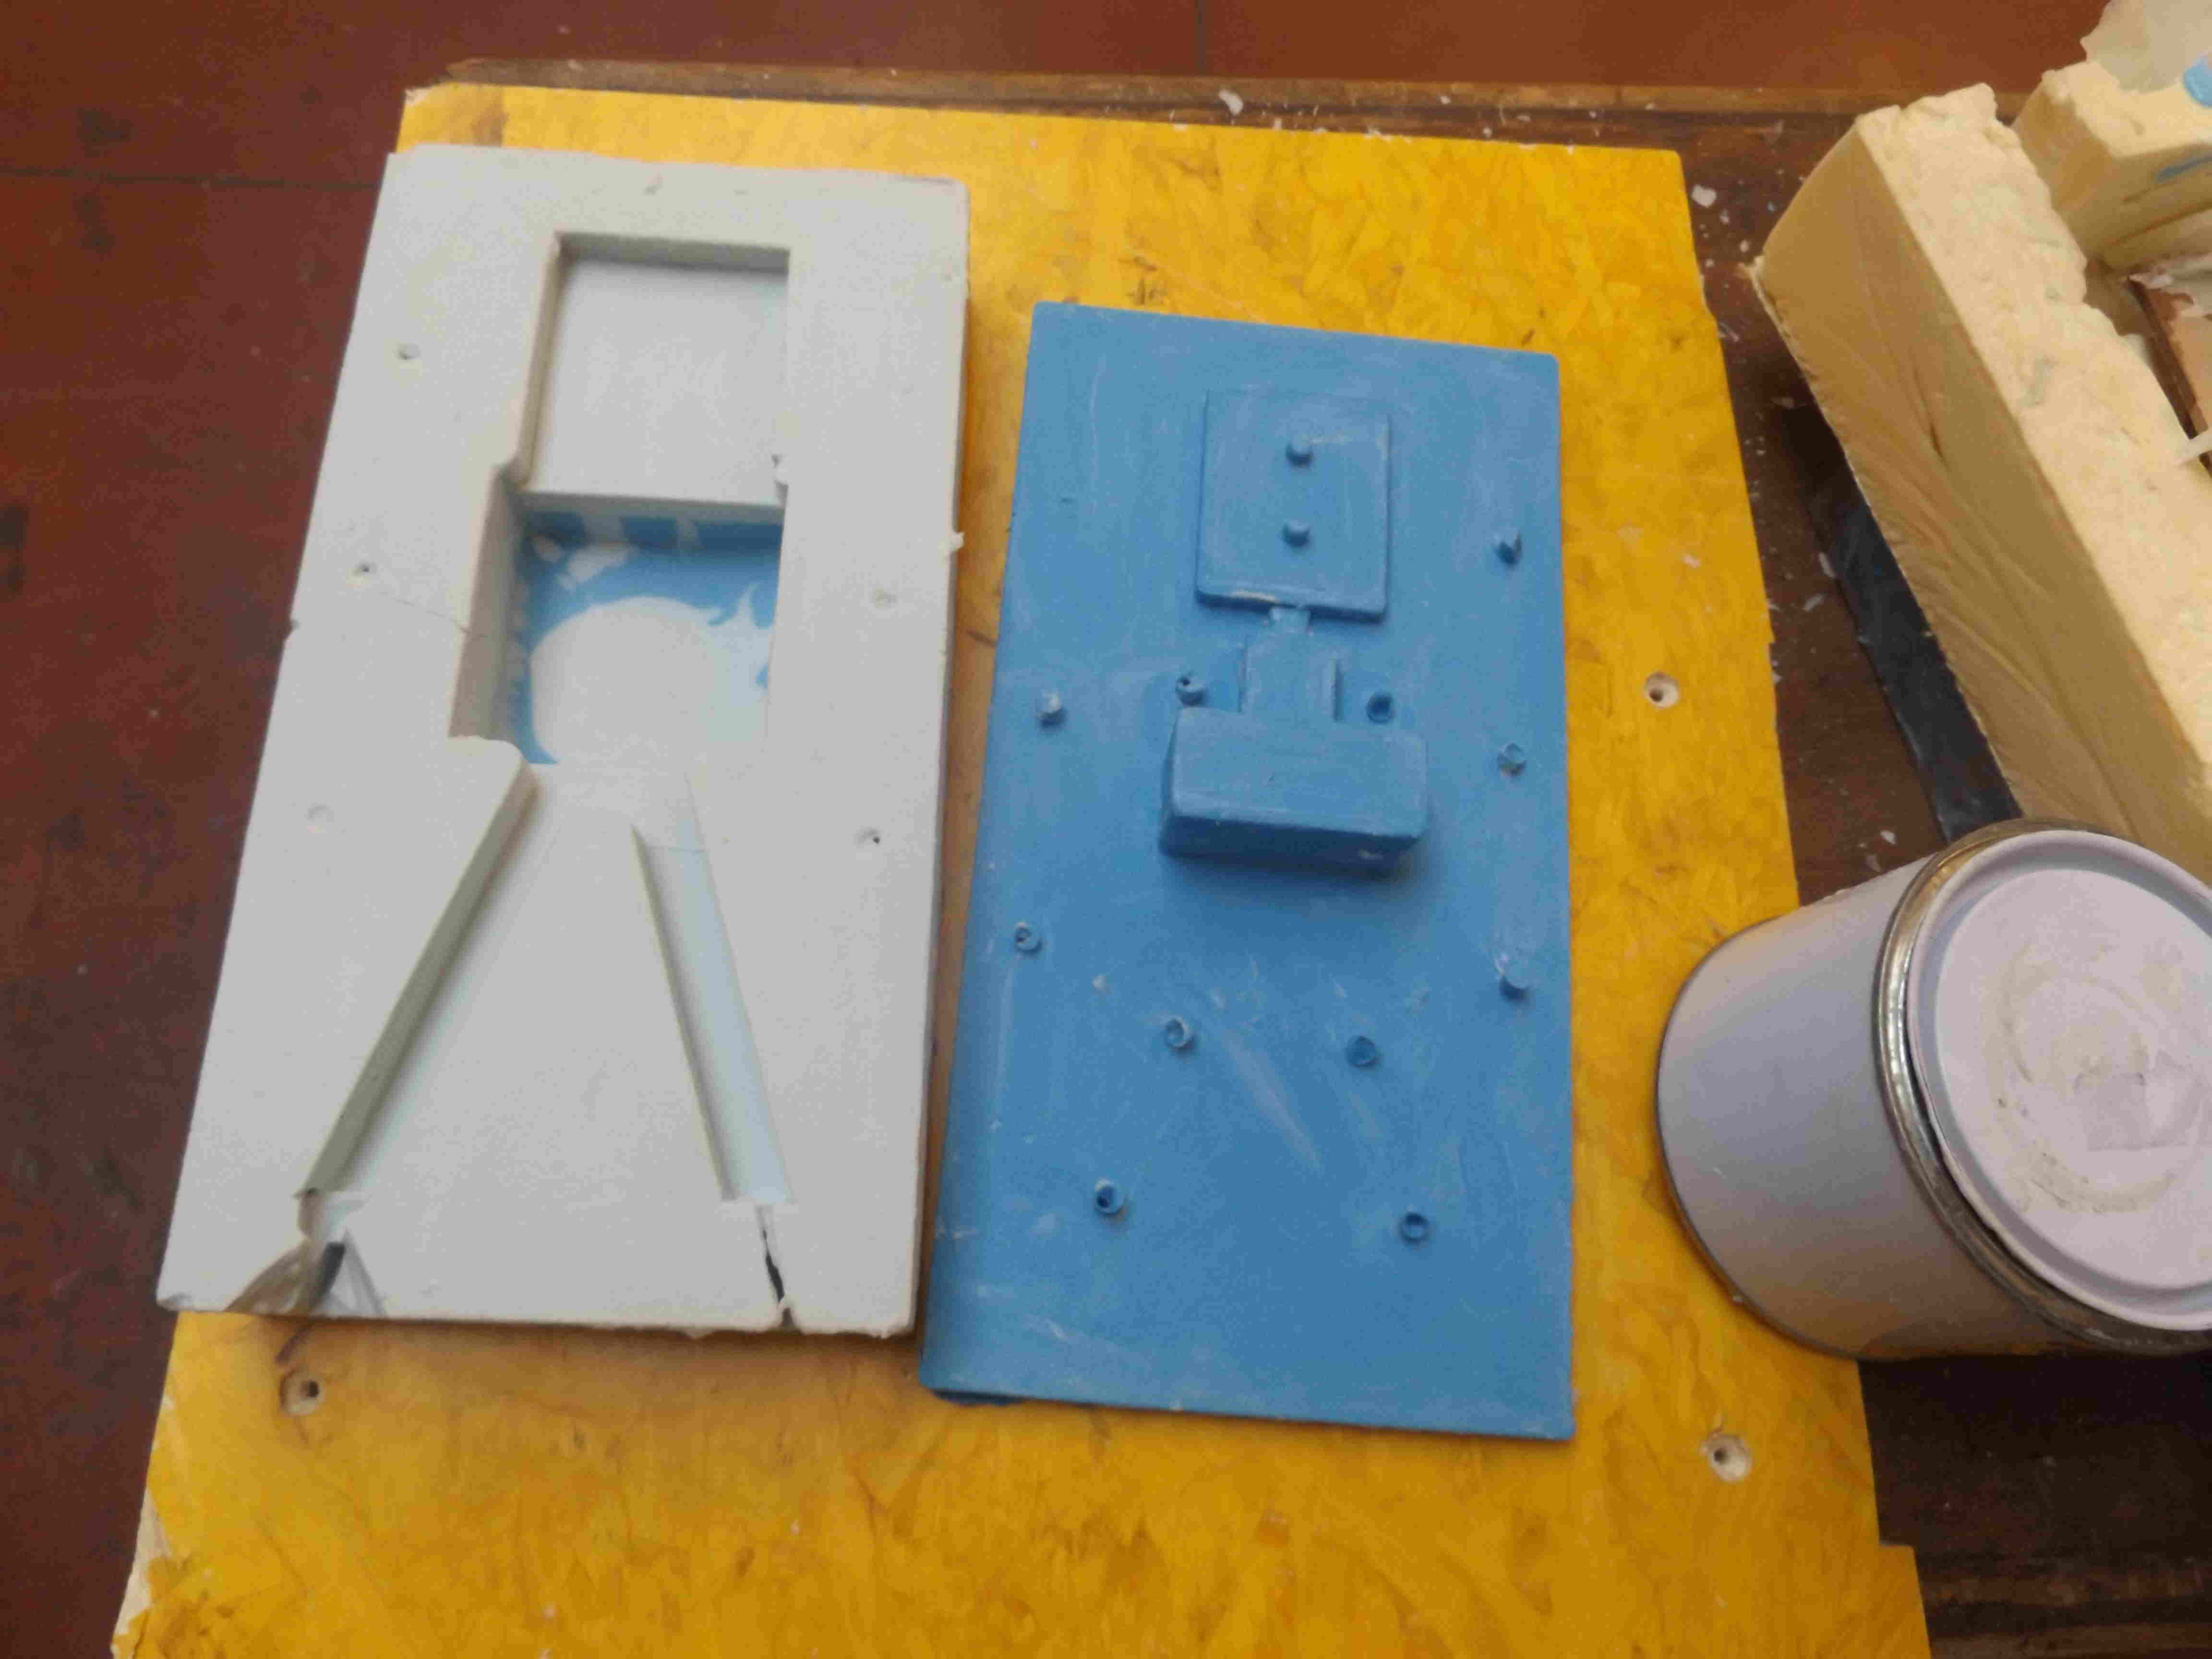
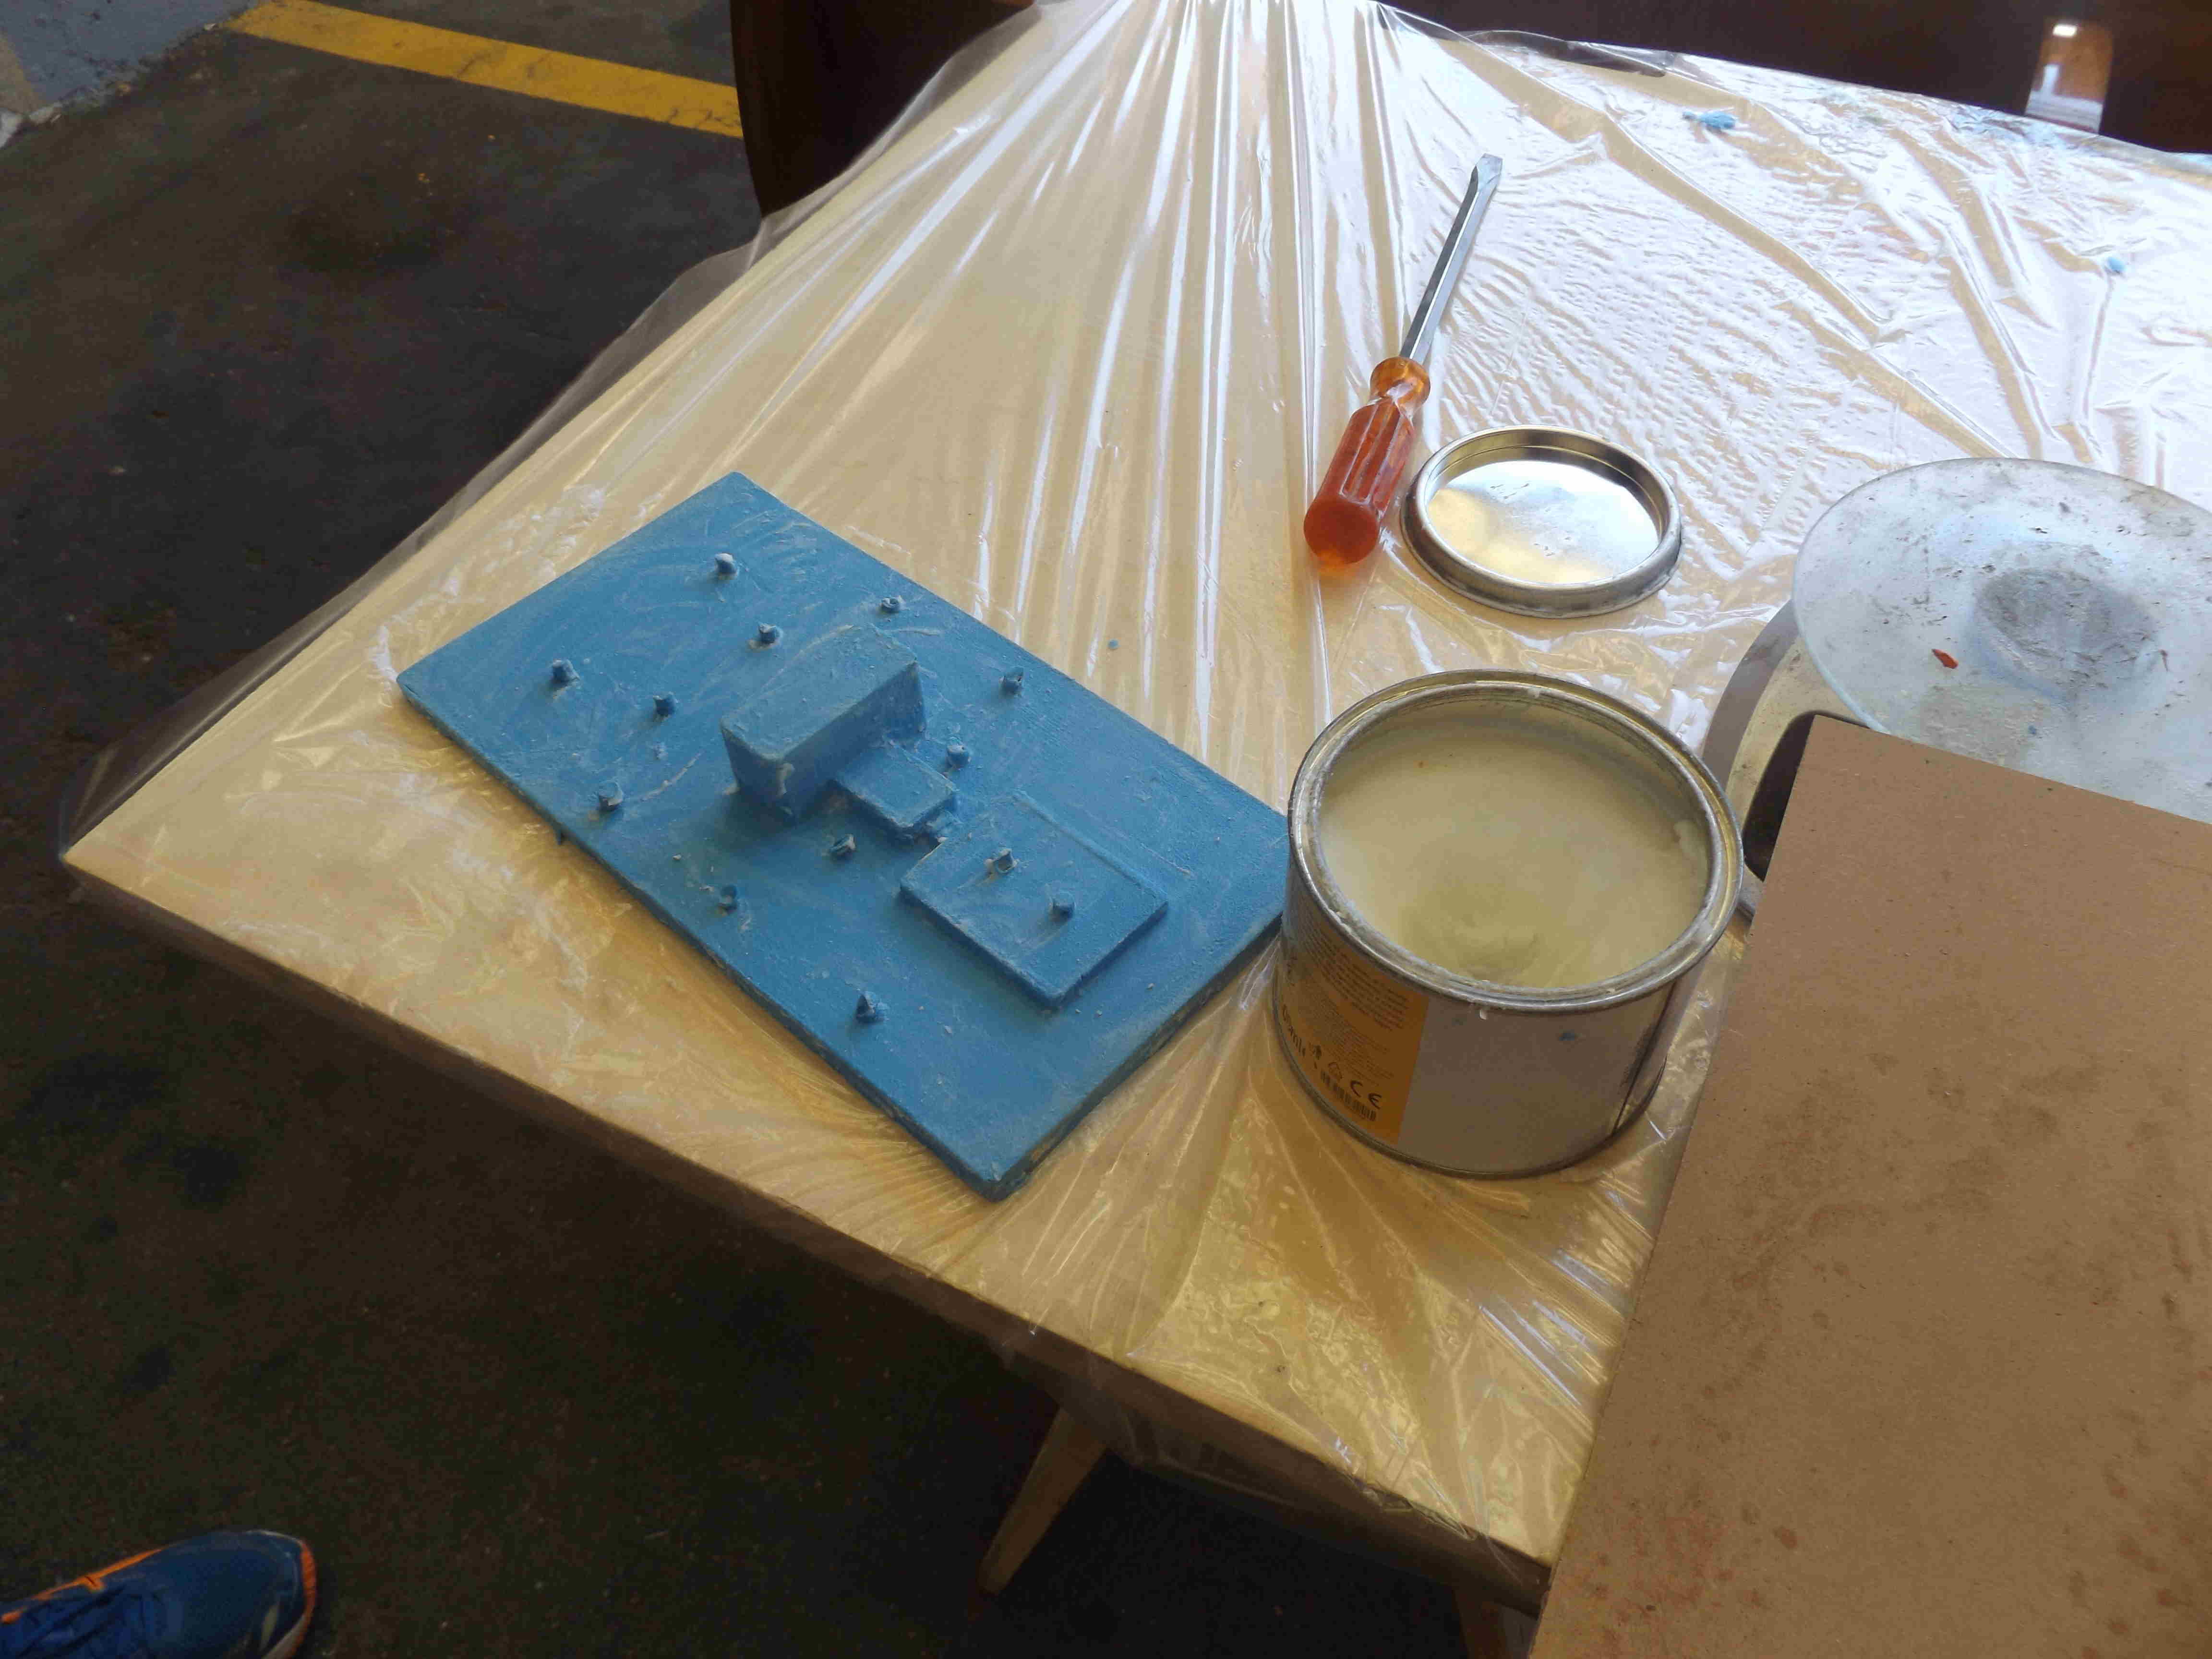
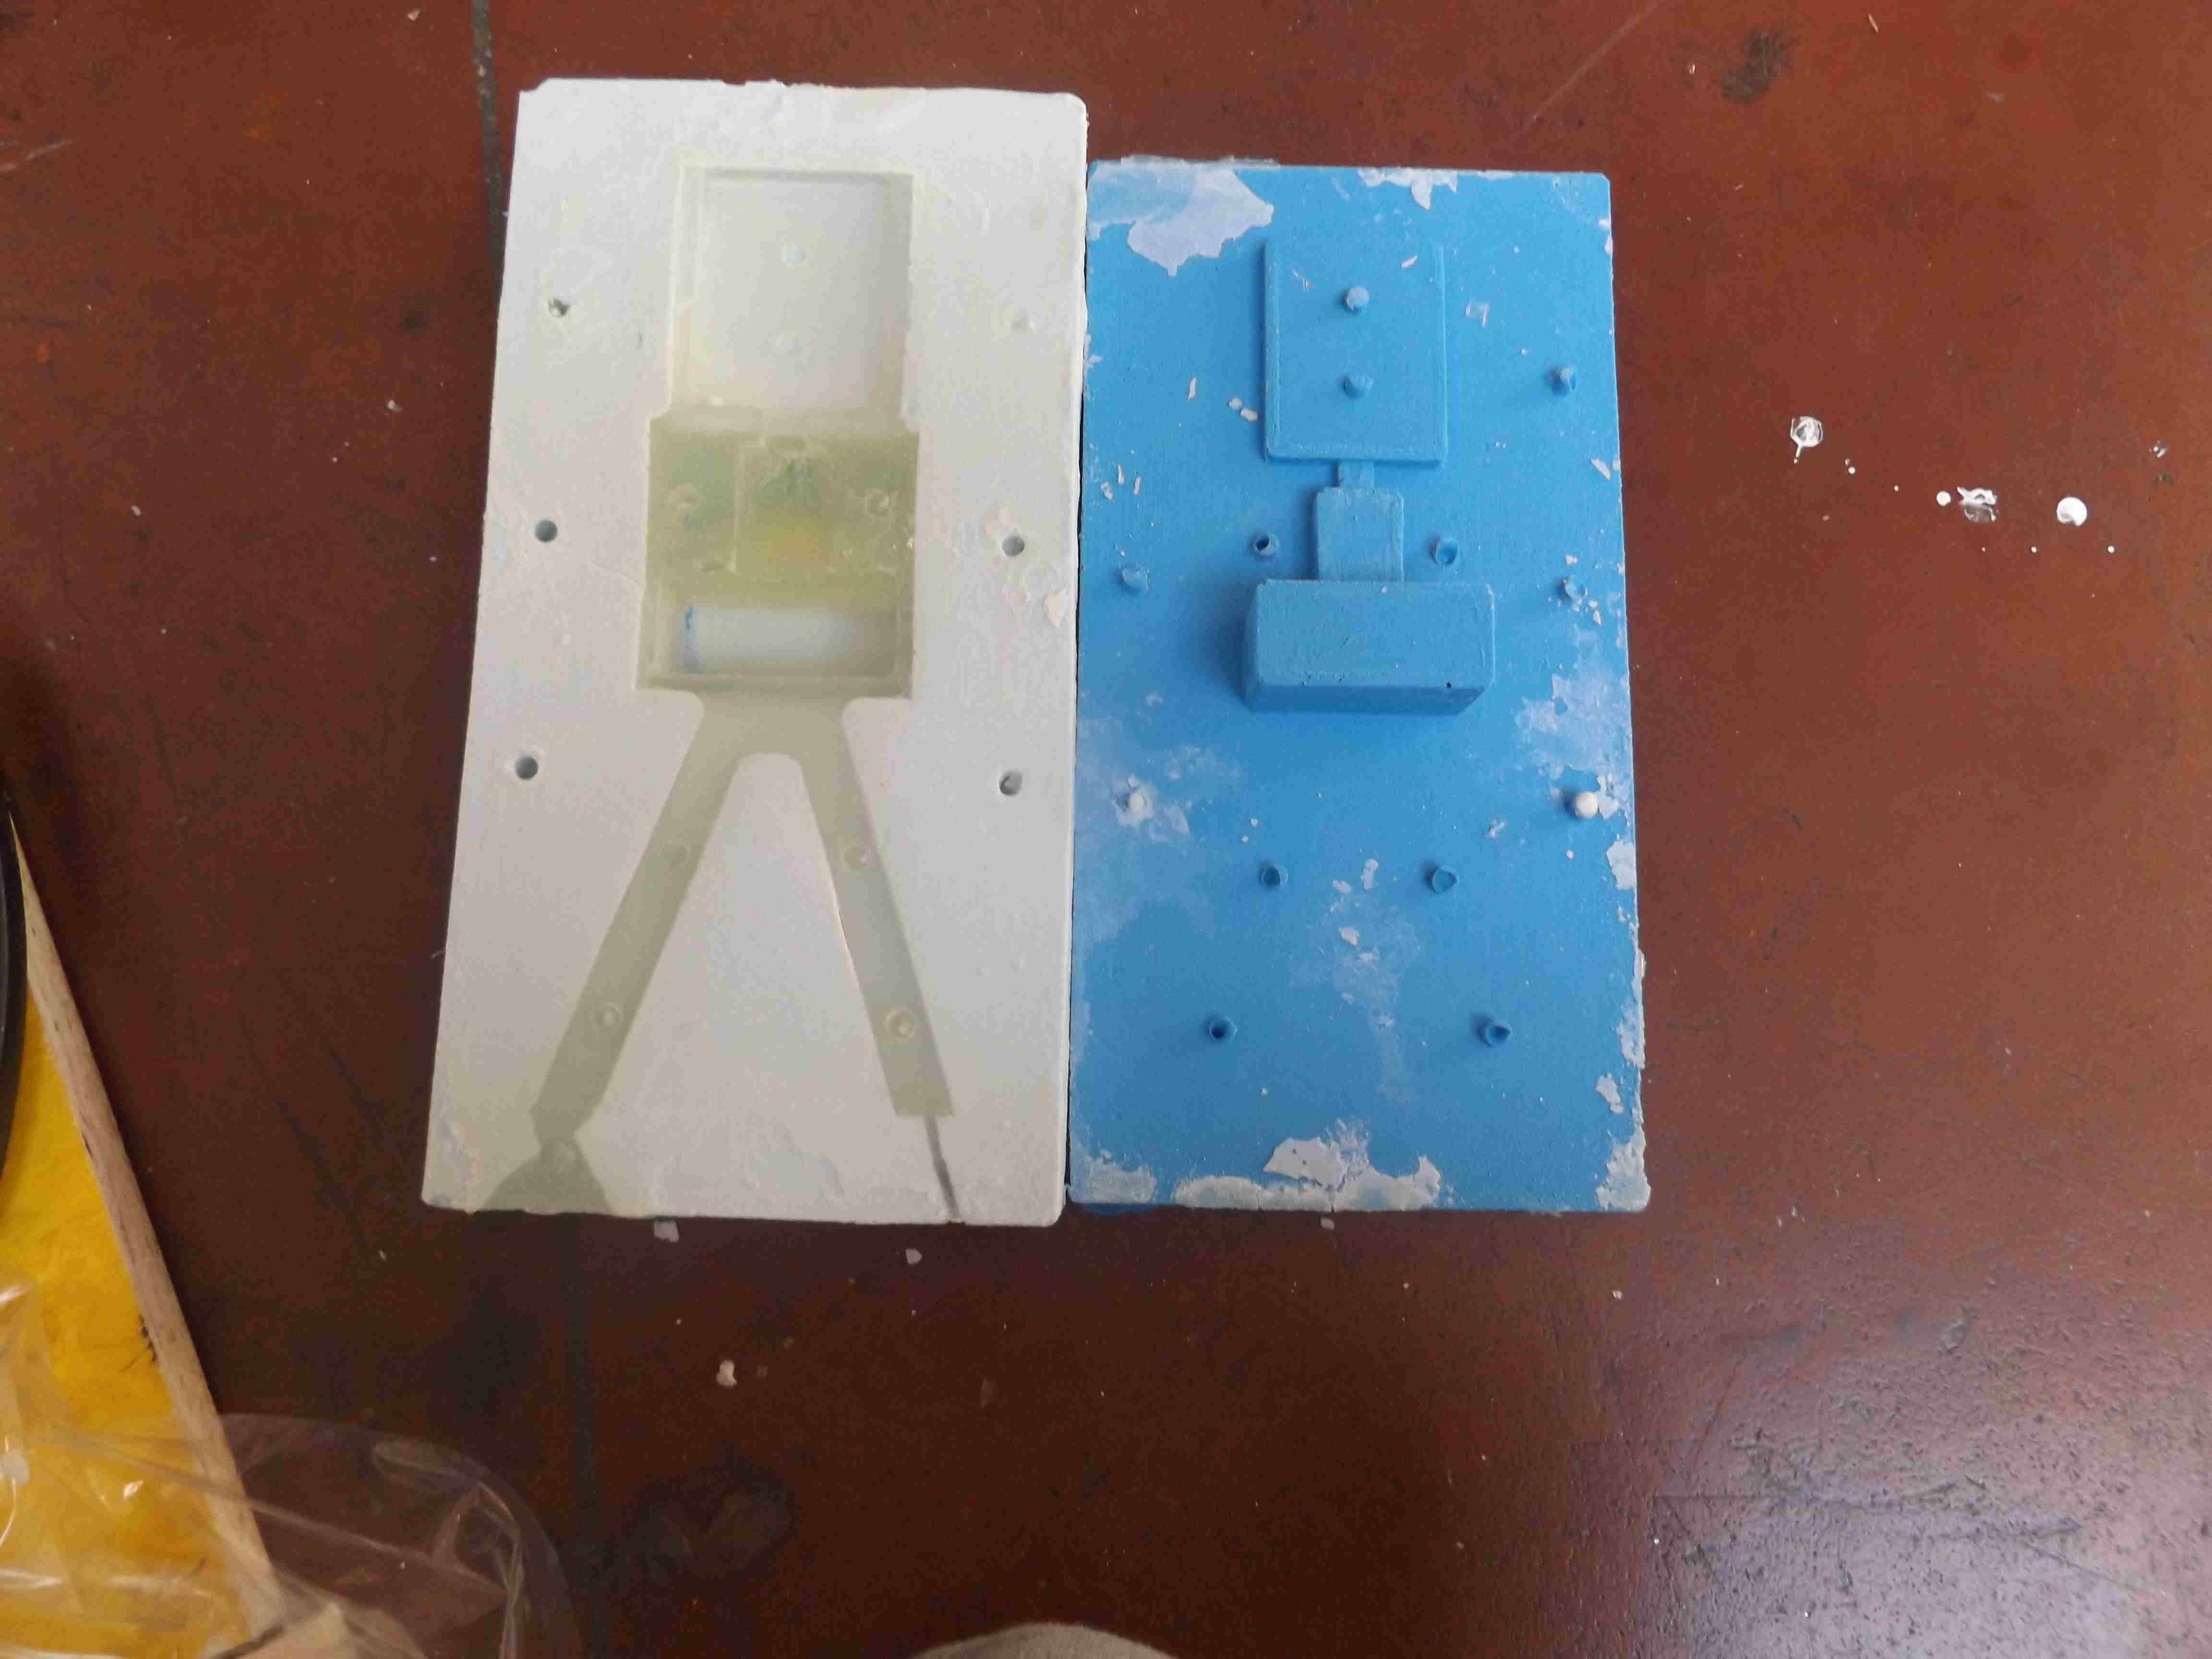
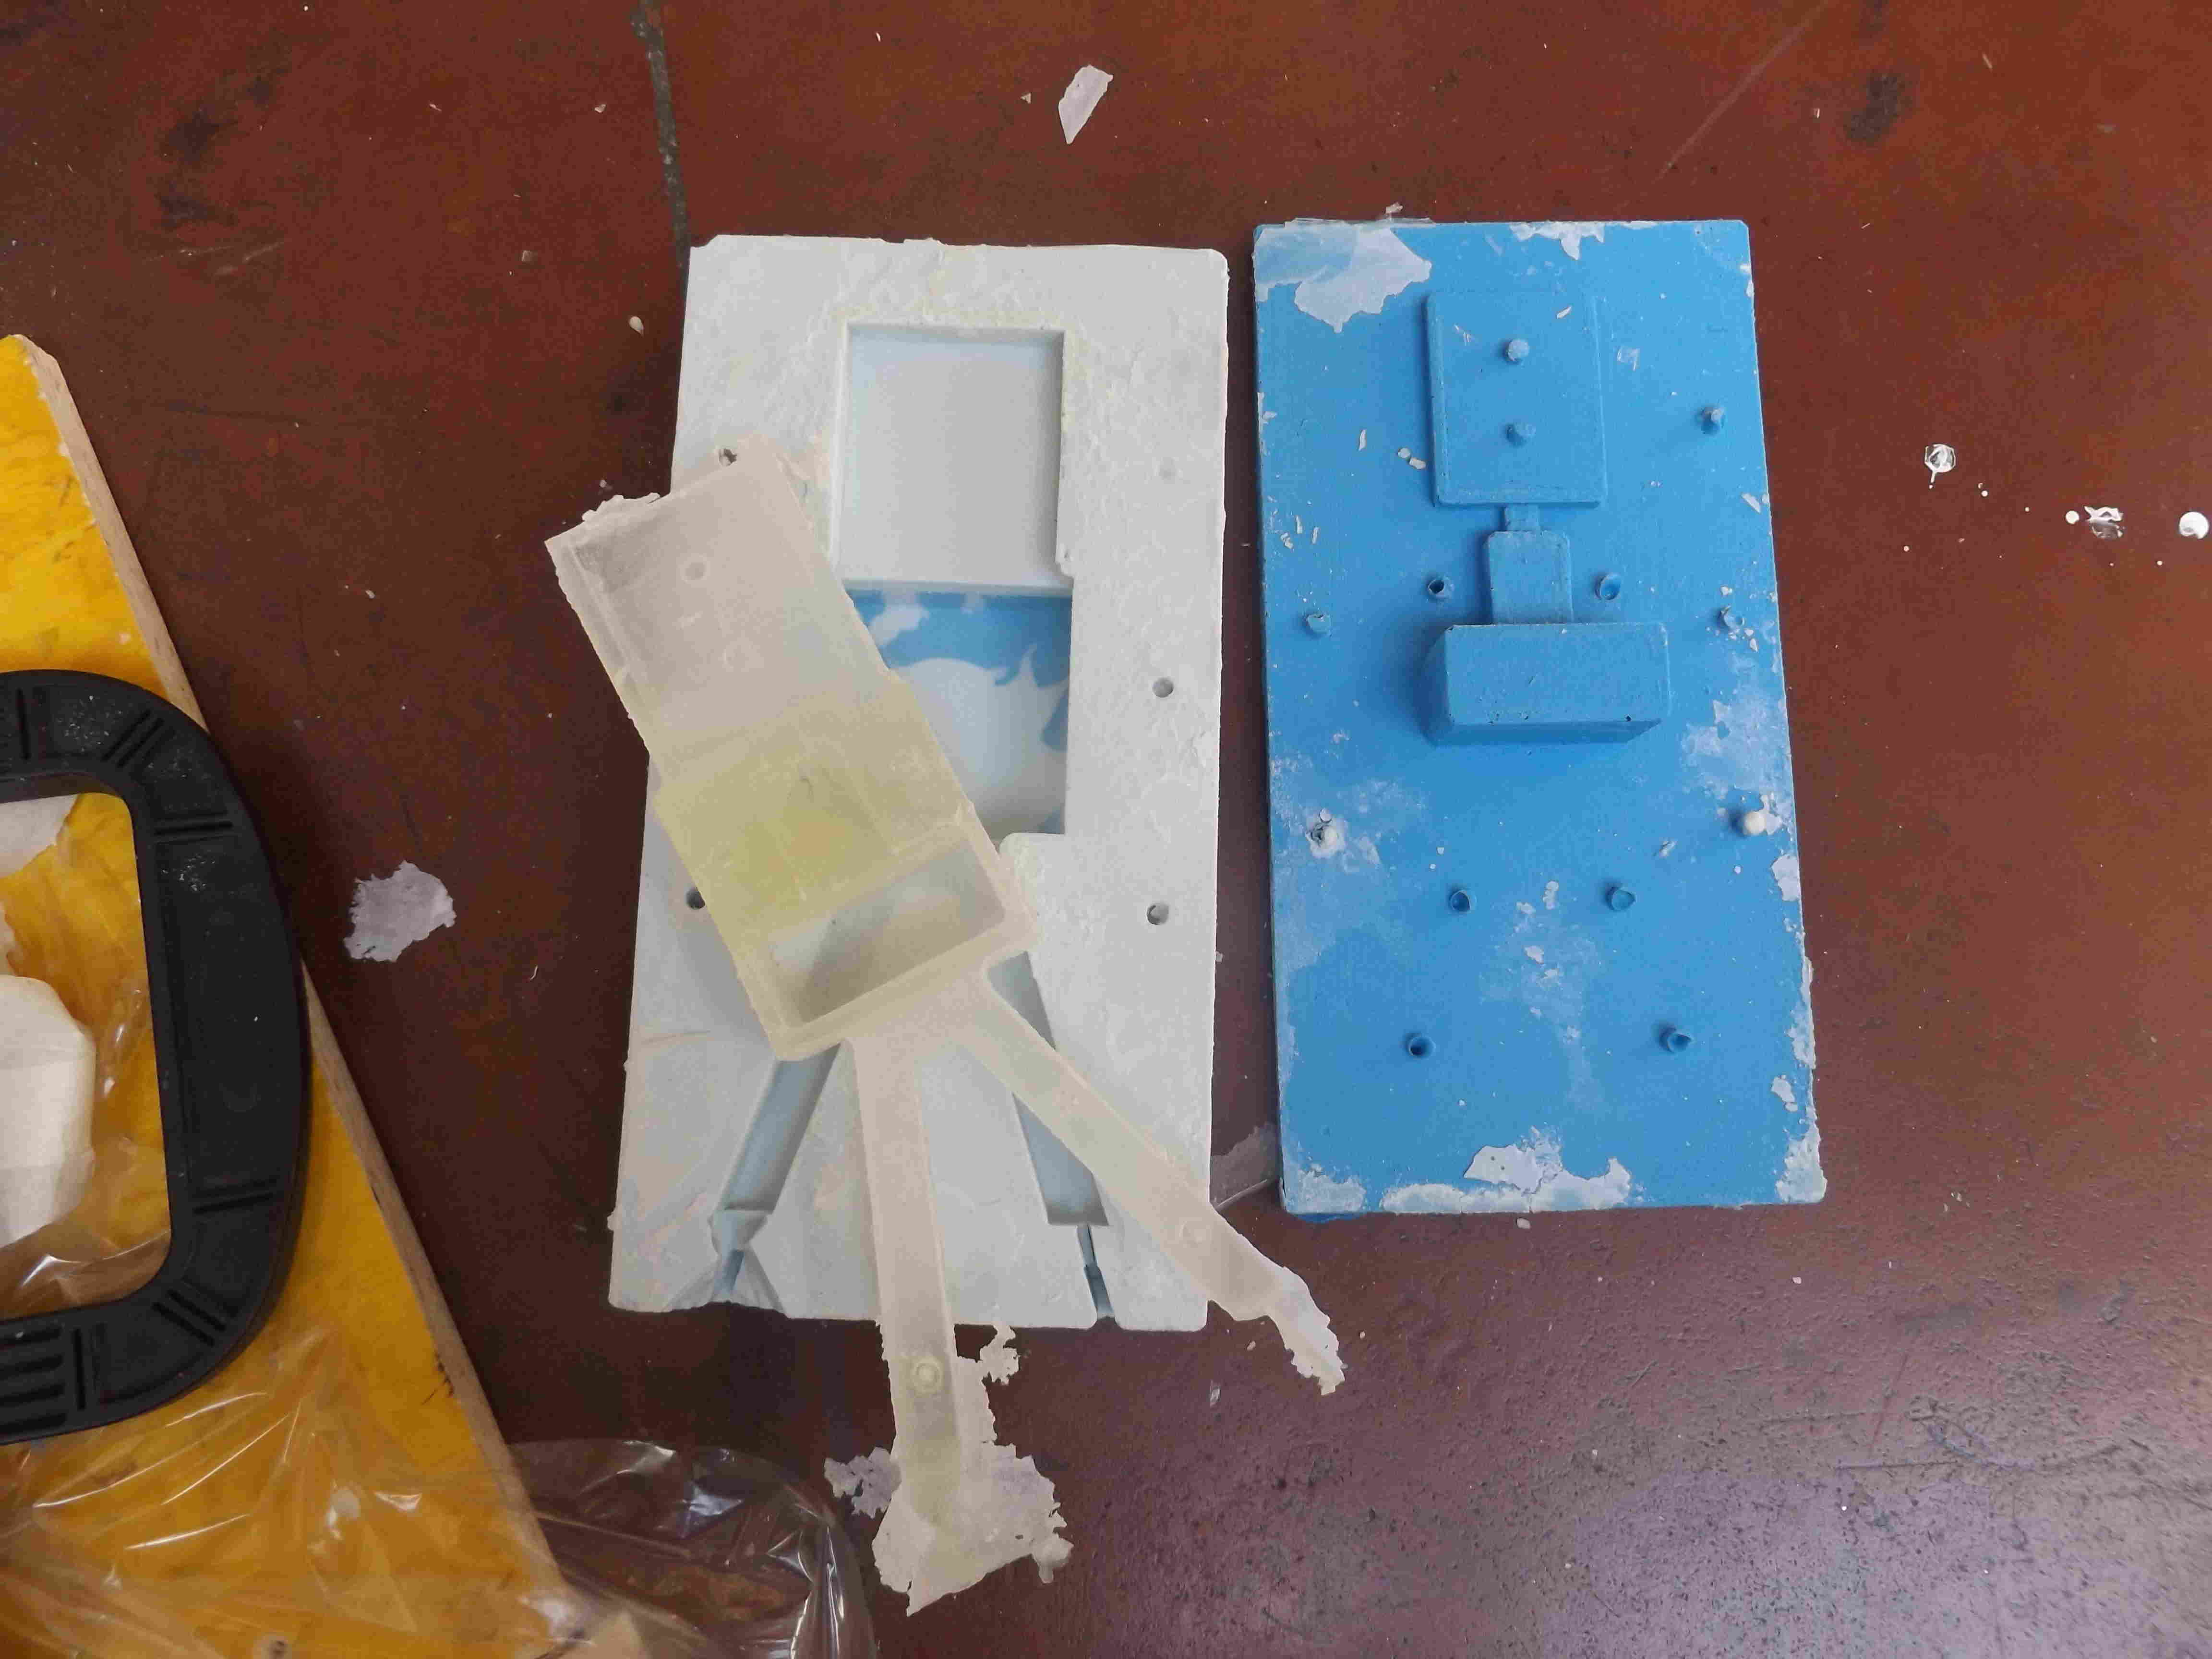
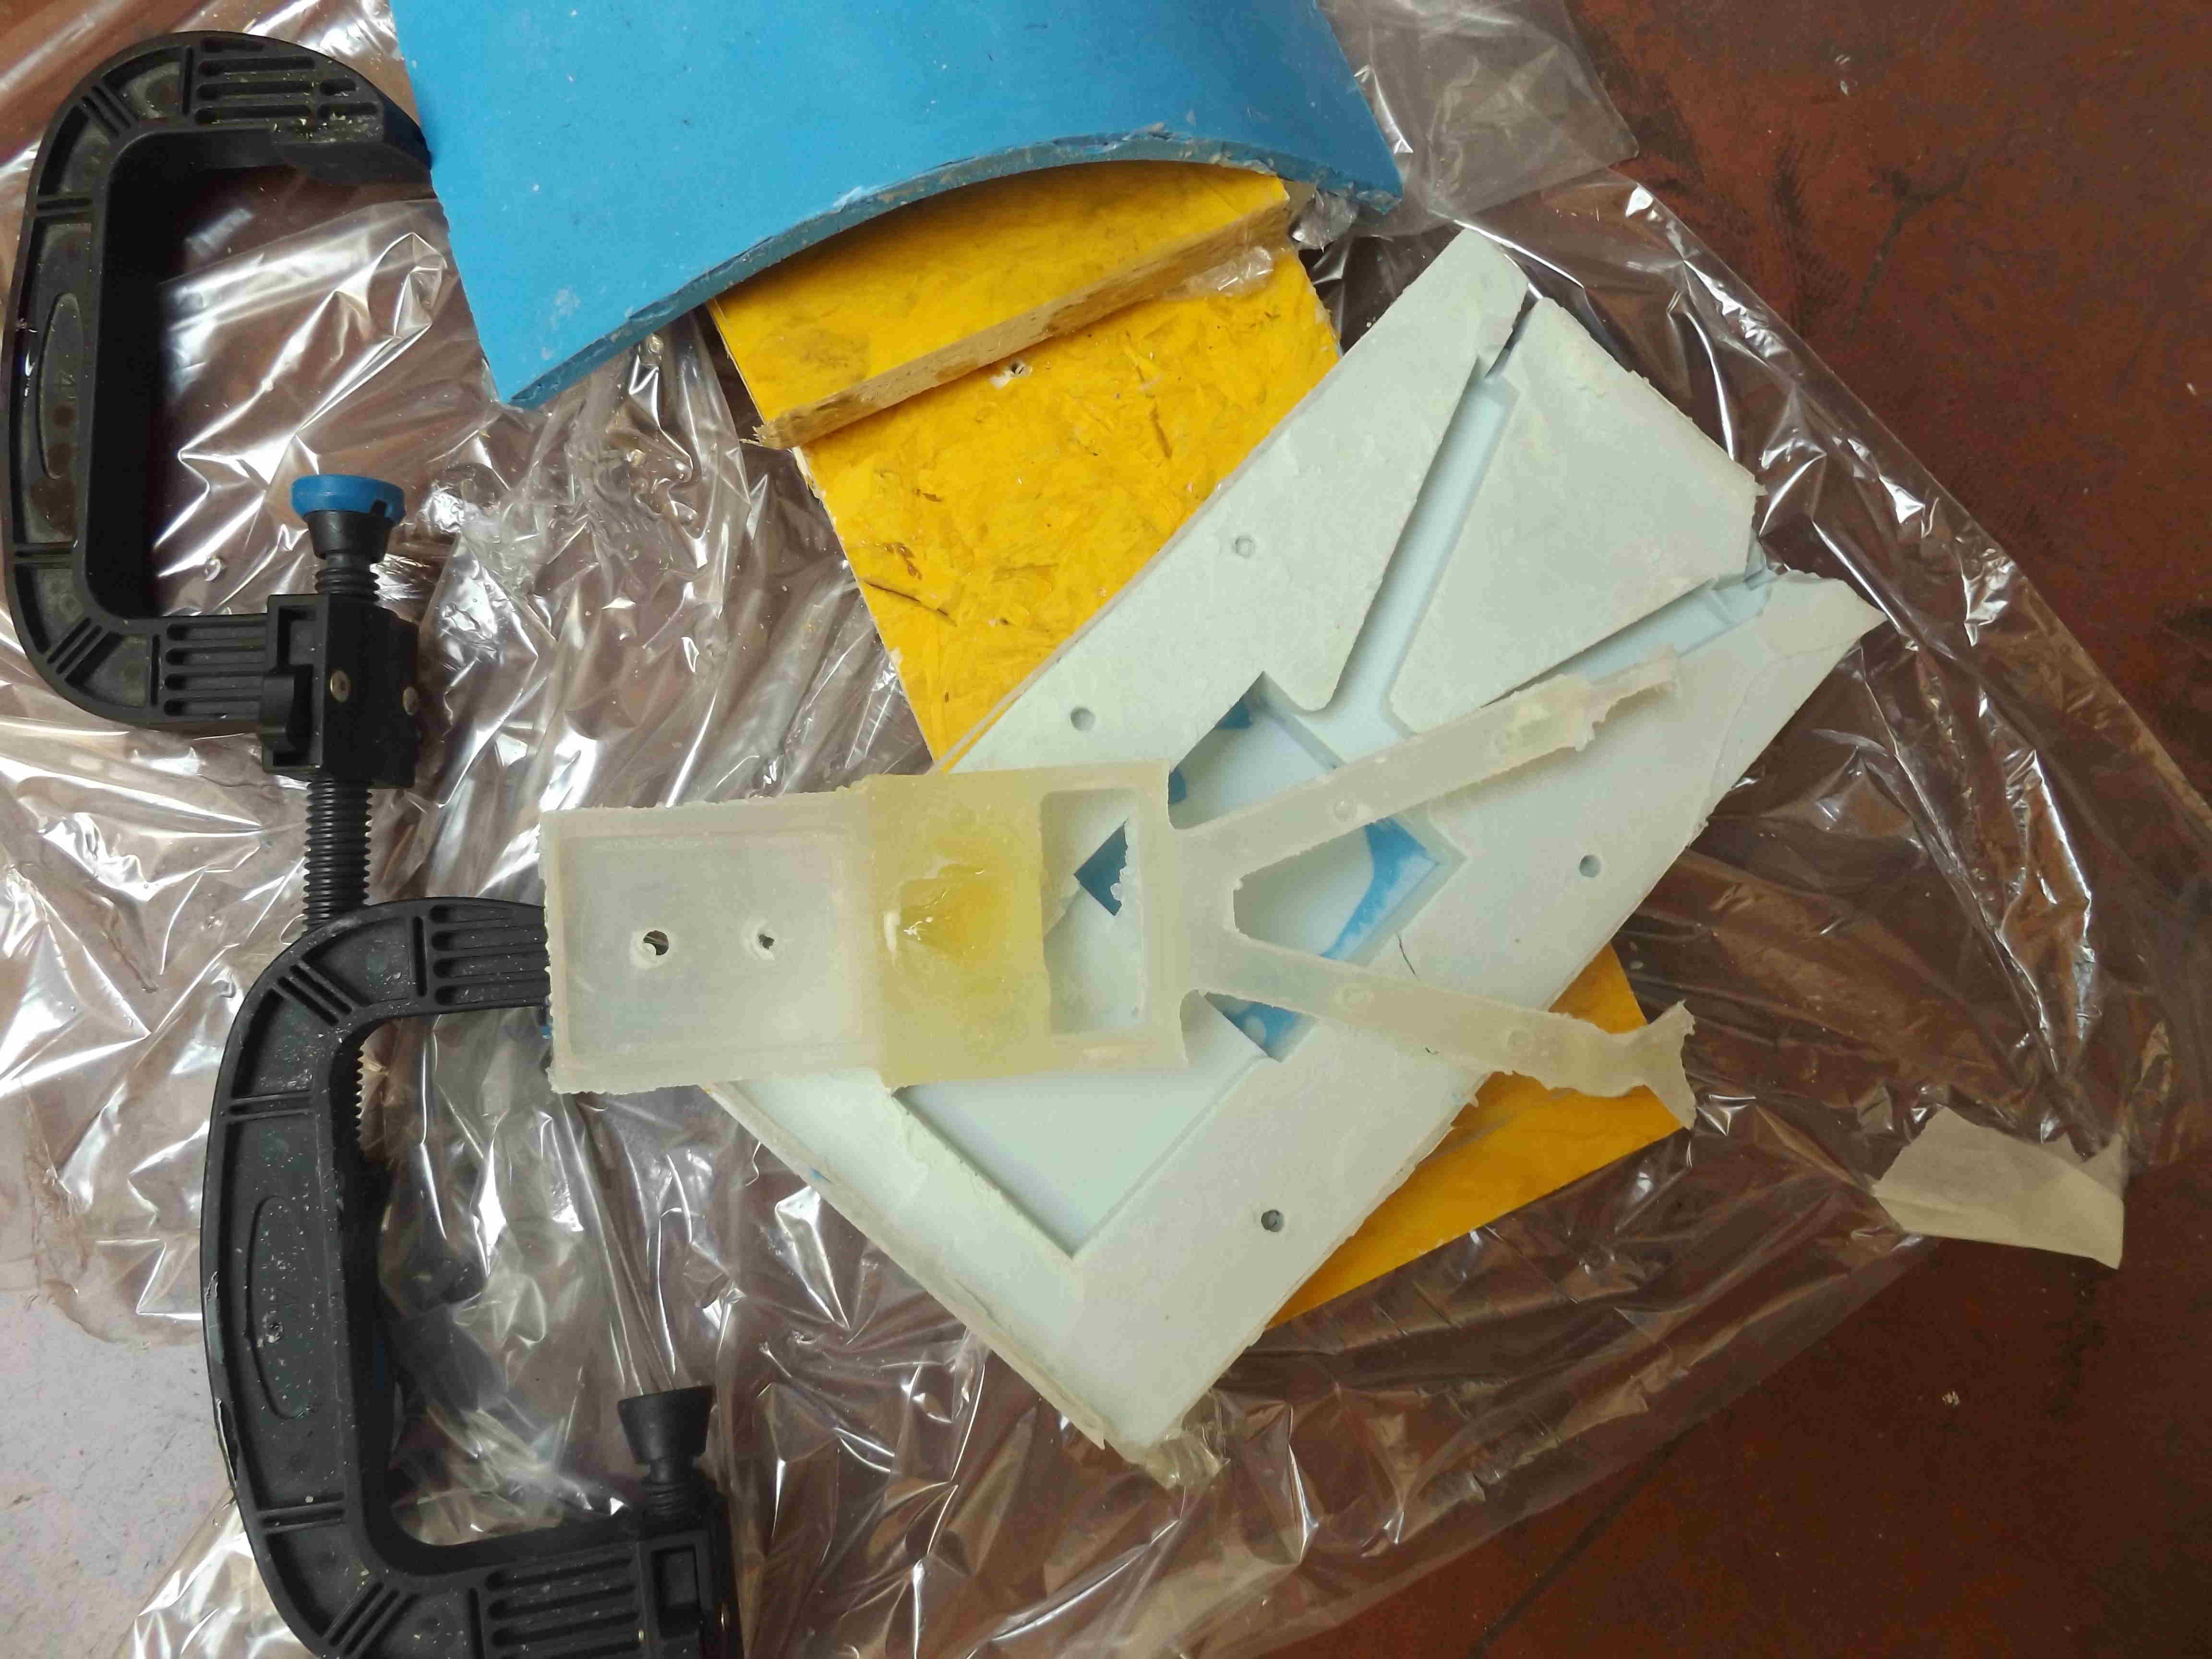
here are the positive and negative molds results (positive and negative silicon molds).
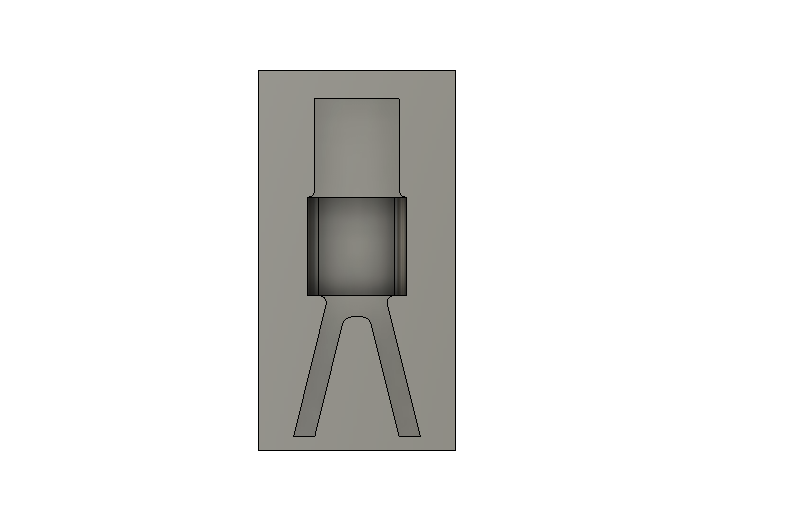
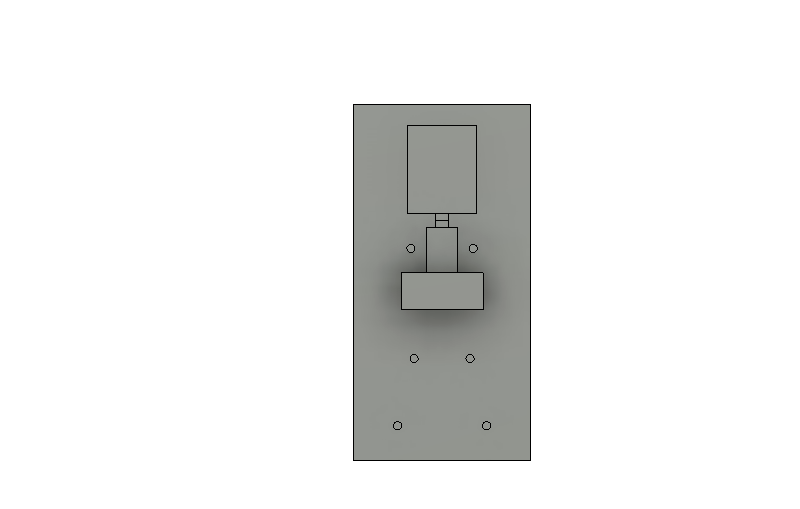
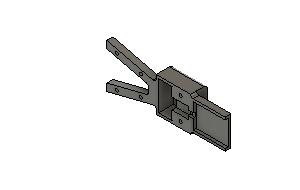
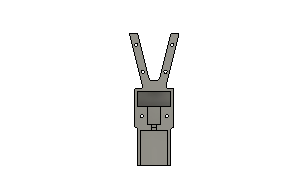
I start making the foam molds on shopbot machine that I use to make positive and negative silicon molds then the two fork mirror parts in epoxy resin. I used fusion360 CAM to obtain gcode of my files, I learned fusion 360 CAM from tutorials on the internet but in opendot I followed directions of Tiziano Berti because Tiziano way is more simpler and similar to shopbot interface program and it works :). he installed opendot lab tools library set tools parameters. he suggested the setups that are different of mine and checked all the work I did till before sending job to shopbot machine. here are the video and photos of the work.
Now its time to make silicon molds, I did this task with Nicolas, I applied wax on the foam molds to be able to remove the result parts later, positive and negative molds were prepared by mixing silicone rubber and a catalyzer as indicated I used the balance to measure quantity then mixed properly. I prepared mixtures for two molds. my second mixture I prepared were hard I removed from the mold shortely I think ingredients were not appropriate as I forget to set the balance to zero. the molds results were taken the day after here are photos of the work and results.
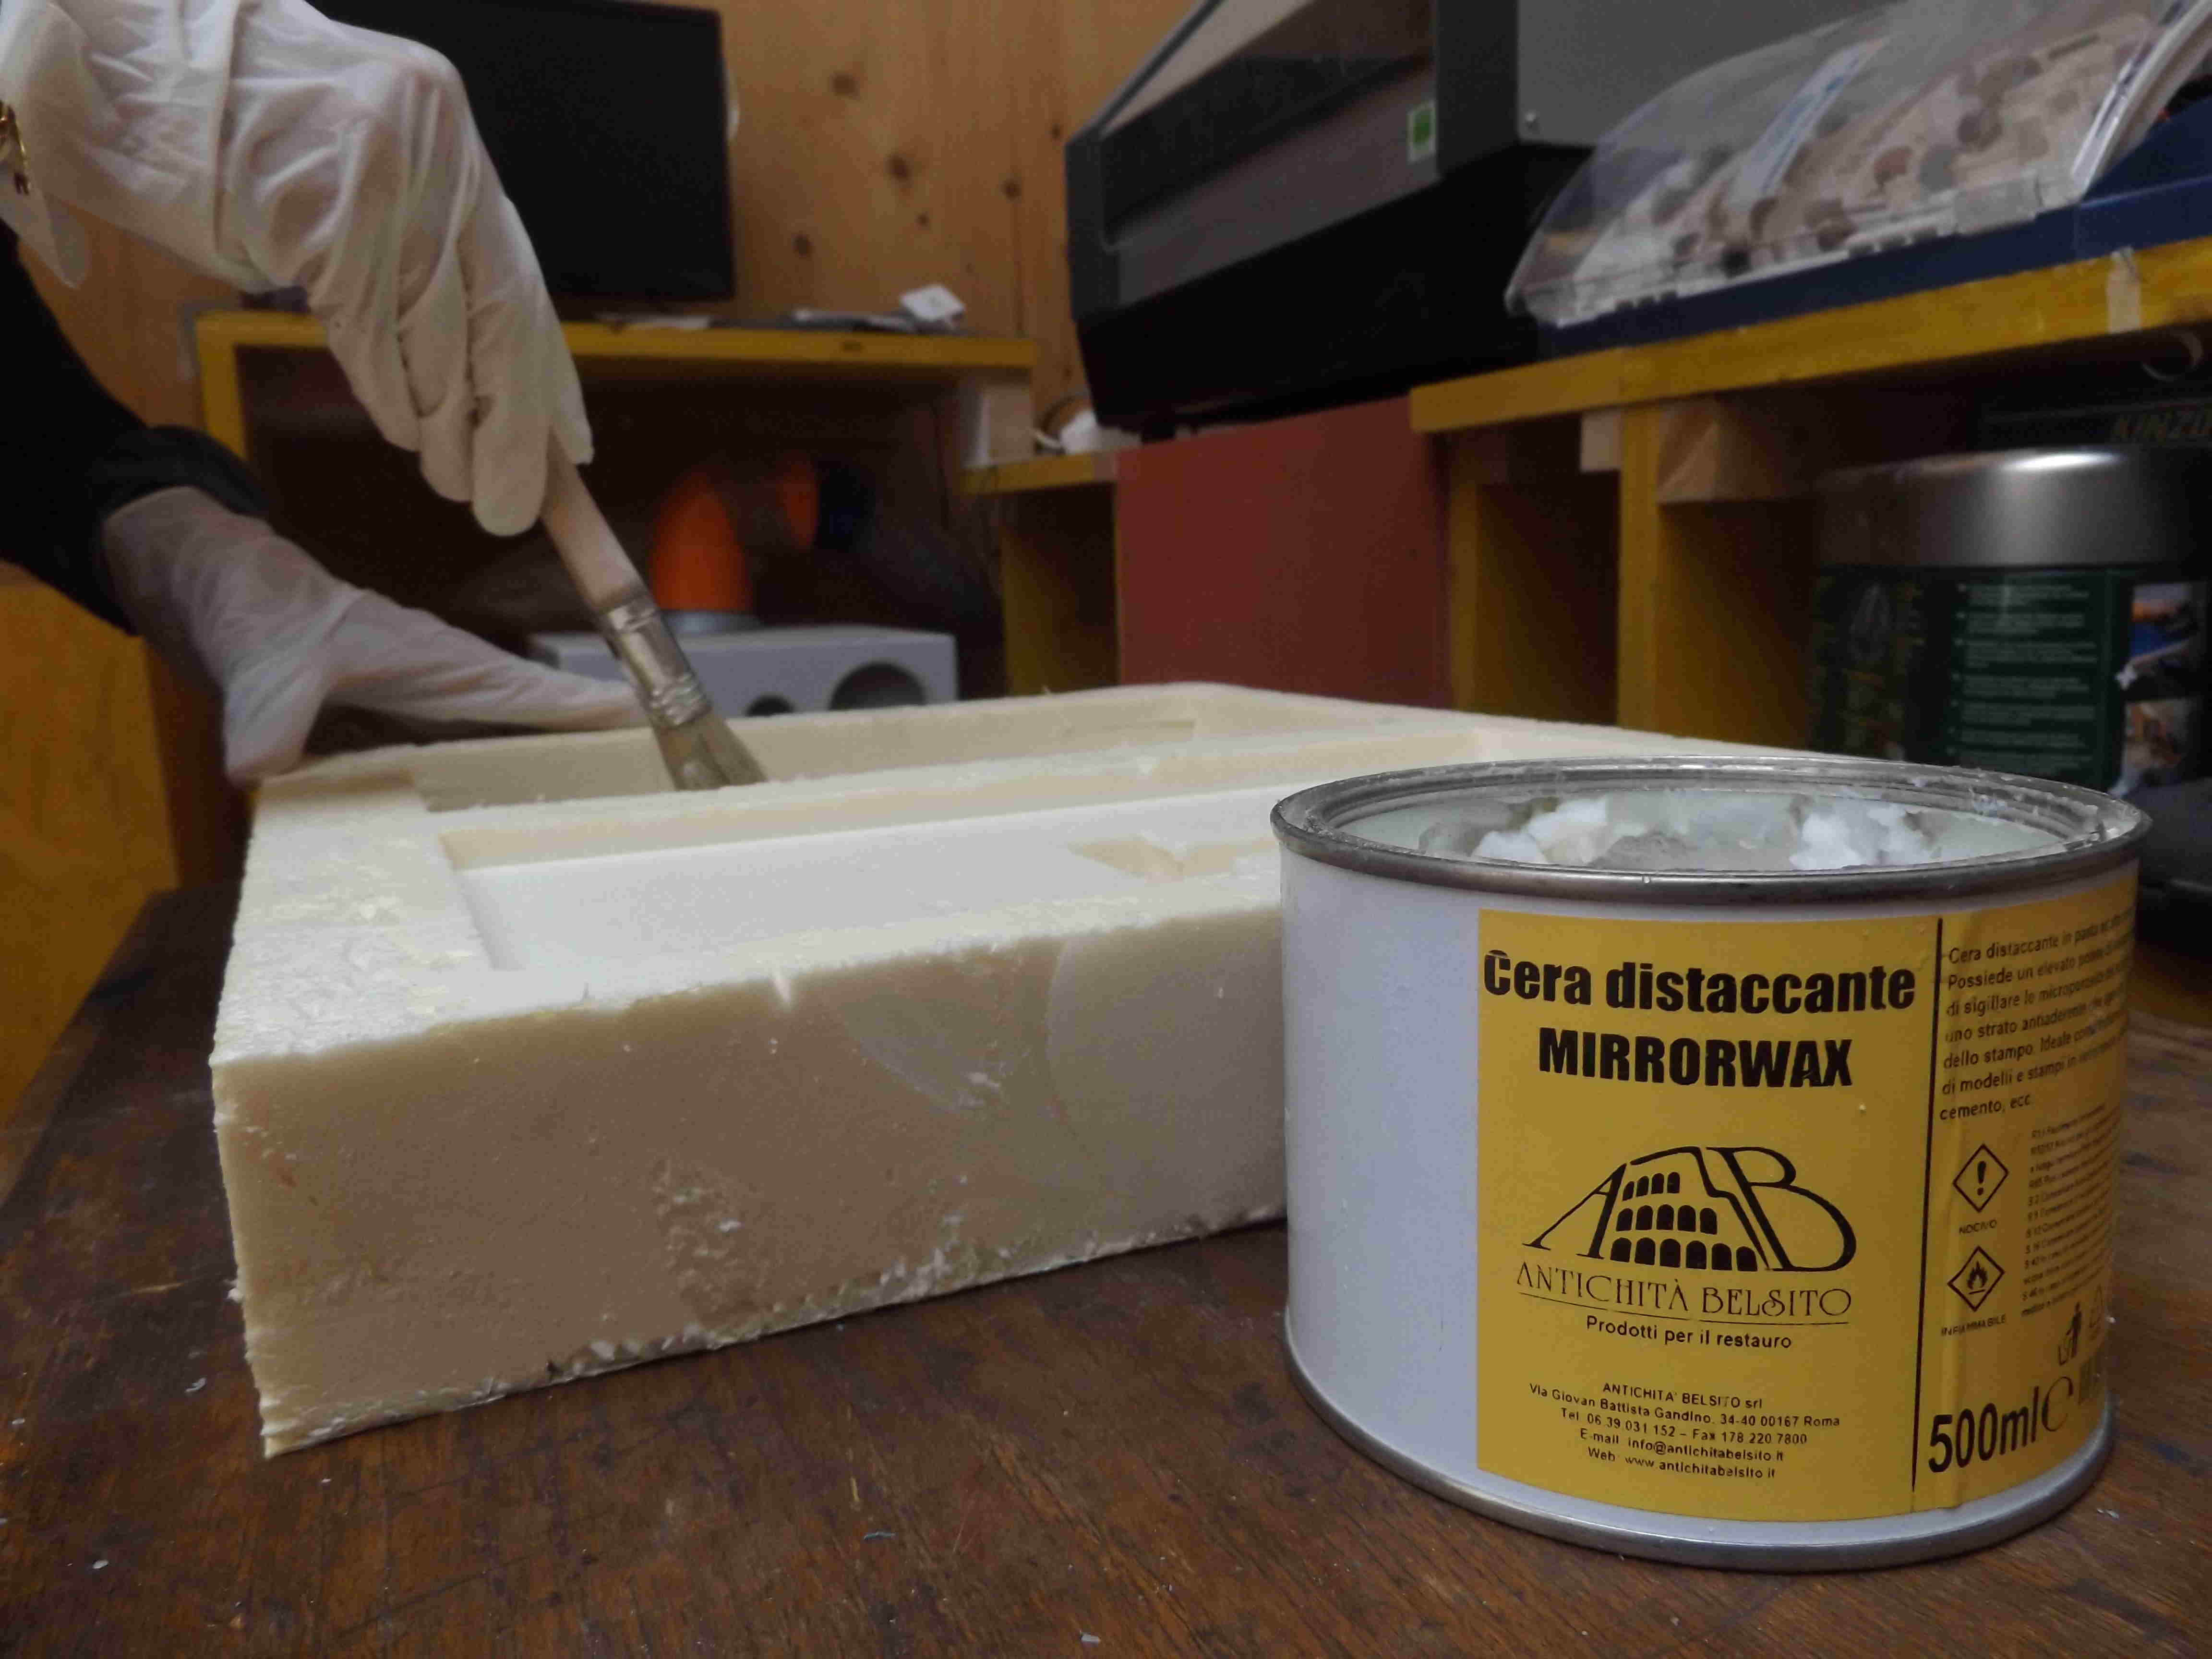
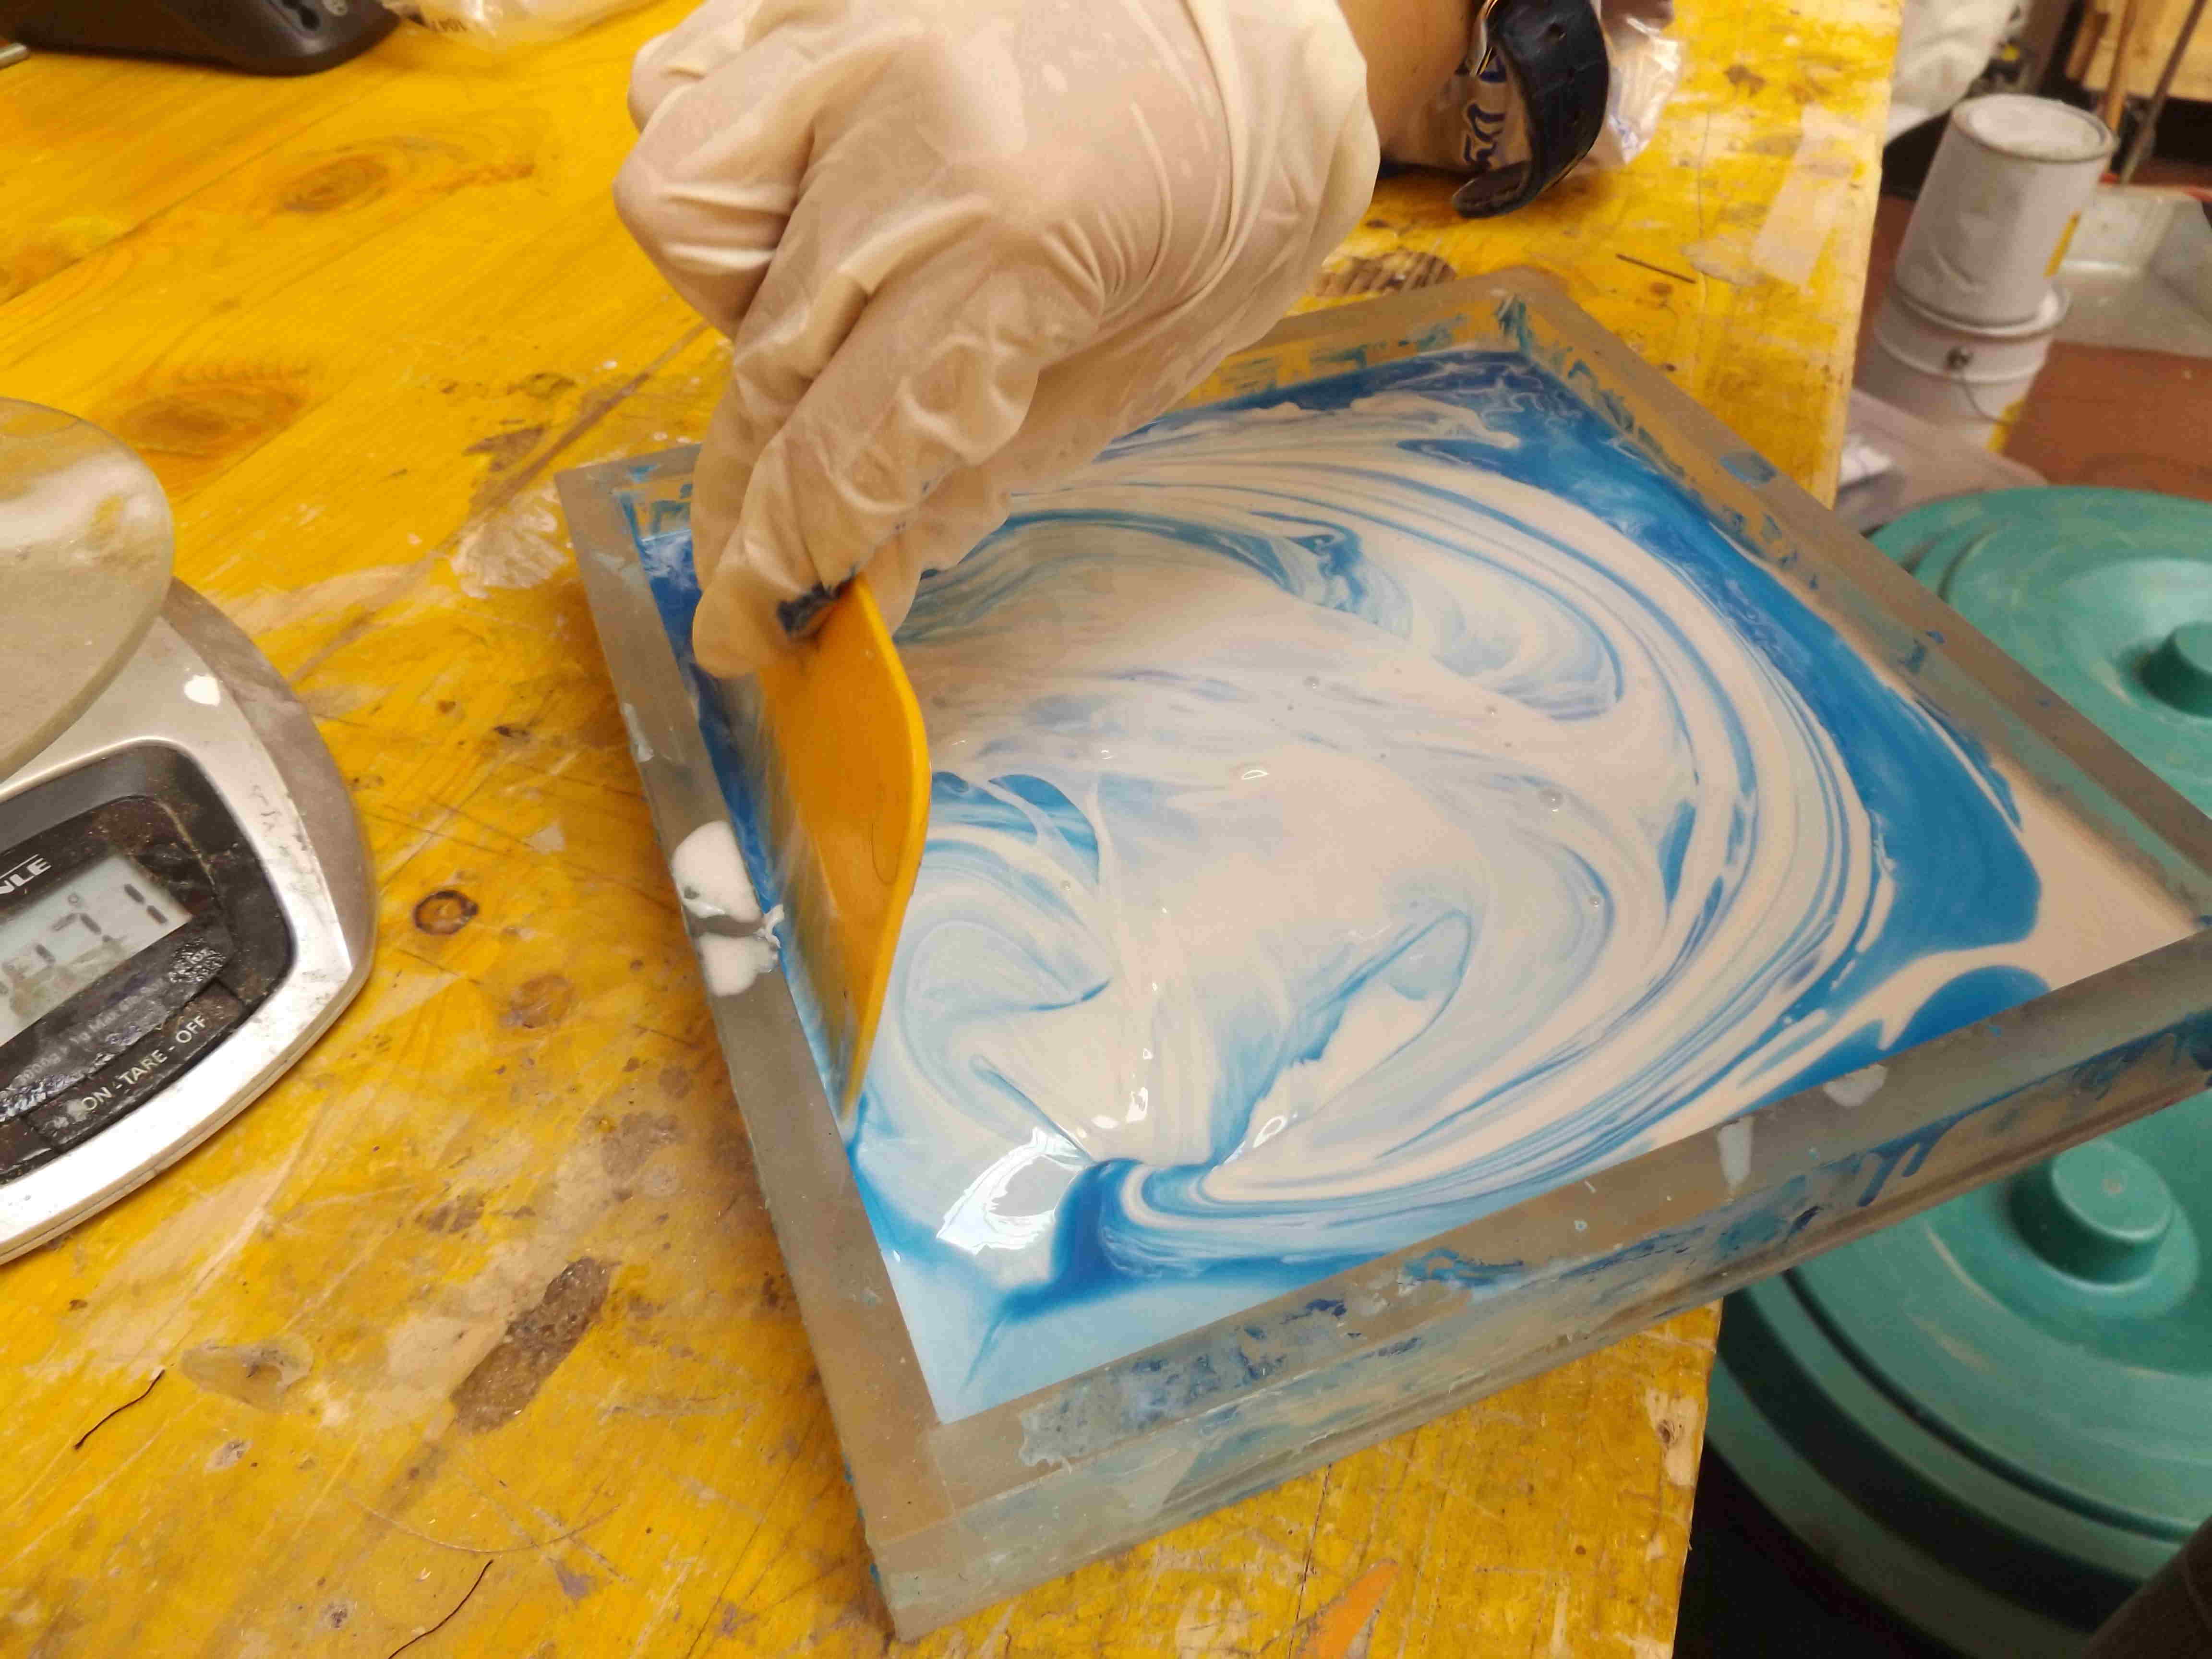
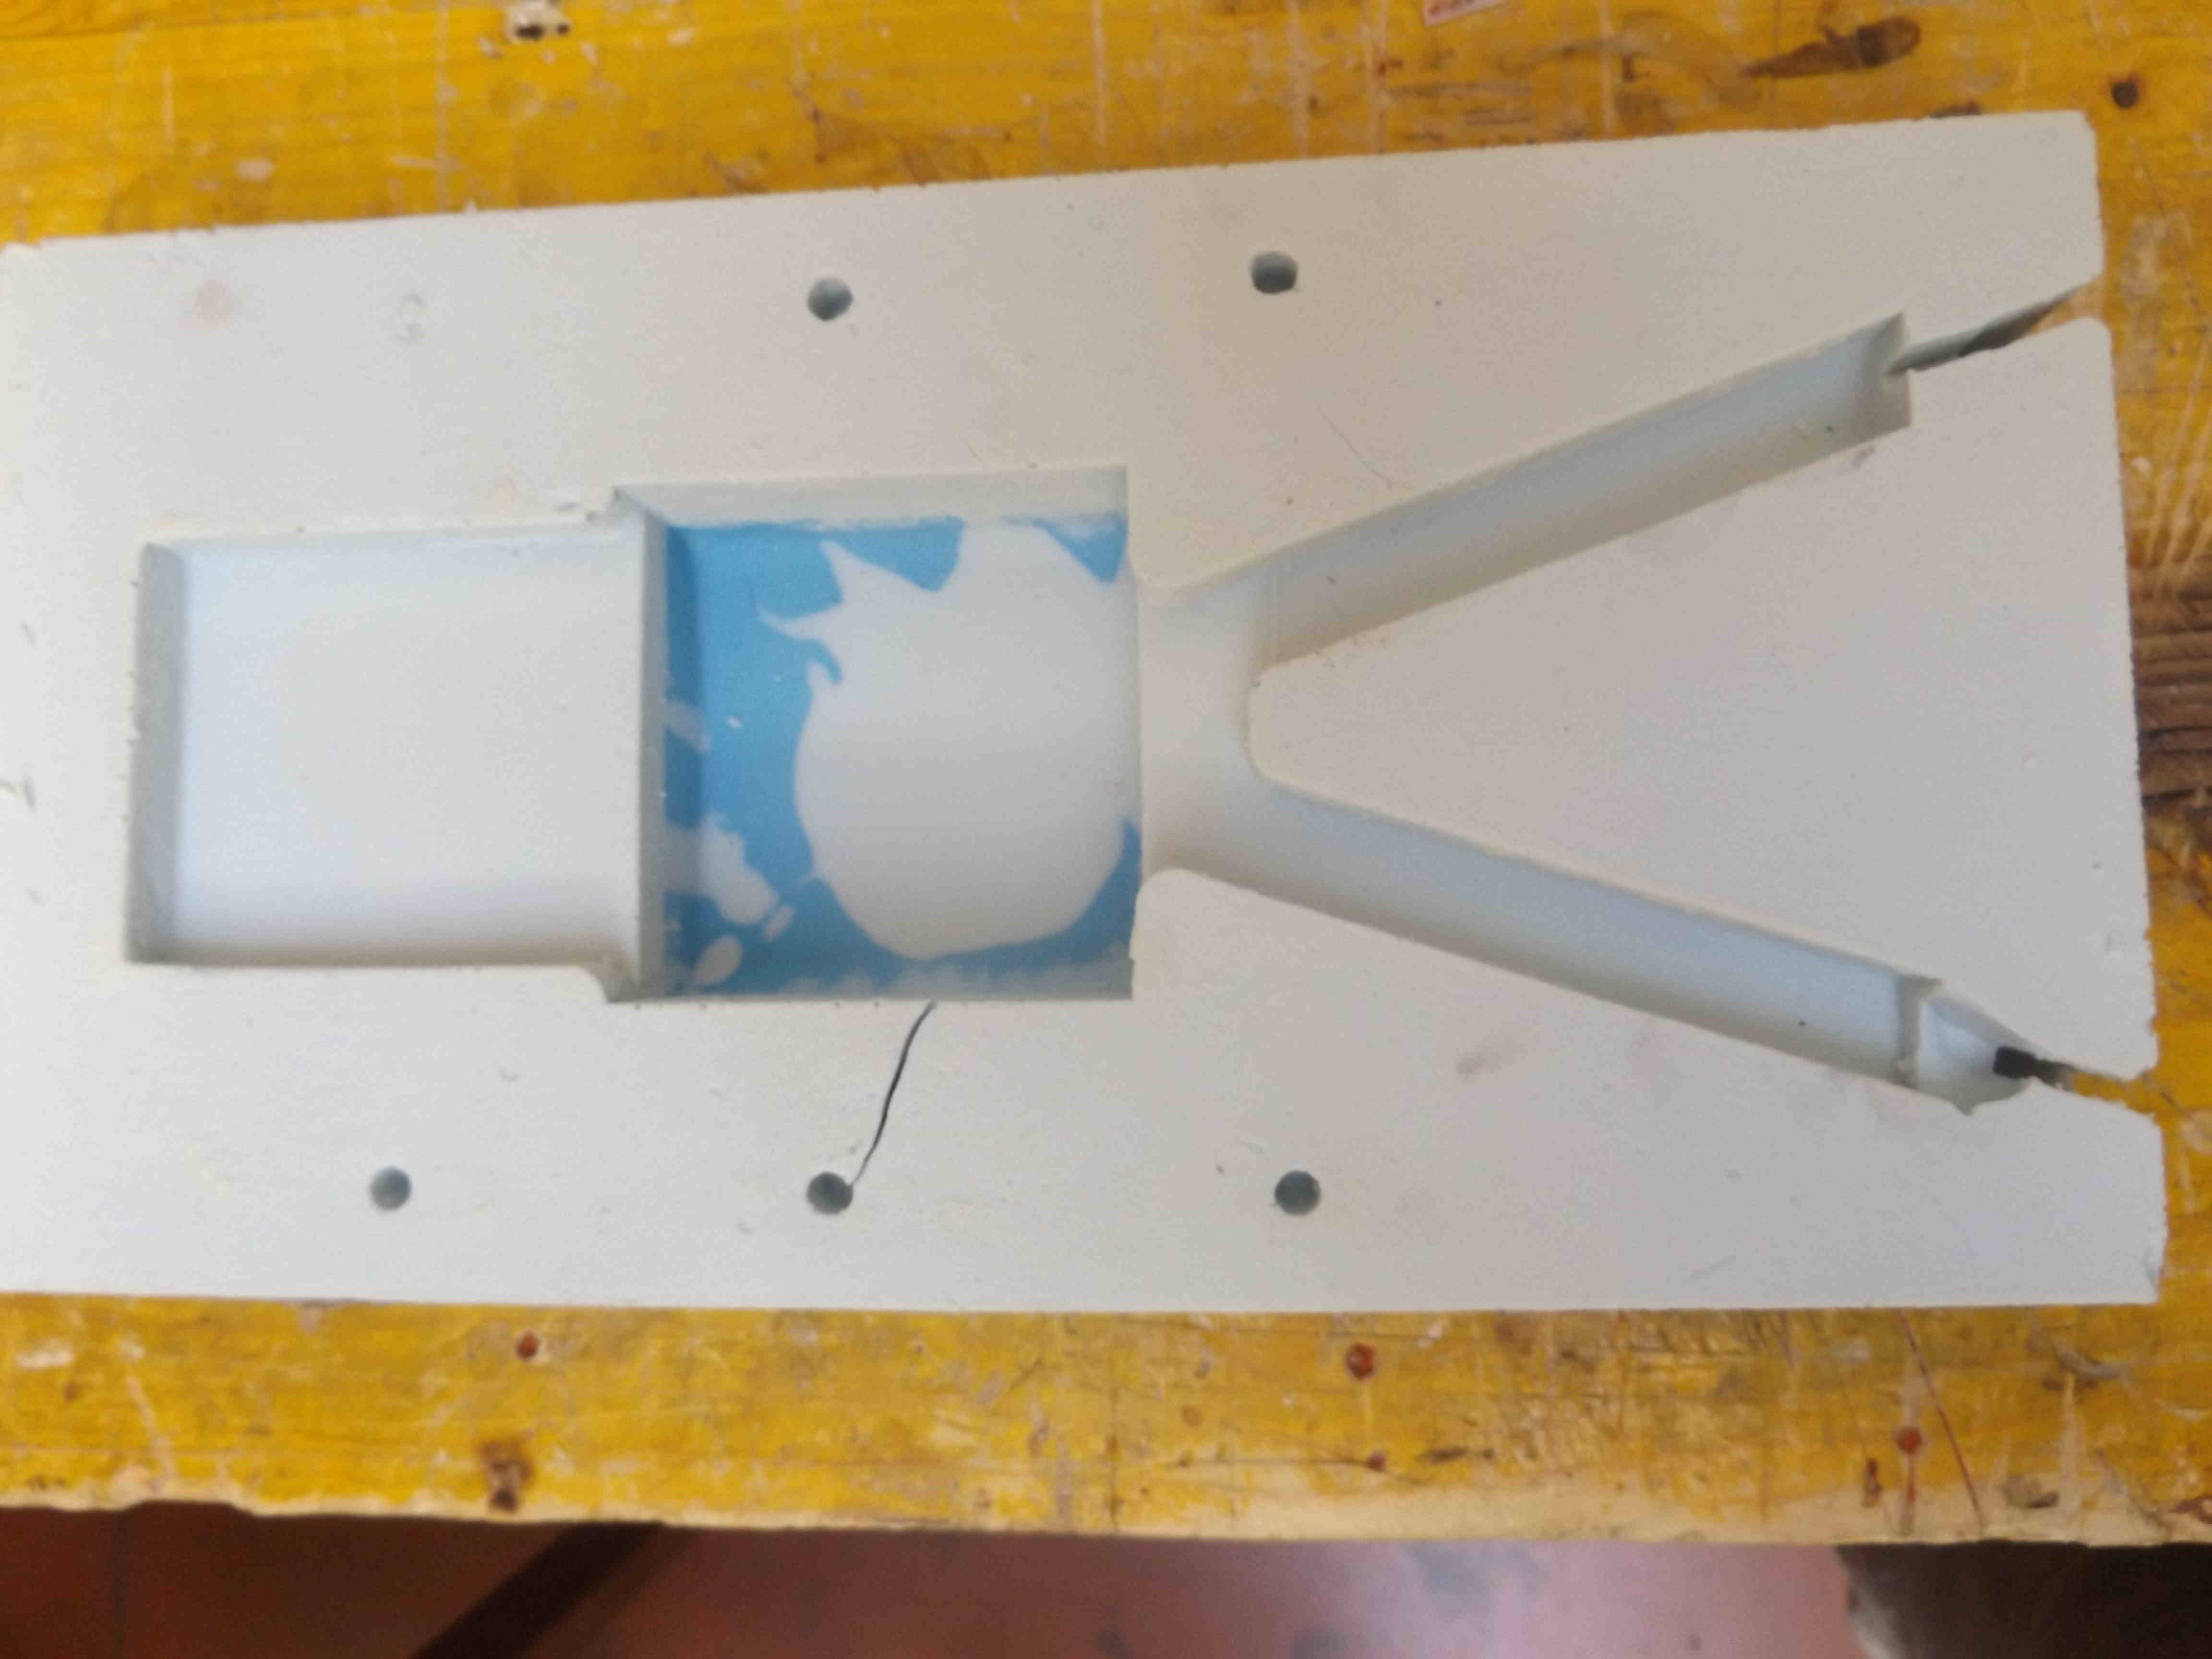
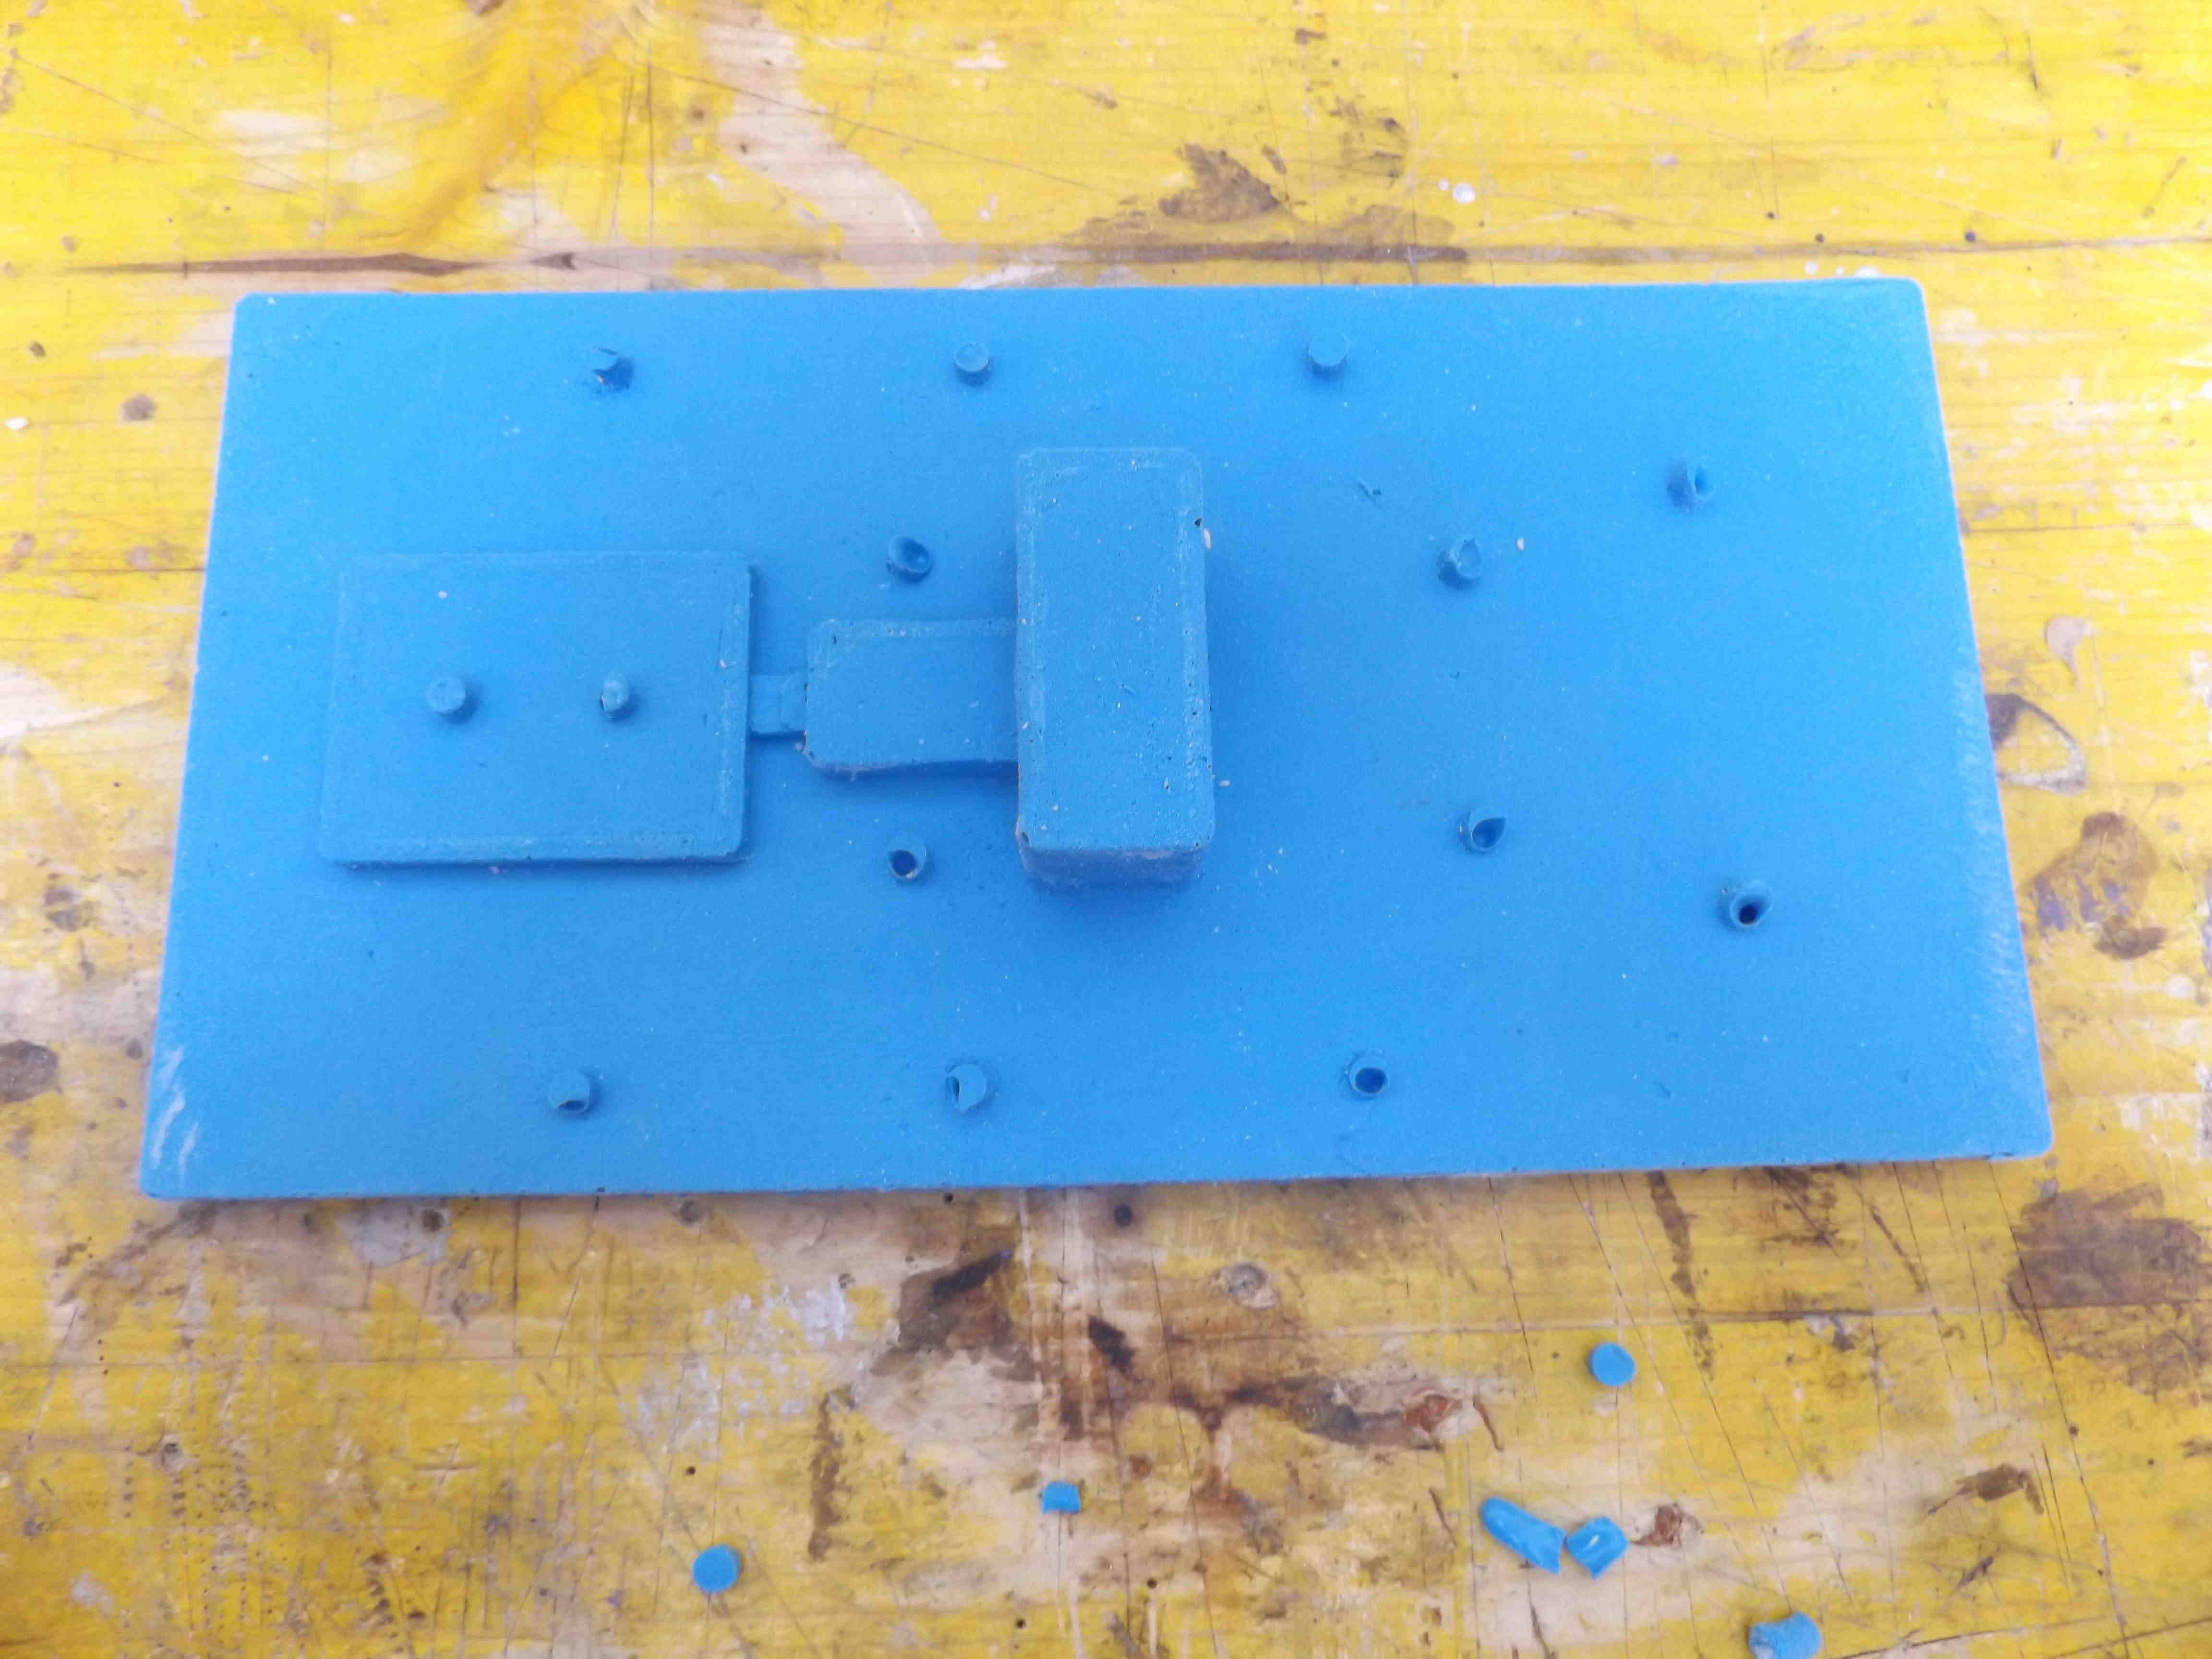

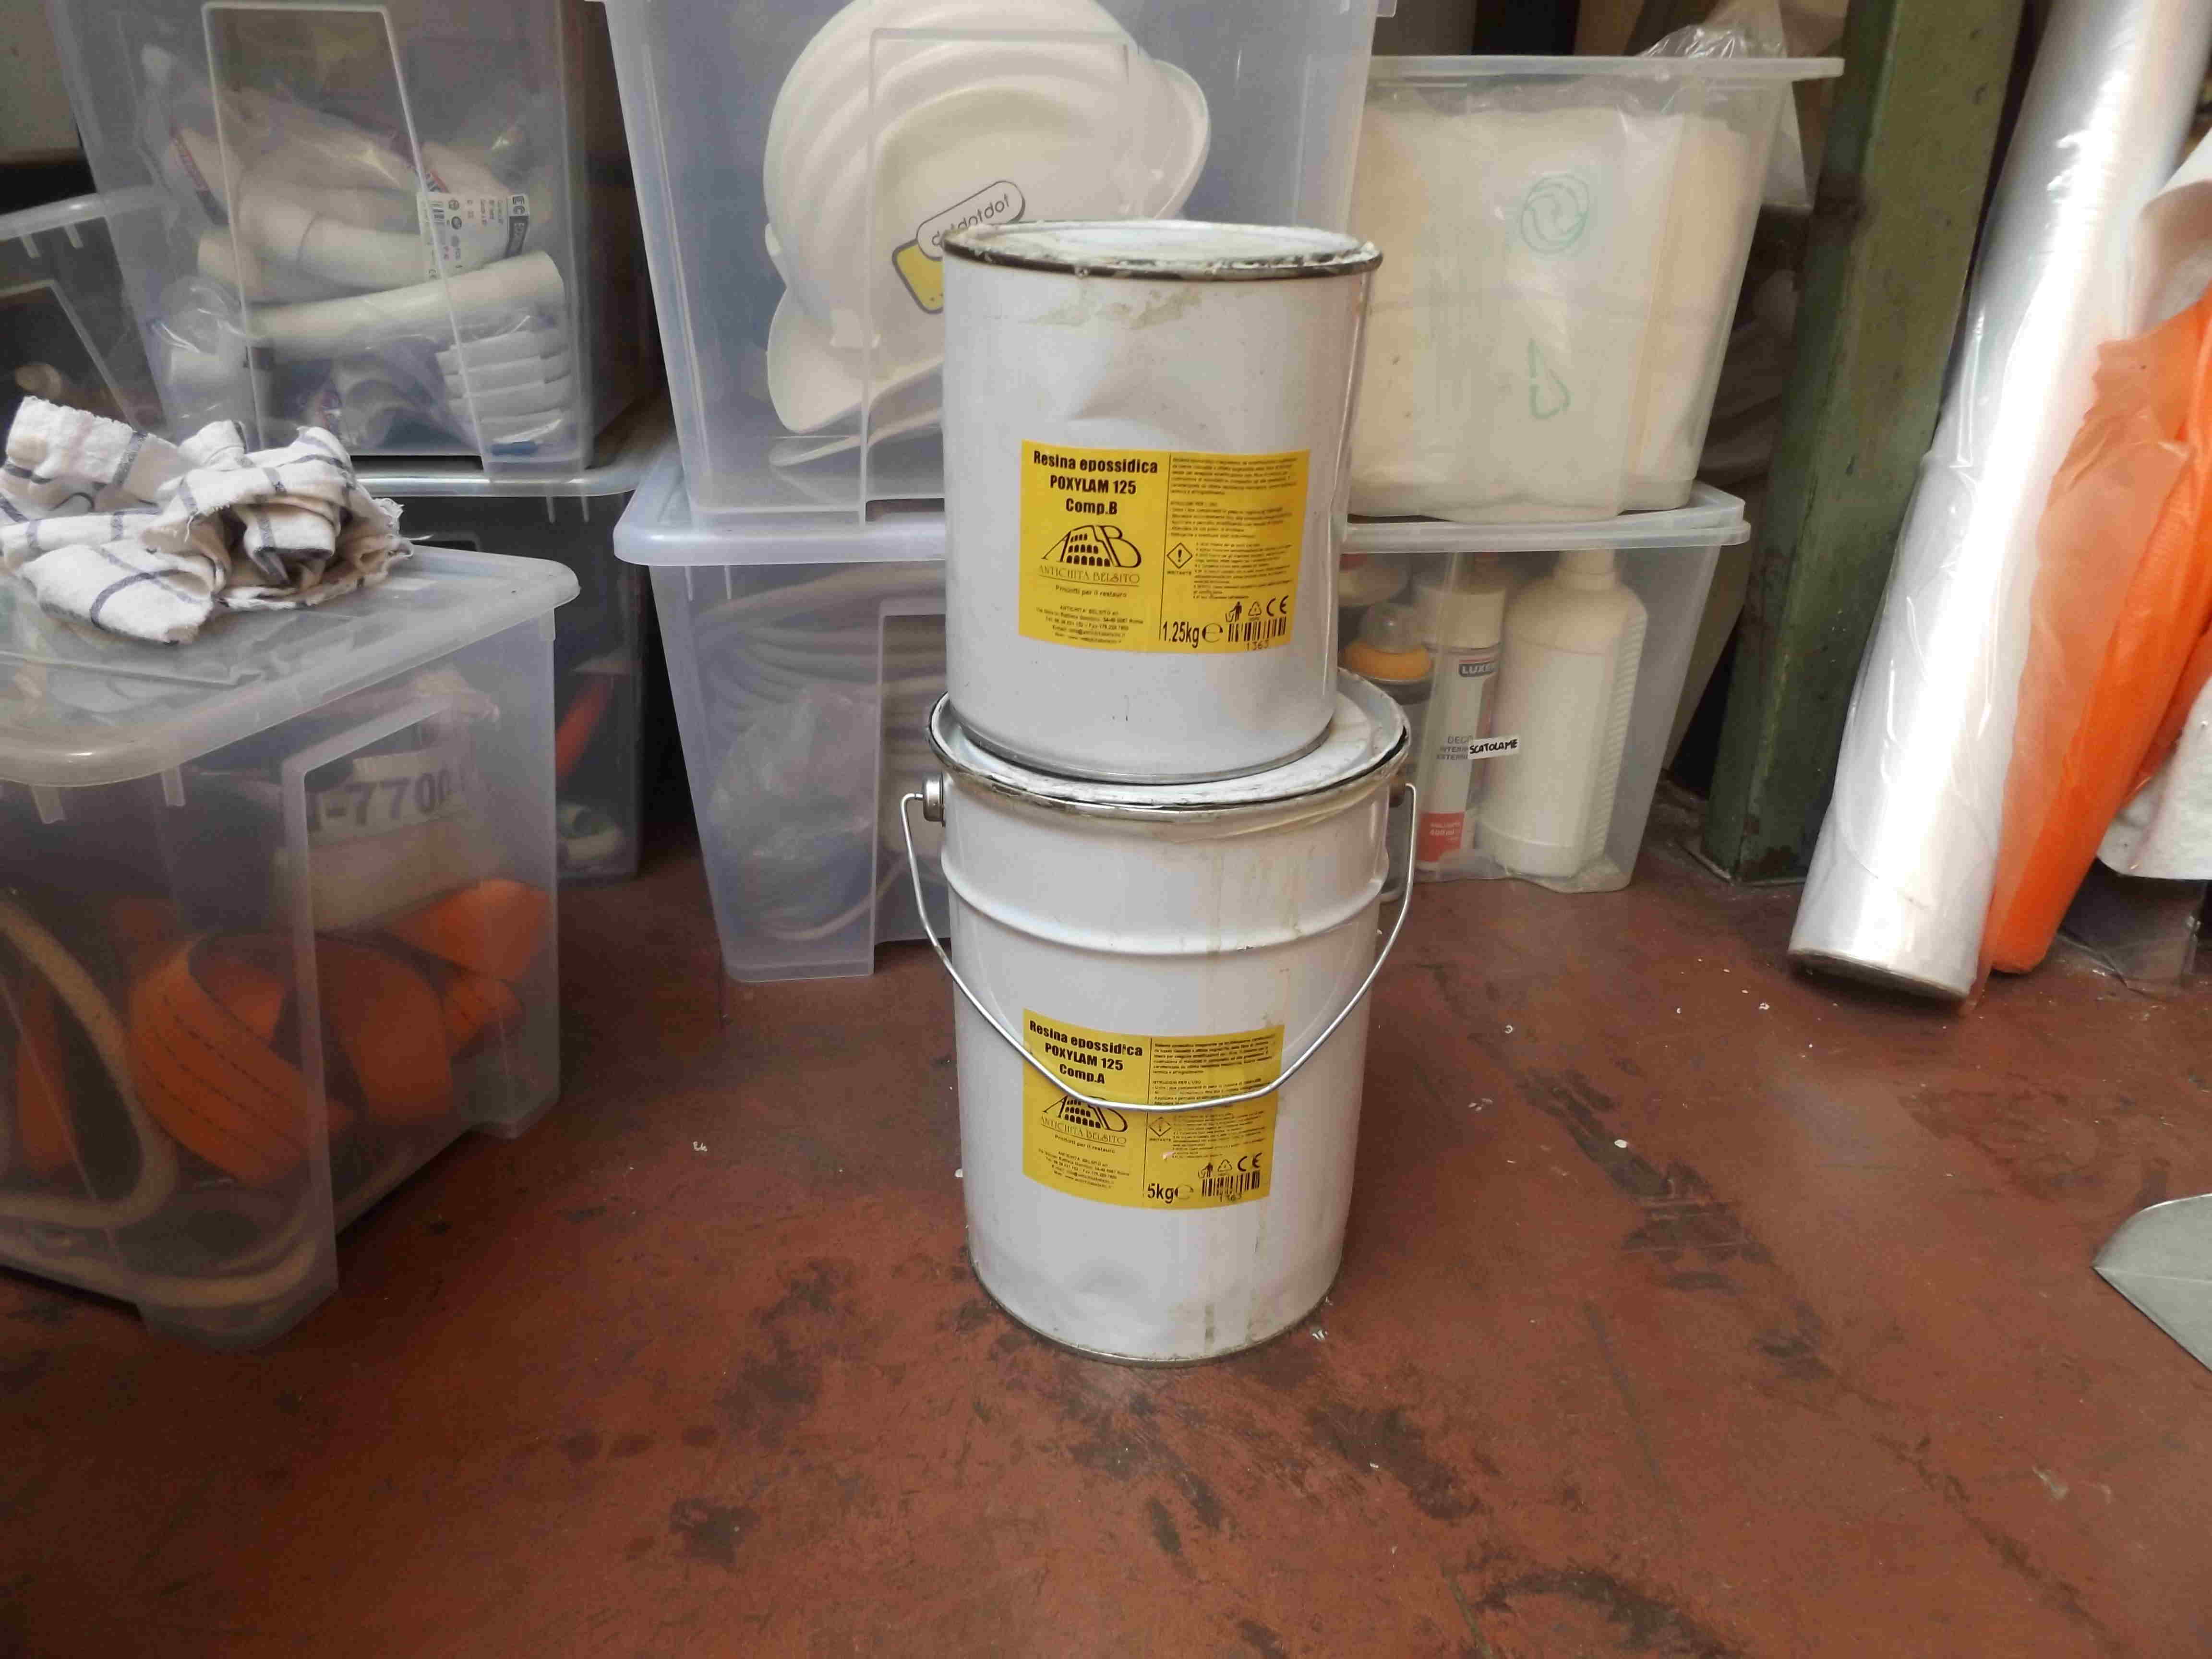
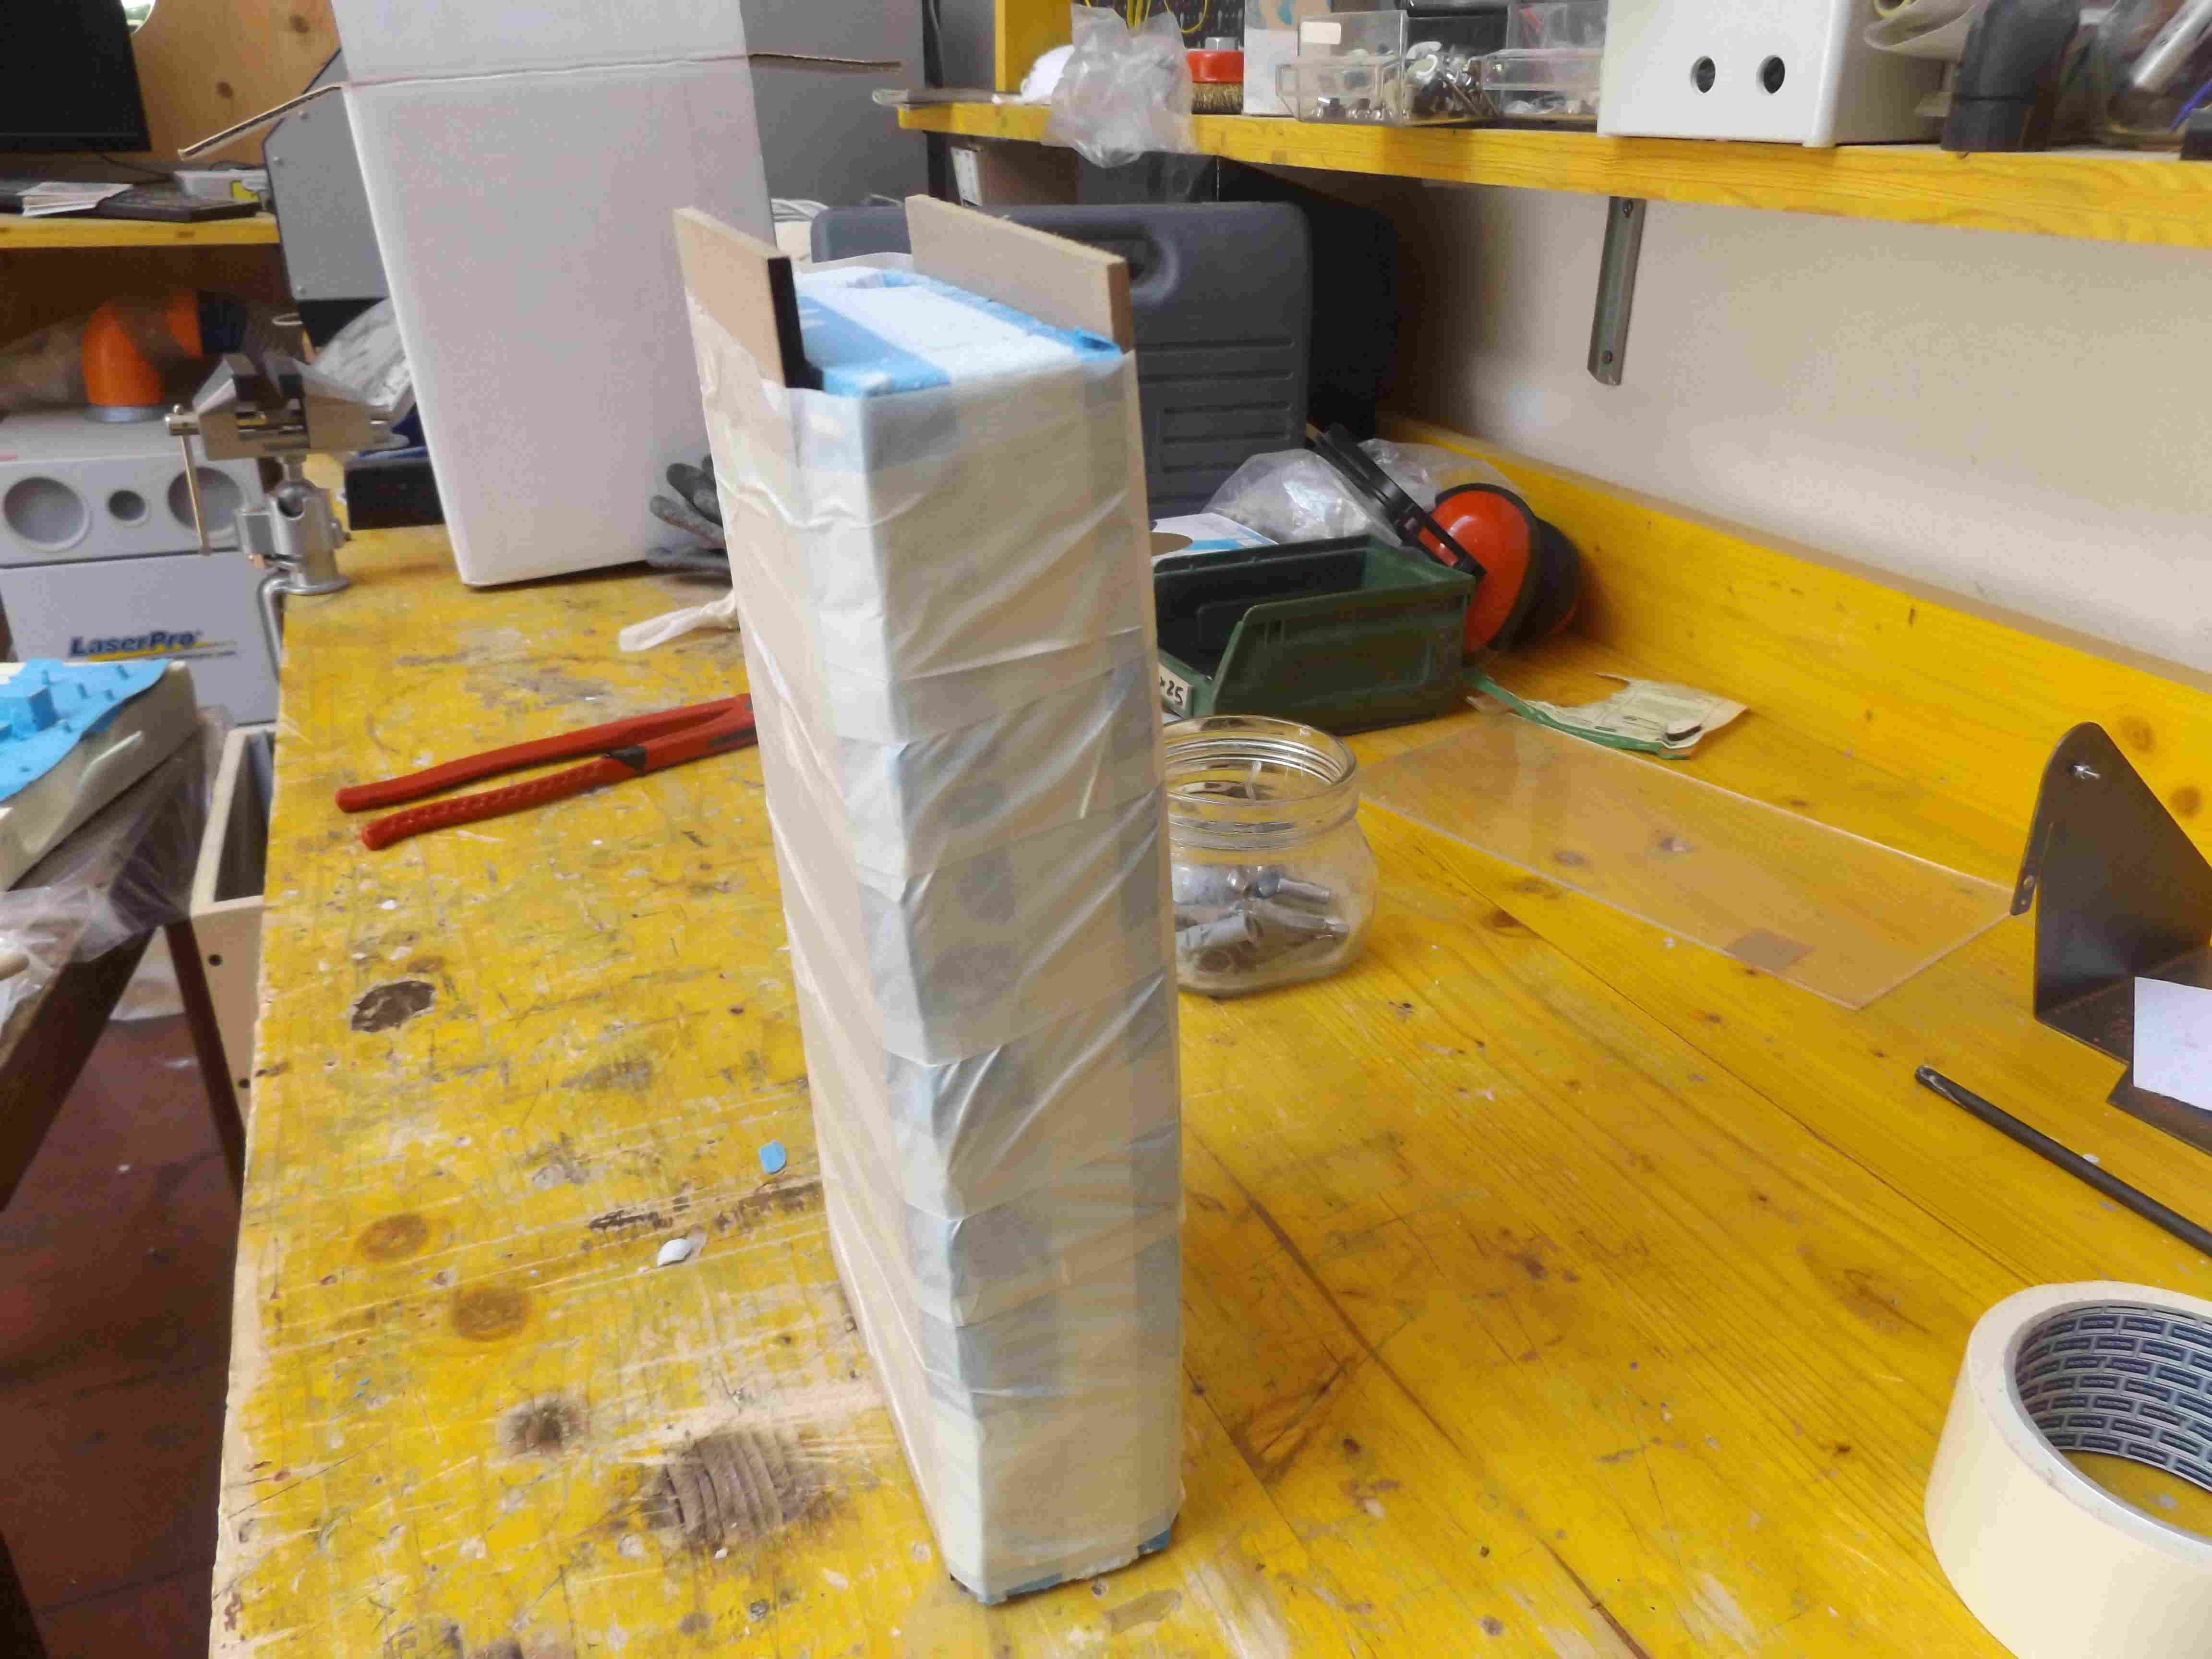
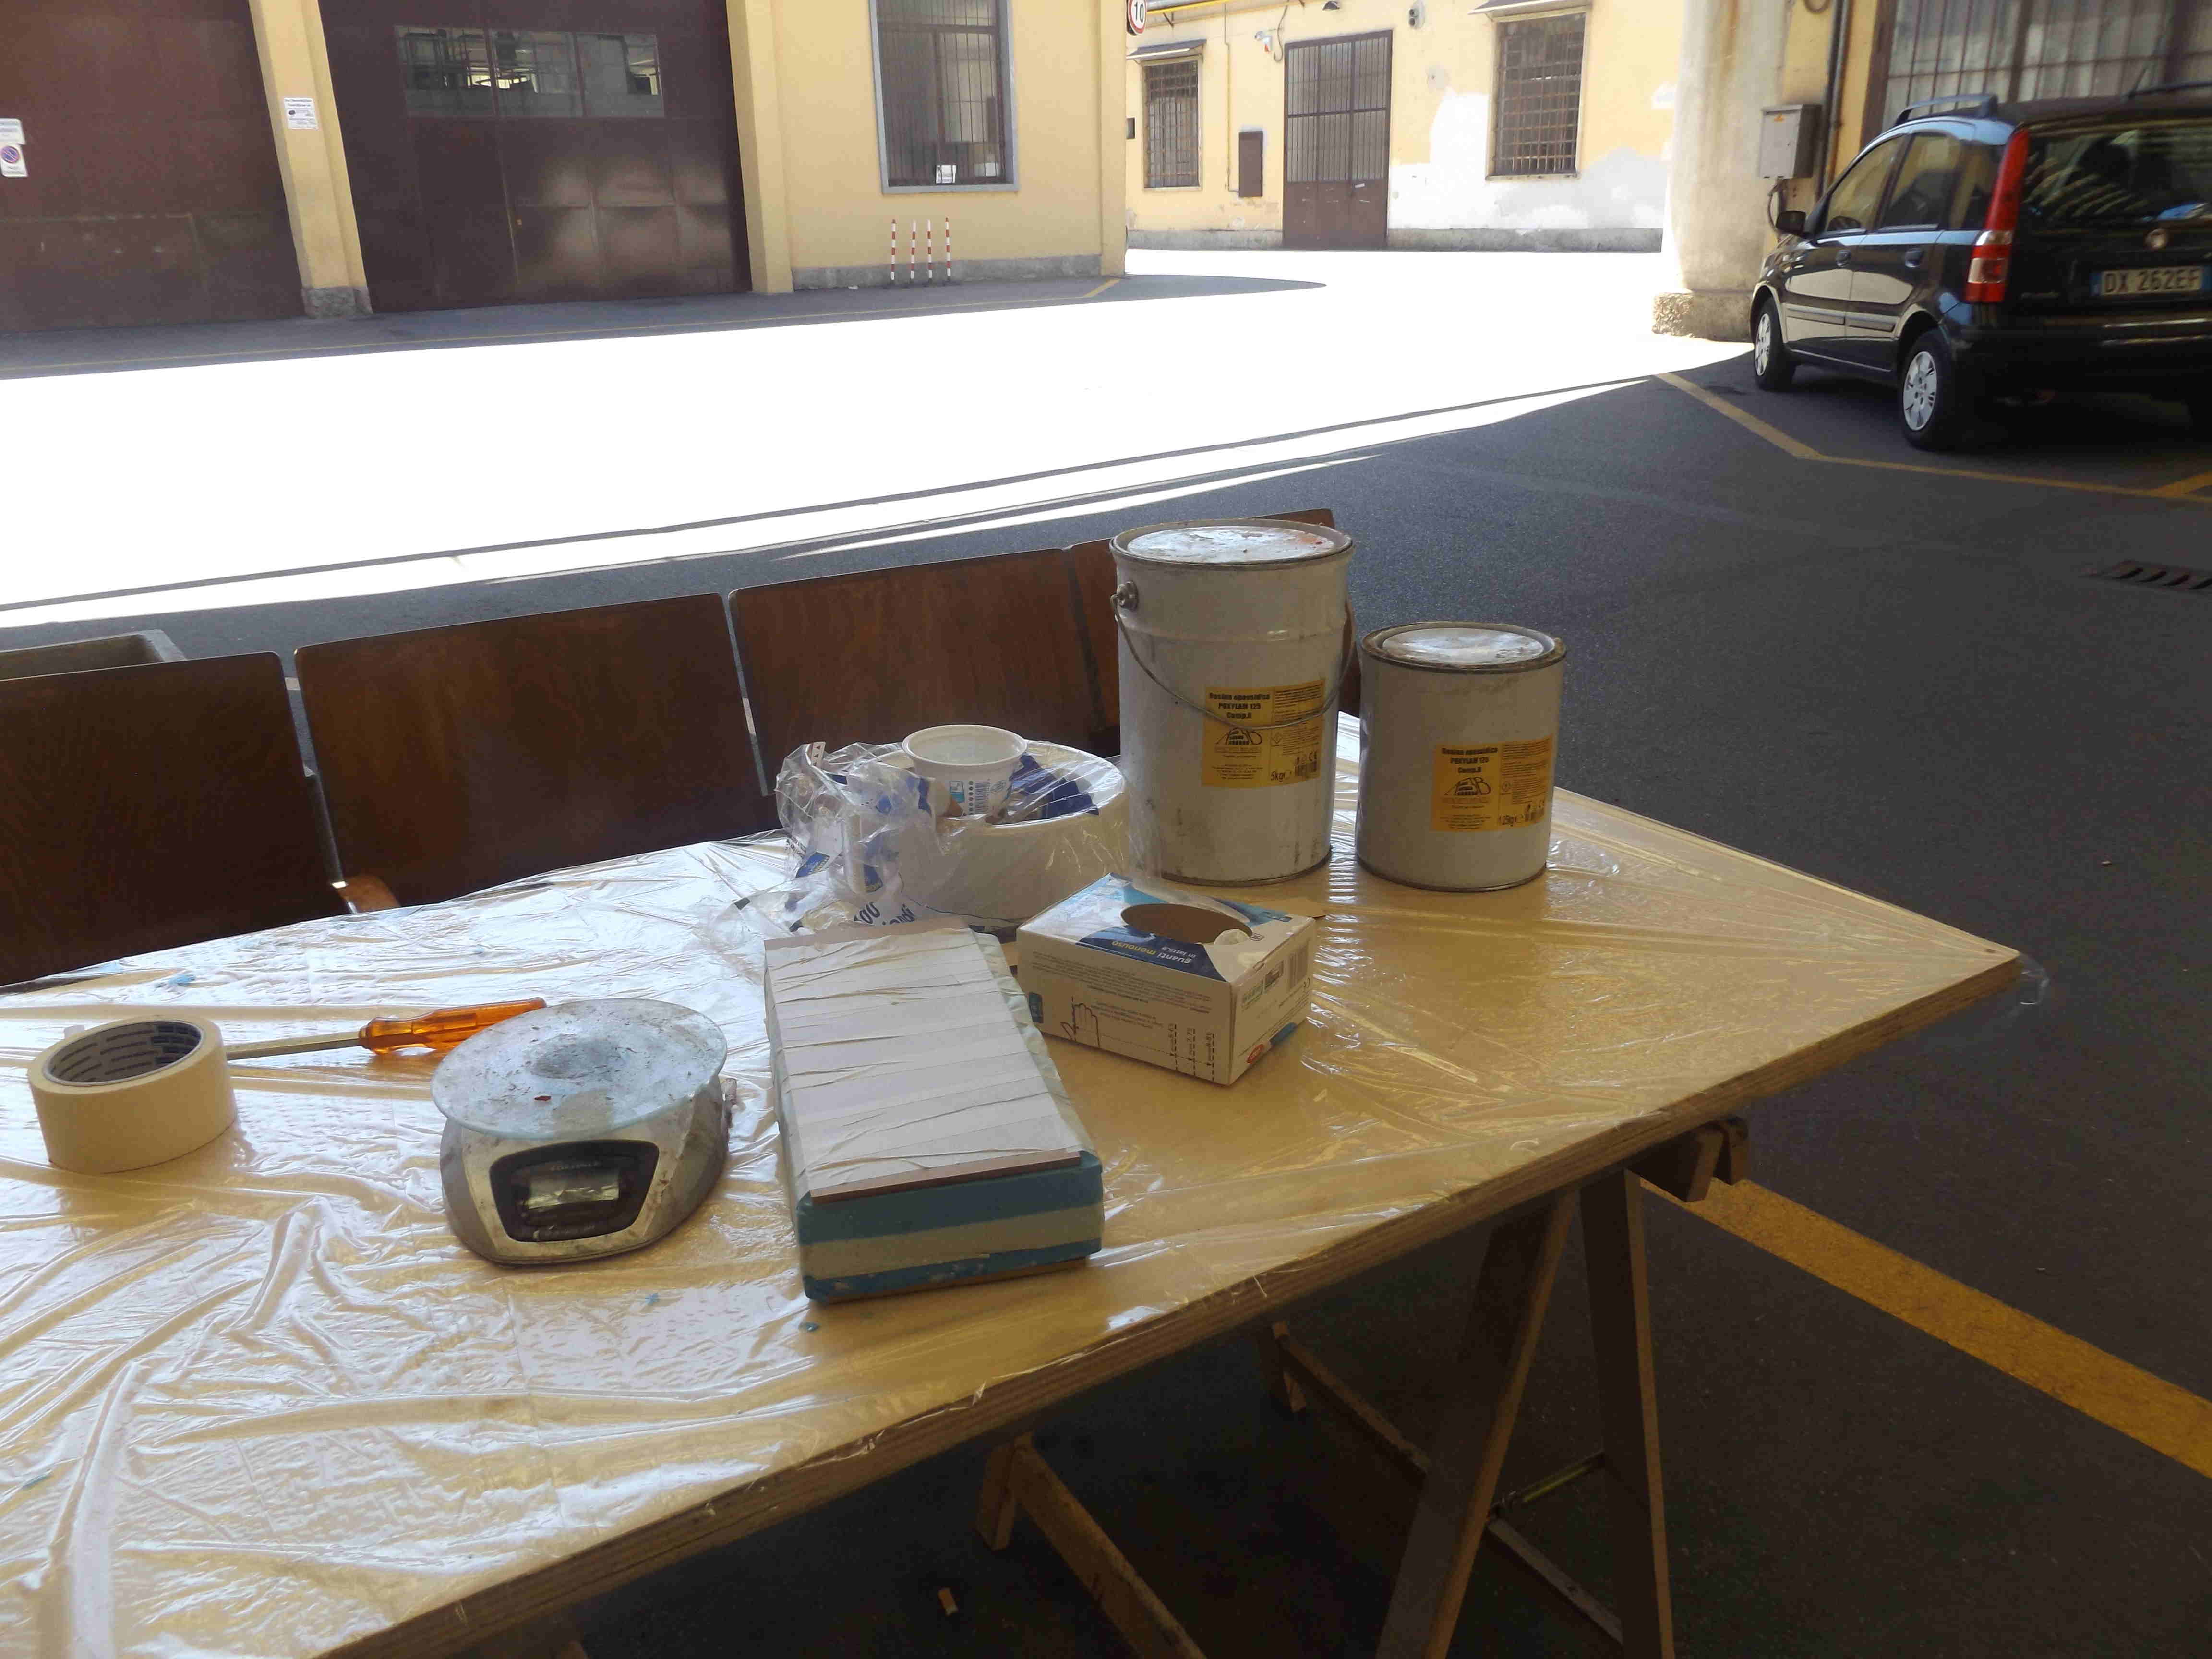
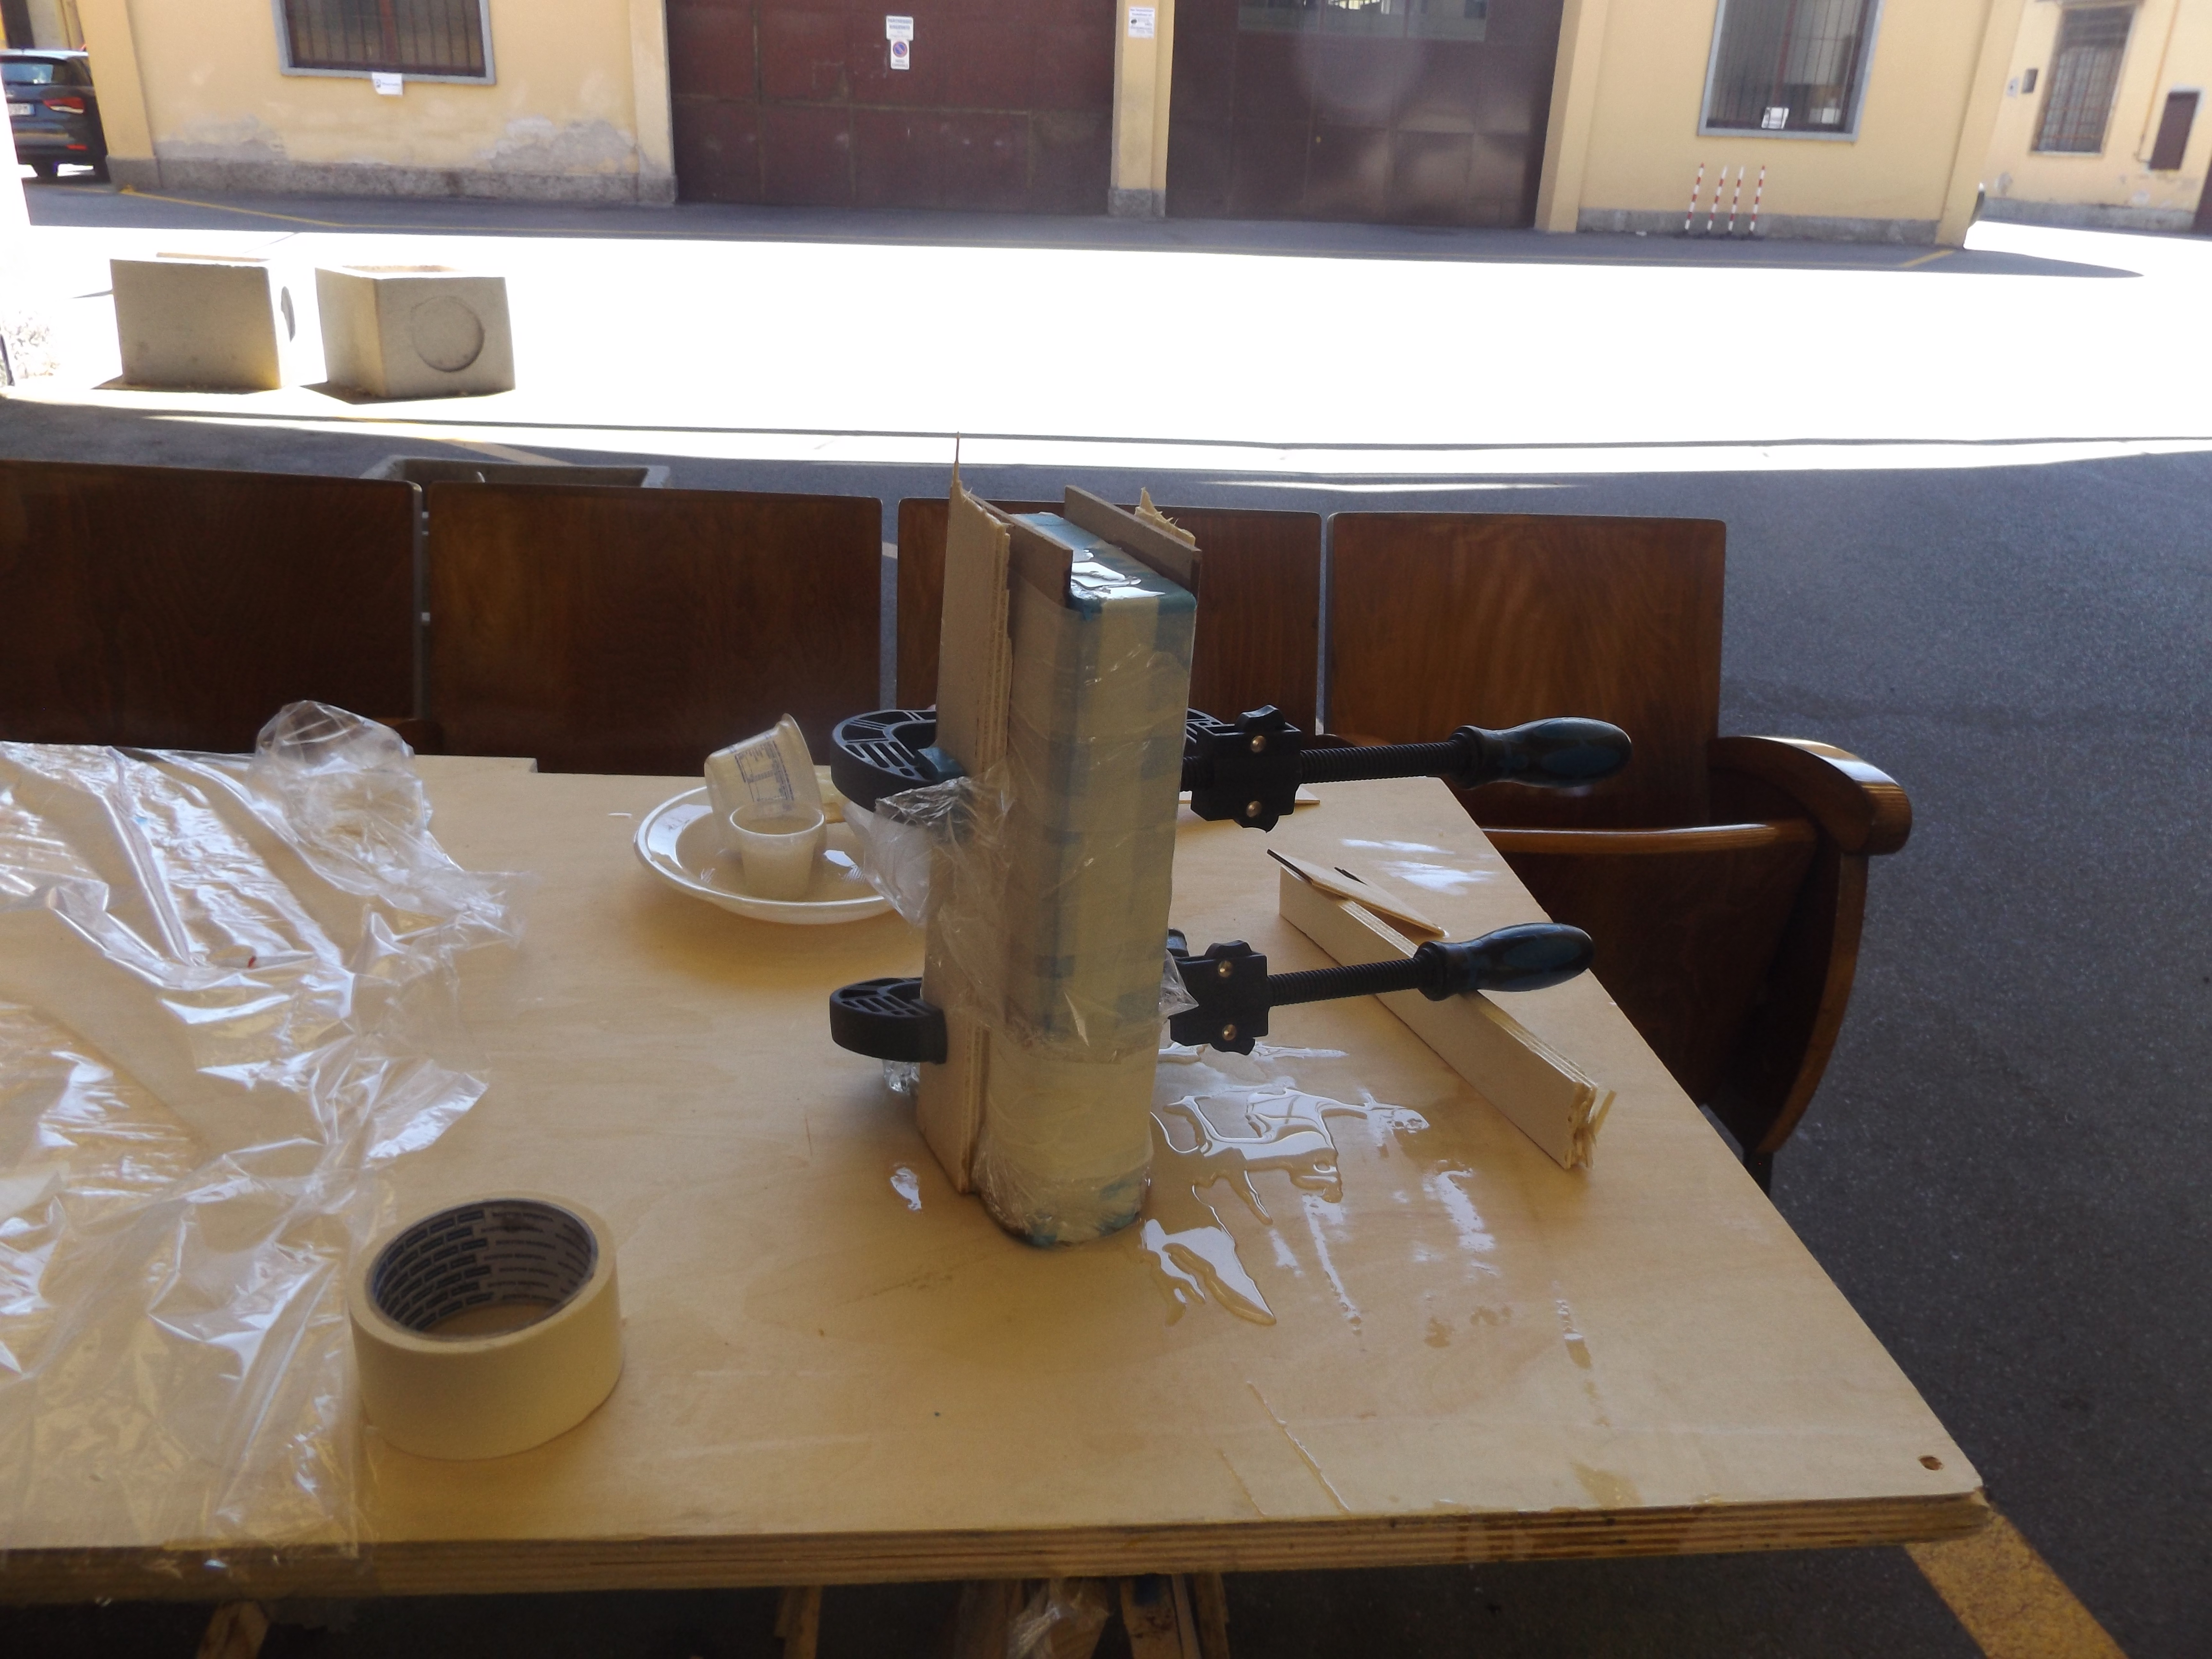
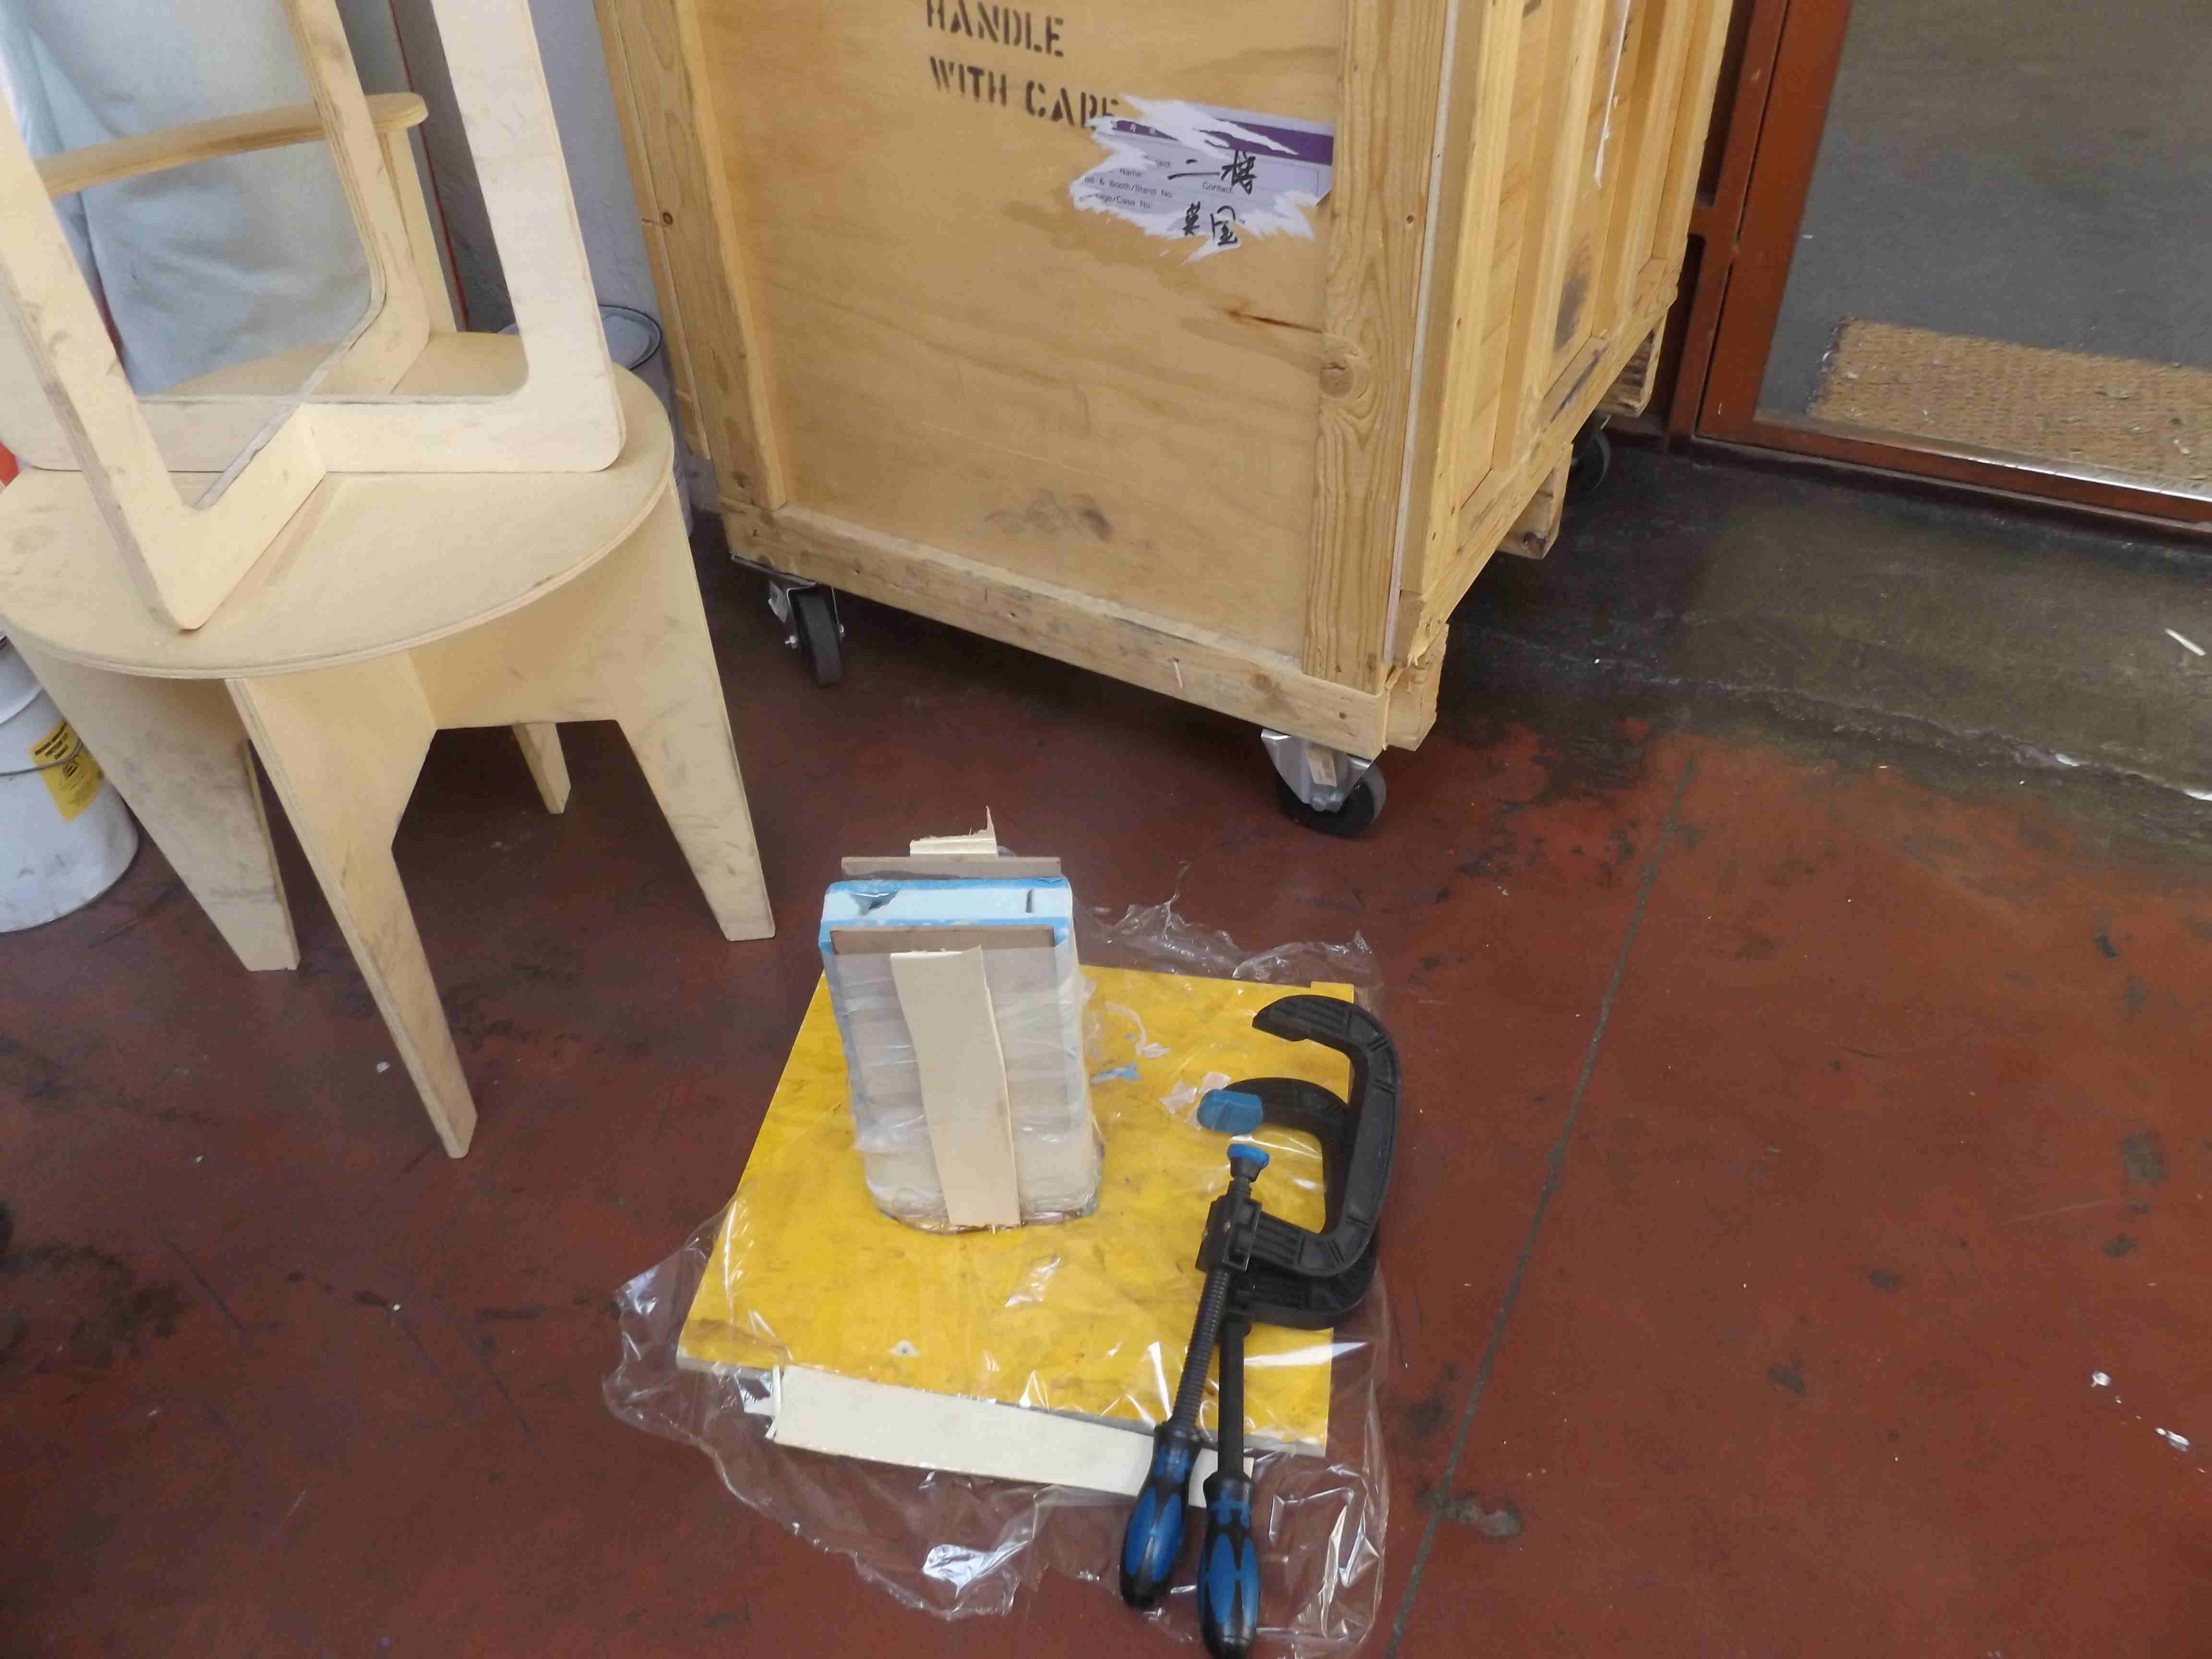
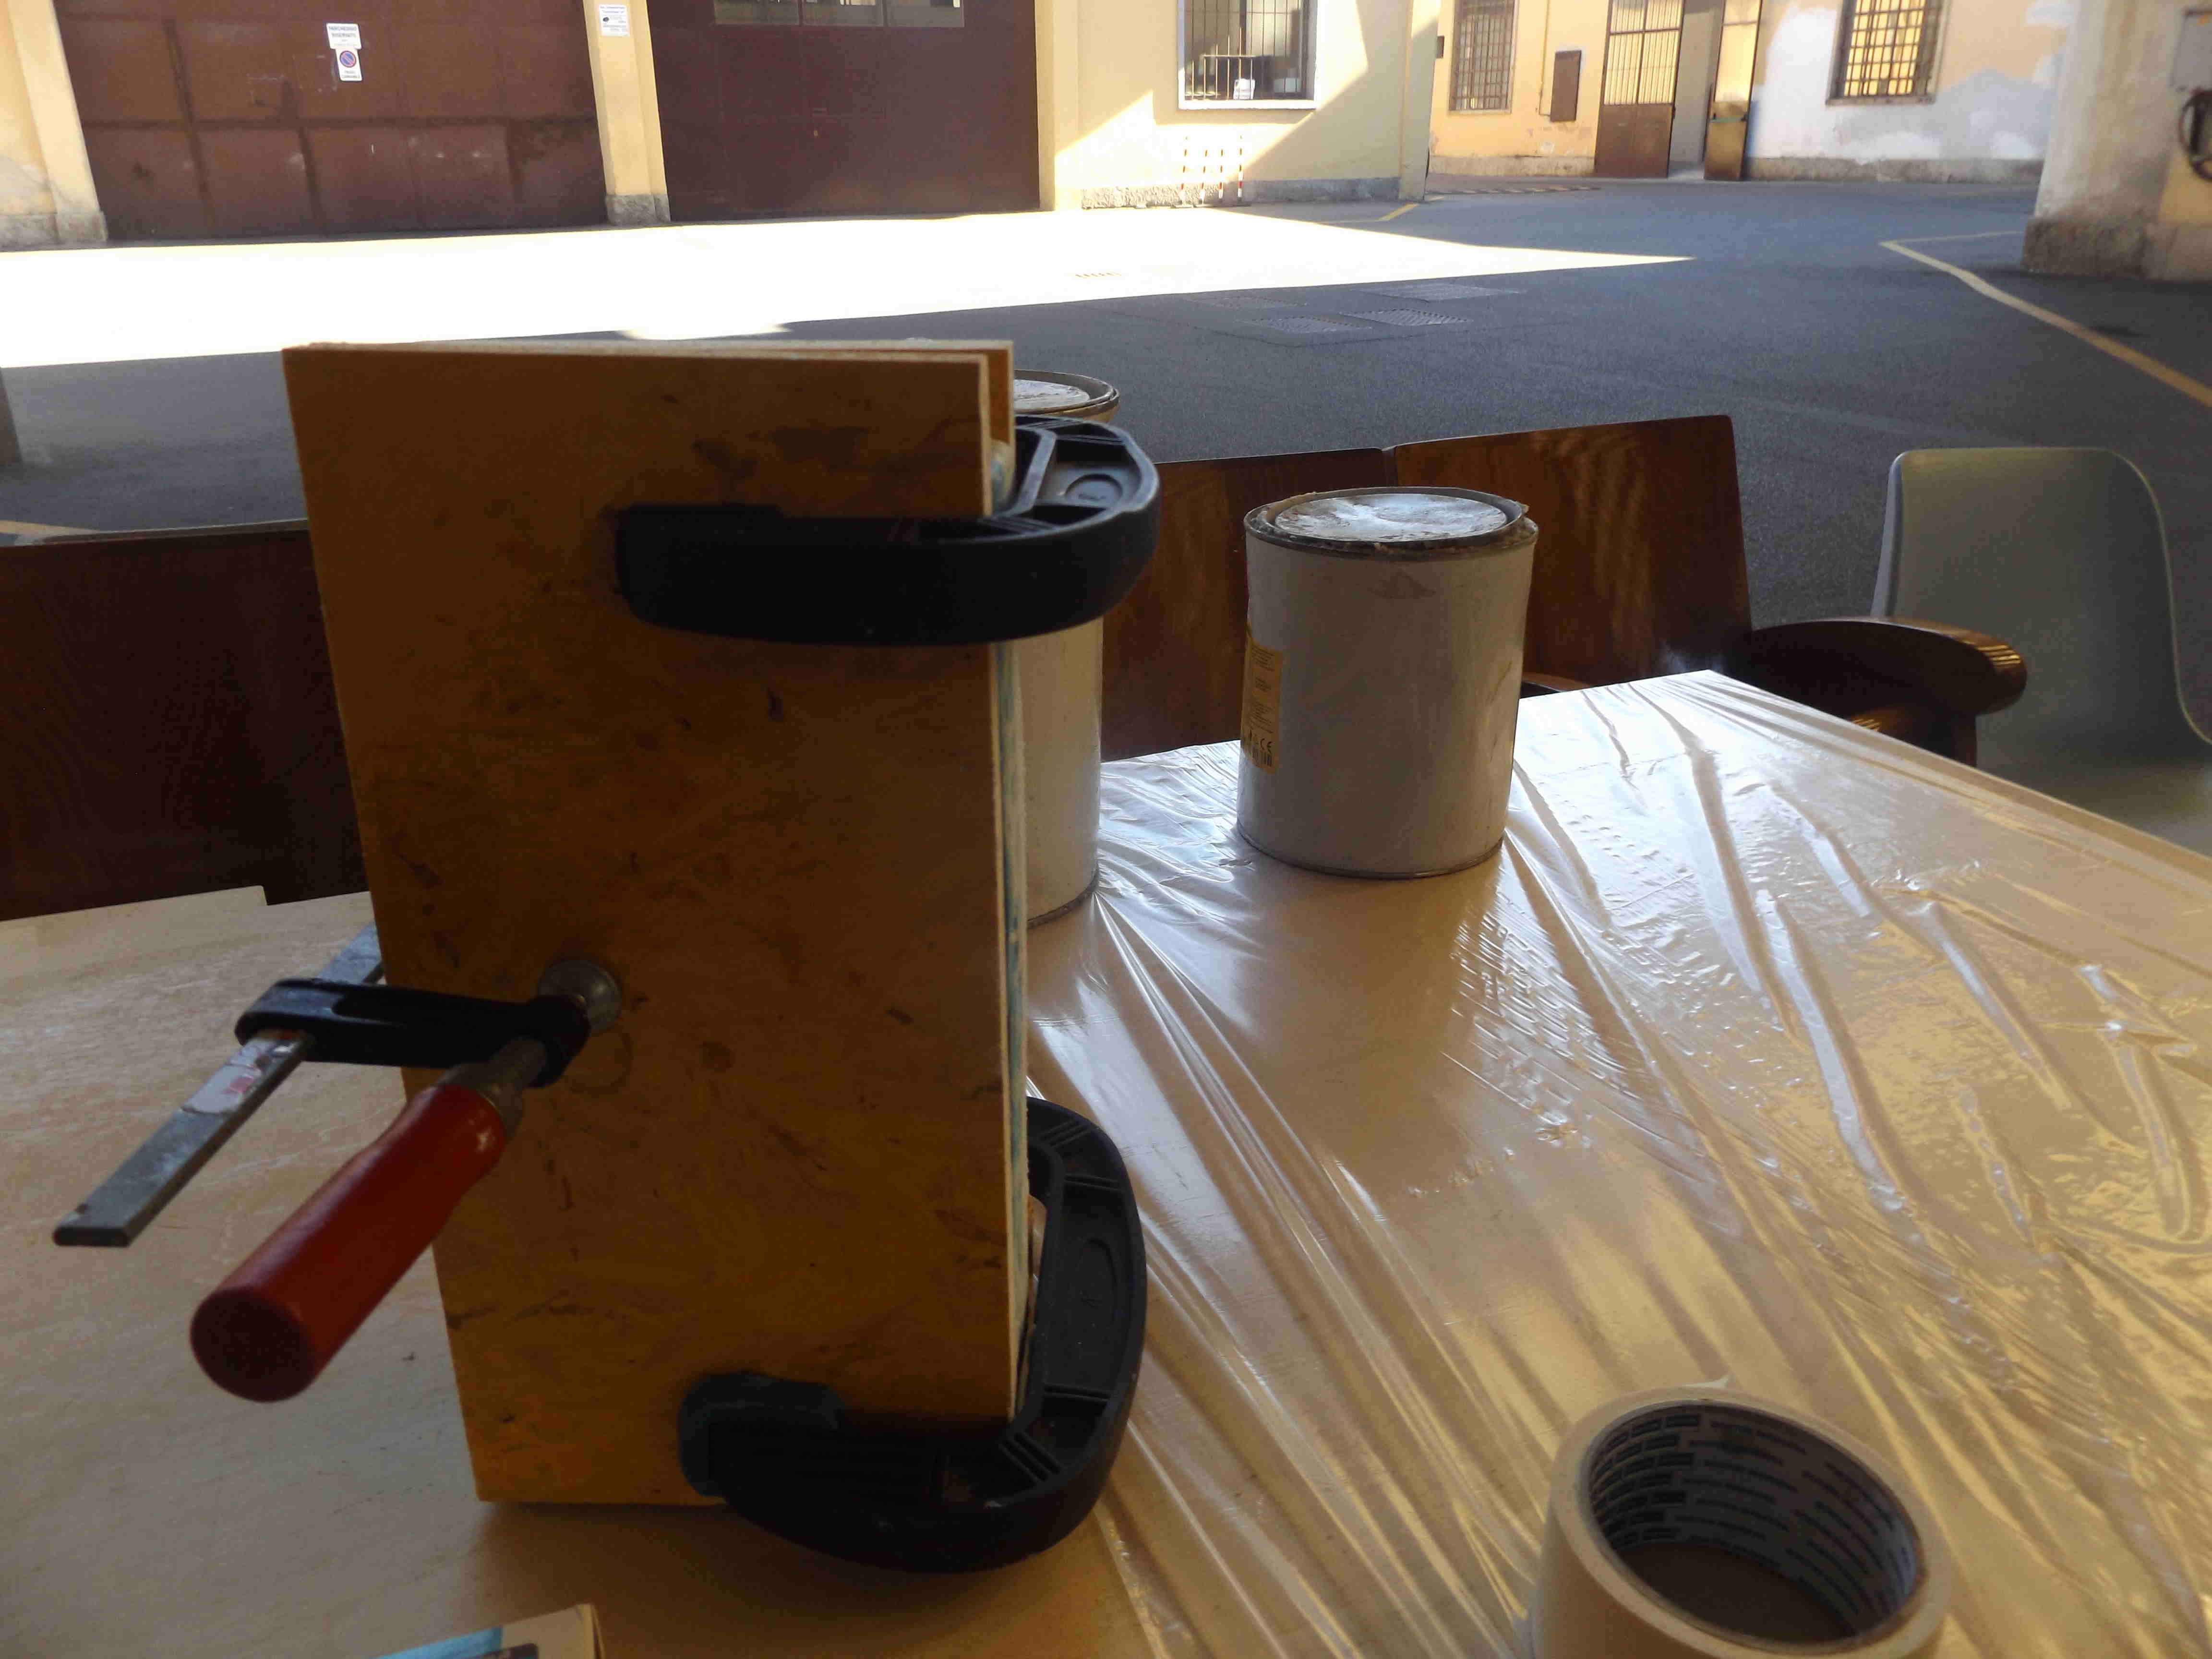
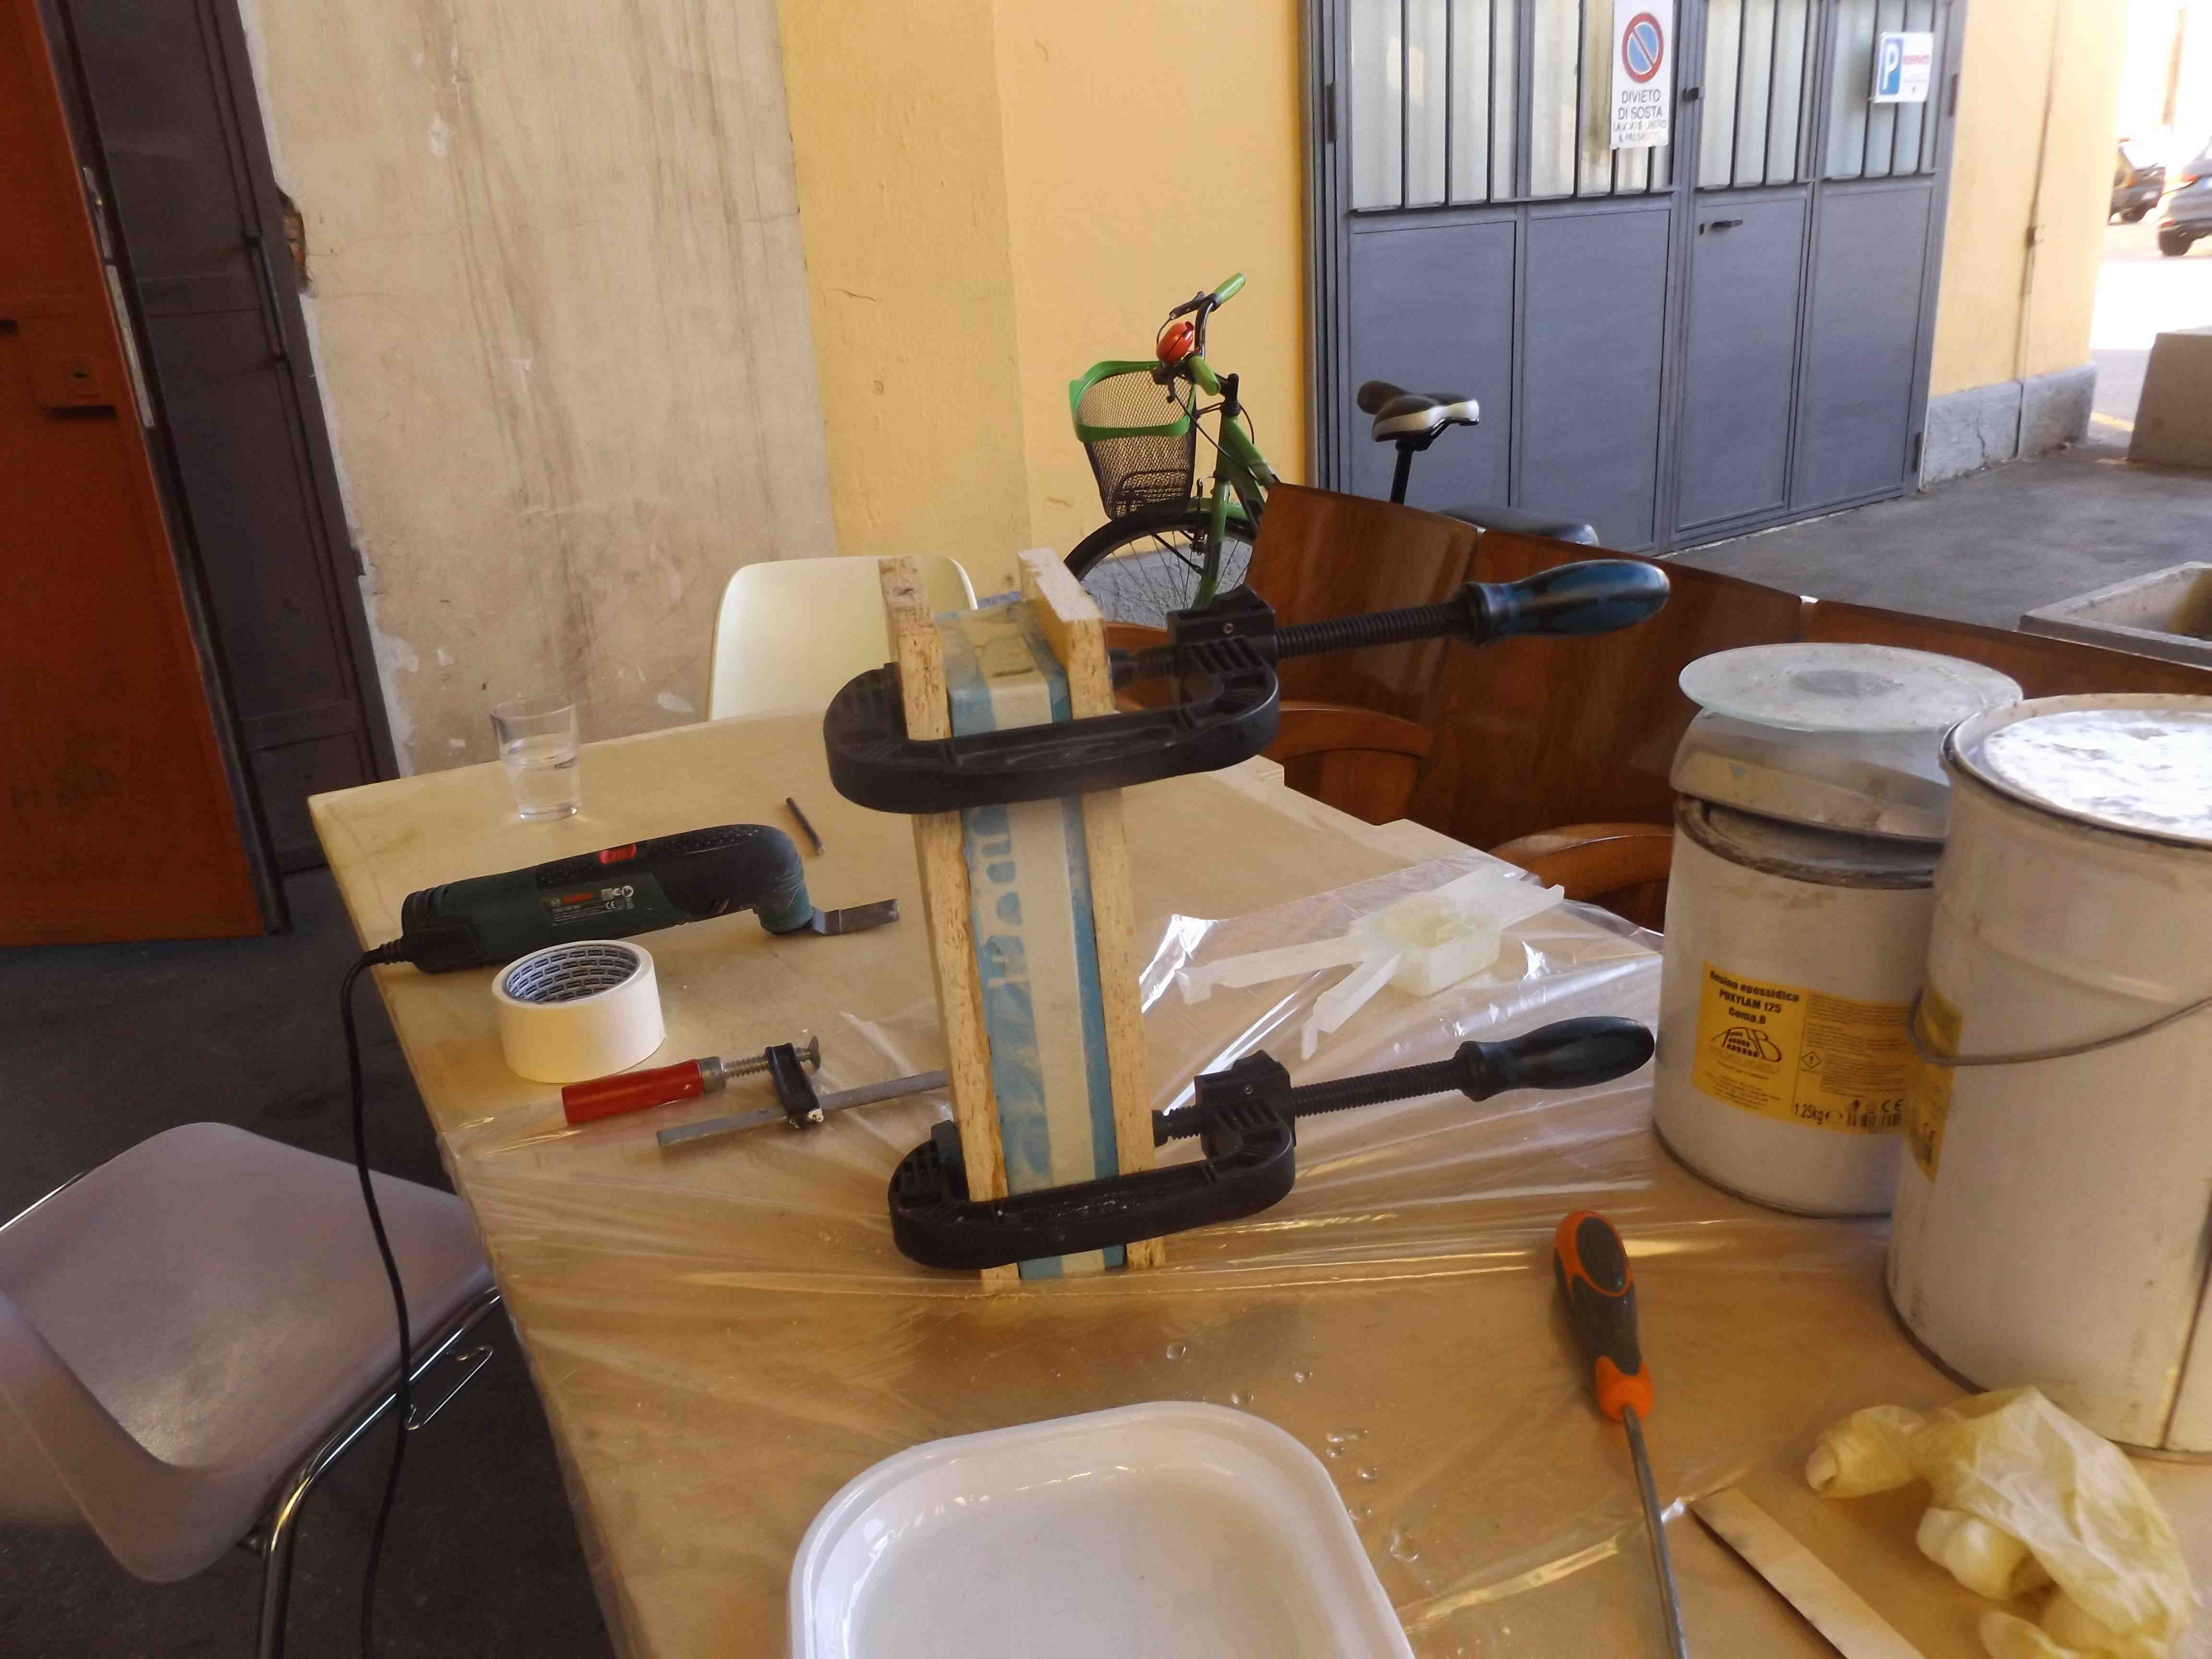
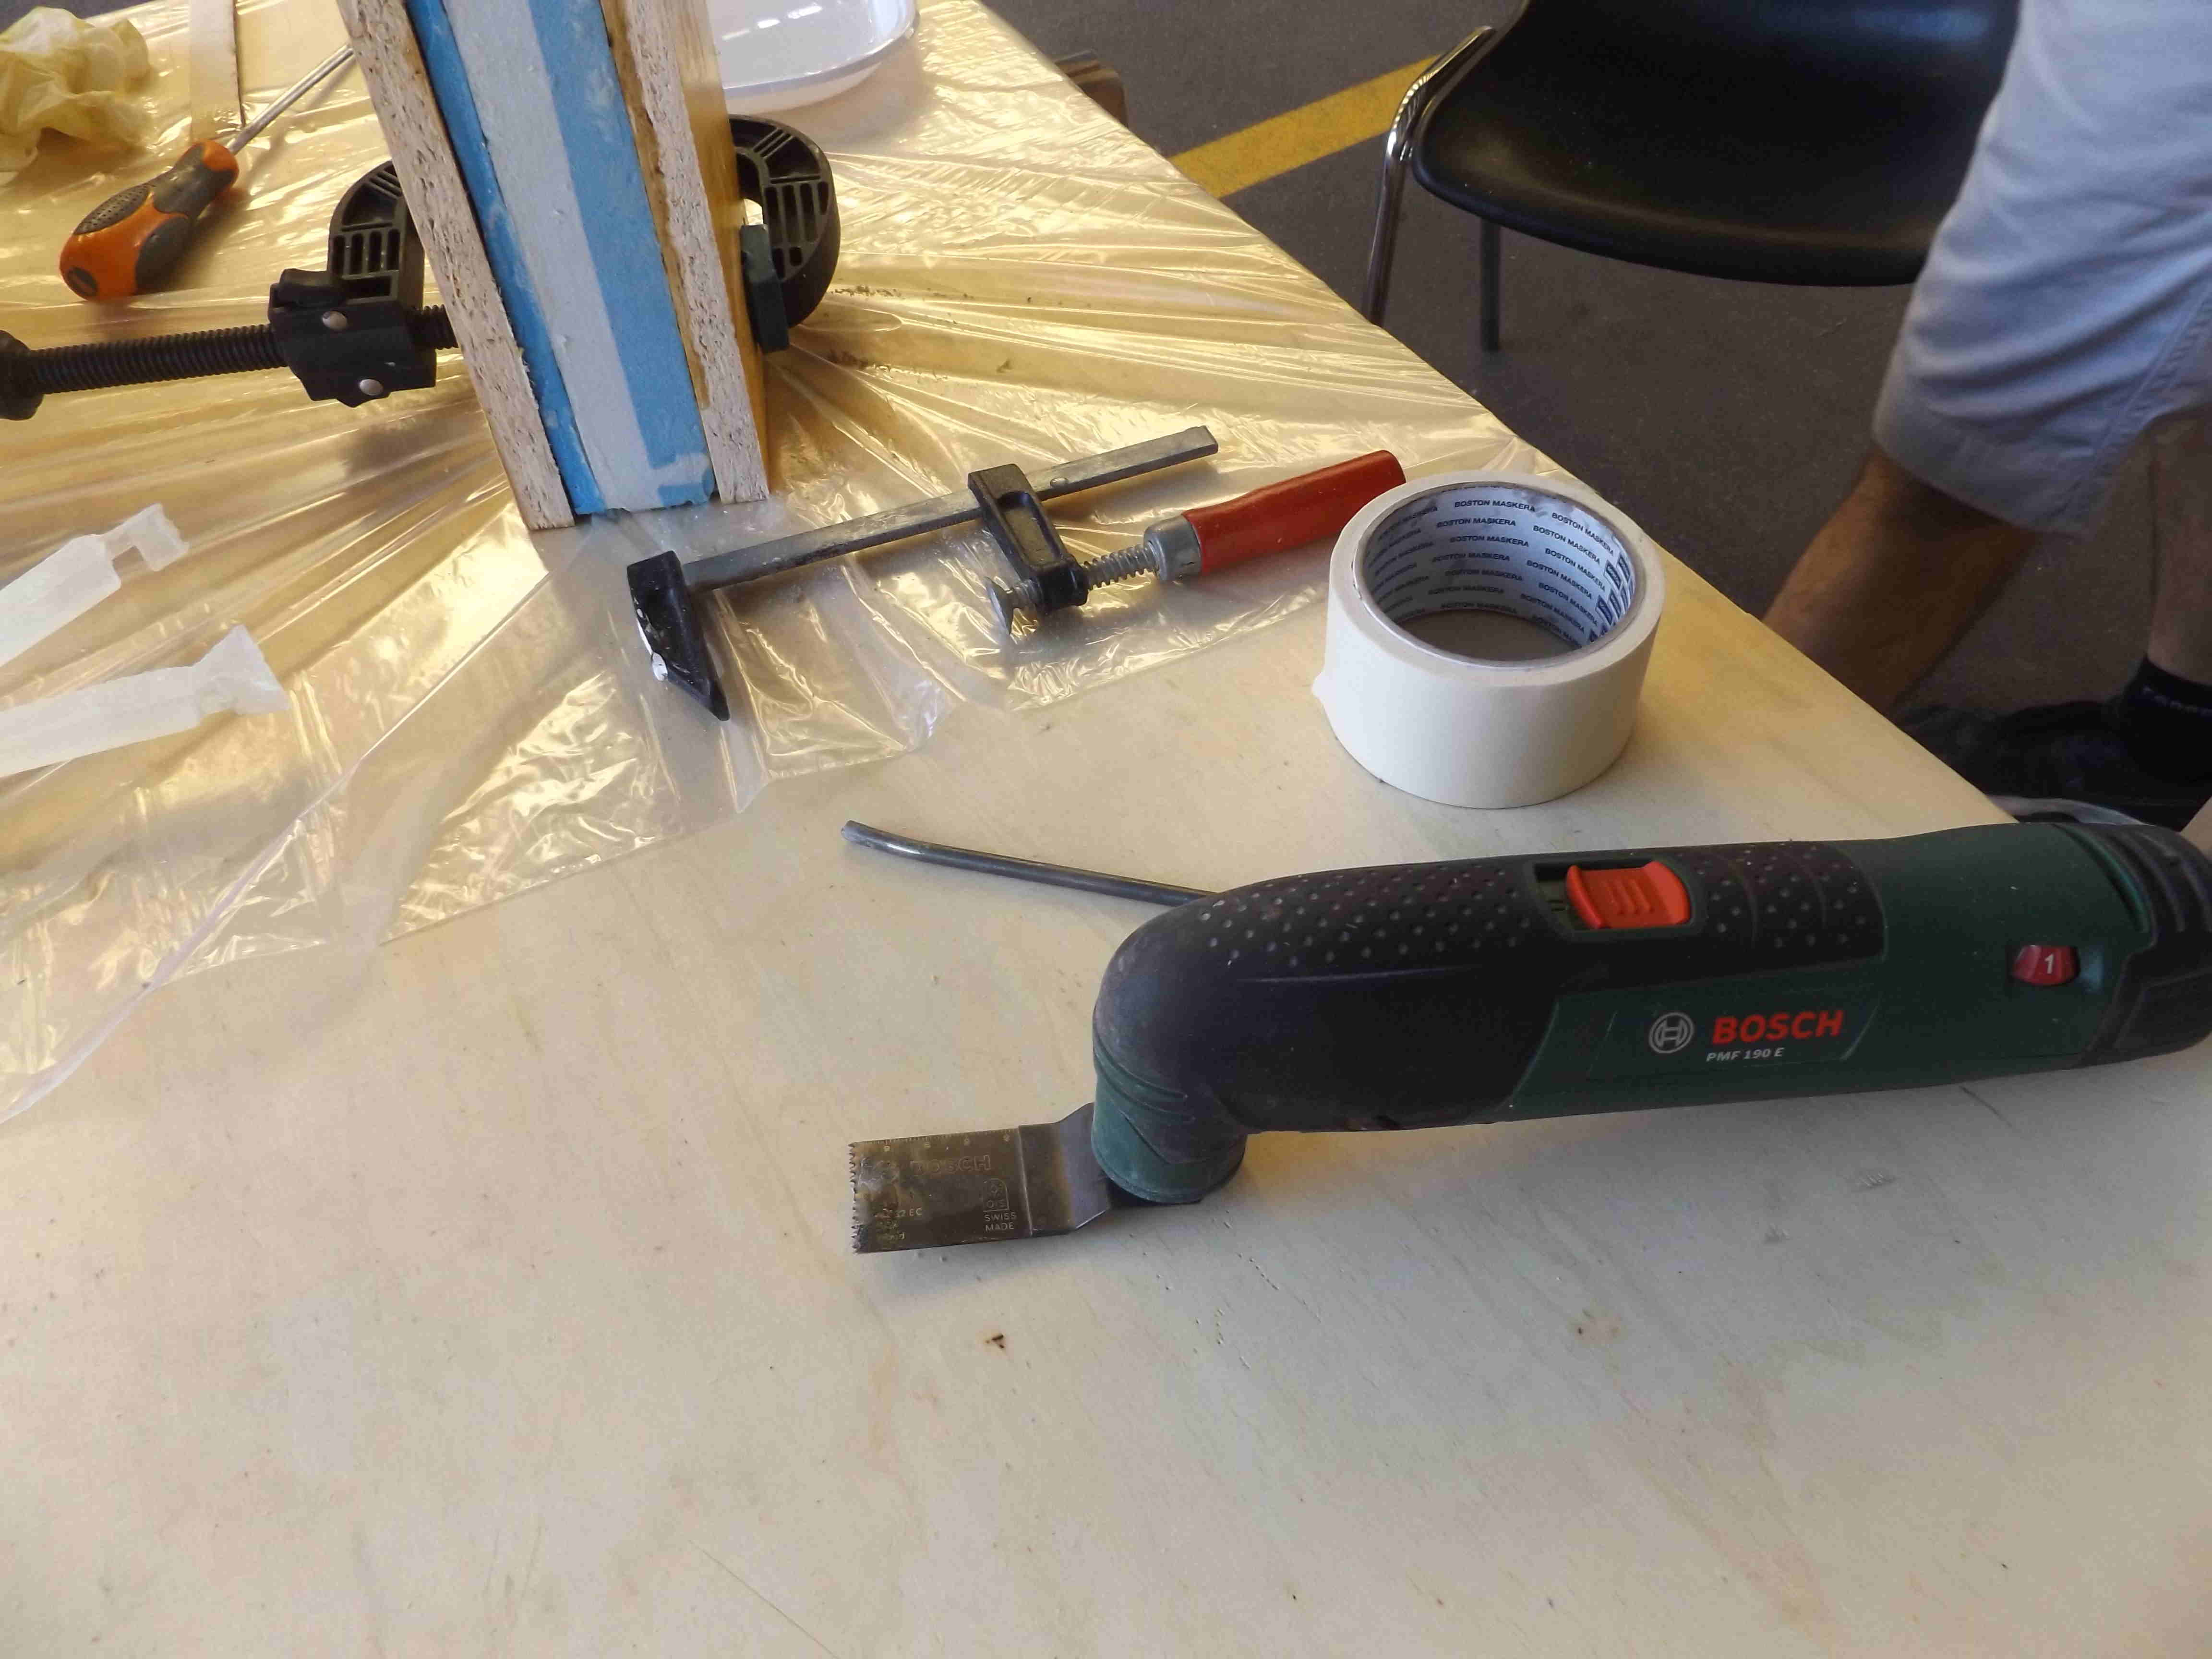
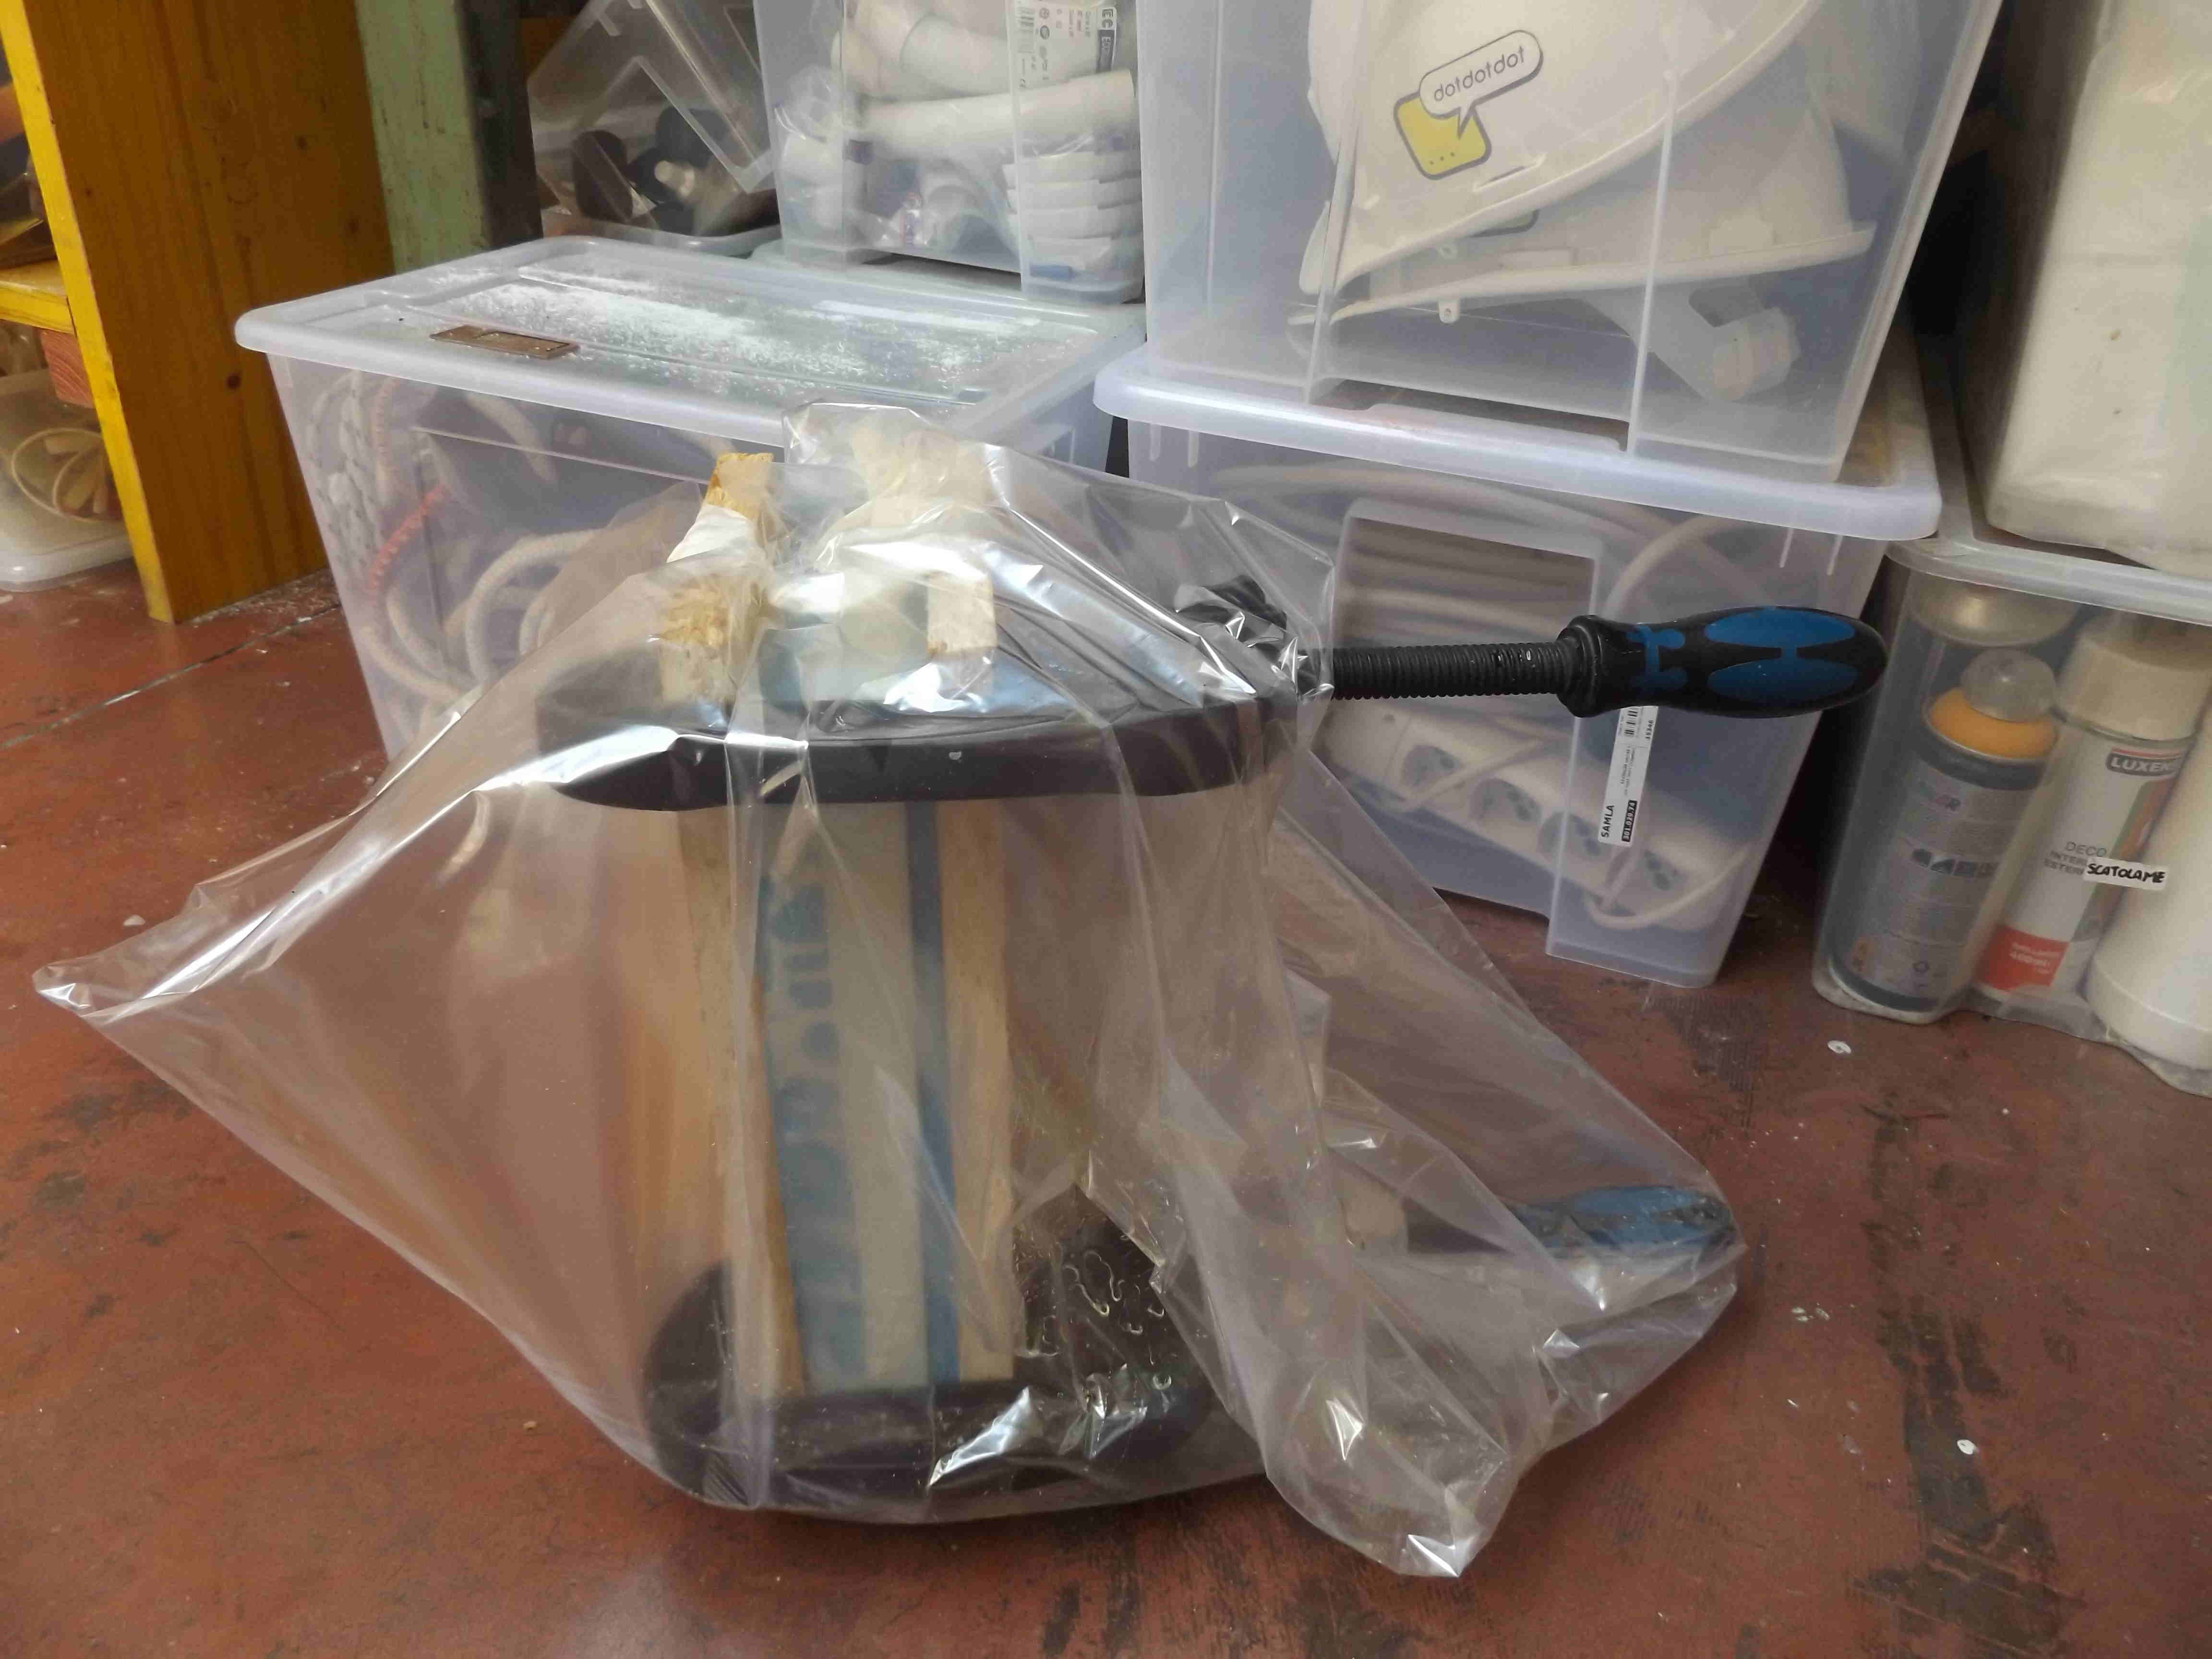
I did casting with Enrico he suggested to add channel to molds in the design and use to pour on it the resin mixture. an other method will be without channel pouring the mixture and put presure on the top of the mold. in this exercice I used the first way I think its better. I used resin poxylam 125 A and B I wax the silicon molds, prepare the resin with proportions as indicated on the bottles mix properly, then pour on the mold and shake gentily to have the mixture dispersed in the whole interior surface and remove bubbles, leave overnight, I needed two days for the two molds see also the channel. in the first casting we got some resin out, so in the second time we applied more pressure enrico used the vibrarting scie to have resin inside well shaked. but the first result obtained was better than the second :) should consider may more thikness in the design, pressure applied may be a bit more than it should be, there was one big bubble also. but its ok in general. thanks Enrico Nicola and Titziano.

photos taken by Nicolas and Asmae
To download design in fusion 360 and shopbot files. here is the design file on step format
here is the design file on f3d format
here is the shopbot file of negative mold
here is the shopbot file of positive mold