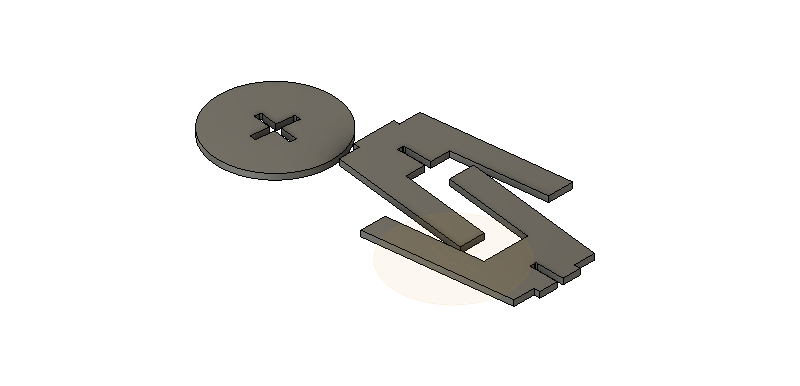
before using the shopbot I needed to have the design file on dxf format. with fusion 360 I cant export files in dxf format so I needed to do it through rhino (to obtain dxf file and then use Shopbot interface to send job to the machine). I export the file from fusion 360 in step format then import in rhino check dimentions, clearance and dog bones and organize the parts again then I export in dxf format. those instructions to follow from Tiziano Berti who helped me in the whole process in rhino and shopbot. I didnt work previously on rhino.
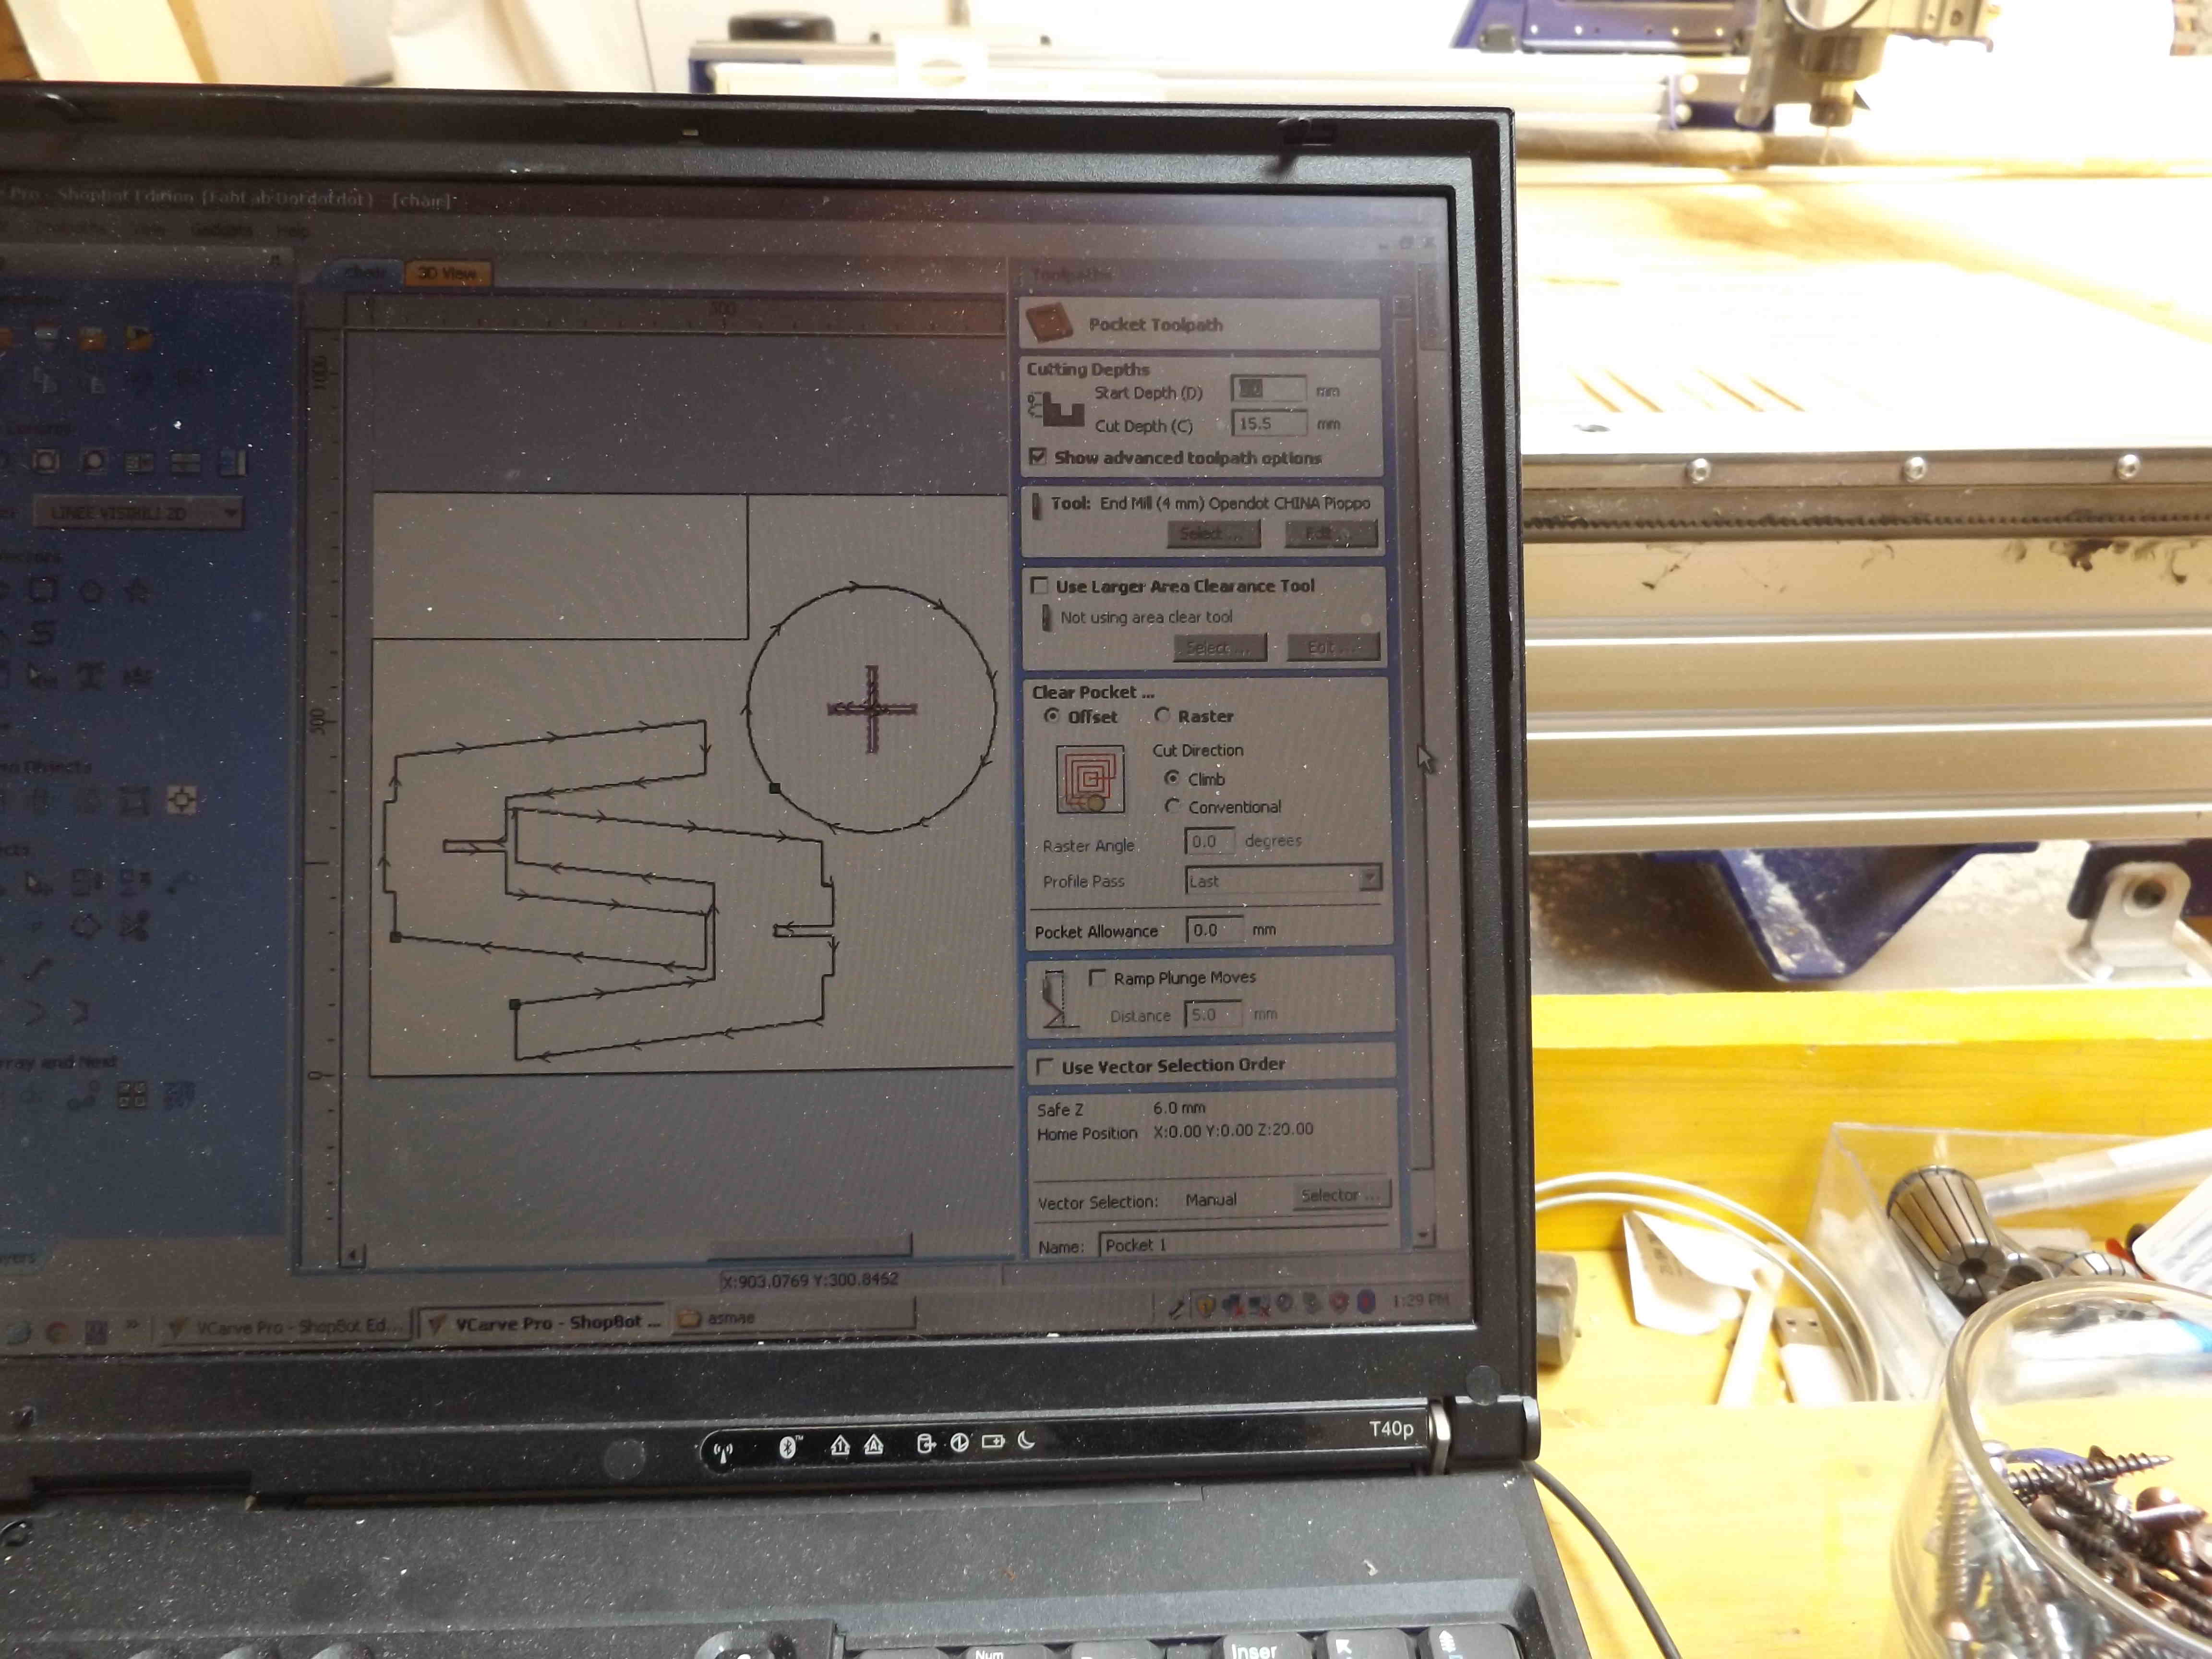
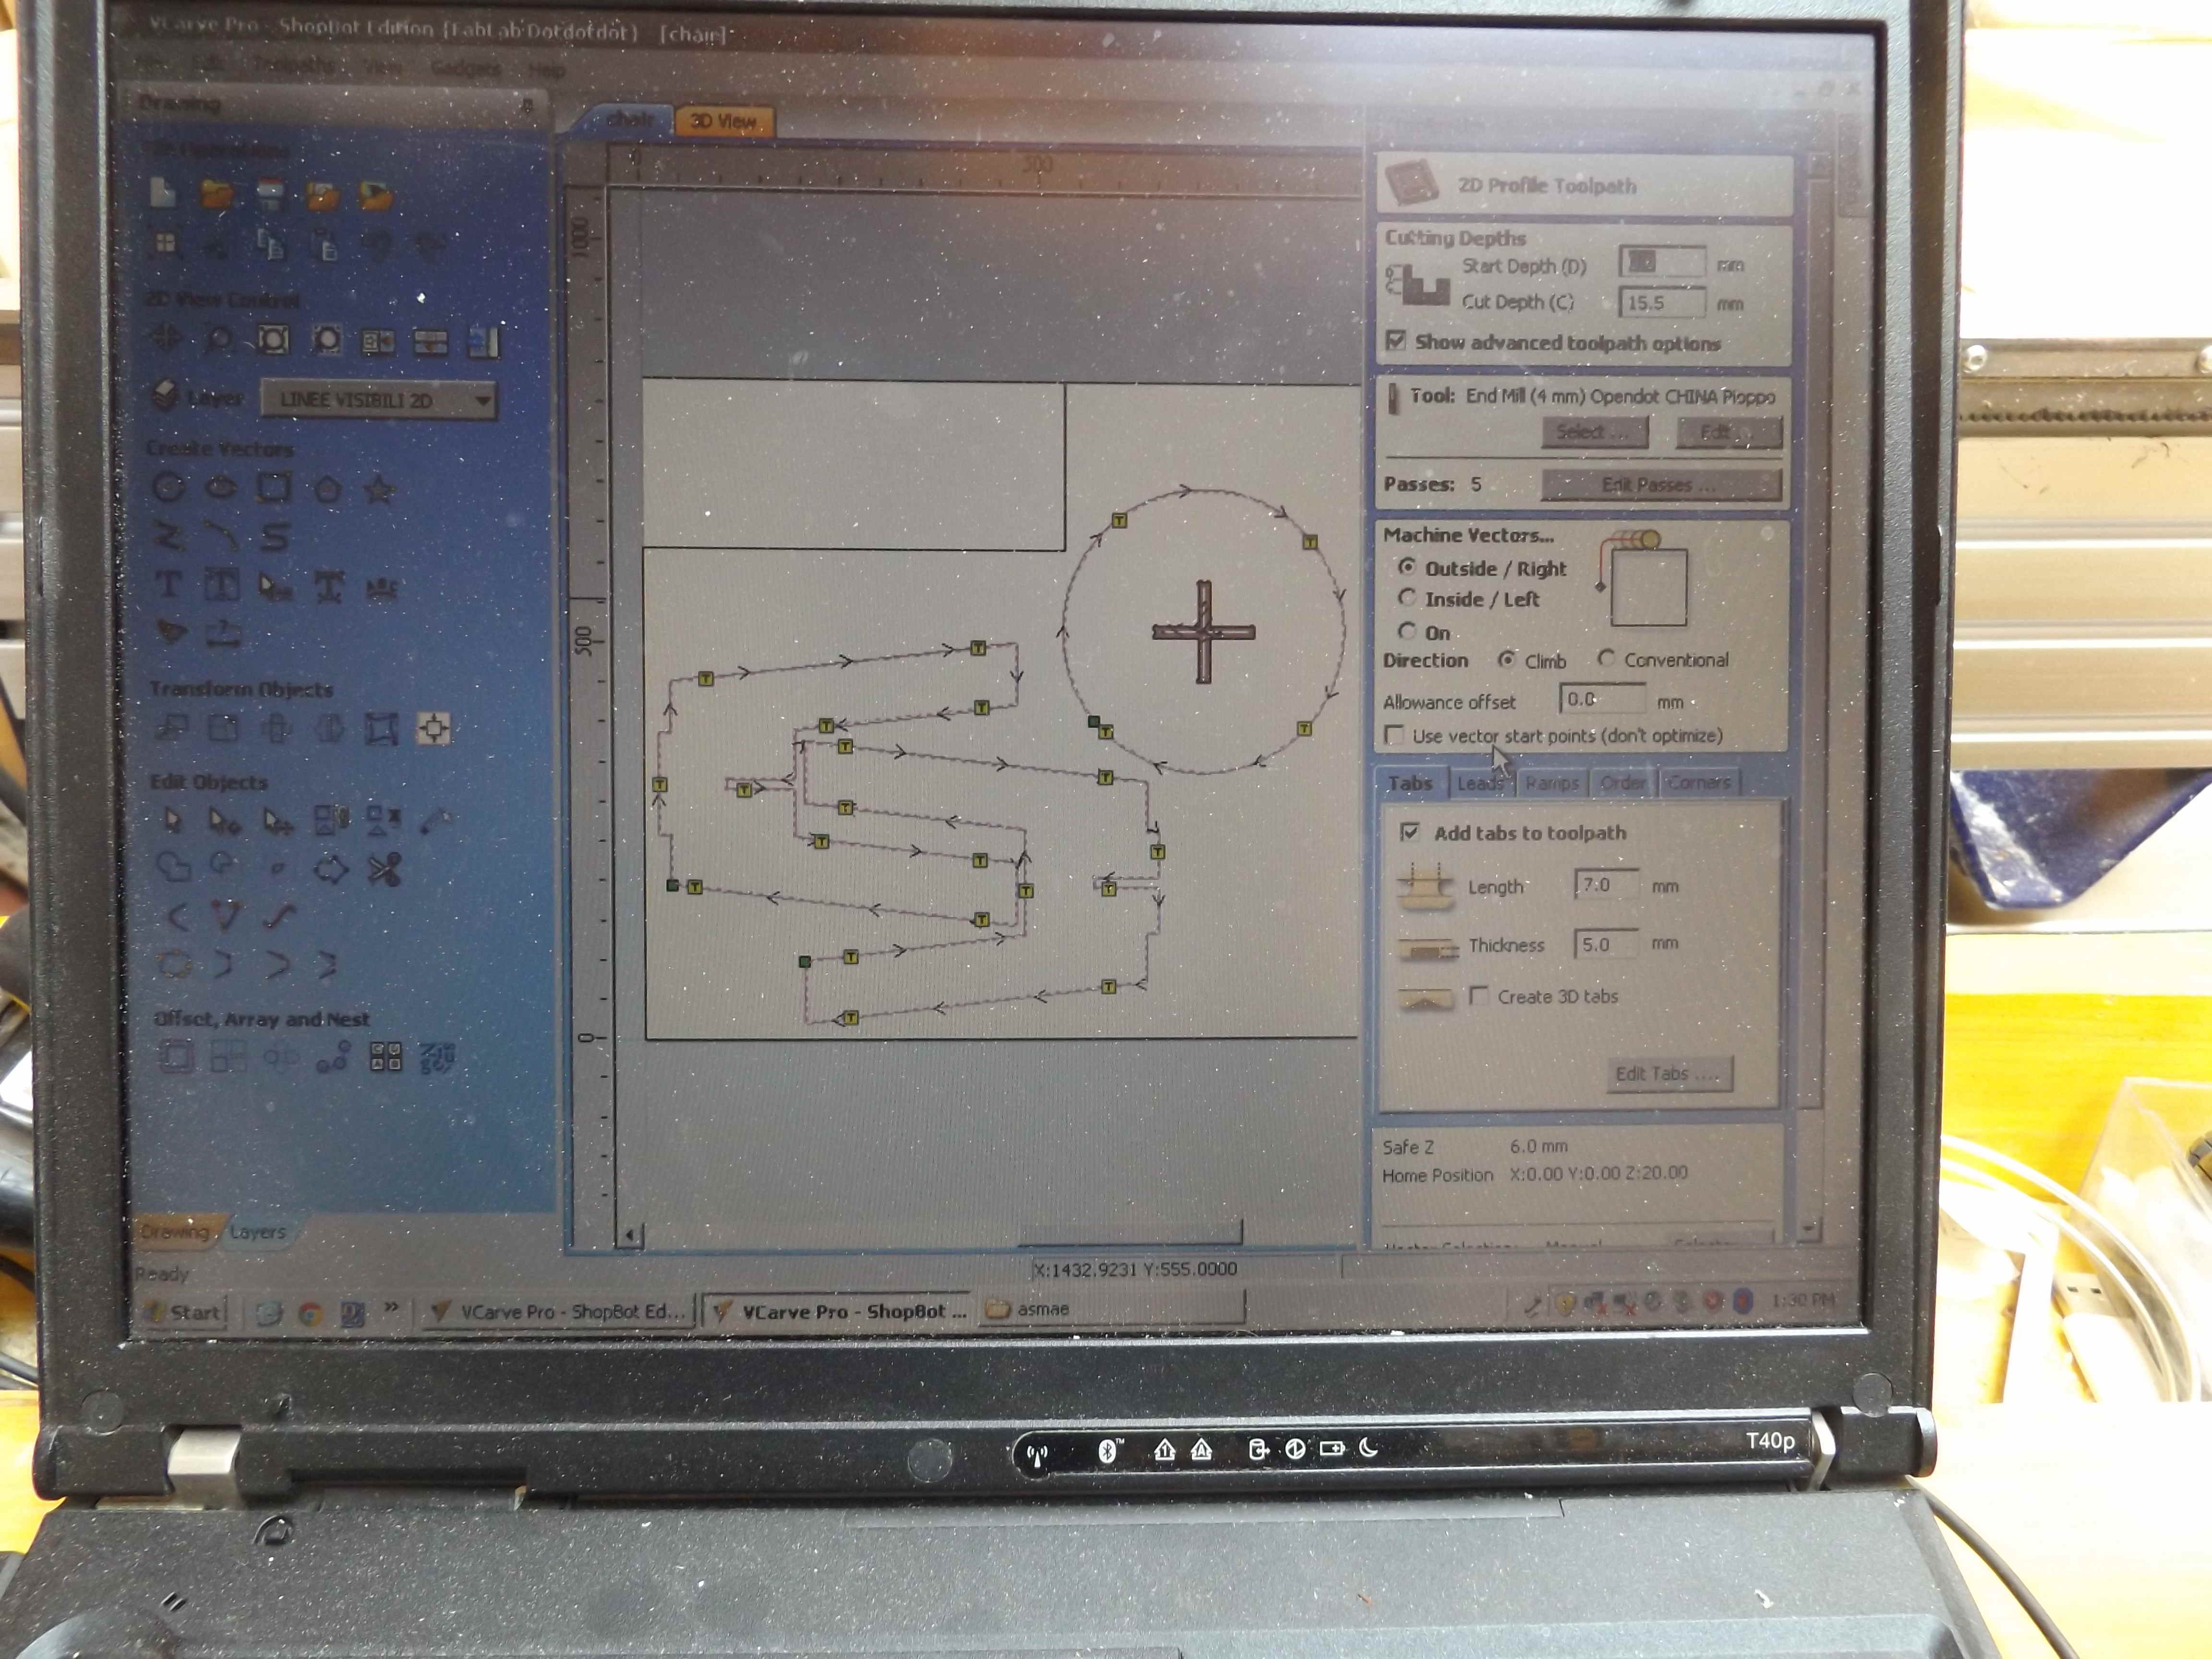
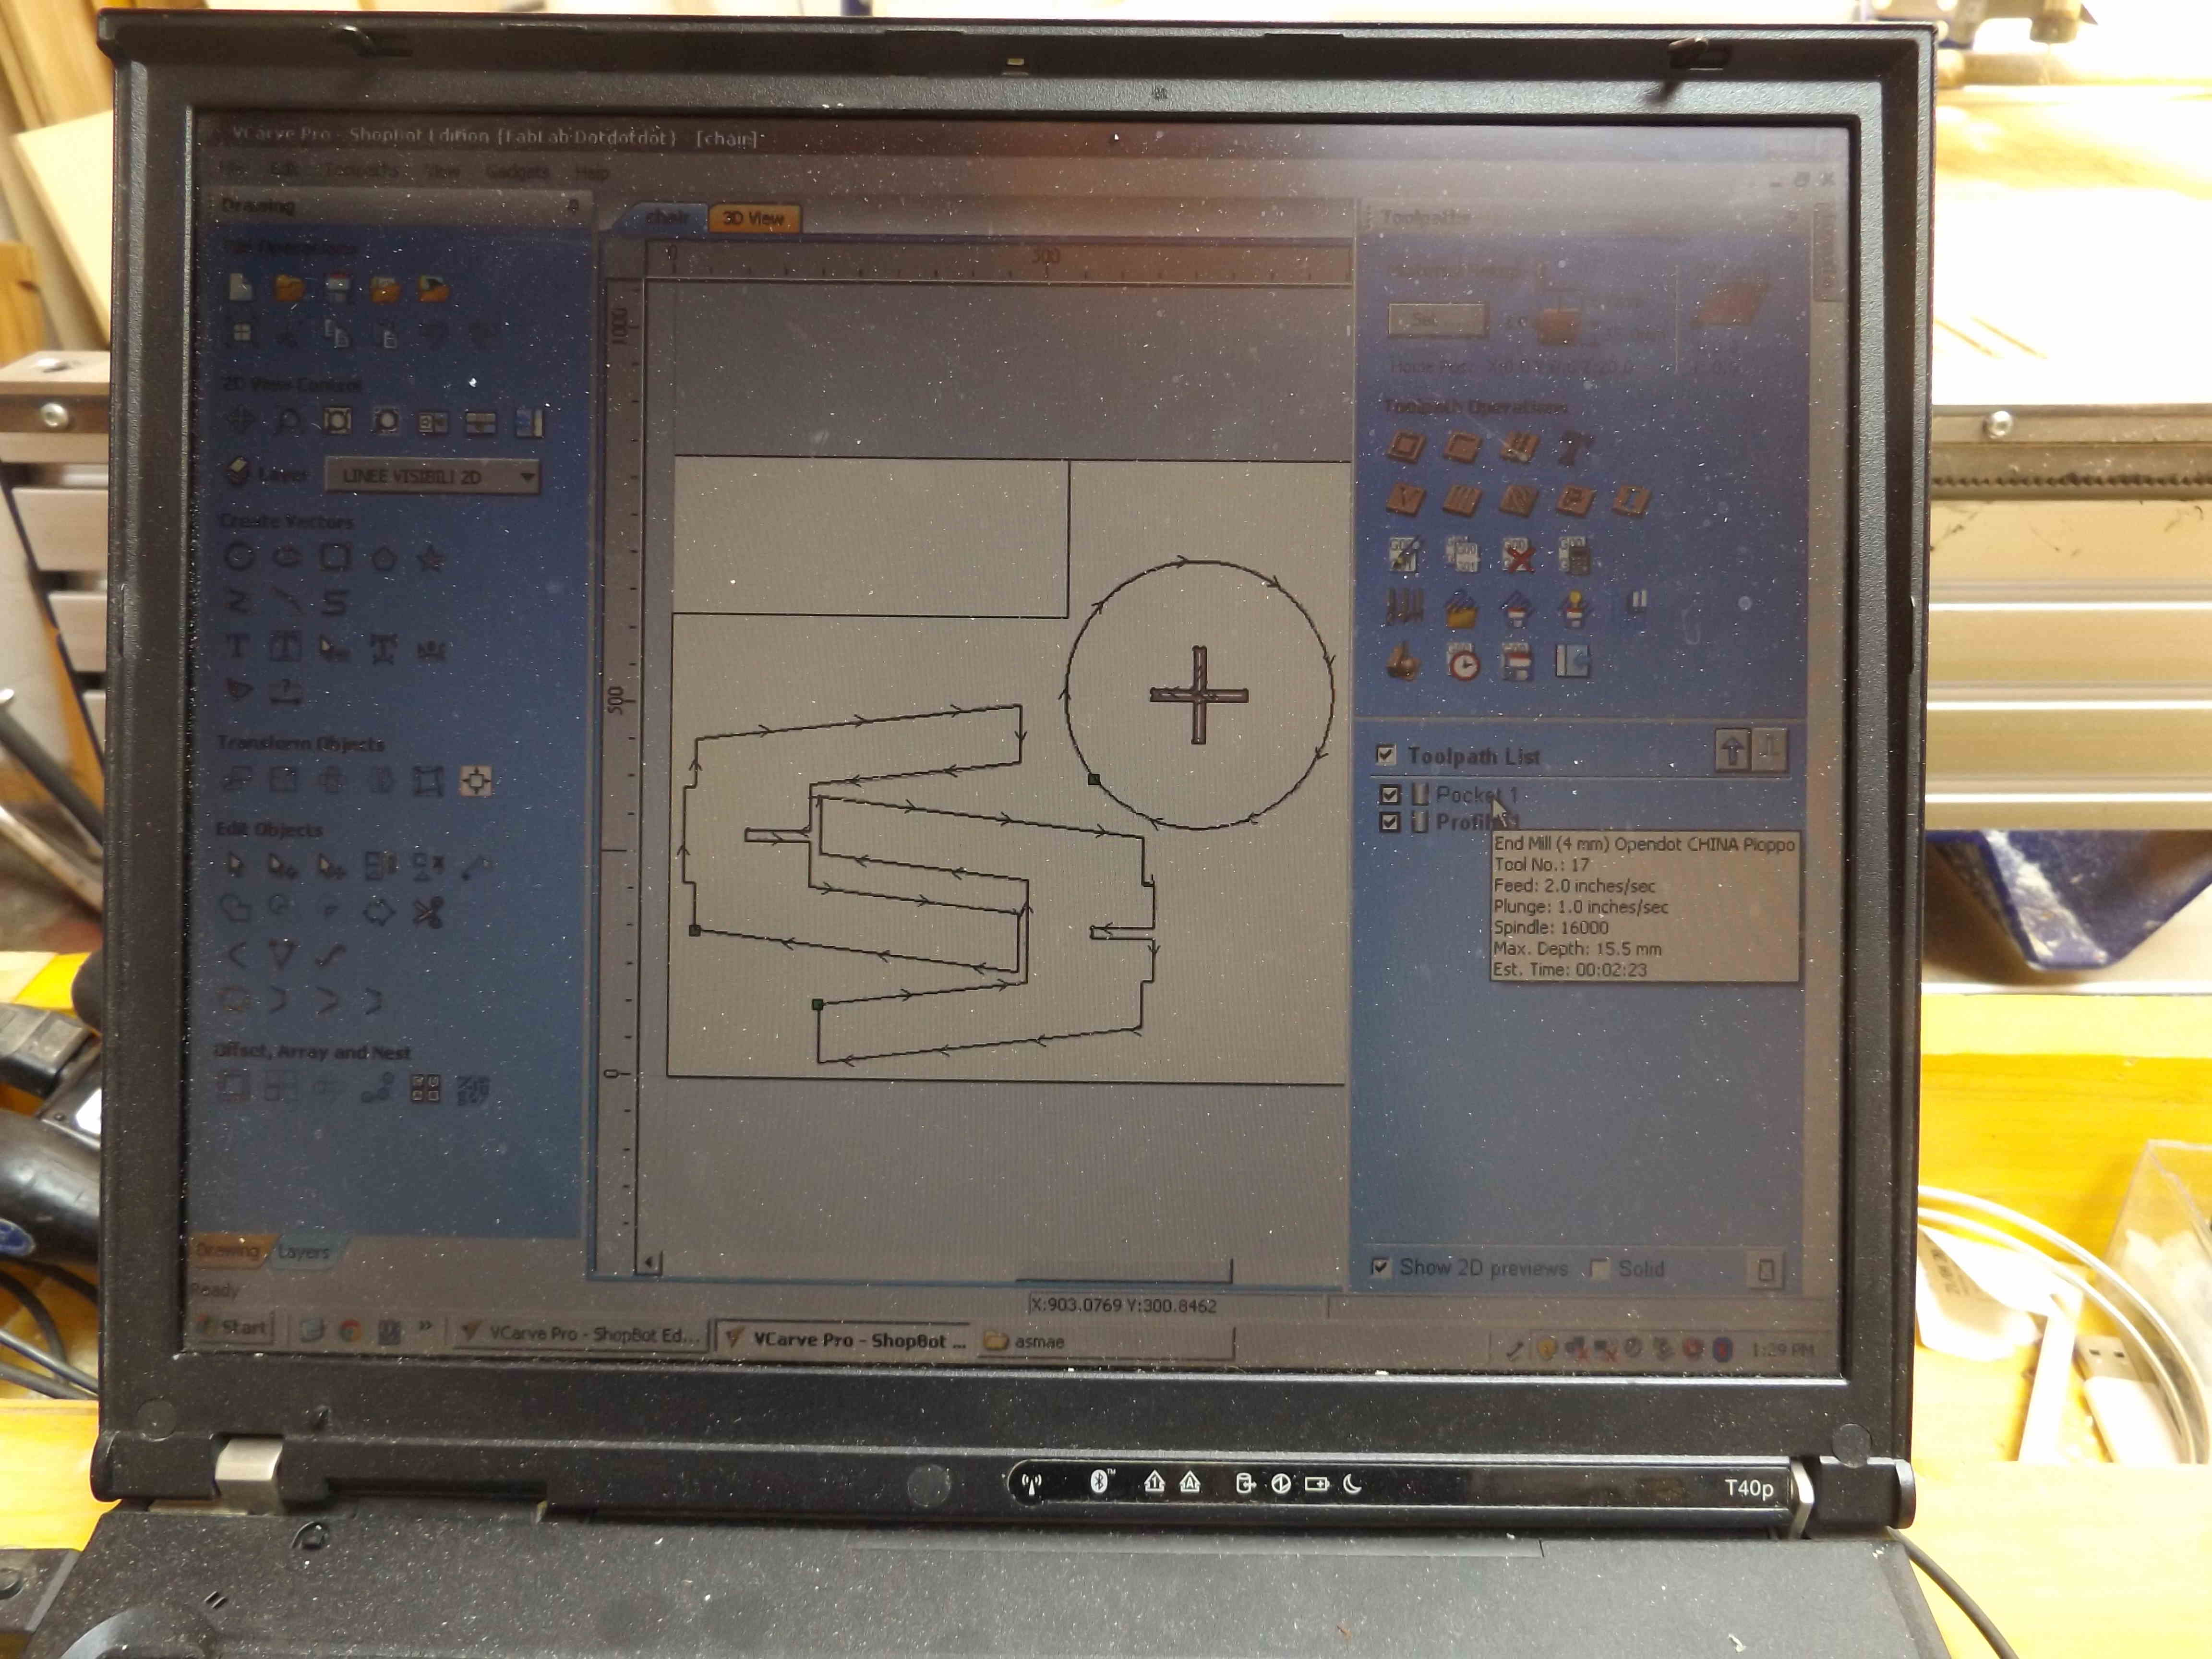
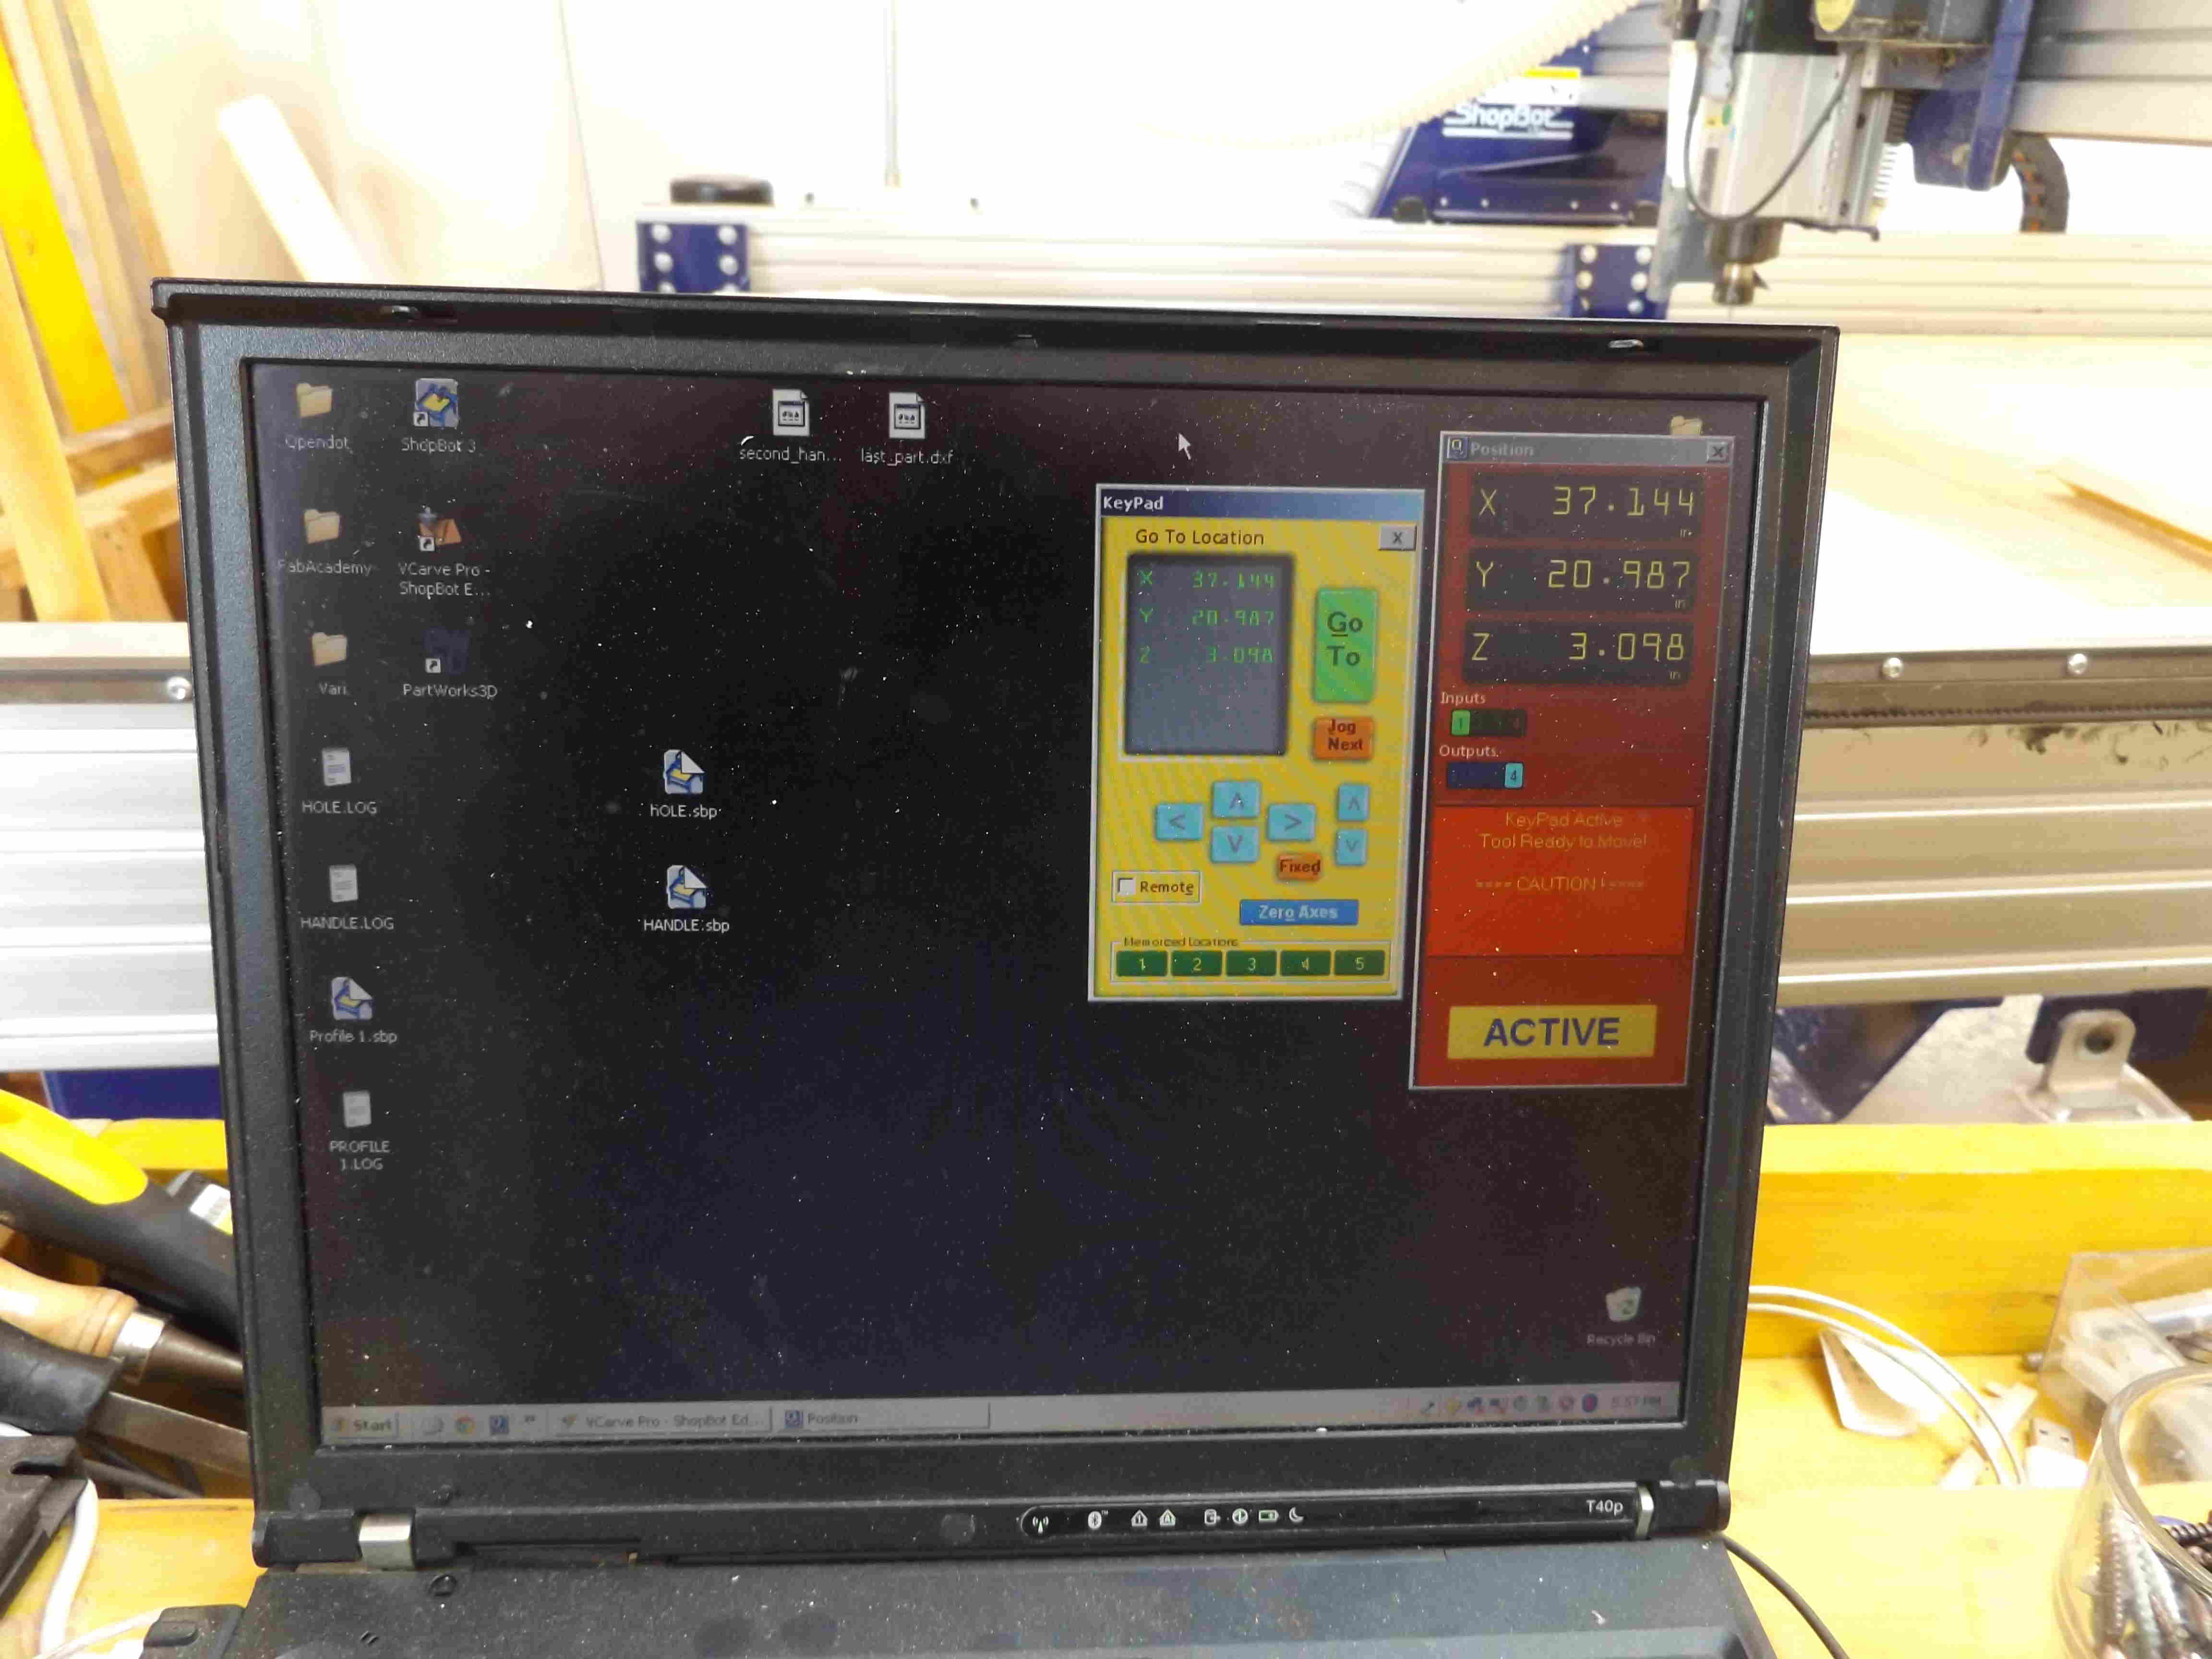
on shopbot machine I needed to create toolpaths here I create pocket and 2D profile toolpaths, endmill 4mm, number of passes 5, cut depth and direction here depth is 15.5mm value should be greater than wood thikness, cut outside for 2D profile/offset for pocket, direction climp, add tabs sort of fixation this is so important in the wood cheet are where screws added to fix the parts before using the machine, the arrow is the path and yellow rectangles are the tabs placed on plywood sheet. I then save file on sbp format. zero axis Z, zeroing X and Y respectively then send the job to the machine below are the screenshot of the work
 here are the work on video, images of the table after milling and before removing from the shopbot I did few passes with vibrating electrical sander to smoothen the table, then I remove the screws with drill cut table with an approriate scie and assemble parts. voila
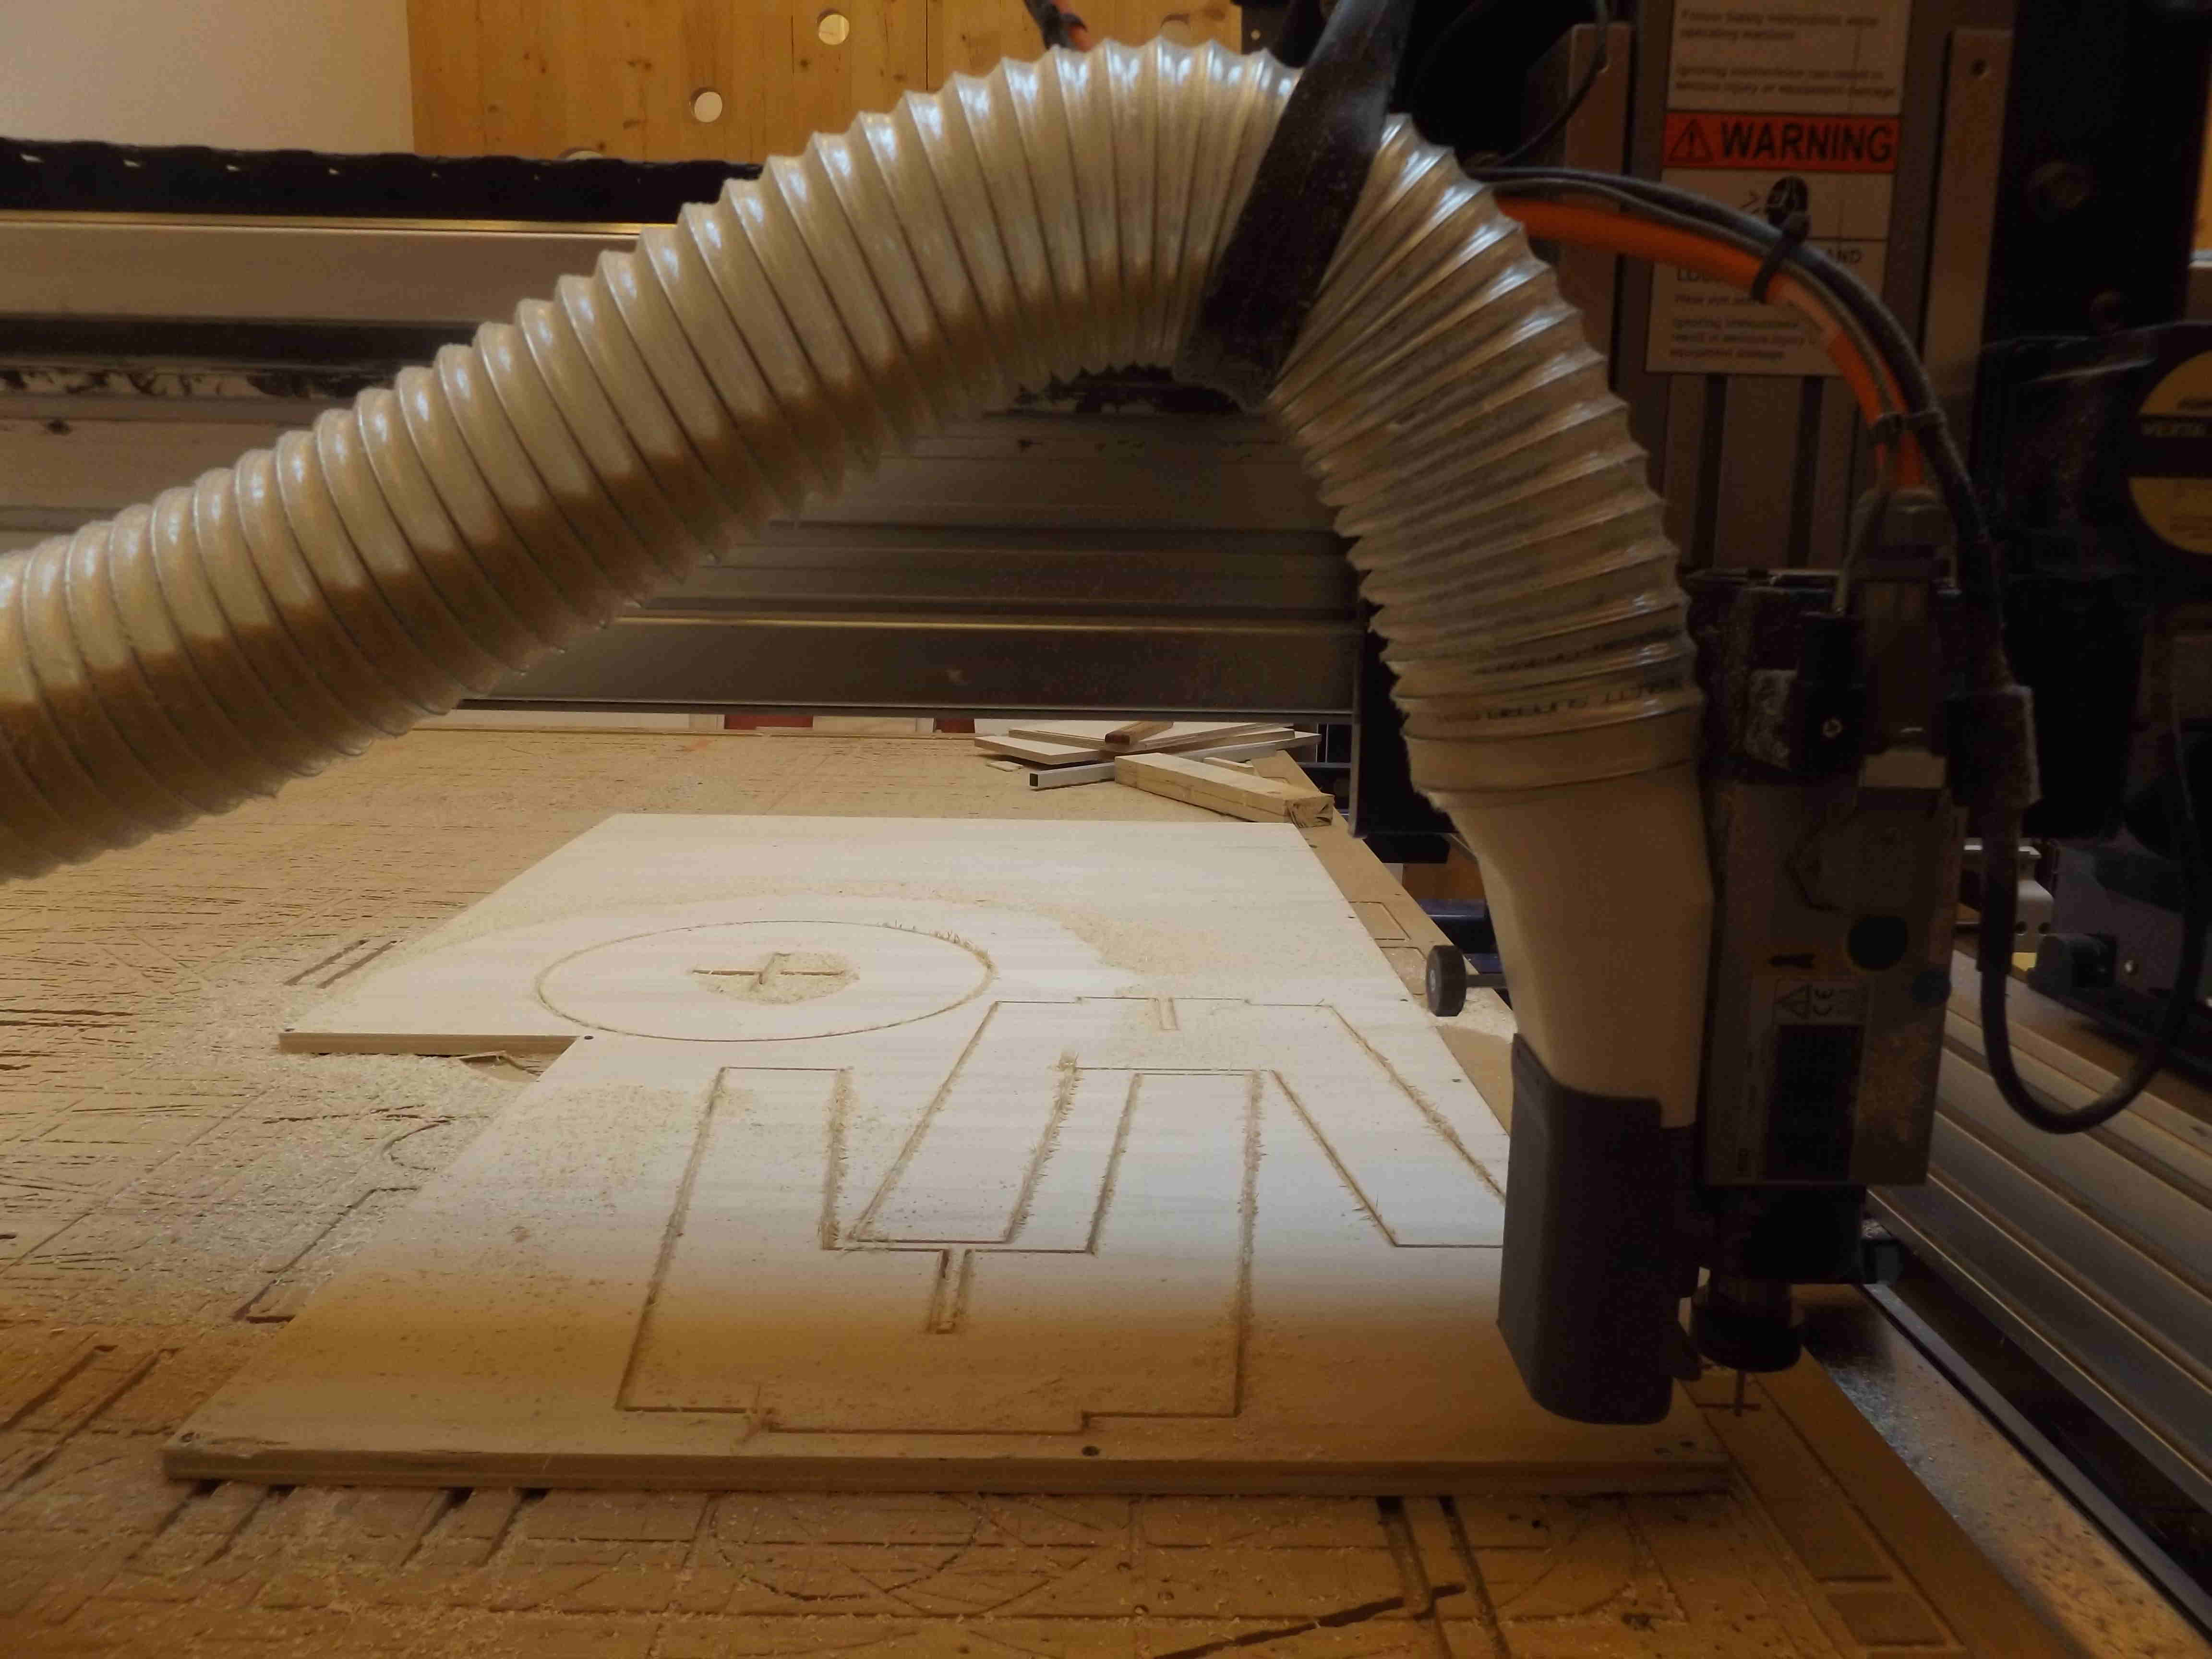

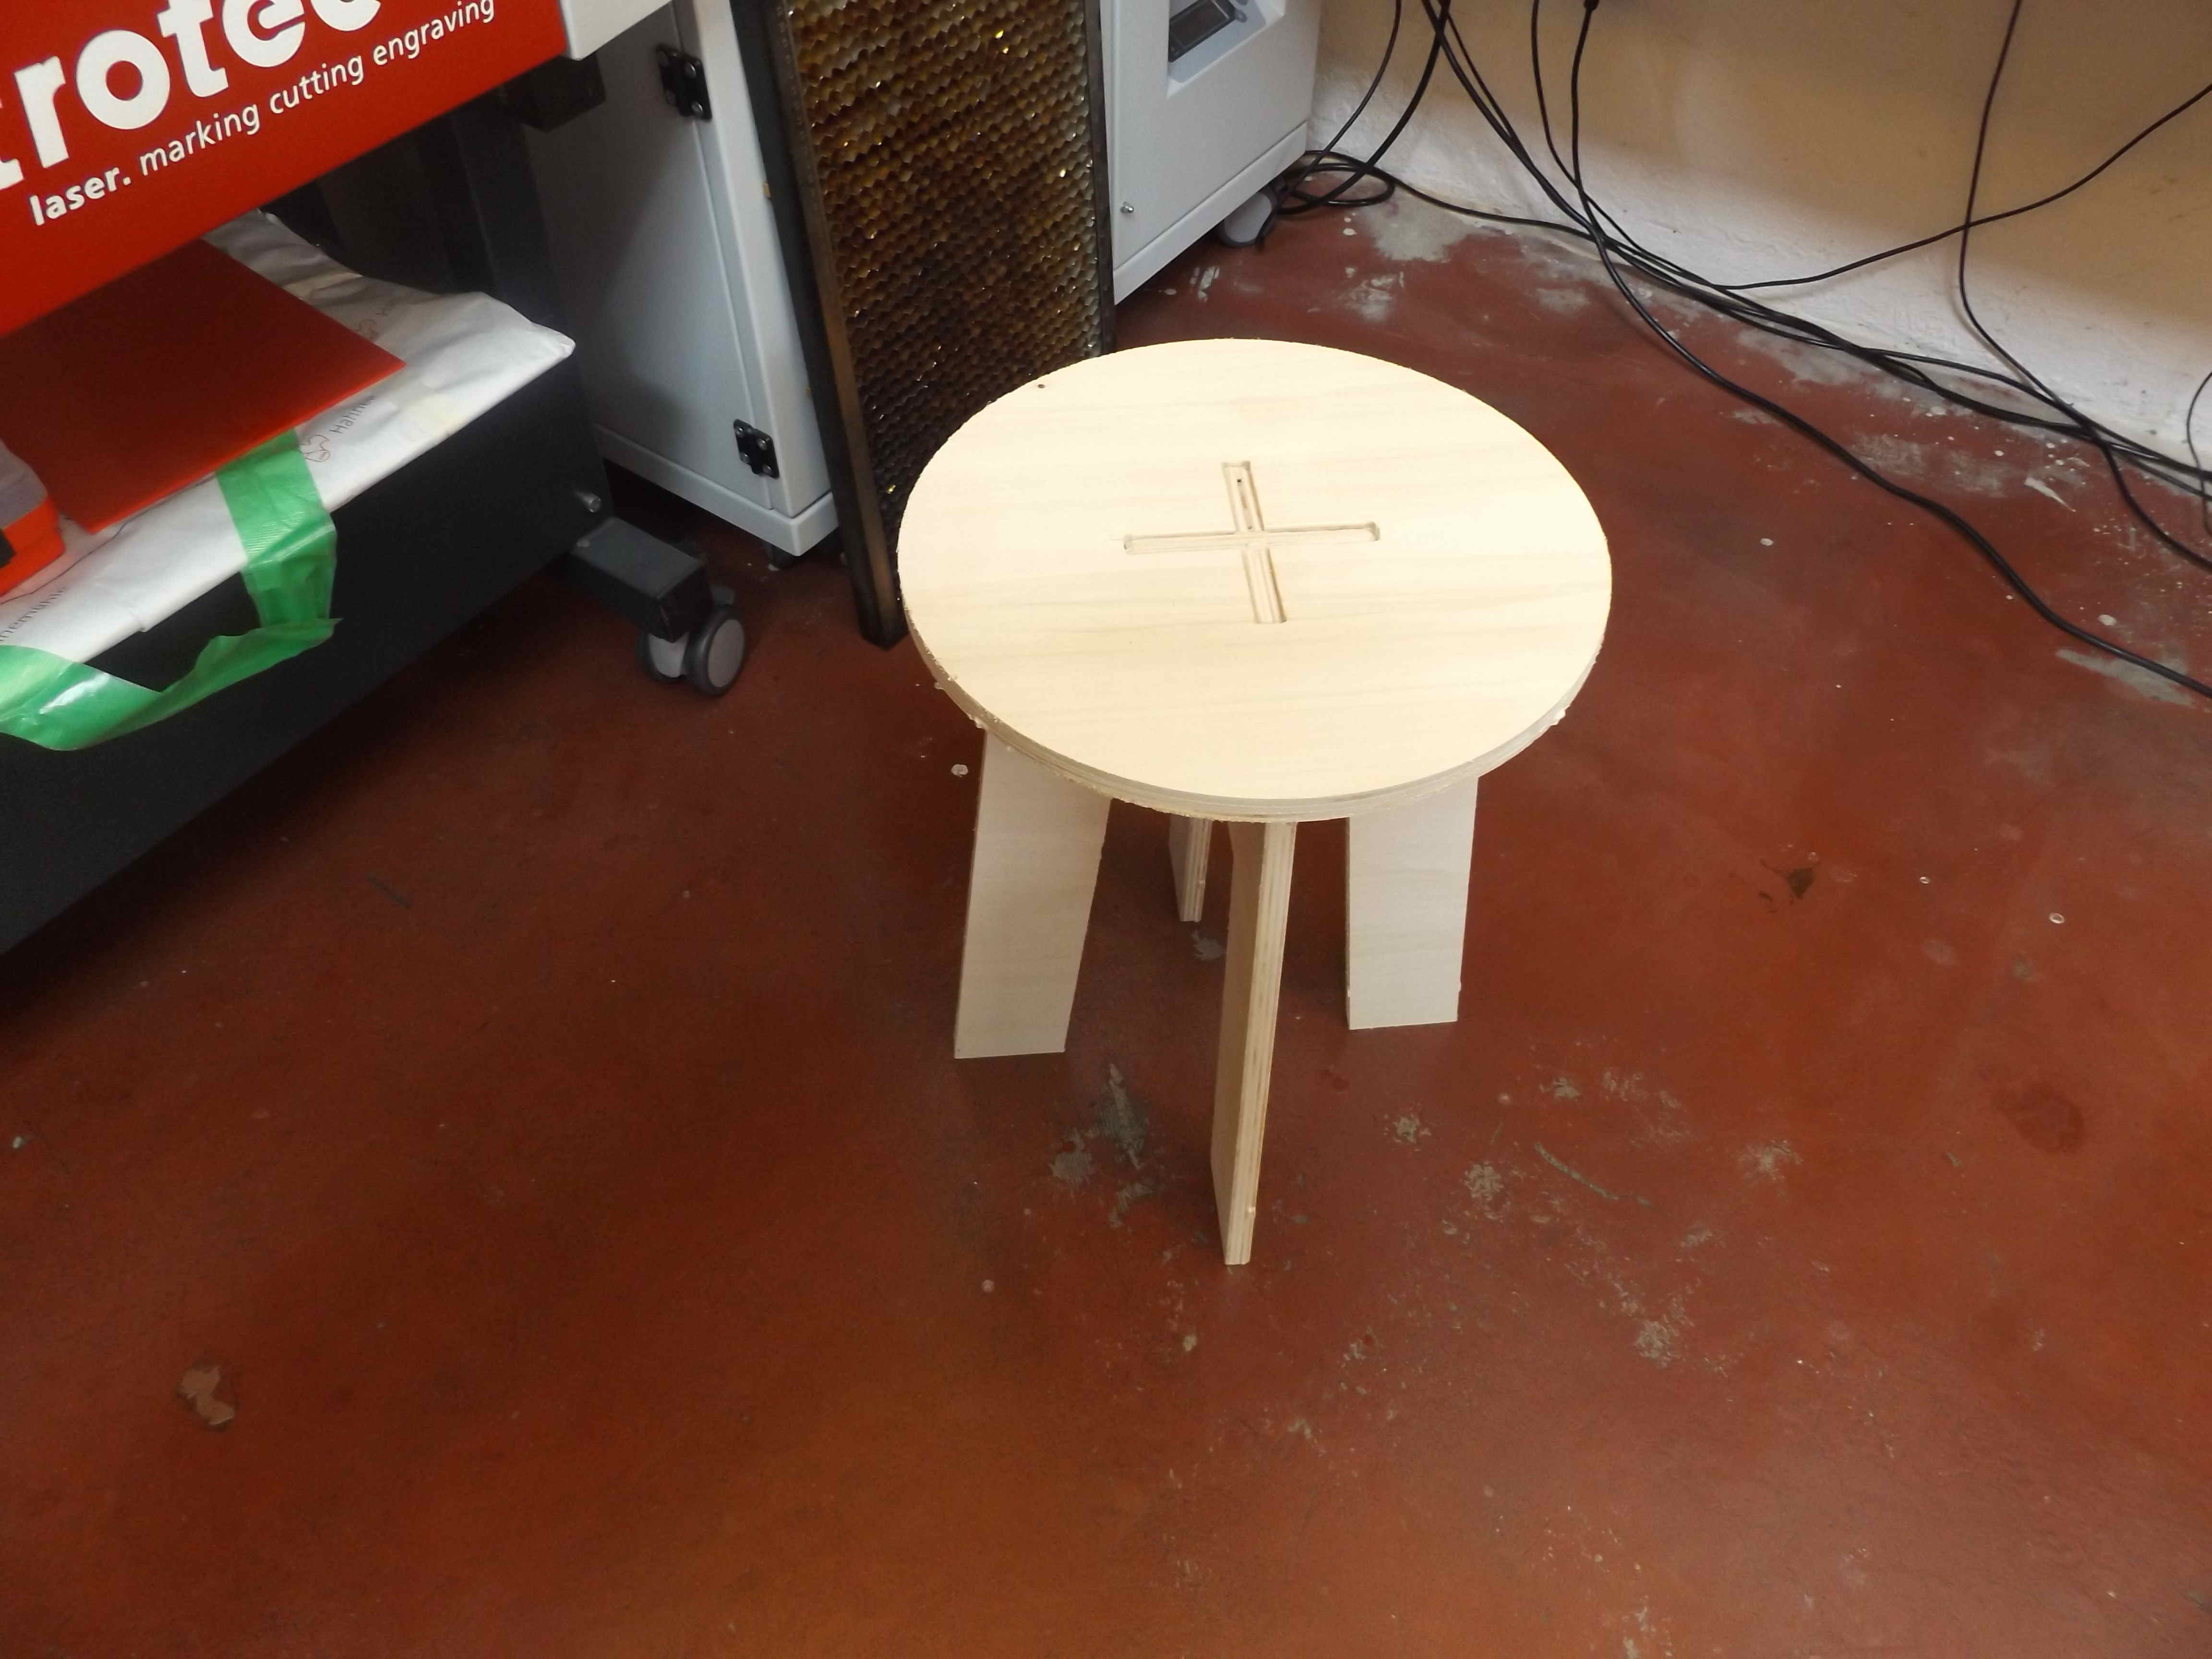 Clearance I used should be the double in order to have parts fit together easily, but the result was good.
To download design and shopbot files. here is the design file on step format
here is the design file on f3d format
here is the shopbot files on sbp format
here is the shopbot files on crv format