Molding and Casting

The topic of this week was "molding and casting".
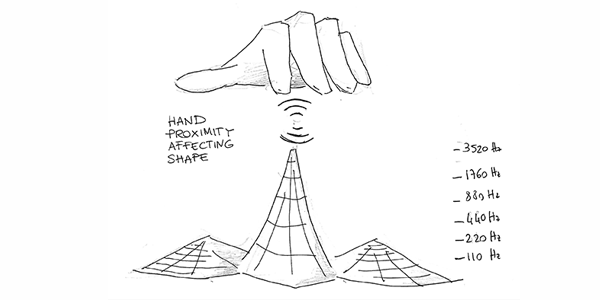
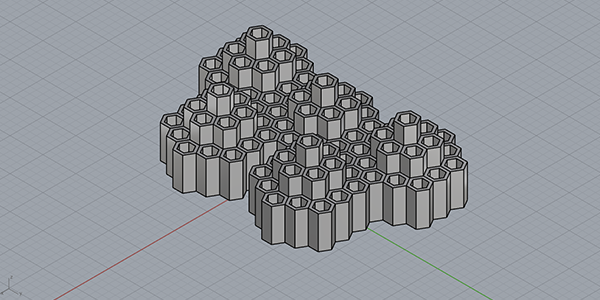
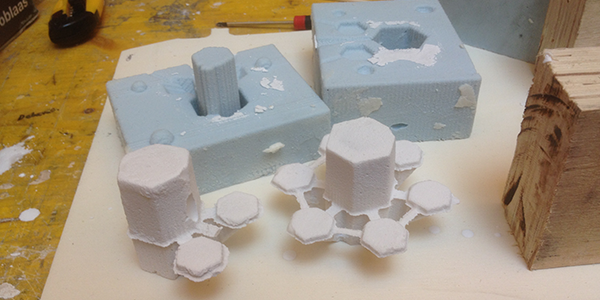
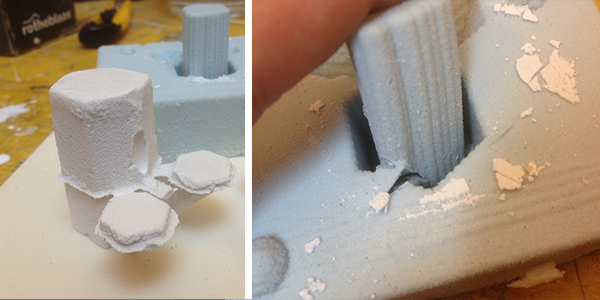
I decided to make the most of this assignment by realizing the moving surface of my final project.
The idea was to put together several pieces in order to make them all move in the same direction, pulling the central one.

The first step was designing the layout of this surface.
The second one was defining the right shapes and its dimensions.
The different shapes were cutted into two parts to get the 3D model ready for the molds.

It is very important to model the 3D object considering that you'd need some volumes to reposition the molds before the casting process - I used three half spheres; it is also necessary to take into account some tubular passages for letting the material slide inside the mold and the air go out.

I realized the molds with polyurethane foam milled with Shopbot CNC machine.


Download [molds's file] here.

I used then the sandpaper to smooth the surfaces.

Before casting the molds I covered the whole surface with wax in order to make the detachment easier.

With the help of a balance, the compound has been prepared with silicone rubber and a catalyzer, and then mixed into a large container.

This mixture was cast inside the mold, and it was possible to remove the final rubber mold 12 hours later.
The ultimate objects were casted with plaster inside the rubber molds.

Problems encountered:

- The rubber broke after the first mold
- Some imperfections on the plaster surface due to air bubbles inside the mold.