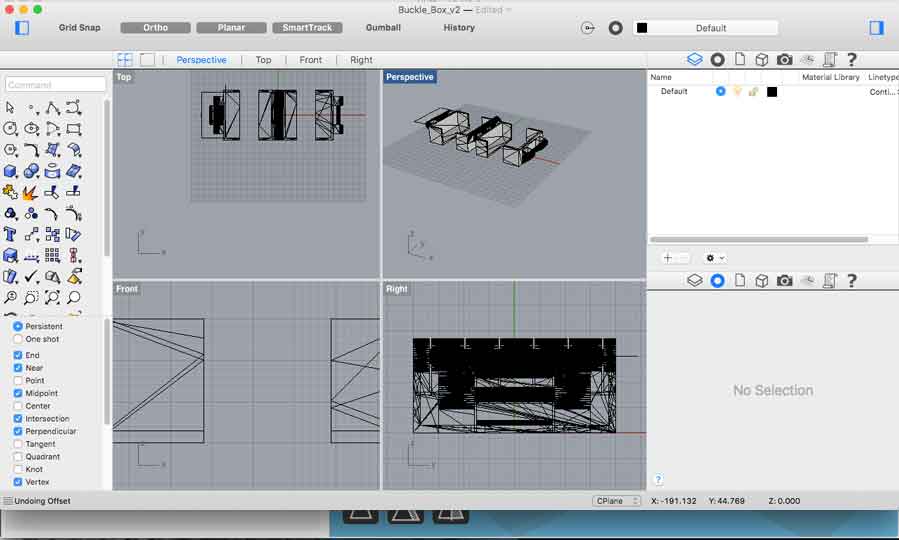
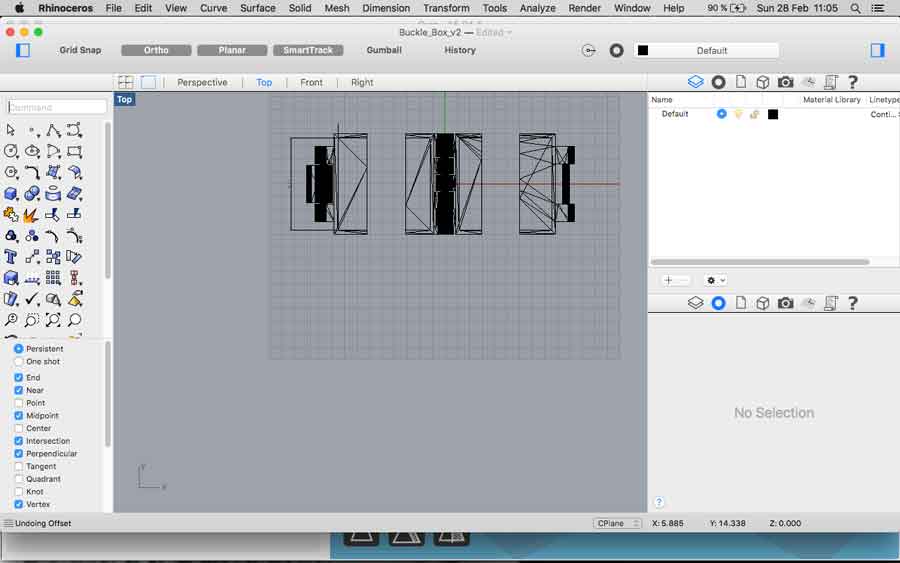
For this exercise I downloaded a model; a little box made of 2 parts and that folds onto eachother with an hinge, and a notch to hold it closed.
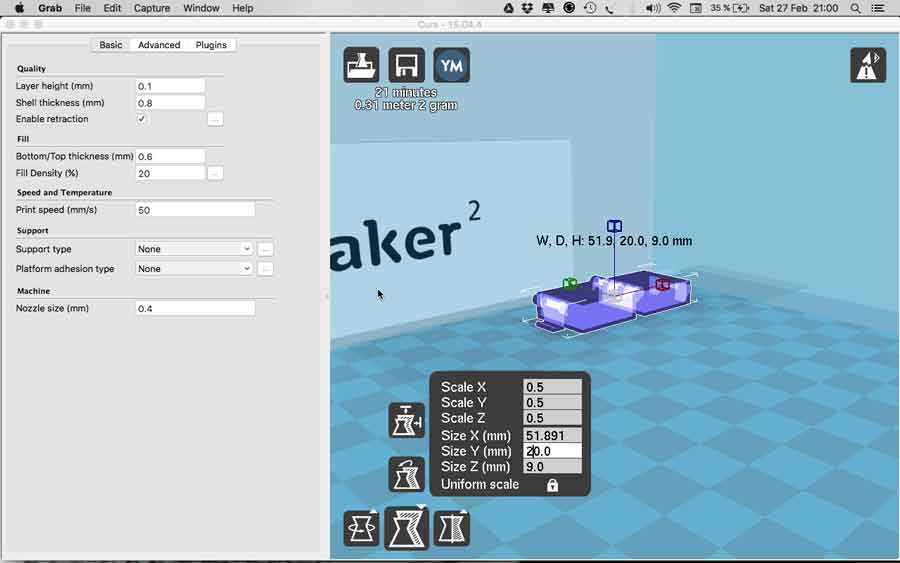

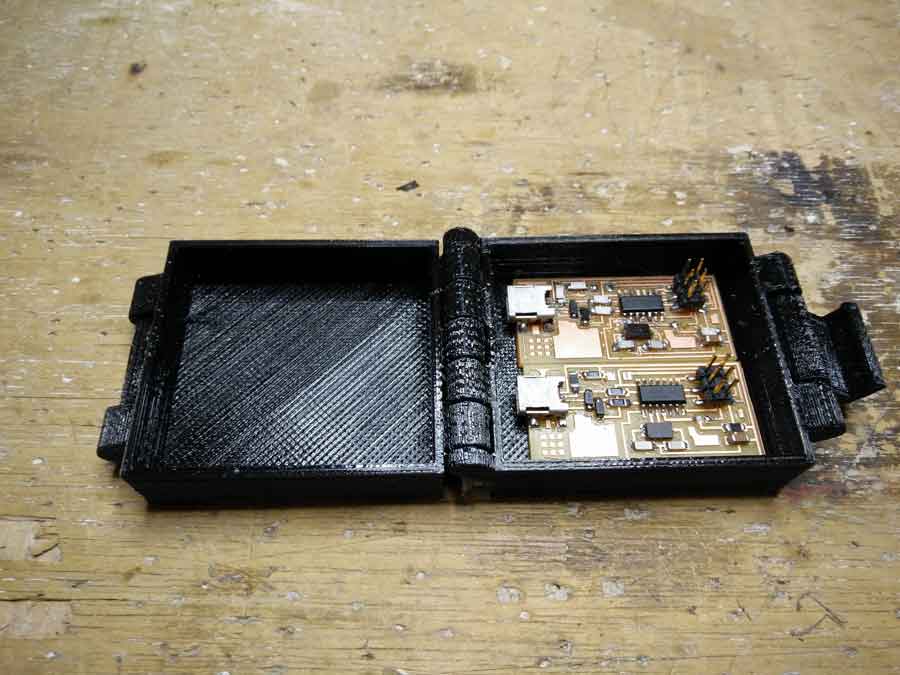
I edited the model in rhino to adjust the lenght and width so I can use the box to store my FabISPs. It was a good training in Rhino for me - first time working with mesh. I plitted the part of the model I wanted to resize, create an new object of the desired size to be inserted in the gap. Joined it and meshed it.
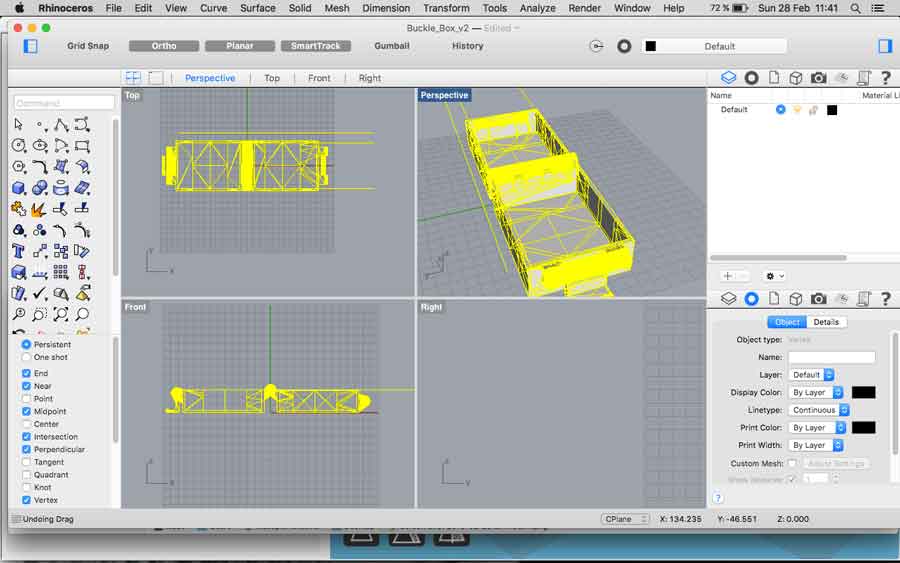
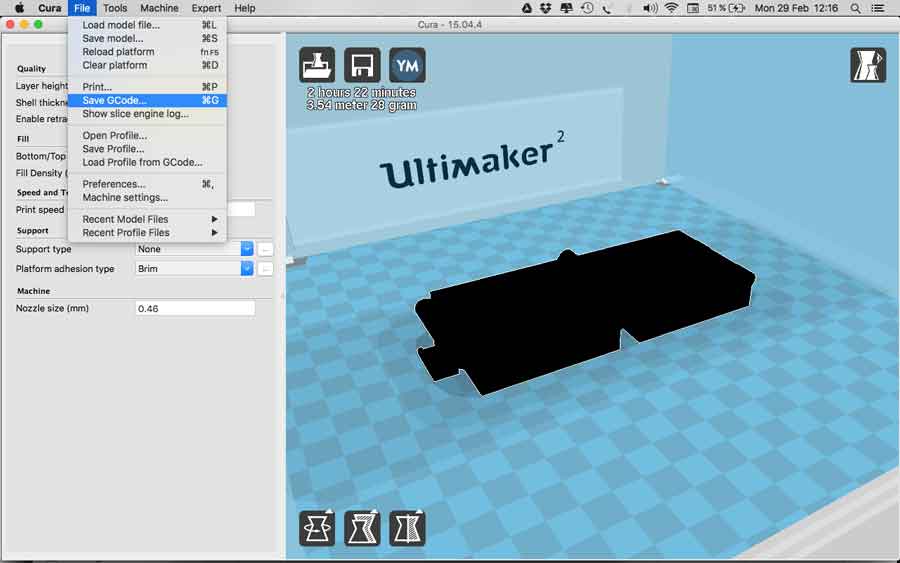
Than I saved the model as .stl, opened it in cura and saved the Gcode.
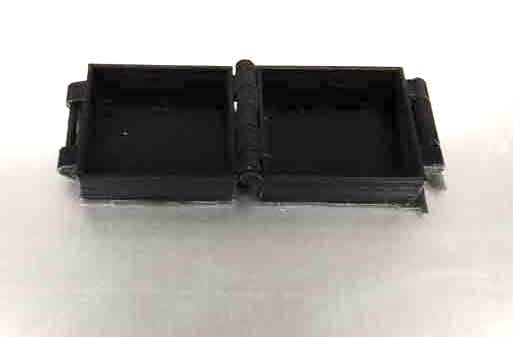
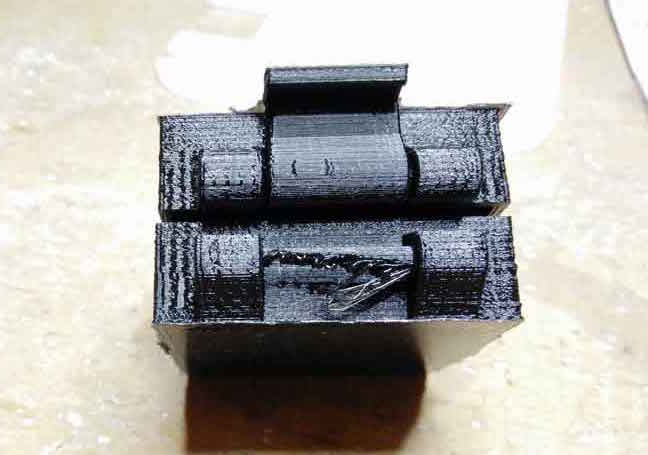
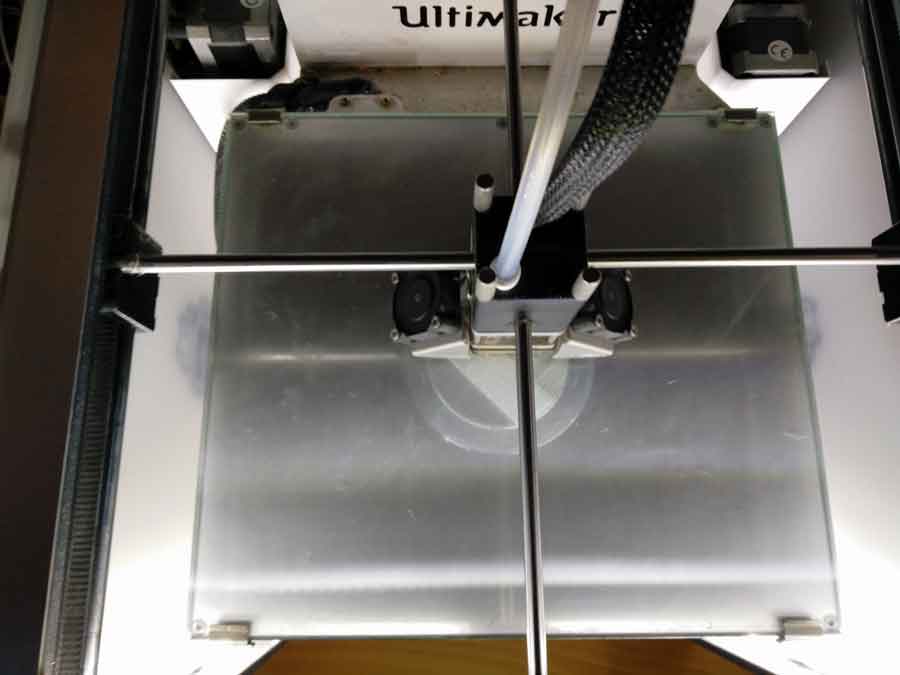
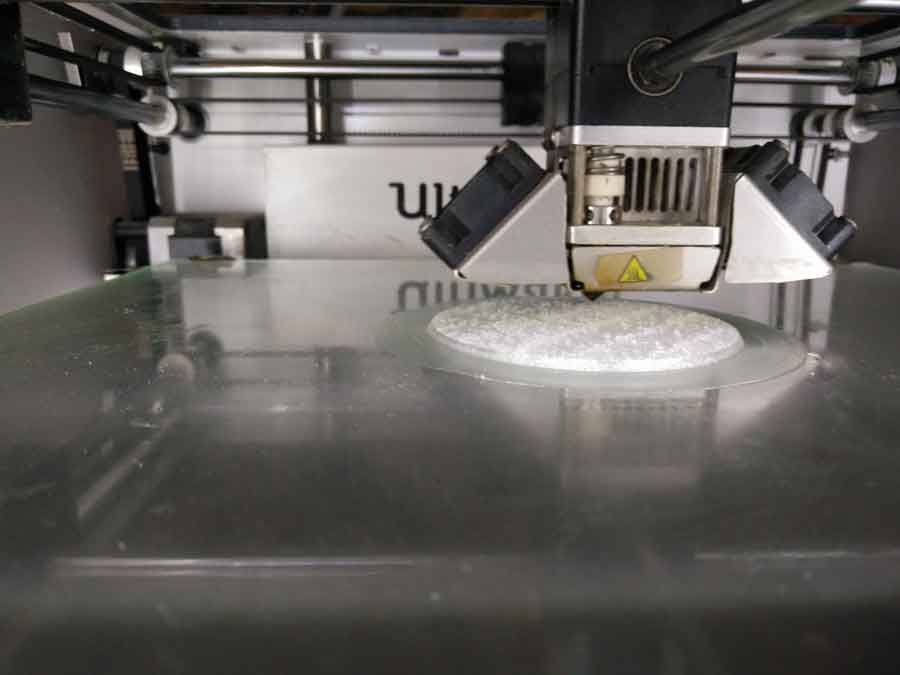
I decided to do this box for practical reason but also because I was curious of the possibility of printing parts that are already assembled and in movement. When I retreived the object from the bed the mobile parts (hinge and lock) were not loose. A little effort was needed to break them loose. And it works perfectly. The part where the knoch clicks did not came out very well. The pla had dripped probably because the heat was too high and there was too long of a distance without support.


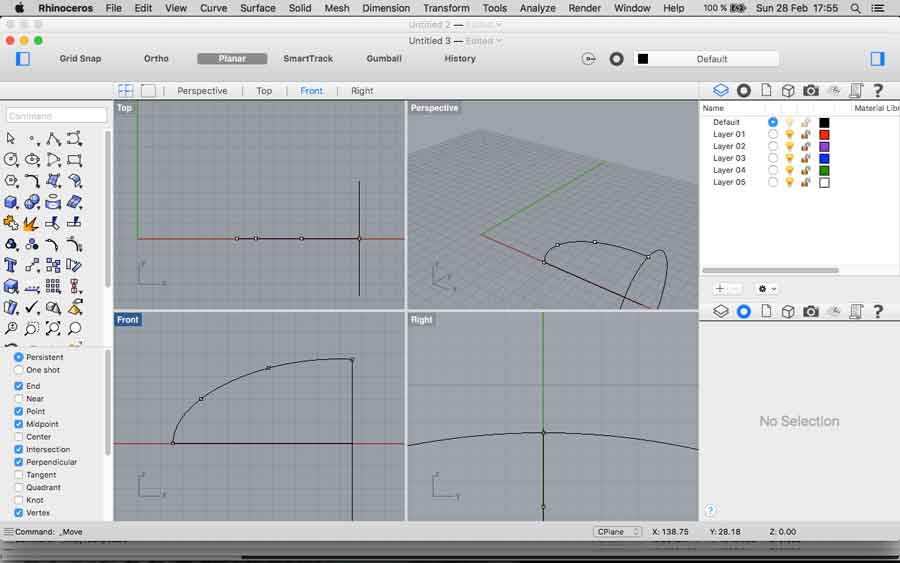
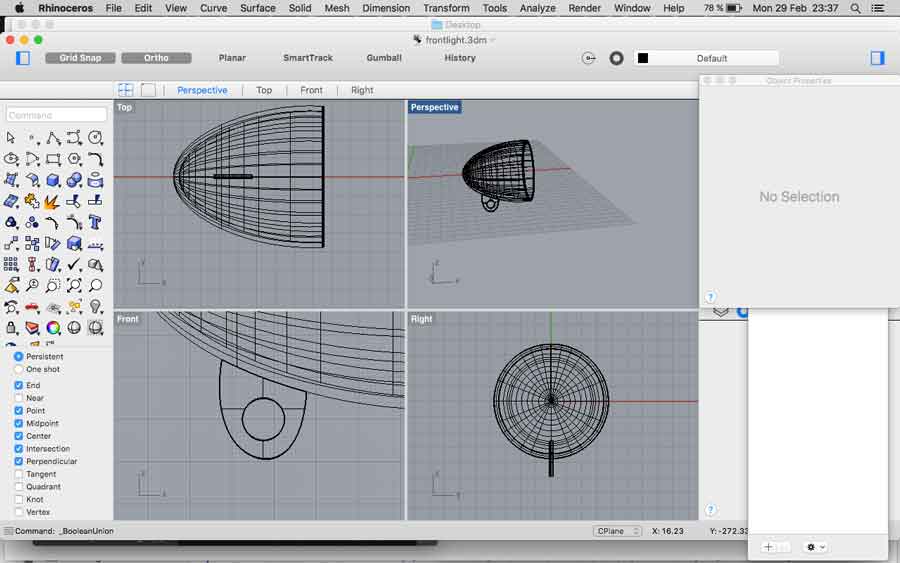
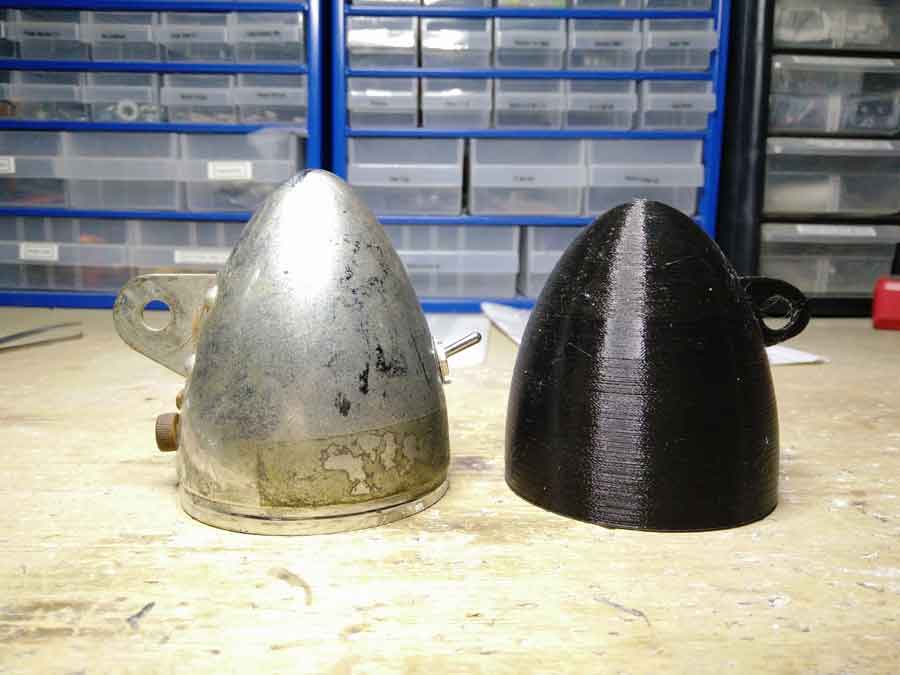
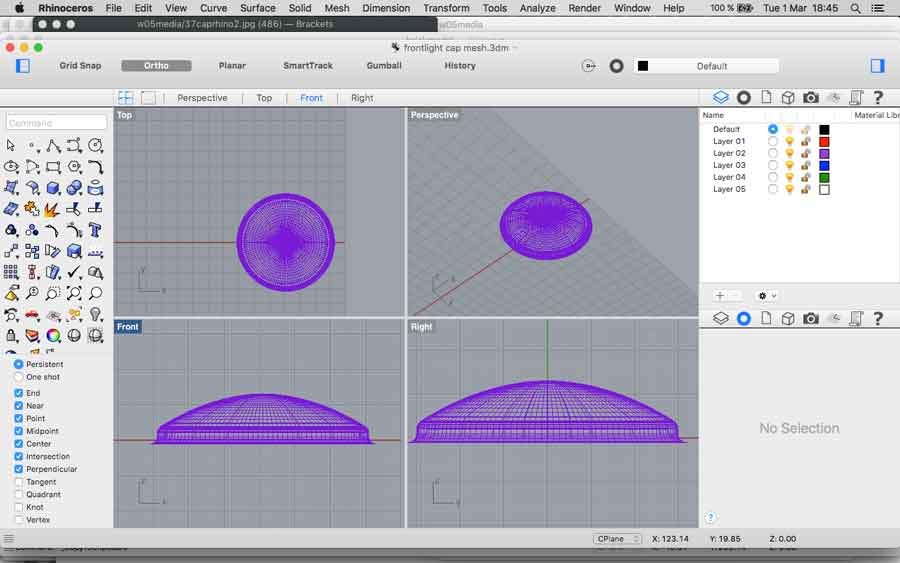
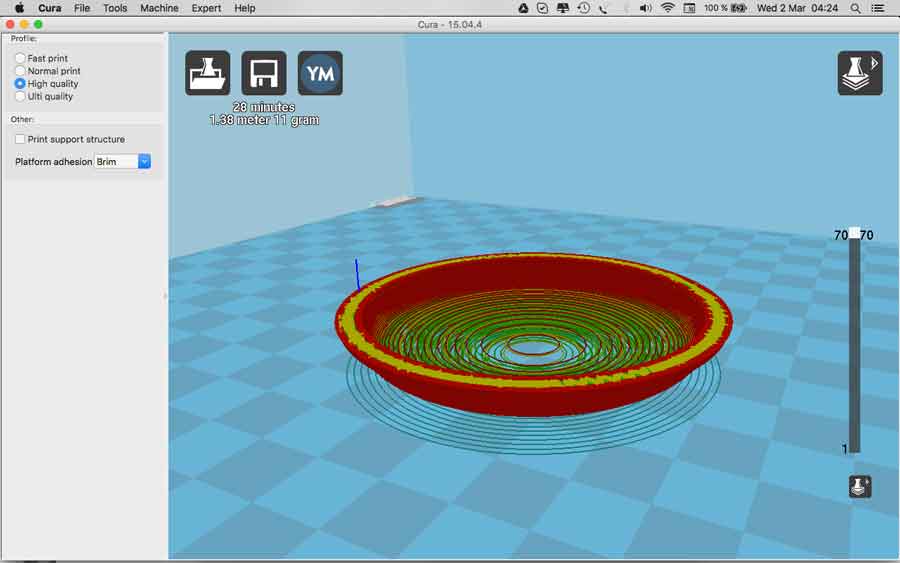
For that assignment I did a first model of a part of my final project: precisely the front light casing. I worked with rhino to get more familiar with it before getting into new platform such as solid works. Making a paraboloid shape was a bit challenging but I made it without too much suffering using curves, sweep commands and meshes.
Printing went really well. Even though I find the quality terrible the process went all well.

I will have do some more tweaking with the design but anyways this model shall serve as a base to define the inner component placement.
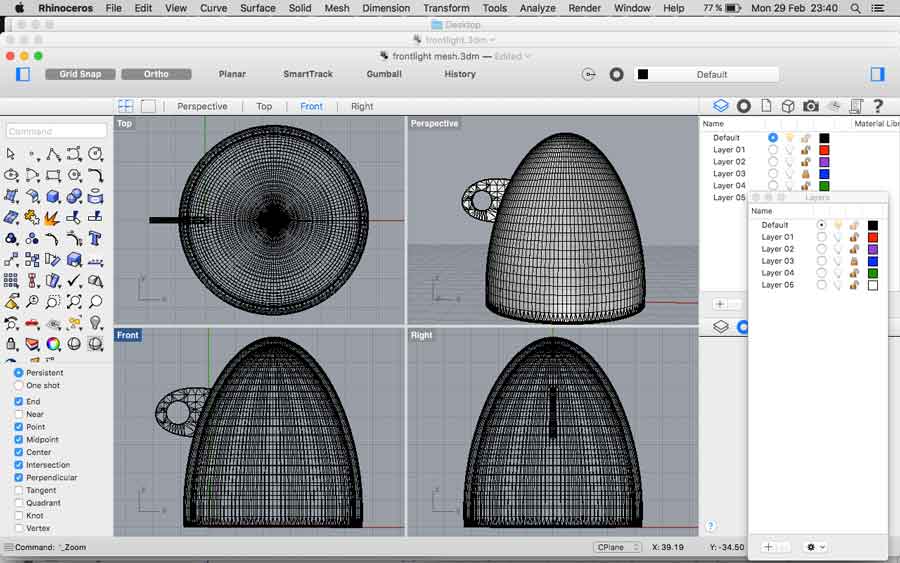
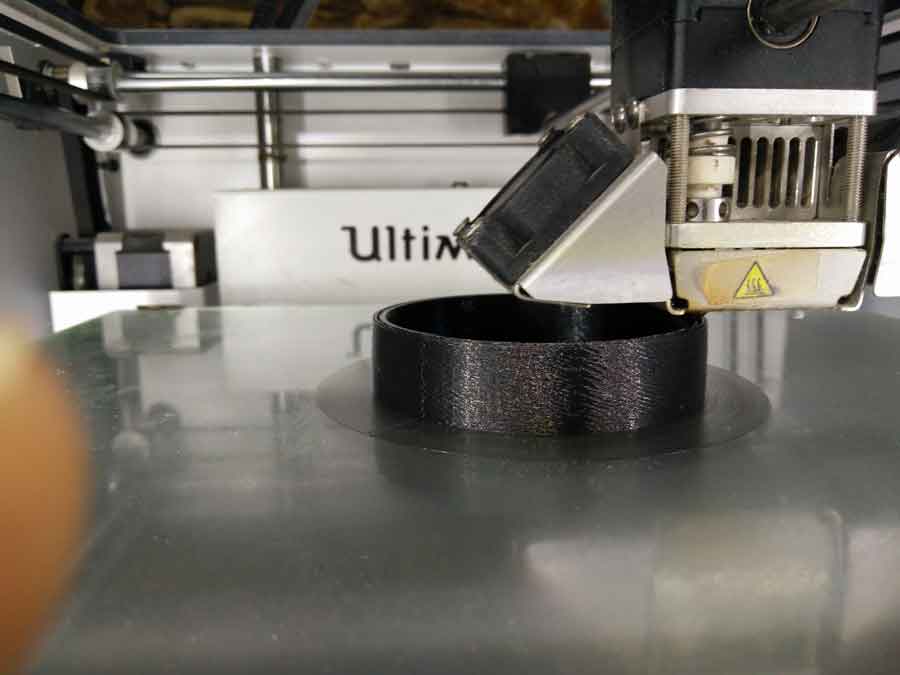
Than I modeled the cap of the front light in rhino.
I intended to 3D print it but I made a few errors both in cura and the printer settings so it did not work well.
First mistake:
In rhino I had created my model facing up so I exported it as is. Cura did created a tick shell to support the hollow part.
2º mistake:
I wanted transparency and the pla wire was smaller than the one I retrieved from the machine, and omitted to adjust the setings.
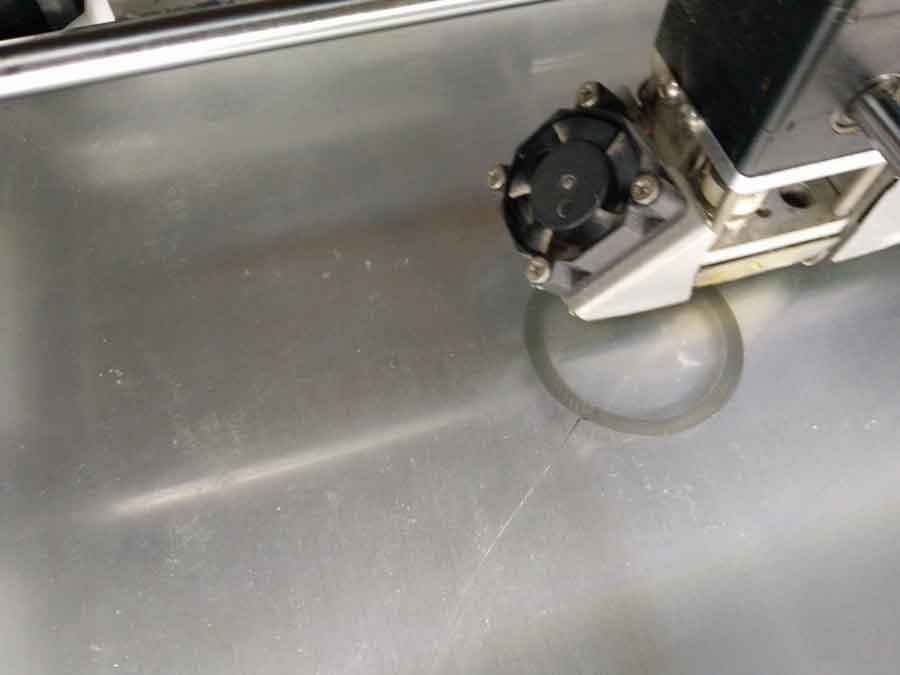
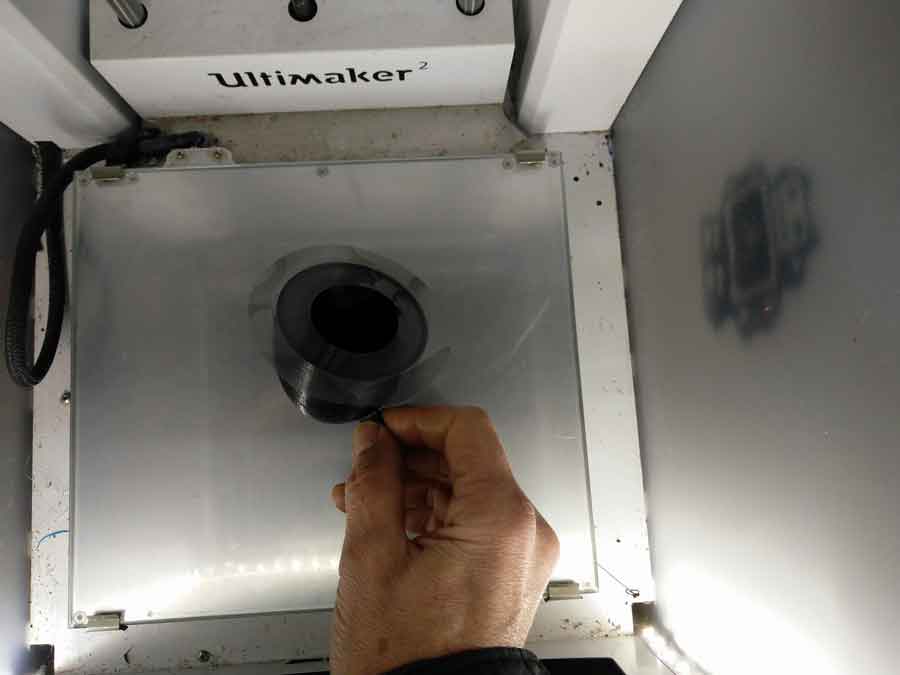
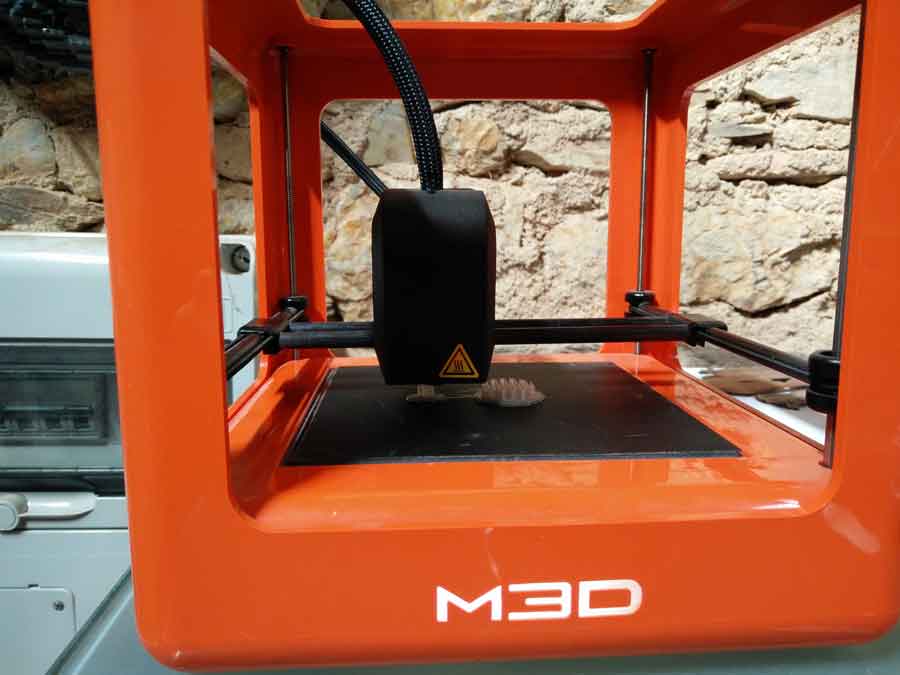
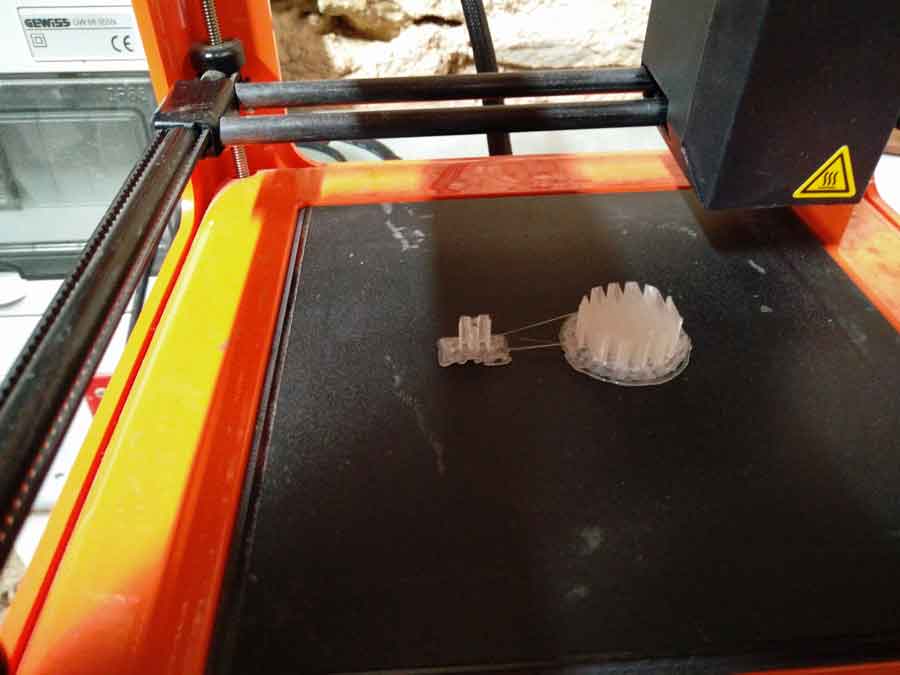
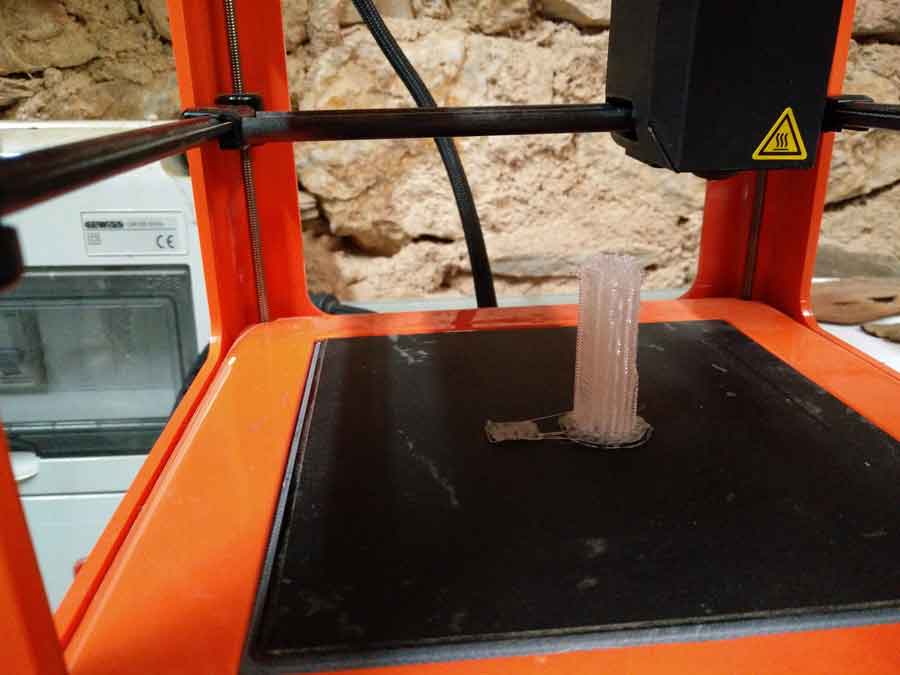
It came out interestingly but not the result I was expecting. Foamy and whitish. (would be a good effect with organic material).
The brim layer printed well.
but the model did not. It seems not enough material was coming out of the nozzle.

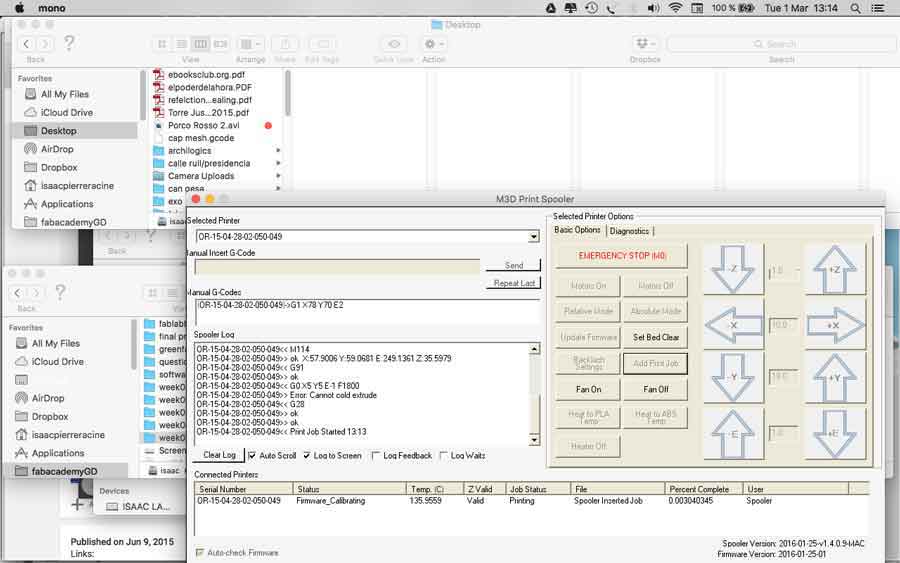
We have a 3dm printer at the lab and I used a lot of time downloading and installing the mono software. I play around with it and funny stuff came out of the nozzle, shapes I was not expecting. One rule I learned is not to be impatient.

I did not enjoy the experience of the plug'n'play inerface. Mono looked good though entering the gcode but I struggled to get the nozzle temperature at pla level. It did let me control the heat but as soon as I sent the print file the heat went down to 156ª.
I gave up for the moment with the 3DM and moved back to designing with rhino a second model for the front light cap. I flipped so the bigger surface would lay flat on the 3D printer's bed and exported it as .stl. Than I opened it in Cura and prepared the file for printing.
I ran out of time and still have to trouble shoot the 3DM and the Ultimaker were busy by my student mates, I decided to leave the printing of this piece for a next phase of the final project.
Here are the original vintage part I use as inspiration and a render of the base model I will develop.

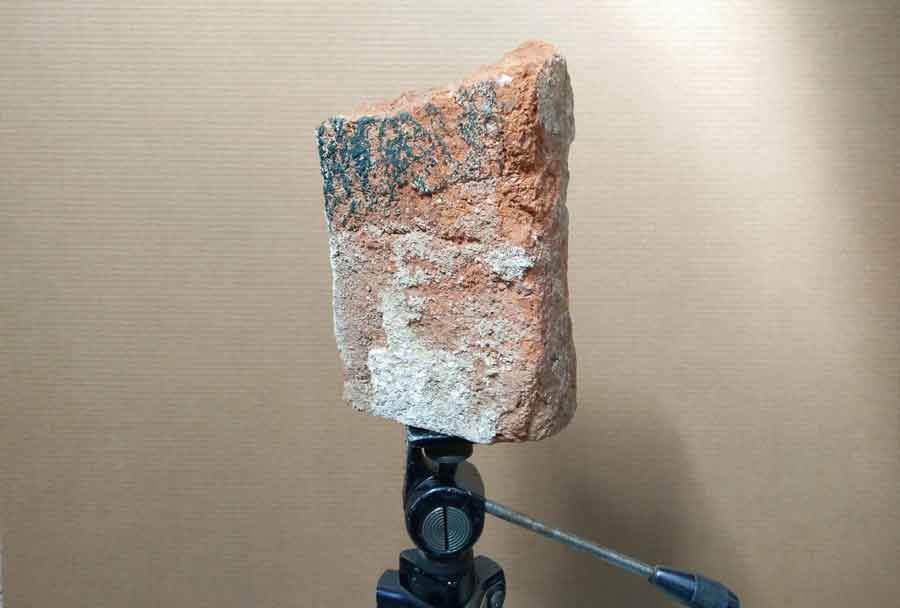
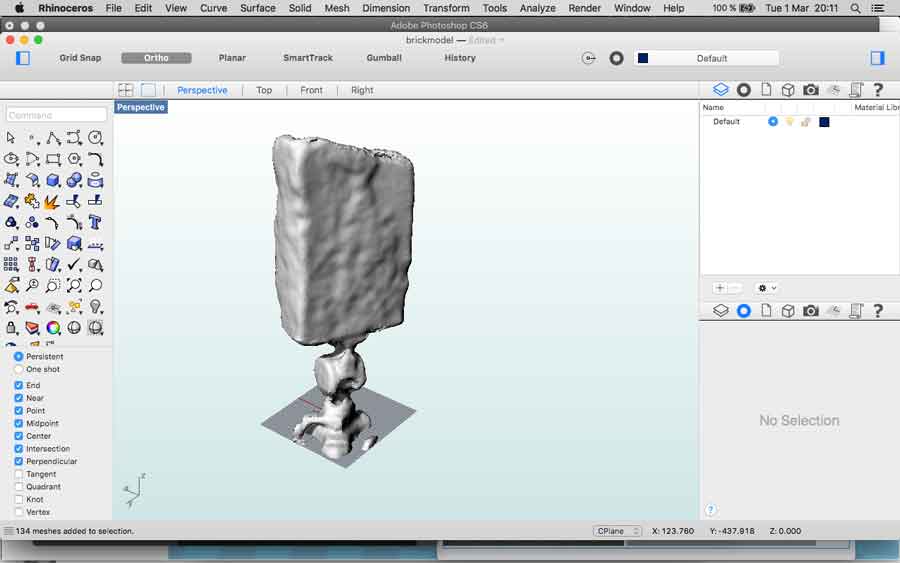
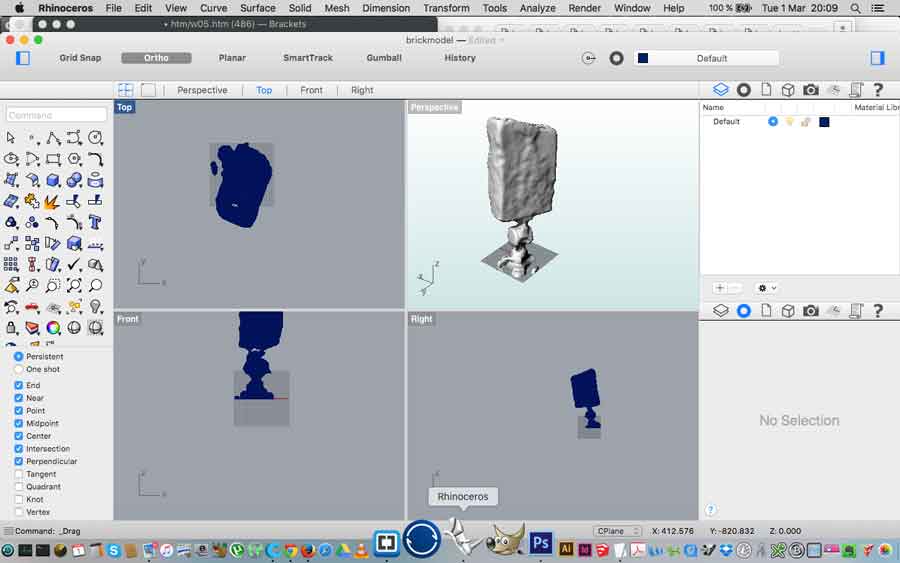
I scanned this stone. It is a local material from valldaura.
- Test the design rules for your printer(s) (group project)
-Design and 3D print an object (small, few cm) that could not be made subtractively
-3D scan an object (and optionally print it)