For this assignment I work on Inkscape and Rhino , comparing the platforms. Inkscape as an alternative to illustrator (which I am familiar with) and Rhino for both 2D and 3D modeling - even though I only use it fo 2D yet.
I worked on a press kit constructtion with Inkscape, just creating the file. Did not get around to laser kut it.

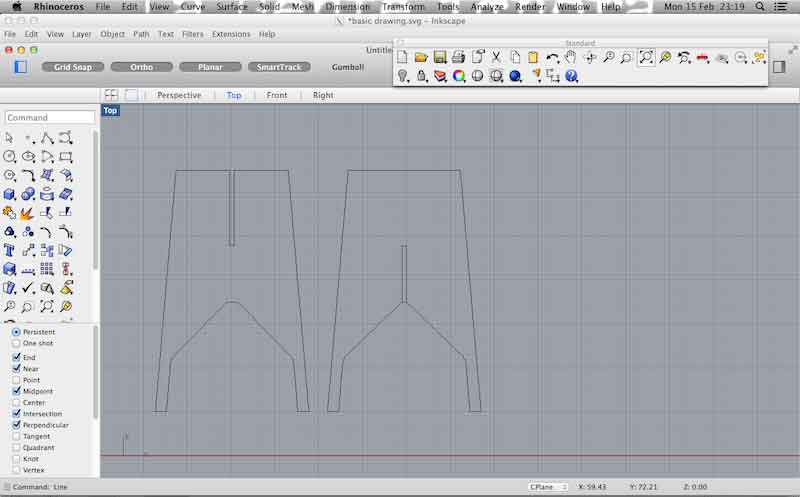
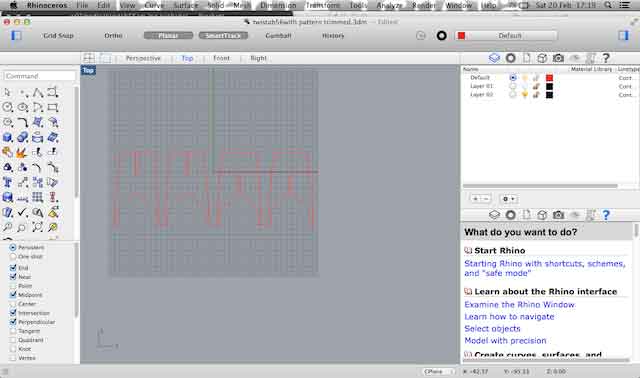
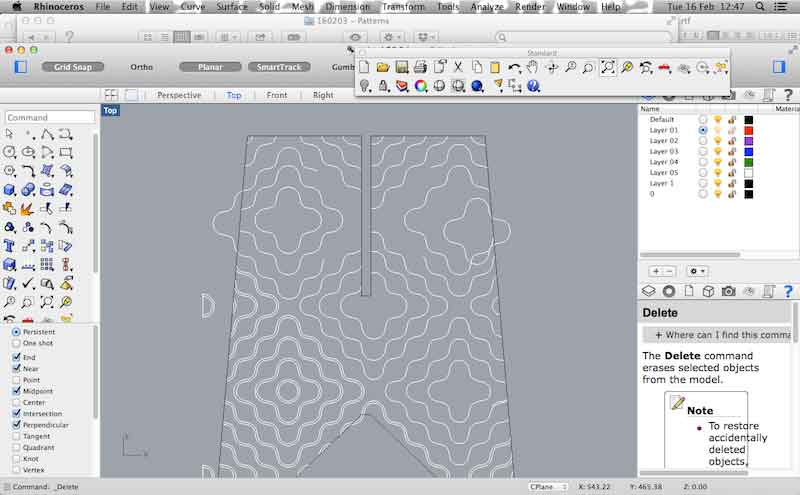
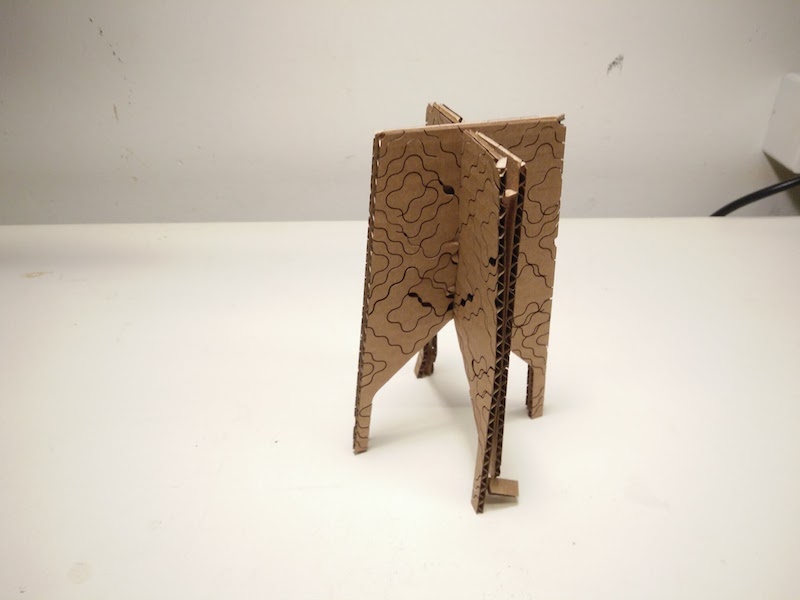
Than I move into Rhino making 2D modelling exercise learning the basic pretty quickly. I made a 2D model of a Twistab (a digital fabrication project I have) iteration (drawing it from scratch).
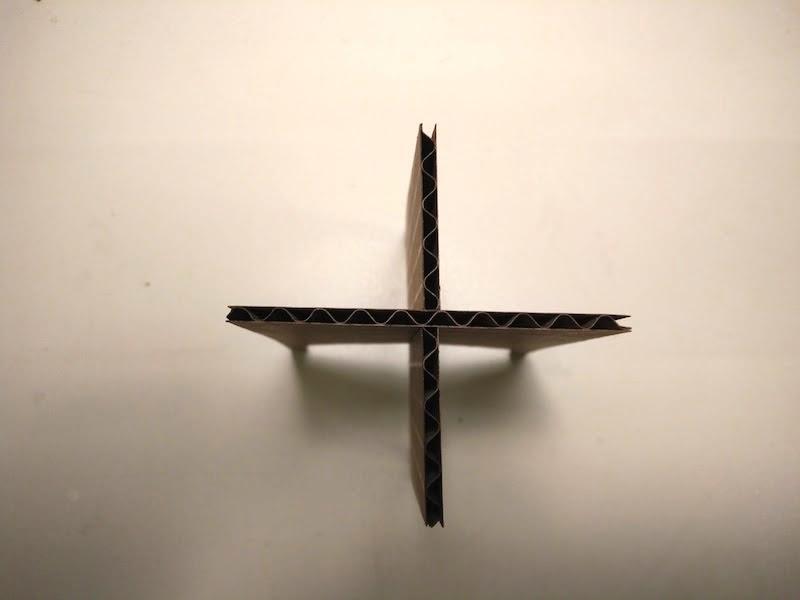
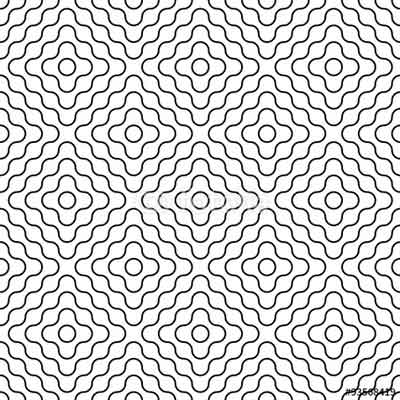
I decided to engrave a graphic pattern on the surfaces. Not to have to flip the cut pieces on the laser cutter (would never coincide) I doubled the slot size and doubled my model so every apparent surfaces can be show engraving. When I laser cutted it I realized I need to reduce slightly the tolerance (.05) to get the right slot gap.
For the engraving i vectorized the image using Illustrator.
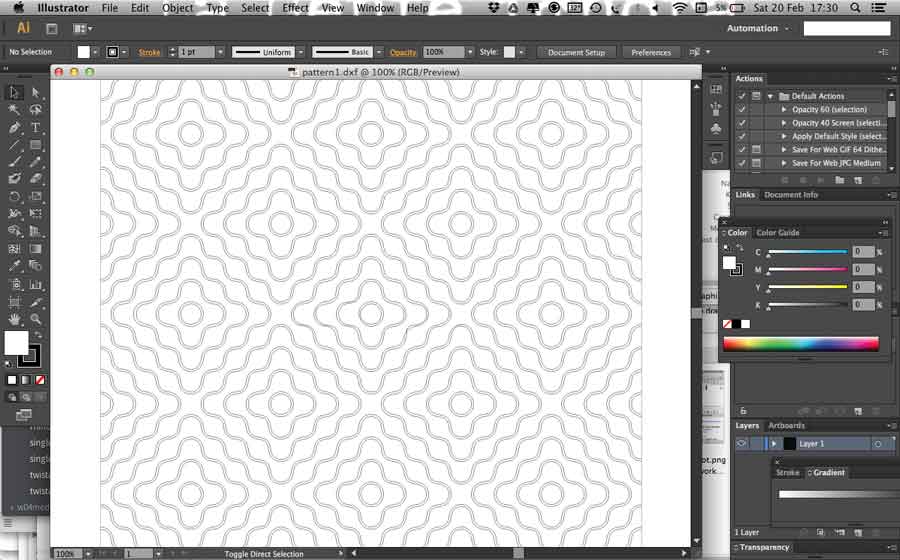
I imported the dxf file into a new Rhino layer, scaled it, trimmed it. The images contained a lot of lines making the file heavy and slowing up the Rhino workflow.
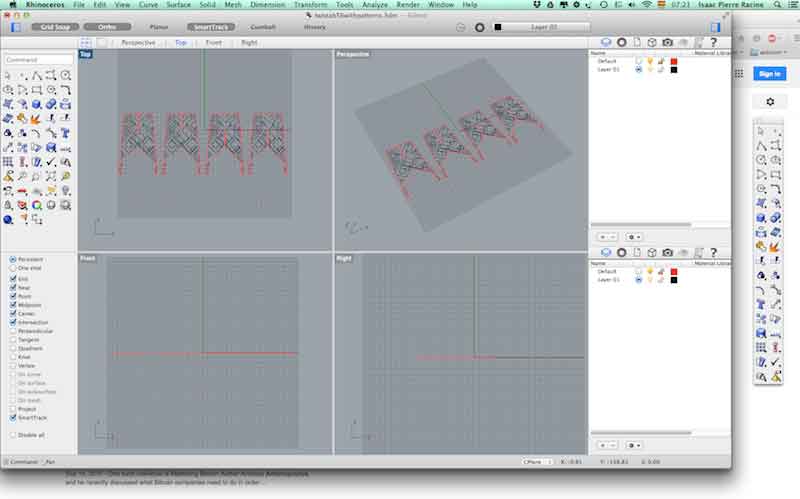
When i opened the rhino file into the trotec i realized there was a lot duplicated line in the drawing making the file over heavy so I went back to Rhino to clean it up.
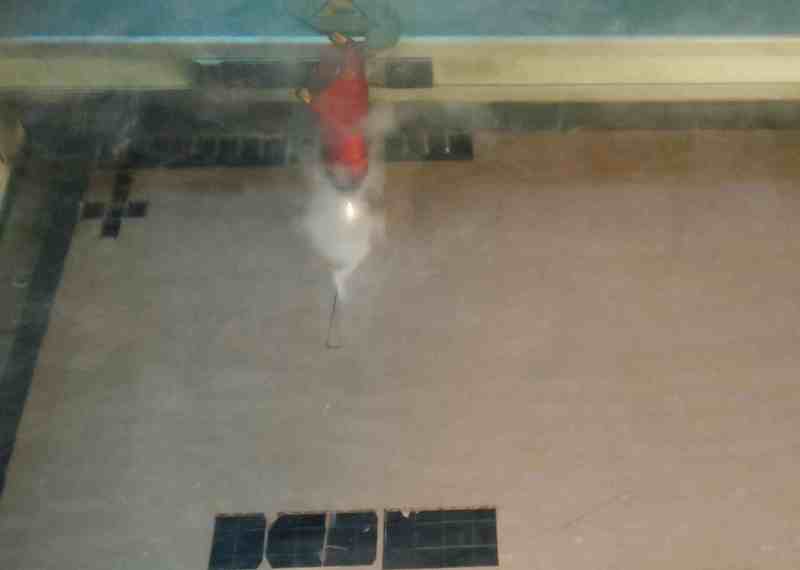
Had to struggle a lot with the trotec software. I faced an issue wanting to use the cut function to engrave the patern on the surface. Even though the file was properly vectorized the trotec did not allow using the cut function at low power to print the pattern. This solution would be more efficient and less time consuming. I finally assume we had to use the engraving function.
First cutting test was a proportion mistake in the drawing which was so small that the engraving line were so close to eachother that it cut through in the area where it should have been engraved.
After correcting the proportion in the drawing I sent the file with the same settings (80 power/5 speed for engraving, 100 power/3 speed for cutting) but when I pulled the pieces out where the vector lines met the engraving had practically gone through the material and the result was wabbly and could barely hold together.
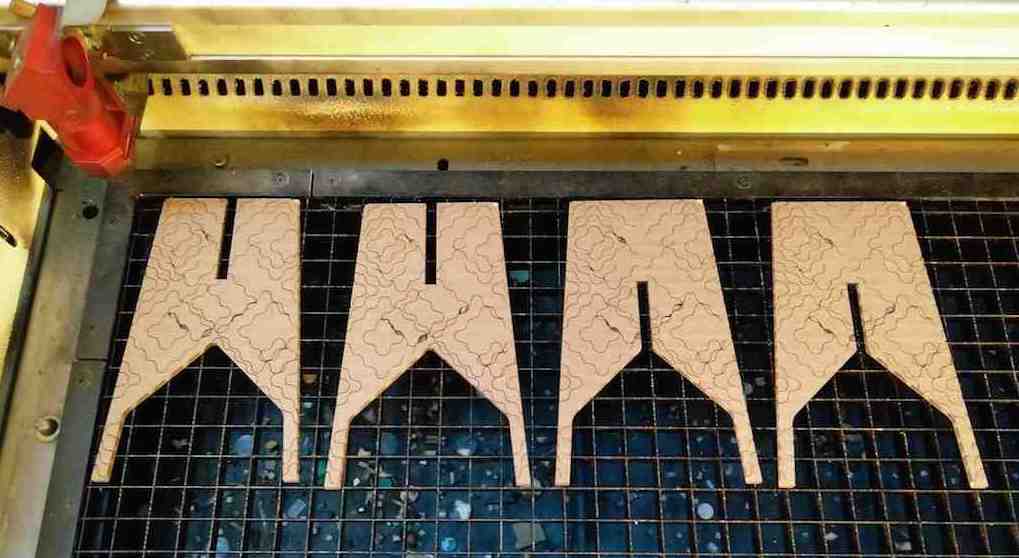
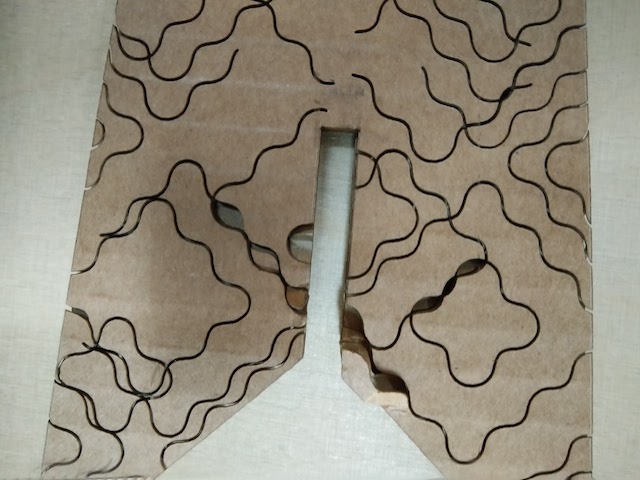
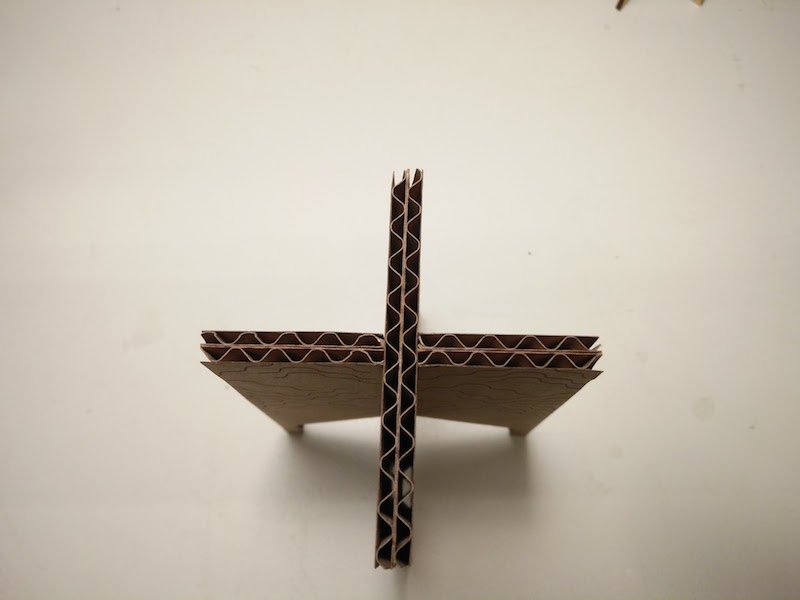
At last, with 100 power/10 speed for engraving, 100 power/3 speed for cutting I managed to get a proper result.
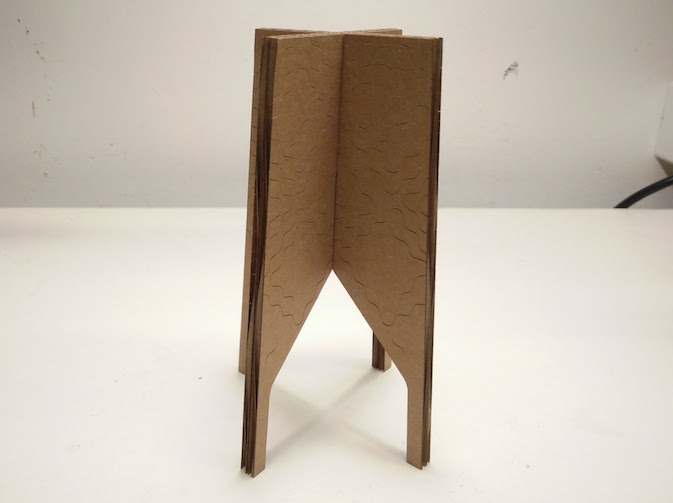
None of the exercises I did for this assignments are related to my final project unfortunatly. Nevertheless I learned a lot and enjoyed especially the actual cutting process/ interaction with the machine but I am not very satisfied with the result. As I am so concern with every tecnical aspect, especially handling the software, I find little margin for the creative aspect and that feels a lot frustrating. As I get more familiar with the interface that problem shall resolve.
-Demonstrate and describe parametric 2D modelling processes. DONE
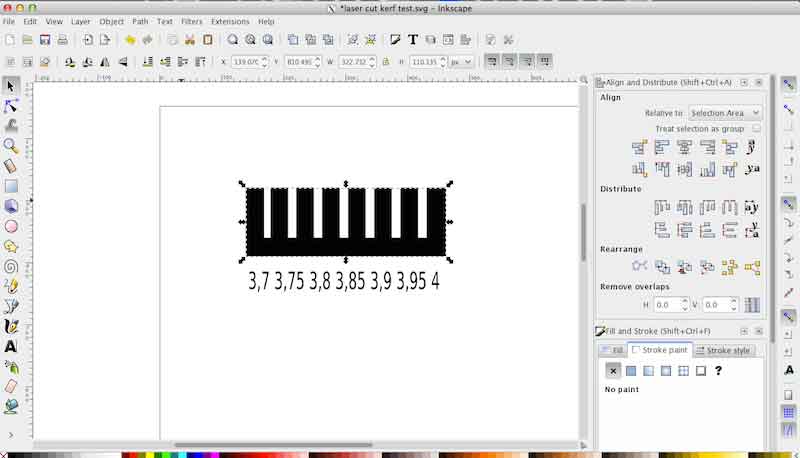
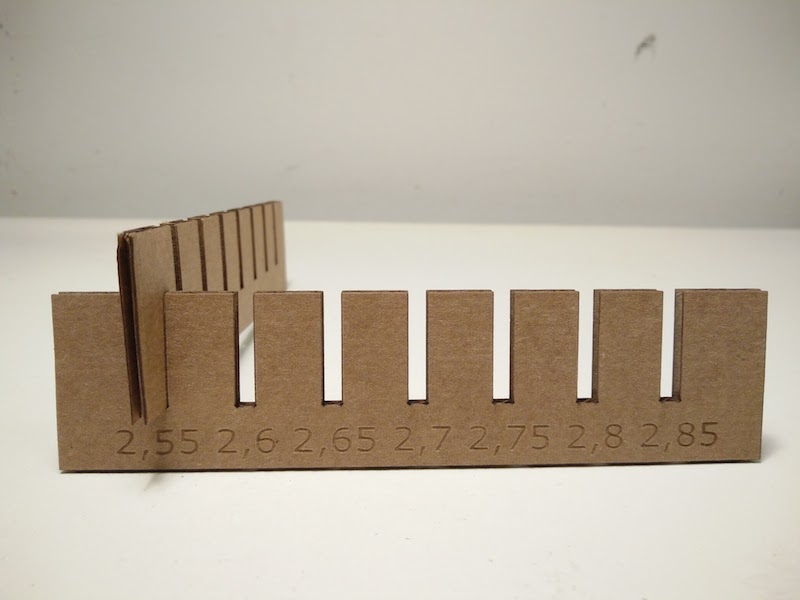
-Identify and explain processes involved in using the laser cutter. DONE but I want to experiement more.
Develop, evaluate and construct the final prototype. DONE but I want to go further in the process.