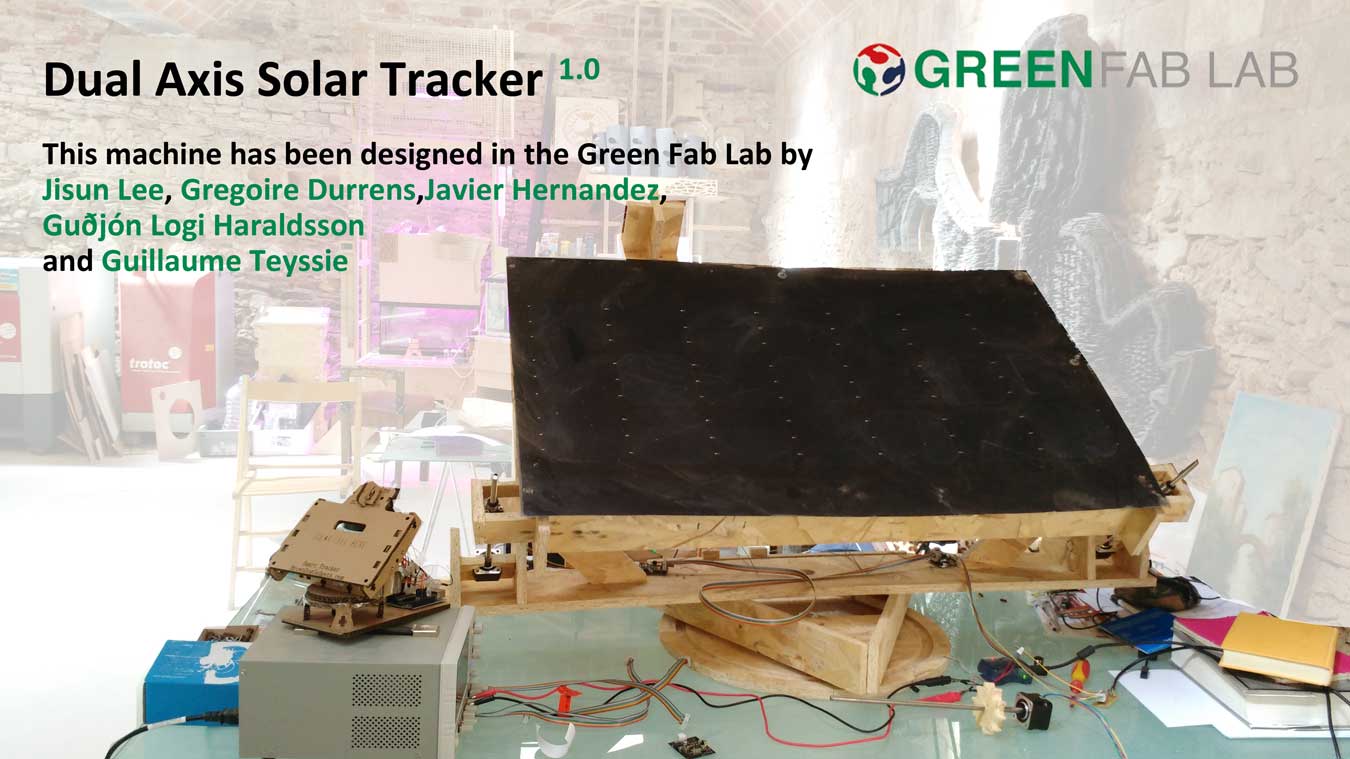
Week #10 #11 MACHINE & MECHANICAL DESIGN
Assignment
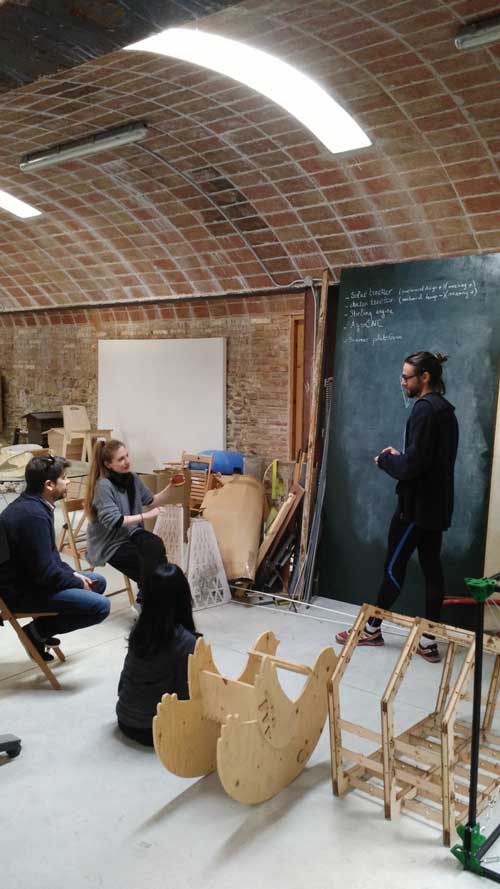
Brainstorming session to identify our project
To select the project we wanted to work on, we used the two following criterias:
- Mechanical design
- Meaningfull fro the Green Fab Lab
| Project | Description | Mechanical Design | Meaningfull for the Green Fab Lab |
| AgroCNC | Showboat for seeding and irrigating agricultural field | + | ++ |
| Mobile chicken house | - | ++ | |
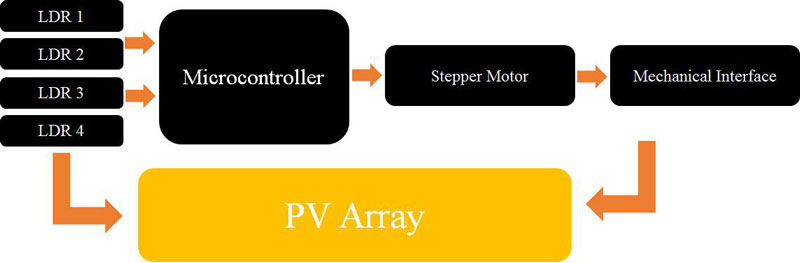
| SolarTracker | Mobile chicken house | ++ | ++ |
| Scanner | ++ | - |
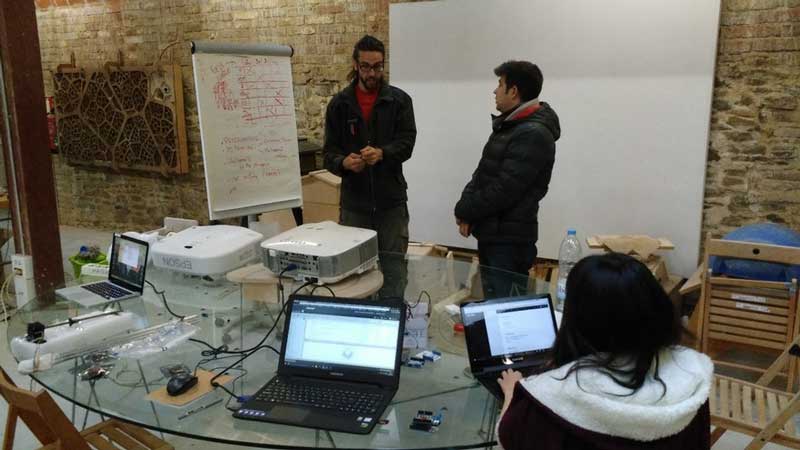
Working packages distribution
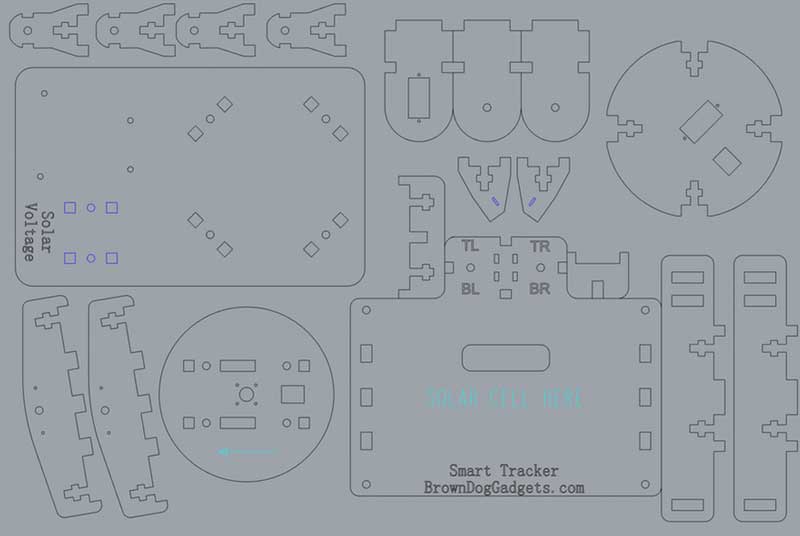
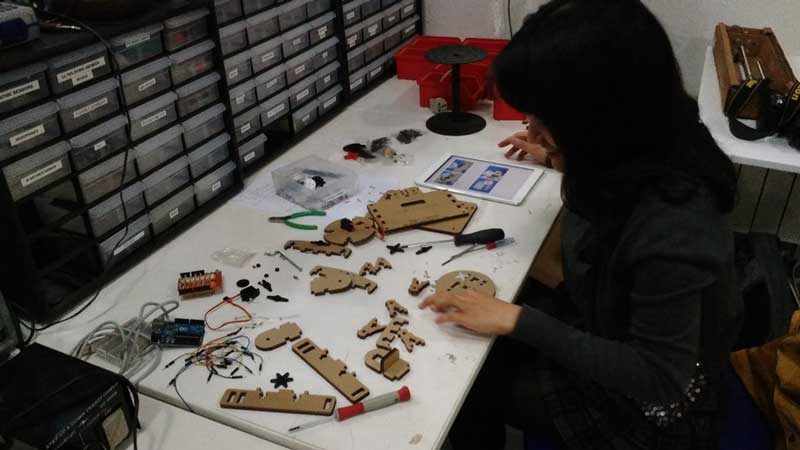
Rapid Prototyping using the dual Axis Solar Tracker approach with cardboard and Arduino
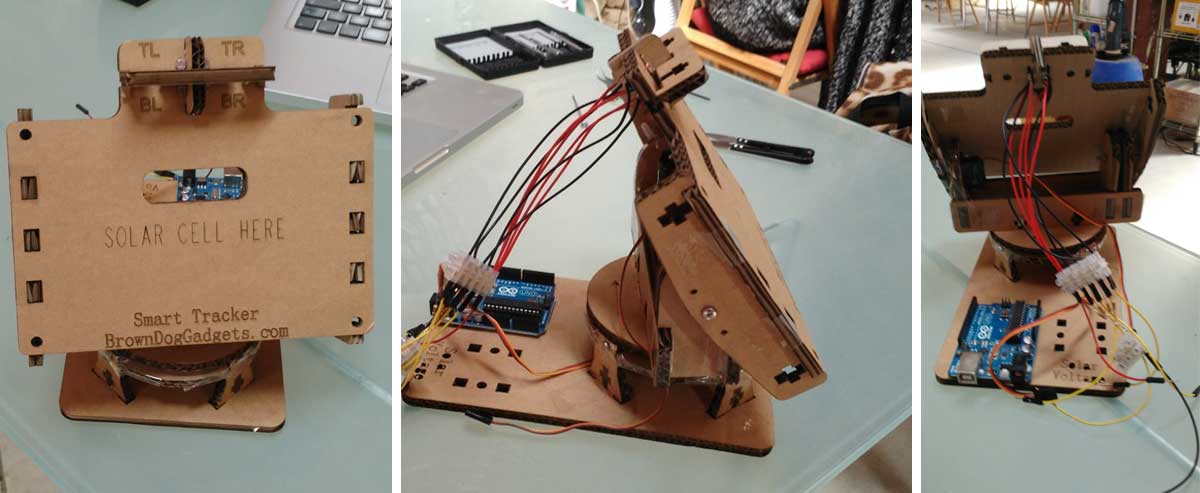
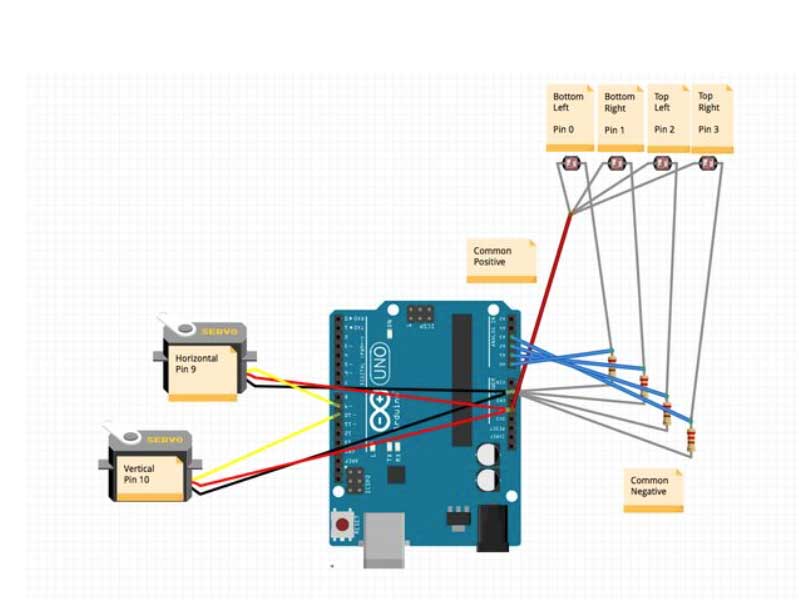
As a first step we've opted to follow a tutorial about the dual Axis Solar Tracker DIY powered by Arduino using Cardboard to get a better understanding of:
- the electronic architecture between the brain,the sensors and the motors
- the code behind to make it happen
Doing this exercise will help us get more confident to build our own solar tracker board for the 1:1 scale project. What's more, this mock up will certainly help us get a better understanding of the mechanical design and see how we can improve it on the 1:1 scale project.
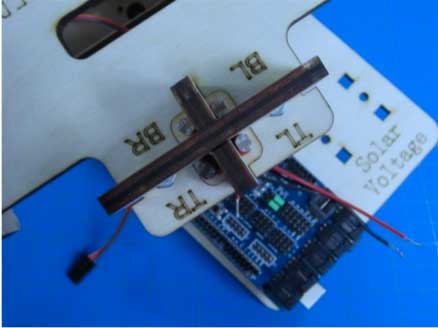
Prototype description and assembly


Prototype electronic control
Trouble shooting
Prototype programming

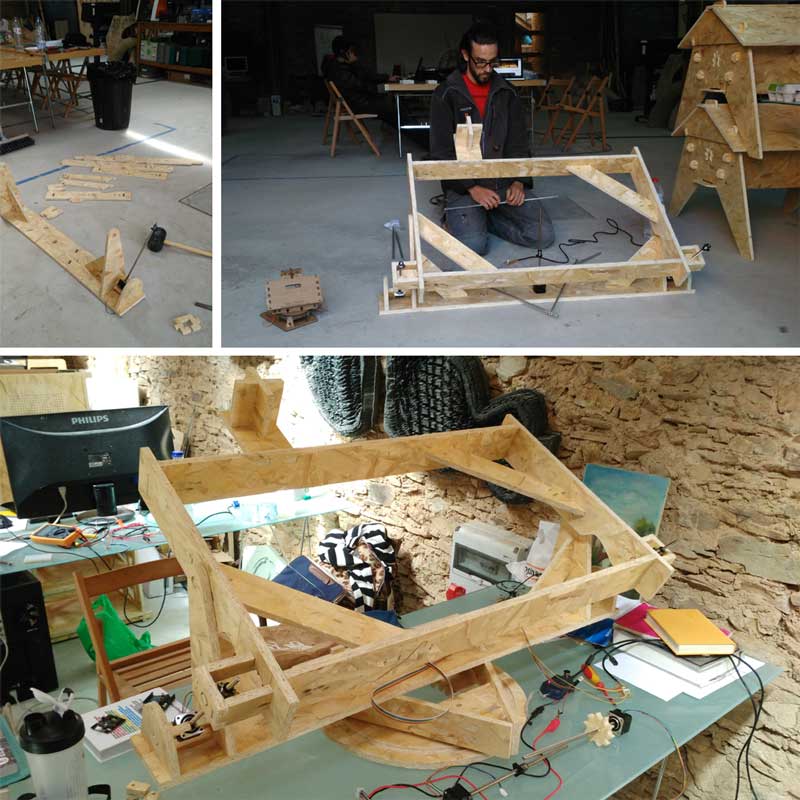
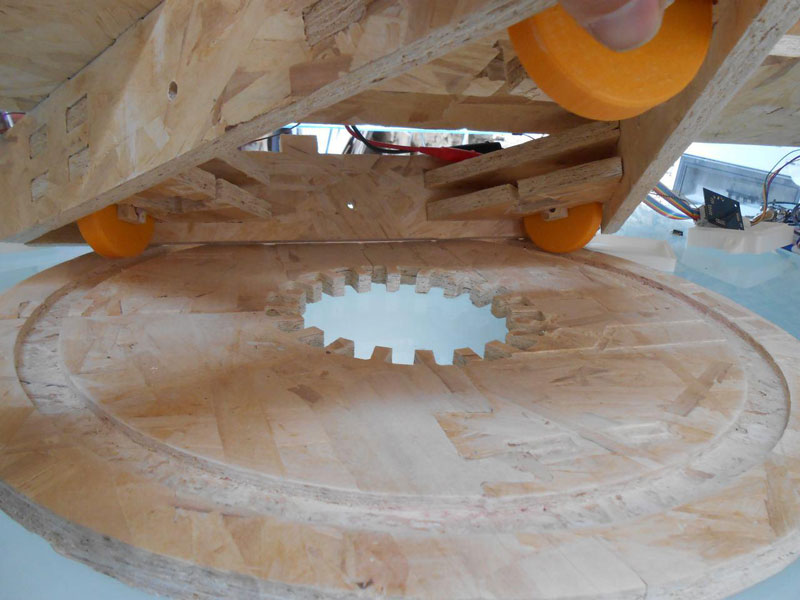
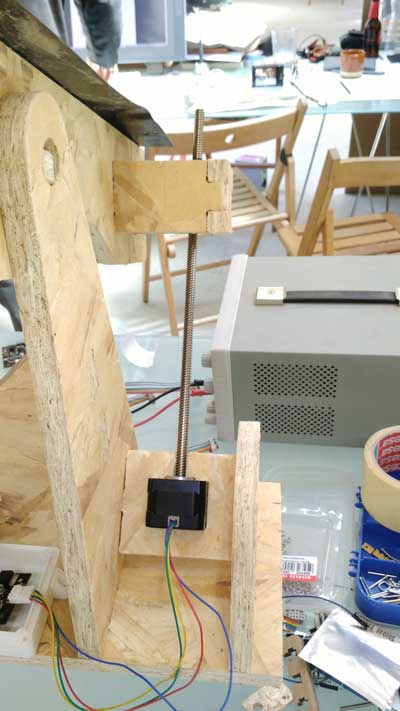
Machine description and assembly
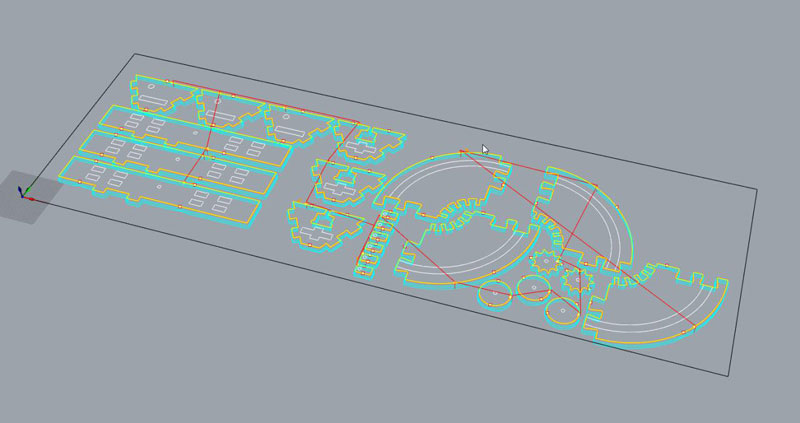
Solid Works
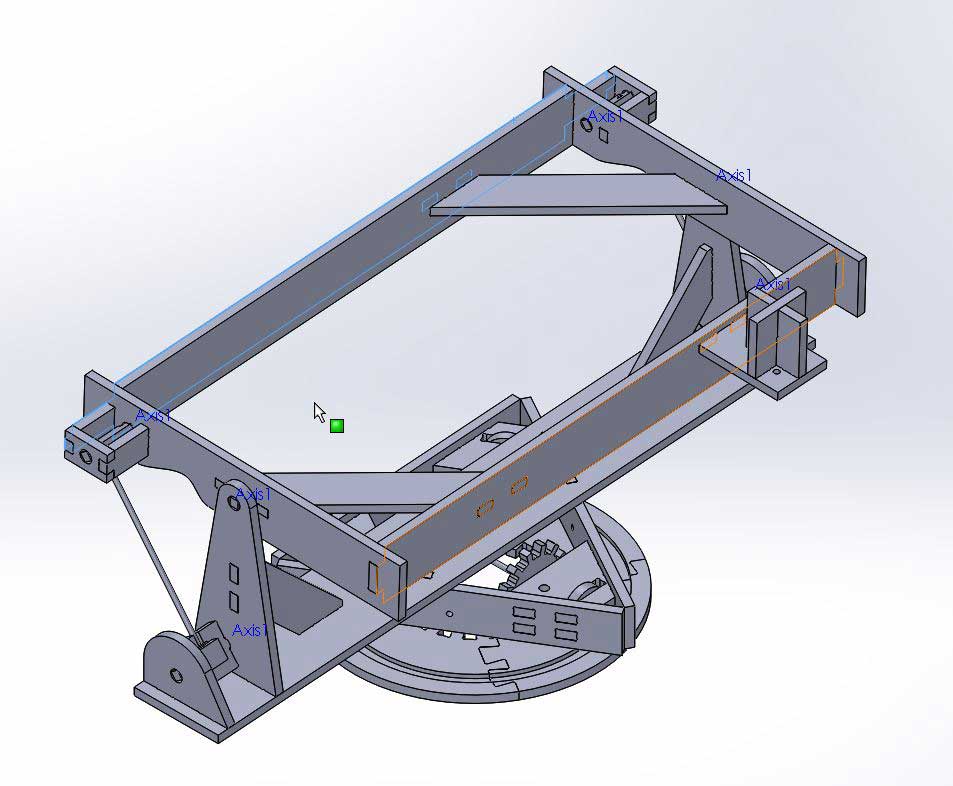
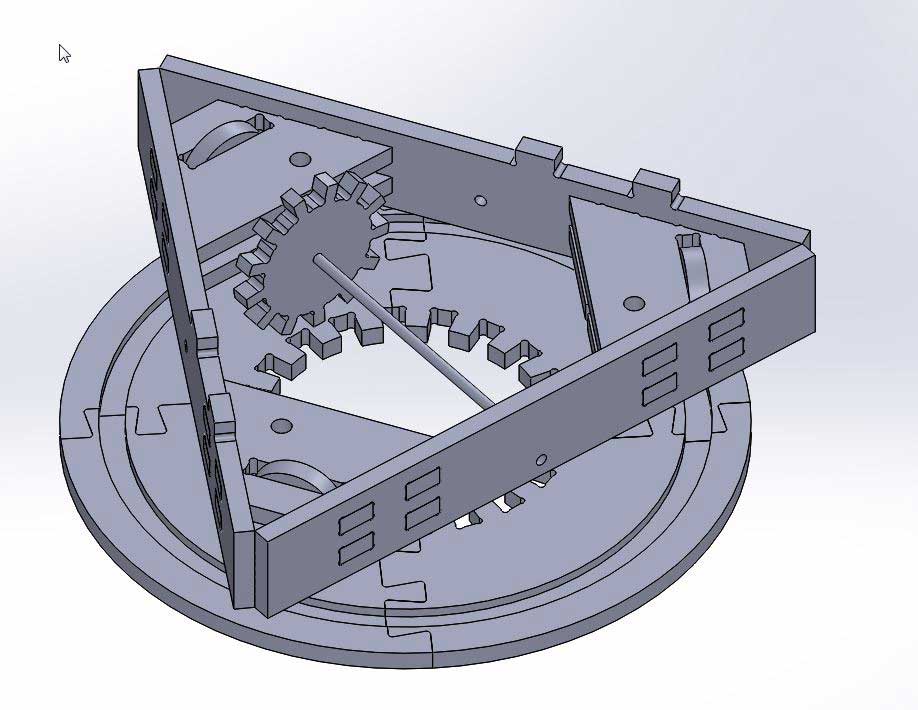
CNC the structure
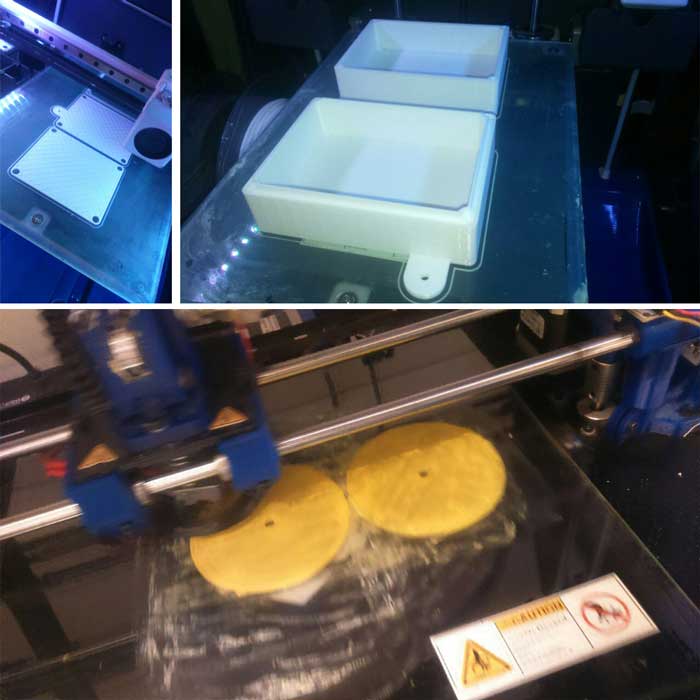
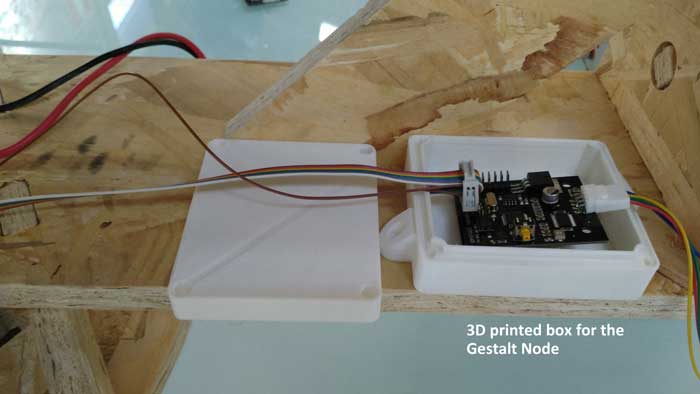
3D print the wheels and the electronic boxes

Electronic control
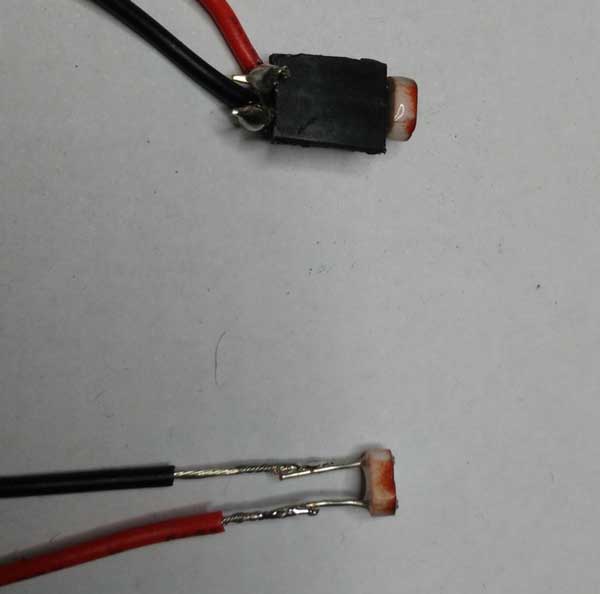
The electronic controller of the machine consists of nodes "Gestalt", the machine will have many nodes as motors have to control.
This is one of the Gestalt nodes:

The communication between the computer and the nodes is done in series, so that all nodes are interconnected, can be added as many nodes as you want, you only need to add at the end of the last node. The resulting configuration looks like this:
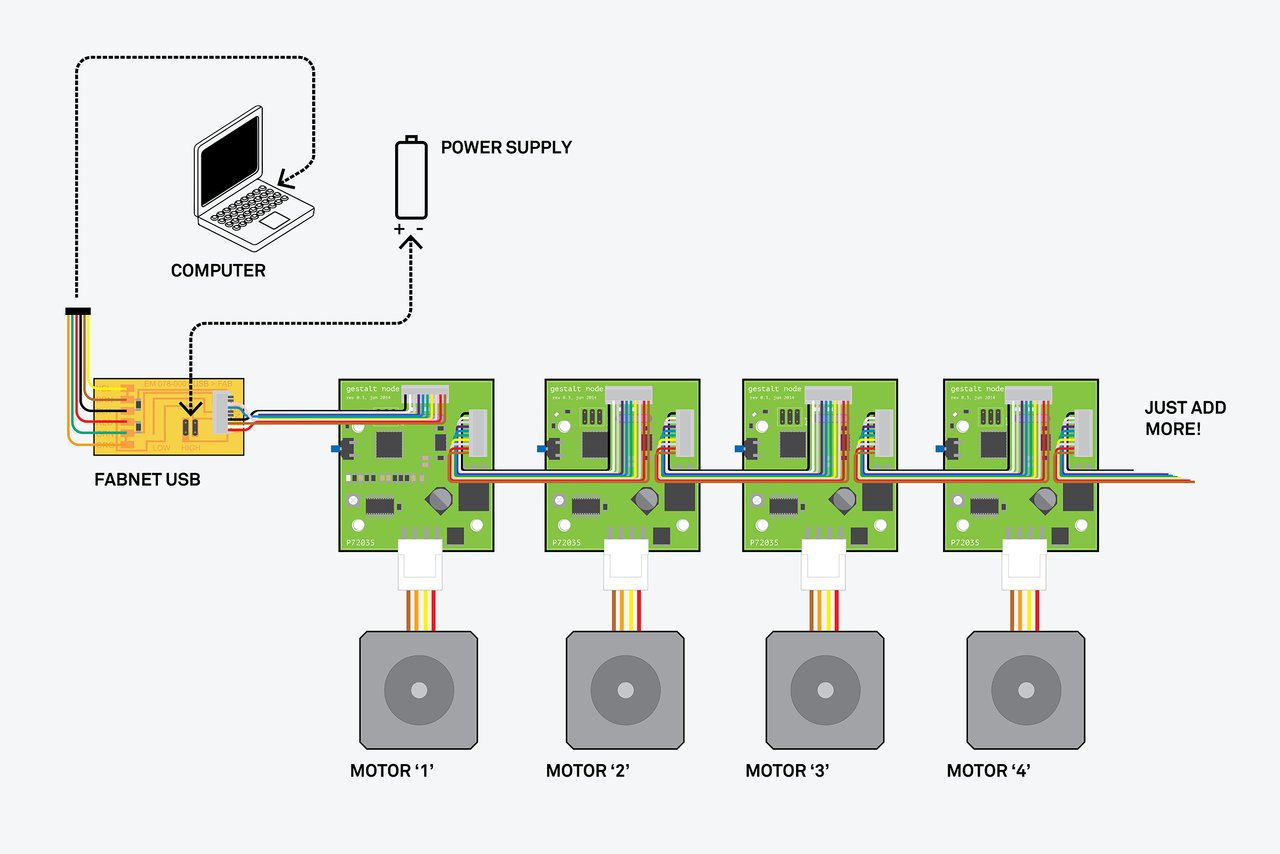
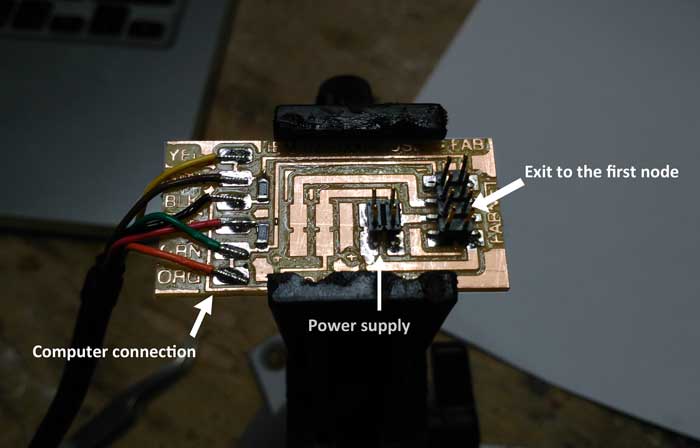
As shown in the picture above, you need to create a board that bridges between the computer and the first node. This board is used for transmitting nodes both information and power to the engines.
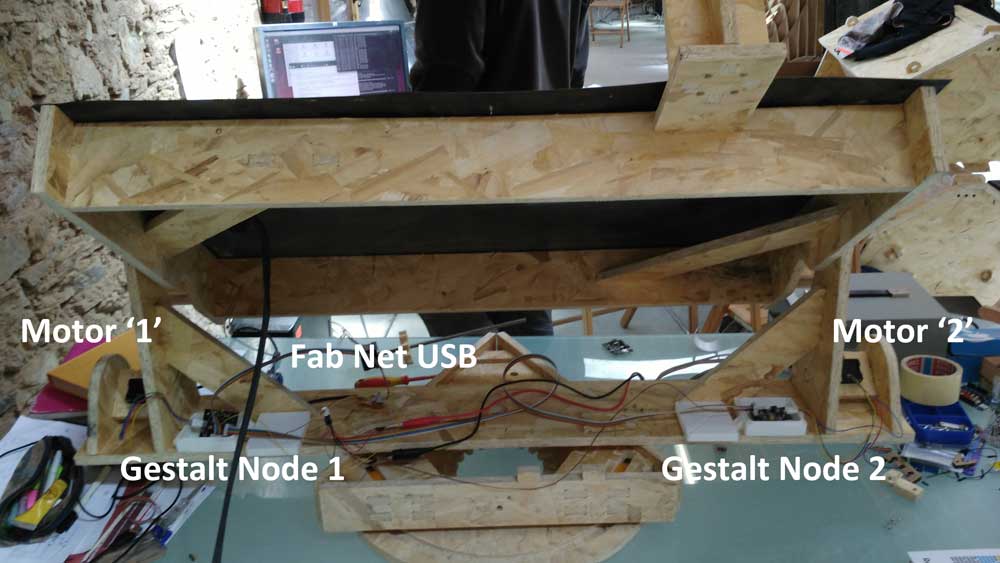
In the next picture you can see the mounted machine with each of its nodes numbered
Horizontal motor
Vertical motor
Programming the modules
Vertical motor
Horizontal motor
Sources Files
You access and download all the files generated during this week from my google drive:
Conclusion
xxx