Rangavalli
Bringing the goodluck in life.
A machine to draw Rangavalli/Rangoli which is an art form from India in which patterns are created on the floor using materials such as colored rice, dry flour, colored sand or flower petals.
The purpose of Rangoli is decoration, and it is thought to bring good luck.
Introduction
We have decided to make Rangoli making machine.Rangoli is a art in which granular flour of marble is used to draw picture and different designs. In India it is tradition to draw rangoli on special occasions.
In India early in the morning people showers water on floor in front of house and draws Rangoli. Specially ladies does this task. But now a days there are professional artist who makes beautiful rangolies too. Makgin a rangoli consumes significant amount of time if there is no practice also it is a part of skill.
Everybody wants to draw beautiful Rangoli in front of their house but most of the time ,due to scarcity of time they unable to do so. That’s why we want to develop rangoli making machine in make a machine assignment.
What is Rangoli made of?
Rangoli is a coarse powder obtained by pounding a cleavable and lustrous mineral (shirgola). In the Konkan region (near Maharashtra and Goa states in India) the husks of rice are burnt and the white ash obtained is used as rangoli.
How is Rangoli drawn?
A pinch of Rangoli powder is taken using the index finger and thumb. As the Rangoli is a coarse powder of special soft white stone, which can flow freely when slowly released from the fingers.
To make a Rangoli:
- The surface is prepared by cleaning it thoroughly. The surface was smeared with cow dung or ocher, and after it dried, rangoli was drawn on it at specific locations. In the ancient times it was a practice to daily sweep and sprinkle every doorstep with cow dung and draw rangoli.
- A design or auspicious symbols or signs are selected for drawing.
- After the selection, the required numbers of points are created on the floor using the Rangoli.
- Then these points are joined with the appropriate design shapes, lines, curves, etc.
- Once the shapes are drawn the colors are filled in using the same technique described above. The colored Rangoli is made by mixing the Rangoli powder and the color powder together in the required quantity to make different shades and tints. Picture of the colors available in market shown below.
Splendid colors

Beautiful colors present in the image are the colors which are to be mixed with the Rangoli powder to make it colored. Rangoli powder is basically white in color to make it look attractive these colors are used.
Spiritual significance of Rangoli
In Hindu Dharma, rangoli is drawn during every festival, auspicious occasion, religious rituals, etc. All the festivals, auspicious occasions, rituals, etc. are associated with one of Deity principles. During these days, the Divine principle of a specific Deity is present in the atmosphere in a larger proportion on the day of the respective festival or is attracted to the venue where religious rituals of that Deity are being performed. In order to attract maximum Deity principle, rangolis that attract and transmit respective Deity principle are drawn so that everyone derives spiritual benefits from it.
According to a Principle in Spirituality that ‘word, touch, taste, form, smell and their energy co-exist,’ even if a small variation is made in the form and colour of the rangoli, its vibrations change. The booklet ‘Sattvik Rangolis’ illustrates various sattvik designs of rangolis which attract and transmit various Deity Principles such as – Deity Ganesh, Deity Rama, Deity Krushna, et. al.
The main feature of sattvik rangoli is that due to transmittance of Deity Principle, the devotees get various anubhutis (spiritual experiences) of Shakti (Divine Energy), Bhav (spiritual emotion), Chaitanya (Divine Consciousness), Anand (Bliss) and Shanti (Serenity).
Rangoli at Vigyan Ashram


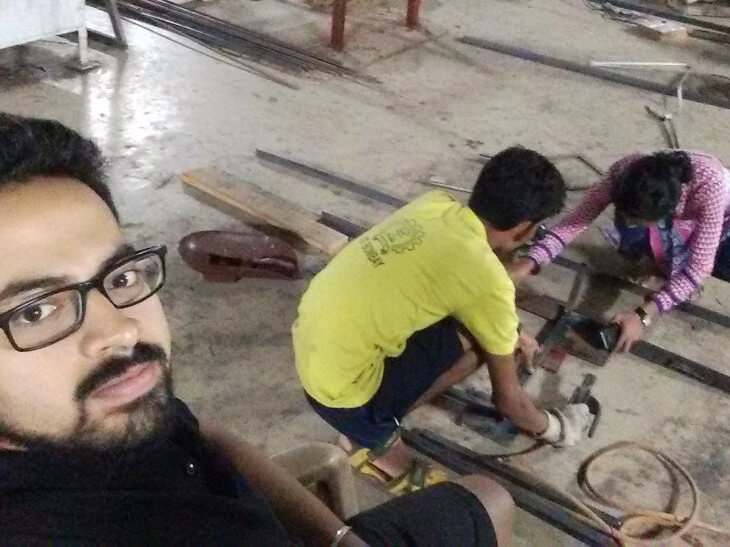
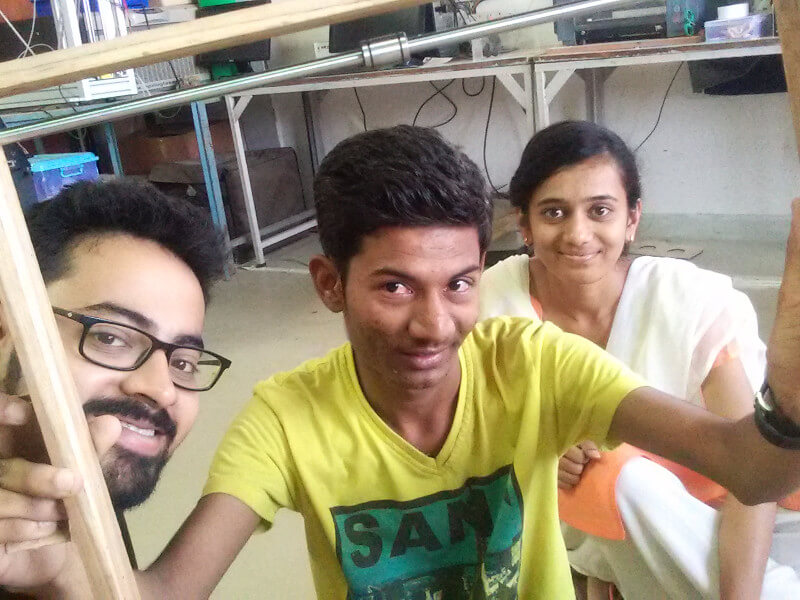
Team
Sketching and Documentation
Mentors
Electronics and Coding
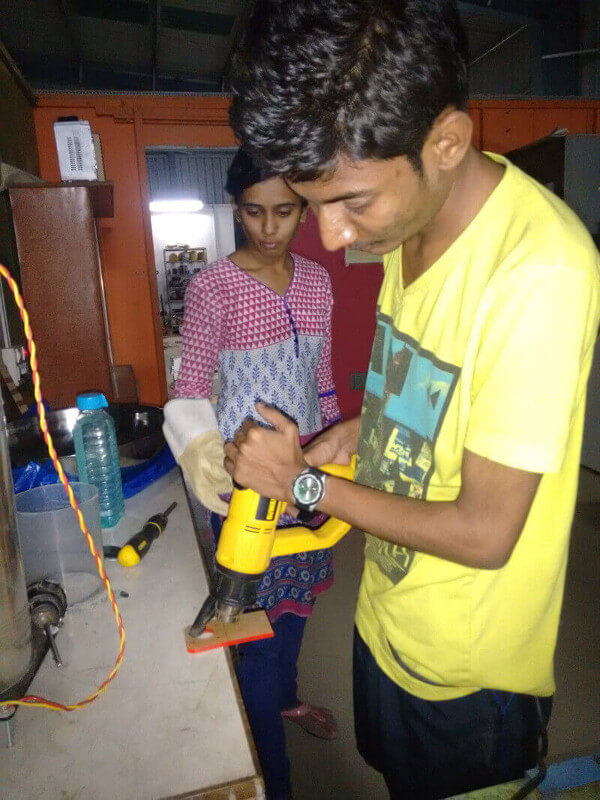
Assembly and Testing
Sketches


Dicussion and Brainstorming

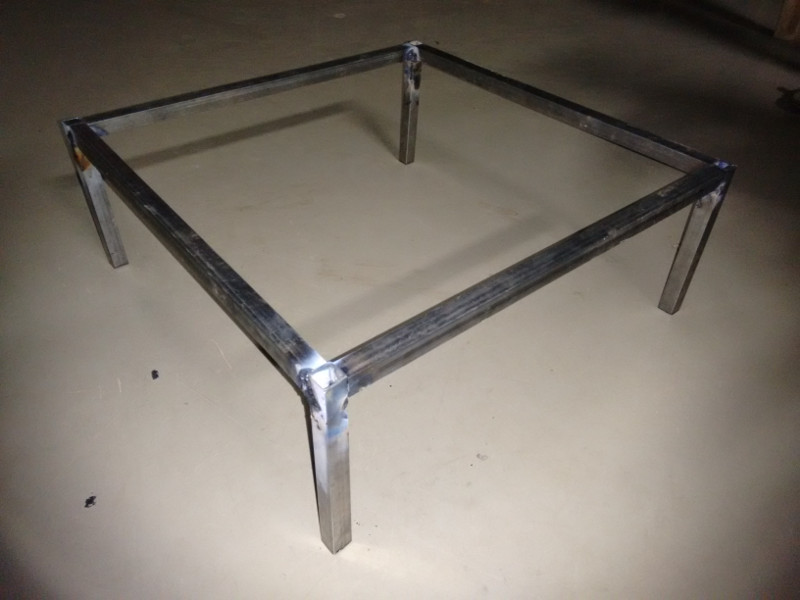
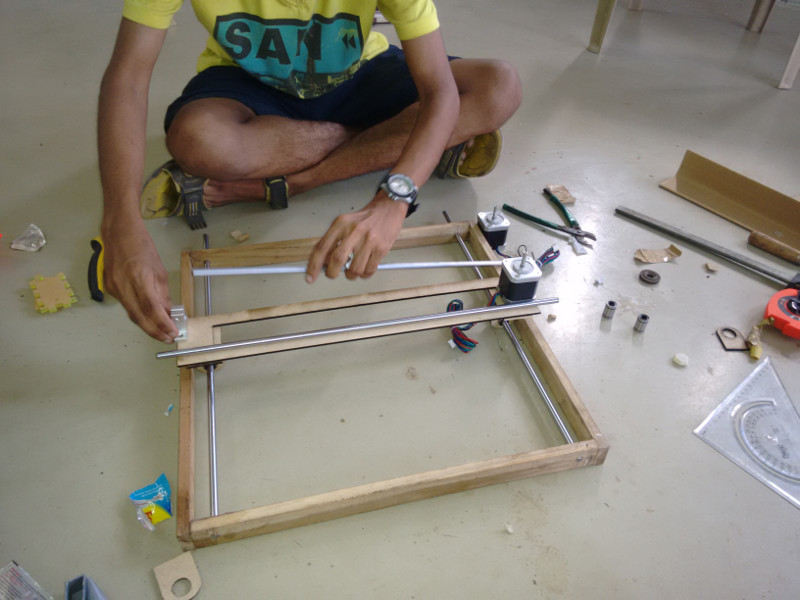
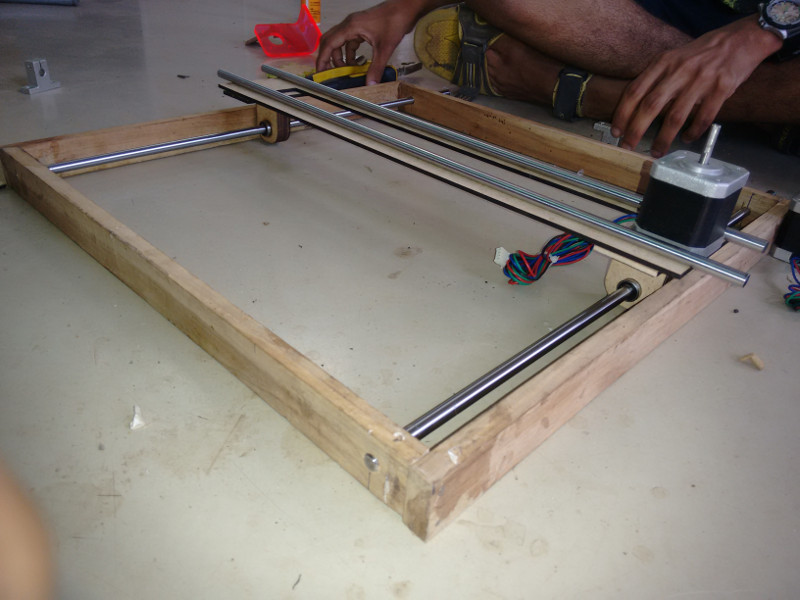
The Rangavalli will is the machine which is designed to work outdoor on field, so the machine should be as sturdy as possible. While making the Rangavalli the accuracy of the mechanism can be in the range of 5 to 7 mm. Previously we have decided use XY mechanism which is very accurate and uses two stepper motors, which in terms eases the programming and troubleshooting as well. By looking at the diagram which is included above is the red circle indicates the crossover of the timing belt which may cause the error.

When we edited the configuration file of the Marlin firmware and uploaded in to our RAMBo board; at the first run we observed error which is shown in the picture. Error is saying
MINTEMP triggered, system stopped! Heater_ID: 0
looking at the error we understood that this is because of the fact that Marlin is looking out for the primary heater which is usually present at the extruder of the 3D printer. So, to rectify it quickly we added the dummy sensor at the sensor connection to quickly jump to next step.

Brain storming after effects
The moment where we all were literally brainstorming, then suddenly an interrupt occurred and mesmerized us.
End stops defined wrongly
There are two types of end stops available commonly.
- Optical Endstop
- Micro Switch
Optical Endstop : These are the type of endstop which gives the definite output which will be either ground or the Vcc depends upon interruption. Thus gives the definite state of during the operation thus processor's pin is not left floating around. To use this type of the
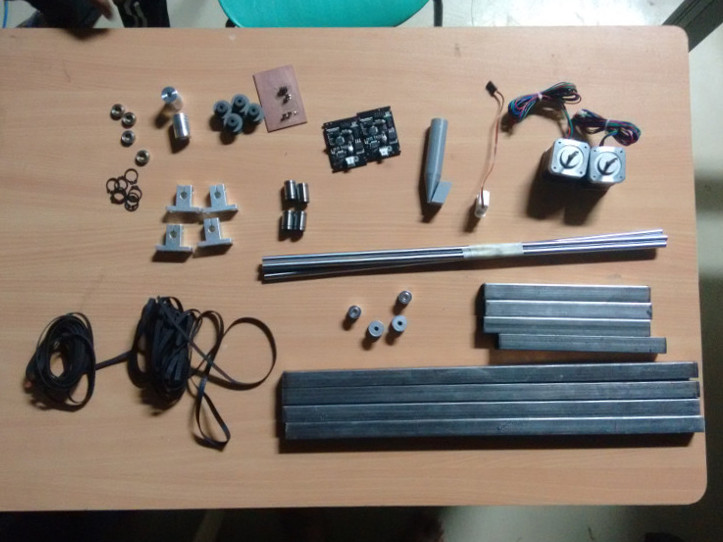
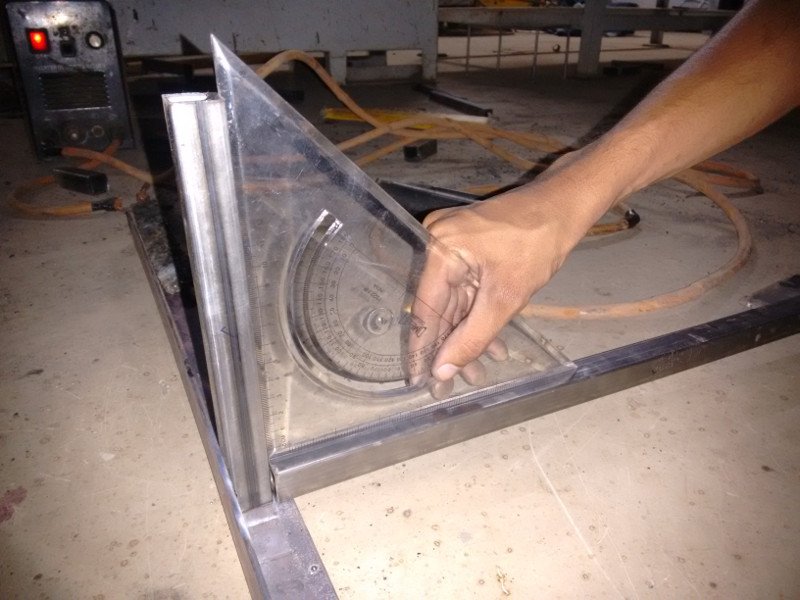
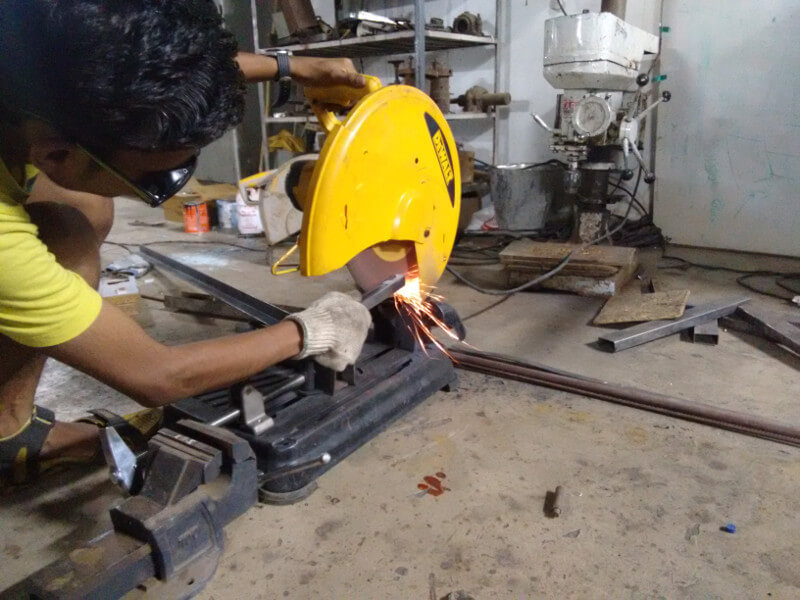
Building the machine
Below is the 3D cad Model of the cycloid mechanism

Rangoli Extruder

RAMBo ports

RAMBo Features
Logic
- Arduino MEGA compatible Atmega2560 and Atmega32u2 processors are compatible with all RAMPS class firmware
- Crystals for both usb and mcu (timing accurate to 10ppm)
- 4 Thermistor jacks
- All extra pins broken out on both processors (allows using the 32u2 for LUFA AVR programmer, etc.)
- 2 channel SDRAMPS compatible SPI breakout
Motor Drivers
- 5 A4982 1/16th microstep motor drivers (A4984 1/8th prior to v1.1) (2 connectors on Z for Prusa Mendel and other dual Z printer designs)
- Digital Trimpot for stepper current control
- Current limit on driver IC VCC to prevent permanent latchup
- Microstep mode configured by MCU through firmware (no jumpers needed)
- Test points for driver control signals
- Step and Direction pins are on their own ports for synchronous movement capability
- Extra driver ports broke out for up to 3 additional drivers (some of the motor extension pins are shared with max endstop and a pin allocated for SPI-SS extensions)
PWM DC outputs (Extruders, Fans, Etc.)
- 6 outputs
- Low resistance mosfets for cool running
- Indicator led for each channel
Power
- Three independent power rails for flexible input power configurations
- Heated Bed, 15A 12-24V (version earlier than 1.1 limted to 14A 16V due to fuse rating, see rambo_development for hacks)
- Extruders and fans, 5A 12-24V (fuse can be exchanged for up to 10A capacity) 10V-26V input voltage
- Motors, 5A 12-24V (fuse can be exchanged for up to 10A capacity) 10V-26V input voltage
- Built in SMPS for 5V generation


Rangavalli - Video demos and test video
Scene 1- Take 1
This is how our machine draws Rangoli
Drawing Rangoli- Supriya vs Machine
Bill of Materials
Reference and links
Review about the RAMBO hardware and it's features explained
Review about the RAMBO firmware and configuration files
Useful links
- RAMBo Wiki
- Marlin Firmware
- RAMBo firmwaress
- Download Marlin from github
- Importance of Rangoli
- Secret behind Rangoli
- Why do Indians draw Rangoli – Scientific Reason
- How to bend Acrylic