Assignment: cut something on the vinylcutter design, make, and document a parametric press-fit construction kit
Part 1 : Vinyl Cutter
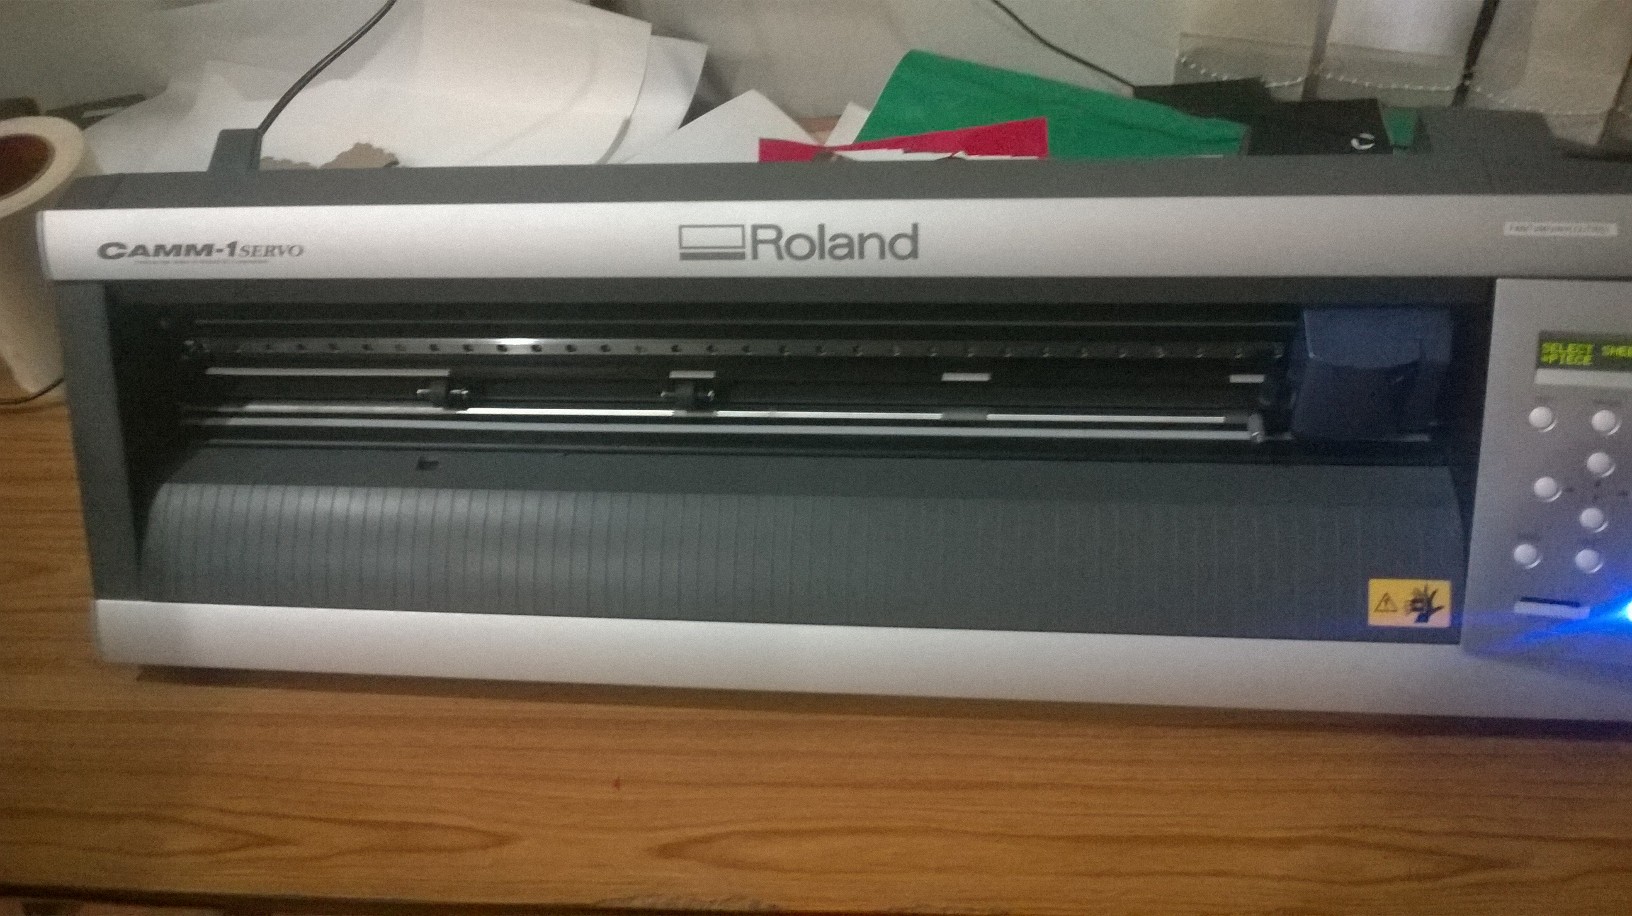
Vinyl Cutter is a Computer Controlled Machine to cut vinyl in specific shapes using a blade ,it mainly used for cutting stickers and signs . It is also used for creating flexible circuits.
- We have a Roland Vinyl Cutter in our Fablab
What iam going to do?
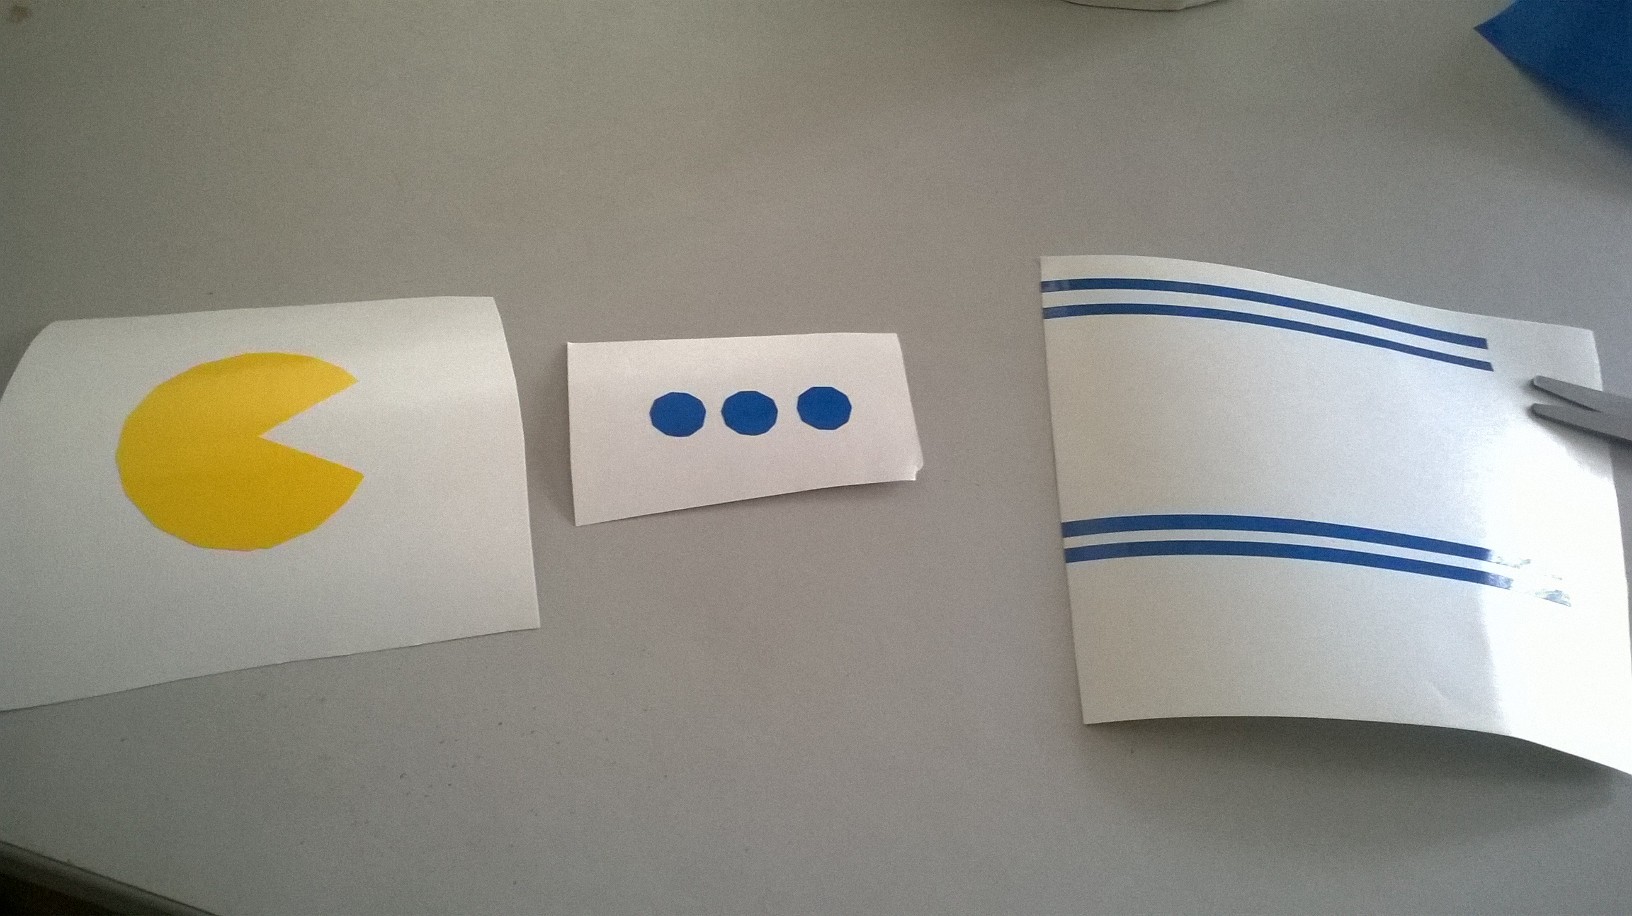
I want to create a Multi Color Vinyl Sticker of “Pacman” Game ,I used 4 colors vinyl sheets for this sticker .
Designing
I searched many 2D vector Softwares.Finally,I did decide to do it with Inkscape Tutorials .As I am new to Inkspace,I had to spend 3 hours to learn the basics.
Fab Academy Inkscape Tutorial Fab Academy Vinyl Cutter Tutorial
I’ve created each objects in separate layers as they are much important in Multi layer Vinyl Sticker Cutting.
Note : If you are designing a multilayer vinyl sticker make all objects in seperate layers
- Goto
- Layer>Layers for Layers Menu, I named all layers is the name of vinyl color to be print.

- i used this property to make mouth of “Pacman” we can adjust the minimum and maximum angles

File>Save As to .png then you will get PNG of each layers
Cutting
- Power ON Vinyl Cutter and load vinyl sheet , you can use vinyl piece or roll but you need select that before cutting
-

- After Loading Vinyl Sheet/Roll you need to cut a Test Piece, In dashboard of vinyk cutter a buttun namely “Test” for this purpose.
-

- after pressing test buttun you will get a Test Cut on your vinyl sheet by analyzing you will get idea about blade is properly aligned or not .
-
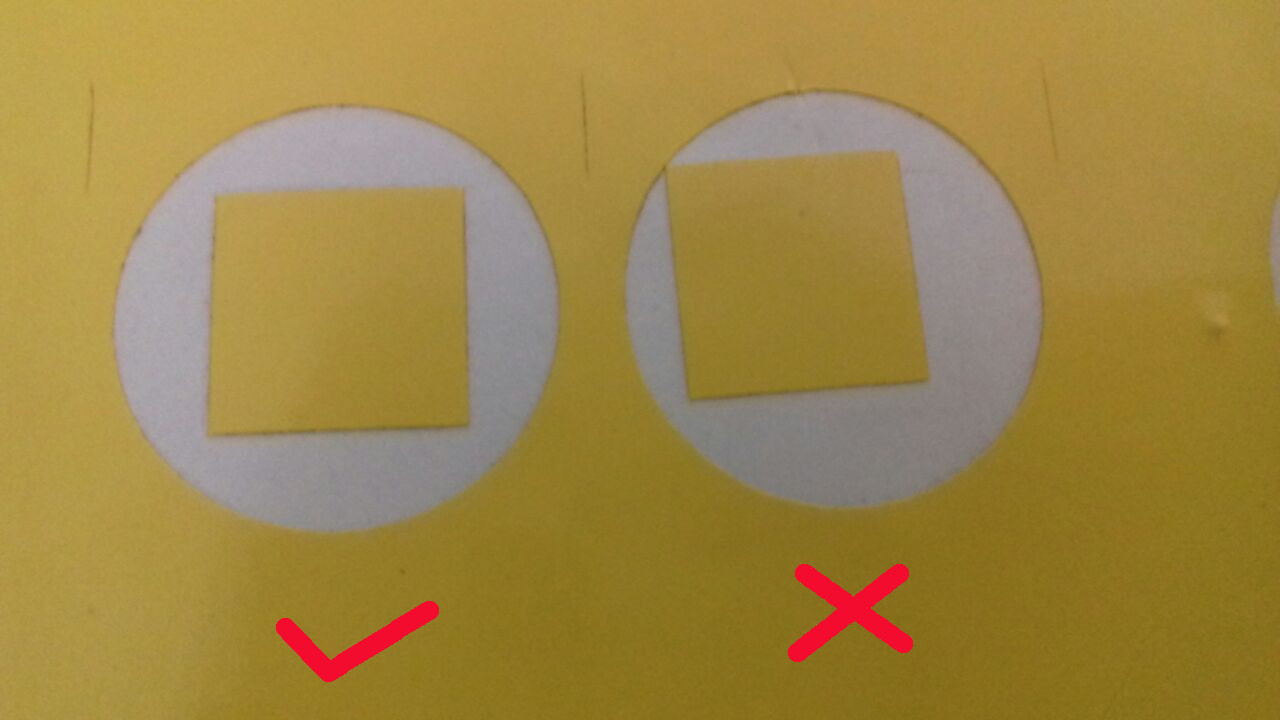 If it is not perfect you need to re align blades .
Operate Vinyl Ctter from Fab Modules
- Go To
- Termainal and Enter Fab
-
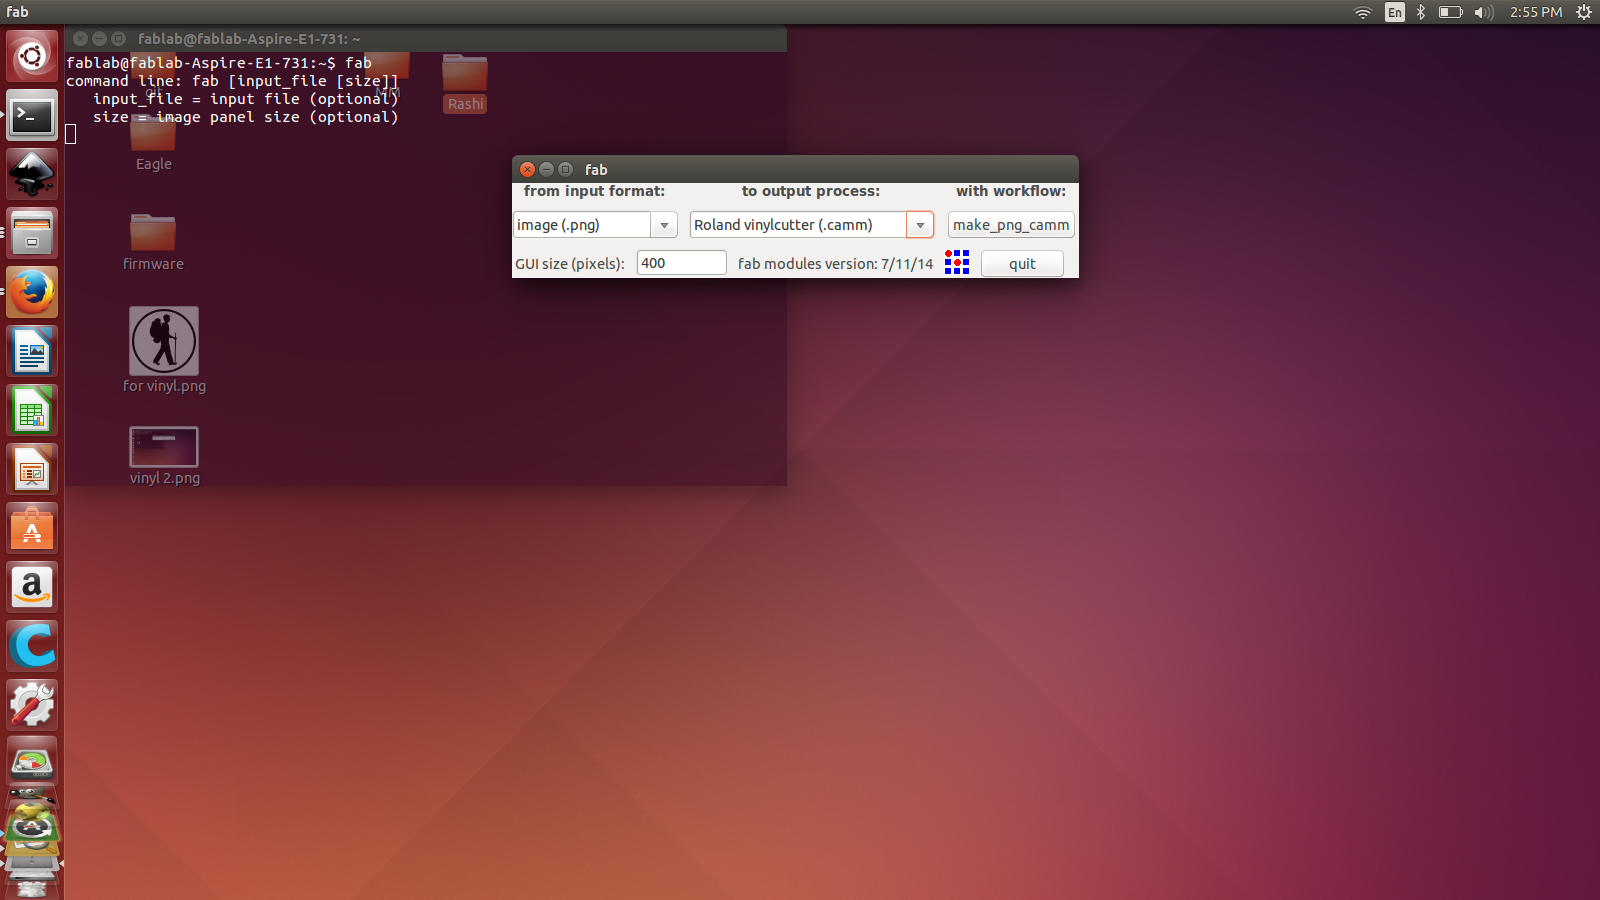 Select Input Format : PNG and Vinyl Cutter Then you will get a window like this
- Then Load PNG file you need to cut Then make path > make .camm Print All Layers Like this
-
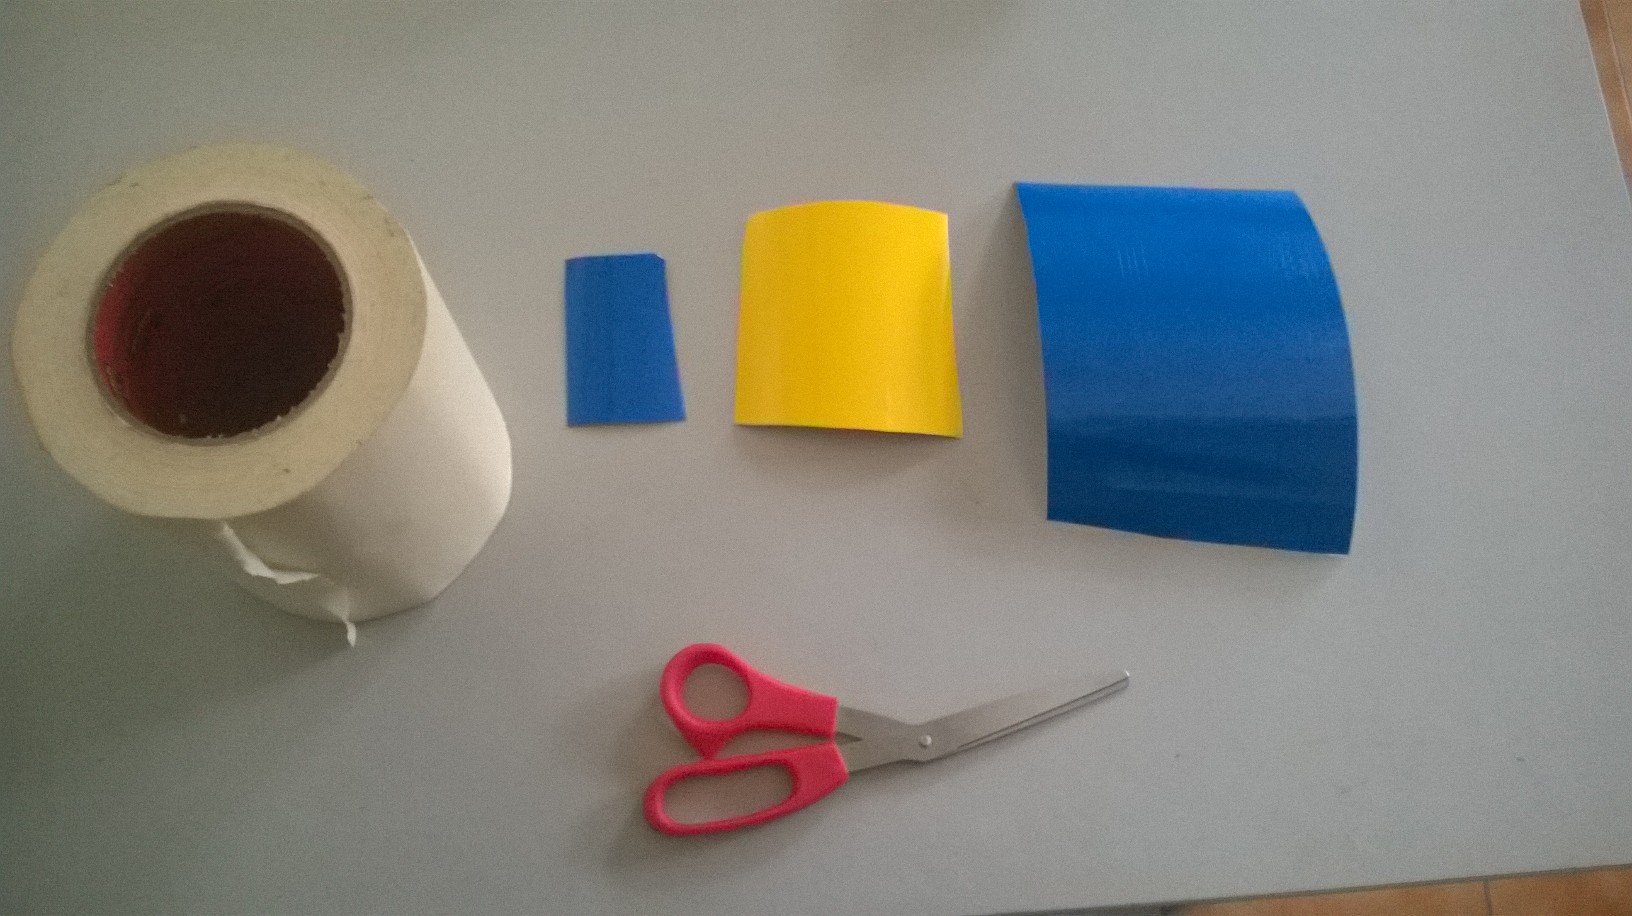 Then Peel unwanted portion using needle or knife.
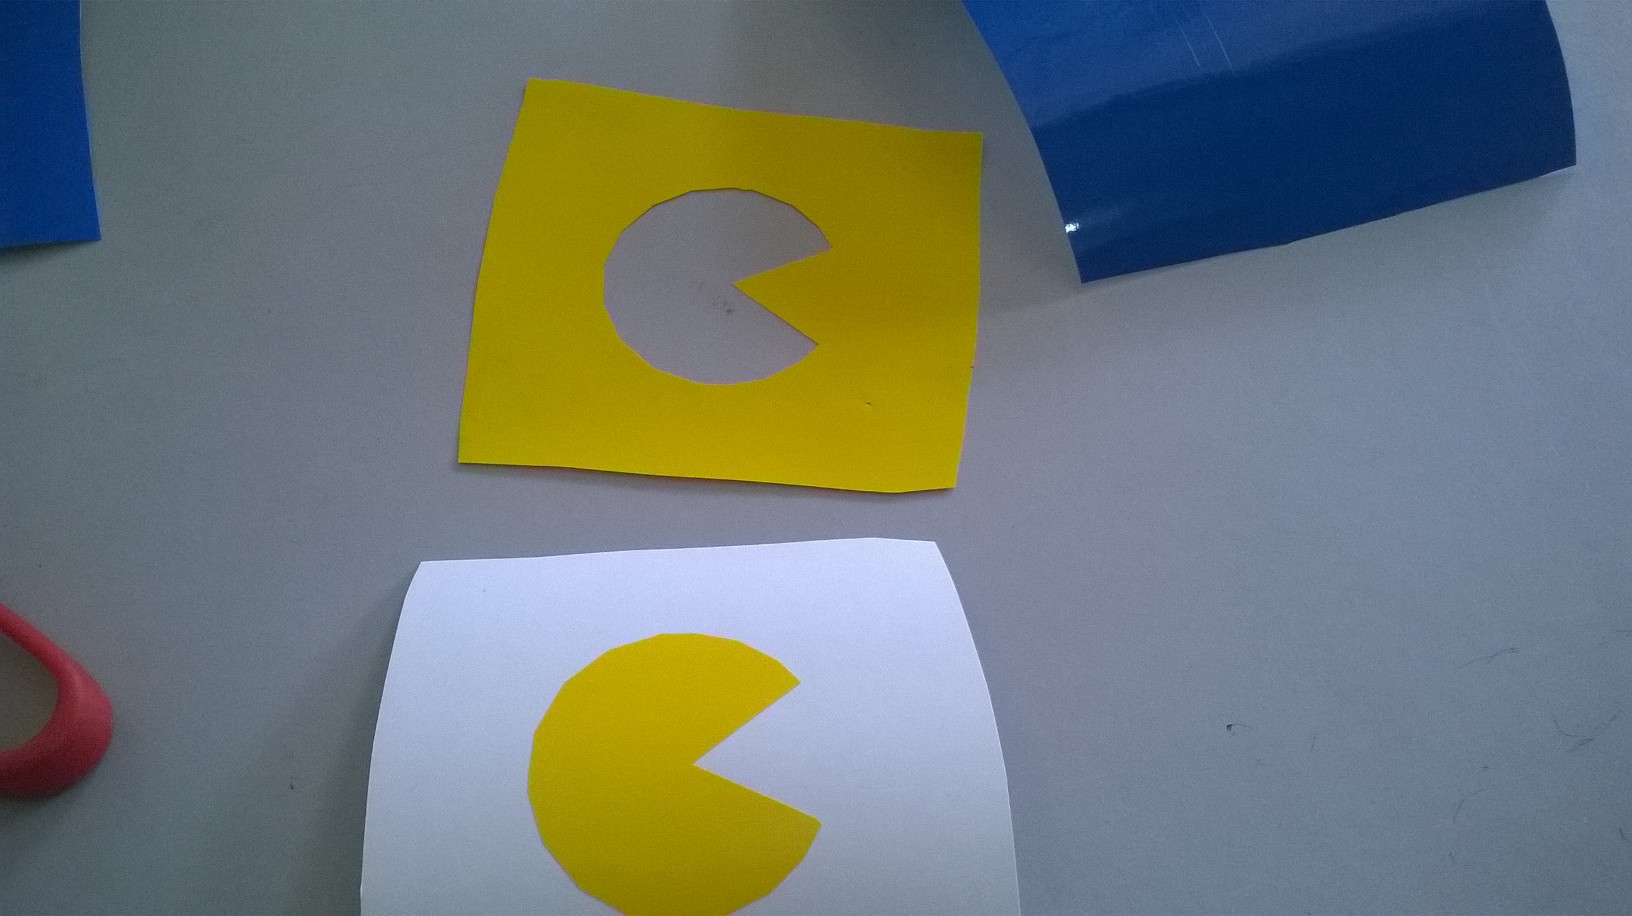
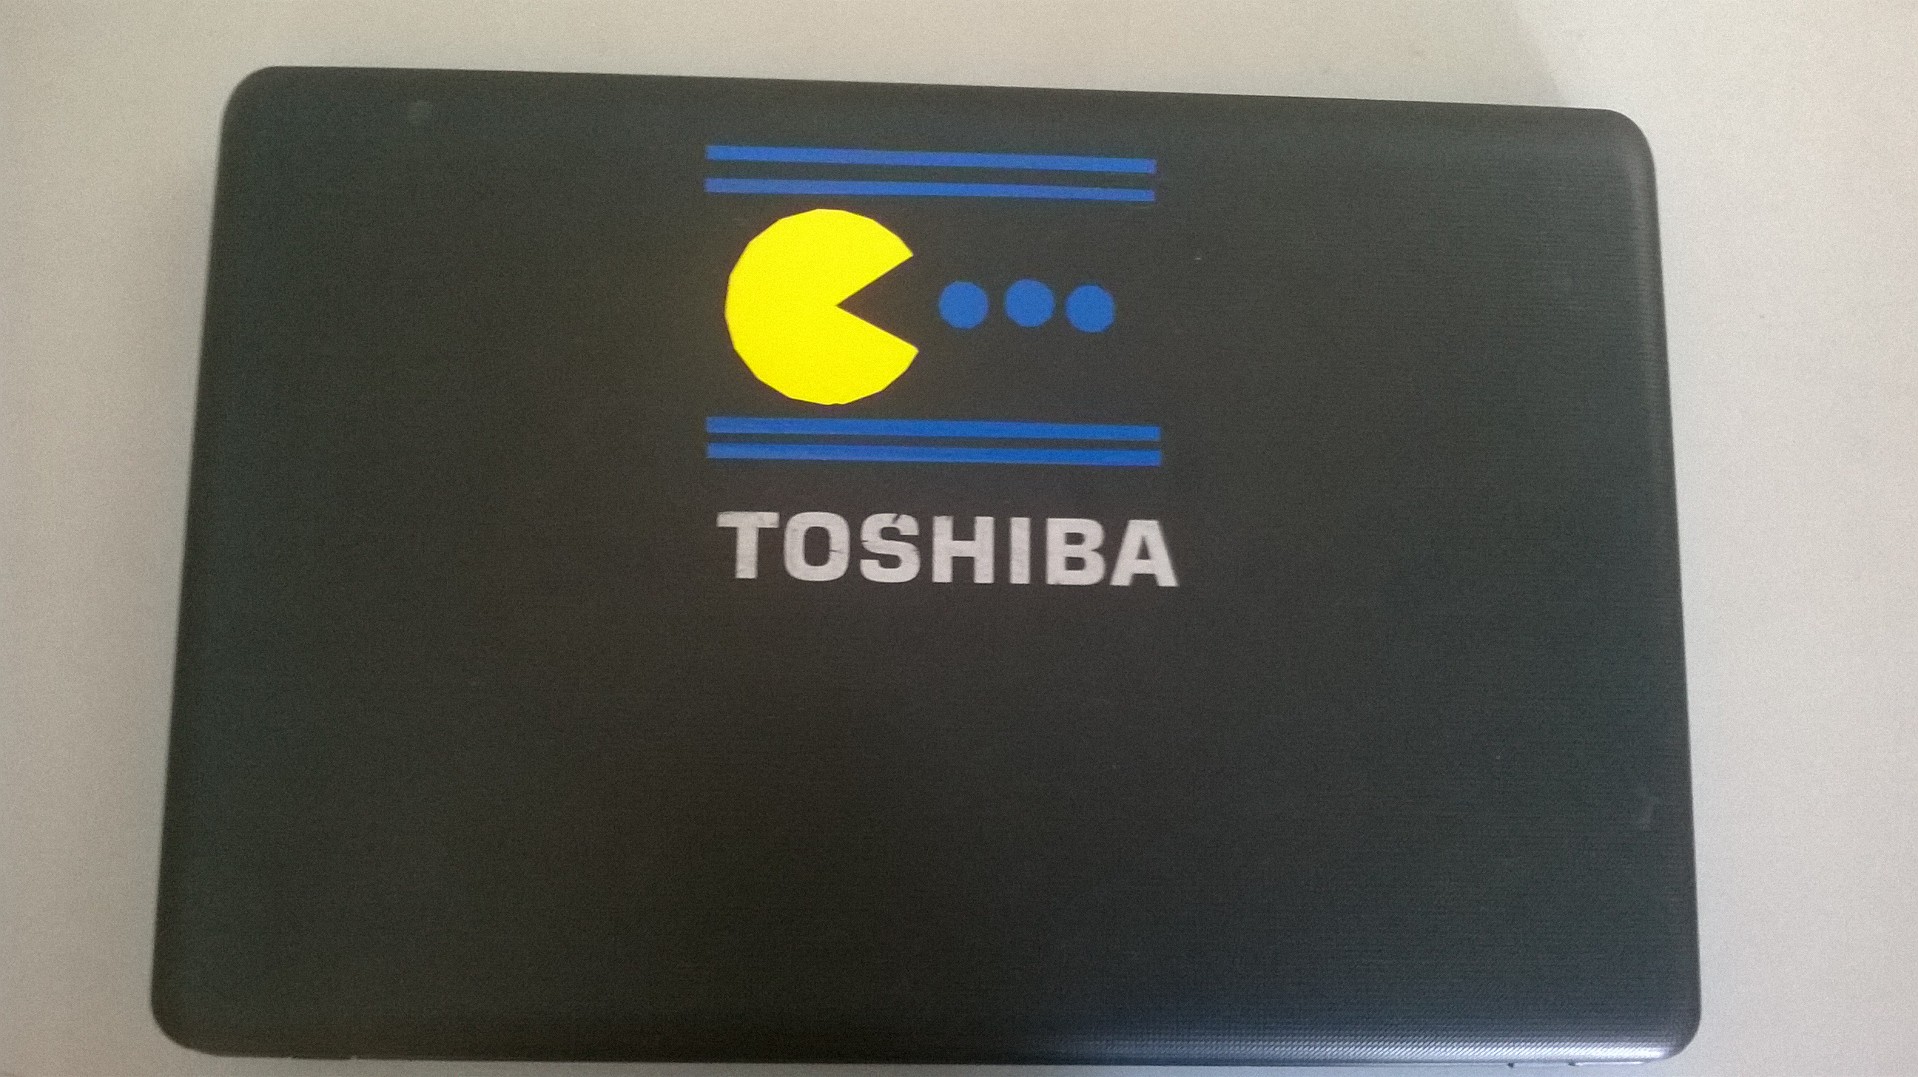
 After That Paste all elements to a Masking Layer then Paste in to which place you wanto add this sticker .
- I pasted on my friend’s Laptop .
Downloads
Part 2 : Laser Cutting
Laser Cutting is the process of Cutting Materials using Laser Beam .
Source : Wikipedia : 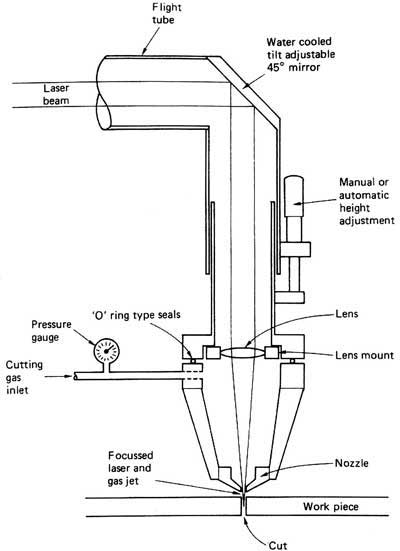
In Our Fablab we have Trotrc Speedy 100 Laser Cutting Machine .
Source : Wikipedia : 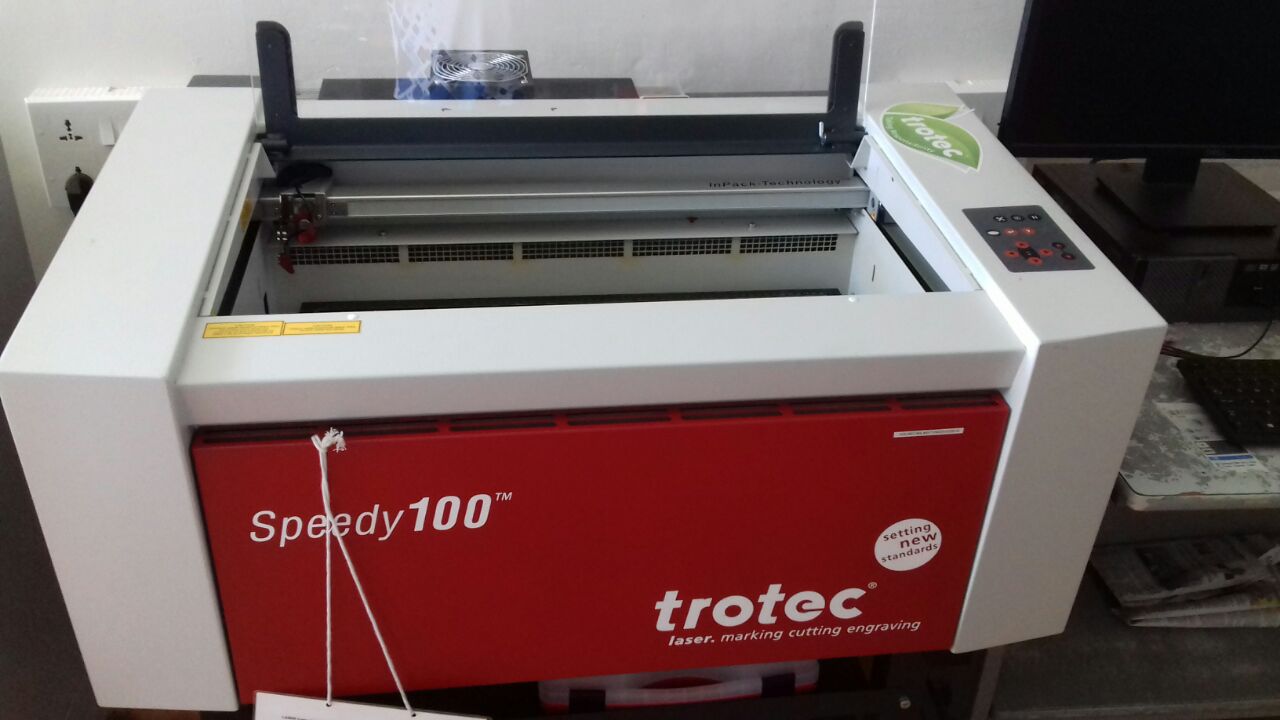
Designing
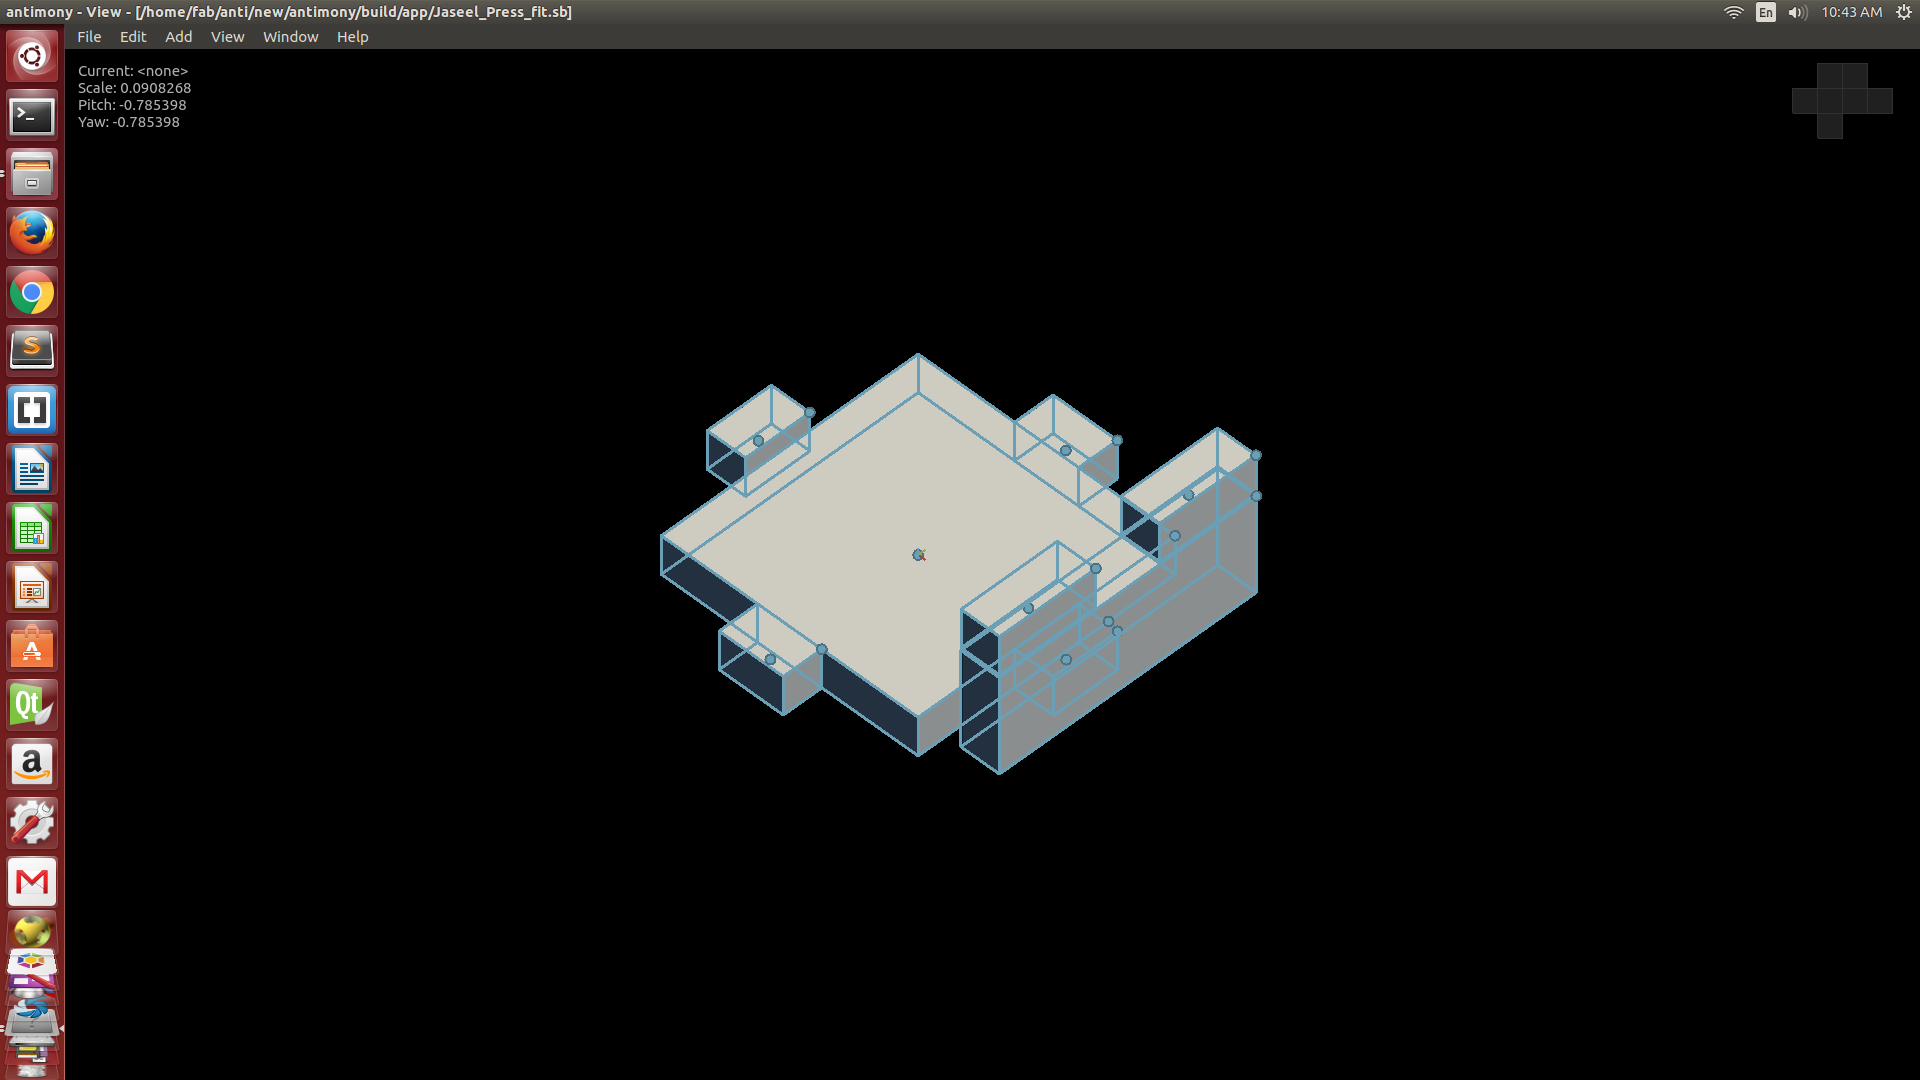
In This week we have to design a Press Fit Structure in Laser .I designed a press fit box using My Favourite tool Antimony and i realized antimony have some limitations but it is good for simple structures.
- Antimony View :
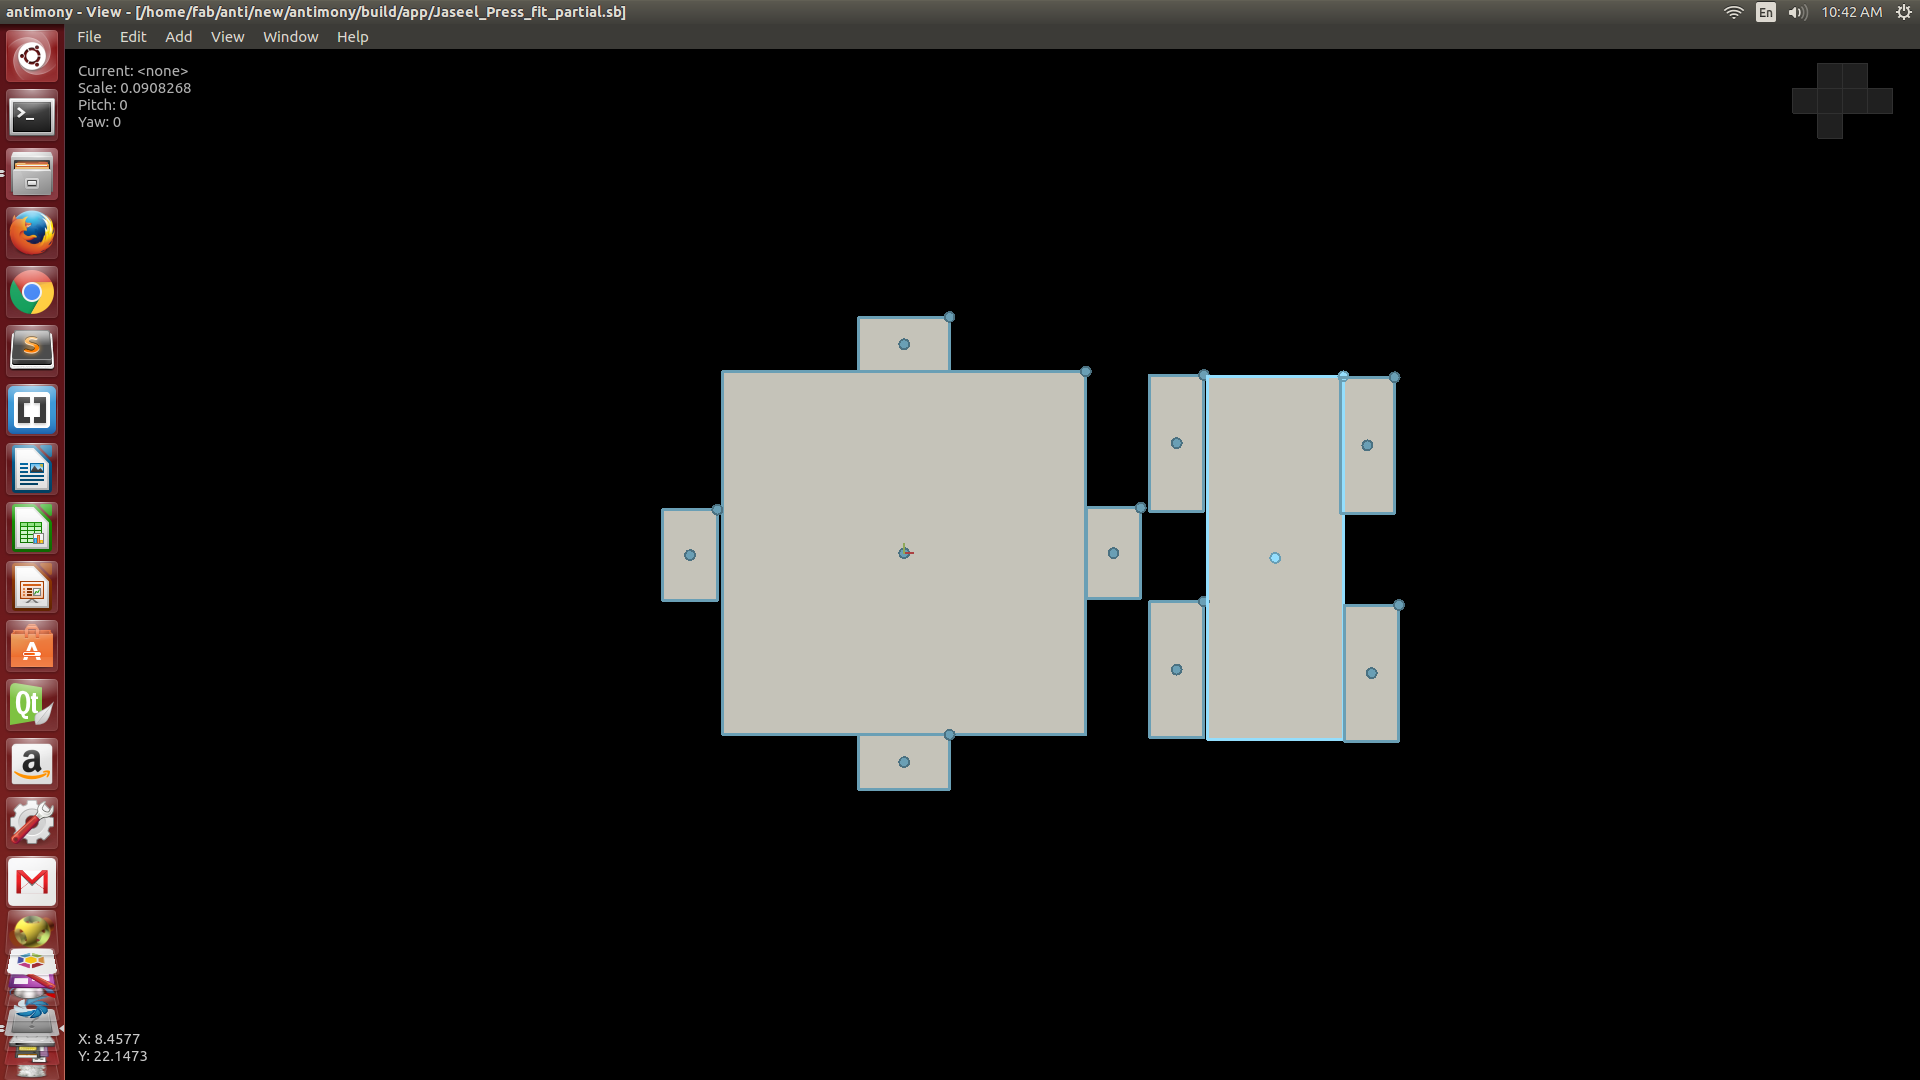
Antimony Blocks : 
Exporting From Antimony
Antomy have an option to export “Heightmap Images” .png ,normally we are using this heightmap images for CNC Milling but i just tried it for laser cutting its working but need to do some additional works using inkscape,For laser Cutting we need Red Lines in antimony png image only black lines, i opened that .png in Inkscape and Draw using pentool(red color) in top of black line after mapping all required lines i deleted the previous image file then i got all laser cutting lines in red color .
Then Ctrl+P print to laser cutter and placed a cardbord sheet in laser cutting machine,after adjusting z axis i printed it.
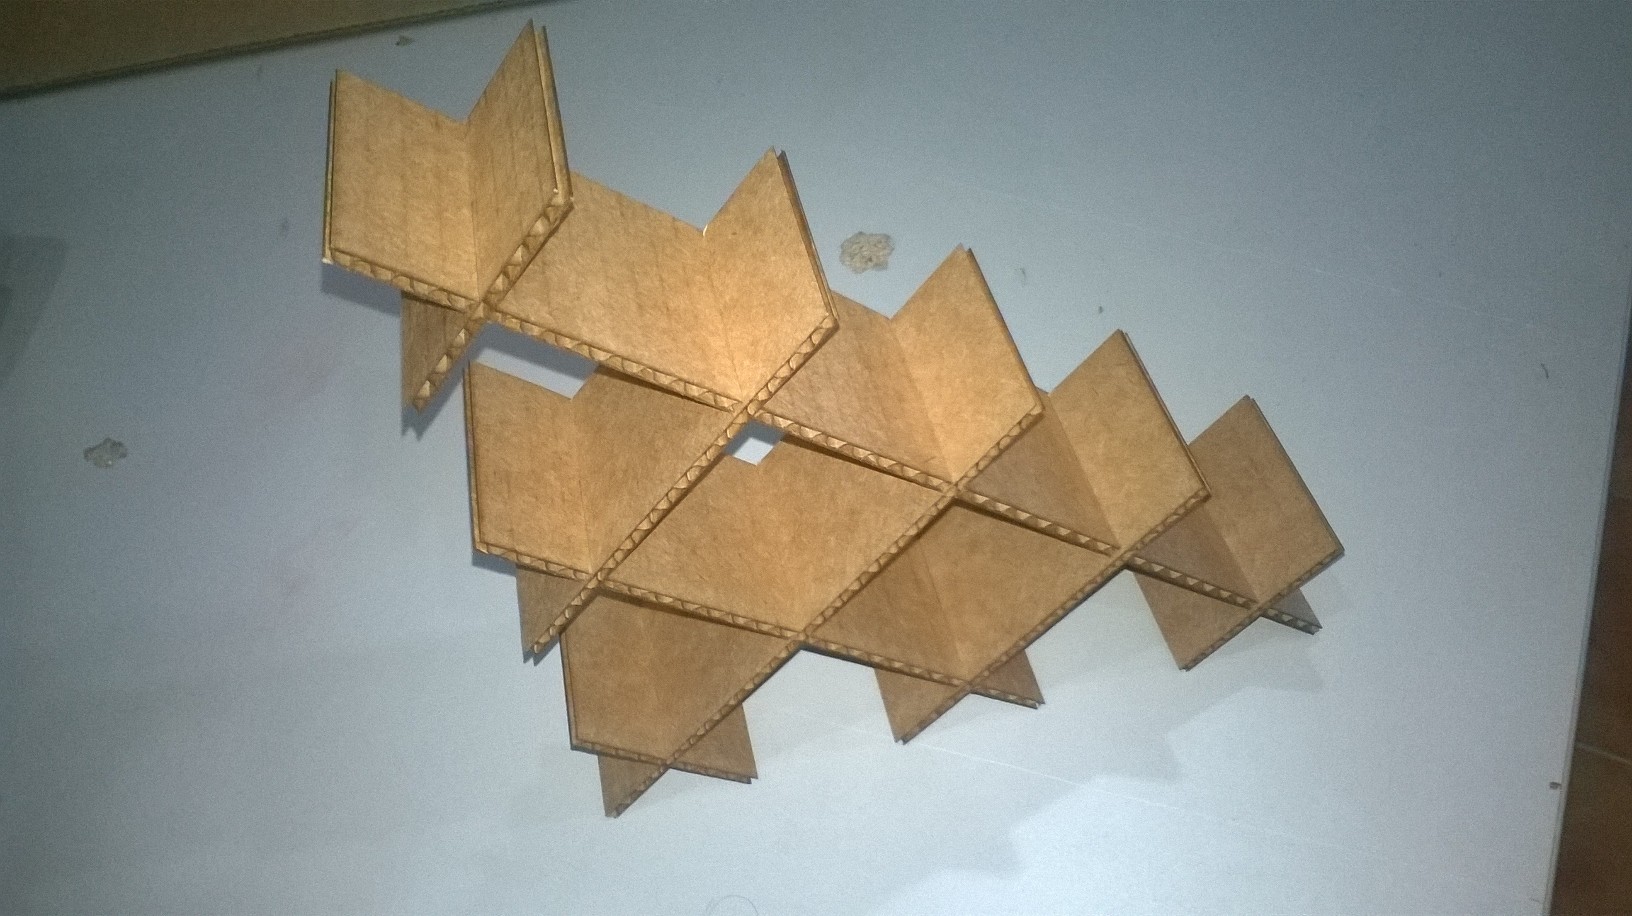
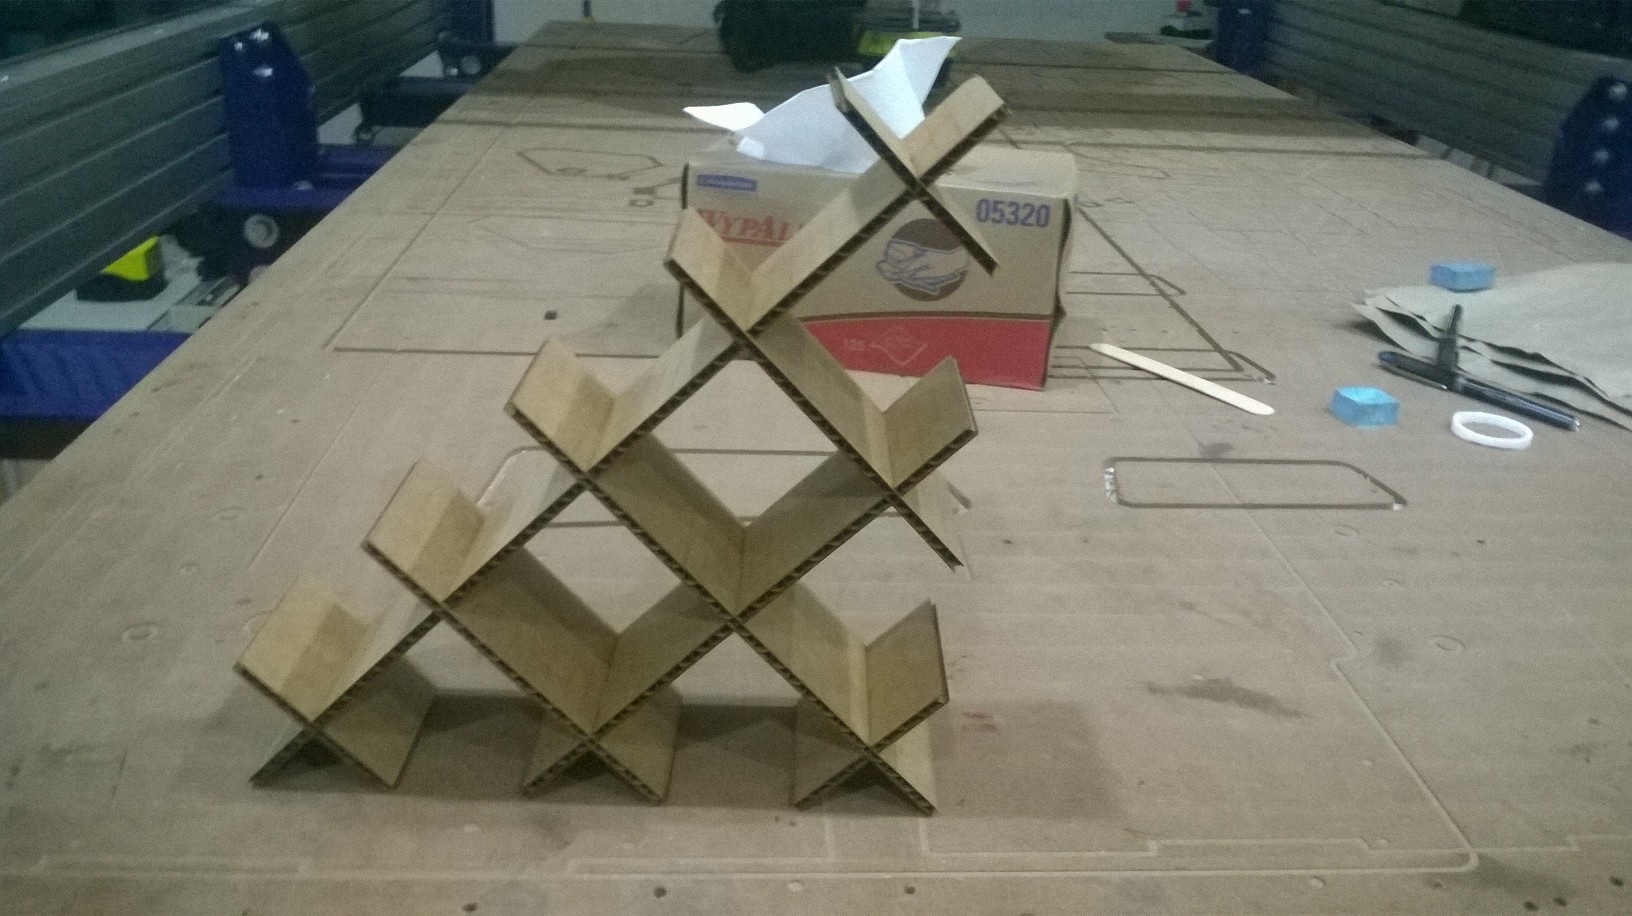
after cutting it joined all pieces in the shape of a box,
Final : 
You Can see in images it is not perfectly fit Because i designed it for 6mm acrylic sheet but i got only 4mm Cardboad Sheet You Can find more laser cut works in coming weeks .
Problem Faced : Pressfit not Perfect
Solution : I designed for 6mm acrylic and finally used 4mm cardboard .
- I am adding another Press fit lasercut model that created in Computer Controlled Machining Week
-
and adding its Design Files