Computer-Controlled Machining
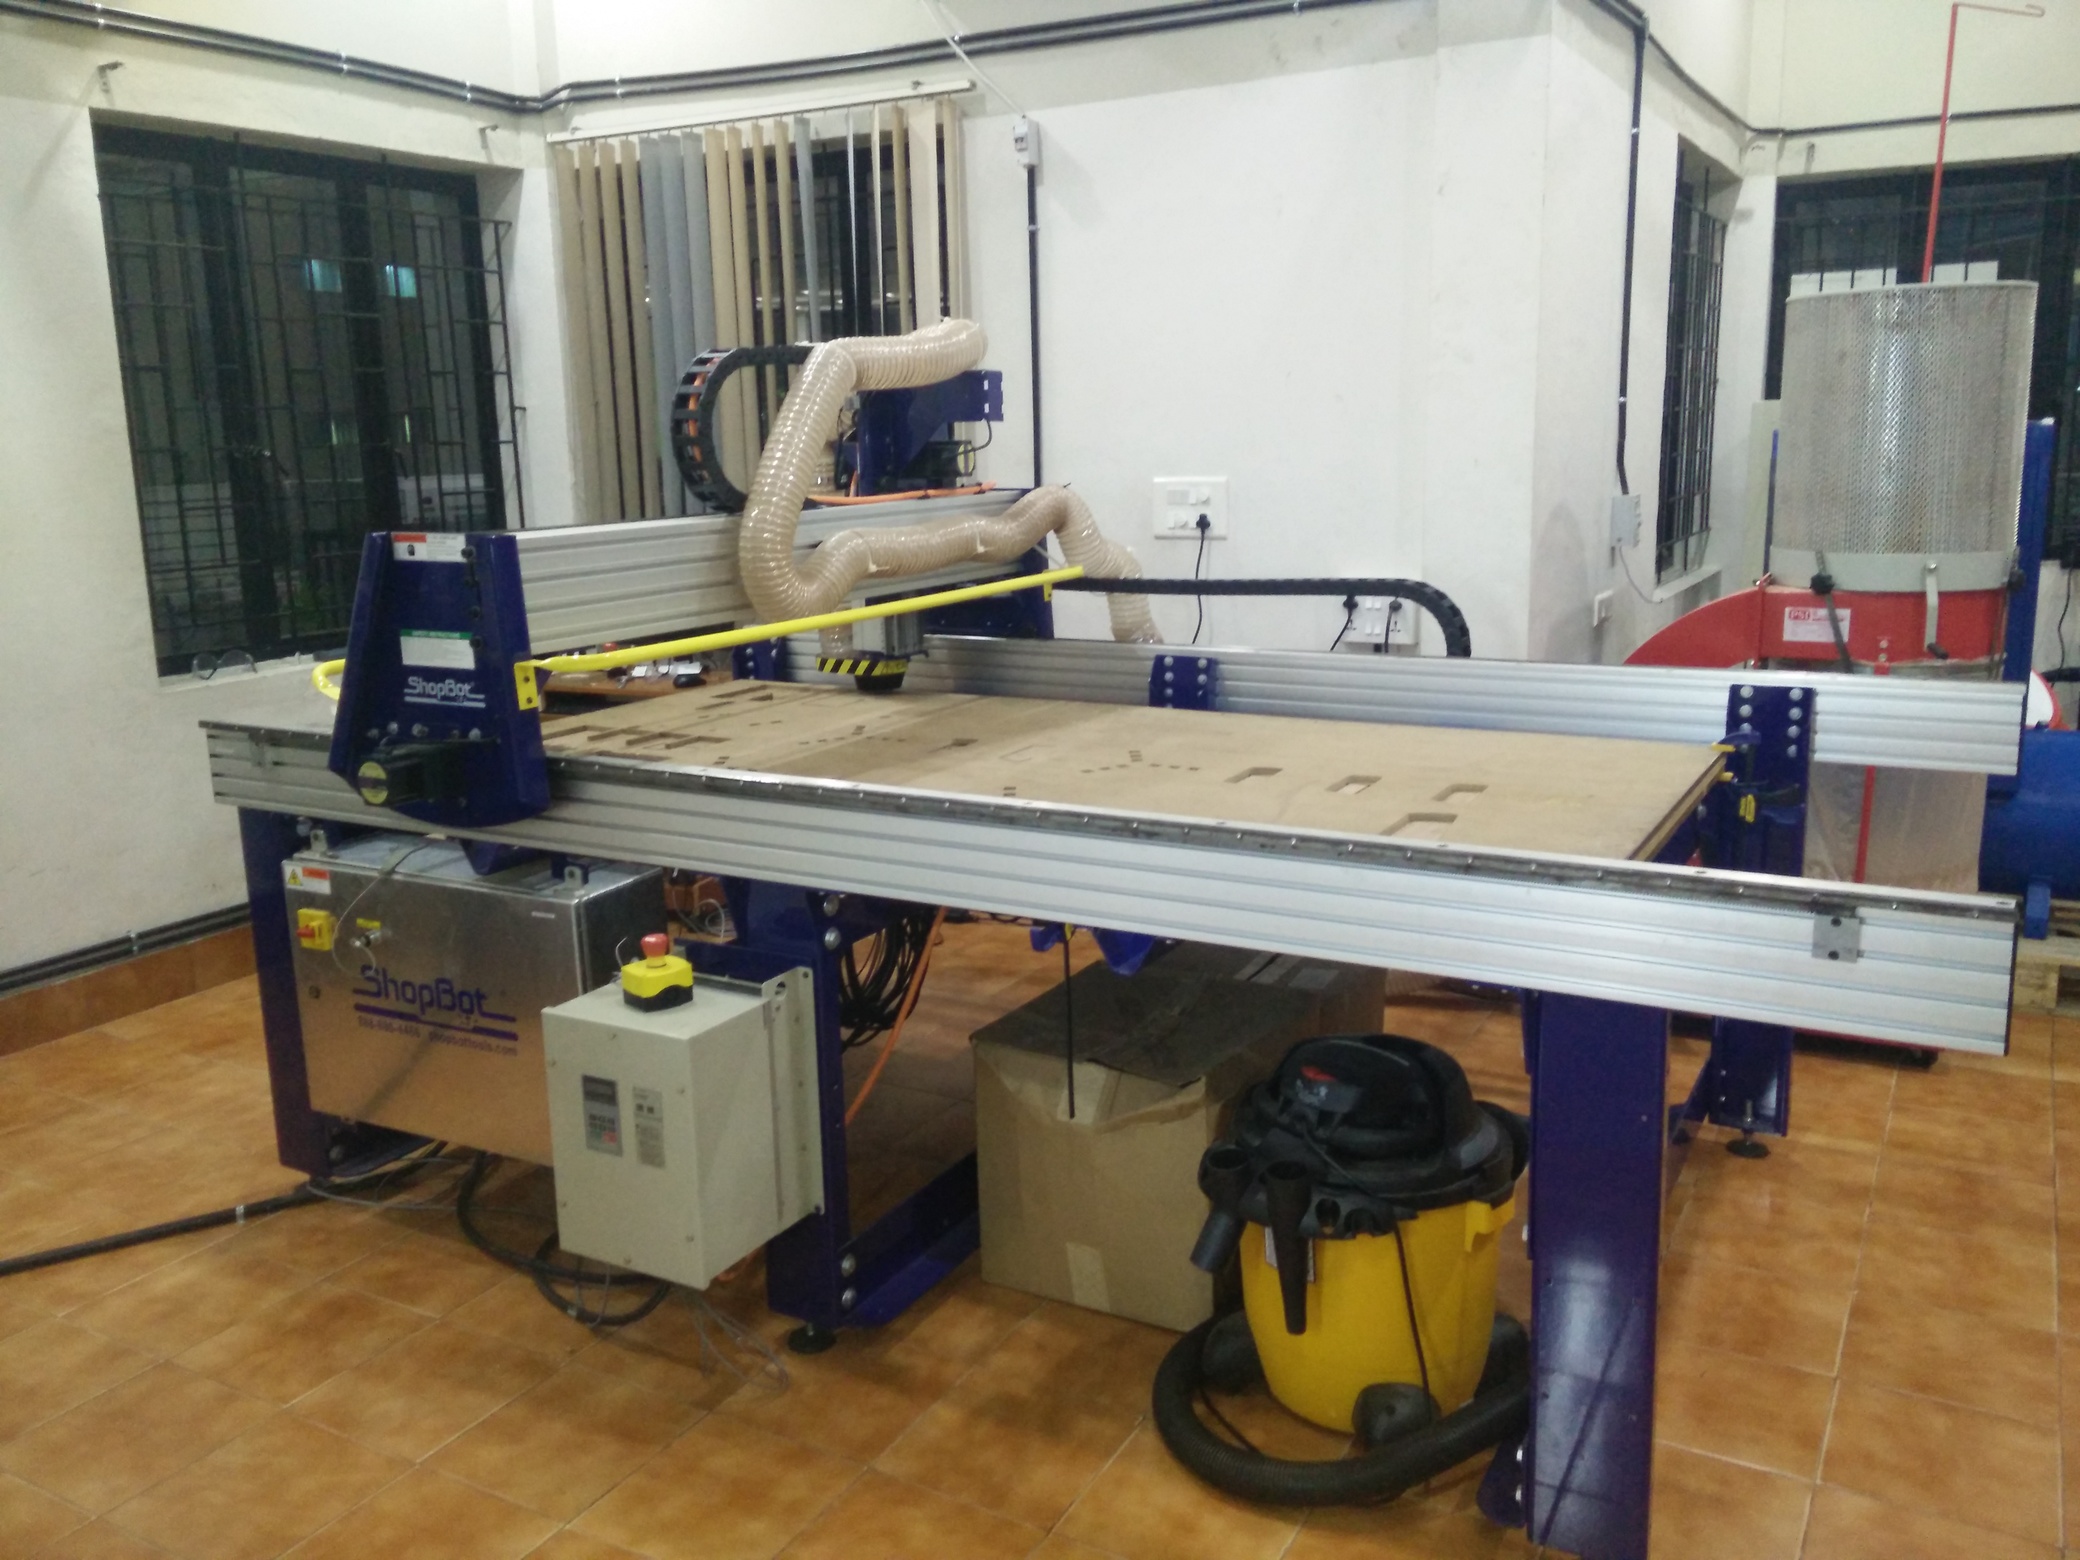
The CNC Router in our Fablab for cutting wood, plywood, etc is Shopbot. It has a 8x4 Feet bed size. See our shopbot below:
I was planning to make some thing usefull for the fablab, and i found out that there is need of a small stair in our lab. This stair needs maximum three steps. The place where it needs is shown below.
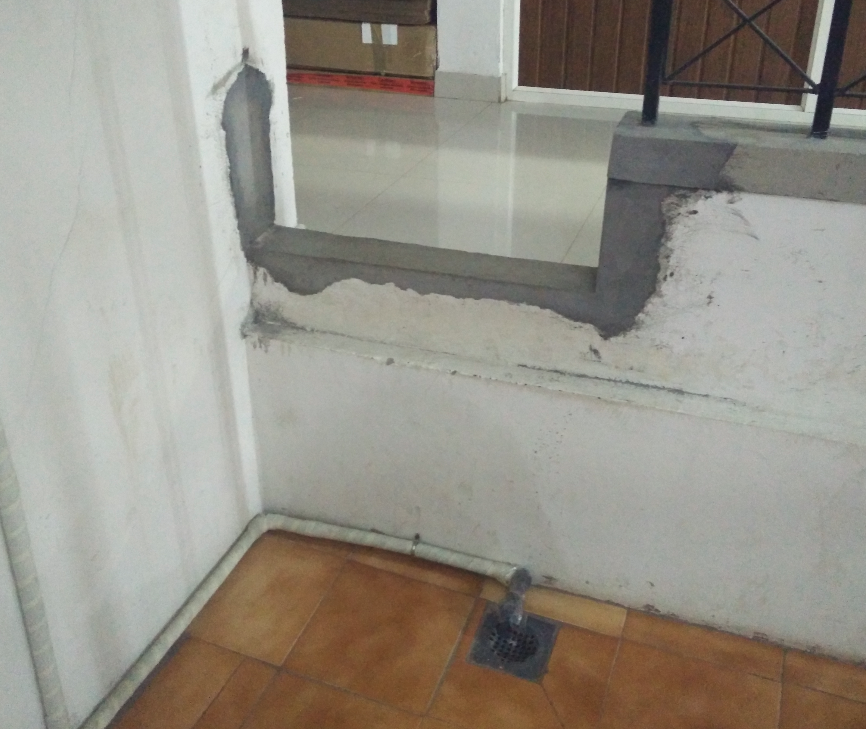
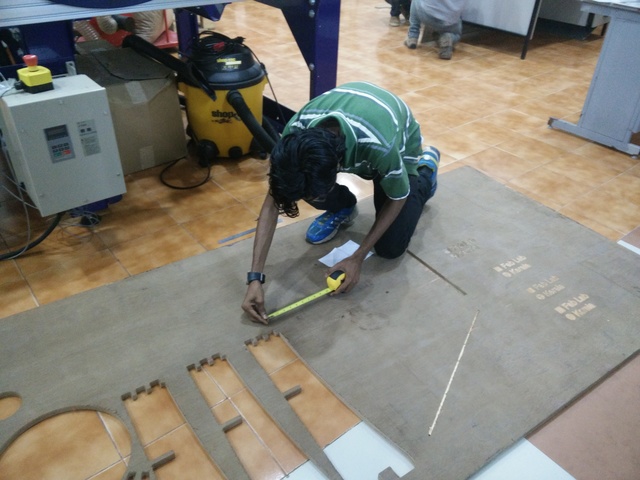
I measured the height and width of that gap and noted it.
So i got the idea for what should i make this week, and the next step is to design it.
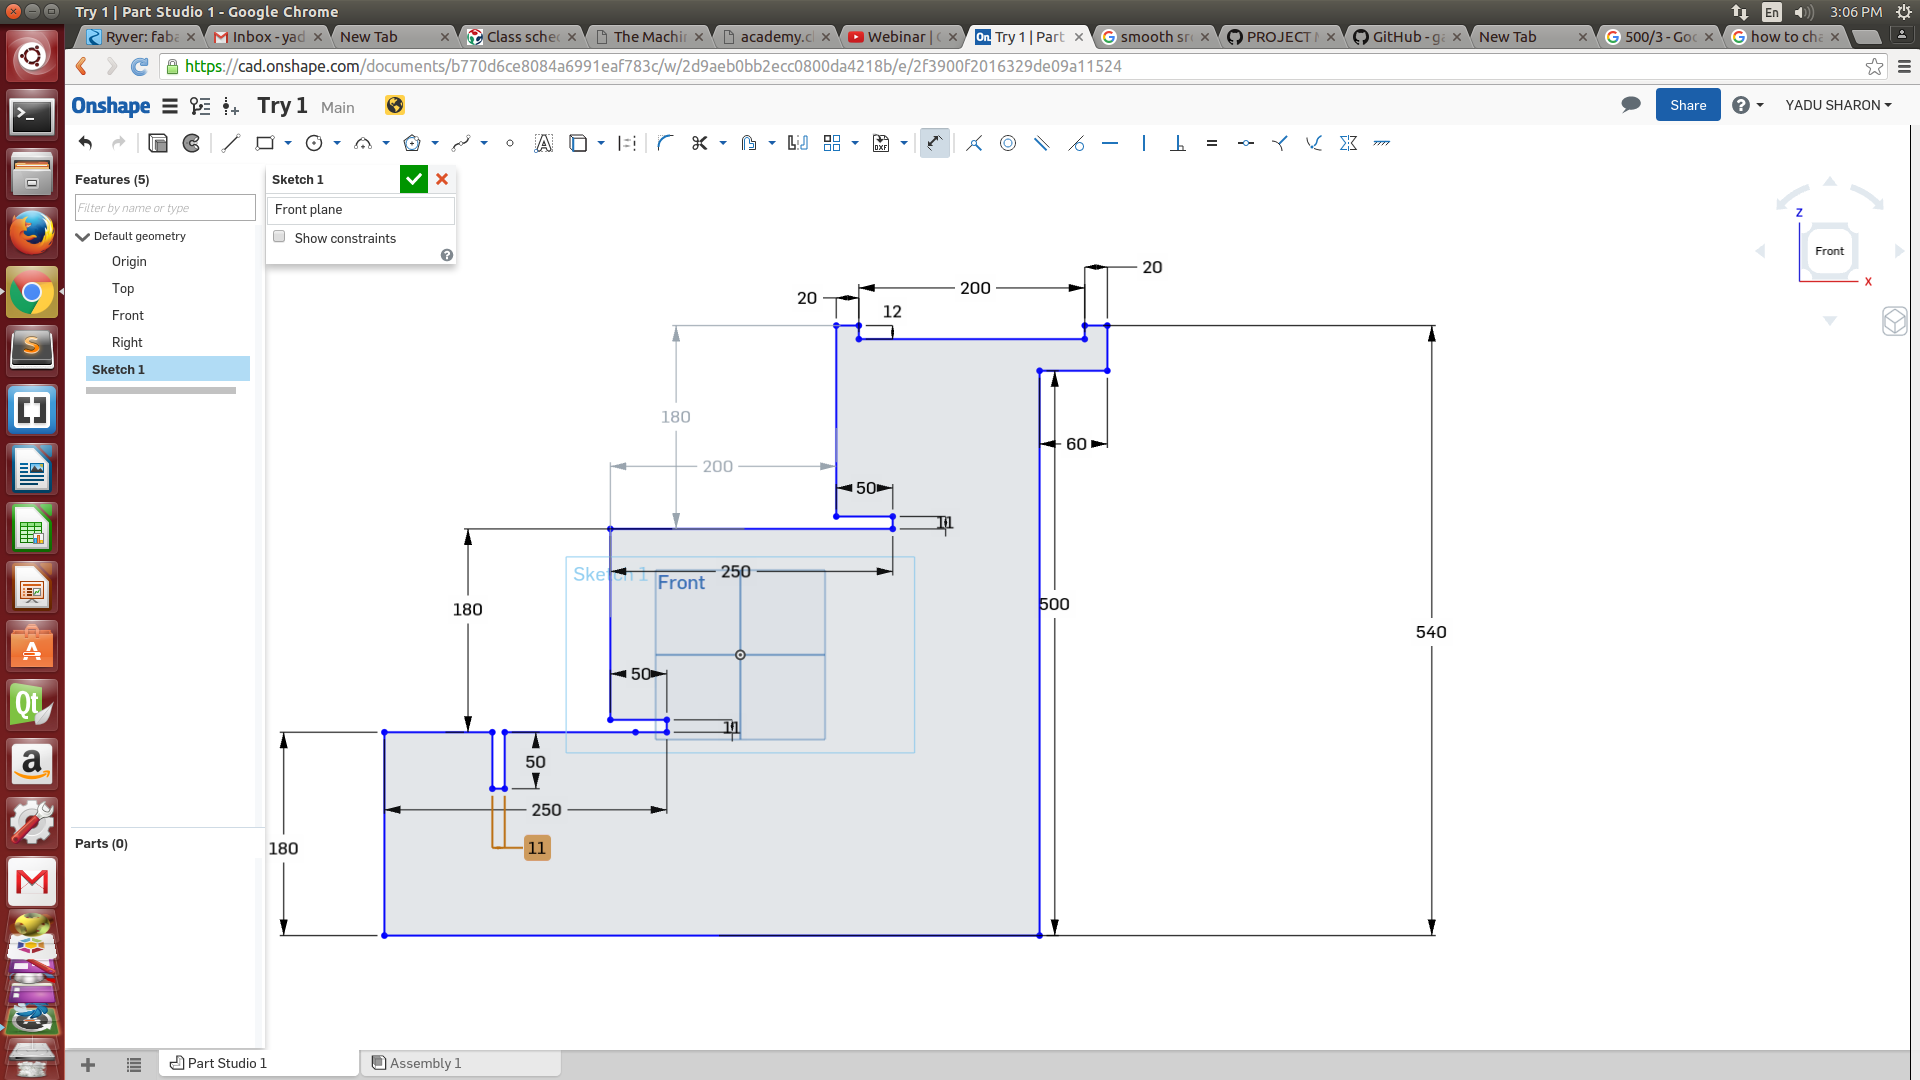
This time i am planing to make the design for my stair in Onshape. Onshape is an online CAD tool. It need not to be installed but it can be used online if internet is available. Onshape is very simple compared to Rhino but it not powerful as rhino. It has option to assembly like in Solid Works.
There a lot of tutorial available for Onshape in Youtube, which is very usefull.
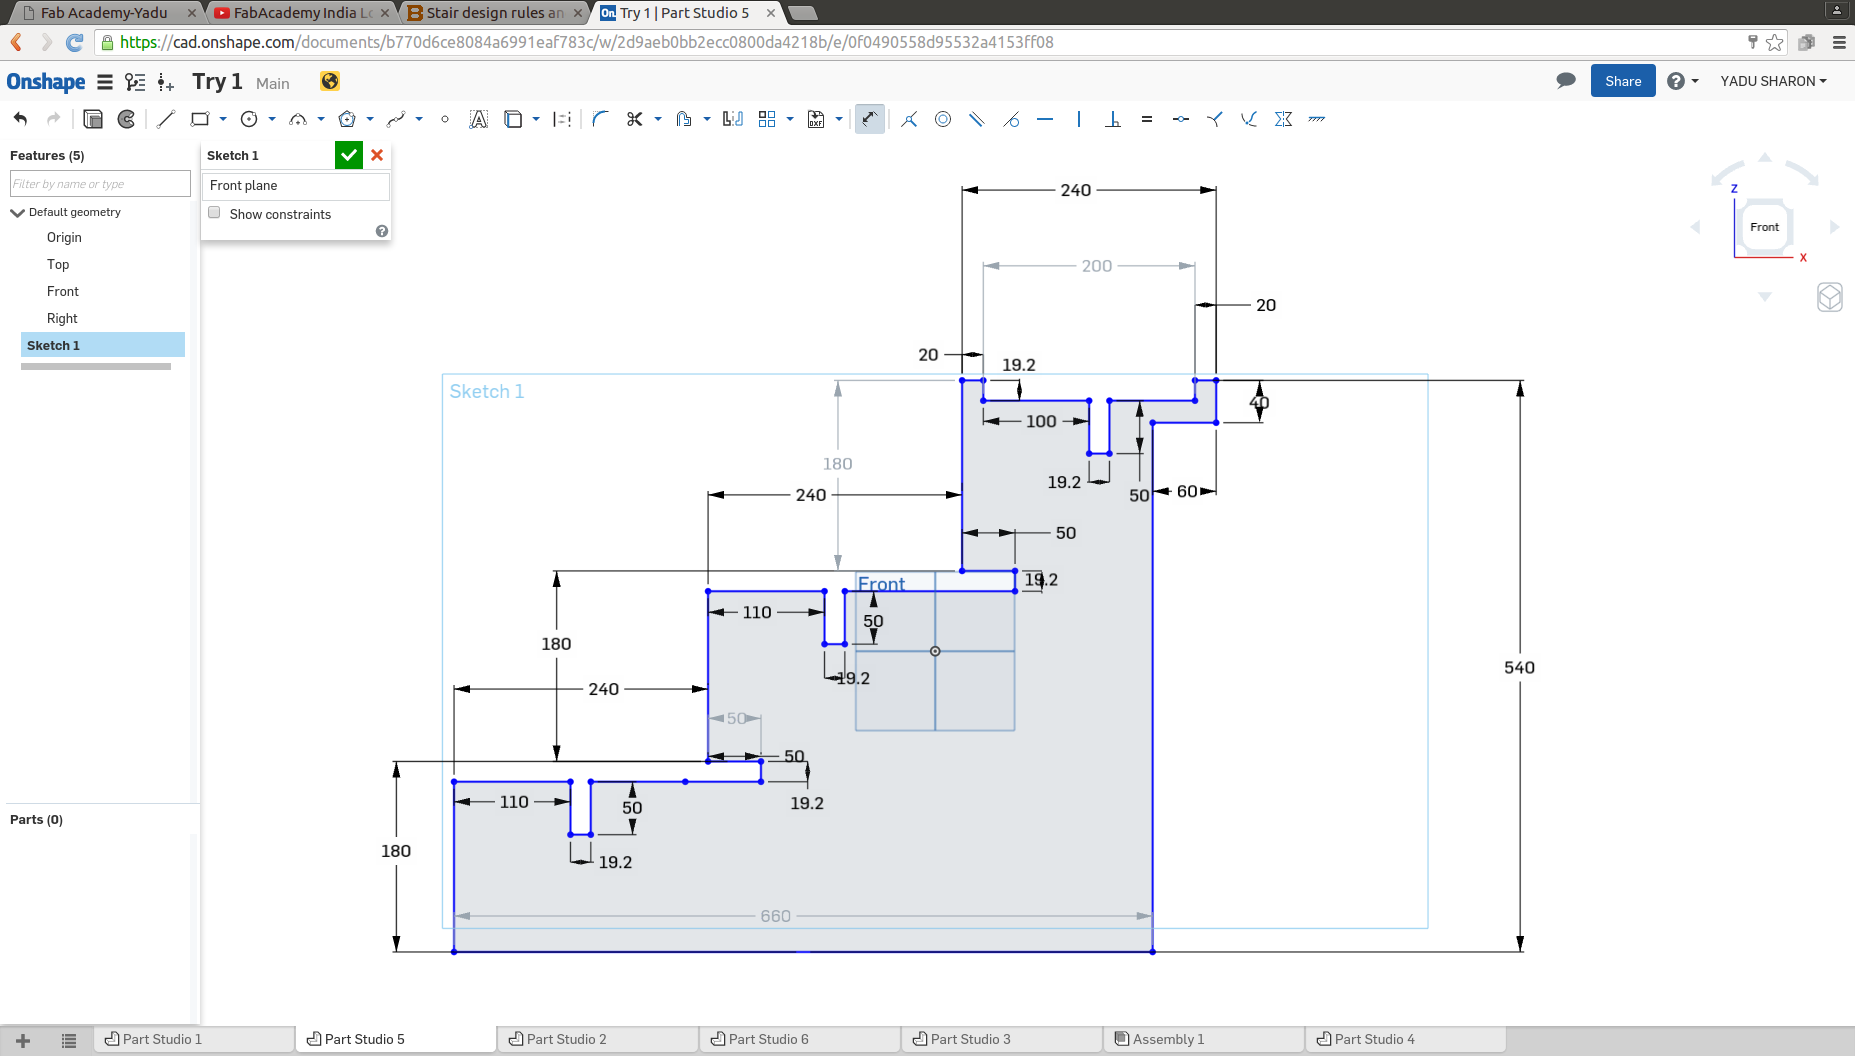
This is a sketch of my design:
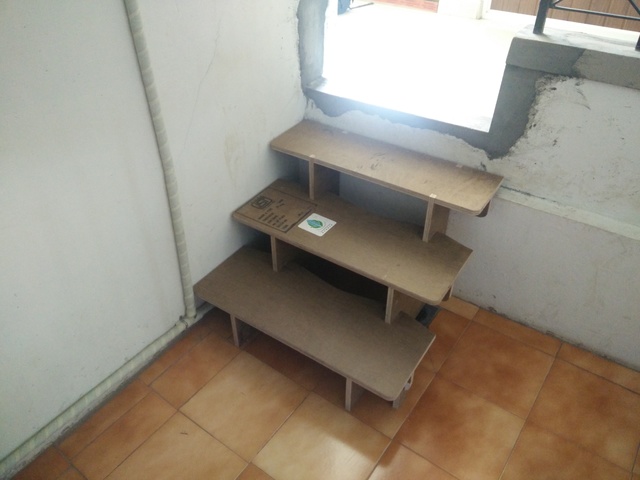
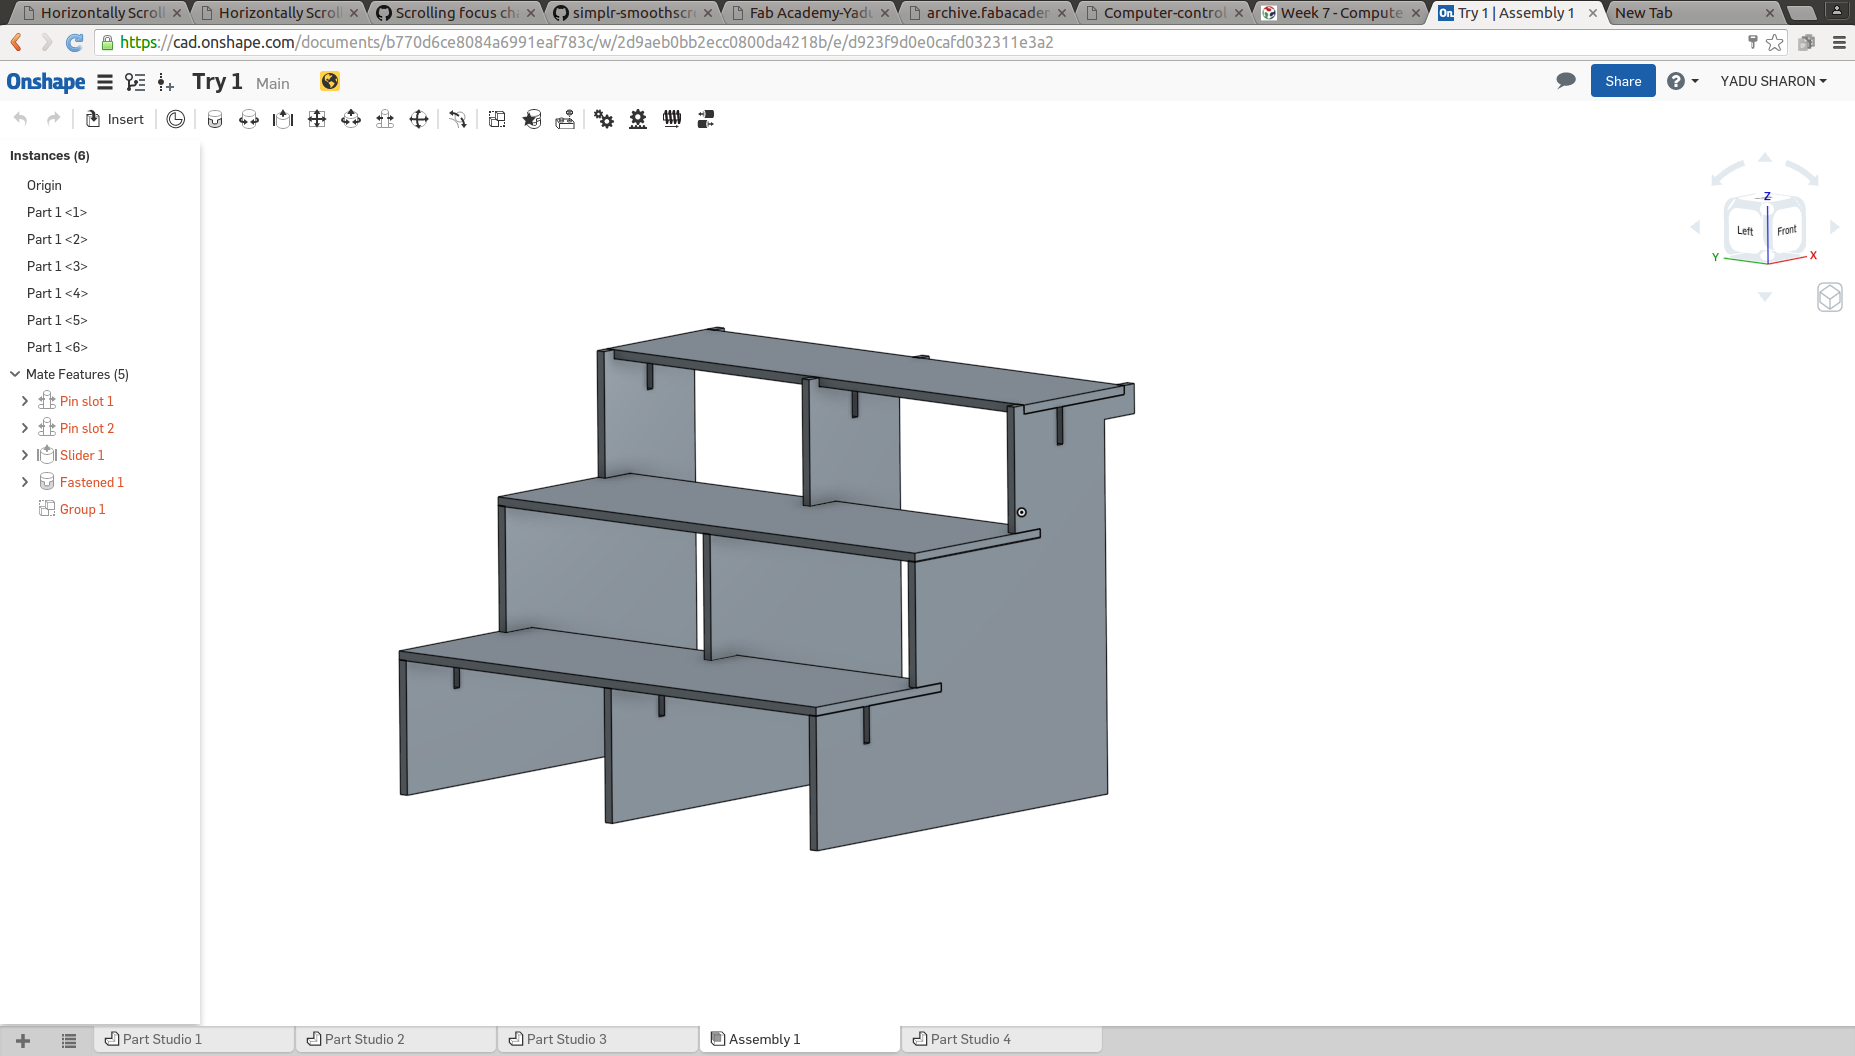
See the assembeled stair:
The work i did is public in onshpe. Anyone with the onshape acunt can view and duplicate it. Here is the link for that.
When Francicso , our remote instructor saw my design, he suggested some websites for refering the dimensions of the stair. Since I am from electronics background, Idont know much about mechanical designs. Here is the website which helps us to design. Here we get the measure of the "rise" and "go" which makes our stair very comfortable.
After refering those measures I made some slight changes. See the sketch of new design.
Now the design is over and the next part is to cut it using shopbot.
I am using 20mm plywood for making the step. The plywood we have is not the best one. It has some variations in the thickness. Some places it hase 19.5mm and some places it has 19.2mm thickness.
Inorder to reduce the material waste I am using a plywood which is already used before. So this 6x4 feet sized plywood has many portions already cut. See the plywood I wanted to use.
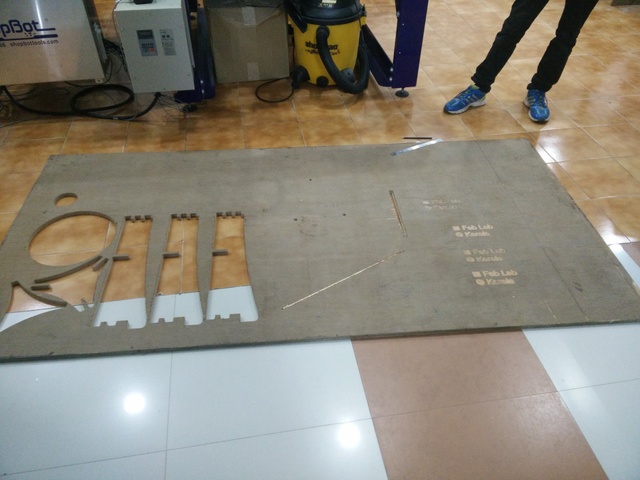
It also had many holes and scrates manywhere. So my next task was to find a suitable place to cut my design on that plywood. And I did it.
Then I loaded the plywood to the shopbot and fixed it using screws. Shopbot is not a machine to use alone, and i always seeks help from my friends to load the wood ,fix it, etc.
I exported my design file as .dxf file from Onshape. For making the g-code we use the software "VCarve" by shopbot. We use Windows for using V care there is no linux version for it.
First step is to import the .dxf file in to Vcarve and give the bed dimension. Once we open it you can see your file in VCarve.

If we have a slot or rectangle inside our design, we have to make some modification in the design. SInce the bit is round and it goes trough outside of the line (the disign) we wont get a 90 degree abgle cut. Insted ther will be sometinh like an arc. SO we have to put some holes in corners (which lies inwards). See it below :
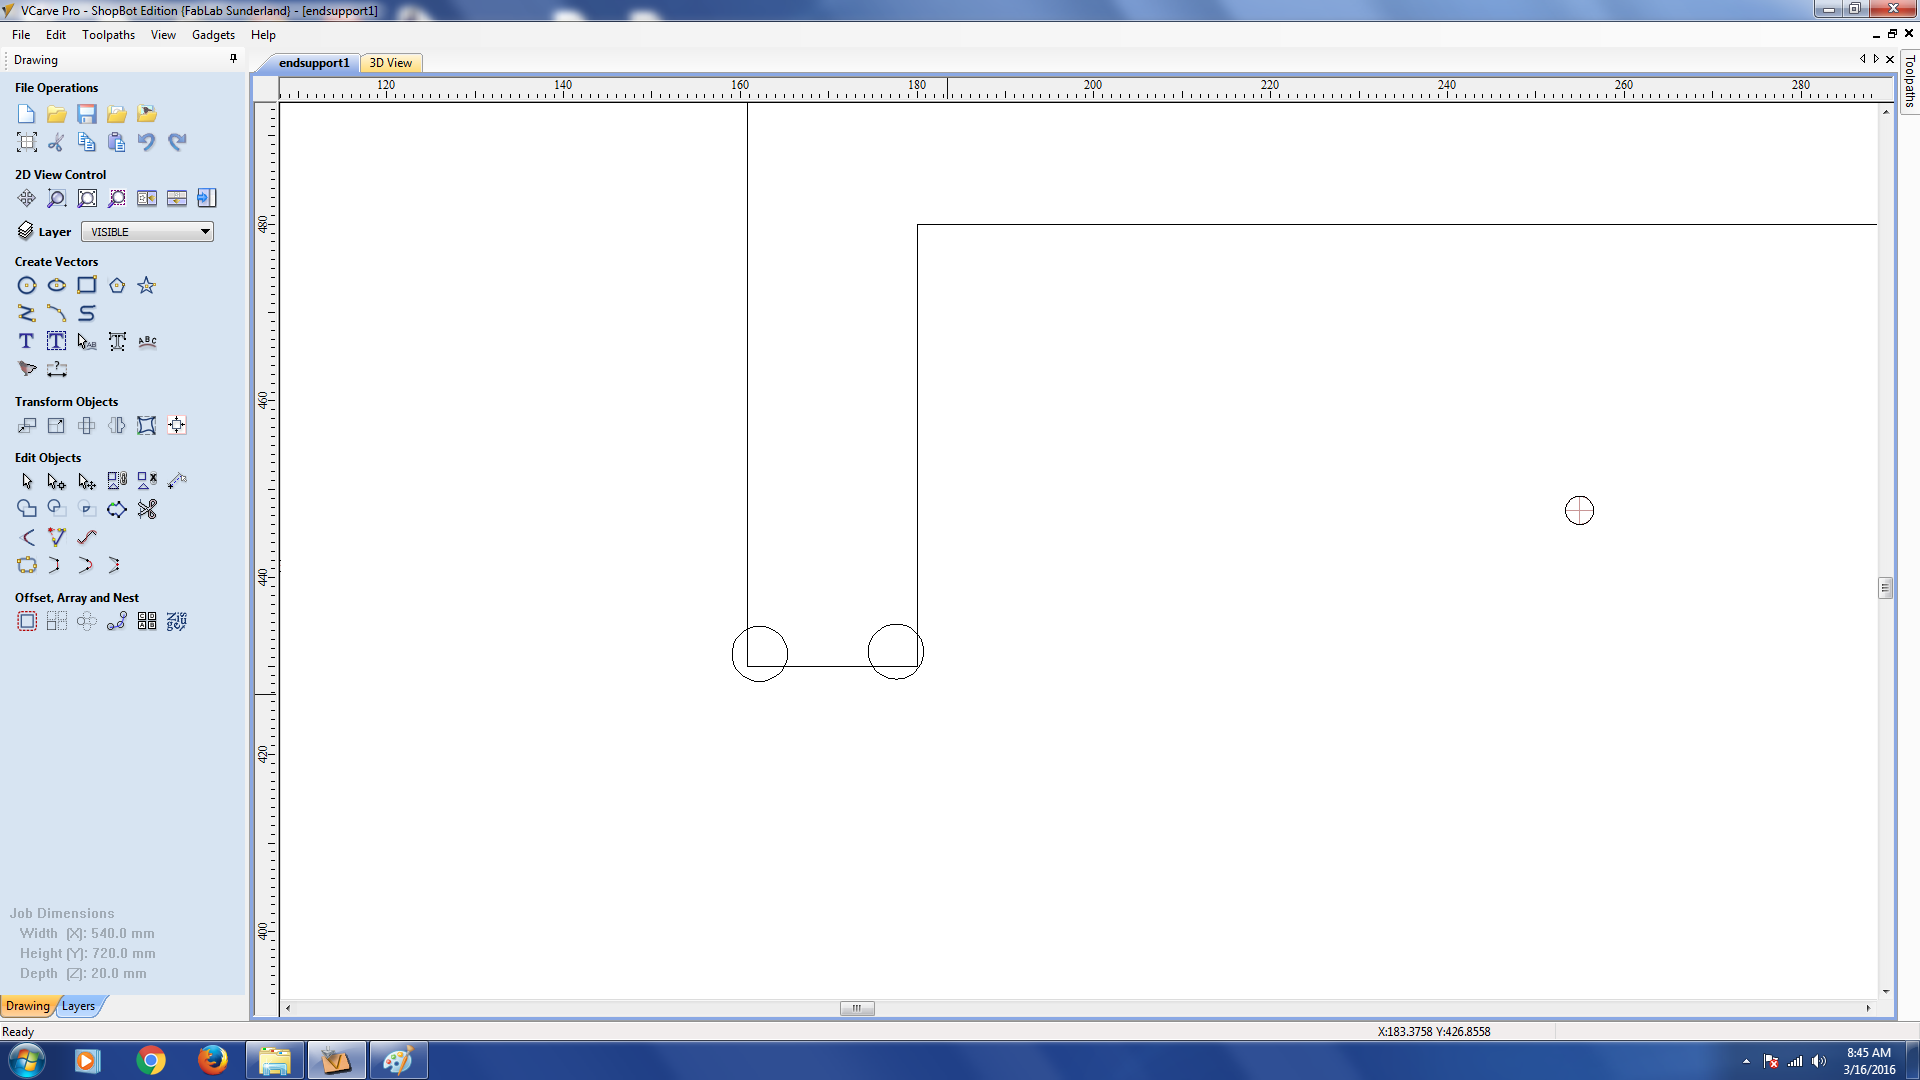
Also notice that I dint put any circle on the corner which lies outwards.
What I want is to drill at these circle. So i selected all the circles and clicked on the the drill toolpath optioon in the "Toolpaths".
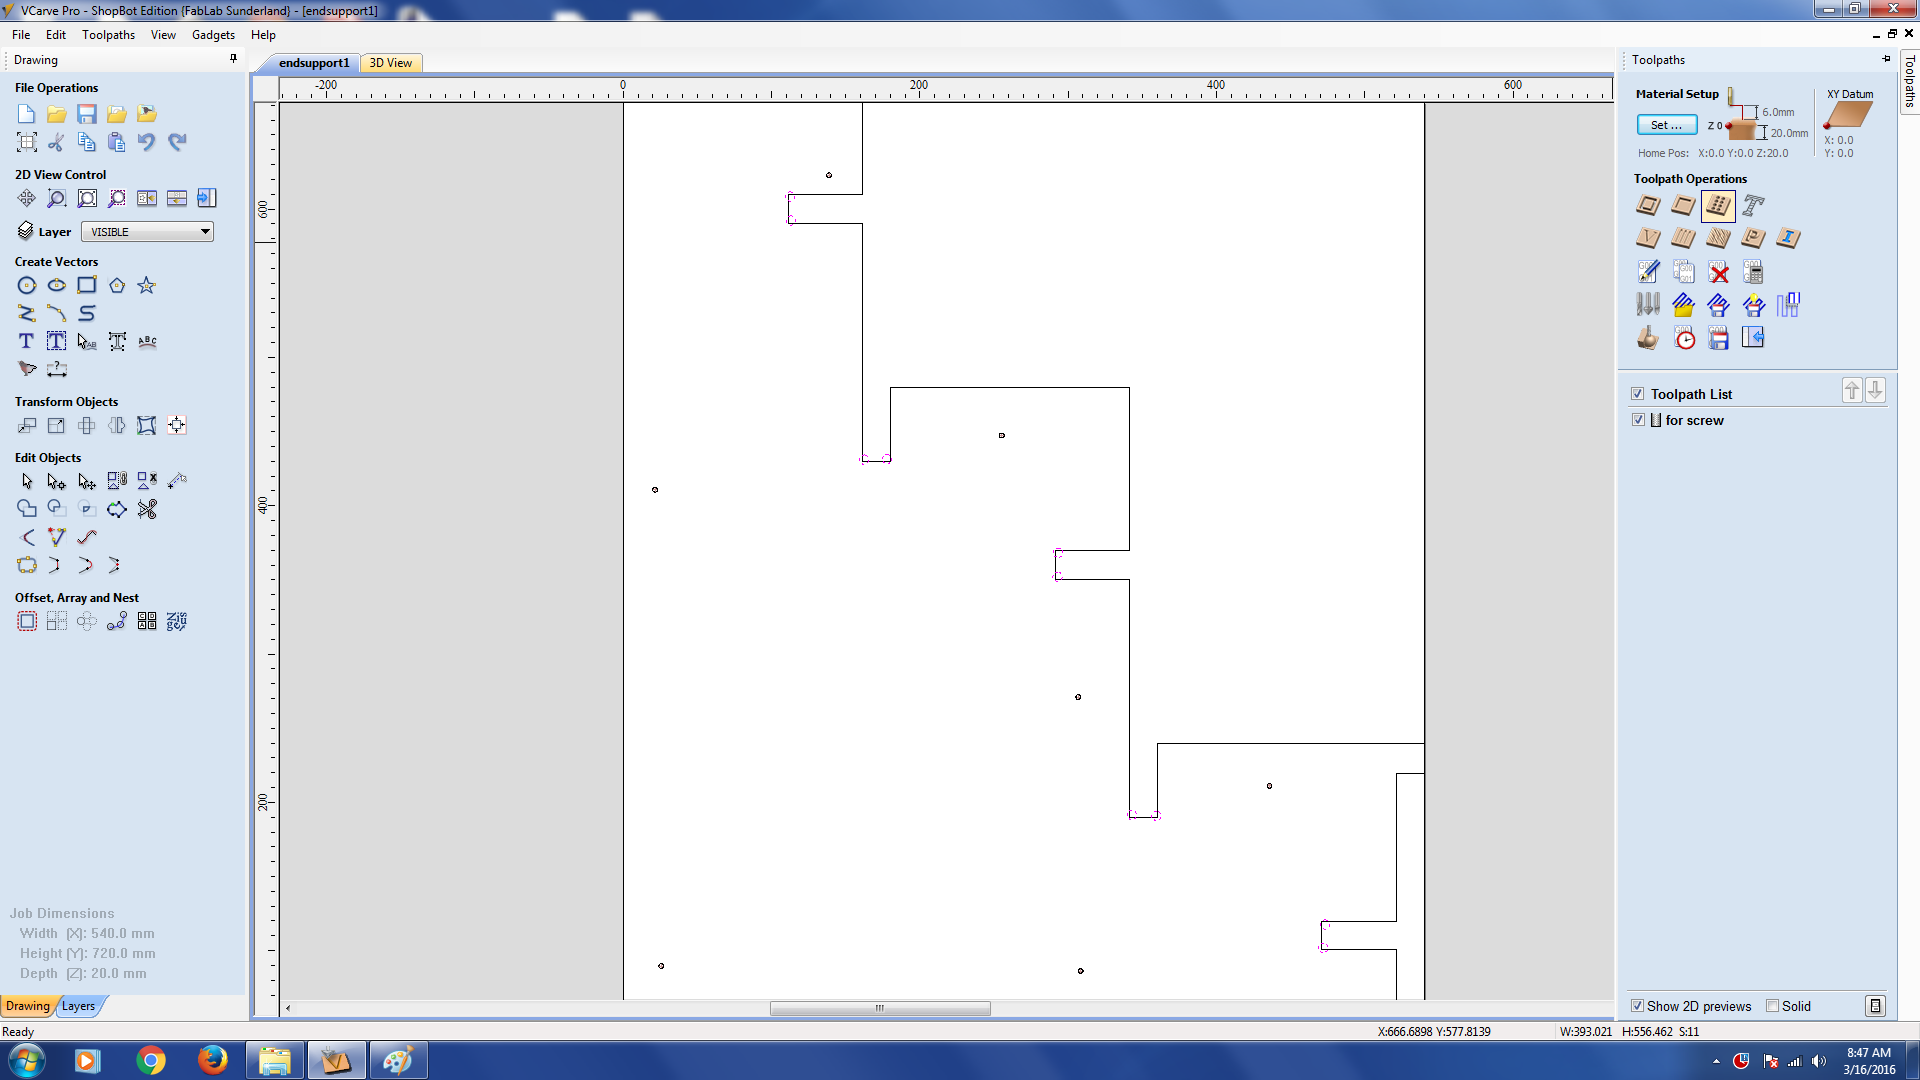
So this paths are saved for drilling. Next I want to cut along the lines of my design. So select the design first. Select the Profile option from topls option.
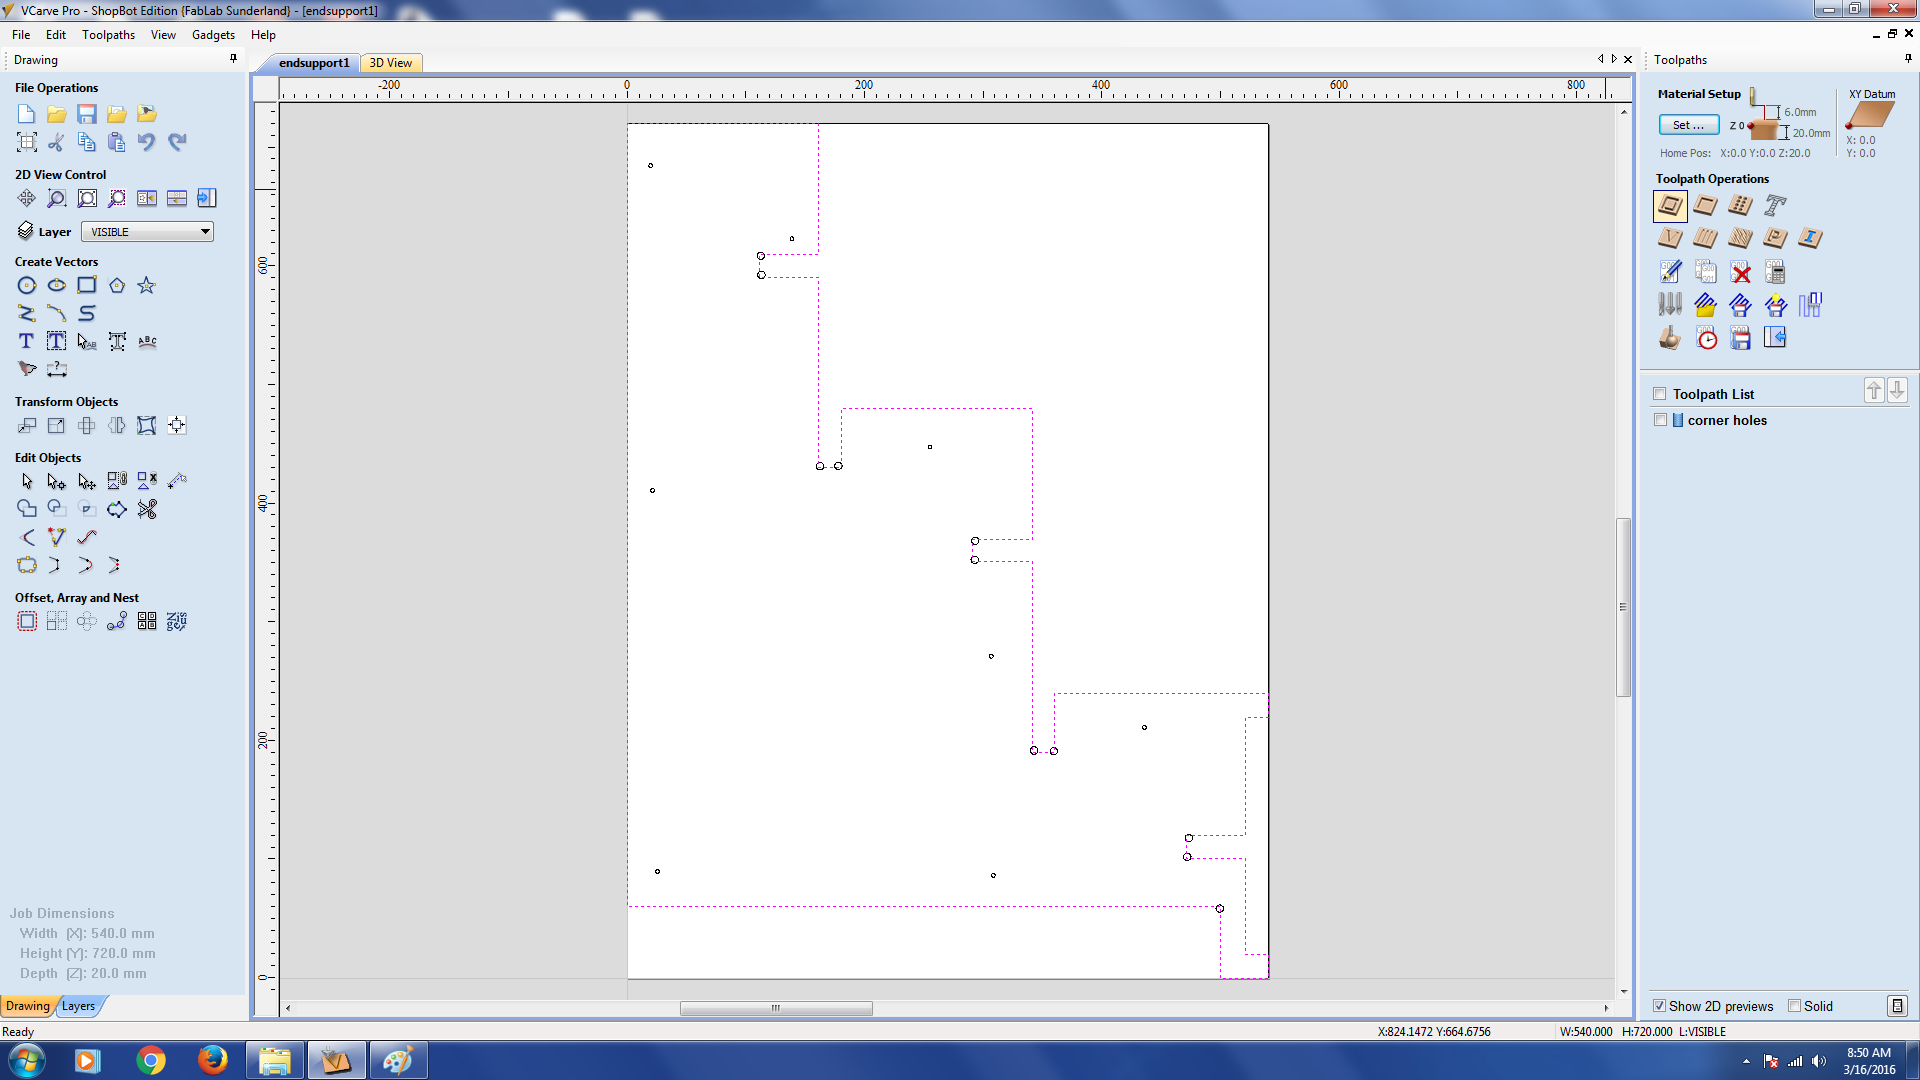
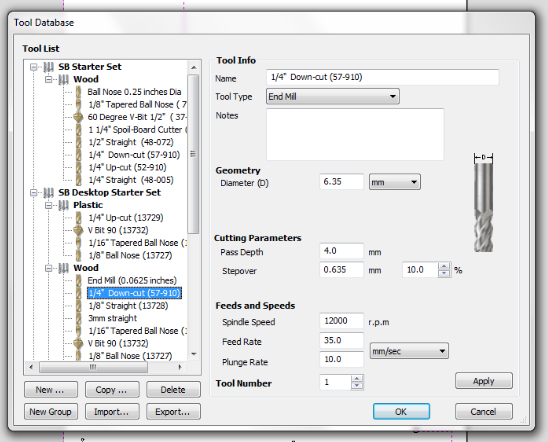
Select the bit and apply the parameters like speed, pass depth etc.
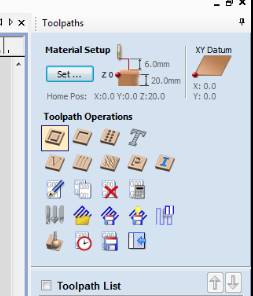
After we save the sbp file , we have to open the shopbot software(Shopbot3) .
The shopbot software is the software which drives the machine. There are many control options. We can position the head anywhere in the bed by using the options. FOr setting the origine, first we need to set the X and Y axes. Once we move the head to the XY origin we can set the X and Y axes as zero.For that, click on zero axes, check X and Y thenclick Zero.

FOr seting the Z axis we have a dedicated option. There is a plate and a clip on the shopbot. Lay teh plate on the plywood under the drill bit. Put the clip on the drill bit. And click "Z" Button . Then it will move donwards till the bit touches the plate. This will get repeated once more (Toatl two times.) And DONT REMOVE the plate before it do for the second time. Now the Z axis is also got set. Next is to load the file buy clicking on the "cut part". CLick on "start". Press the green button (not in computer) to start the spindle. And press "Ok". Now the machine will start cutting.
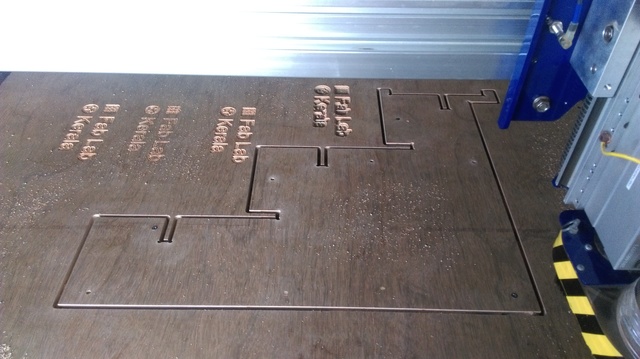
I first cut and connected both the end supports and the links between them.
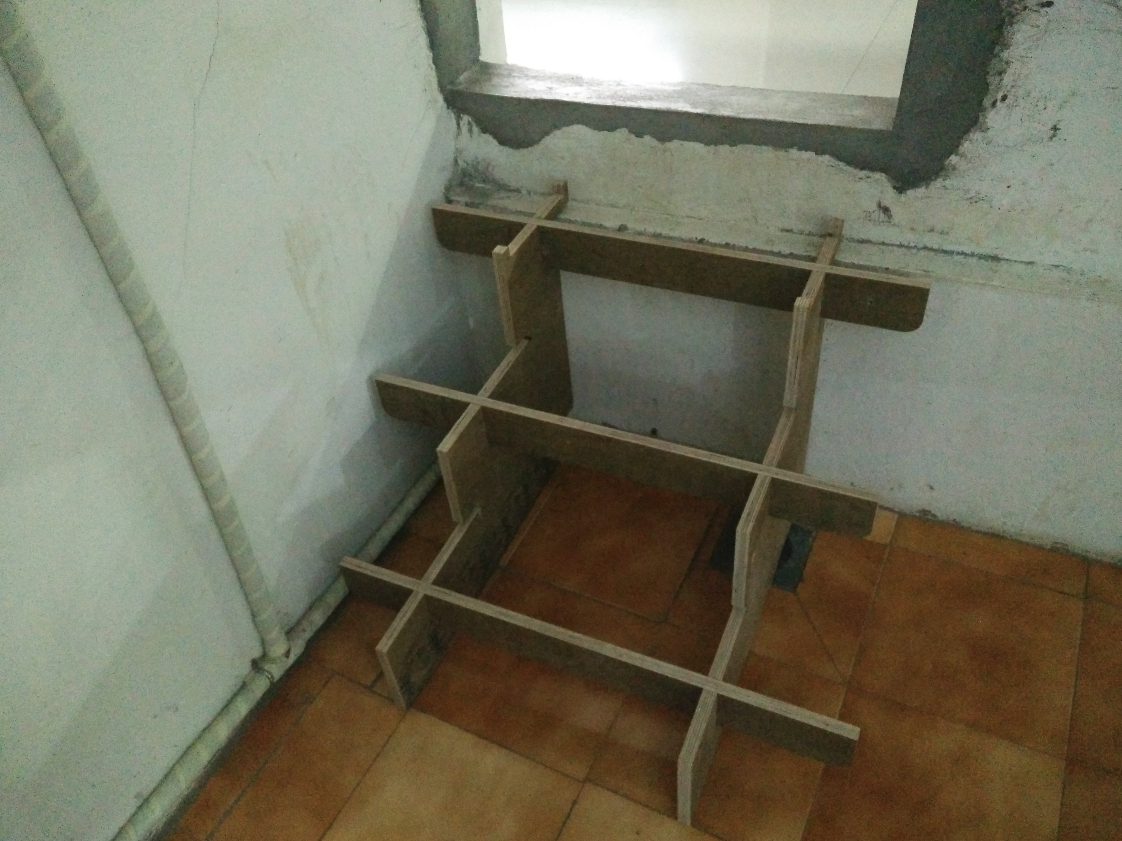
Then i printed the top plate also and made the final step.