
Computer-Controlled Cutting
We have started working with machines this week. The two important CNC machines used for cutting are, Laser cutter and Vinyl cutter. So we will be trying vinyl cutting and laser cutting in this week.
Working with the Vinyl Cutter
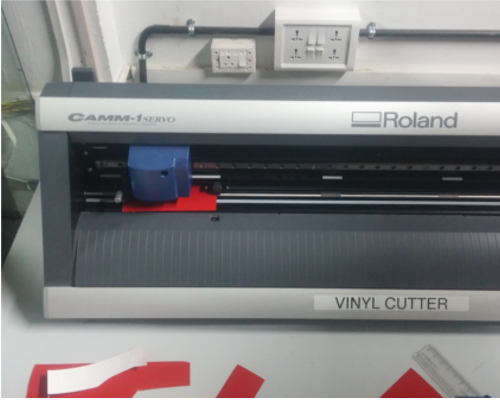
A vinyl cutter is machine which cut thin flexible sheets like vinyl through the vector path given by the computer or any processor. This is usually used for cutting stickers.In our fablab, the vinyl cutter we have is Roland CAMM-1Servo.
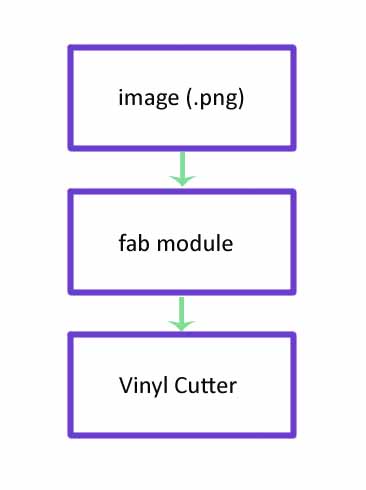
The software part we use for using the vinyl cutter is Fab modules. Fab modules takes .png image file as input and convert it to vector path. If we have .svg file, then we can use it instead of png file. So the first step for cutting a sticker is designing the sticker and exporting it as .png or .svg format. The over all process needs a png file(the design), fab modules, and the vinyl cutter
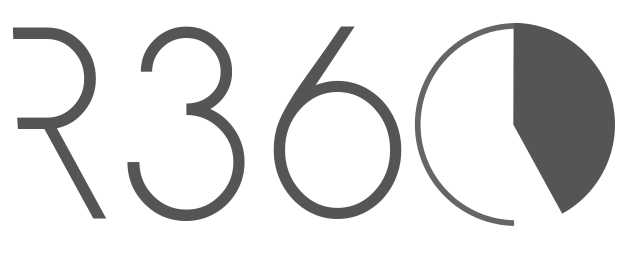
What I want to cut is a logo of my project, R360. I have already designed it in inkscape. Here is the file:
For using the fab modules, open terminal and type "fab". Now a window will open up.
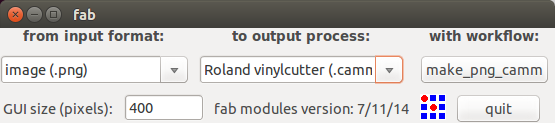
choose input format and output process as shown in the above picture and click om "make_png_camm". Now another window will come out. Here we have to follow several steps.

Before we click the "Send it!" button we need to set up the machine.
First thing to do is loading the vinyl roll. For that, there is lever in the backside of the machine which is to be pulled upwards.
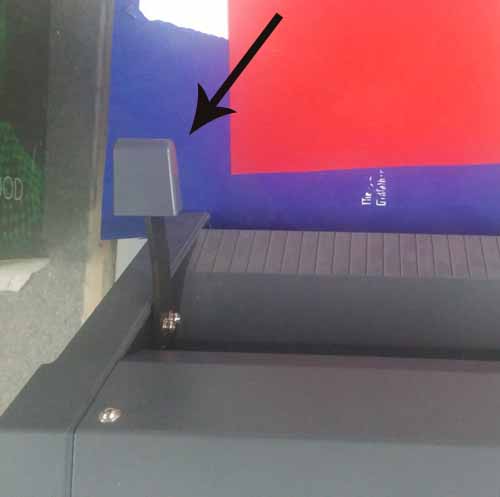
While loading the sheet,we need to make ensure some things. There are some rollers in the machines which control the movement of vinyl in the y axis. The rollers should be on the white portions which is marked on the machines.
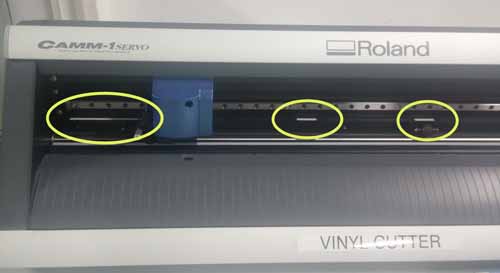
We can adjust the rollers over the white marks so that the the two rollers are at the edges of the vinyl roll in the x axis. Once we load the vinyl push down the liver (the same lever we pulled down to load the vinyl)
We can also use vinyl pieces instead of rolls. Once we load the piece of vinyl we should select the "Piece" option in the machine. Then it will show us the size of the piece that can be used. So make sure that our design size is not beyond the size of vinyl sheet. Once we setup the machine , we can hit the "Send it!" button in the fab module.
See the sticker

Laser Cutting
The assignement for this week was to make a press fit kit using laser cutter. Laser cutting is a technology that uses a laser to cut materials. The Laser cutter we use here is Trotec Speedy 100.The first step for making the press kit is the Design. The CAD tool i am using is Rhino (as usual :P). For using parametric design in Rhino we can use Grasshoper. But there is another trick for propogating changes in Rhino using blocks. Here is the video tutorial for the same. This tutorial was shared by Saverio Silli in the class16 mail system, and i Thank him for sharing that tutorial.
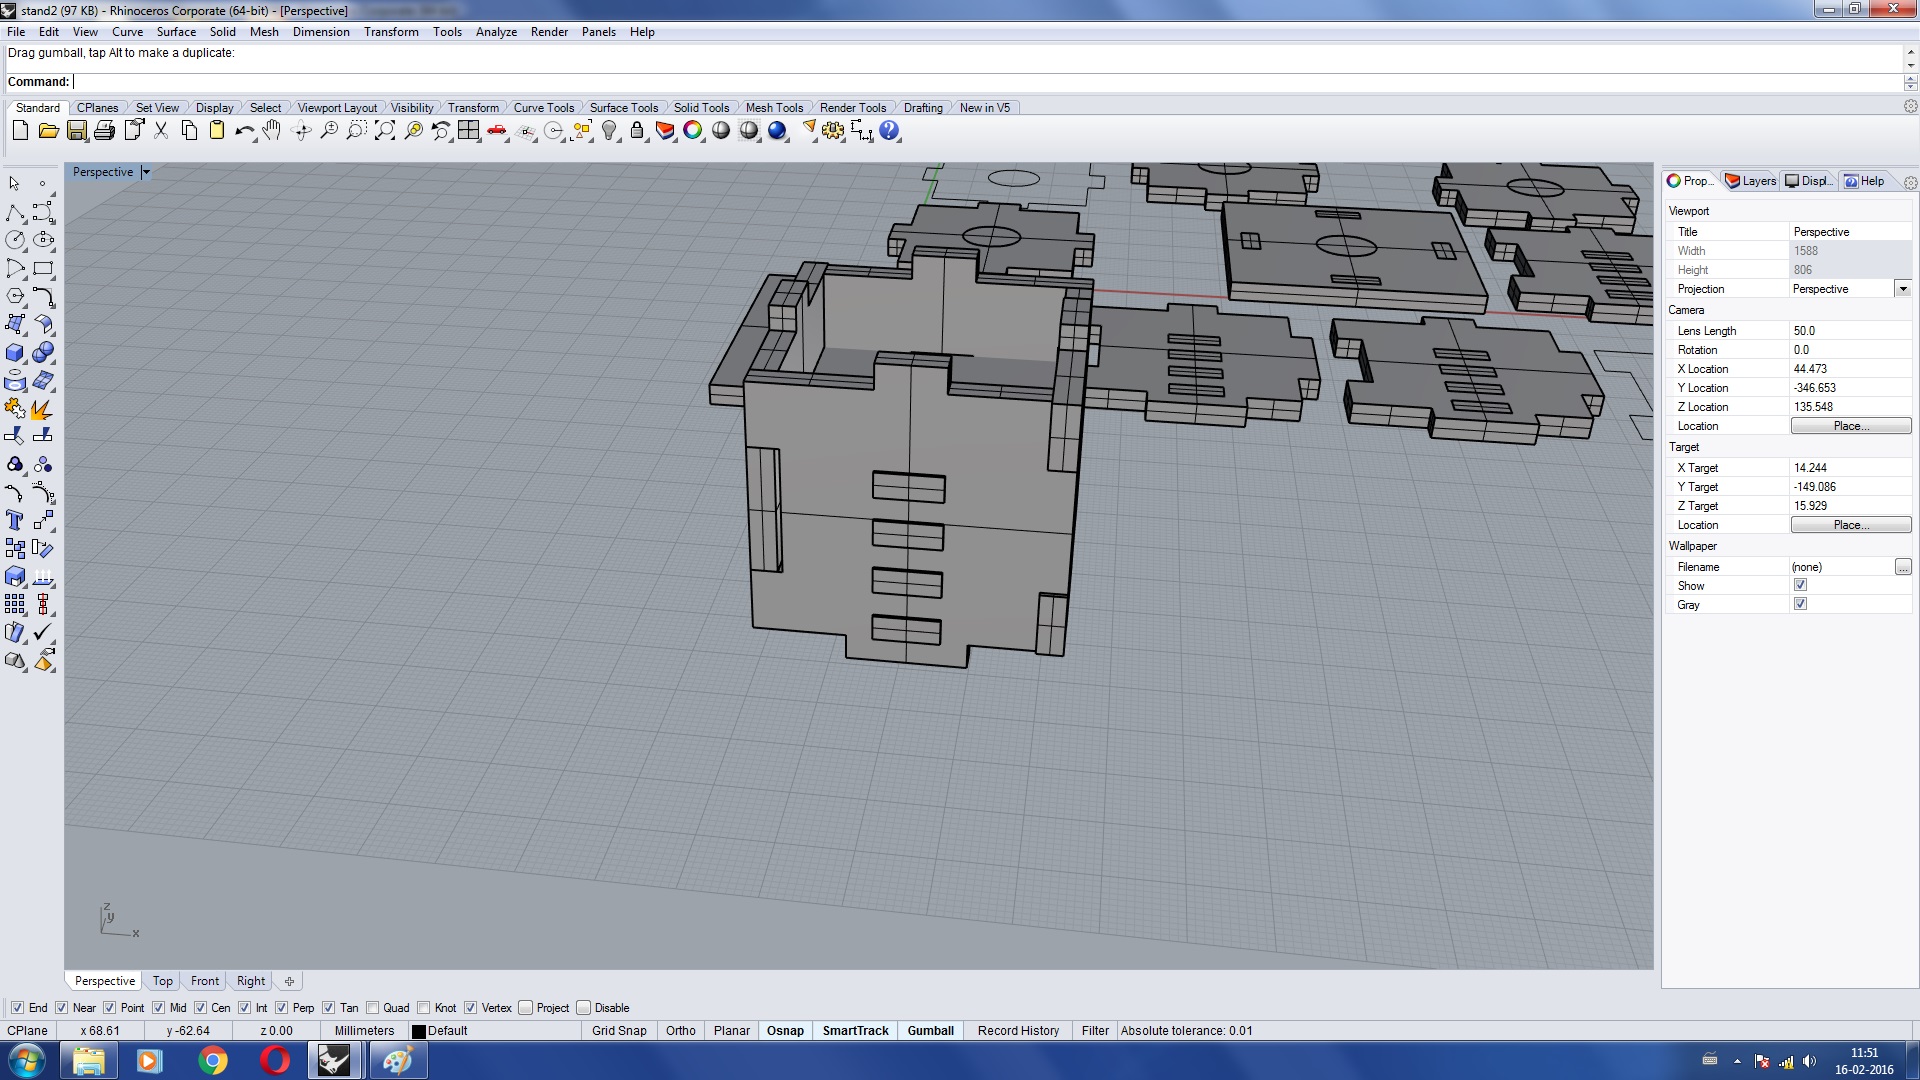
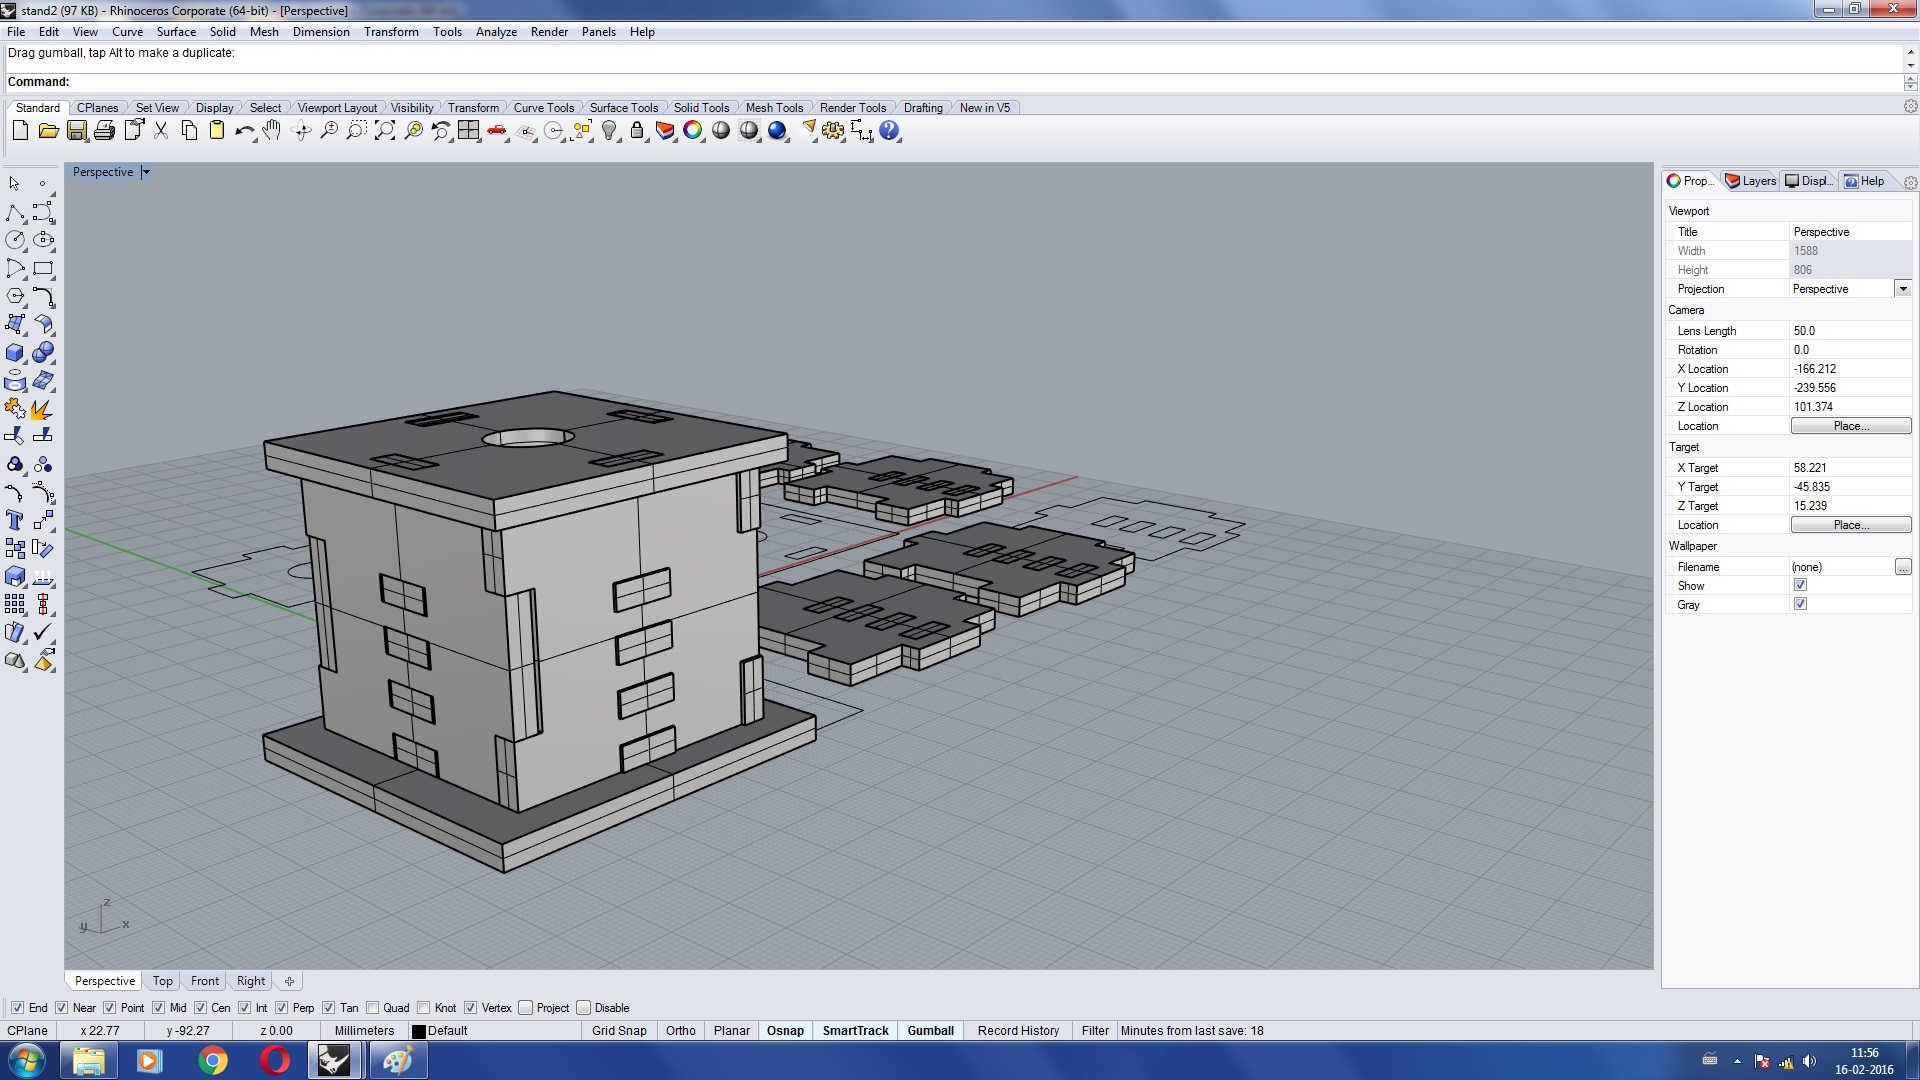
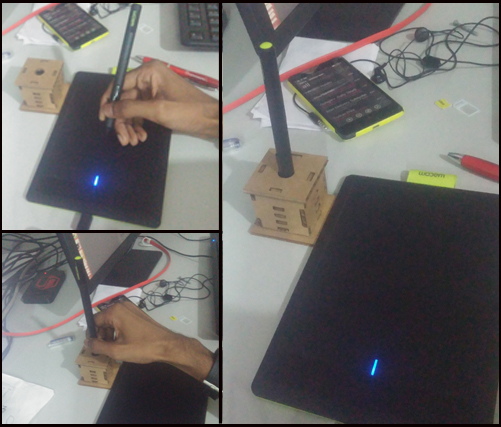
The thing I am going to make is a box type stand for the Wacom Pen we use in lab. Since i use the Wacom pen tablet while i design something, i thought this stand woud be some thing useful and i decided to make it .
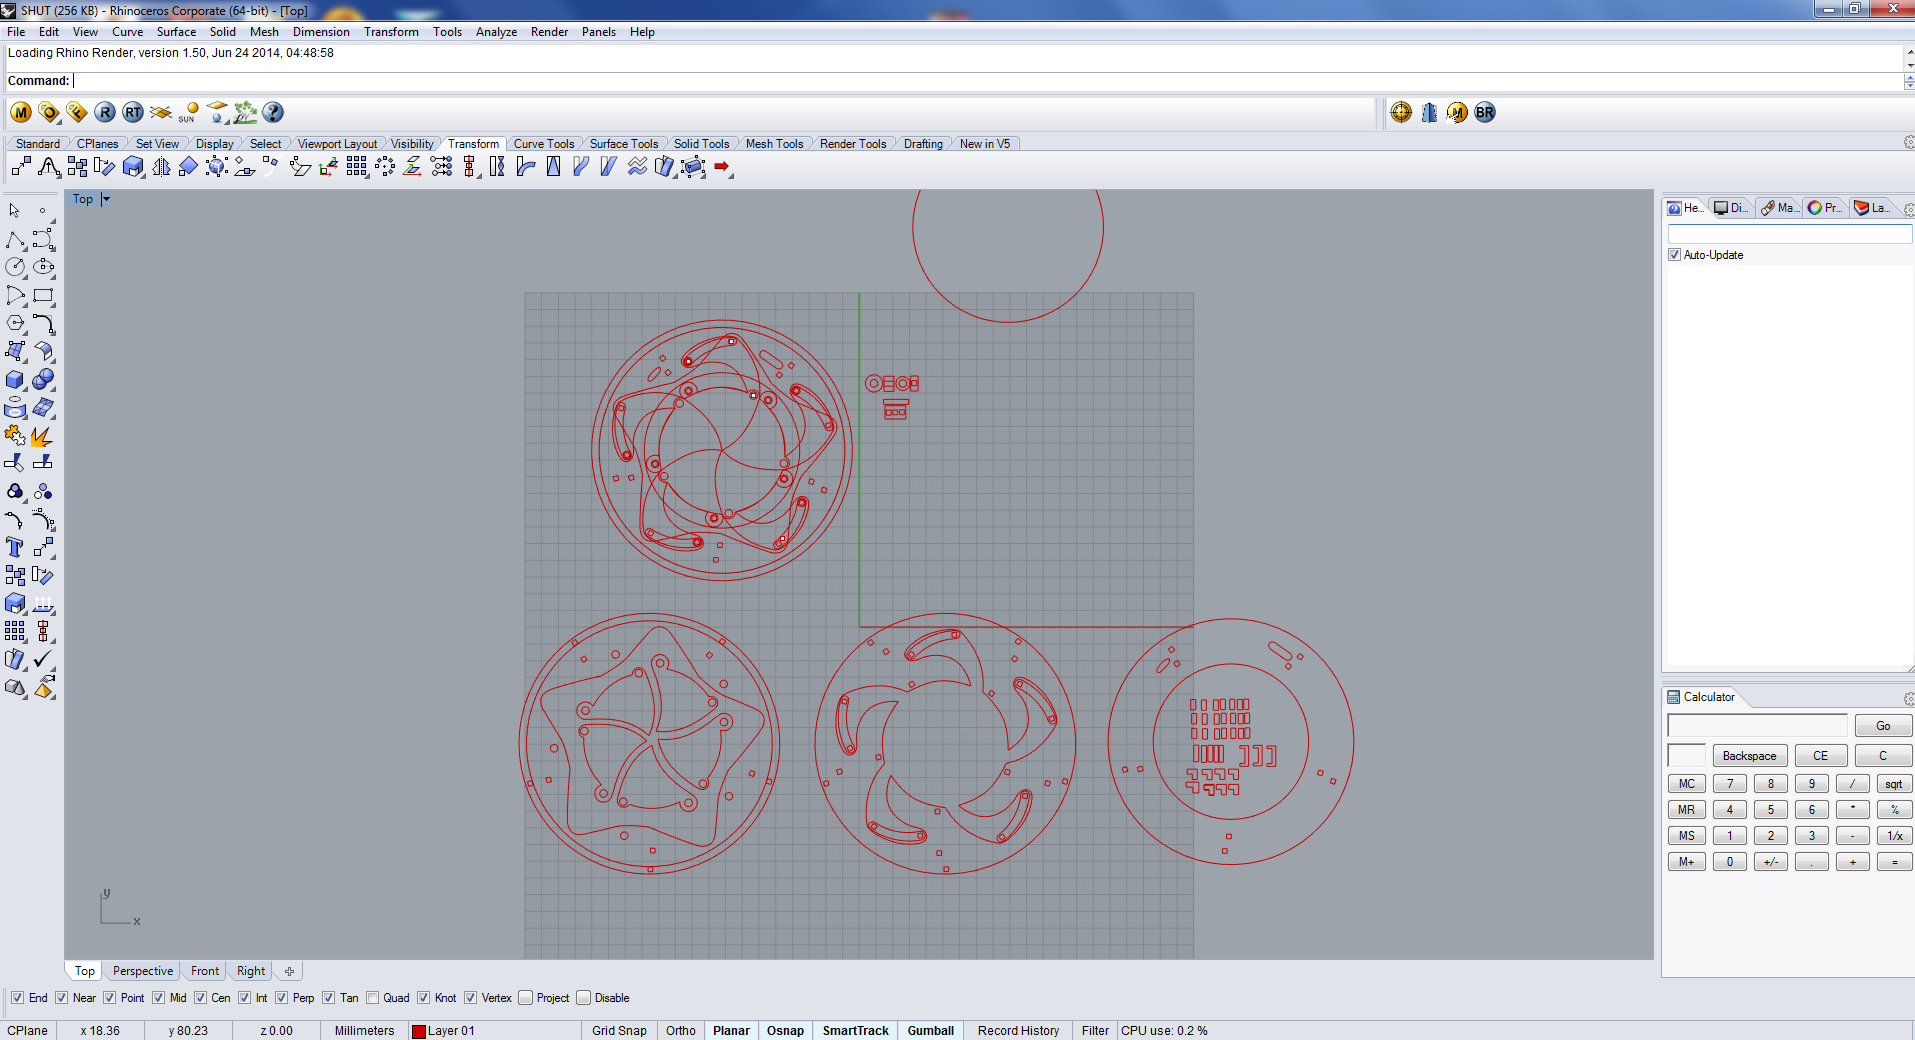
Here are some screen shots of Rhino, taken while i was making the design.


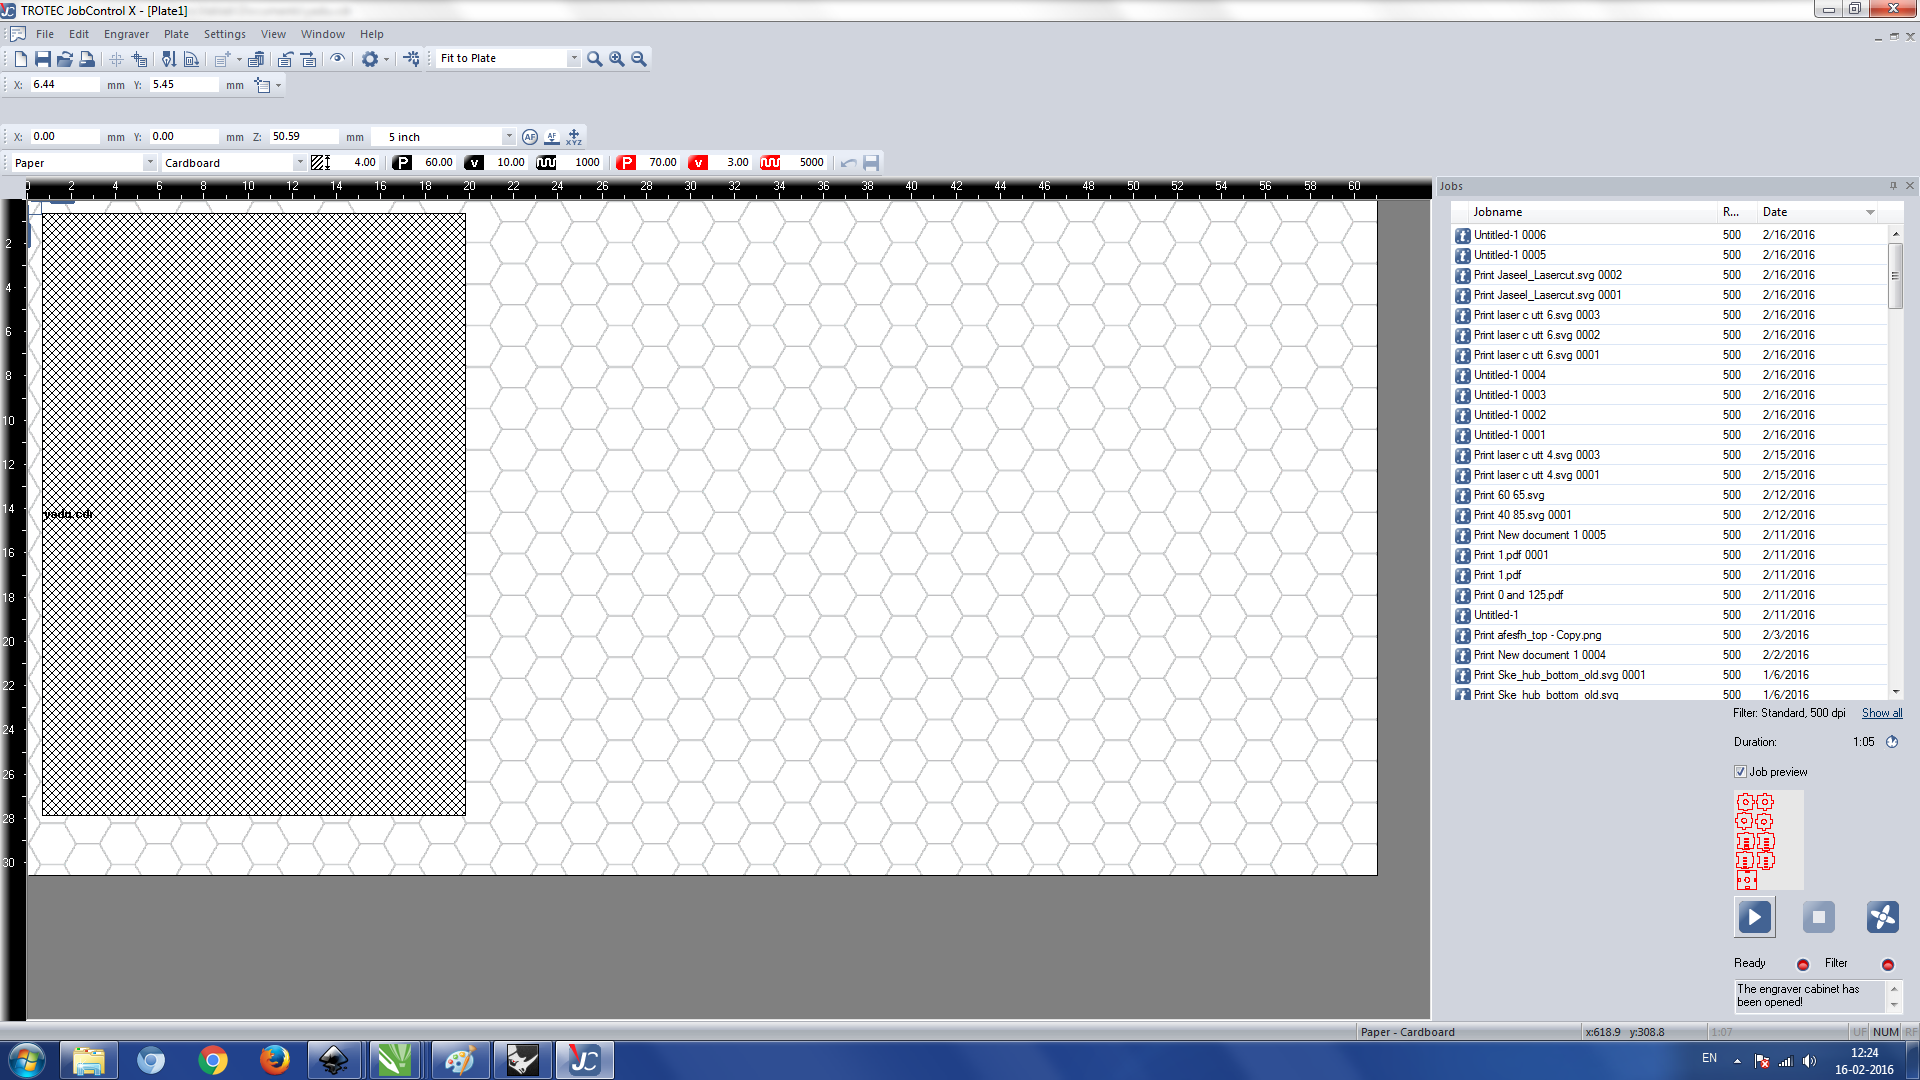
Next part is cutting the card bord using laser cutter. I exported the file in .dxf format from rhino. The PC which is connected to the laser cutter doesn't have rhino and we used to open the files in Corel draw or Inkscape. See the file opened in Coreldraw

We use the laser cutter for both engraving and cutting. If we are engraving somthing , the color of work should be in BLACK and if we wantsto cut, then the color should be in RED. Here we want to cut the card bord, so the design should be in red. So i changed the color in Correldraw to Red.Then i hit on print option , and selected trotec as printer.We can choose the material, speed, power etc by clicking on "Properties". When we hit on "print", another window will come out. Here we can allign our work
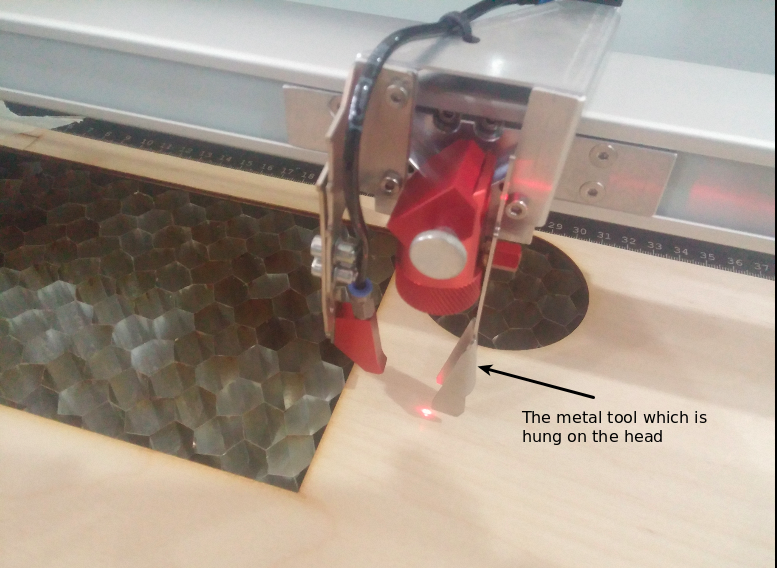
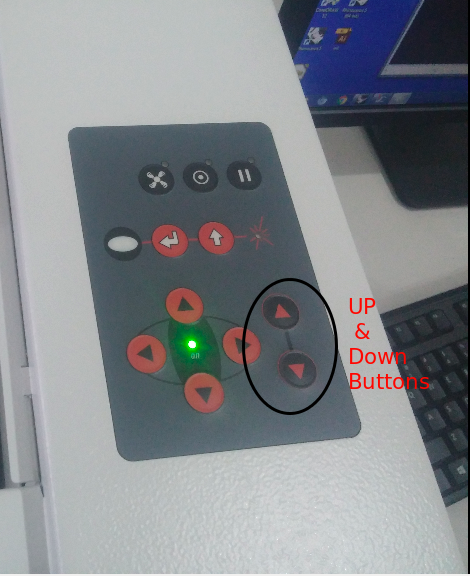
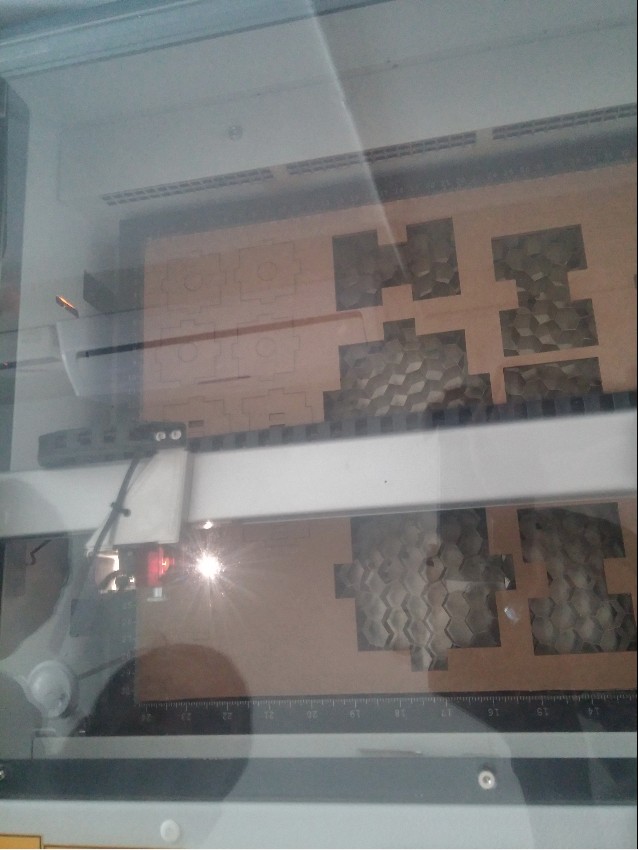
We can set the X,Y and Z axis of the laser head using the buttons on the machine. Setting the X and Y axis is simple and Setting the Z axis (the hight of the platform) is somewhat tricky. There are buttons on the laser cutter for adjusting Z axis. There is a metal tool which is to be hung on the head of laser cutter. Hang the tool on the head and slowly move the plattform (on which the material to be cut is placed) upwards by UP button. When it touches the hanging tool, the tool will fall down. Now this is the required Z axis. So Z axis is set


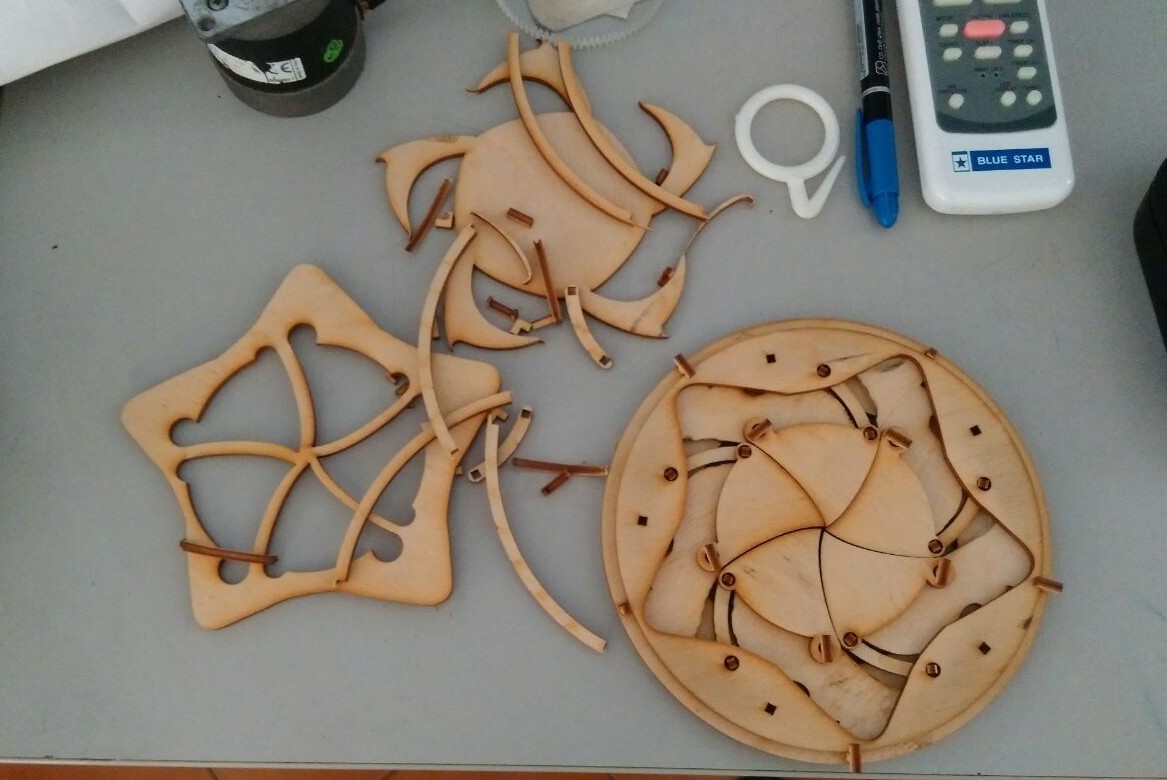
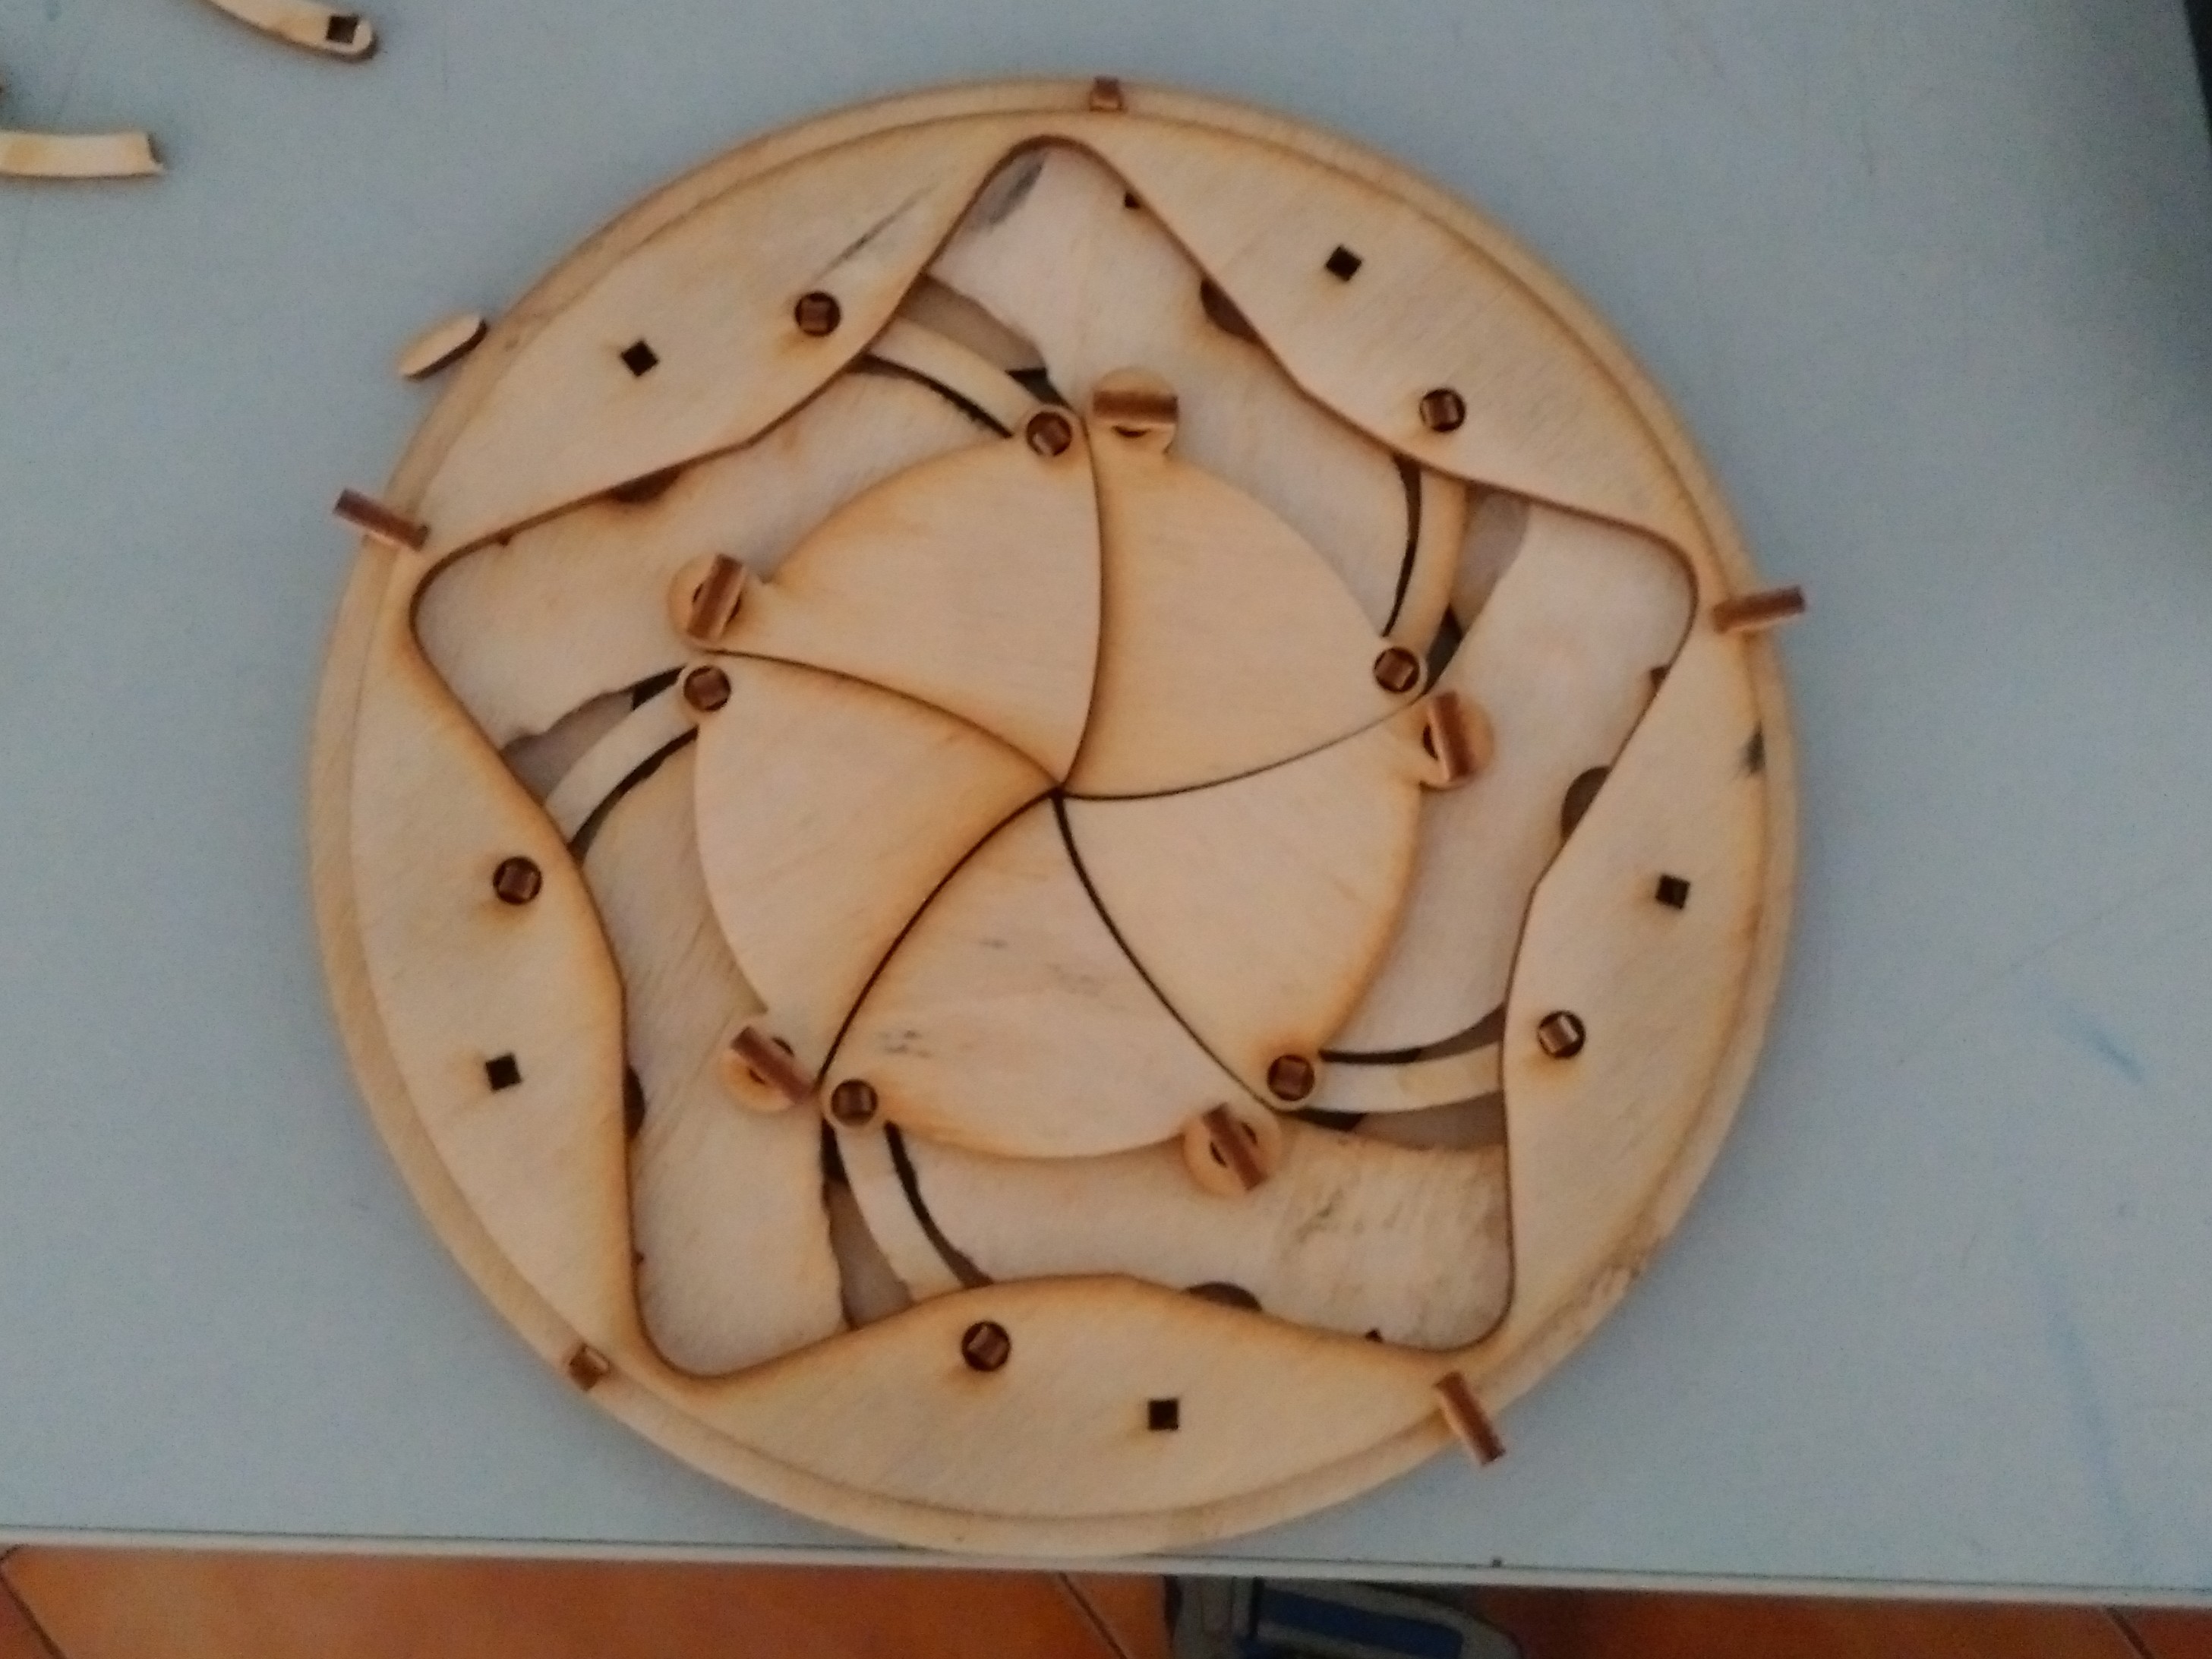
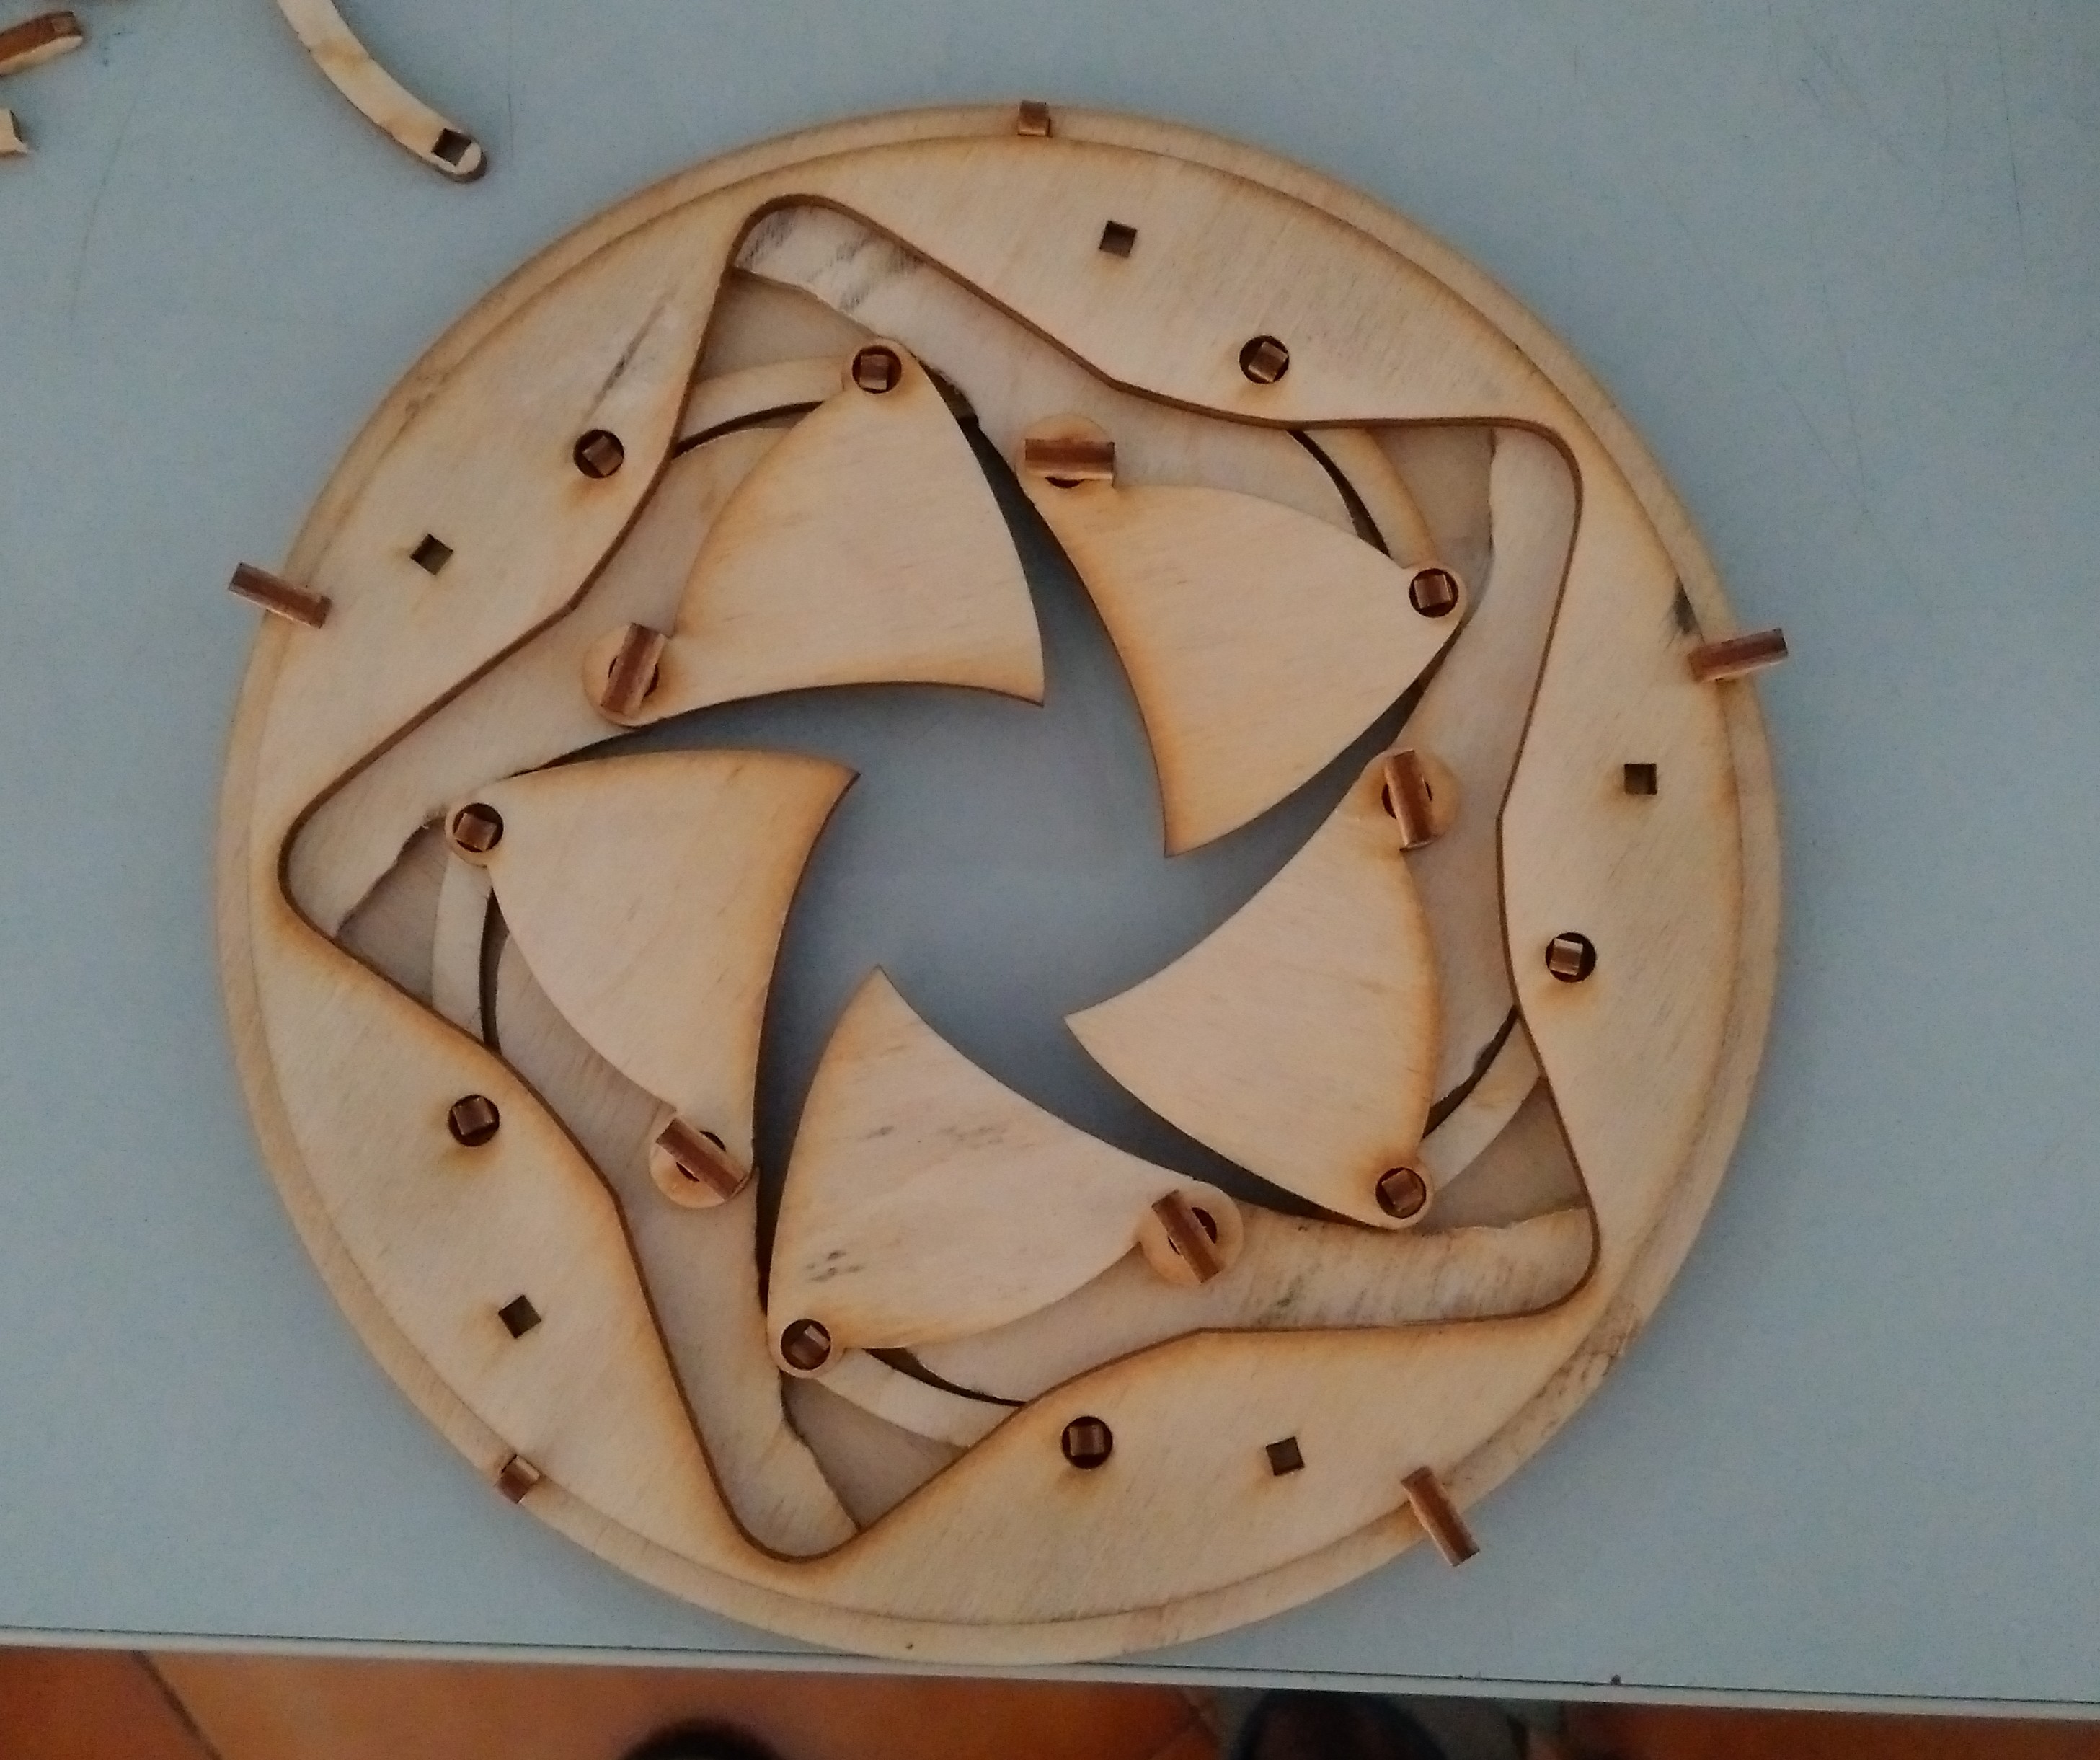
Press fit IRIS mechanism
This is something i loved and enjoyed while designing and i am very satisfied after making it. I wanted to make something dynamic and I decided to make an IRIS mechanism. I dont want to copy it from anywhere but to make from the scratch. But as a reference I went through this video.
Actually it took some time to complete the design. It was like a challenge for me and I could n't take screenshots while i am designing.
For being a parametric design, i used the block option in Rhino. First i drew the shutter part of iris mechanism in rhino and saved it. Then I opened a new window in rhino where i am planning to draw the other parts. Then i imported the shutter part as a block.
Make the shutter design and save it as rhino file

Then open a new file and import it using block option.
Click on "Blocks" in "Edit"


Then i completed the rest designs. I used block options for parametric design. As i told before I couldn't take much screen shot at the developing stage of my design.
Downloads
Rhino files: Shutter block, Iris design
dxf files