Molding and Casting
The assignment for this week is to 3D design a mold,machine it and cast parts from it. Here is the lectures and class by Neil.
I was busy with our machine making assignment this week and i could nt spend too much time for the molding and casting. The thing I casted is a "Redstar"
My plan was to cast something simple but using a two side mold. I have already tried single side mold during the Pre Fab academy (We have also tried metal castig). So i decided to cast a star using the silicon rubber.
The first step is nothing but design. First i made the 3D of the model i want , and then i subtracted it from a box so that i will get the mold (negetive) of the model.

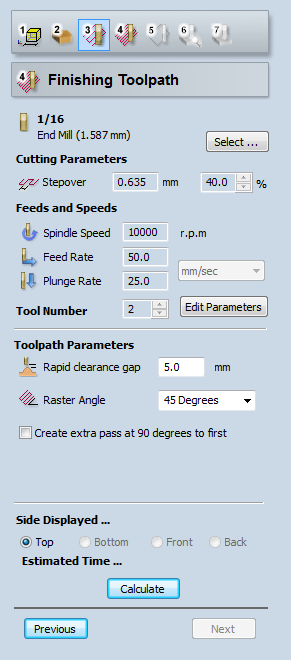
Most are using the modella and the modella was busy all the time. It take too much time to mill for each individual, so i planed to mill the wax using Shopbot.
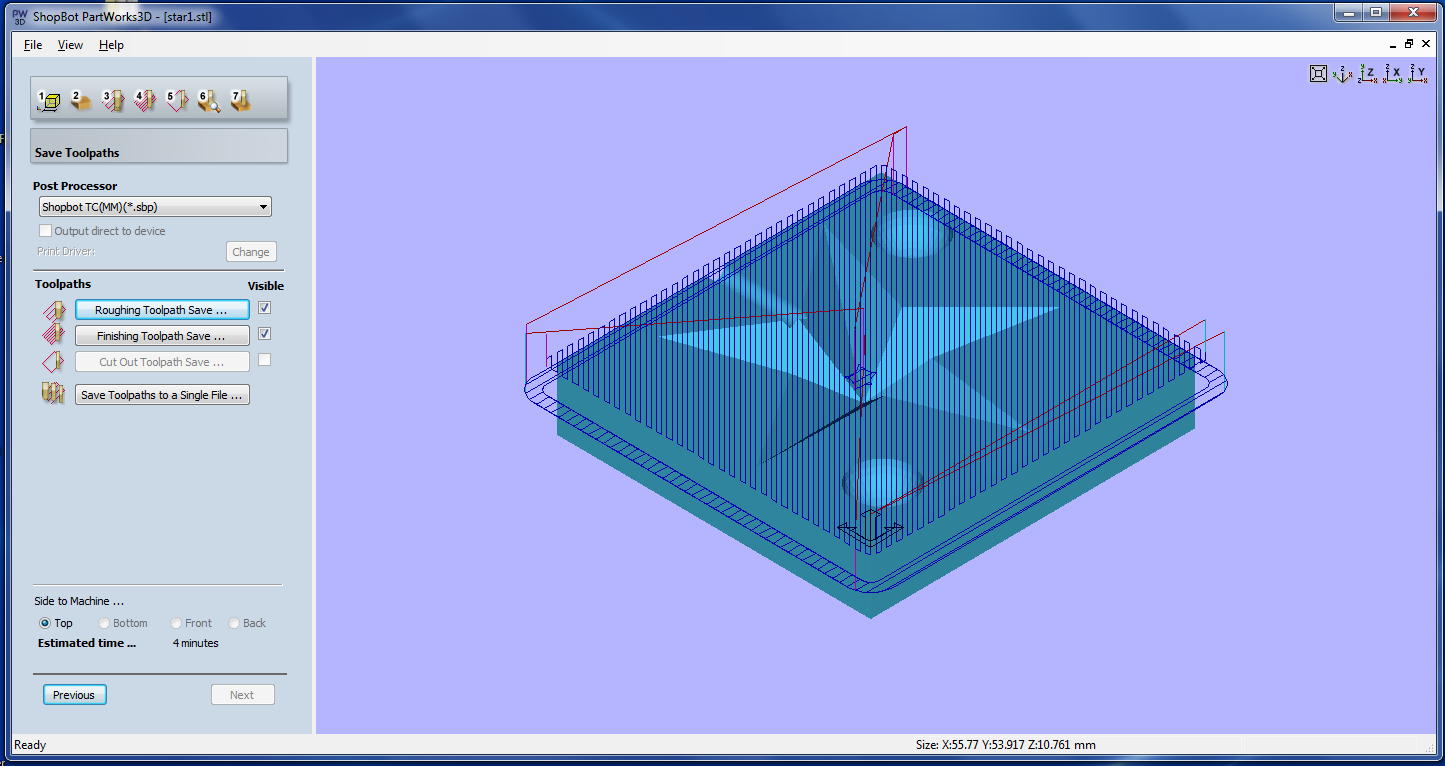
For making 3D models , we use Part works for shopbot.
The first step is to open the stl file I designed.

Next is to set the size and margins of the material.


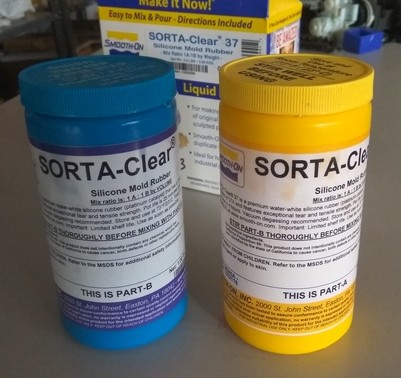
The procedure for casting is simple. The ratio of these two materials to be mixes is 1:1 in volume. So calculate an approximate volume. Pour PART A in a cup (half of the total volume). Take the PART B also the same volume in a different cup. The mold should be ready near us. Start mixing the materials. Use spoon or stick for mixing. After mixing pour it to the mold. In my case , I poured the mixture to the molds separately and closed the mold. If the mixture has very less density we can close the mold and pour in to it through a small hole. Here the mixture has high viscosity and it wont go through small hole.
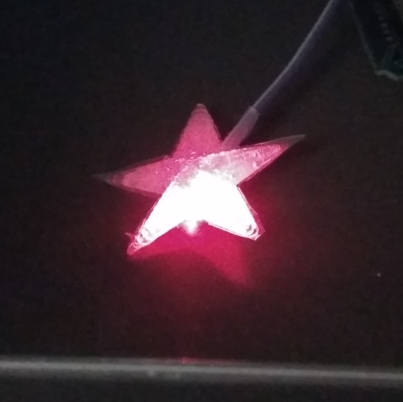
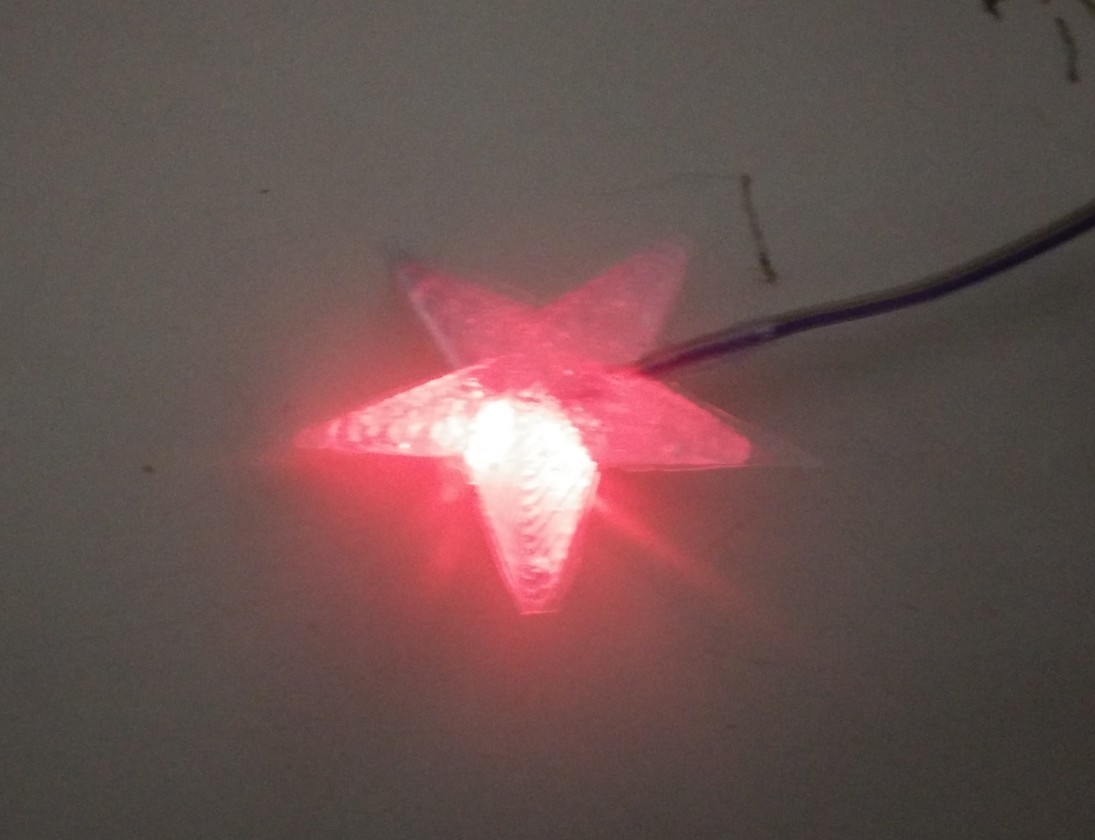
I couldn't take any snap of the process because there were only me and my friend in the lab and he was helping me. So we couldn't take any snap. I was too buzy to pour and bind the mold before the mixture get set. The tricky thing i did is i put Red LED inside it to make it a Redstar :p
I locked the two molds using a clamp.


I removed the unwanted portions and powered the LED.