
Table Of Content
The main goal of this class was to model the final project with as many tools as possible.
Some 2D, 2-and-half, 3D, audio and video tools were described.
First I installed GIMP and Inkscape.
sudo apt-get install gimp
sudo apt-get install inkscape
The first was recommended to sketch drawings, the second to describe them in a better way adding parameter and hierarchy. One more important feature is the capability of describing relation, this will be fundamental when designing modular structure to be fabricated with 2D cutting machines.
I made some practice with GIMP sketching logos of classes in my homepage (.gif format is roughly the half of .png for these files, I successfully cut size at 1/10 thanks to the “Posterize” effect). A good resource to find graphics to start playing with is
Deviantart
. I used cheese to get shoot from my webcam and play with them.
Clone: With clone (edit menu) you can create a clone of an original shape or a series of clones. Each clone will inherit the changes of the original shape. With a series of clones it is possible to create funny effects like this (serie of 50 clones, each reduced by 1% and rotated by 1°).
In Inkscape trace and nodes are very basilar concept. You can go from an object to a trace using “from object to trace” function under “reace” menu. Also it is possible to translate an immage in a series vector shape with “vectorize bitmap”.
Other useful functions are trace operation like addition, union, subctraction, division, etc…
Layer and Object->alignment are also useful functions when handling complex images with many objects.
Inkscape is also very powerful to work with fonts. Nice fonts can be downloaded from
Dafont
and installed in system font folder:
cd
mkdir ~/.fonts
nautilus ~/.fonts
Then copy in the new folder downloaded fonts and let the system know about new fonts.
fc-cache -fv
It is possible to change the position of single character of a text using alt+arrows and snap text to a trace or inside a shape (see Text menu). Characters can also be transformed into trace.
Extensions are very powerful, in particular: generate from trace (extrude, interpolate), edit trace and rendering.
Imade some practice designing the logo of my project:
![]()
Procreate is a very powerful iPad App with many tools to sketch nice drwaings. I used it to sketch my design:

This App has also an interesting feature which allows you to share a video with the timelapse of your work, se mine here:
Many software were suggested: Flood, Blender, Fusion360 (end2end digital fabrication platform), Onshape, Antimony, Audacity.
We made a small tutorial on
Onshape
which is a full cloud CAD with many advantages for project sharing and team working.
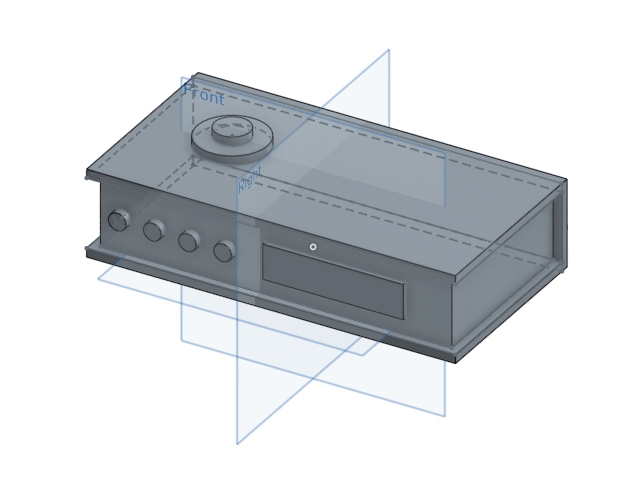
onshape approach is based on sketches on planes that could be extruded. Everything have to have a dimension (quote is a useful tool also to modify sizes). There could be constraints between dimensions in a shape, for instance between sides of a cube. Constraints could be ereased giving the possibility to change geometric properties.
Basic operations:
It is also possible to import libraries from SolidWork. Can create variables and recall them using # sign (useful to take into account of material size or laser kerf). You can copy and edit my project directly from OnShape, search public projects for “Once_upon_a_time”.
SketchFab provides a useful tool to show 3D rendering. Just register and upload .stl file:
OpensCAD approach is based on primiteves and basic geometric functions. From these basic elements it is possible to build more complex geometry with operations like addition, subtraction, etc.. See the
cheatsheet
for all commands.
The main advantage of this software is that being the geometry described by text it is easier to version control a project in a collaborative environment (this software has been developed inside the Fab Network).
To export a file: Preview-Render-Export, only export format available is .STL.
We had an internal workshop about
Rhino
(available 90 days Trial license) held by
Mario Fullone
. Here are my notes:
Rhino works on “Nurbs” (mathematical description of objects) rather than mesh (points connected by segments, it is the input file of 3D printer).
To install antimony you need to install some dependencies and download the sources from the git repository where the open source software is released. I found some useful instructions on how to accomplish this task
here
.
I found out that I am running a 32 bit Ubuntu distribution (…I cannot install LightWork neither which is 64 bit only).
$ uname -m
i686
Then I created a txt file called “antimony.sh” with following instructions inside:
#!/bin/bash
echo "The script starts now..."

cd ~/Desktop/
wget http://download.qt.io/archive/qt/5.5/5.5.1/qt-opensource-linux-x86-5.5.1.run
sudo chmod +x qt-opensource-linux-x86-5.5.1.run
sudo ./qt-opensource-linux-x86-5.5.1.run
rm qt-opensource-linux-x86-5.5.1.run

sudo apt-get install -y build-essential
sudo apt-get install -y libpng-dev
sudo apt-get install -y python3-dev
sudo apt-get install -y libboost-all-dev
sudo apt-get install -y libgl1-mesa-dev
sudo apt-get install -y lemon
sudo apt-get install -y flex

sudo apt-get install -y git
git clone https://github.com/mkeeter/antimony
sudo mv -v antimony /opt/
cd /opt/antimony/
mkdir build
cd /opt/antimony/build
/opt/Qt5.5.1/5.5/gcc/bin/qmake ../sb.pro
make -j8

sudo ln -s /opt/antimony/build/app/antimony /usr/local/bin/antimony
antimony
I ran these instruction typing:
bash antimony.sh
A good reference to understand the origin of Antimony is this thesis .
Lightworks (could not install since there is not a 32bit linux version),Audacity, ffmpeg, vlc.
MP4 format is suggested since it can be read with HTML5.