
Table Of Content
I decided to go for an “off-the-shelf” model in order to save time for hands-on part of the assignment.
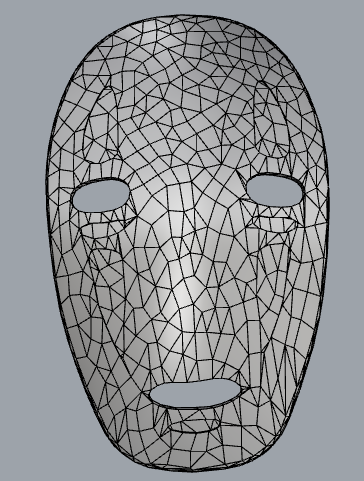
I took a 3D model of a
mask
from thingiverse. With Rhino I prepared the model for milling
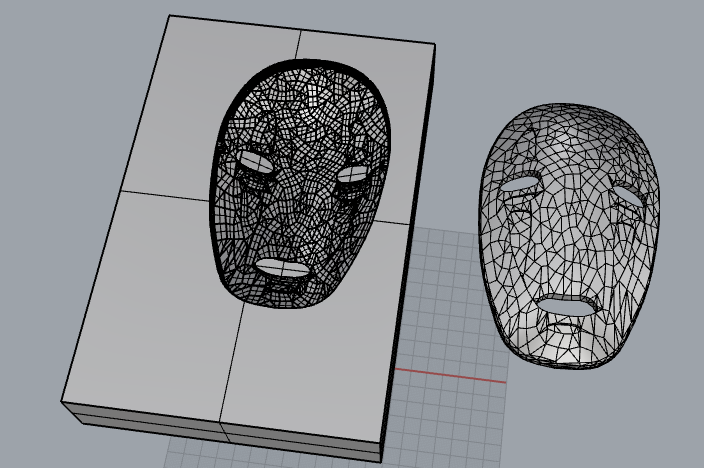
I used
Cut3D
software to produce the files to control our
LinuxCNC
milling machine.
First load the stl files made with Rhino:

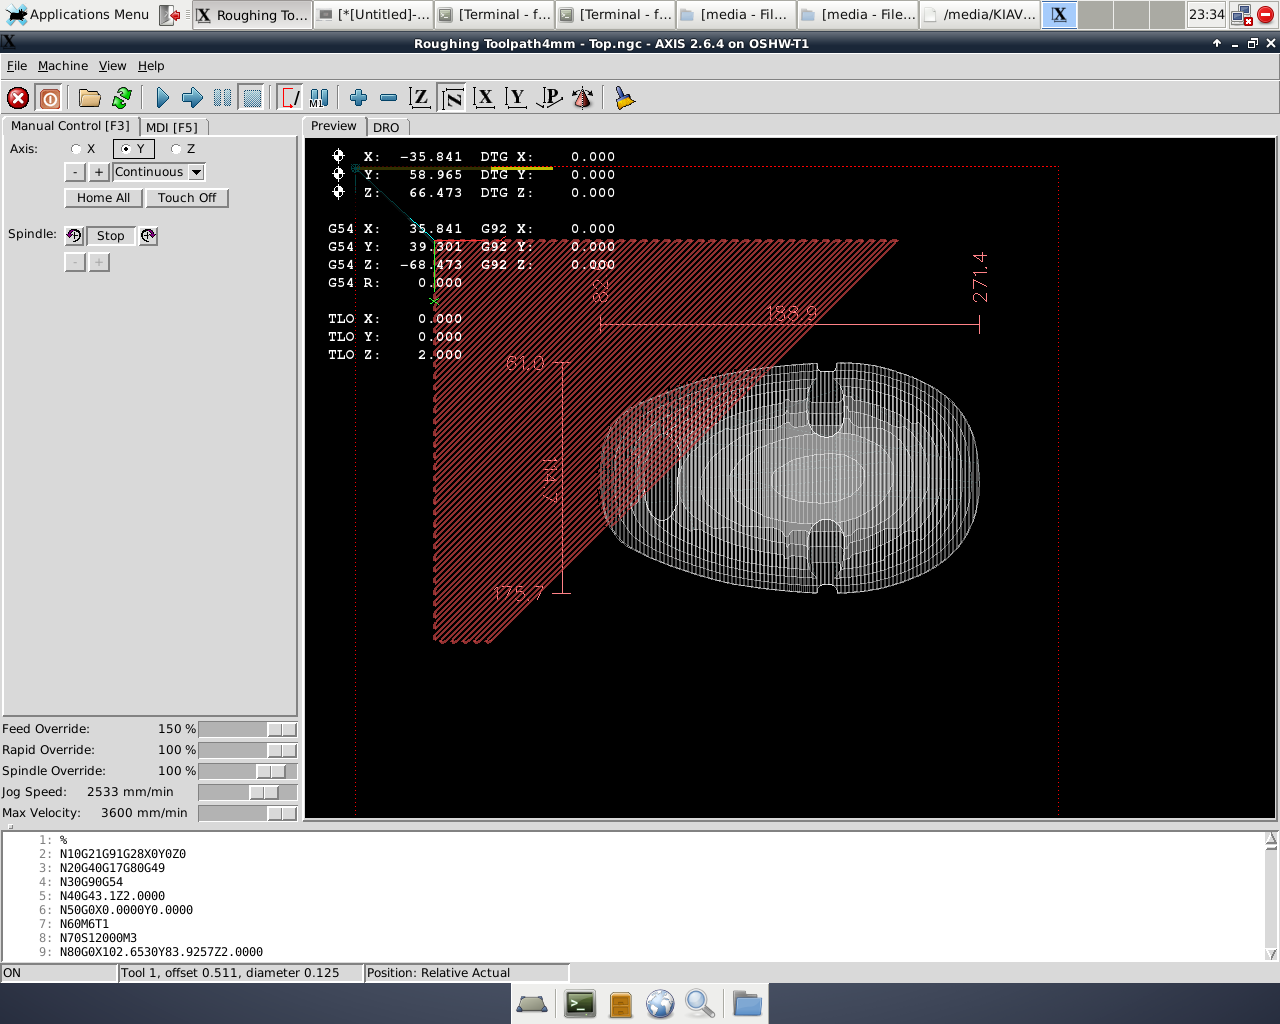
I defined a new tool with 4mm diameter. I set a pretti high feed rate since the machine will not encounter much resistance milling styrofoam
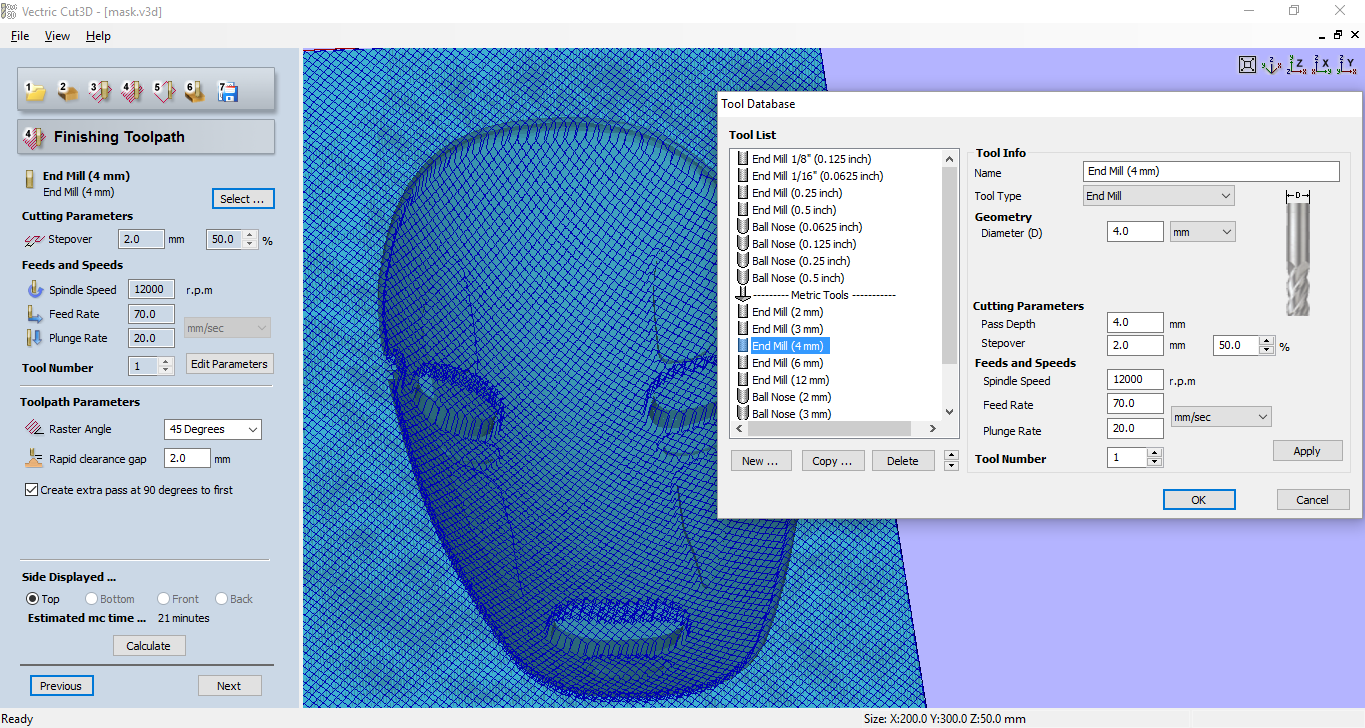
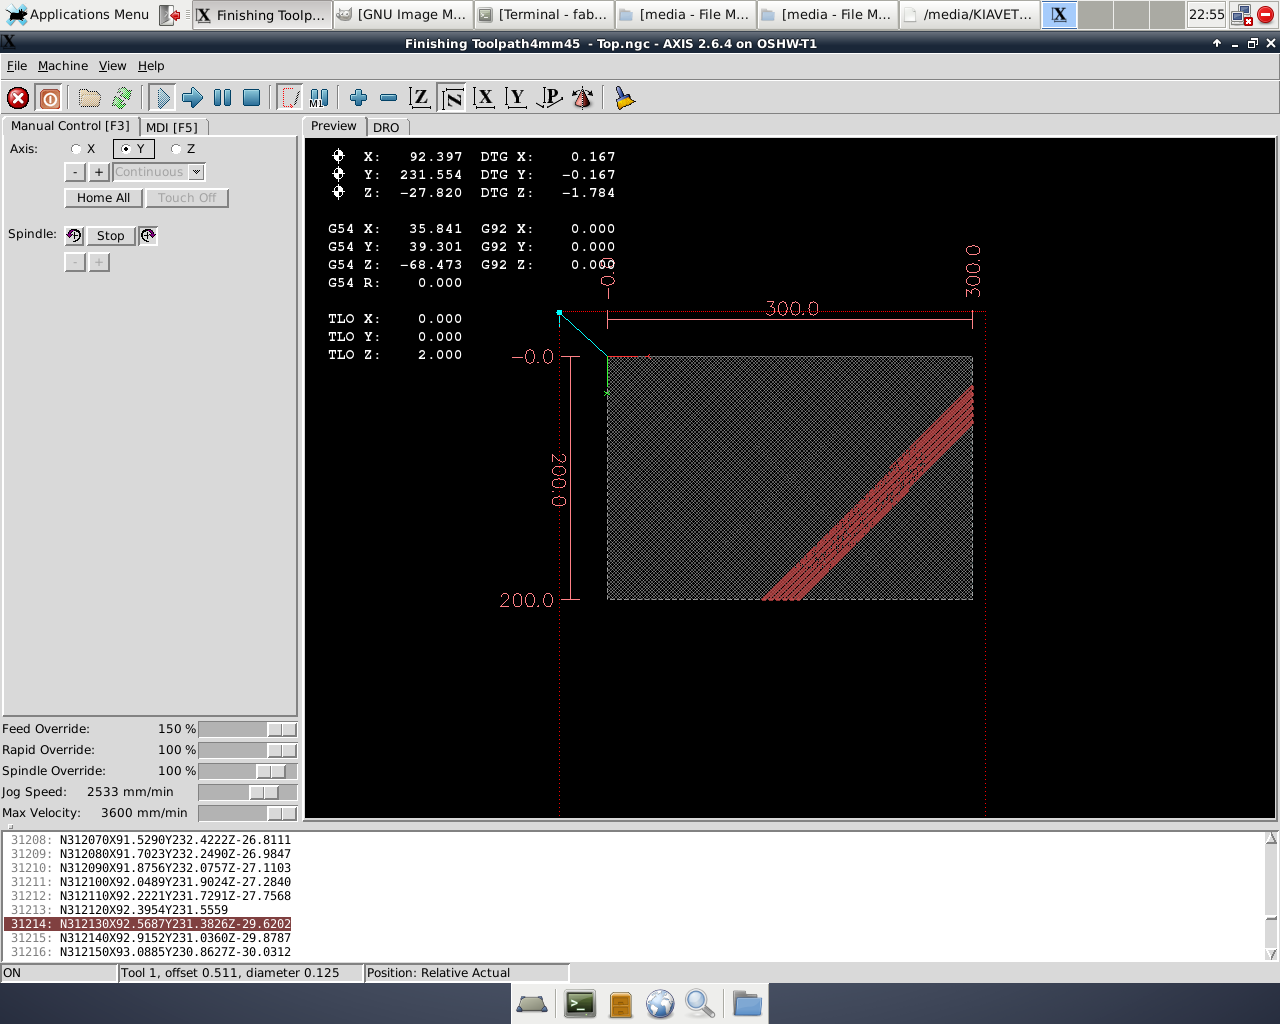
I also defined a finishing toolpath with same speed and tool of roughing phase.
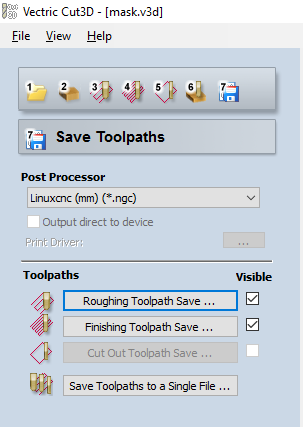
Finally I exported the file for LinuxCNC using a special profile Linuxcnc_mm.pp that i downloaded from LinuxCNC website.
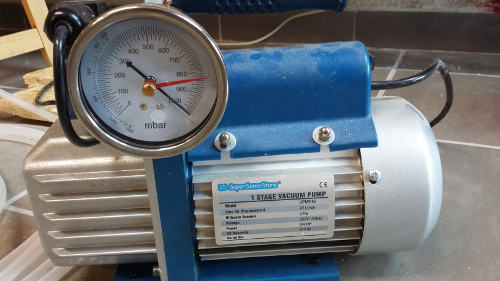
Linux CNC has a simple interface to move axis and start/stop a job
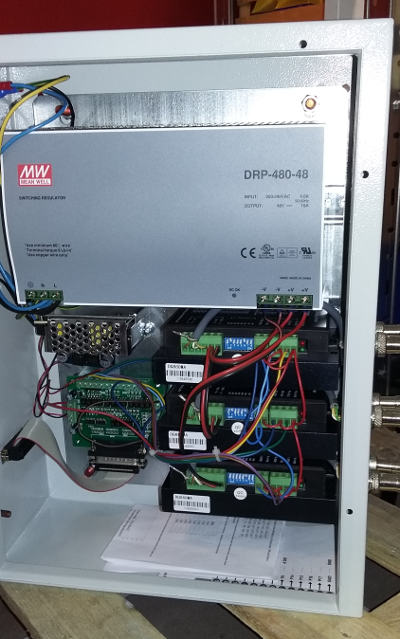
This is the control box LinuxCNC is connetcted to:
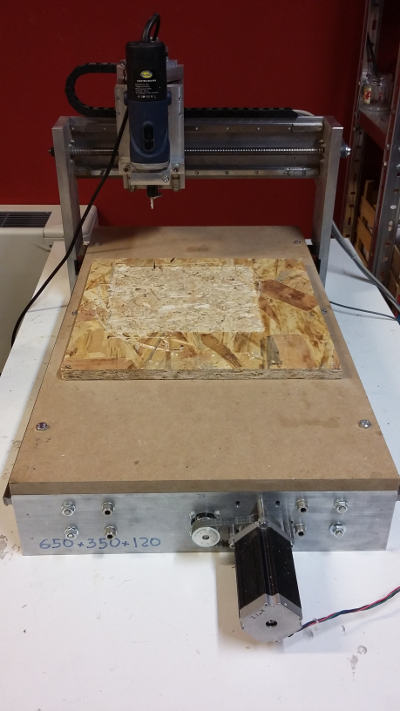
This is our milling machine:
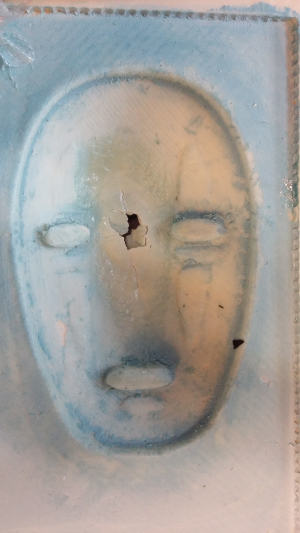
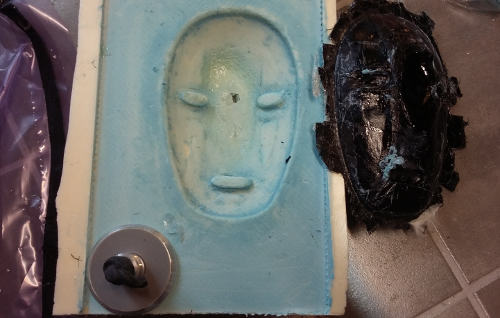
I made the mold the wrong way since I milled the negative (as molding and casting) instead the positive
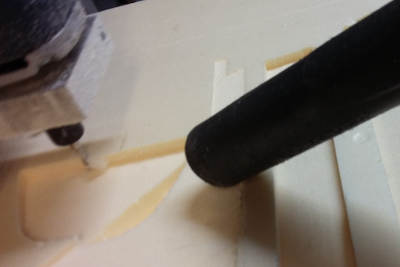
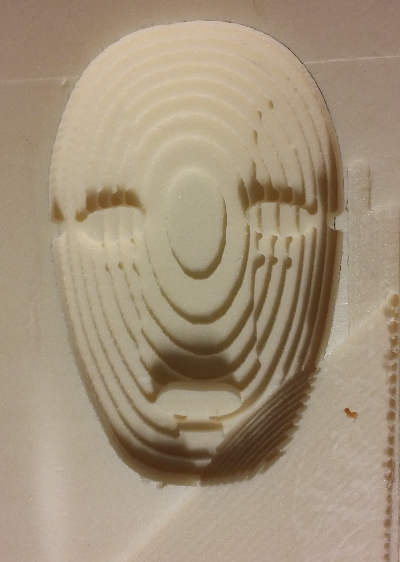
Milling in operation. Very very noisy
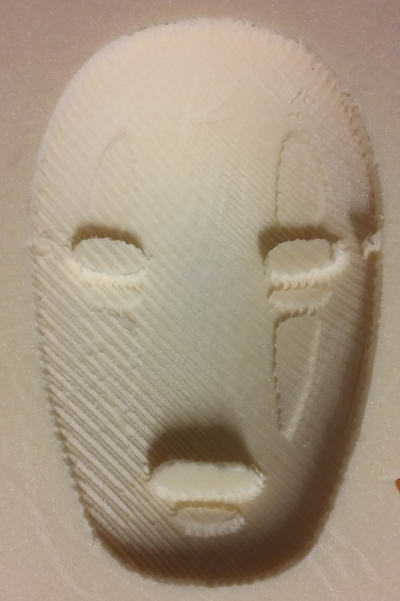
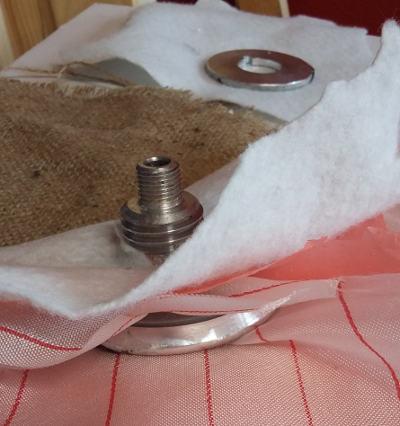
I used 10 layers of wax in order to avoid that the resin attaches to the styrophone
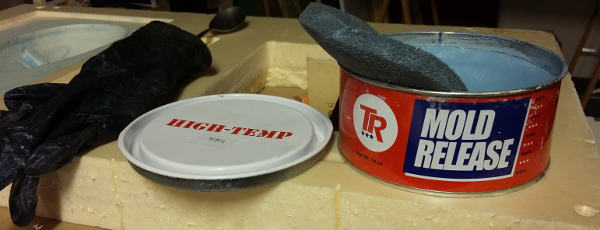
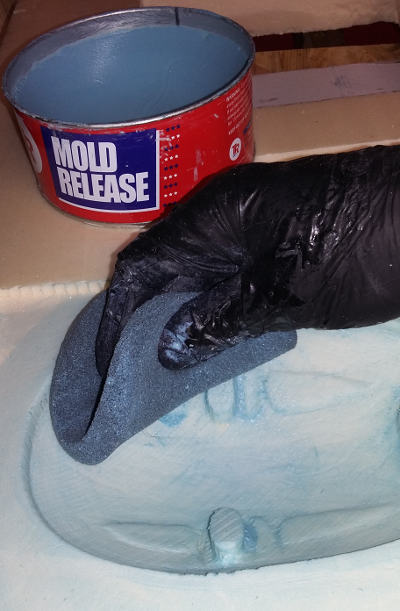
First I put a thin plastic layer in order to ease de-attaching
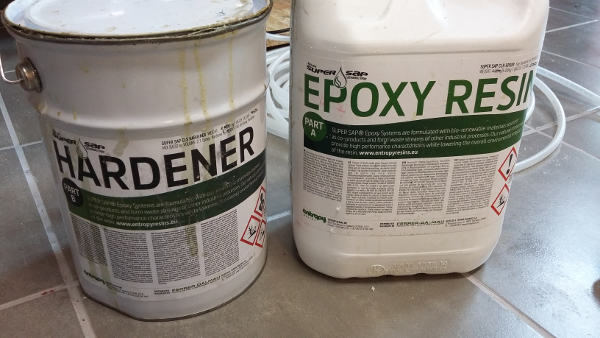
I made the resin mixing 40 g of Hardner and 80 of Epoxy
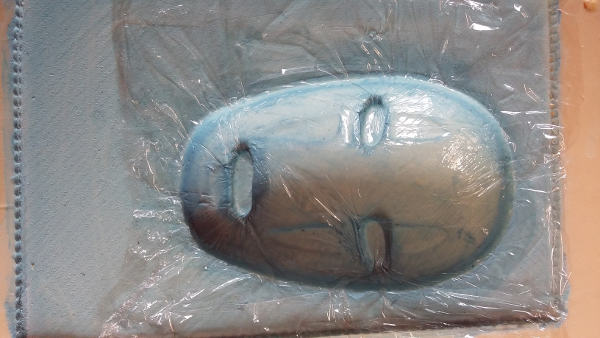
I made small pieces of fabric in order to position them better on the mold
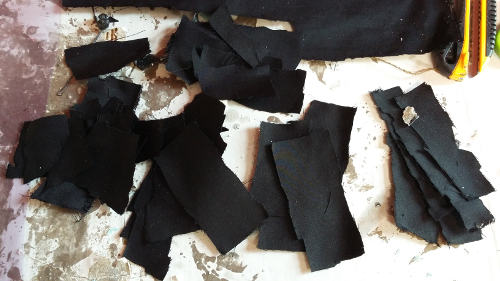
I made about 5 layers

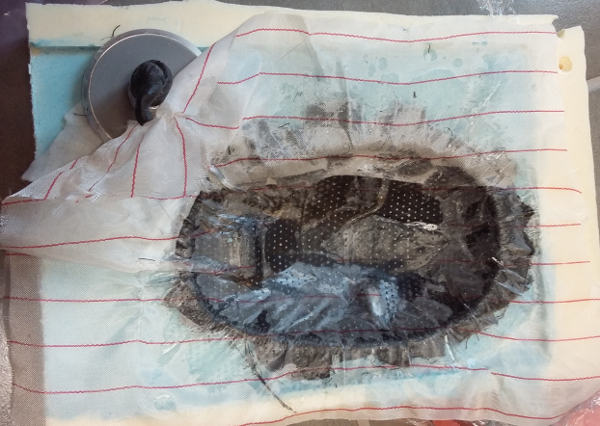
Then I followed these instructions:
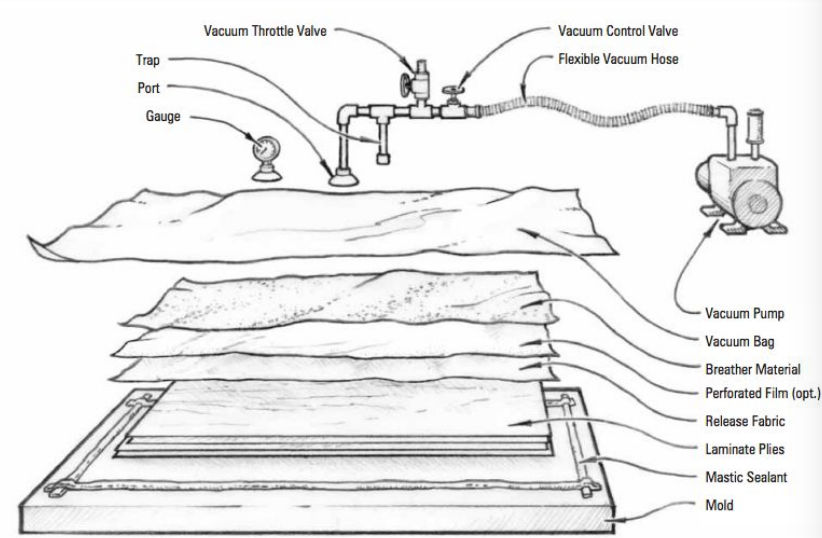
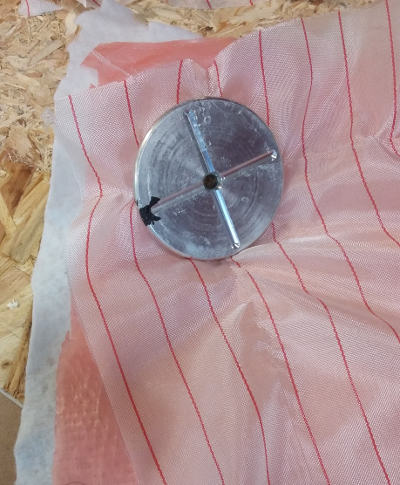
Finally I put everything in a bag
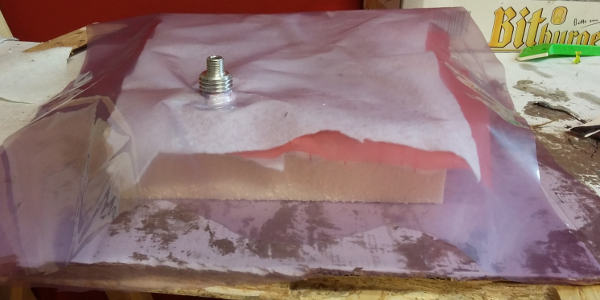
Sealed it with mastic
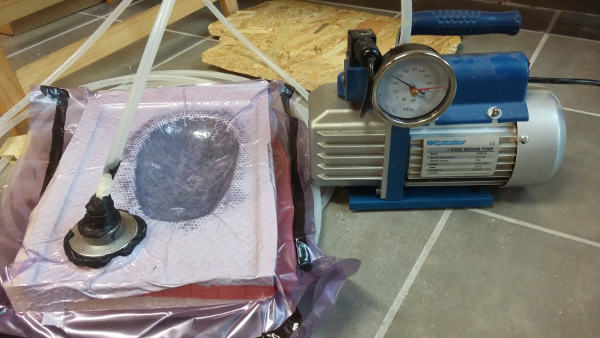
Switch the vacuum pump on and let it work for 7 hours
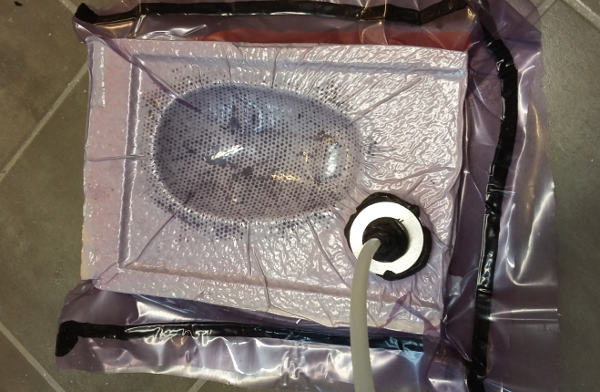
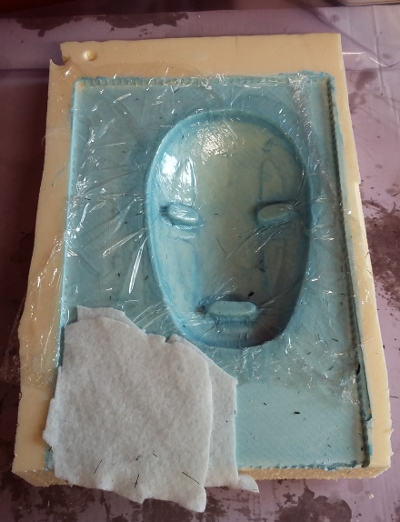
The mold was broken since the bottom was very thin and it didn’t stand the force of the vacuum machine
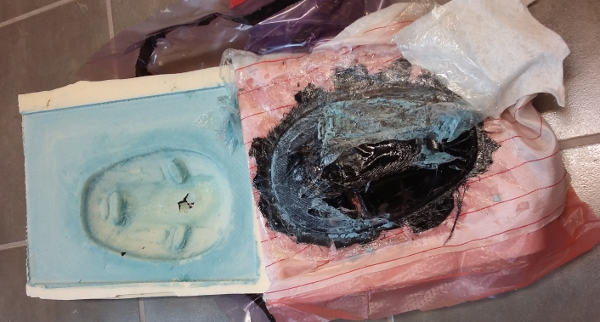
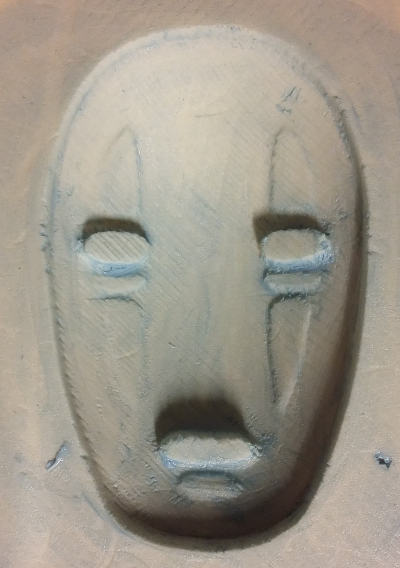
Tha mask was not perfect but still I decided to finish it to see how it looks the final result
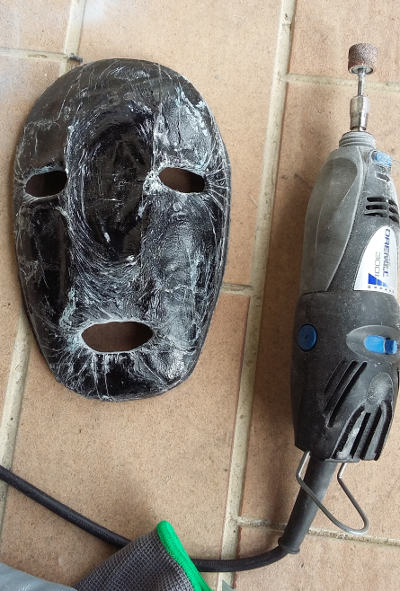
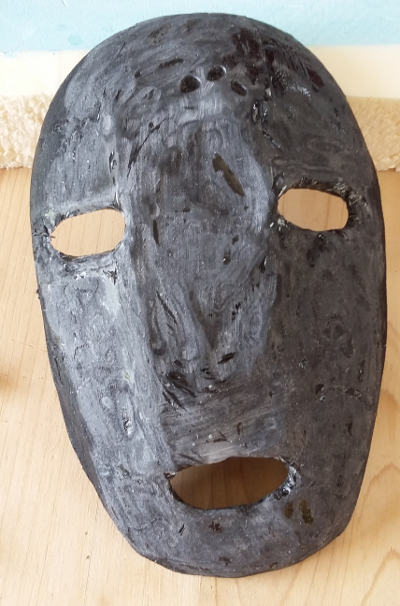
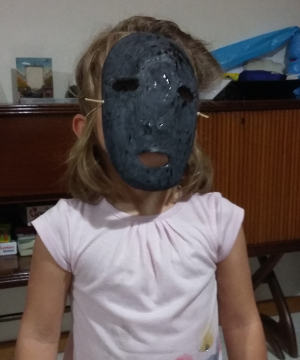
Let’s have a try!
composite_tutorial.pdf
Finishing Toolpath4mm45 - Top.ngc
Linuxcnc_mm.pp
Linux CNC website