Table Of Content
I decided to go for an “off-the-shelf” model in order to save time for hands-on part of the assignment.
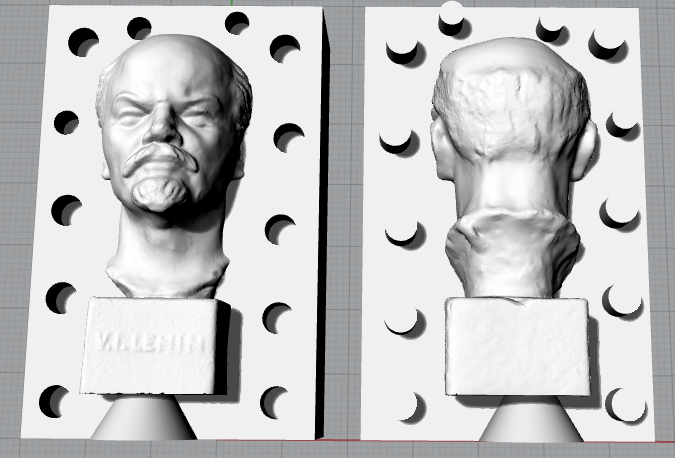
I took a 3D model of a
Lenin bust
from thingiverse. With Rhino I added registration cilinders (10 mm high, 5 mm diameter) and casting cone.
In order to manage the mesh with Rhino I had to decrease mesh size to 50% and convert other surfaces (cilinders, rectangles…) from nurbs to mesh.
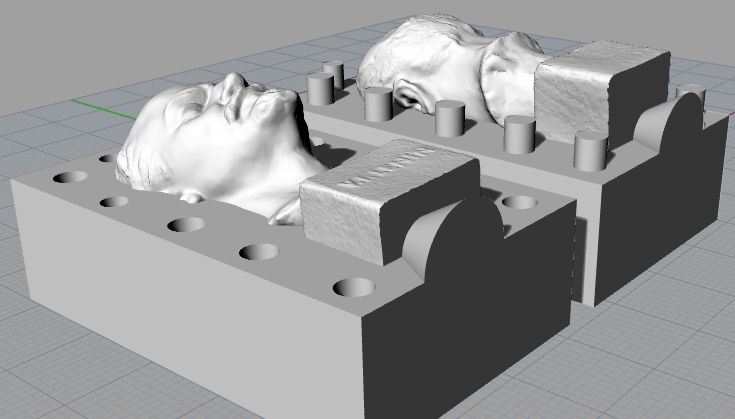
With boolean operations I was able to make the 3D POSITIVE model for the milling machine, in order to make negative molds of my model.
I used
V-Carve
software to produce the files to control our
Roland SRM 20
milling machine.
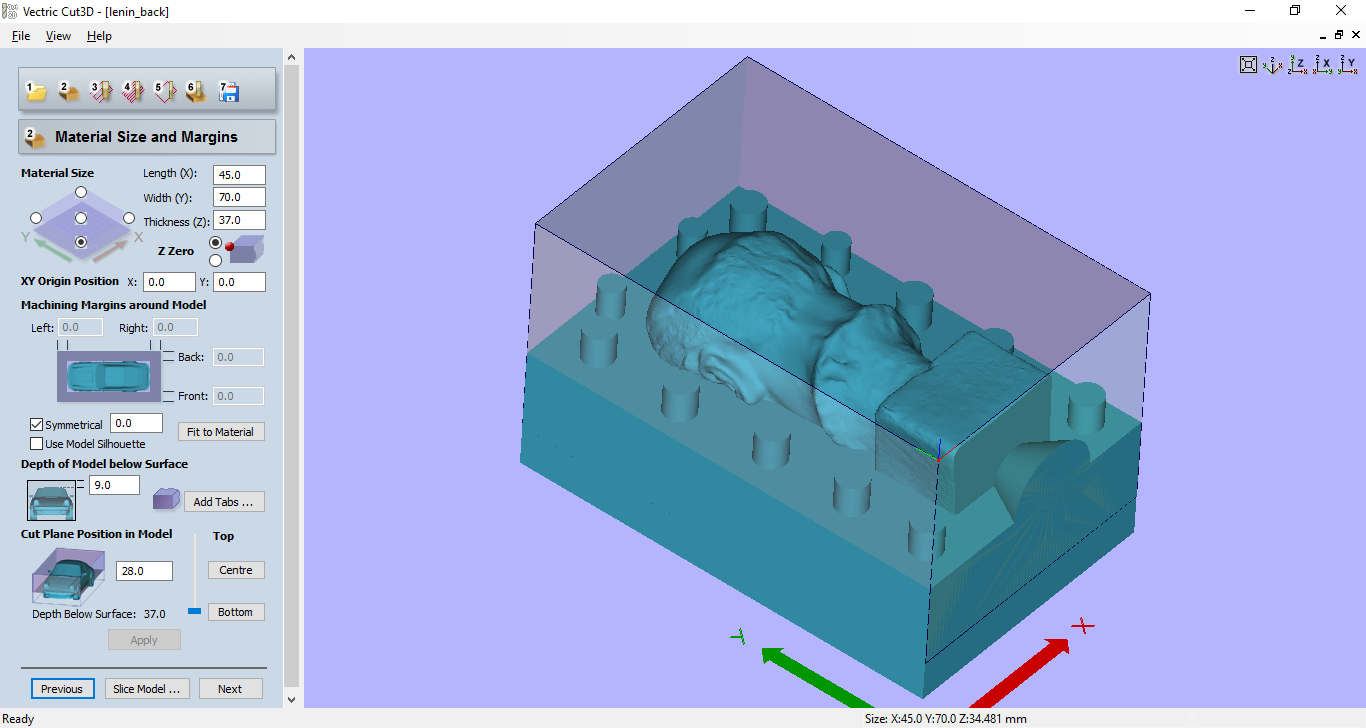
First load one of the two stl files made with Rhino:

Then set the margin. Here I made the error of adding too much space on the top of the model. The bottom of the model reslted to be too deep for 1/16’‘ tool
Then set roughing parameters
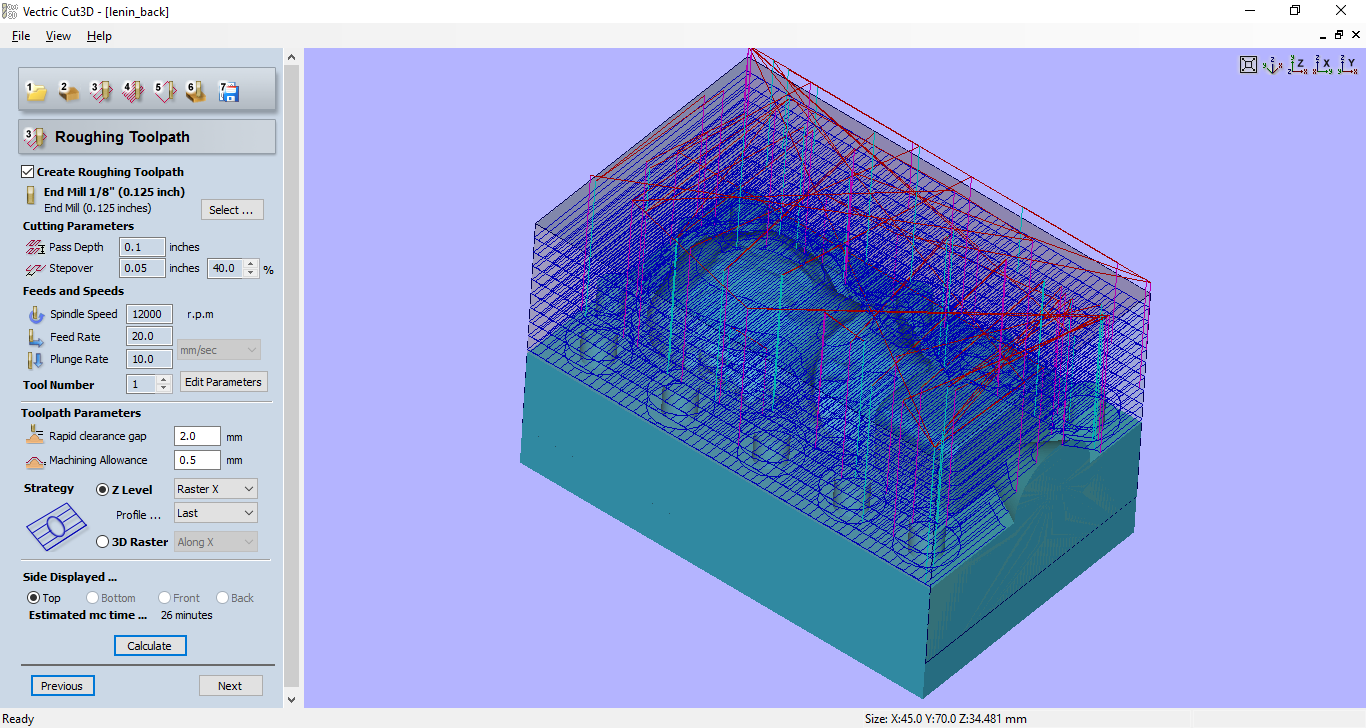
And set 1/8’‘ mill parameters
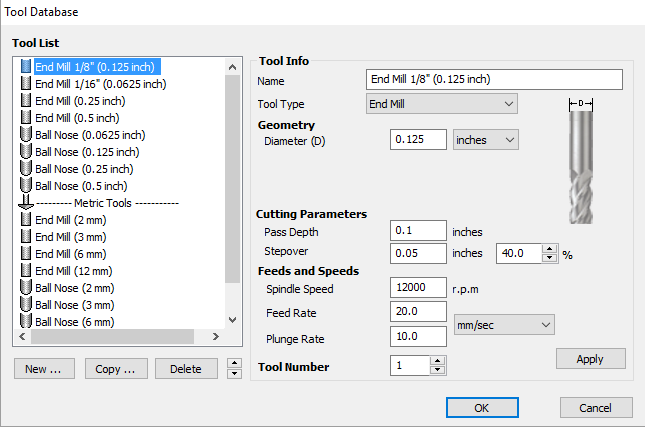
Set the finishing parameters. Since the job time was relatively short I decided to run twho passes at 90°

And set 1/16’‘ mill parameters

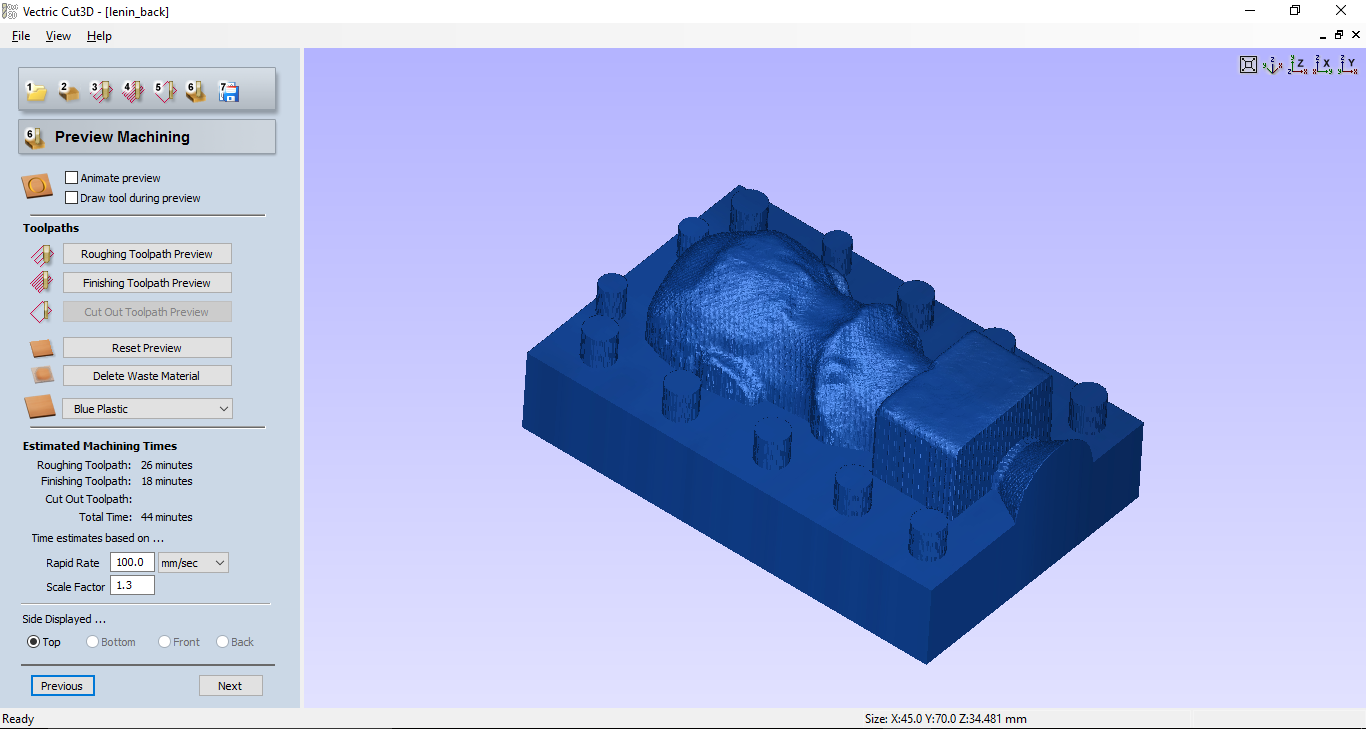
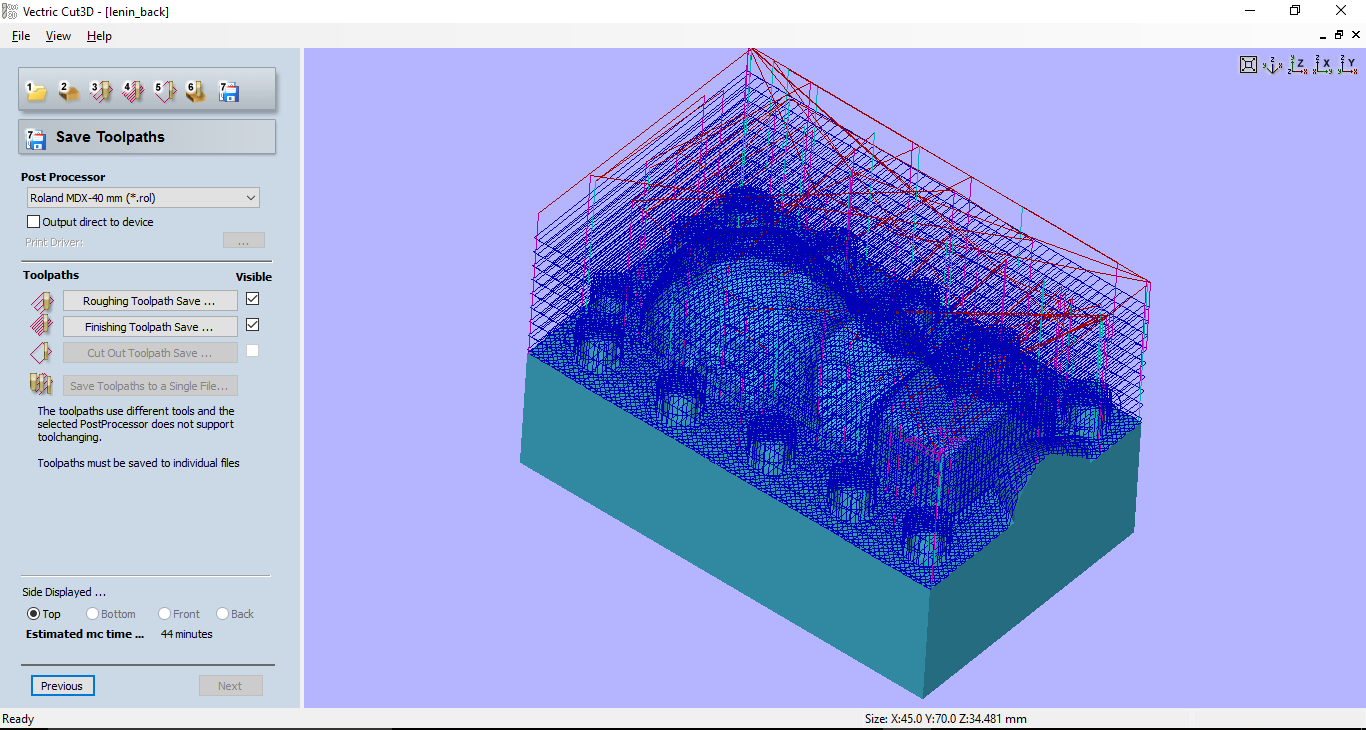
Simulate the job
Save two separate files for roughing and finishing:
Then I copied the files to another PC connected via USB to the machine.
First I made the XY zero to a corner of the wax block. Then I made the Z zero positioning the mill on the wax.
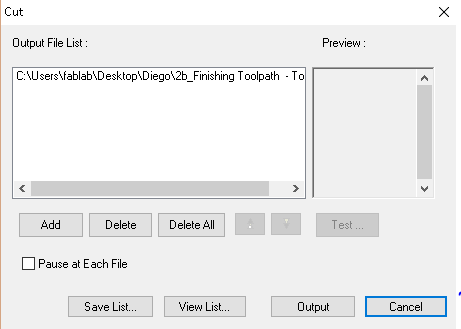
I used VPanel to control the job (spindle speed should not be lower than 8000).

Finally I opened the first file with “cut” button. When you click “output” the machine starts milling.
This video shows th mill hitting was borders. I had to stop the job and increase the height of the mill (and redo Z zero). This was a problem for the 1/16 mill since it is too short.
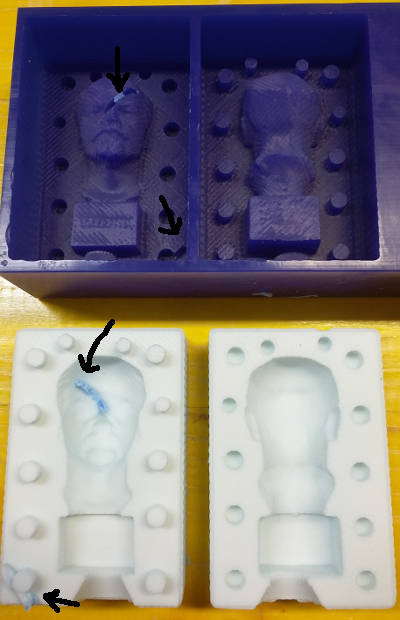
The mold had some problems due to a couple of accidents I had with the 1/16 mill.

I used TFC SiliconTyp 12 Shore 30 for molding (1:1 ratio, very soft).

I made 30+30 g

And I had to add 10+10 more
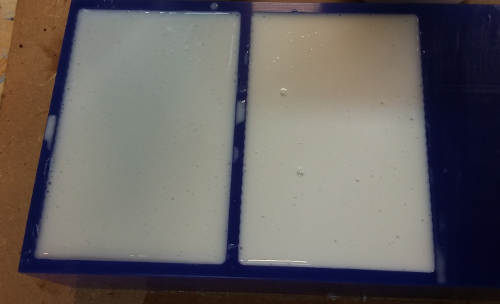
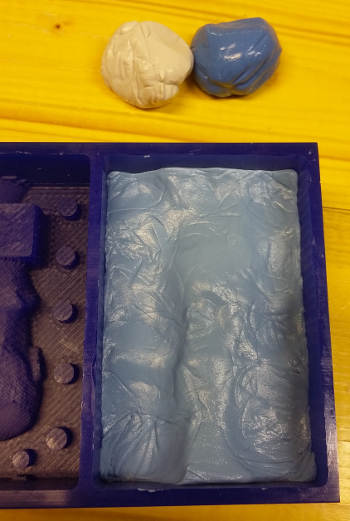
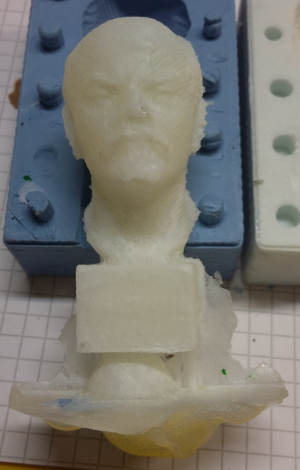
After a sleepless night I got my first molds:
My first cas wasn’t good at all since I didn’t mix correctly the components (I was worried to make bubbles):

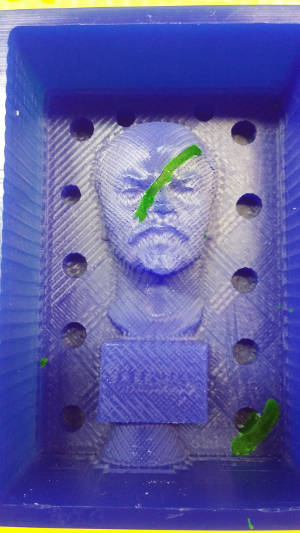
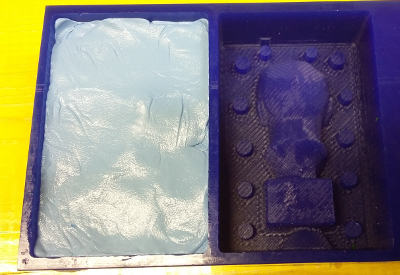
Due to the accidents maching the wax, I had to fix the silicon molds before casting:

I decided to make a second mold after aving the wax fixed:
TFC SiliconTyp 4 Shore 85/90 (1:1 ratio, very hard mold)

This harder and faster type of silicon requires manual working of the two components
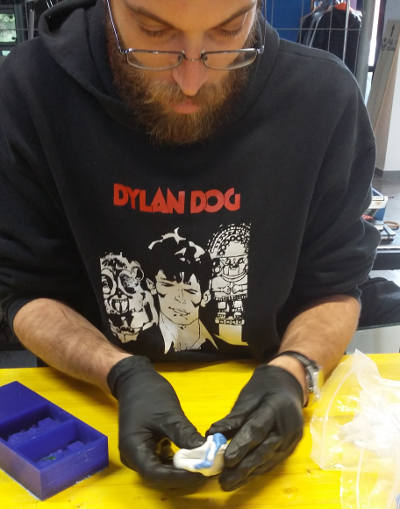
I mixed some material and the I had to make some more to finish the mold
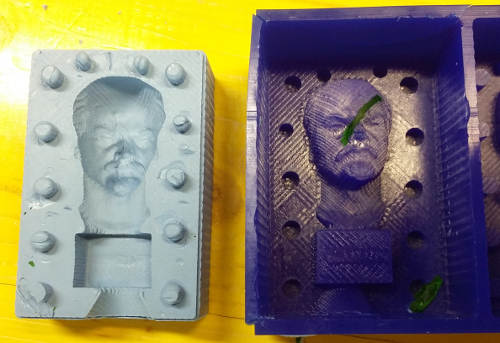
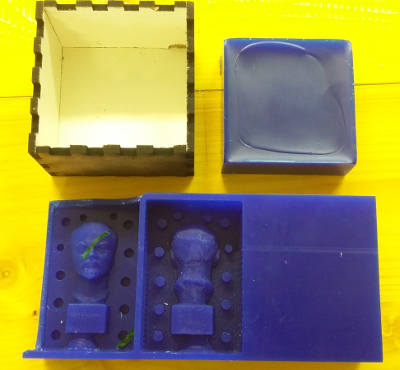
In a few minutes I had a finished new mold (this type of mold is very useful to make vertical molds):
There were some imperfections to the registration cilinders (not important) and the adhesion of the two parts of material I added was not perfect:

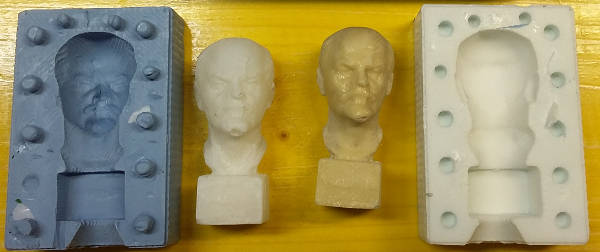
In the end I had a new mold with a fixed model:
After having the mold donne, it was time for casting.

First I used Smooth-cast 325 with 1:1 ratio. First I tried 20+20, it was too much, the I went for 10+10 g.
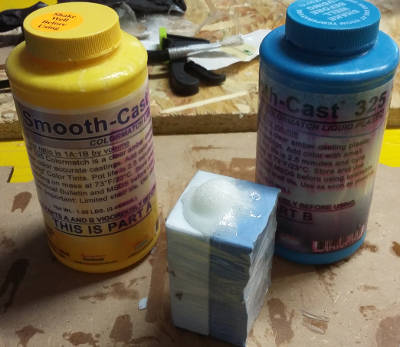
After a first fail (no reaction) this was an acceptable result:
I also tried Sintafoam HD with 0.6 ratio: 13.3 g A (base), 8 g B (agent)
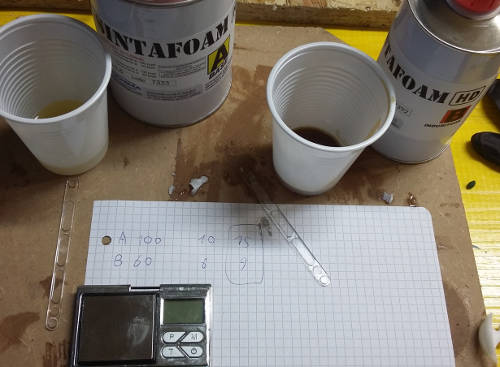
After a first bad result I finally got a good result mixing better and faster the two components and casting them as soos as the reaction starts:

Here is my final result:
There is a lot of wax that it milled and can be reused:
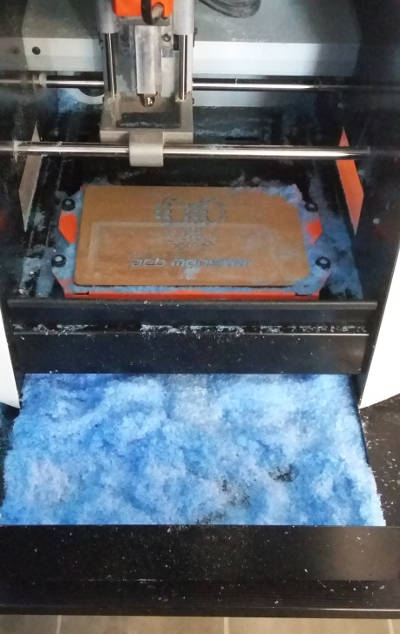
I took a piece of 4 mm wood with a varnished side (it doesn’t stick to the molten wax)

I put used wax in a pot on an electric stove (it melts at 120°C):
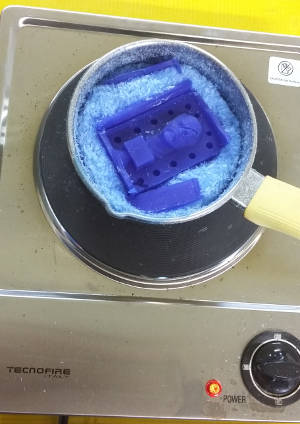
It took a few minutes to see my Lenin melting down:

Then I put the melt wax in the case I made (with a kerf setting of 0.2 notches were very strong to prevent the hot wax going out of the box)
Rhino 3D model lenin7.3dm
Antichità Belsito
Prochima
rtv530
“shore 90” (hard mold)
Smooth-on
Oomoo