Introduction
Rotocaster!
 In the end, for my final project, I decided to do a Rotocaster. What I've learned during
those months is that, starting from scretch, programming is too hard. I will need some more
time, so for now my choose was for a project that included the assignments where I was a little
bit confident. A rotocaster is pretty useful side-machine in a FabLab, it's not necessary, but it
allows you to do a lot of nice things during the Molding and Casting week.
In the end, for my final project, I decided to do a Rotocaster. What I've learned during
those months is that, starting from scretch, programming is too hard. I will need some more
time, so for now my choose was for a project that included the assignments where I was a little
bit confident. A rotocaster is pretty useful side-machine in a FabLab, it's not necessary, but it
allows you to do a lot of nice things during the Molding and Casting week. My project is really basic, if you want to see a really nice project I would suggest Saverio Silli's Rotocaster He did this machine as his final project during 2015 FabAcademy, and I have to say, it's an amazing project.
During this project I used:
- Computer-aided design
- Computer-controlled machining
- 3D printing
- Embedded programming
- Electronics production
- Output devices
Documentation
3D model and mill
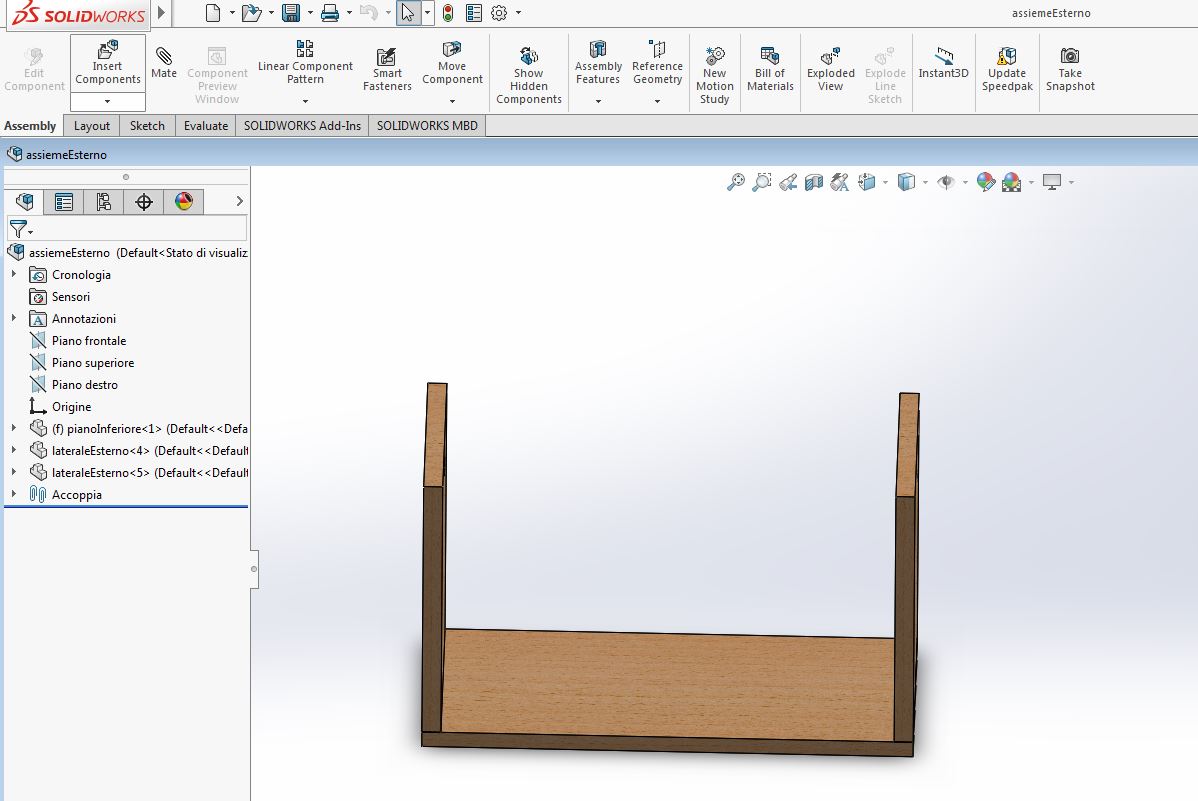
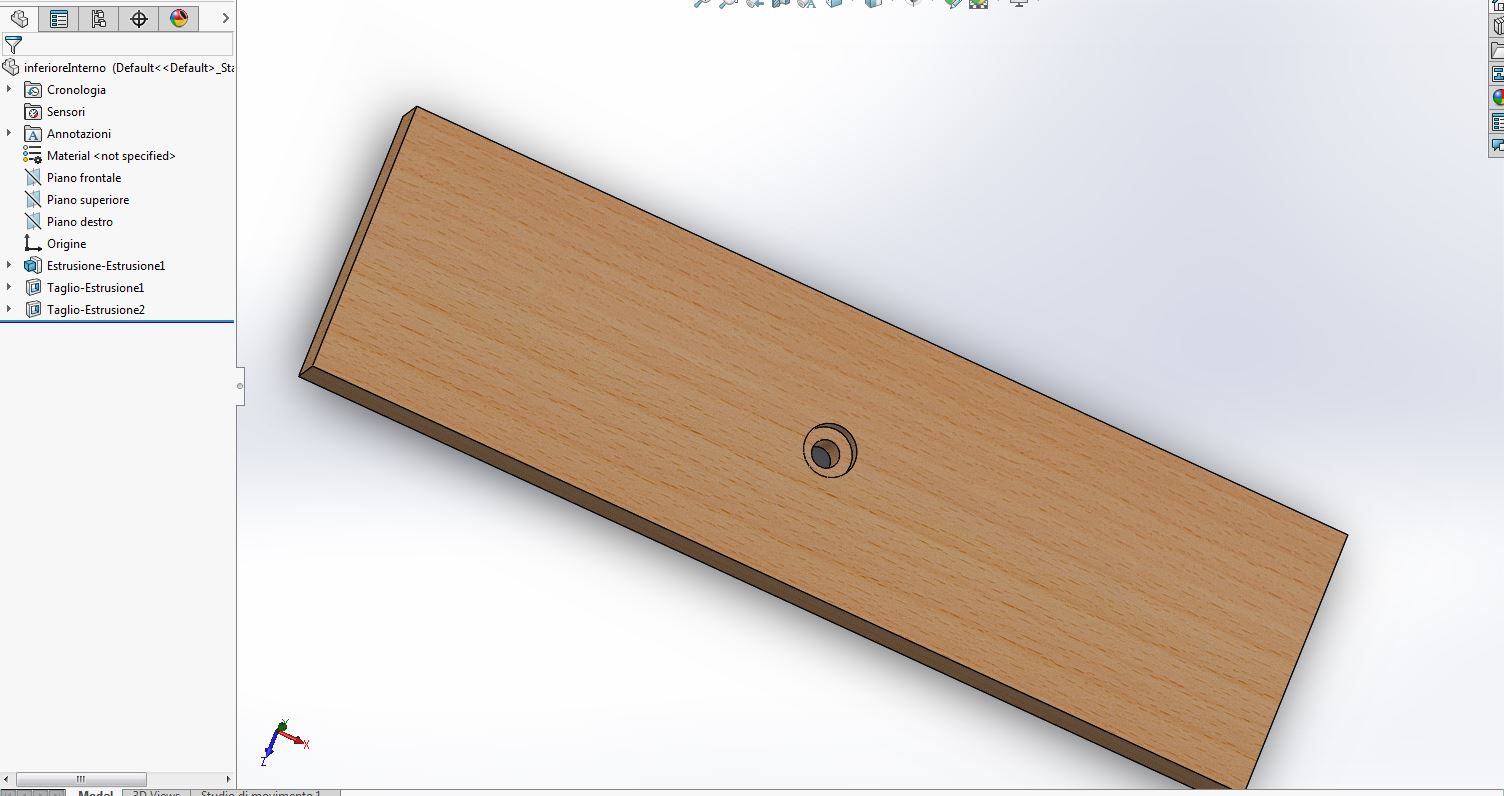
First I made the 3D model of my machine, in order to mill it with the shopbot. I decided
to use Solid Works, since the most part of my classmates used it and told me that
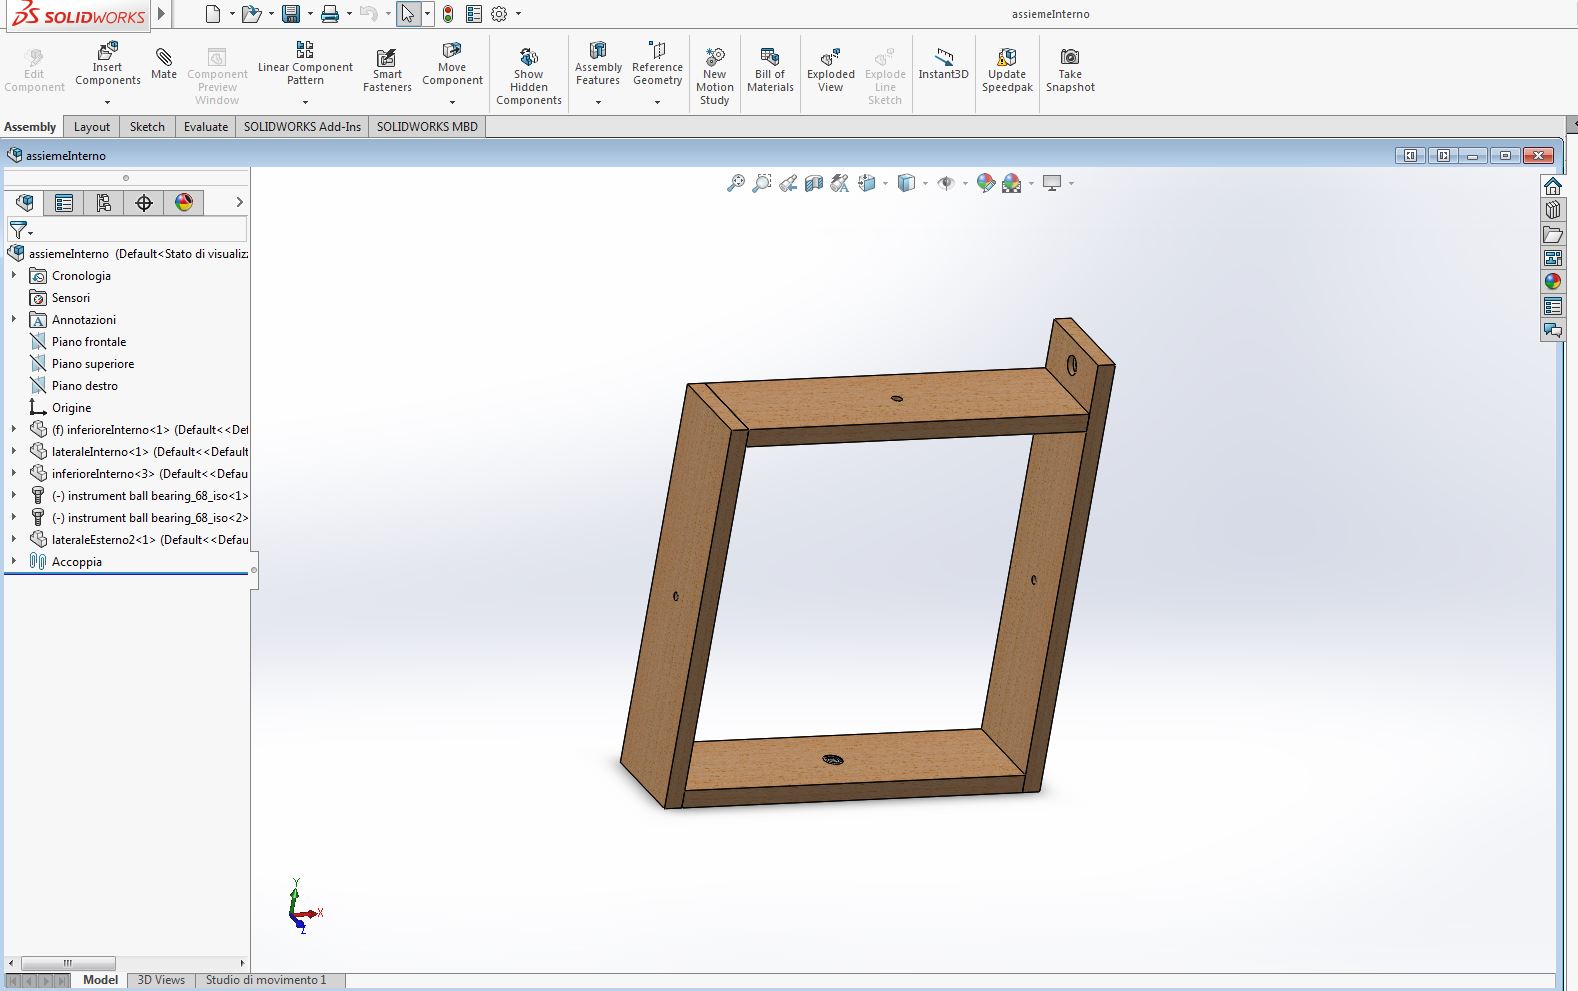
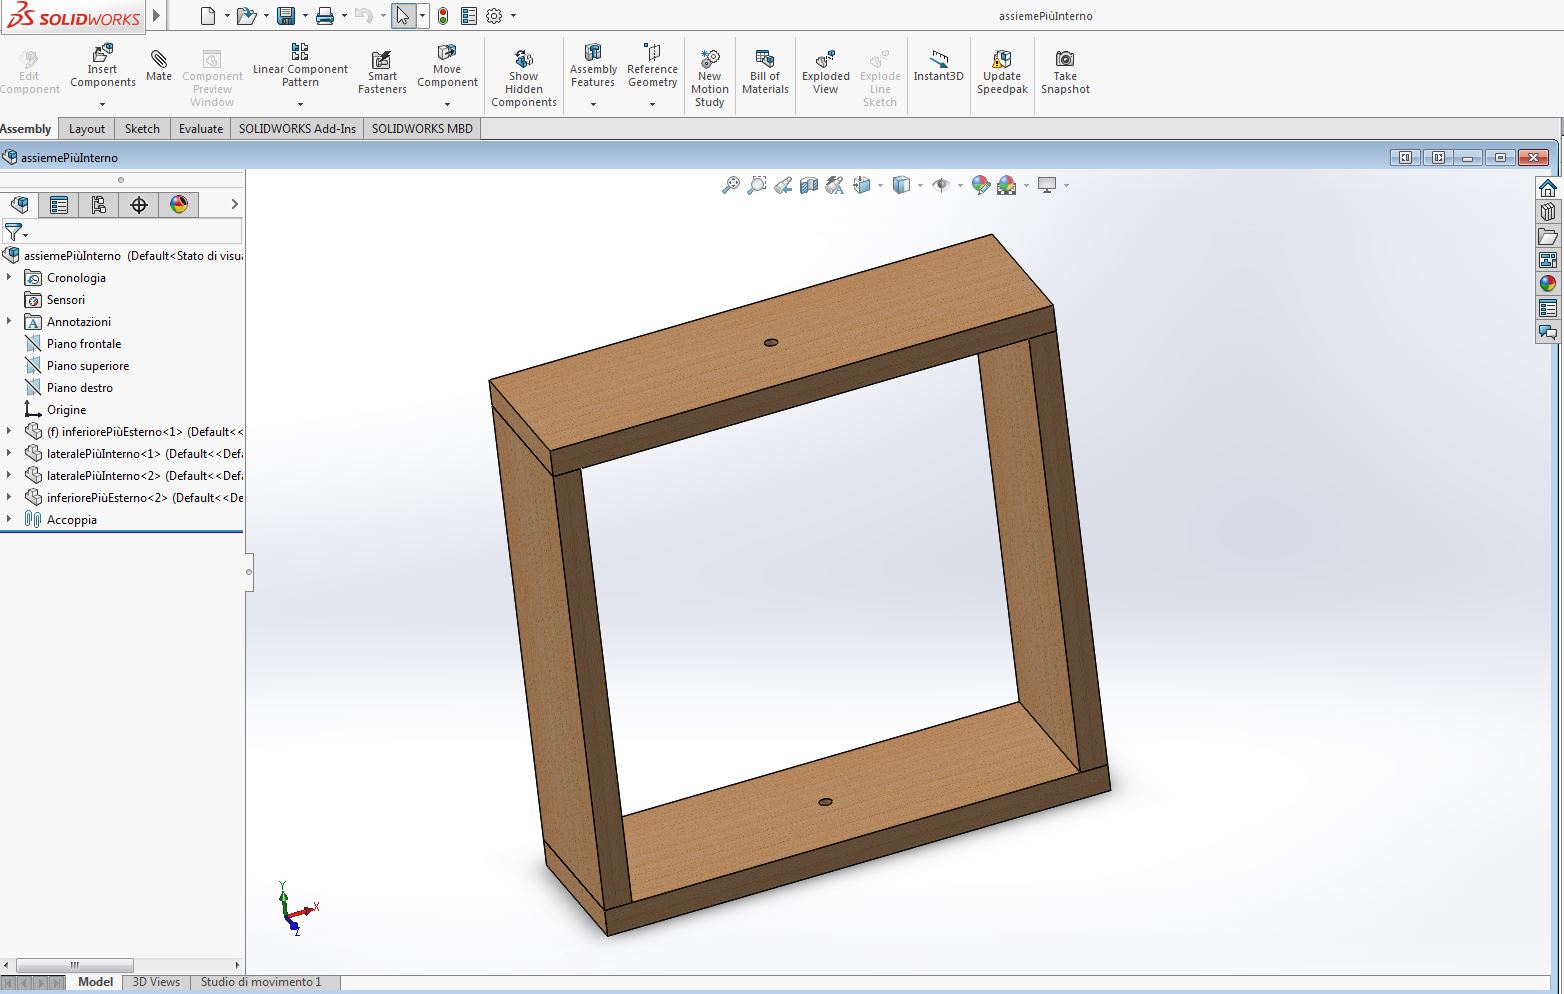
is a great software. They explained me how to use it, here you can see some parts of the machine:
And this one is machine complete:
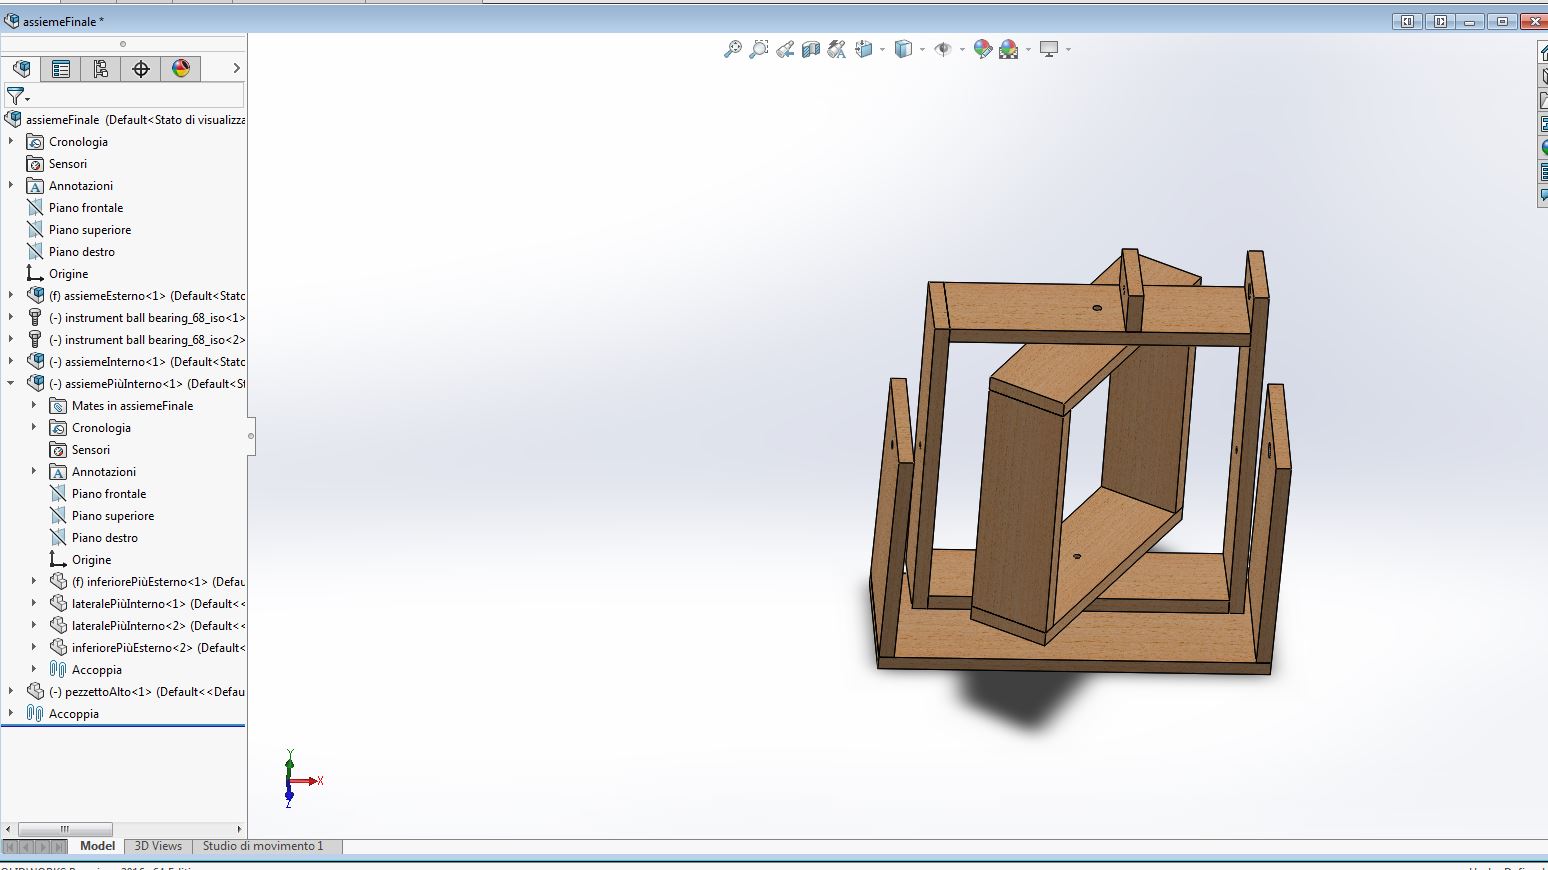
I needed a bridge between the motor and the rotocaster, so I modeled it in 3D:
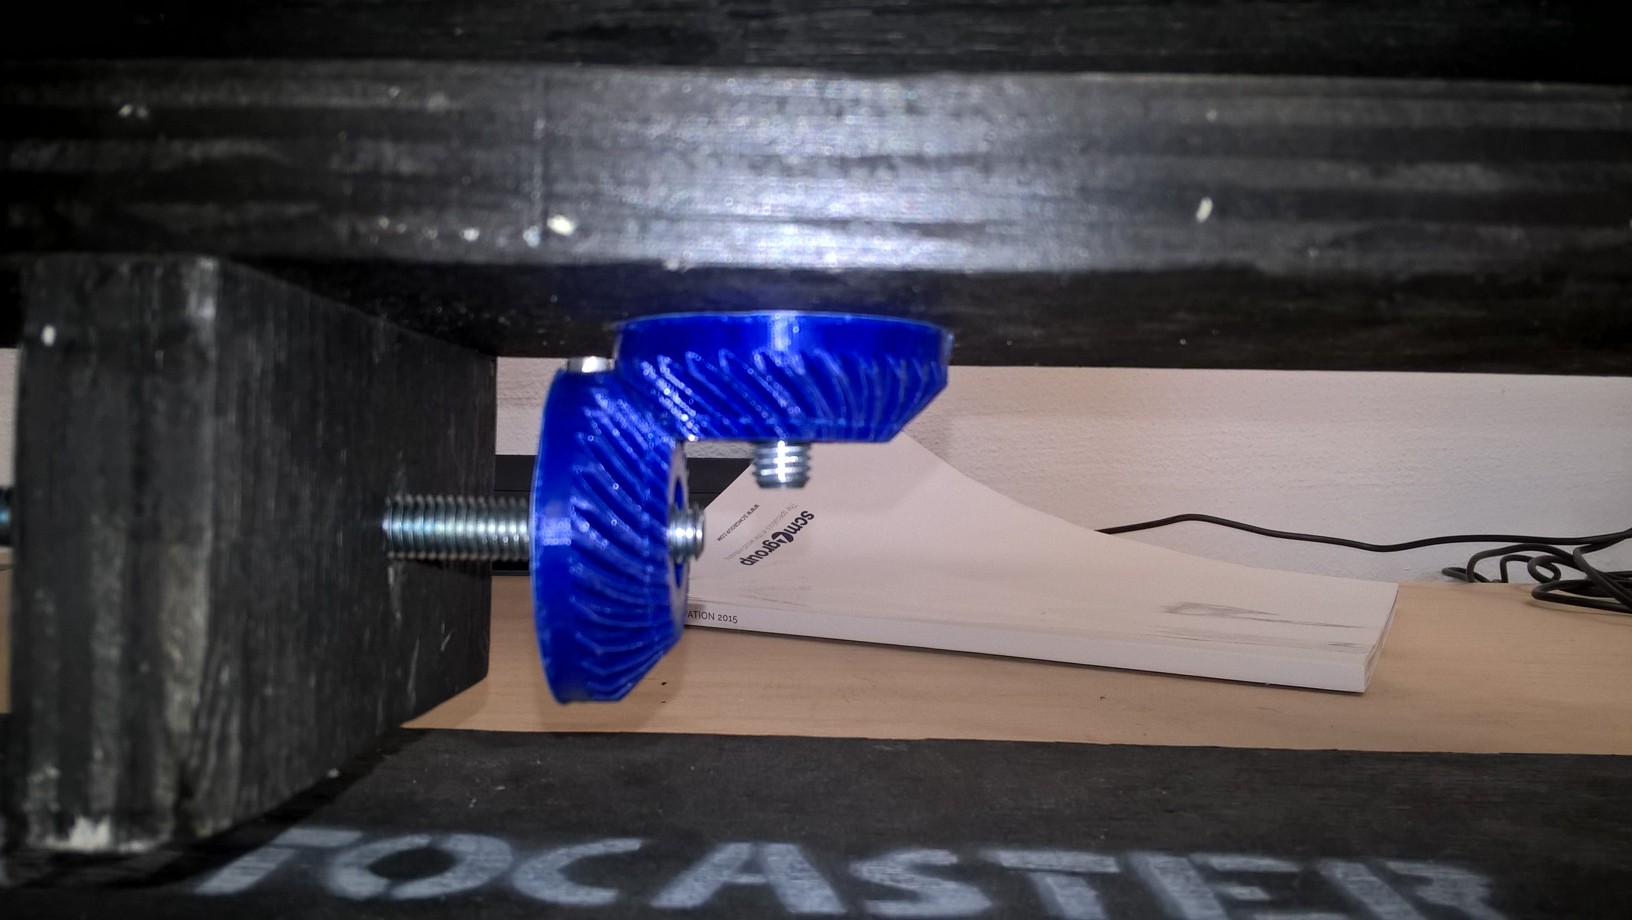
Then I needed the pulleys to made it work. I have found a file on Thingiverse with a lot of different pulleys. The web site allows you to customize them as you prefer.
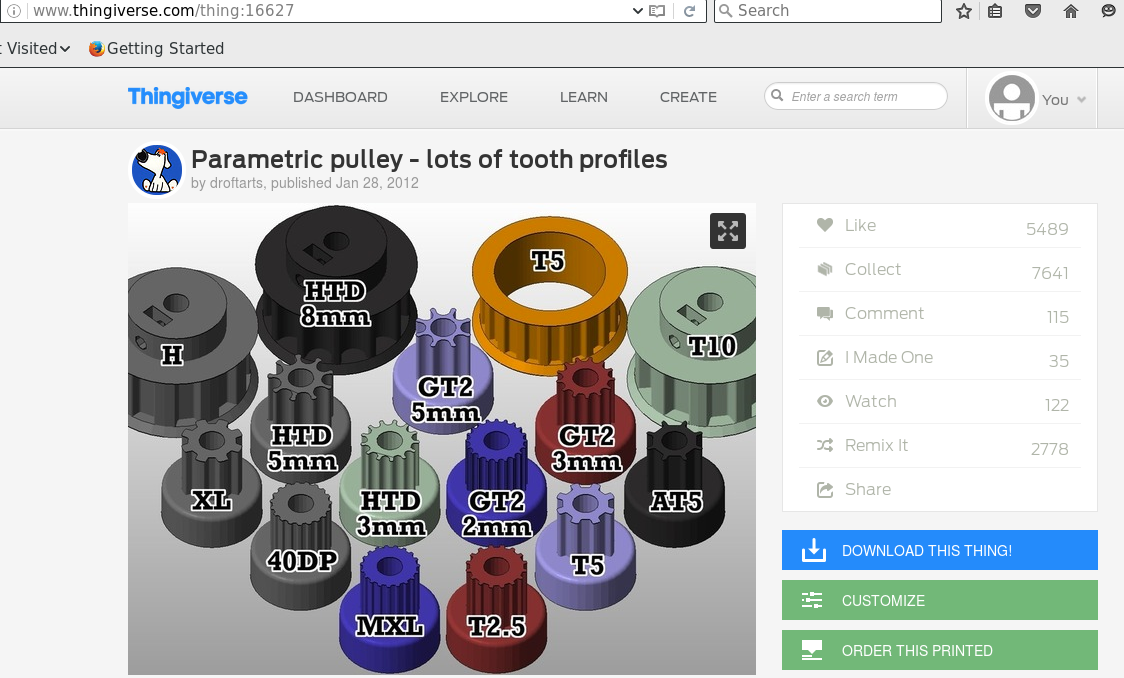
I worked on the GT2 pulley, I needed it because of the belt I was using. Once you use that model, you can decide the size that you prefer, mine has 70 teeths.
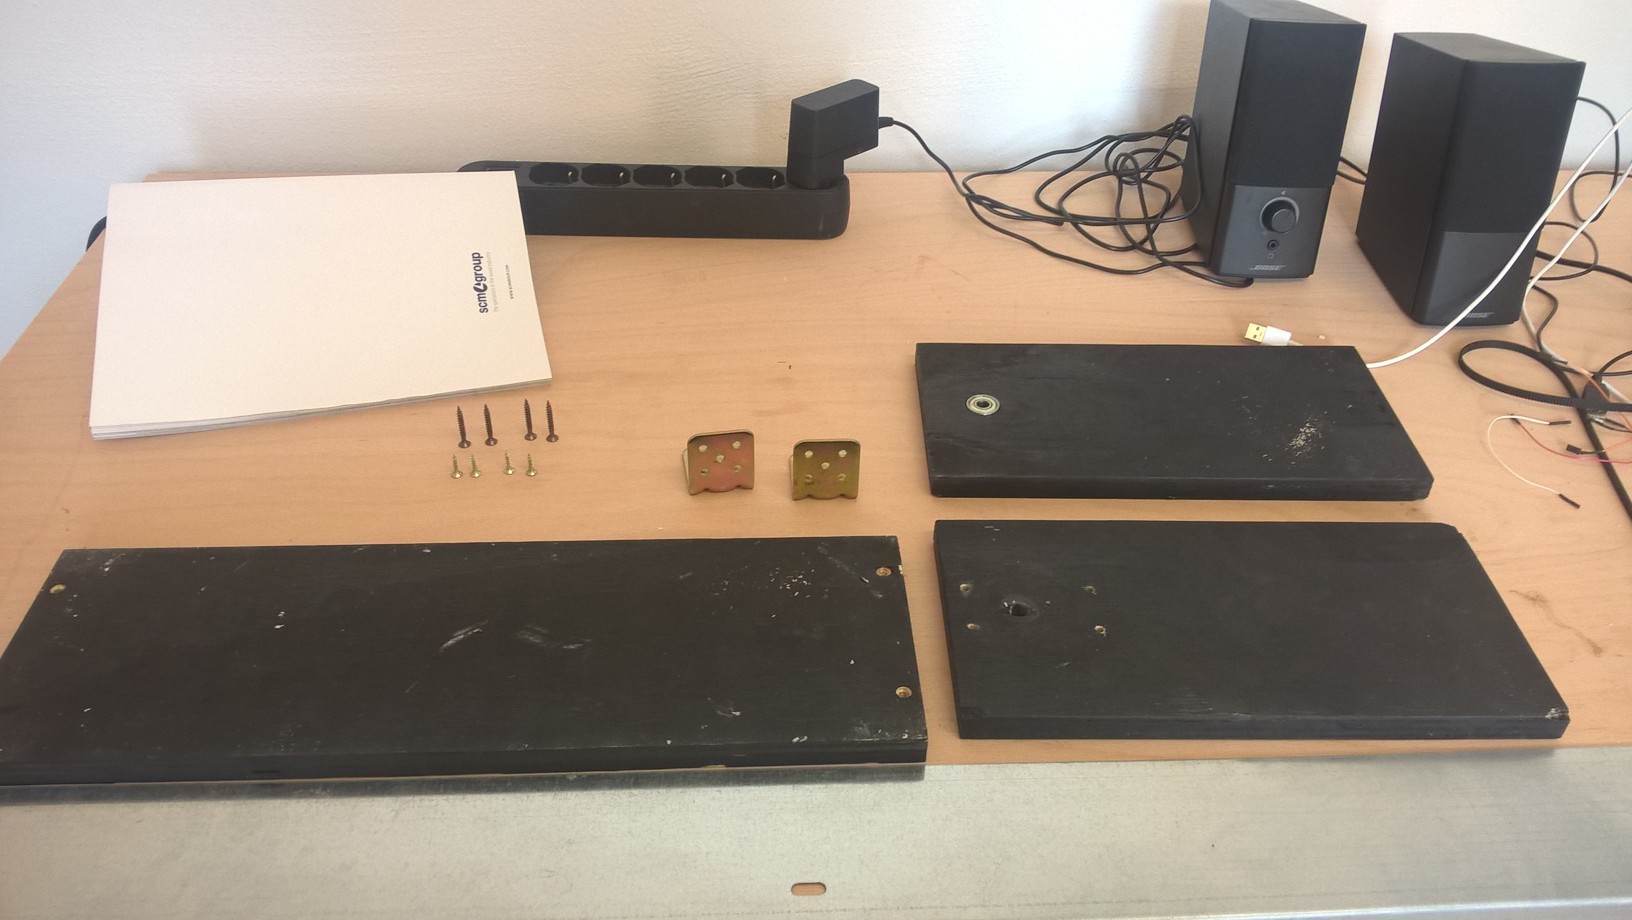
Once everything was ready I milled it with the Shopbot, and I painted it black, just to my machine something to be proud of.
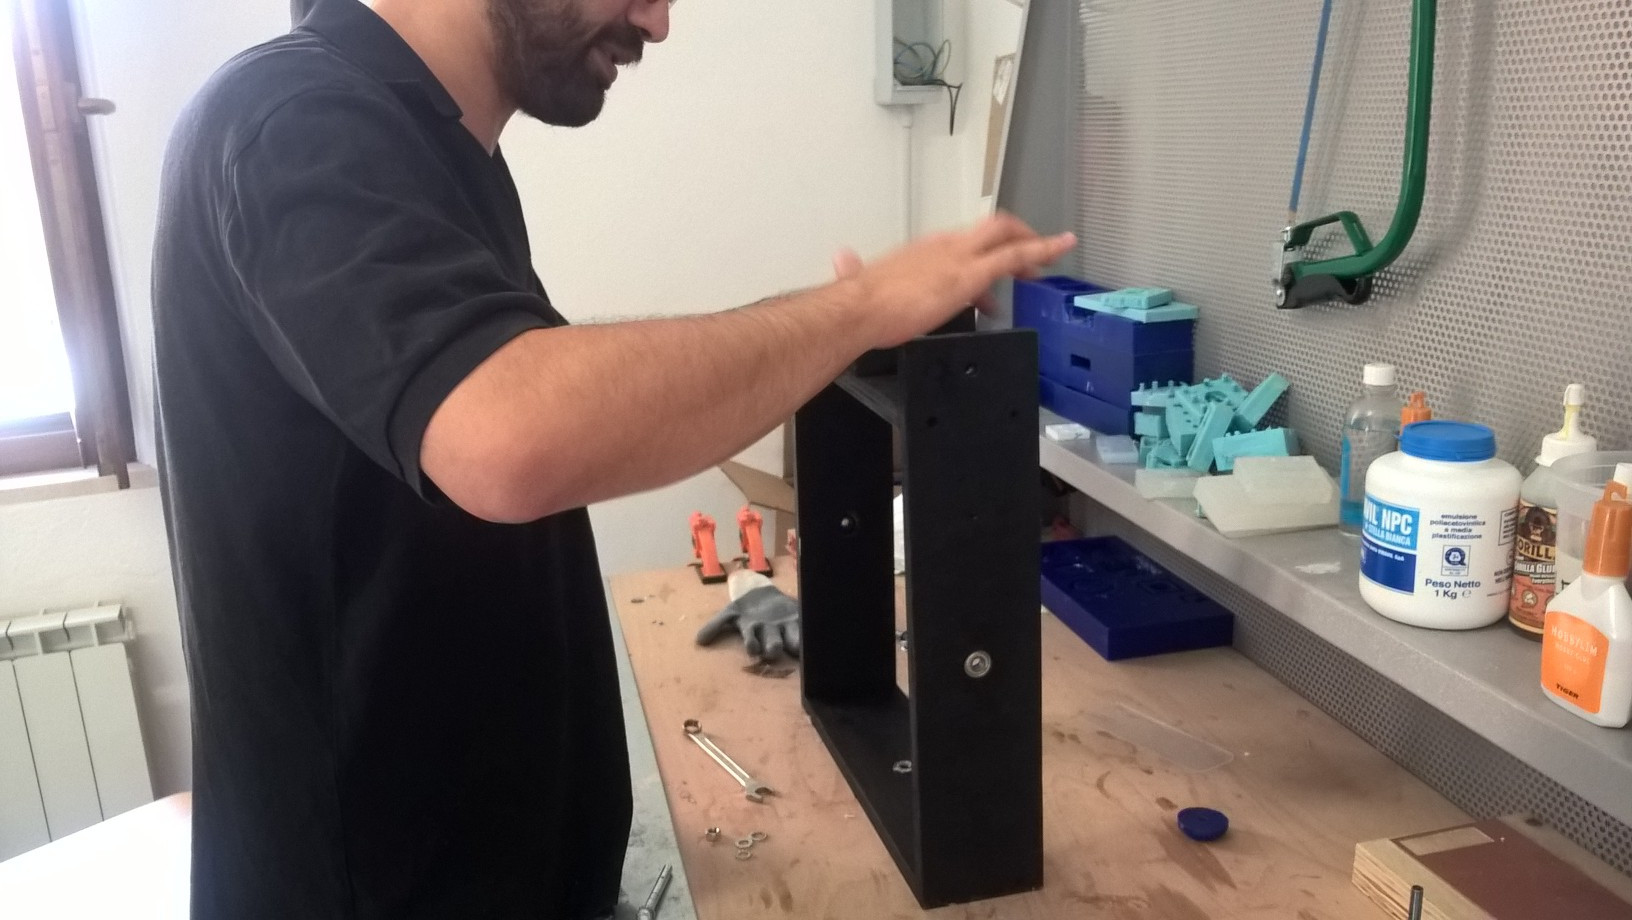
Then I started to build it.
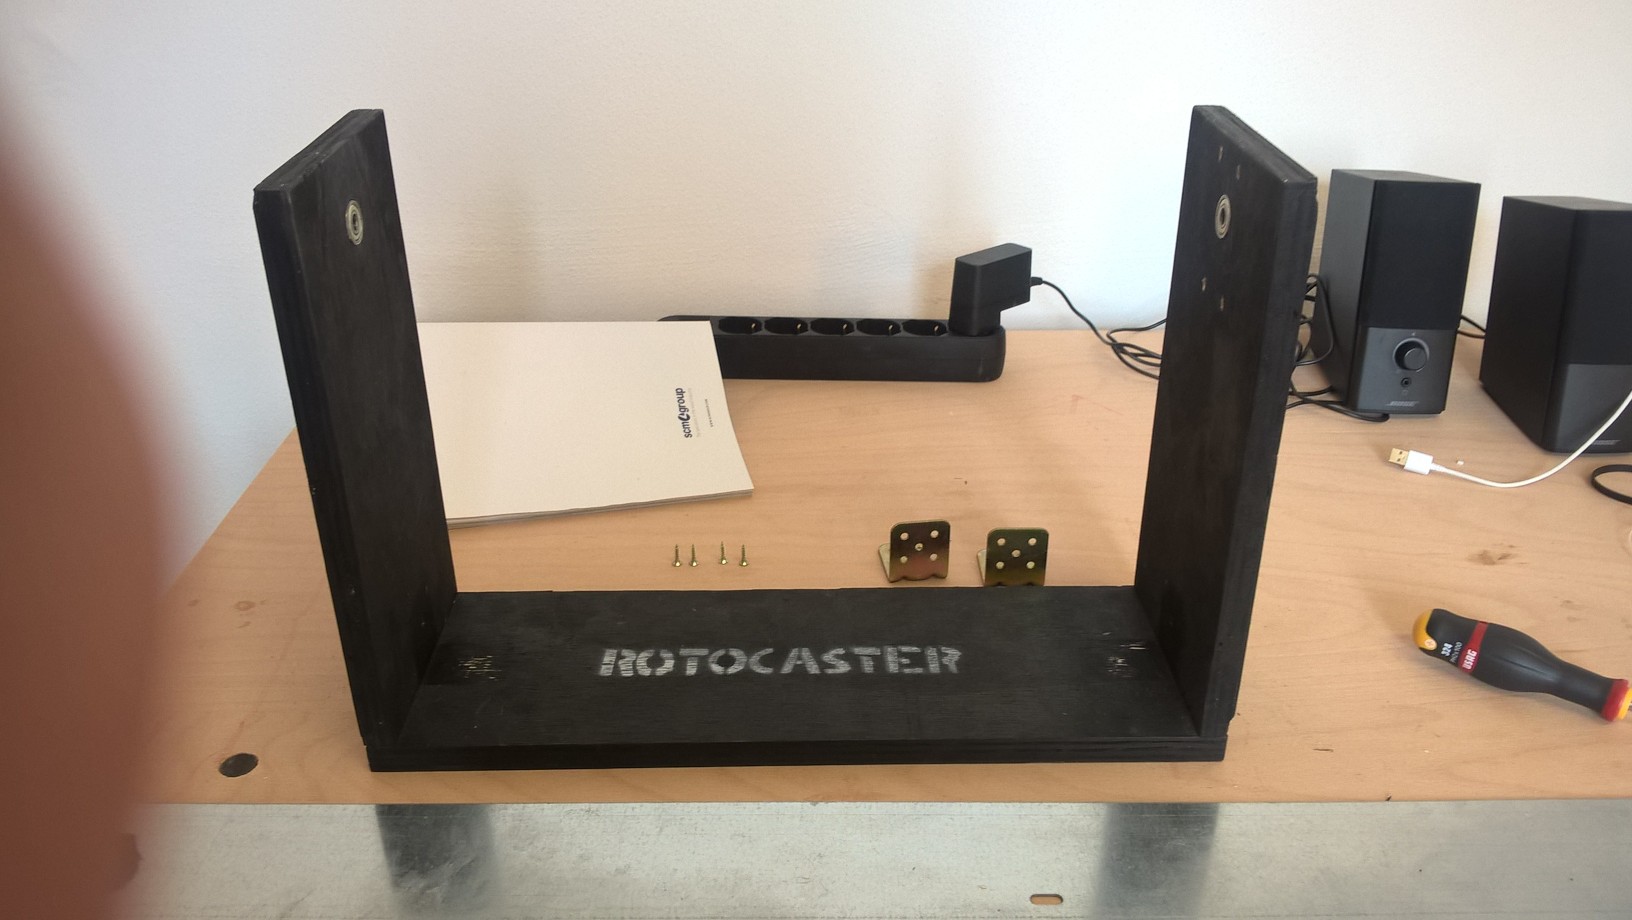
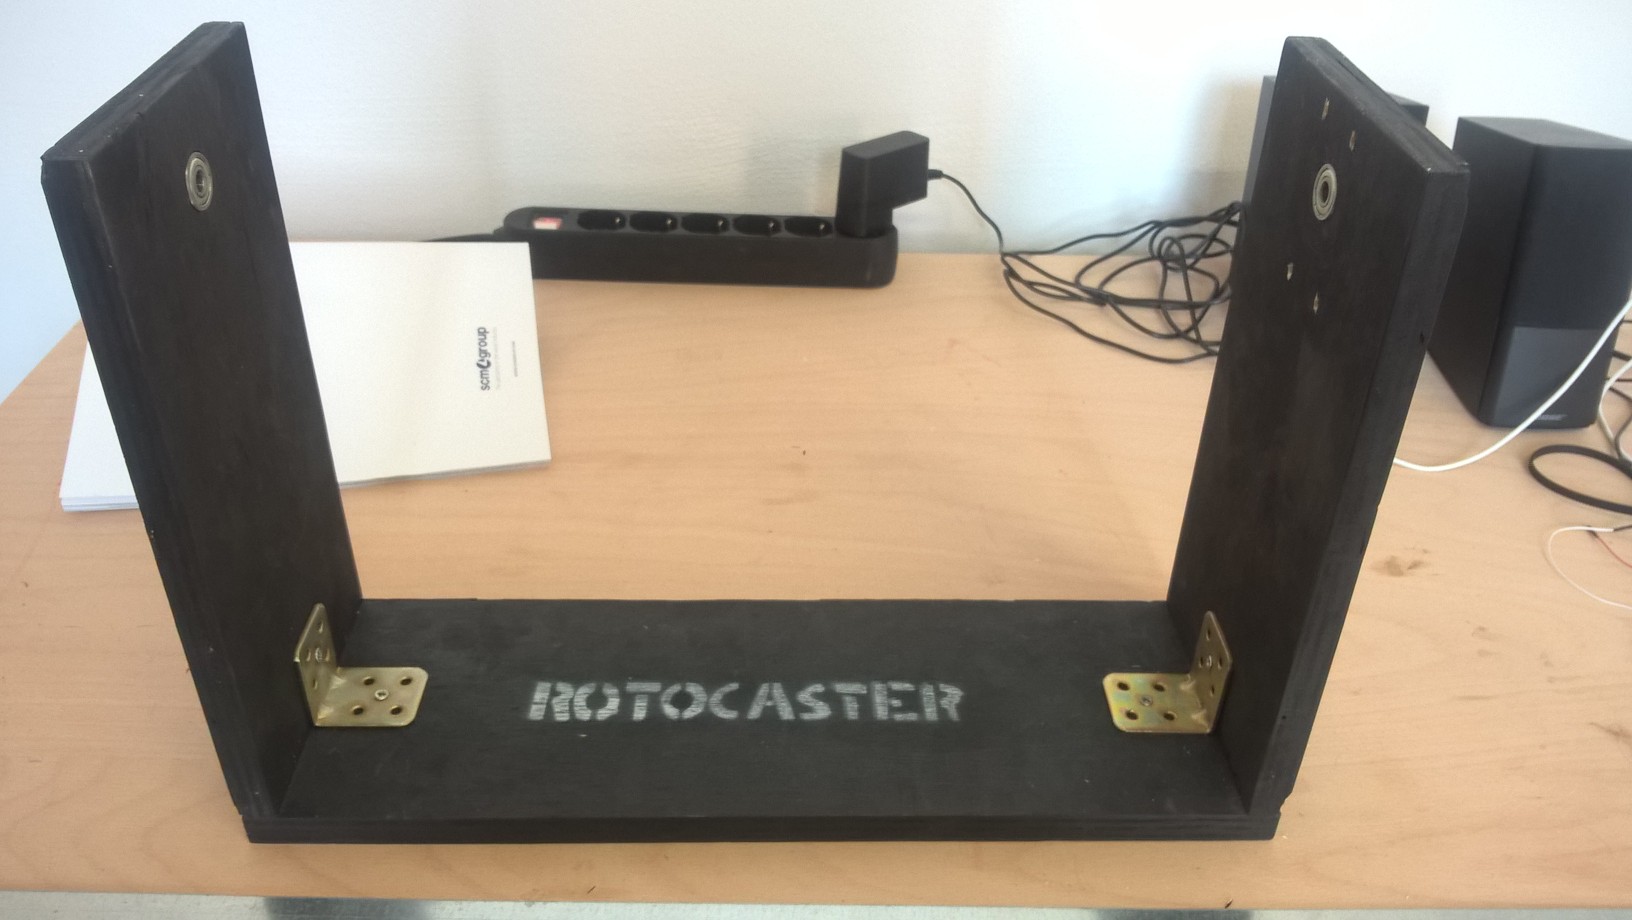
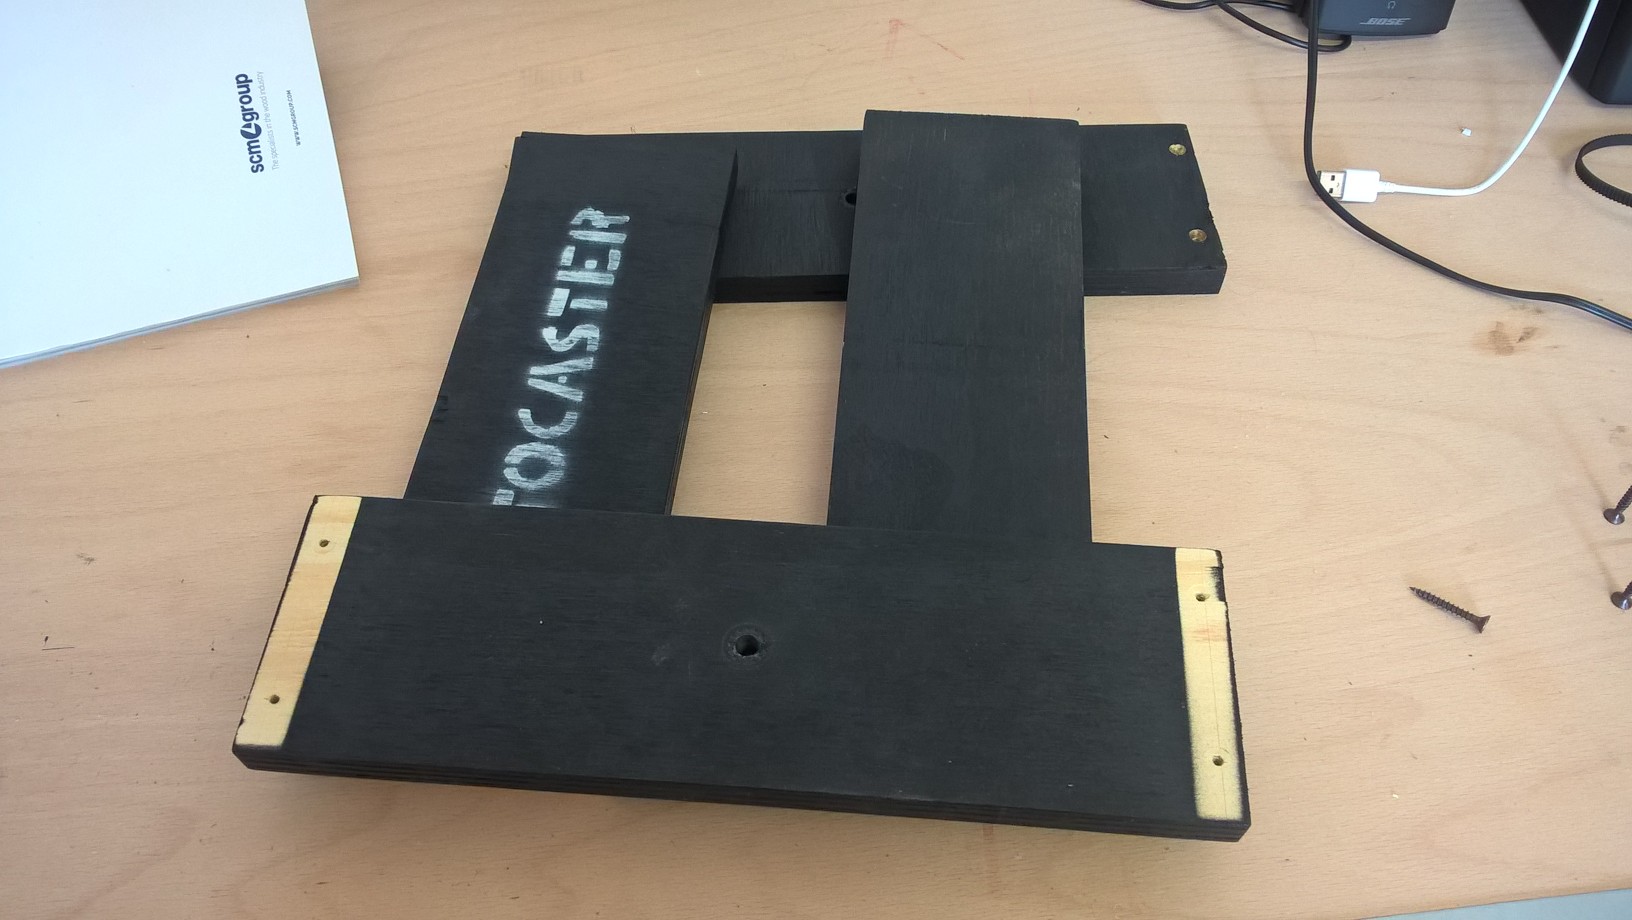
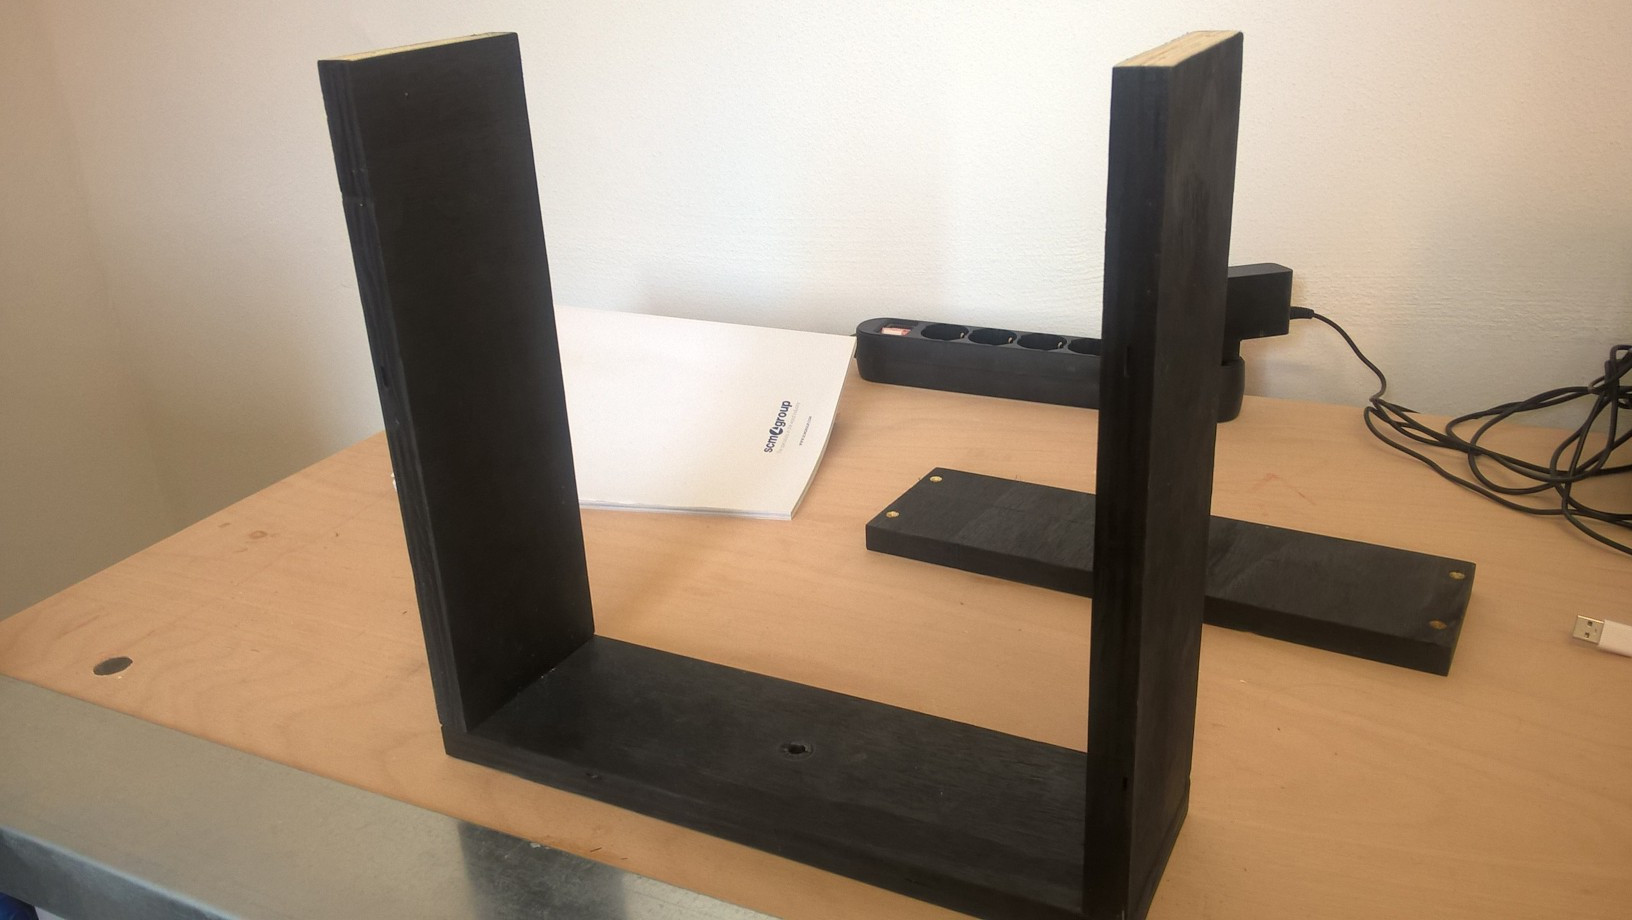
The rotocaster is basically made by three parts, the base, the inner square and outer square. Here You can see the base:
This is the inner square, it has also the pulleys:

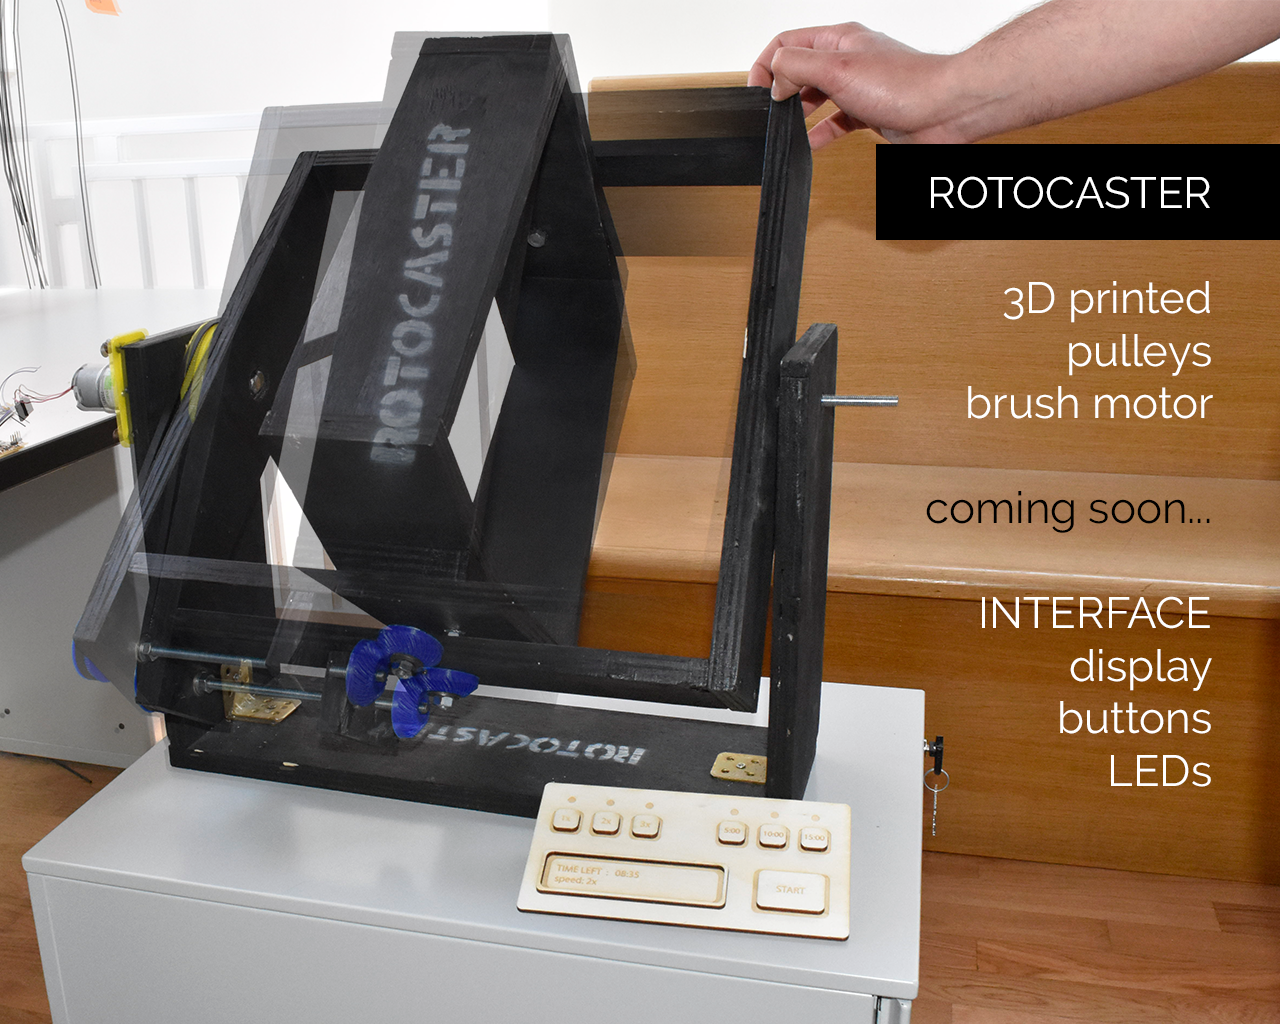
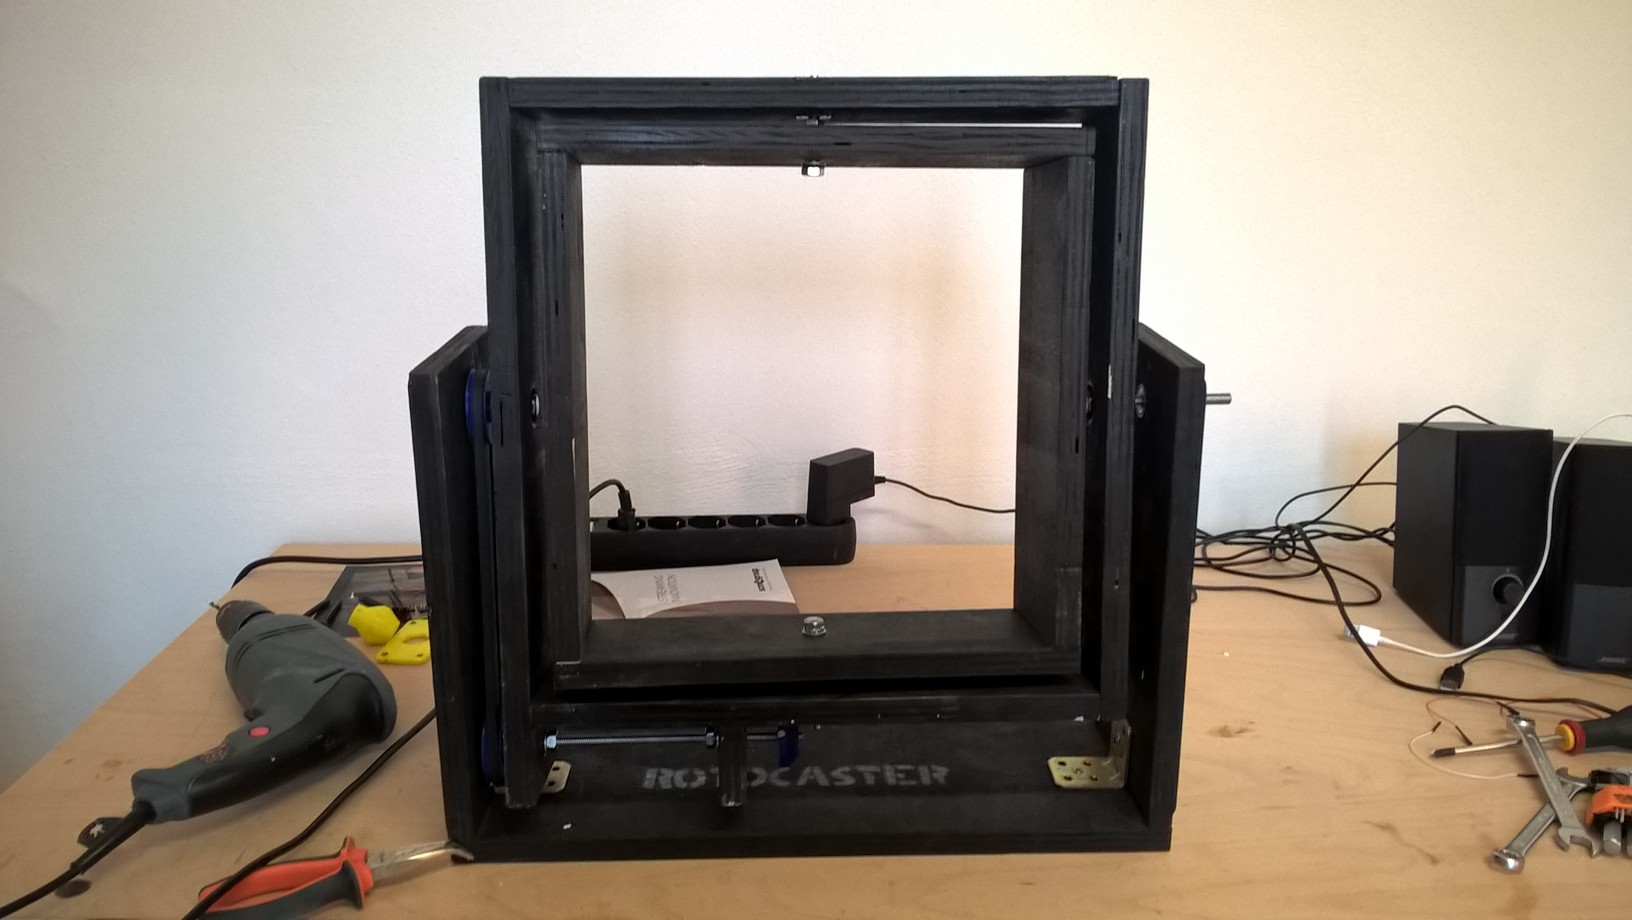
Here instead you can see the rotocaster complete, with all the components togheter:
Electronic and programming
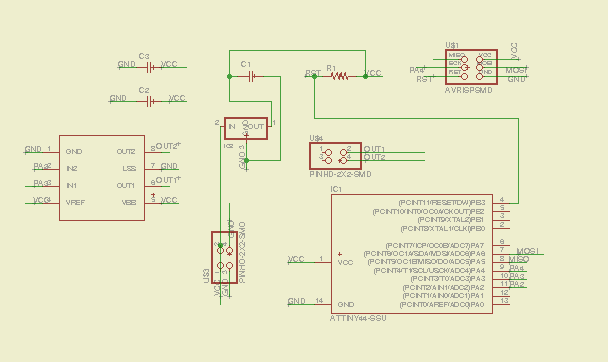
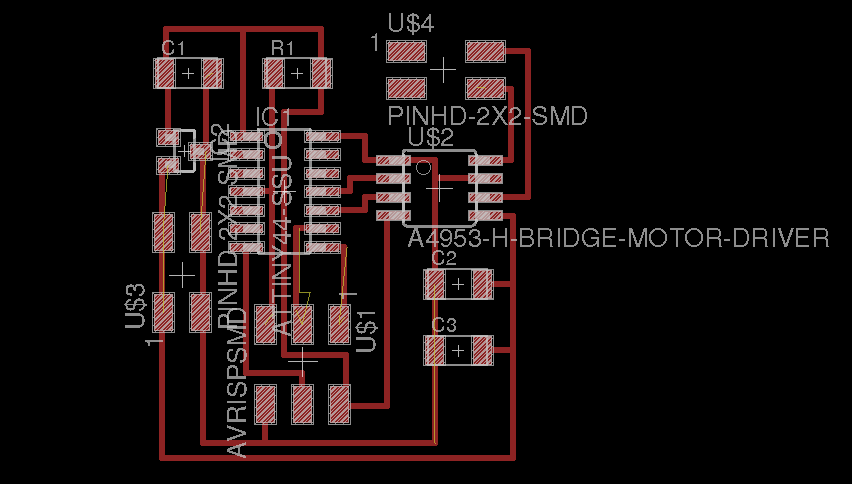
For the elecronic part, I needed a dc motor. I did not need a stepper since my machine
had to do just 2 movements (or just 1). So I designed a board with Eagle (I did a lot
of boards during inout/output device, but not this one, so I had to do it), here's the
schematic and the traces:
Once the file was ready I milled it with the Roland and I soldered the components on it:
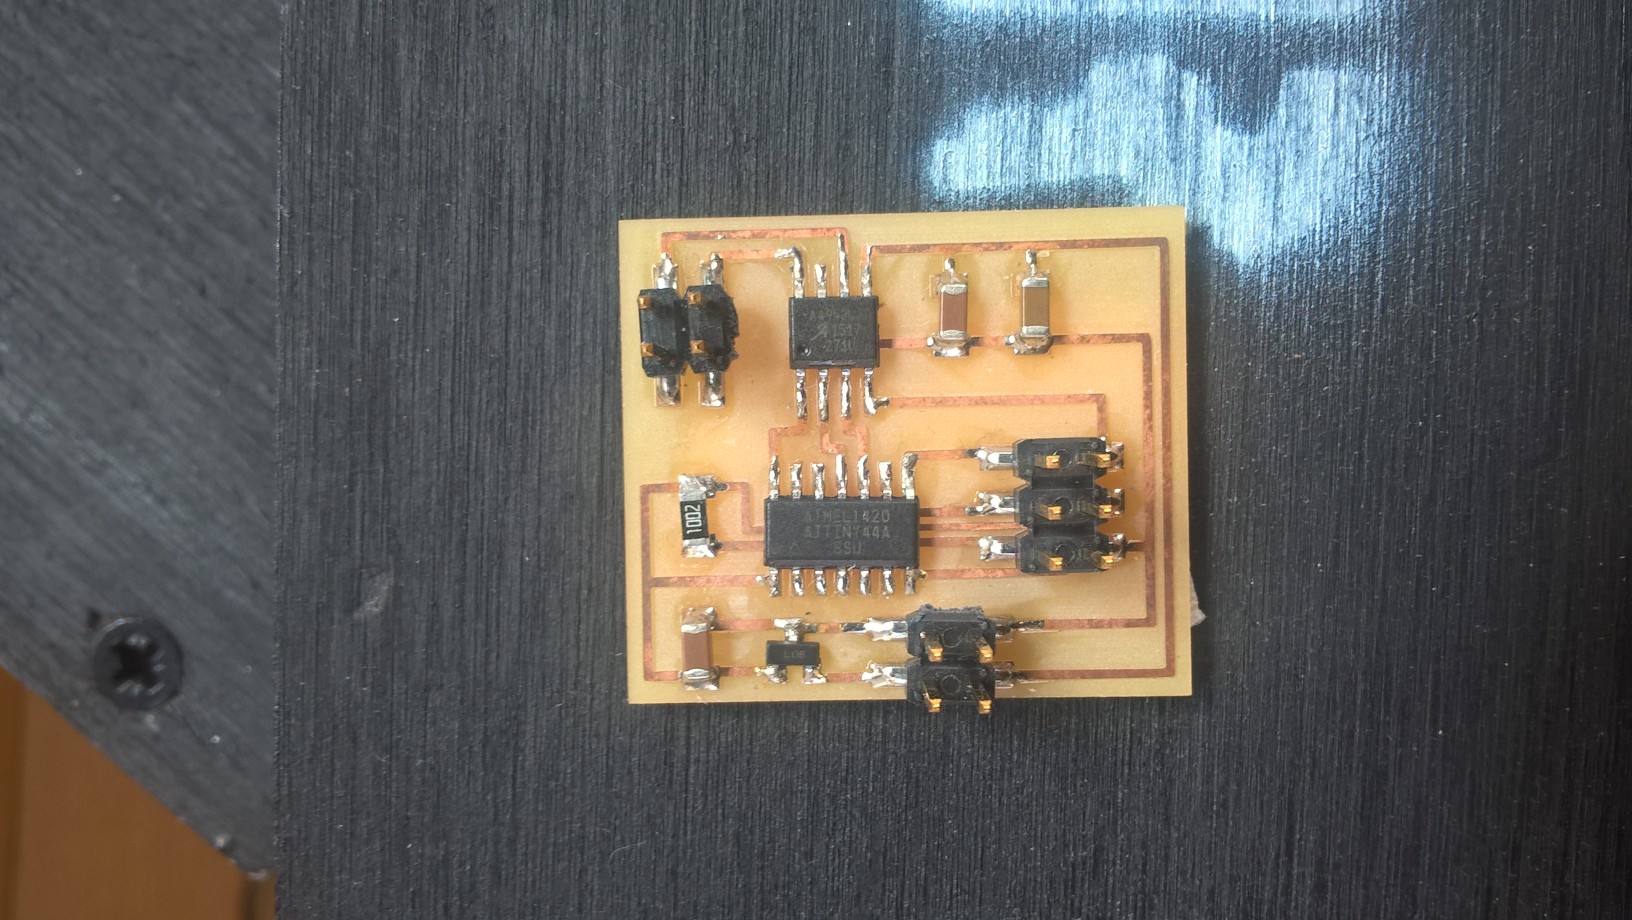
Then I connected it on the brush motor, everything was fine.
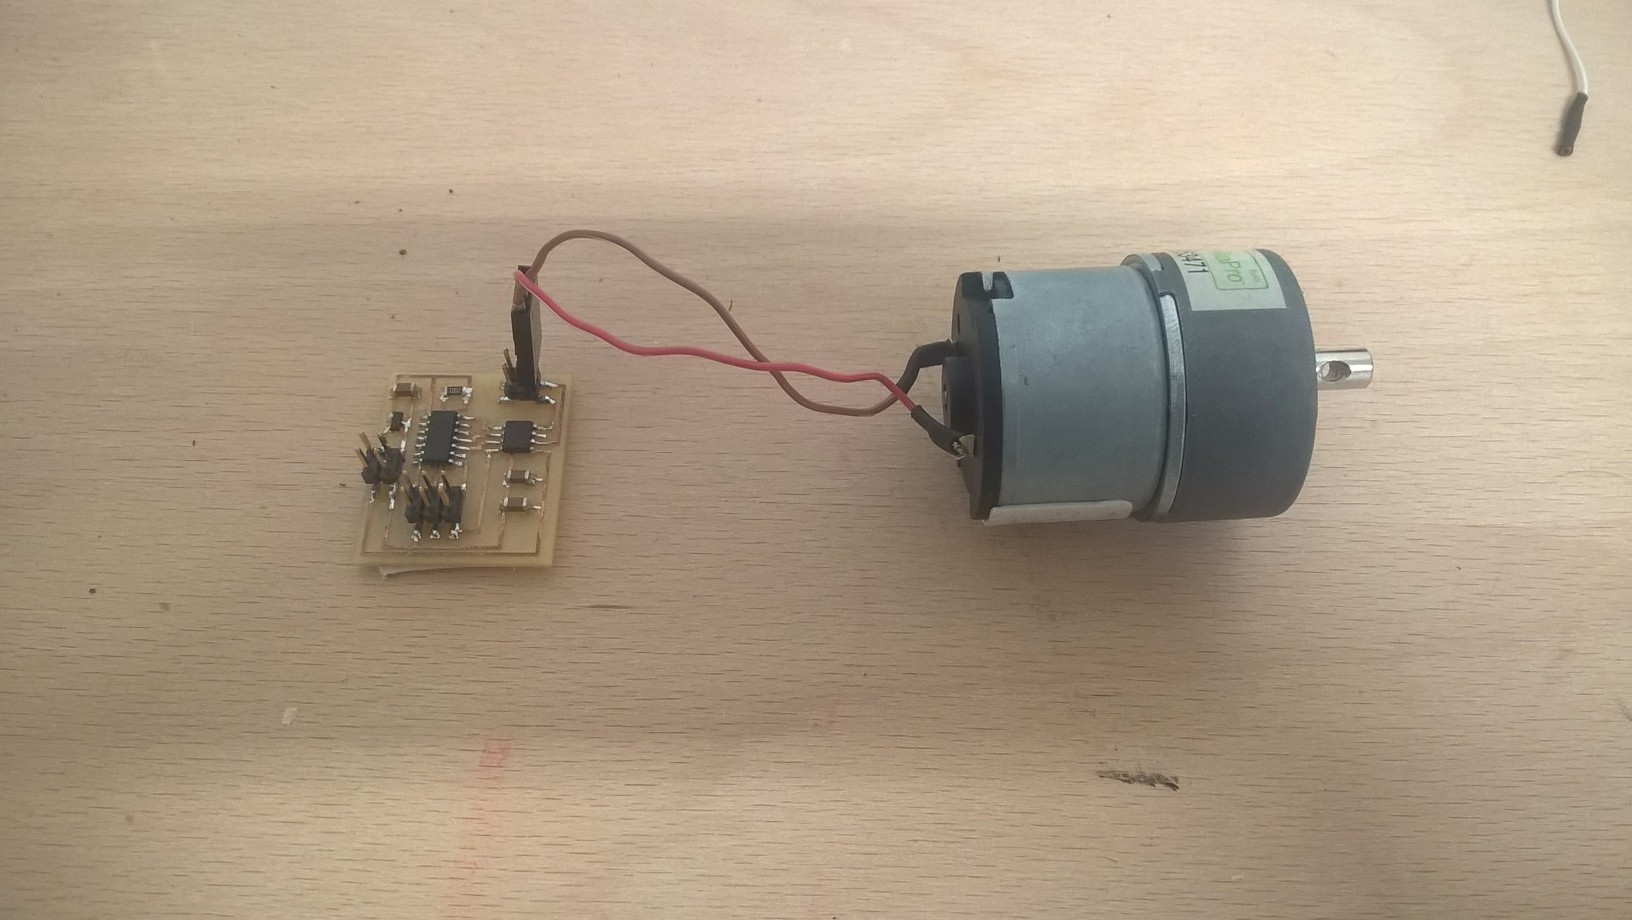
Since the Hardware was ready, I wrote a little code with Arduino's IDE. The sketch
spin the motor for 2 seconds, and stops for 2 seconds. I did not need a continous spin,
because once the machine start it moves by itself for a little.
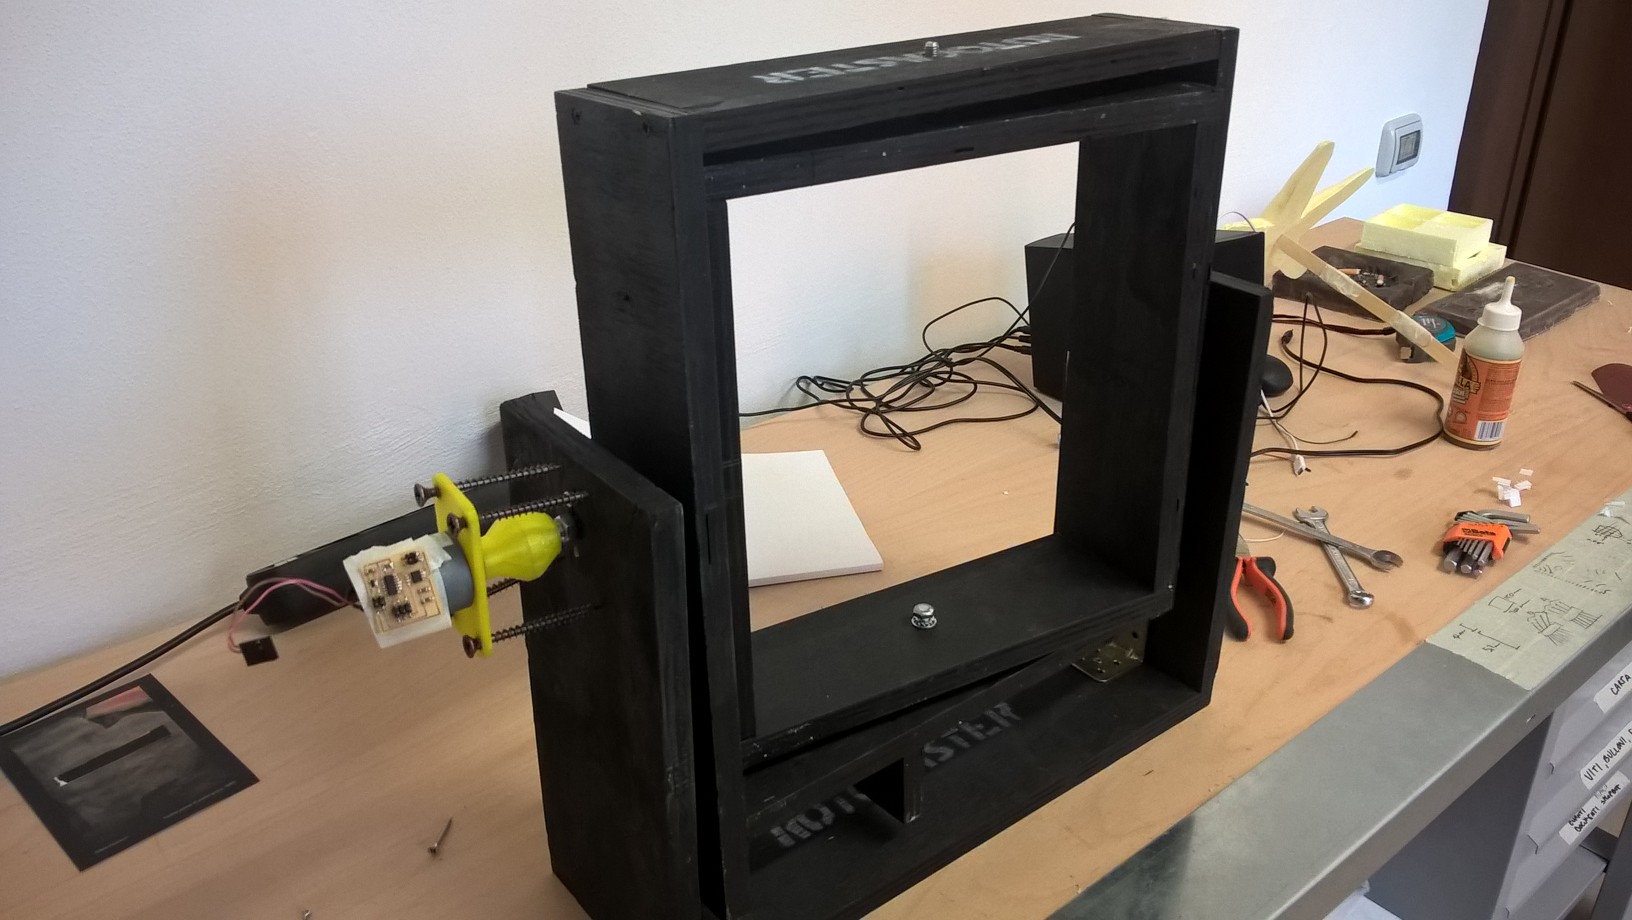
This is the machine complete:
Conclusions
Some considerations:
- 1) I wanted to do an interface for this machine, but in the end I've found a little bit out of my league, I ran out of time and I did not do it. It works of course, Anyway, I really think that this machine could be of some use for next fabacademy's students, for this reason I'm gonna work on it during next months.
- 2) In the end, one of the biggest problem I had was the belt. This is beacuse at a certain point, duting the testing phase, it broke. Unfortunately the belt it's something really hard to build in a Fab Lab, so I have to buy it again.
- 3) The mechanical part is probably the most important thing building a Rotocaster. In the beginning I linked the upper pulley to the metal bar with a wire, and that was why it worked only halfway. During my presentation the rotocaster worked vertically, but not orizontally. Once I linked it to the rotocaster's wood panel, it started to work. My suggestion to everyone who wants to build a rotocaster is to spend a lot of time in the starting part, thinking about it.
Download

This work is licensed under a Creative Commons Attribution-ShareAlike 4.0 International License.