Introduction
This week I had to redraw the echo hello-board, add at least two components (led and button) and make it.
Documentation
First I went to the shelga's page, a 2015 fabacademy's student, as I did every week since now (and as I will do until the last assignment probably). The explanation of what she did was pretty clear, it helped me in my organization. Since it looked like Eagle would have been the main software of the week, I looked for some tutorial. I've found this one.Software
In order to change the orginal hello board and add the led and the button, I used Eagle. Eagle is was a little hard in the beginning, but when I got confident everything was pretty easy. Eagle has two main "workflow": the schematic and the board. In the schematic one I put the components I needed to use and I added the value to them. I downloaded a library named "01_fab1", where I could found all the components needed for this job: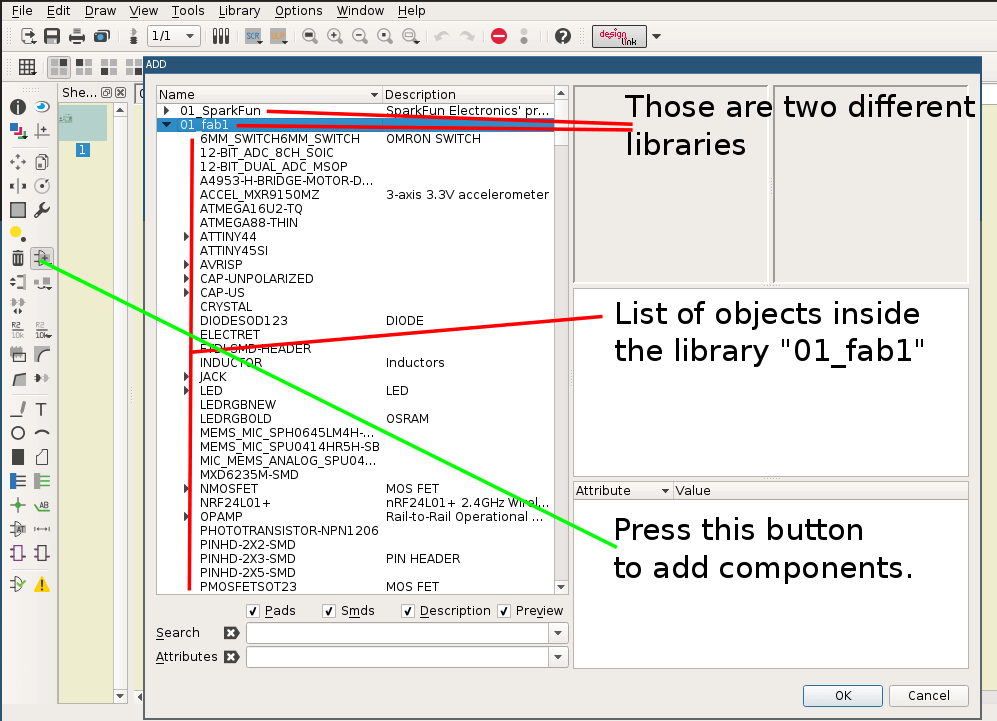
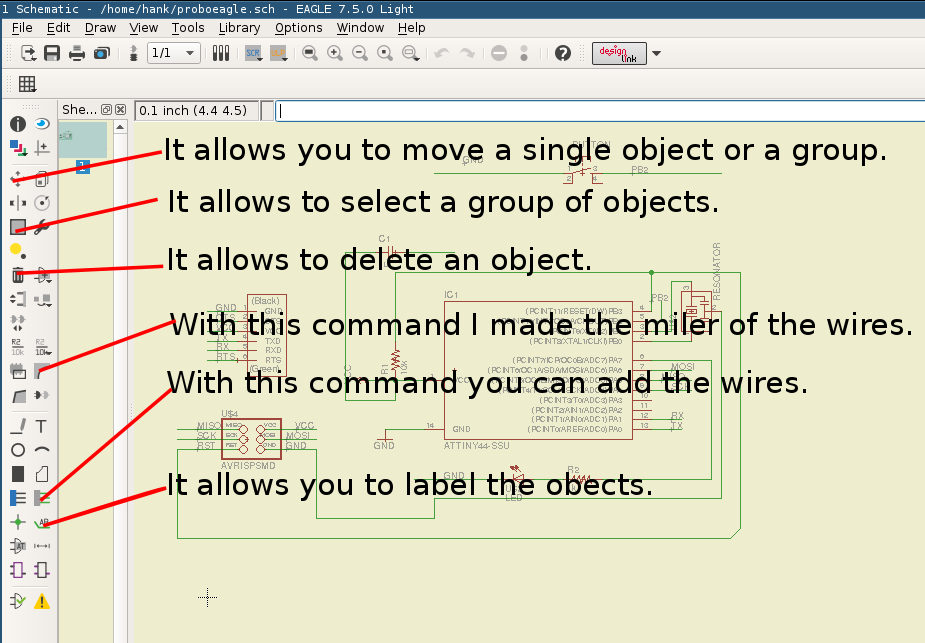
First, here are commands I used more often in my work:
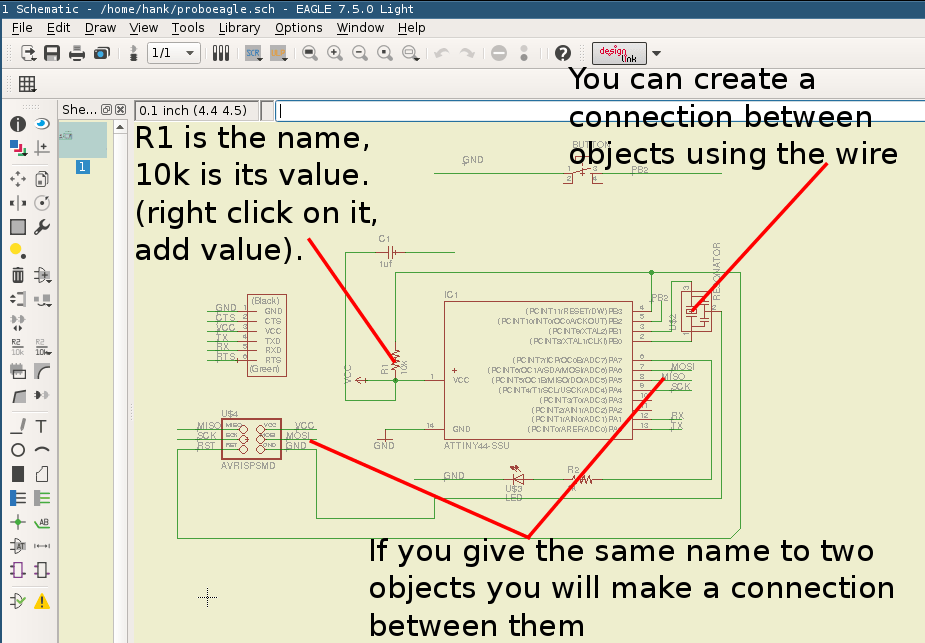
Here you can see some explanations about the components I added:
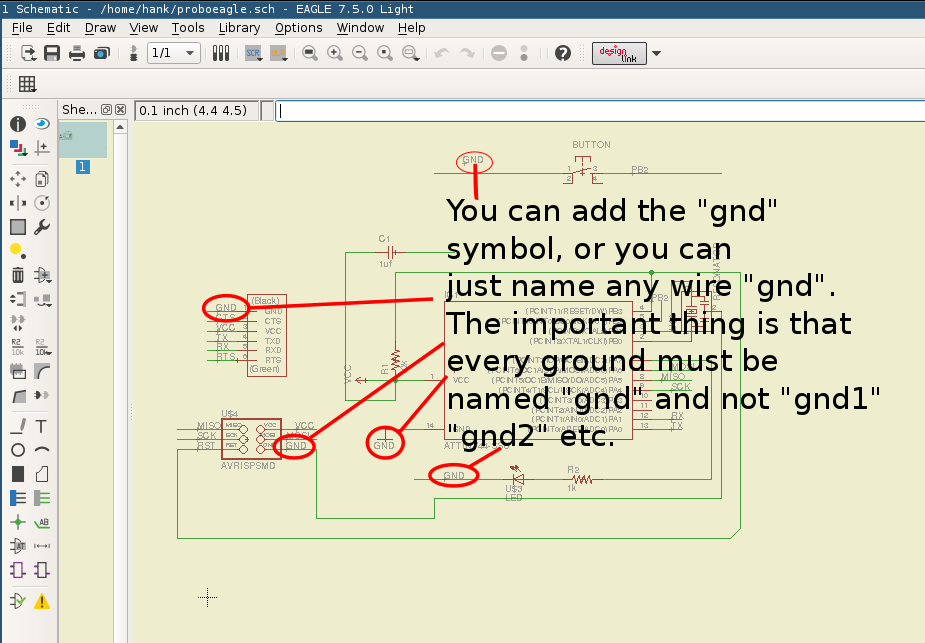
In a first moment I had some problem with "ground", and I didn't understand why, then I saw that eagle was naming every ground with a different name:
Once I finished with the components, I changed workflow, and I added the connections between every component of my board:
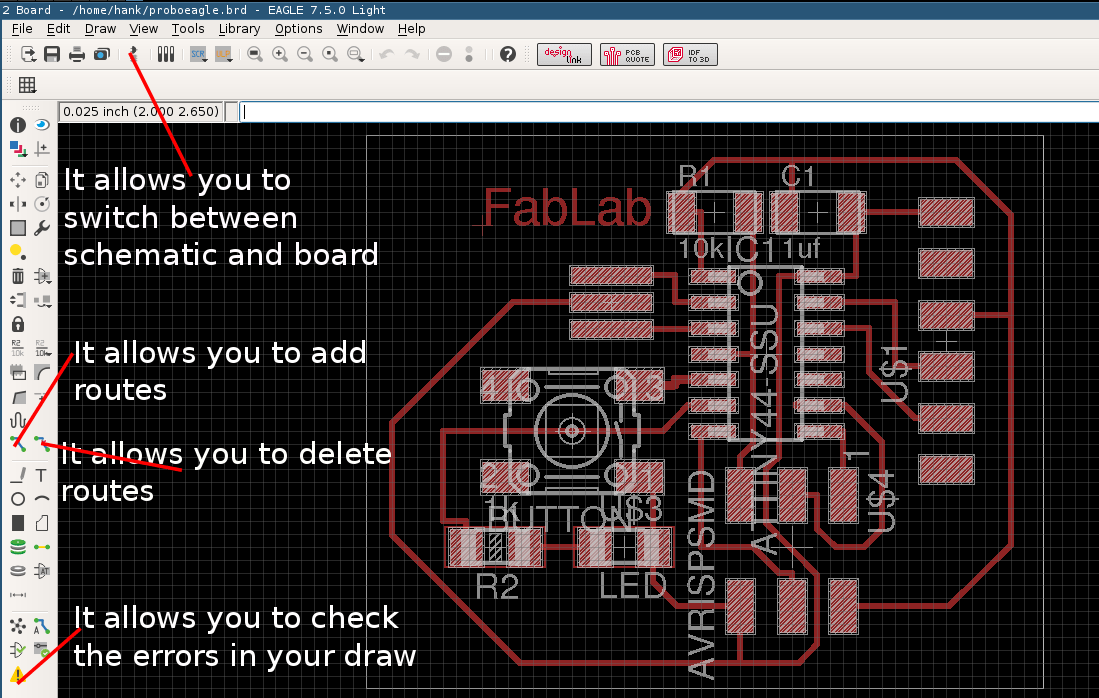
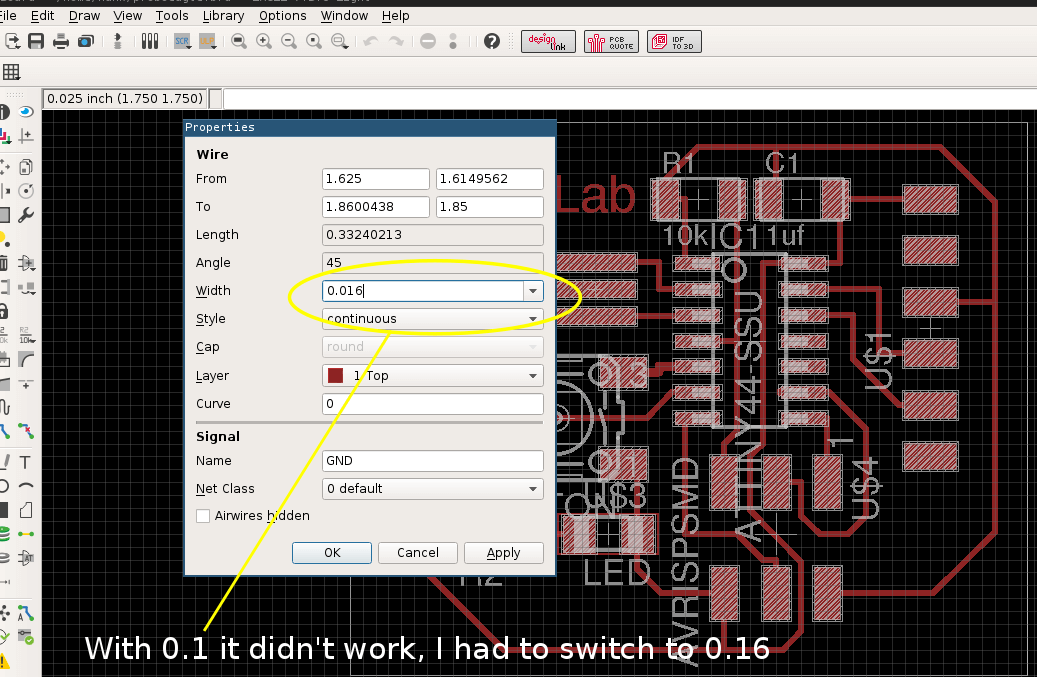
I had to change the width of my routes: right click on each route, properties:
Once i finished my checks, I exported it as .png file. This is the etching one:
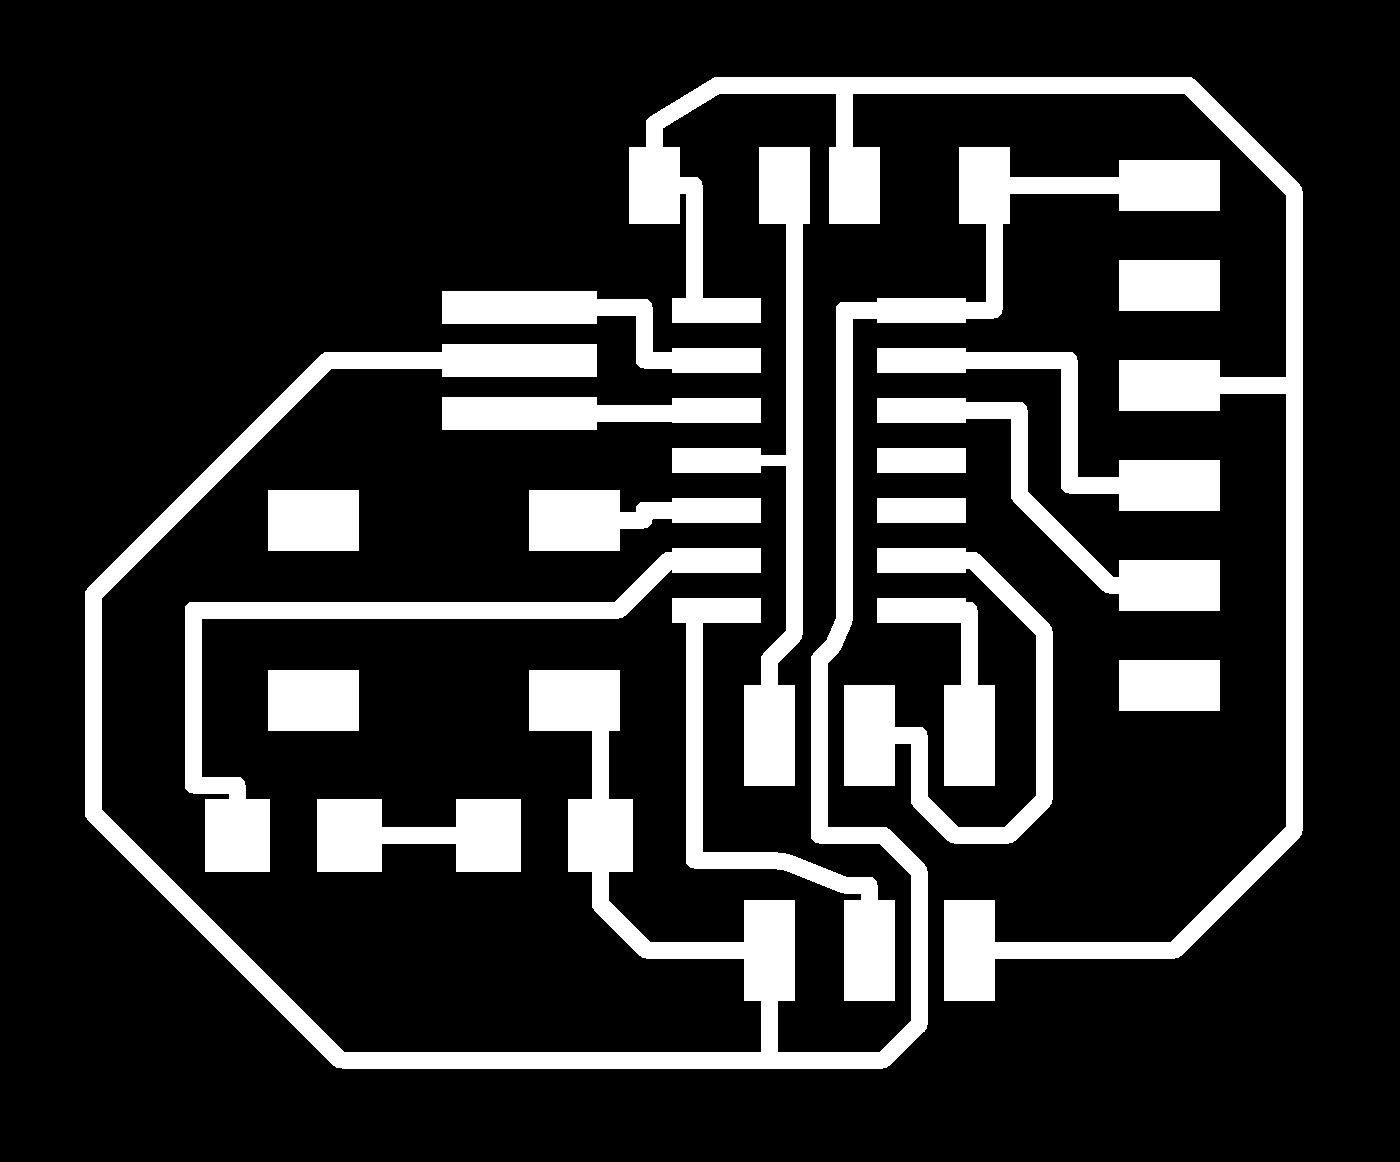
This one is for the cutting. I used Inkscape in order to create the second one:

I used the fabmodules to create a .rml file, just as I did for the week 4 assignment.
Components
All the things I did for this part were exactly the same I did for the week 4 assignment, so for the details I invite you to check that page. First I collected all the components I needed: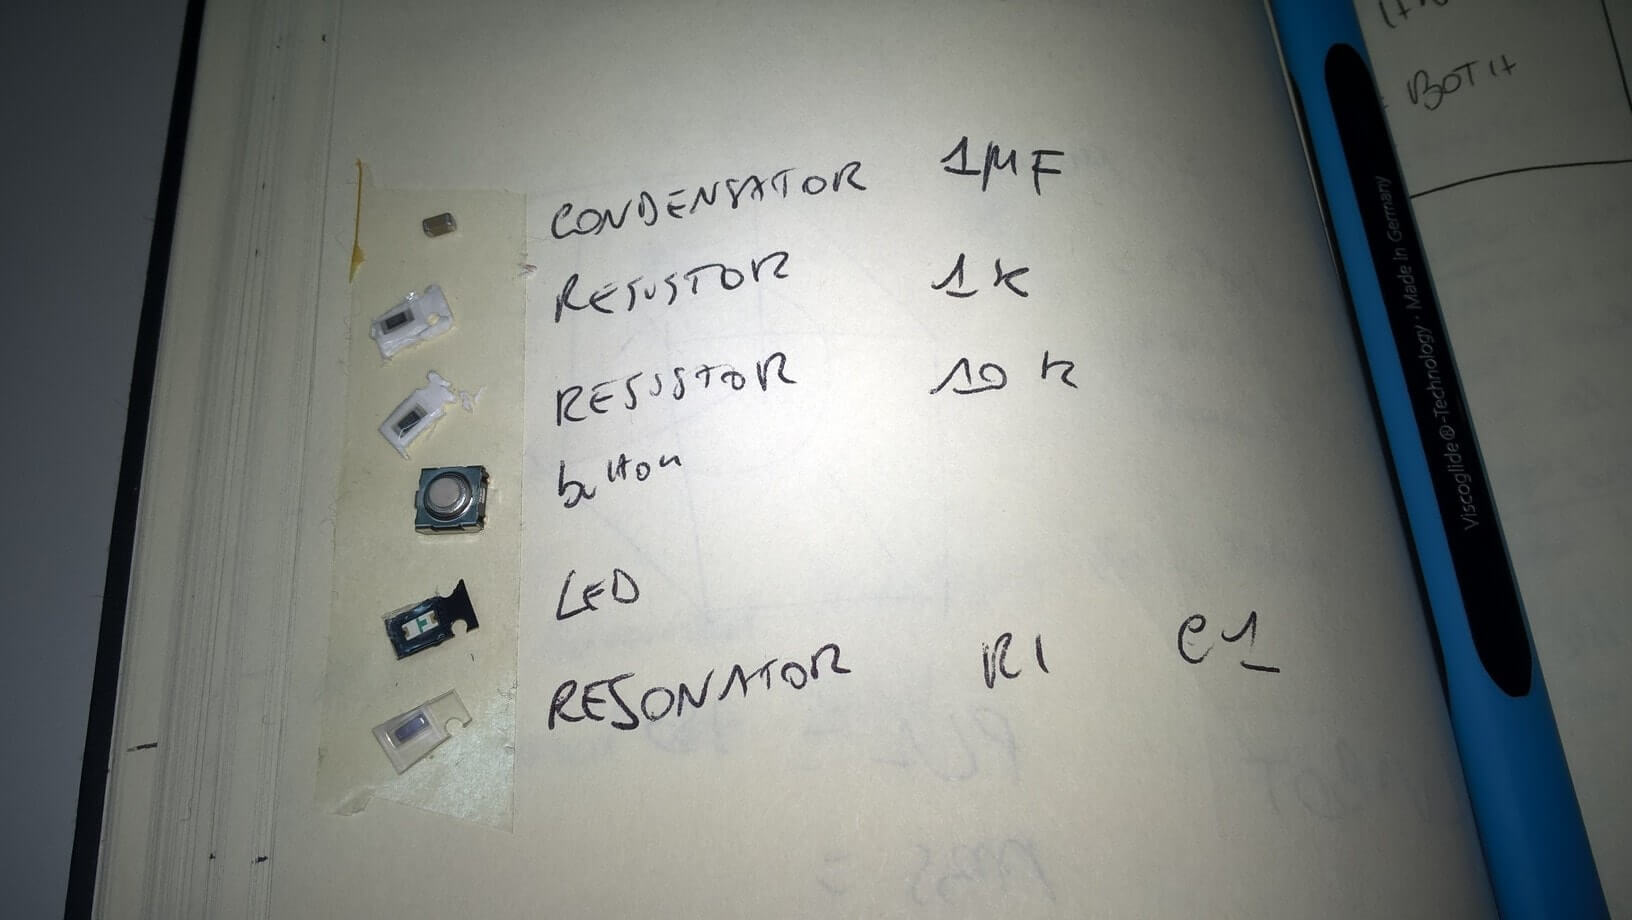
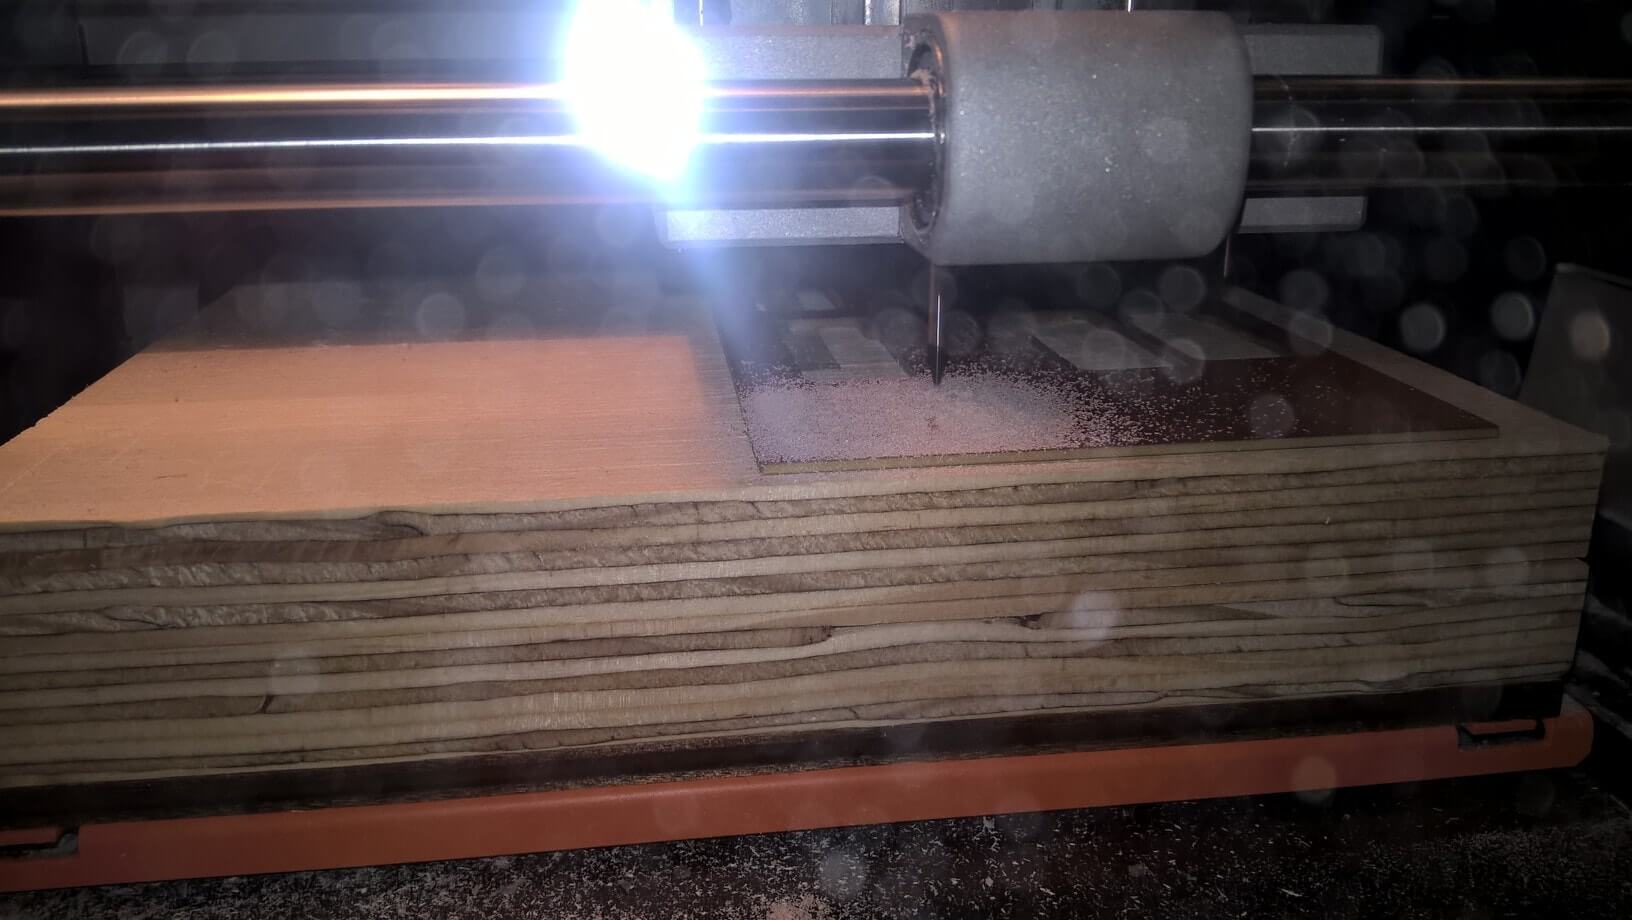
Then I miled the board:
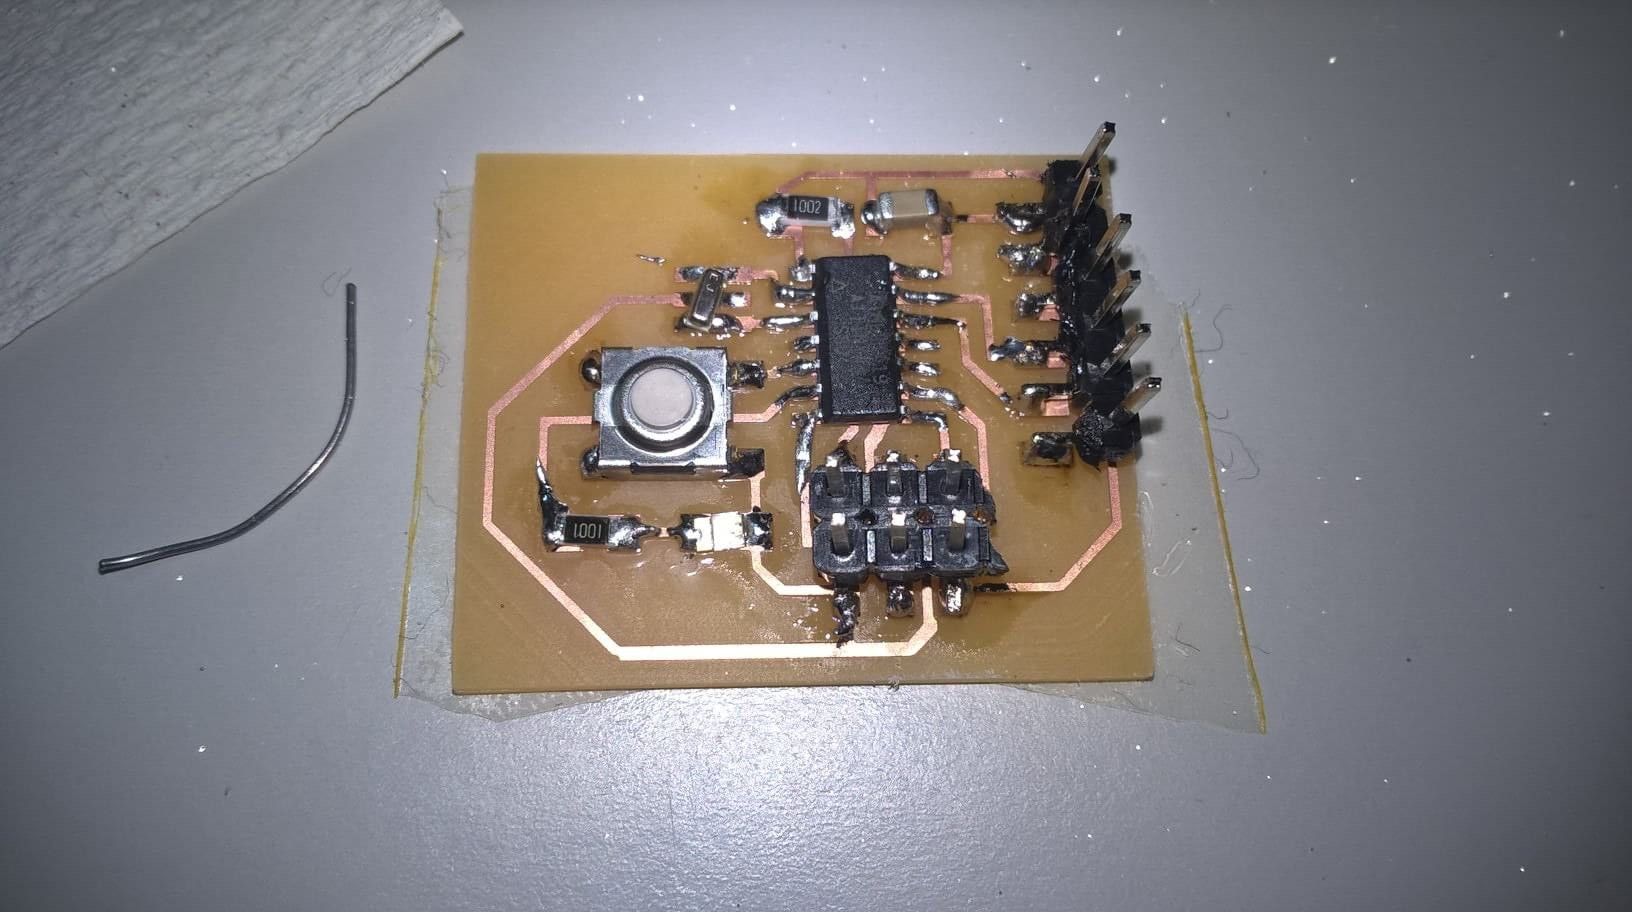
In the end I soldered the components on the board, here the final result:
Make it
The last thing to do was to "make it", in order to see if it worked. The toolchain to follow was:
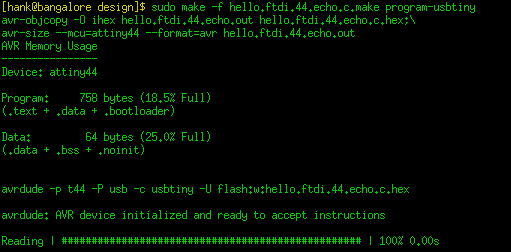 everything went well, so I downloaded python and I tried it, it worked!
Conclusions
This week was quite hard, in the beginning I had some trouble learning Eagle, but since Sunday everything was pretty smooth. I programmed succesfull my hello-world board, and I'm very happy about it, since I had tons of trouble with my first ISP. For some reasons I can't use my PC to program it, because apparently it can't read ISP programmer boards (not only mine, also the ones of my mates). I hope I'll find a solution as soon as possible.
Download
Eagle file
This work is licensed under a Creative Commons Attribution-ShareAlike 4.0 International License.