Introduction
This week I had to learn computer-controlled cutting. I had to learn how to use the vinyl cutter and the laser cutter. During this week I was also introduced to the Parametric design.
Documentation
This week I had the most help from Shelga's page (2015 student from Iceland), and I tried to get some experience with Inkscape. Inkscape has a really good documentaion on its main web site, I'll recomand it to everyone who wants to use it.
Vinyl cutting
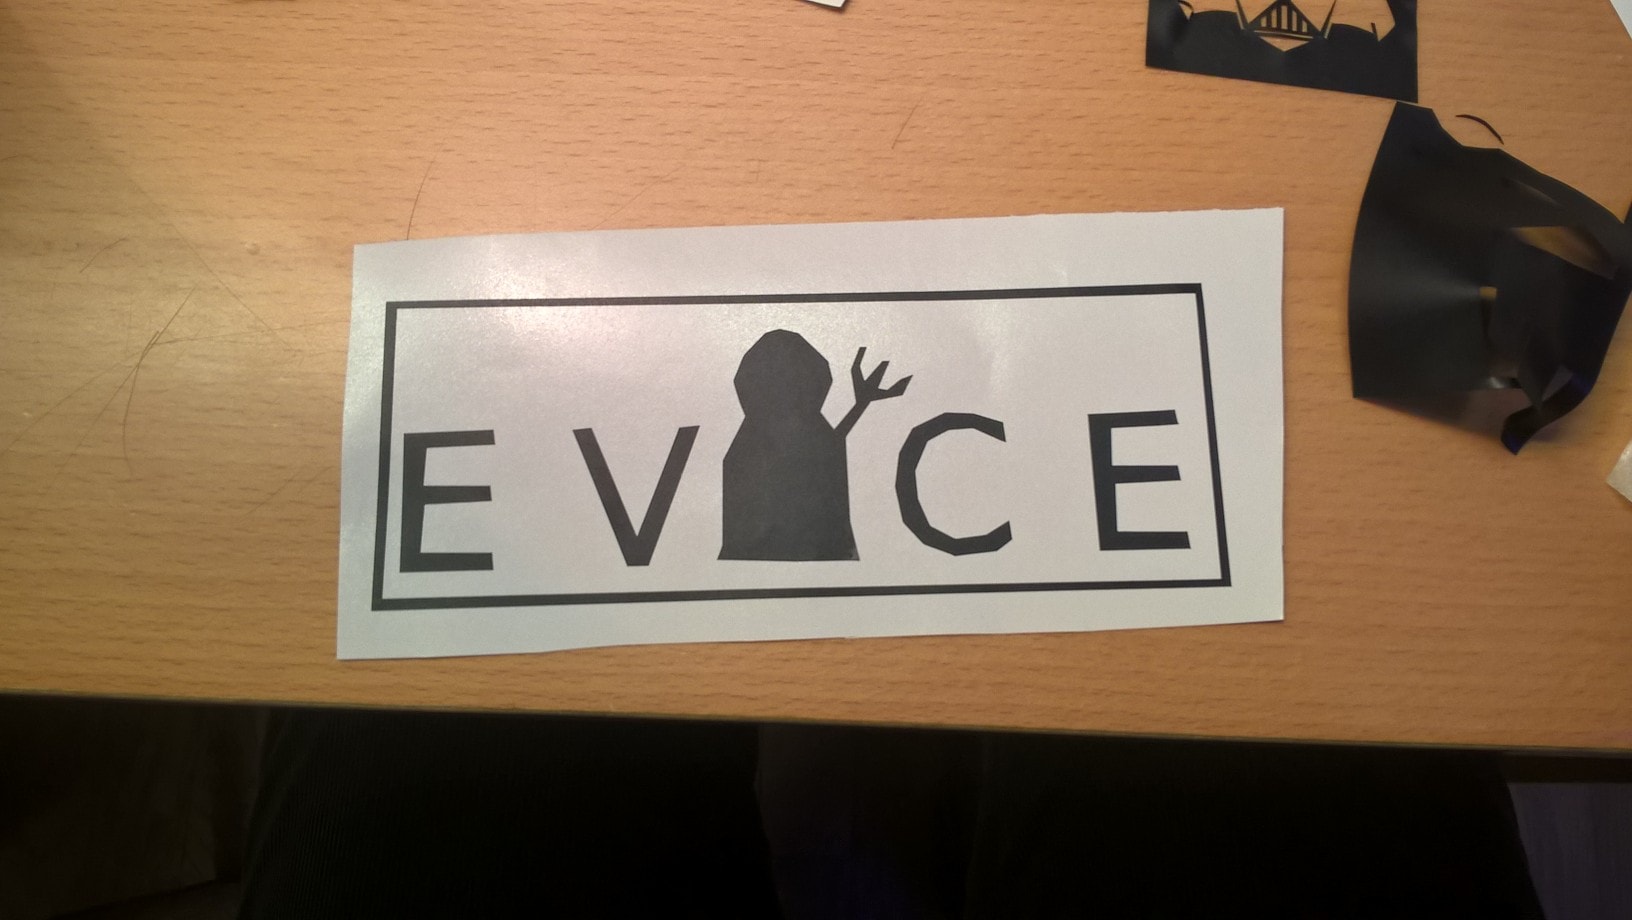
I started with the vinyl cutter, drawing and stamping the logo of my final project. Our Vinyl cutter is a Roland GS-24:It may look as the less powerful machine of the lab, but as my instructor told us I know people that raised their families selling stickers made with this one.
First I exported my file from inkscape, and I modified it from .png to .camm. Here.
I put my image, and I gave some parameters to properly stamp it: default power level is 45%, but I had to raise it to 70% (my first cut was at 45%, and it didn't work). This web site allows you to download the file after the editing, so I had my .camm file saved on my pc. Our instructor showed us how to print it via shell, so we all did it: the command is
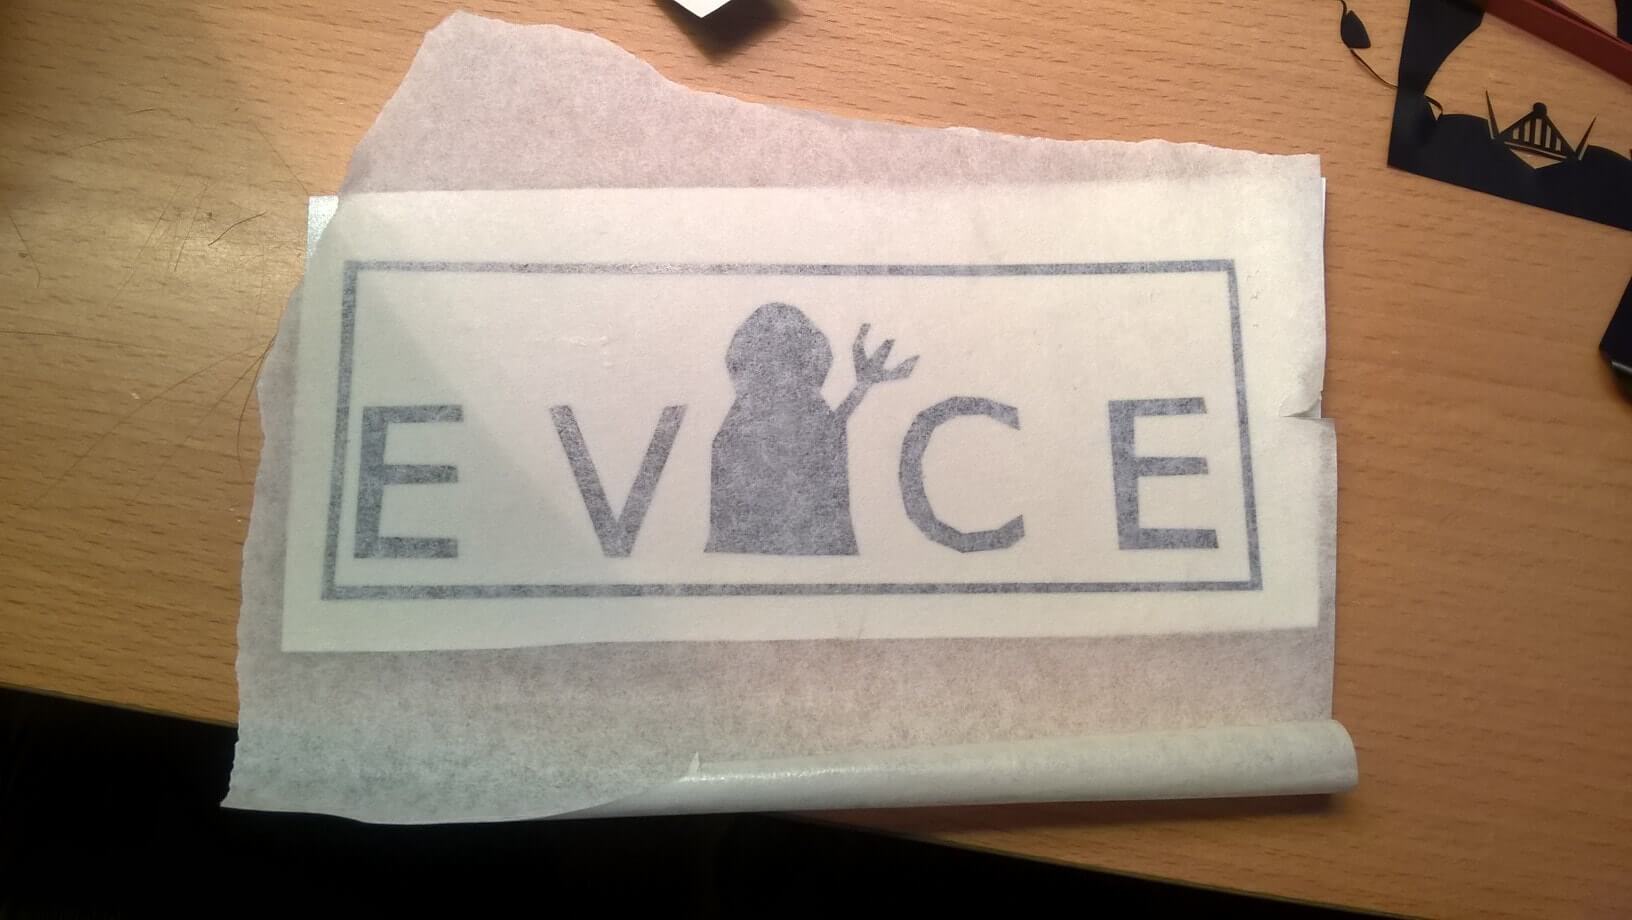
Here's my sticker:
2D model
Anyway our main assignment was to create a press-fit kit. First I checked in
the 2015 students pages, just to see how they worked and what they did.
One of them wrote in her page that she started to use a program called FlatFab.
Since no one talked about it, i decided to try it.
In the beginning FlatFab looked to me the perfect program to go through this week assignment.
I really liked those images, so I downloaded it and I tried to do my project with it.
I've found several tutorial on youtube, I watched them all:
Tutorial 1
Tutorial 2
Tutorial 3
Those are just three videos, but on FlatFab youtube channel you may find many others.
Anyway, as I started using it I've found the interface very hard to use, since I
had to draw the shapes with the mouse's cursor. There was a way to draw geometric
shapes, like a circle or a rectangle, but it was pretty hard to move the figures and change the position. The main problem, that forces me to leave the program, was that I could not extrude the figure more than 0.5 cm, things that made it useless for my assignment.
However, since I started learning something about it, I tried to stamp something.
The really nice thing is that Flatfab allows you to export your file in .svg format,
from 3D to 2D, it does it all by itself.

Unfotunately I don't have the 3D file of this, because I just saved it in .svg in order to stamp it, and apparently there's no way to come back to a 3D rappresentation from that format file. Anyway, as you can see, the program gives a number to each object, and then put it on the page. I've cut it with the laser cutter, here's the result:
I used only the big parts, because the slots of the small ones had not enough space to fit. As you can see it stays togheter, so I think I will use this program in the future, because it is really nice. Then I decided to use Inkscape to build my press-fit kit. I had to do it with cartonboard. One of my classmates did some test on the laser cutter, in order to find out what was its kerf, it was 0.1 cm. Before I drew the entire kit, I decided to drew the fits, so I could see how it worked. First try I did both parts of the same size, but it didn't work, there was too much space between. Once I knew the kref's size, I used it for my second try: the female was rectangle, height 8 mm, width 7.5; the male was a square, 8x8 mm. This time it worked:
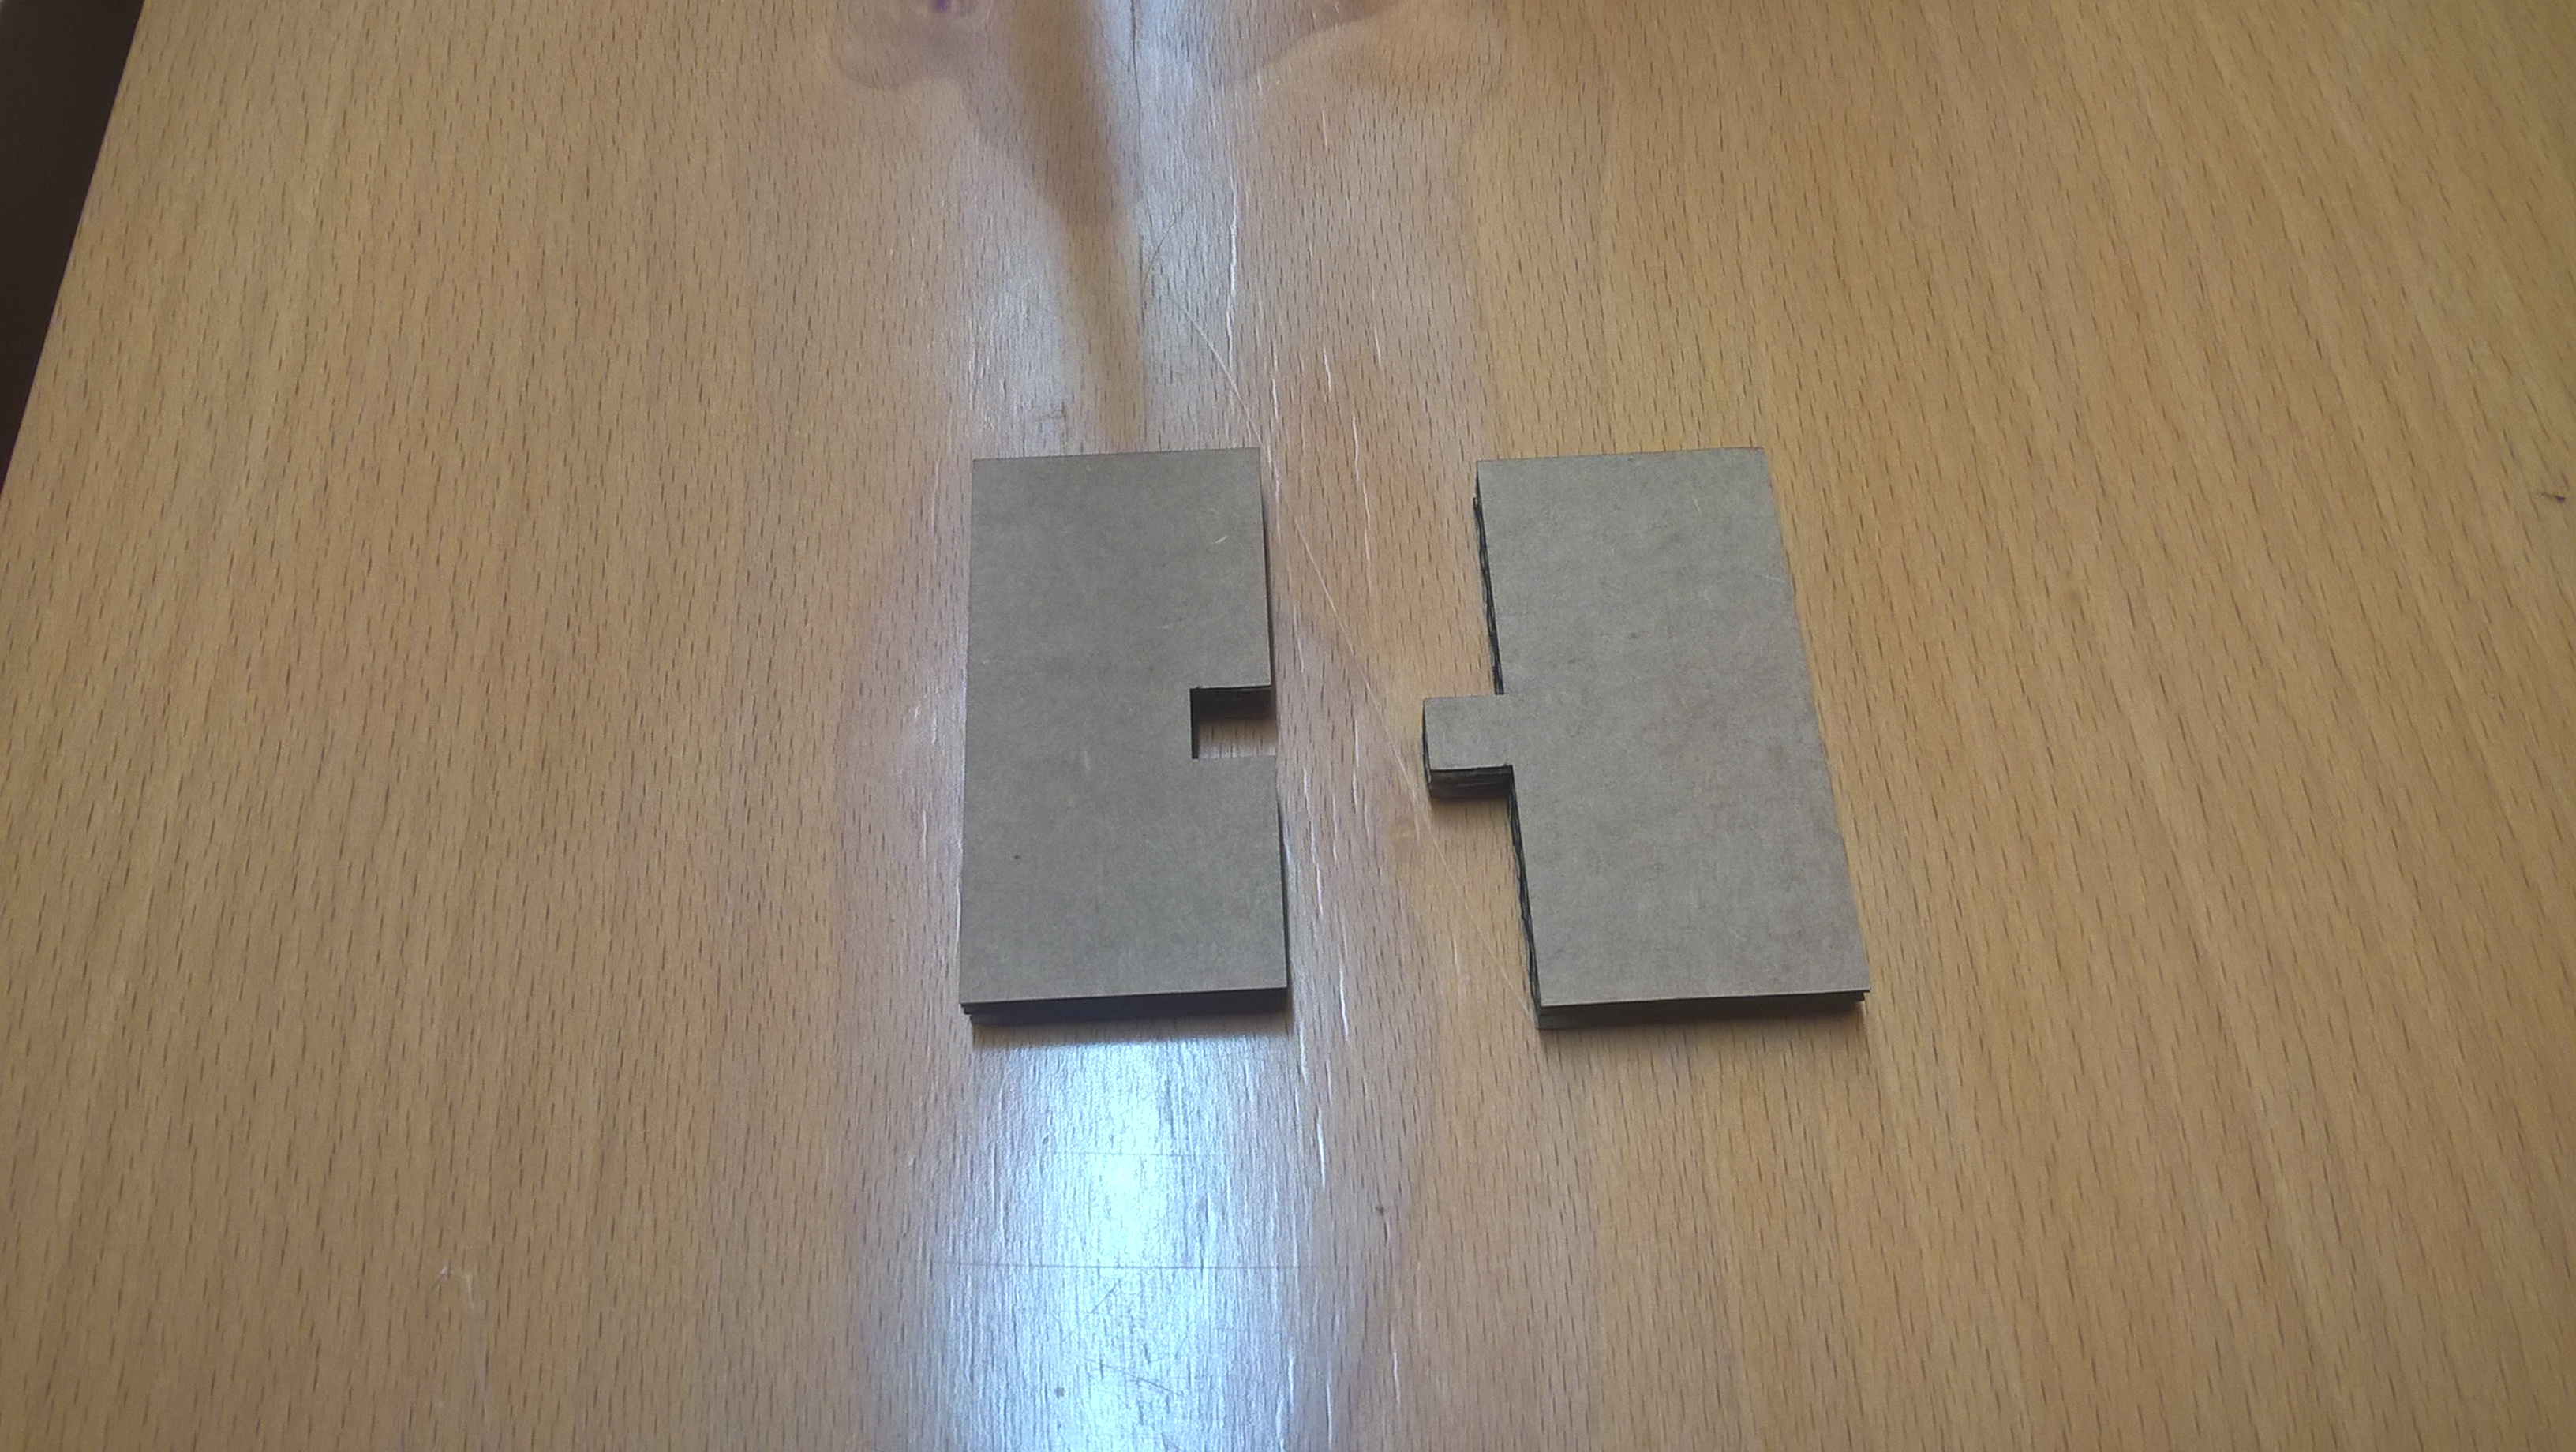
In the beginning I just wanted to do two parts, but it didn't work at all.
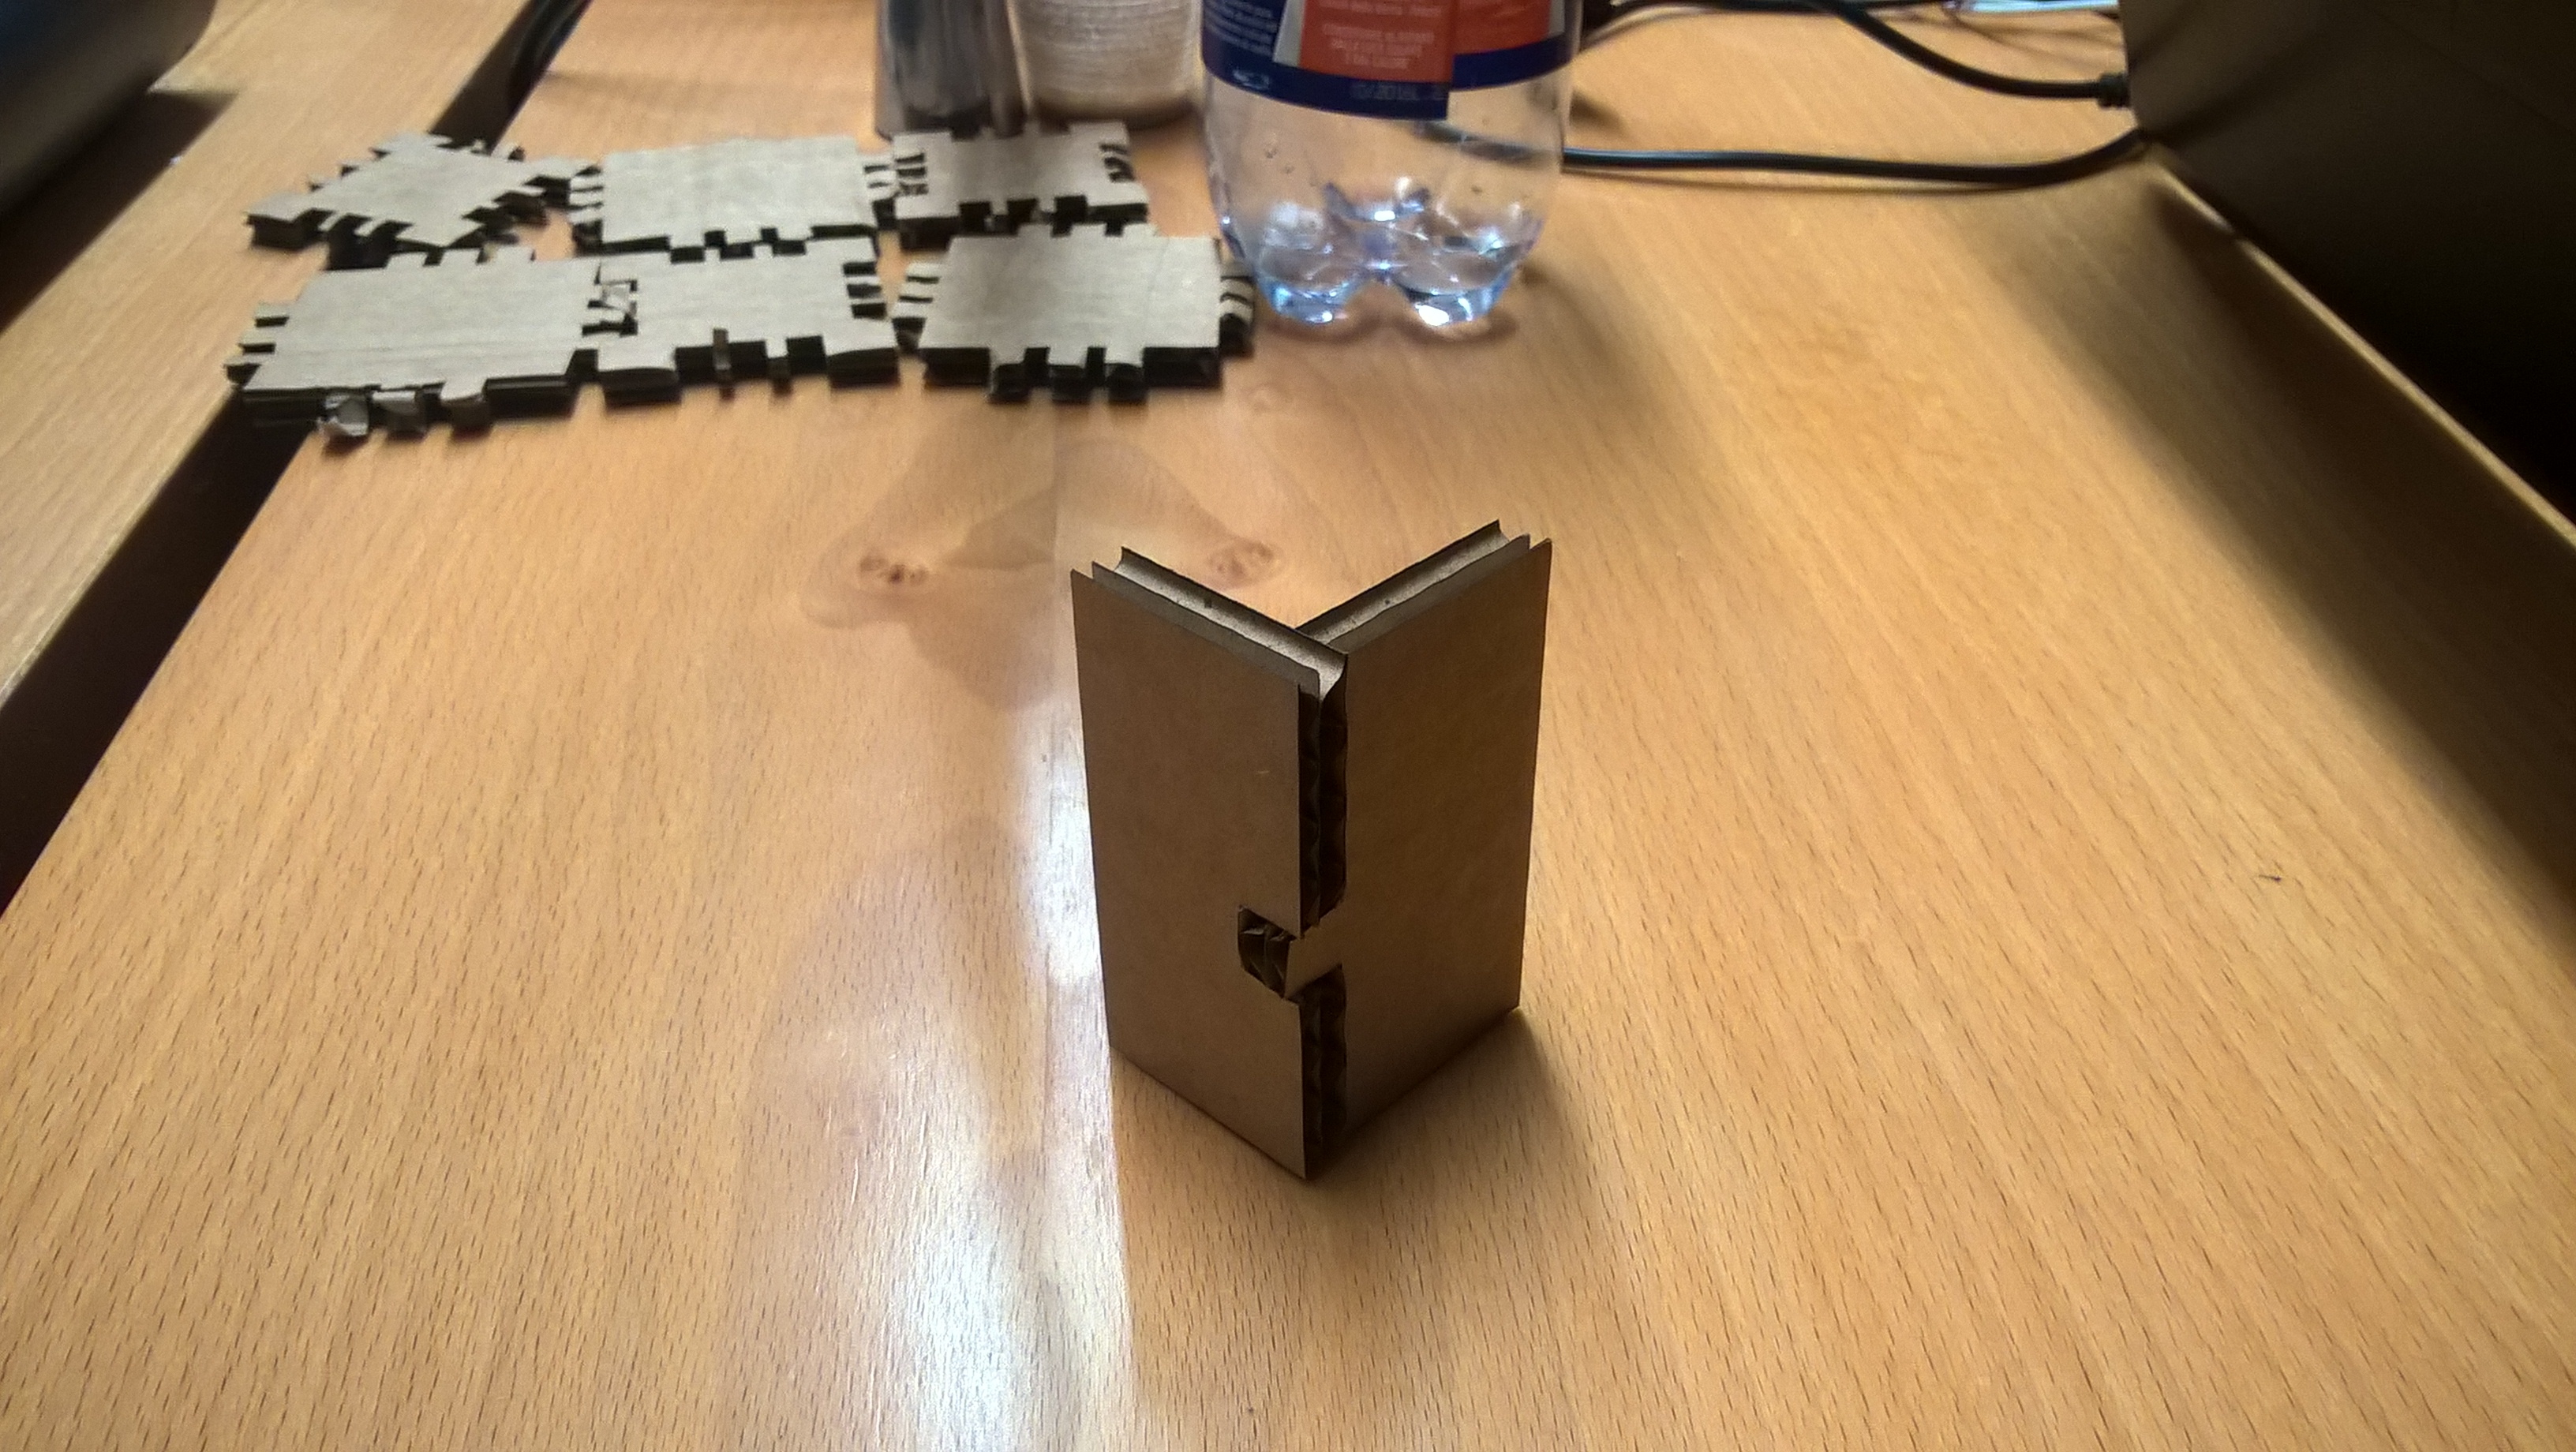
As you can see, I didn't think about the thickness of the material, but I realized it only once I tried to build a cube. For this reason I decided to add one component to my press kit, and I decided also to change the size of the righ one (in this image). So in next try you'll see three parts, still I didn't change the fits.
This time the fit worked, but it was too fragile, I needed to rebuild the image in order to make it stronger. Adding more space between them I made it stronger
I used Inkscape to do a parametric design. First I drew the fits I needed, one male and one female, giving them the same size. Then I cloned them as much as I needed for my shapes. The clone command is very useful, because it allows you to apply the changes to every clone you made. The first problem I had was as I managed to change the original one, each clone changed in a different direction. I searched on inkascape forums, but I didn't find anything, then after a longer search, I find out (looking in the links of this week's schedule) that there's a command that allows you to transform the size without this trouble: you can find it in preferences/clone behaviour/move according to transform. I worked on cartonboard this week, the kerf was 0.1 cm, so I changed the males fit, adding 0.05 mm to the original one, everything went fine.

This is just a .png, I'll upload the original file as soon as possible.
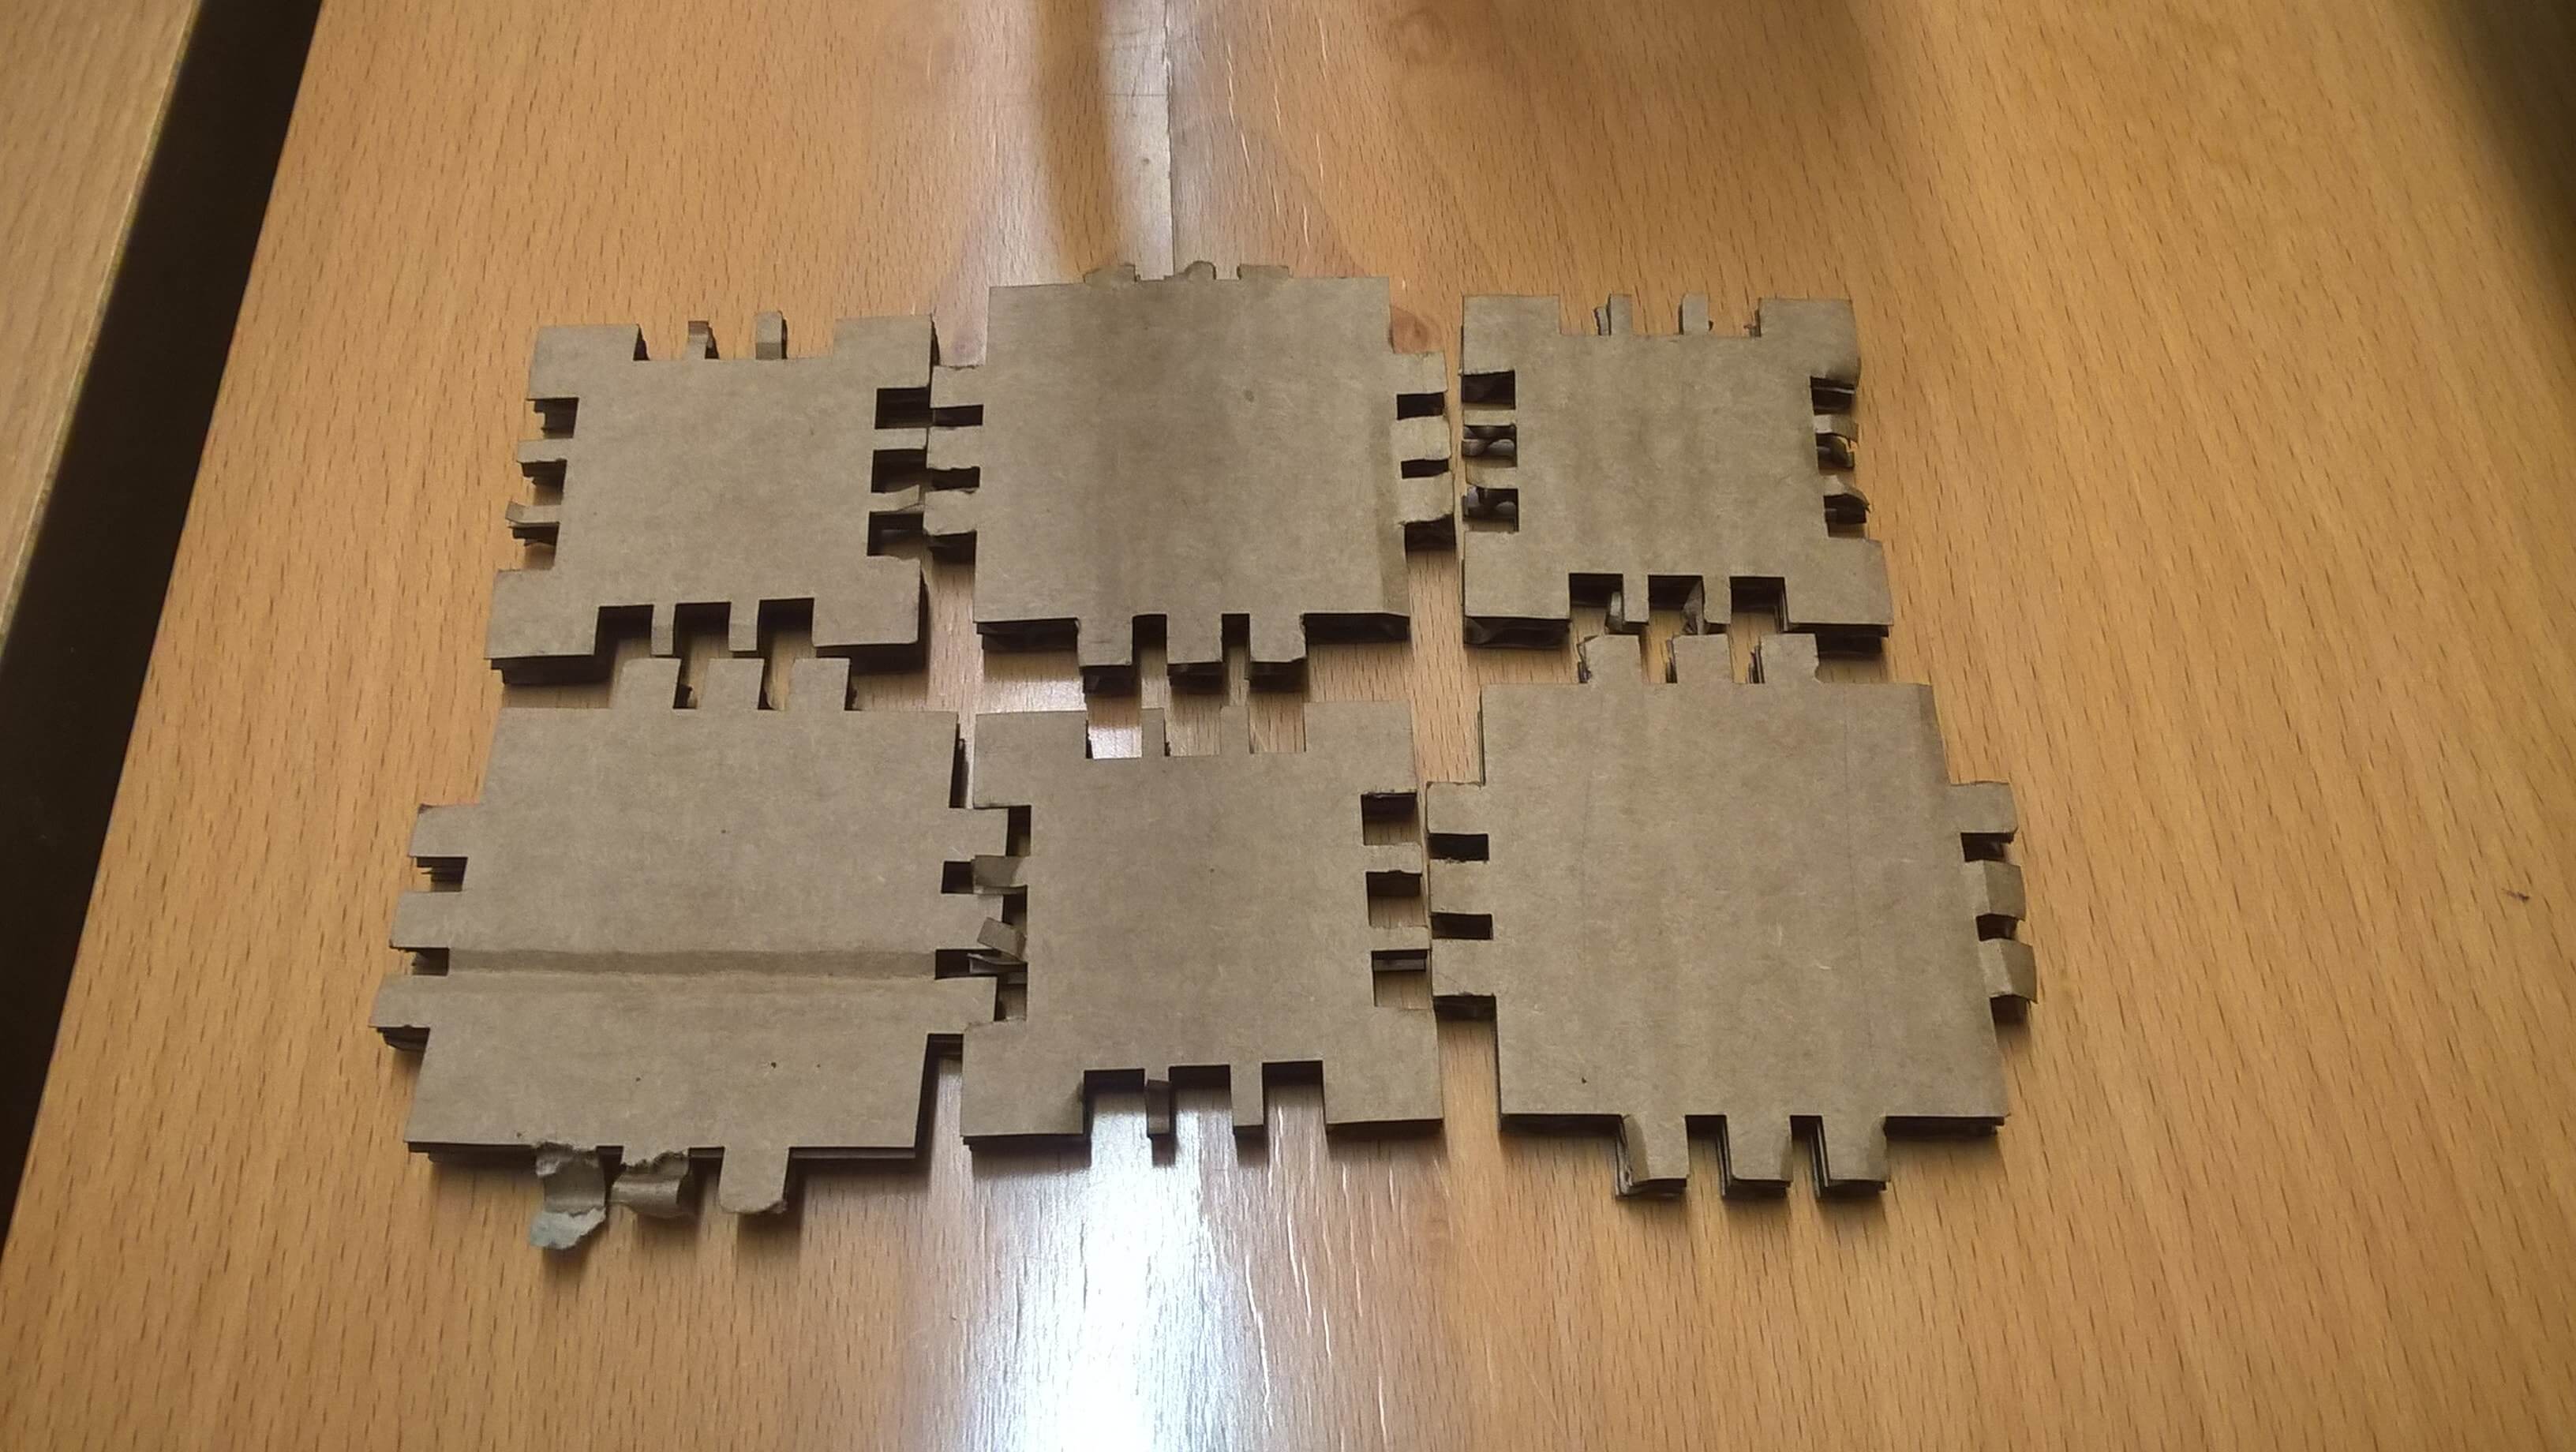
In the end I proceeded to stamp them, it went fine.
Those are the last ones. they fit very well and the structure I built with them was pretty strong. As you can see:

Update 23-06-2016
I thought that it went fine, but now I know that it was horribly wrong. The clone
comand was fine and it is pretty useful, but that figure was no accourate, I moved it
using the mouse. In order to be really precise, I decided to re-do the project using Antimony.
I used it for my Make something BIG week, and everything went smooth.
3D model
What I did with Inkscape was pretty bad, so I decided to try to it again
with Antimony. I decided to do two differents shape, a rectangle and a circle,
and then put them togheter.
Here's the file:
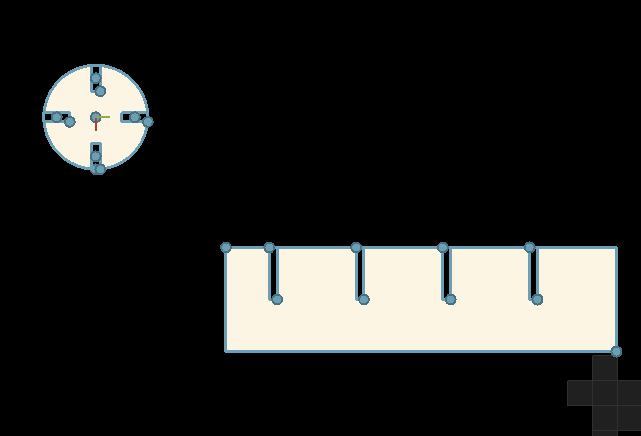
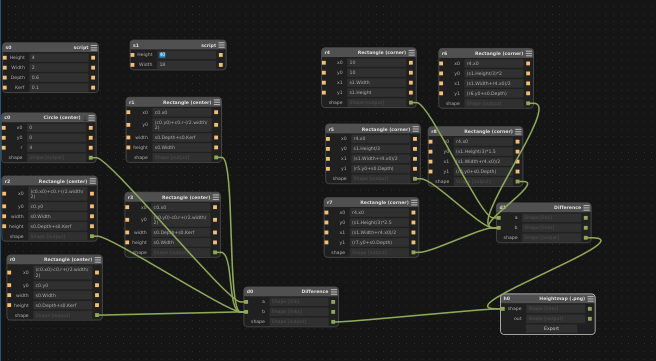 In order to do it parametric, I linked the holes and the two big shapes to differents
parameters, in this way if I want to do bigger rectangles or biggers circles, the holes
remain the same. I added a parameter named Depth, so if I want to use a different
material, I just have to change this parameter.
In order to do it parametric, I linked the holes and the two big shapes to differents
parameters, in this way if I want to do bigger rectangles or biggers circles, the holes
remain the same. I added a parameter named Depth, so if I want to use a different
material, I just have to change this parameter.
In the end, I added a parameter named Kerf and I gave it 0,1 cm (because the material
I'm using is 0.7 cm cardboard).
Once I finished, I exported it as png (using 250 voxel, when I tried to use a lower value
the file was read by my pc as corrupted or empty).
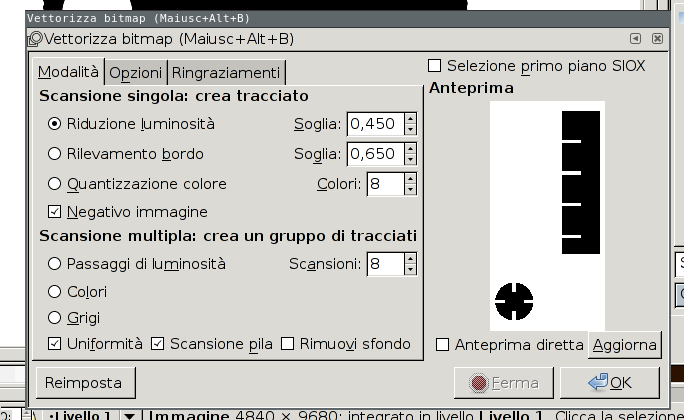
Once the file was ready I had a little problem: the figures were white, the landscape was black, I needed the opposite.
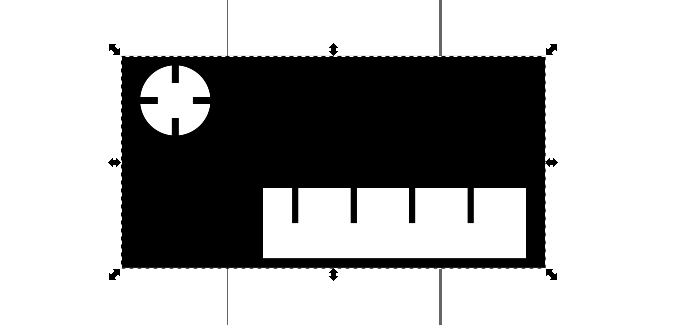
So I opened the file with Inkscape in order to fix it:
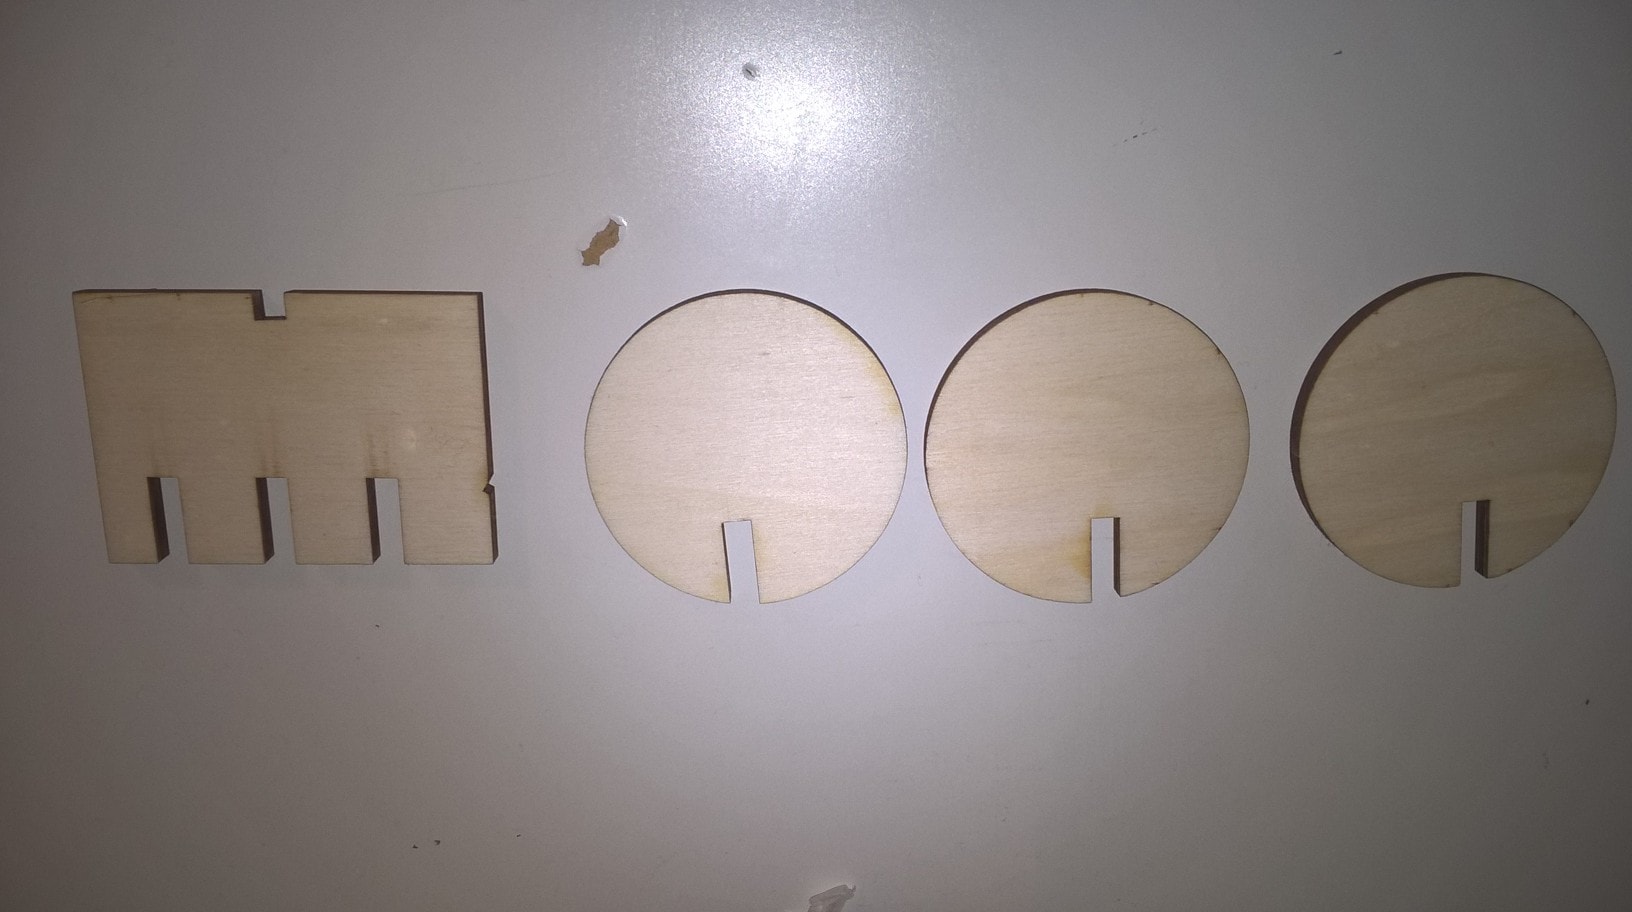
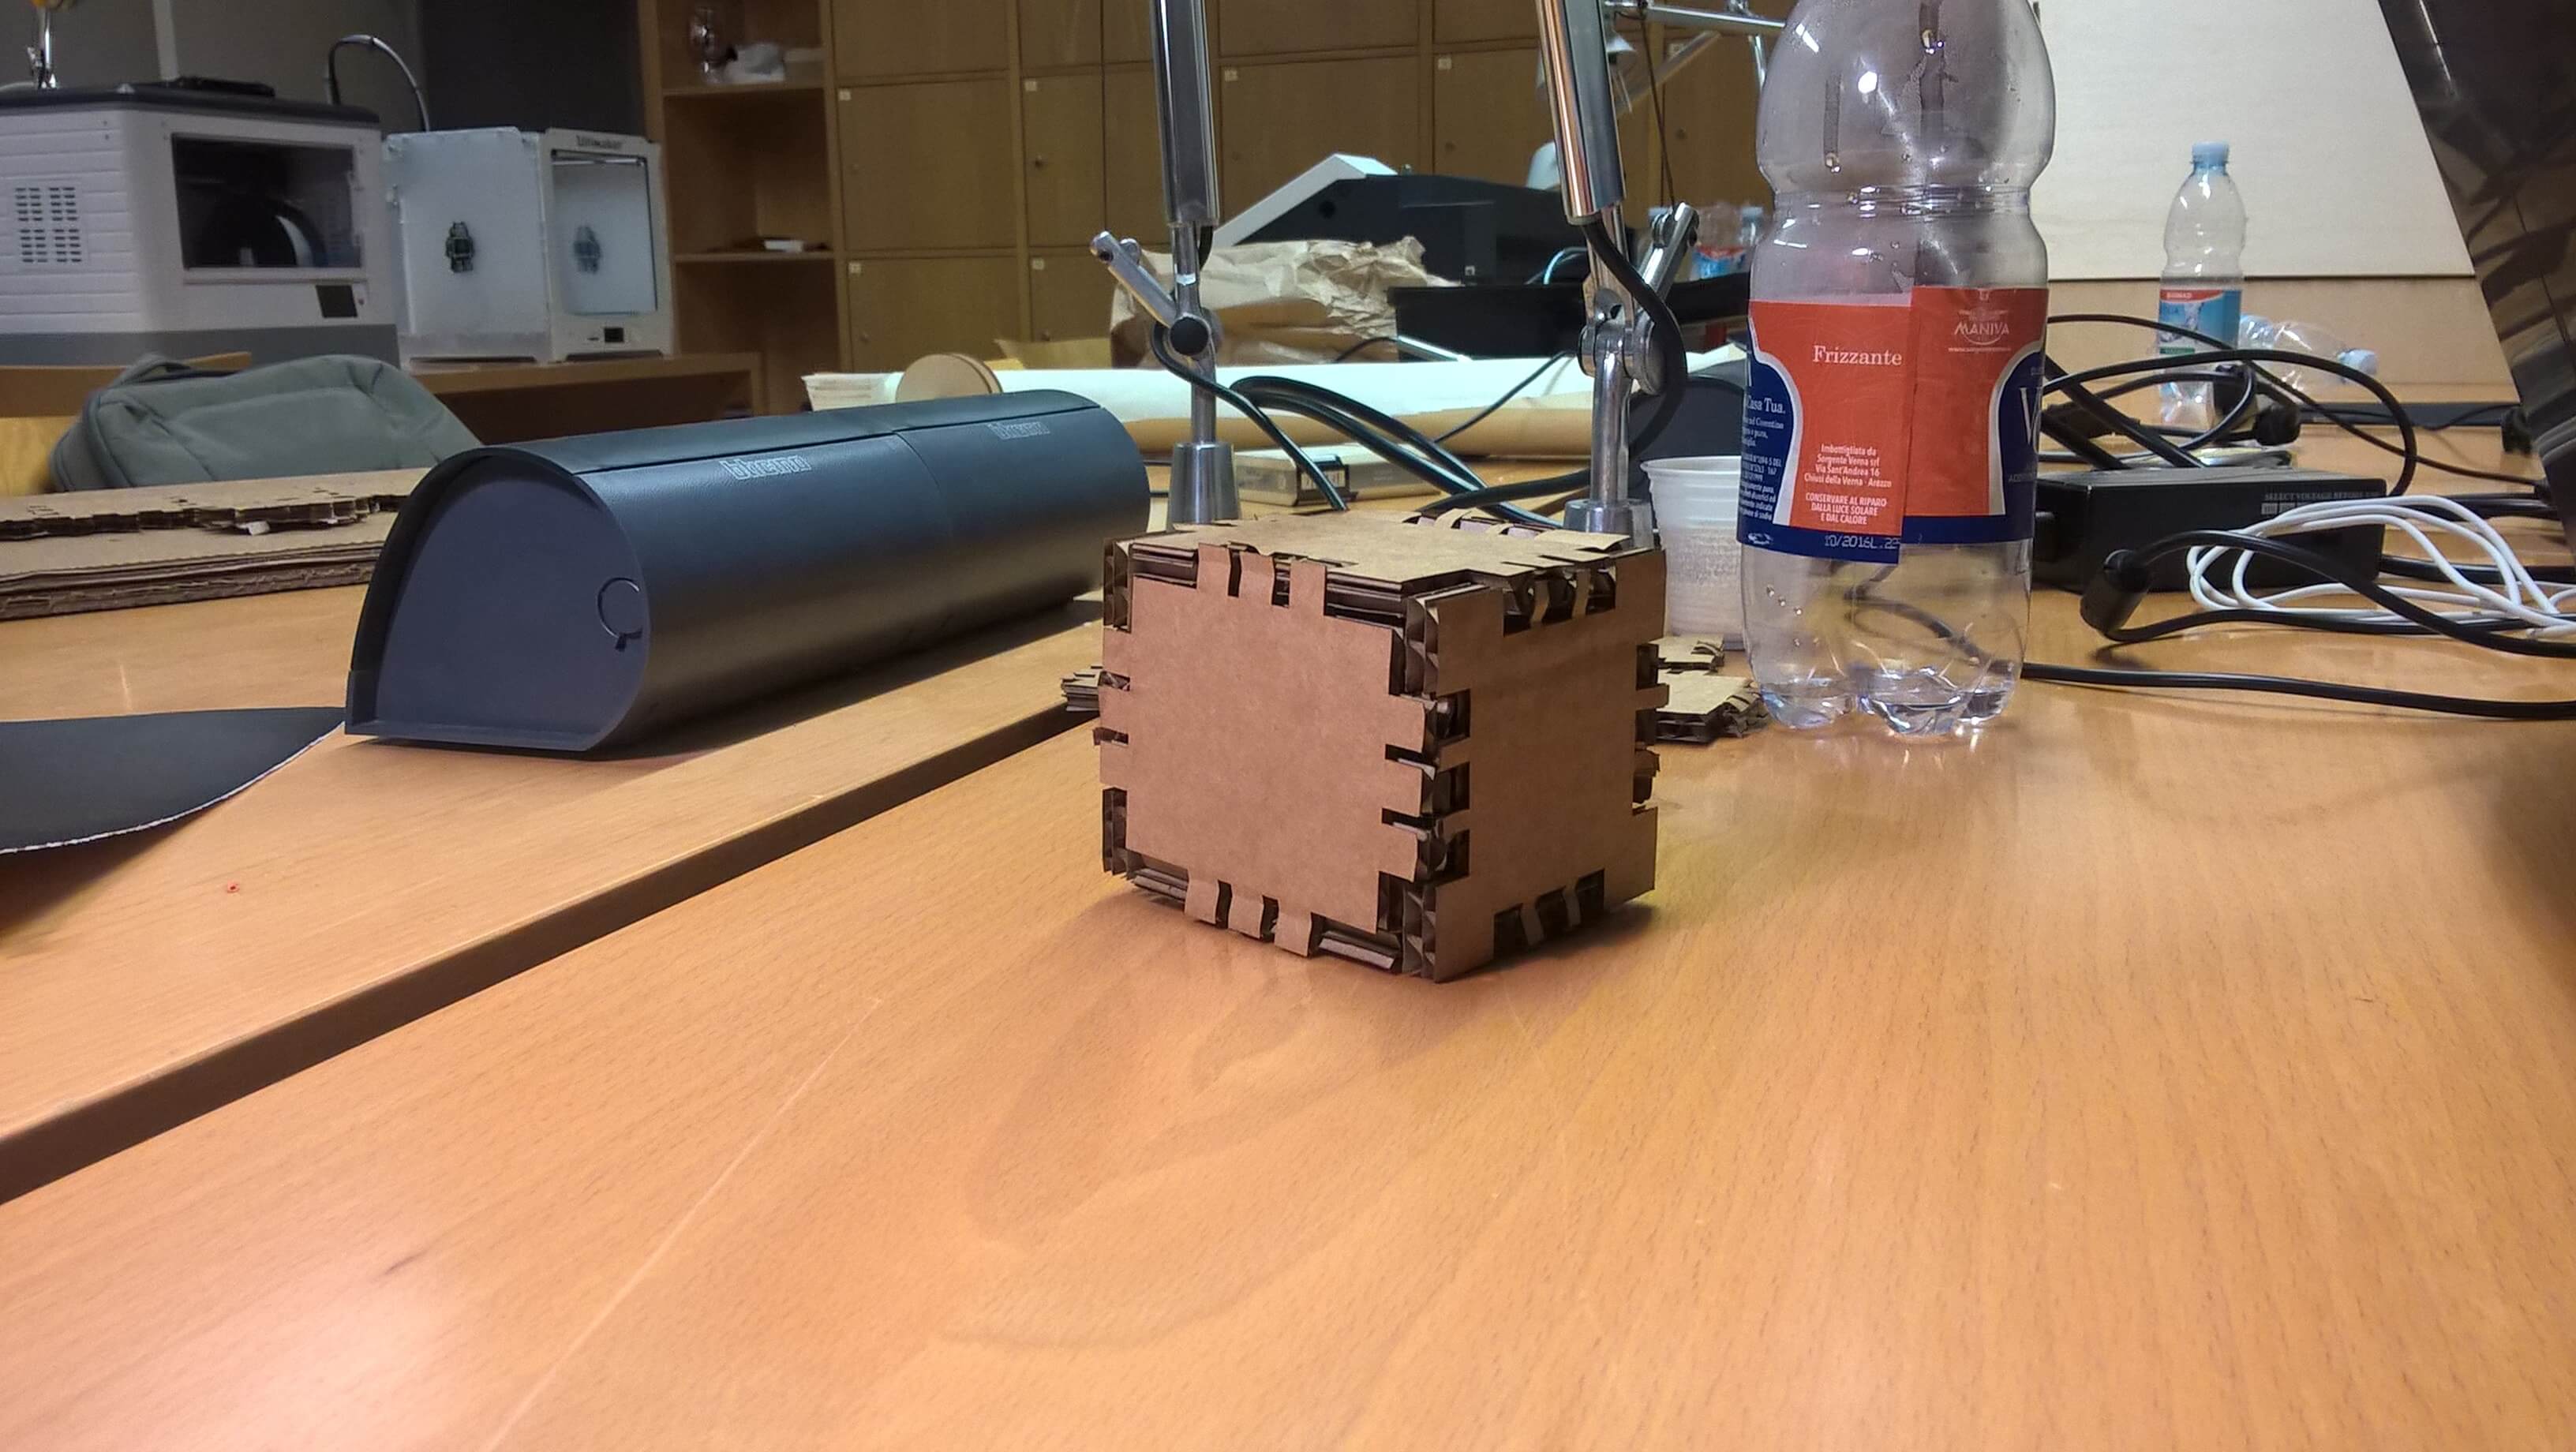
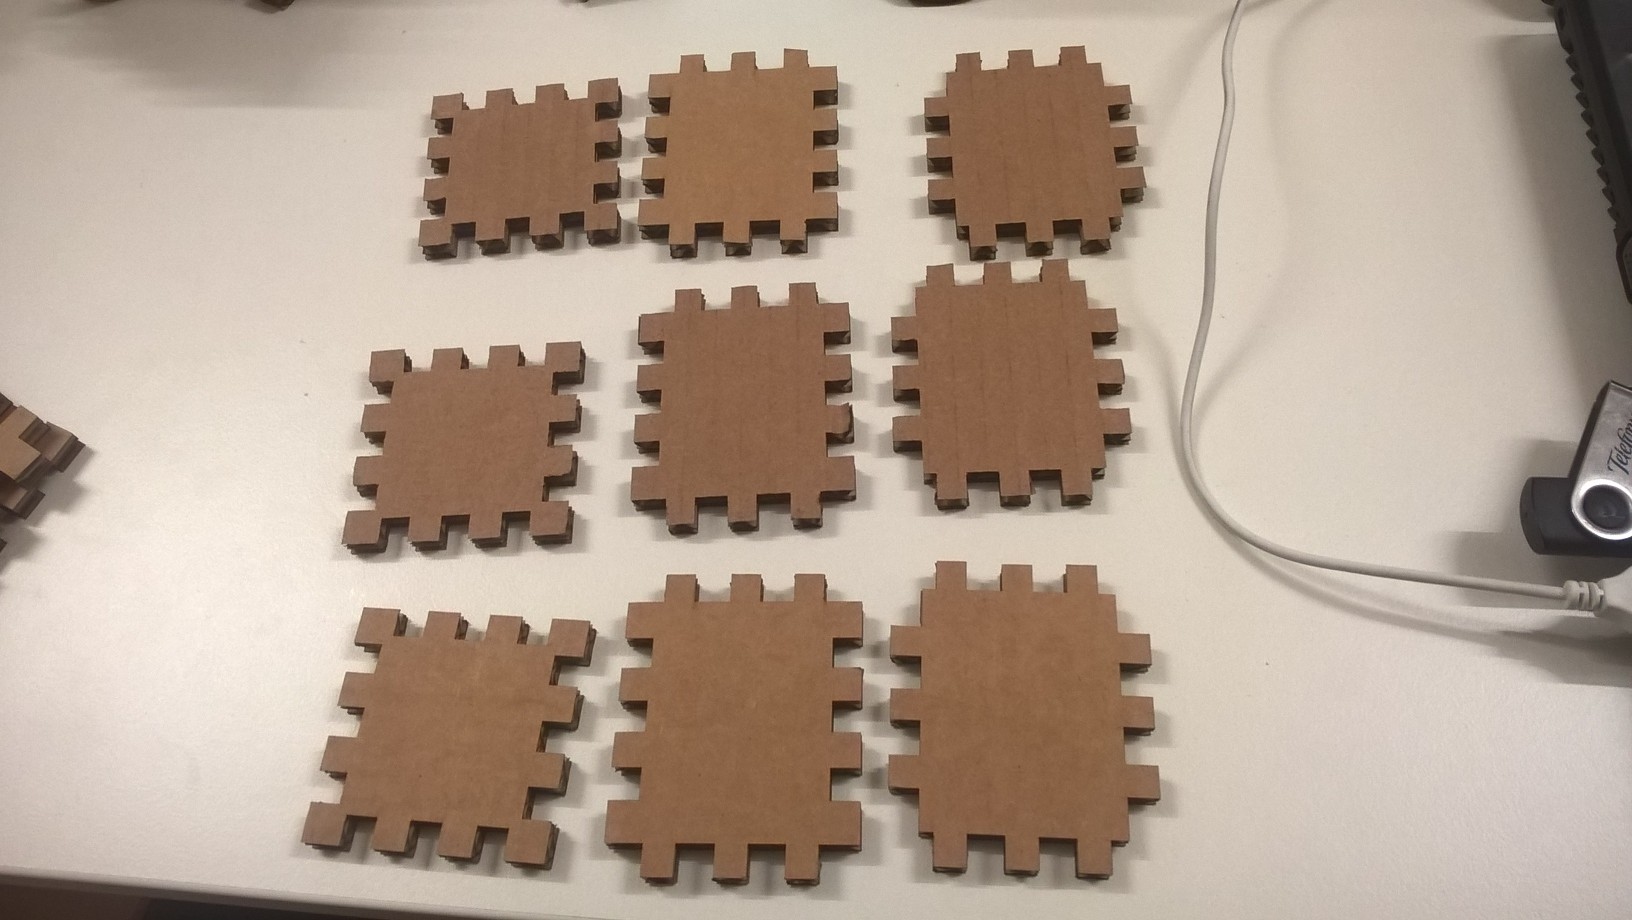
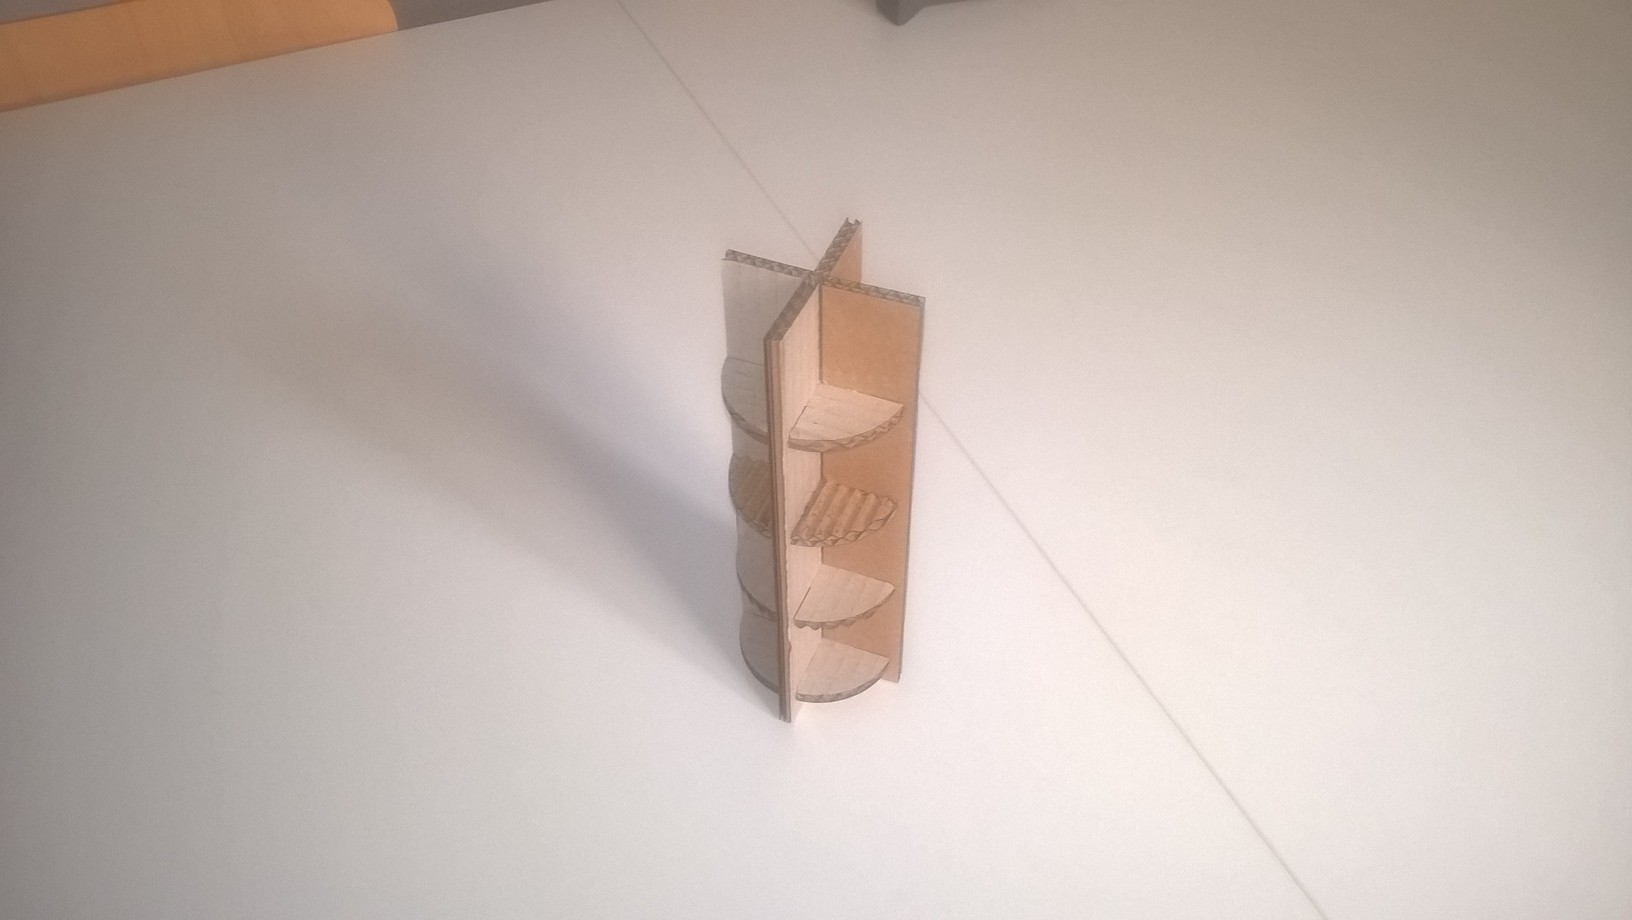
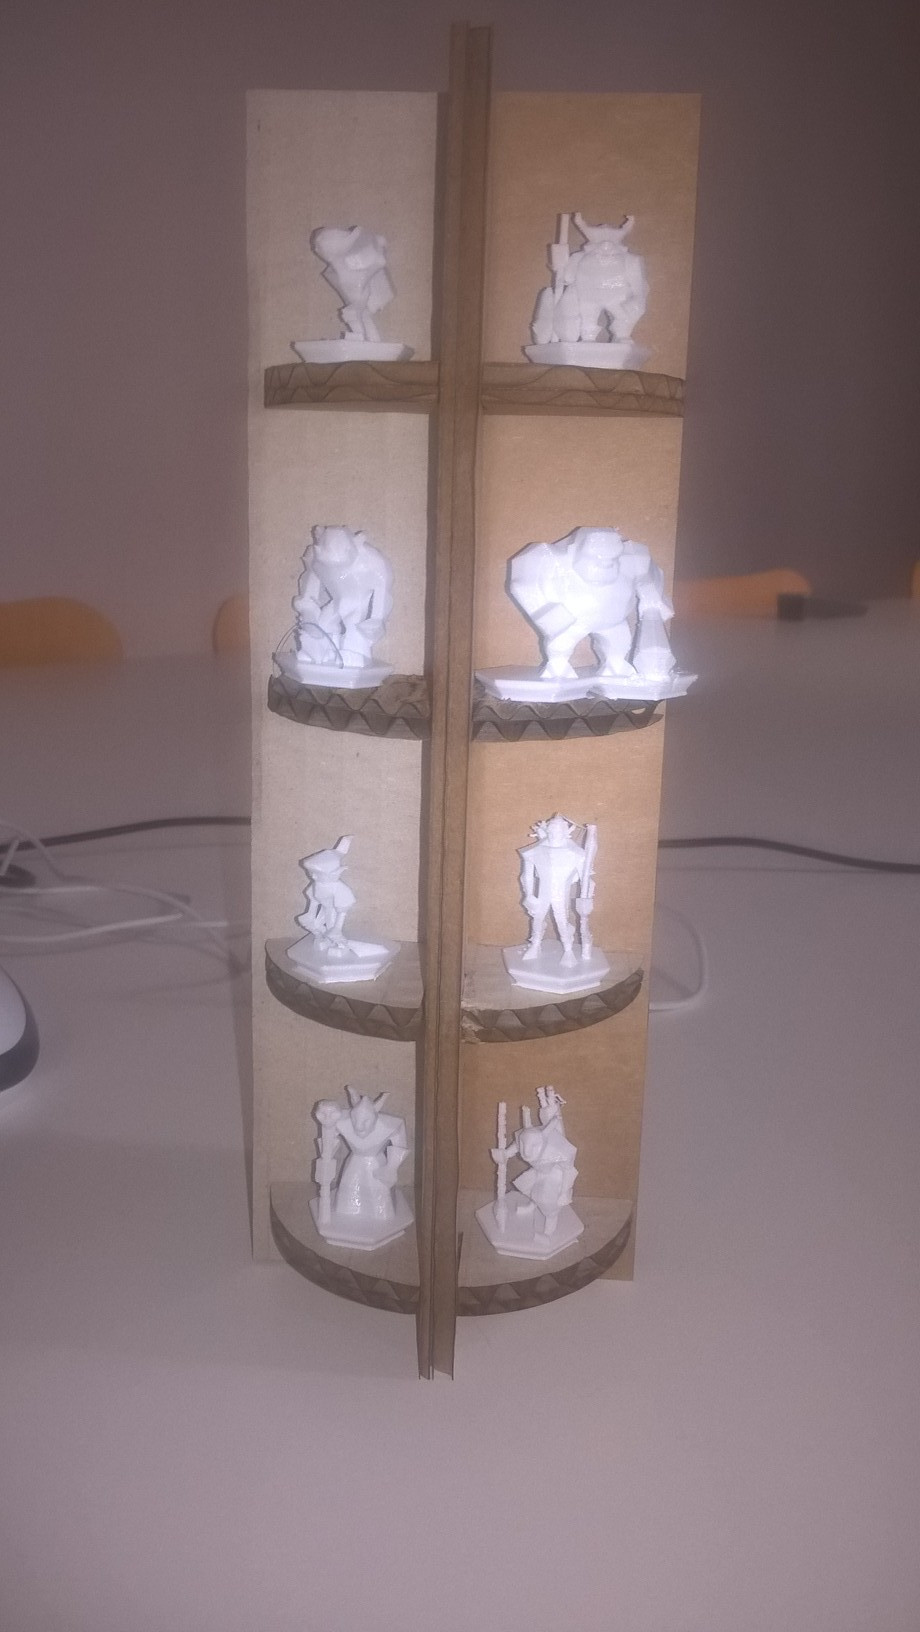
Once I did this, the file was ready for the laser cutter, these are the cutted pieces:

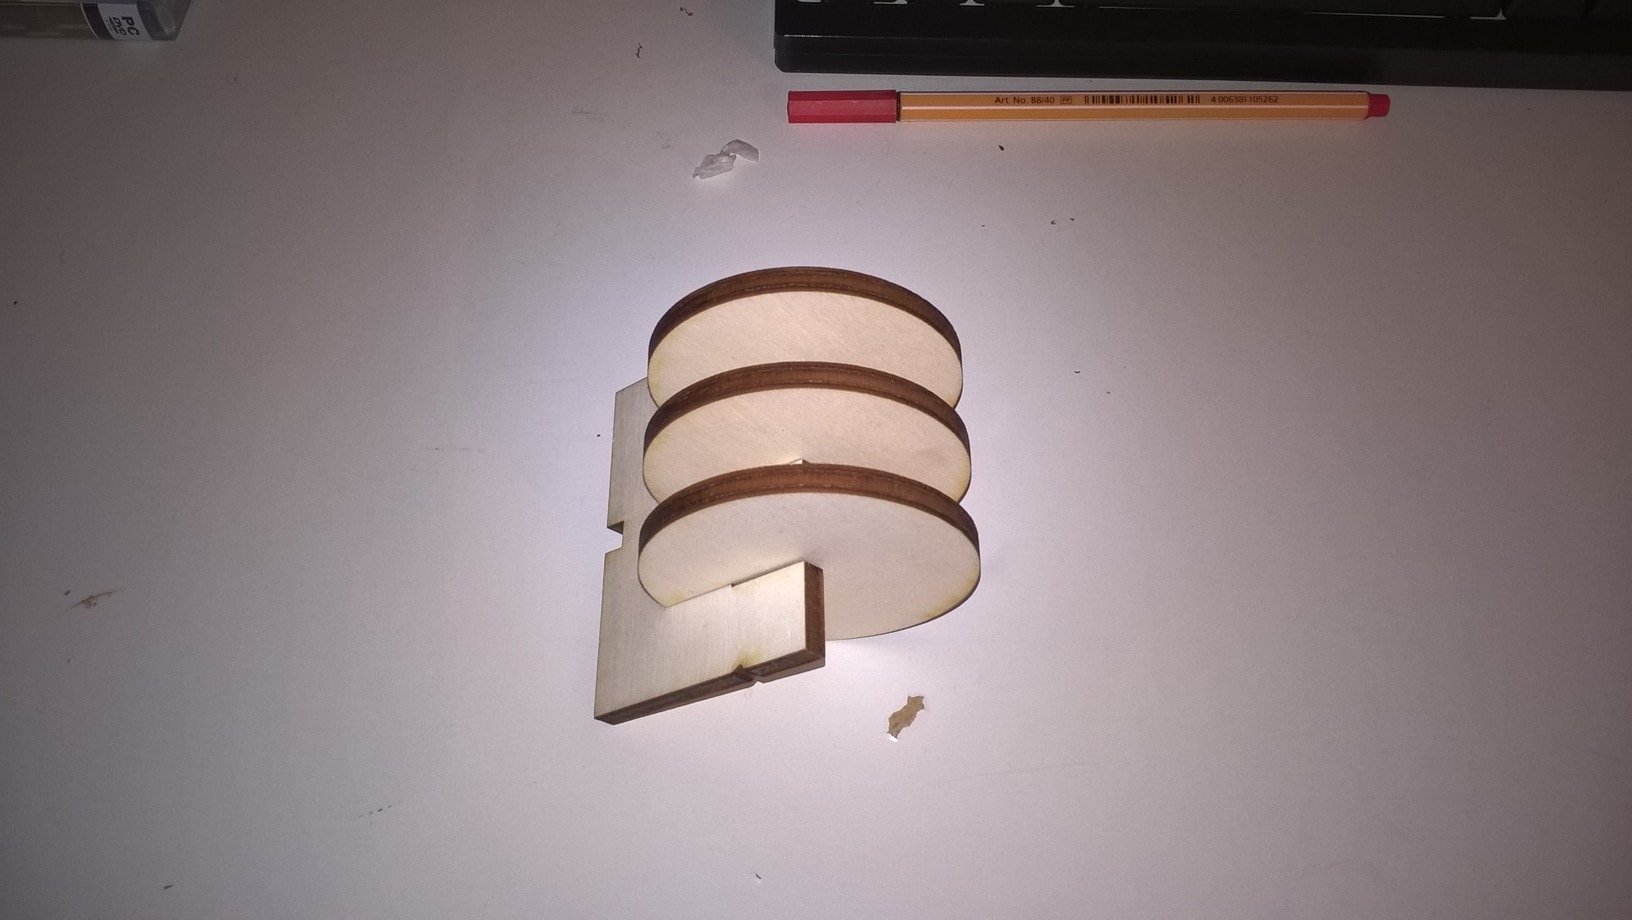
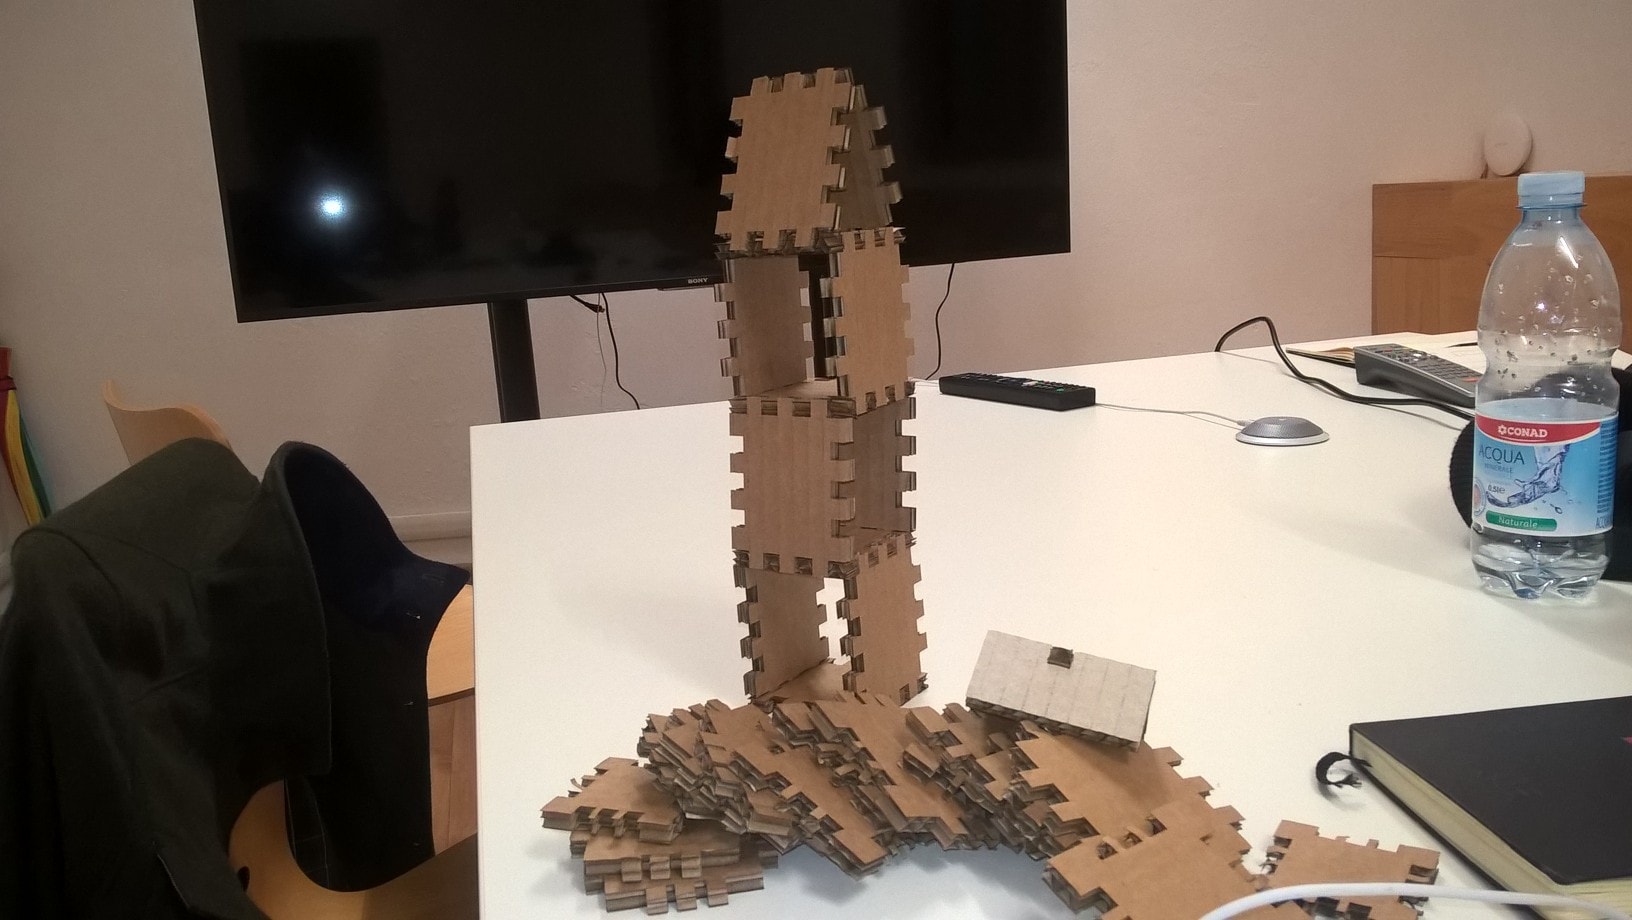
And this is the final result:
Conclusions
This week was pretty hard to me. I used the laser cutter during the past weeks,
so it was pretty easy to me, but I had a lot of problem with the parametric model.
By the way, once I got used to Antimony it went pretty smooth.
Download
Logo Evice InkscapeAntimony file

This work is licensed under a Creative Commons Attribution-ShareAlike 4.0 International License.