Introduction
This week's assignement was pretty clear: do something big.
Documentation
In order to do something big, I had to use the Shopbot we have in our fablab. The Shopbot is a big and strong machine. It allows you to build nice and big things, but unlike to the machines I used until now, you have to pay attention using it. During wednesday's class and then thursday and friday with my instructor told us about the risks of this machine:- -Never use it alone, but never use it in group. One person has to be close to the emergency button, just in case.
- -Once the machine starts to mill, never stay too much close to it. However, never stay under it or above it while it is working
- -If the drill bit hits one of the screws, it breaks and it takes off just like a bullet.
It was more helpful then others because he showed all the process step by step. He talked about his idea, the 3d model software he used and how he used VCarve in order to generate the G-Code for the machine. I decided to build a library, so first I went on google images, looking for some shapes, something inspiring. This site was particulary helpful.
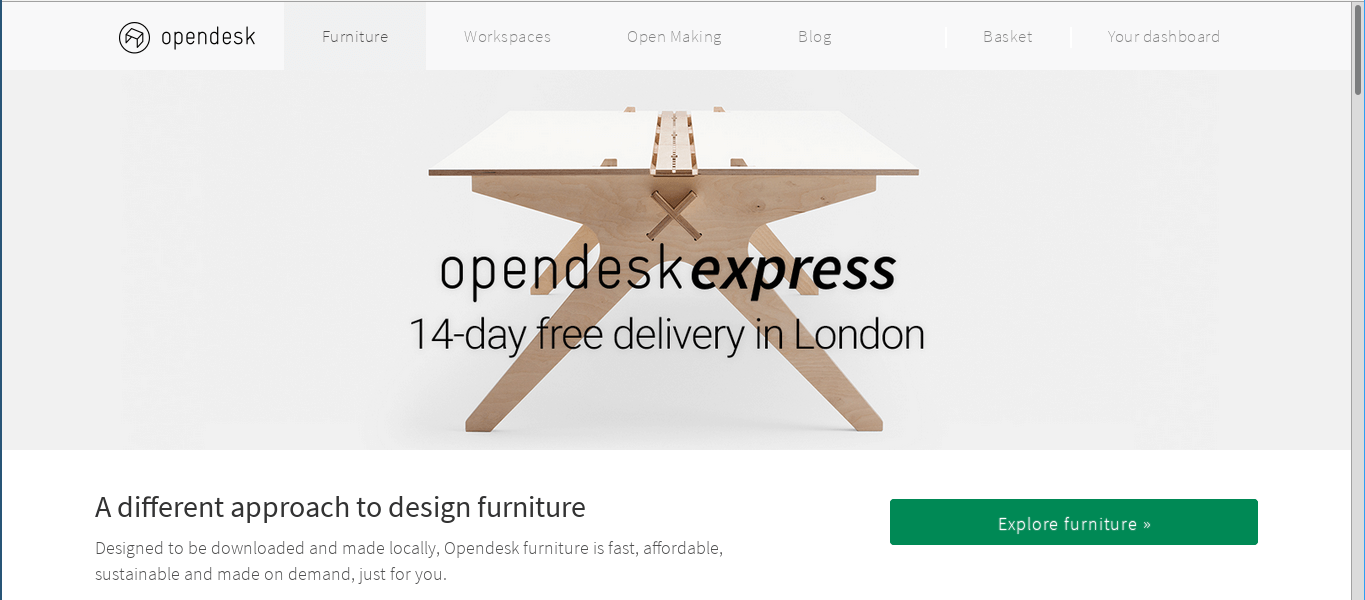 There are tons of models of chairs and desks, it helped me to think about how to do my library.
In the end I decided to do a simple shape, but nice to look.
There are tons of models of chairs and desks, it helped me to think about how to do my library.
In the end I decided to do a simple shape, but nice to look.
3D model
For my 3D model I used Antimony, because I want to learn how to use this software really well and I wanted to do a parametric model, so I could do small model first with the laser cutter and then scale it for the Shopbot.Here's my 3D model:
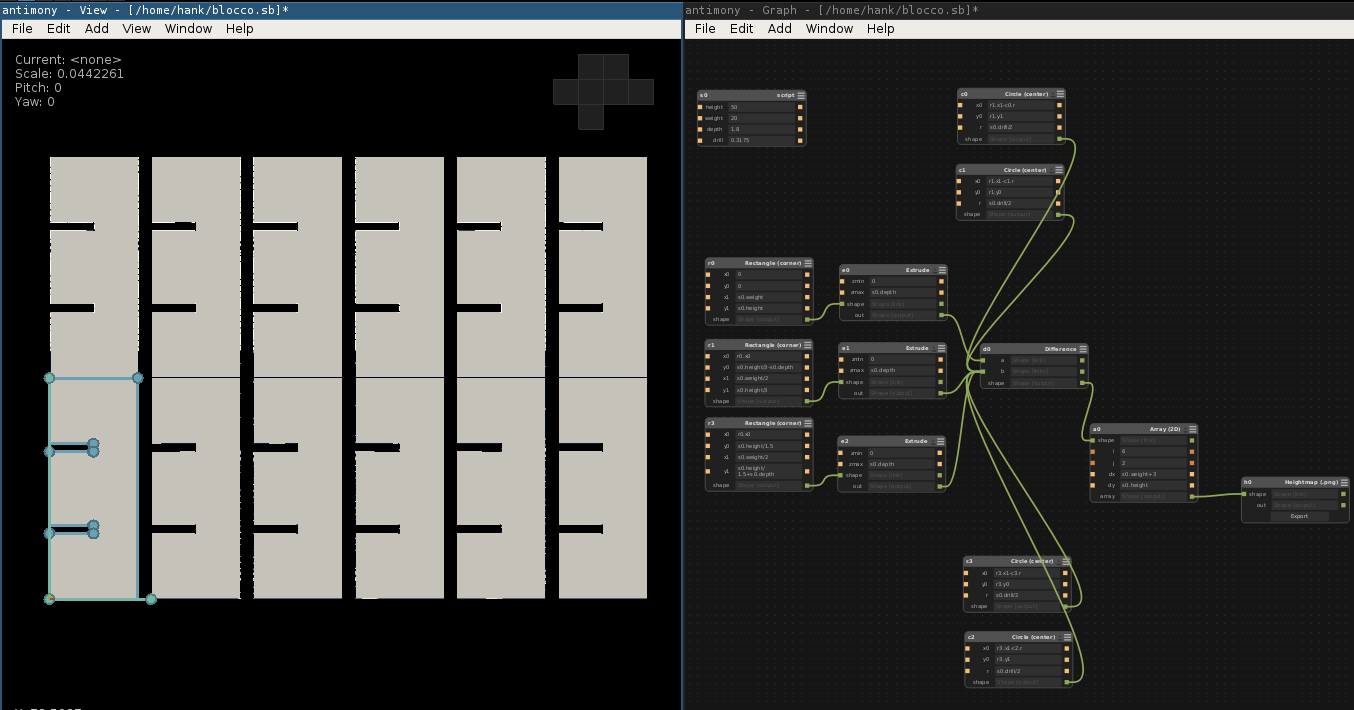
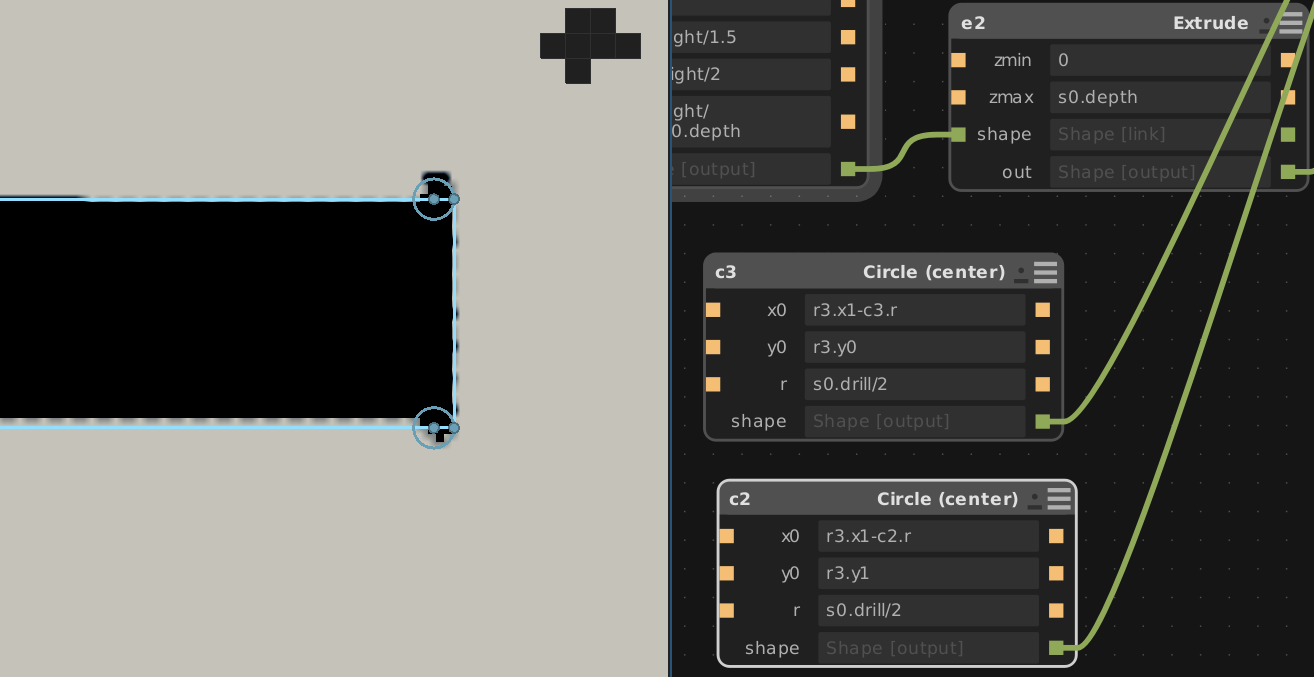
I did just one rectangole and then I cloned it using the Array command. The Shopbot has some problems doing 90° degrees when it works inside the figure, in order to fix it I put some little circles to make the "dog-bone":
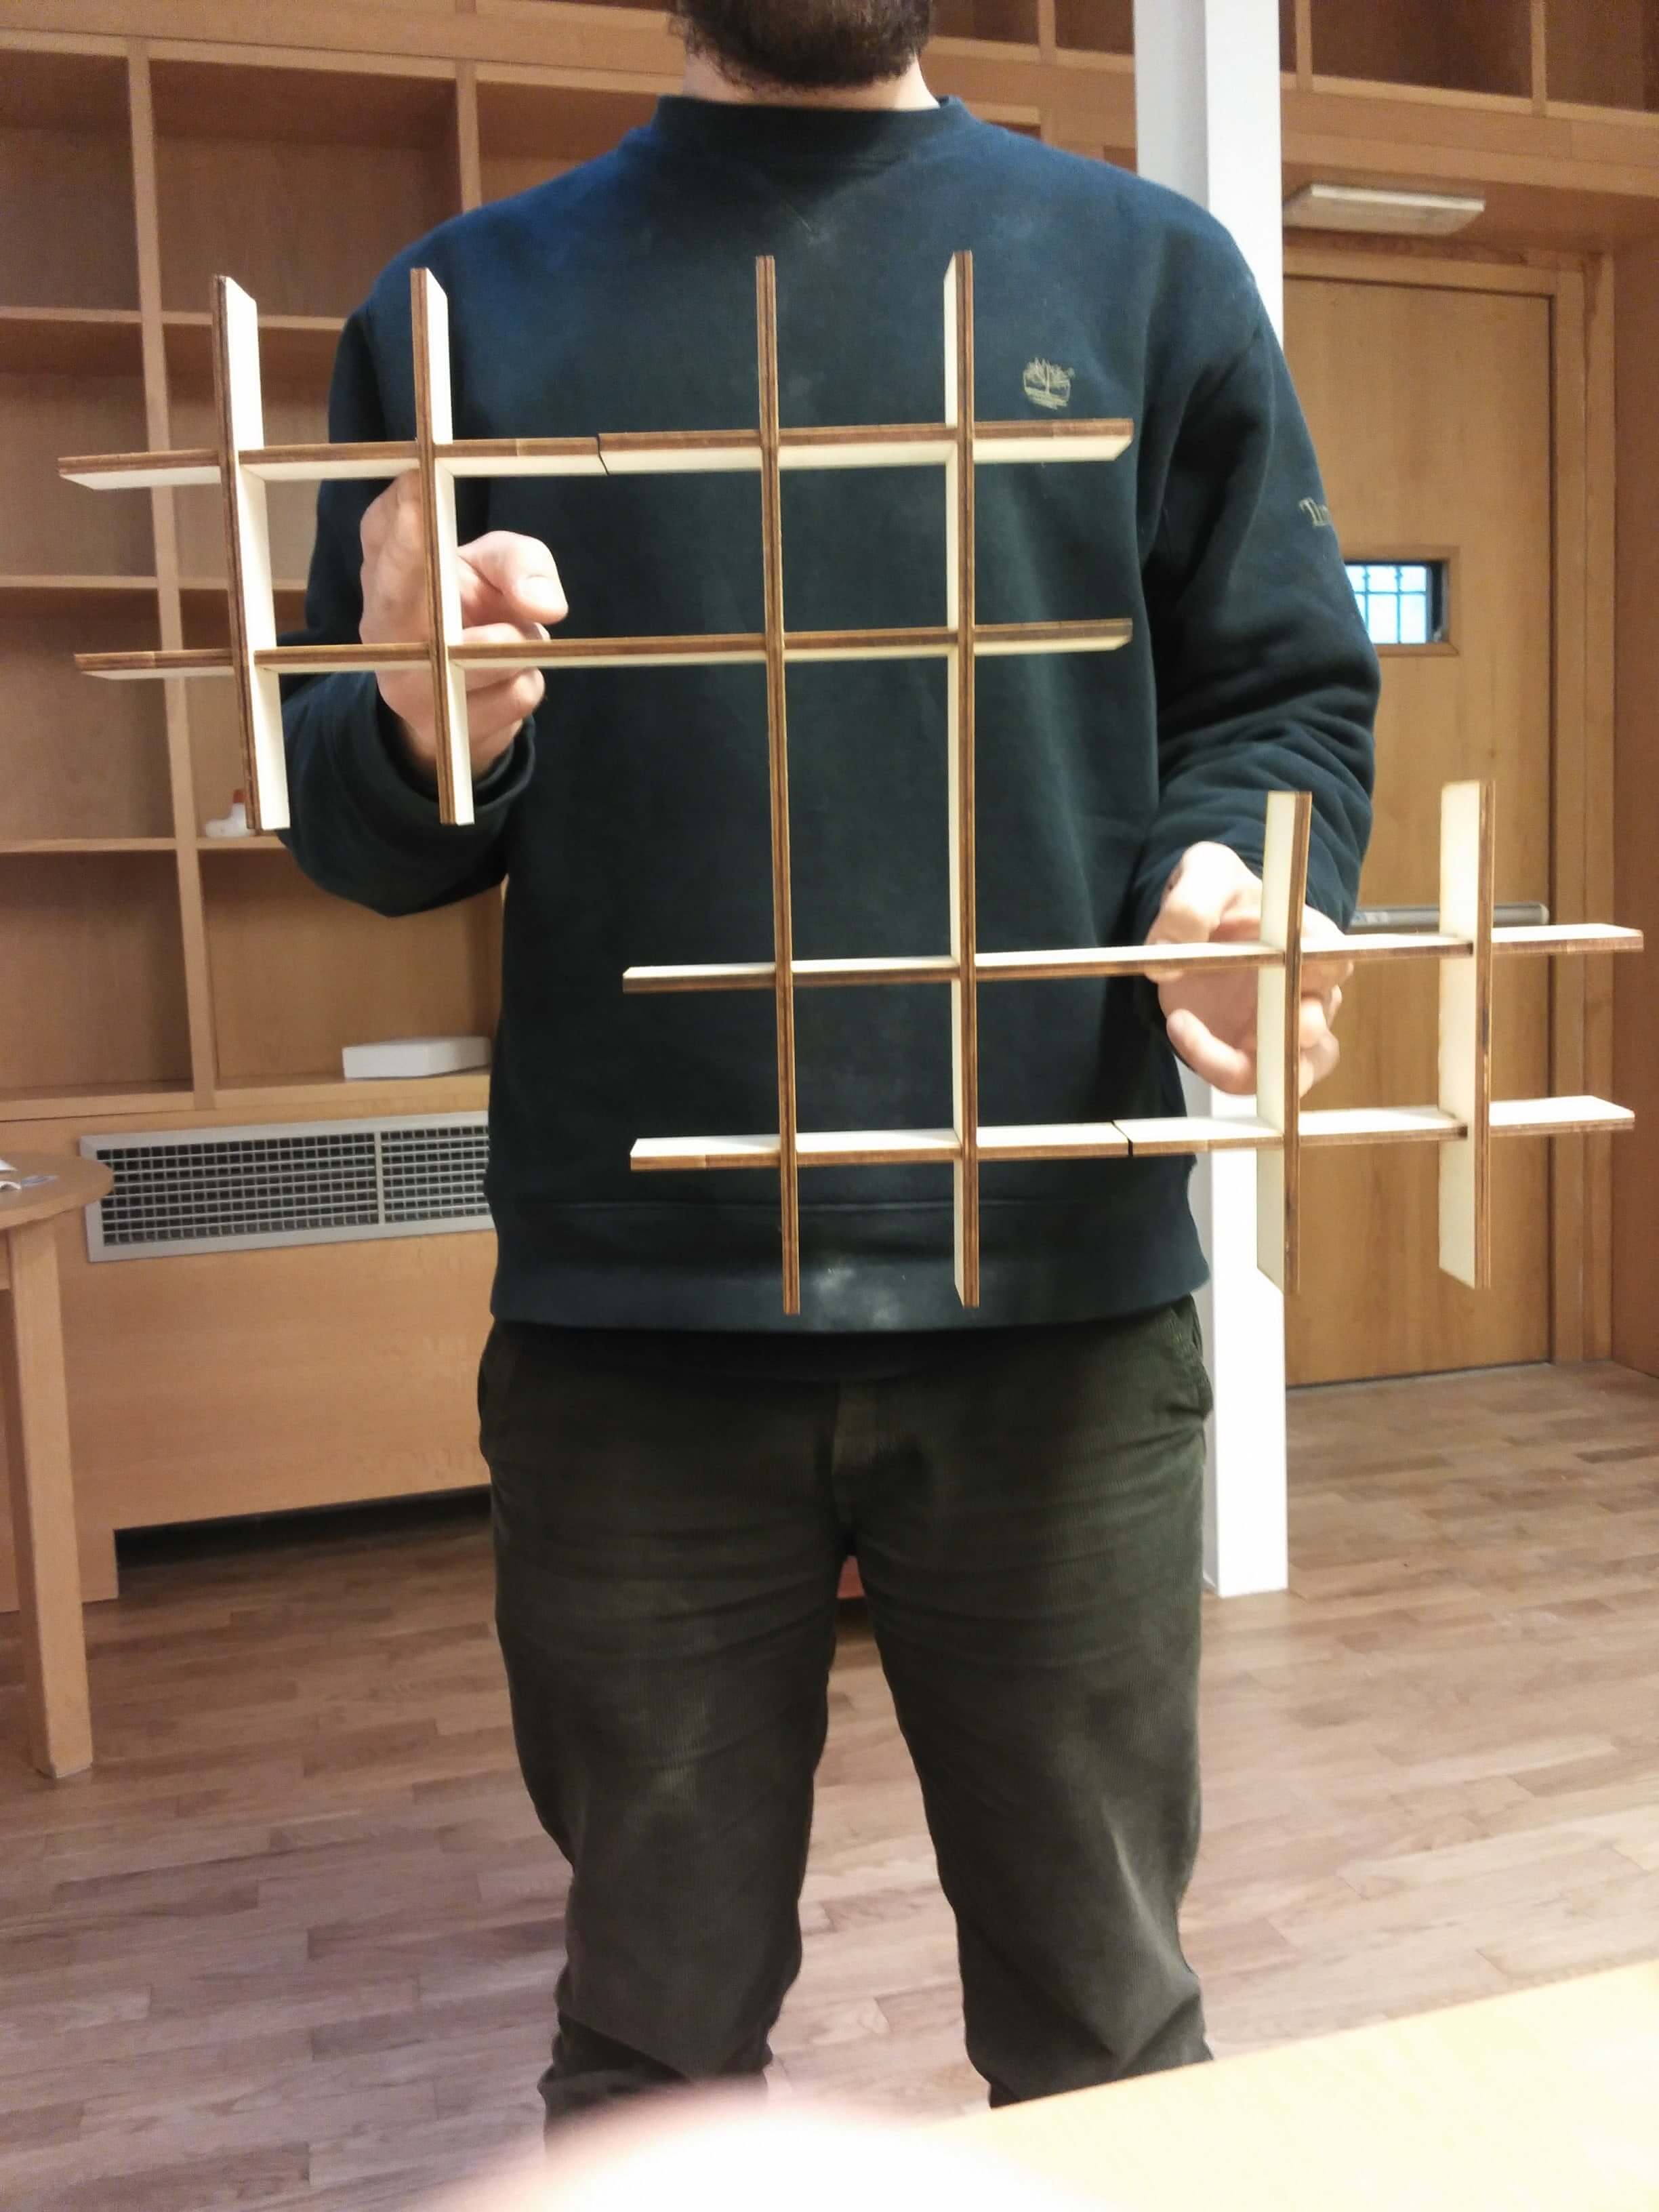
 Here you can see the scaled model I did with the laser cutter:
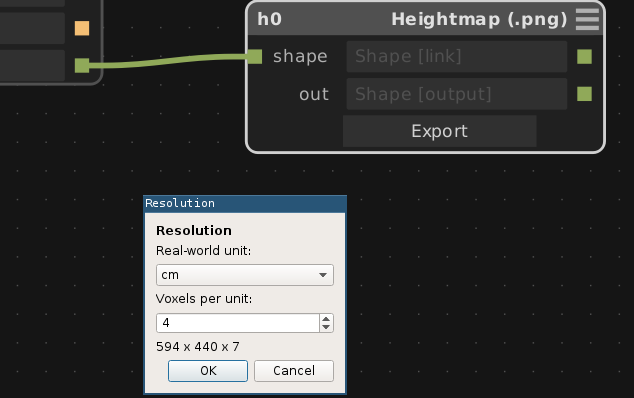
 I had some trouble exporting it. Antimony is able to export files in two ways: .png or .stl. It asks you how many voxels you want for your image. In the beginning I used the default number of voxels, 4, but then when I opened it on Inkscape, I losed the dogbones. I didn't know how to fix it until I exported again the file with a higher number of voxels:
The idea then was to open the .png file in Inkscape, export it in .dxf, but here I had several problems:
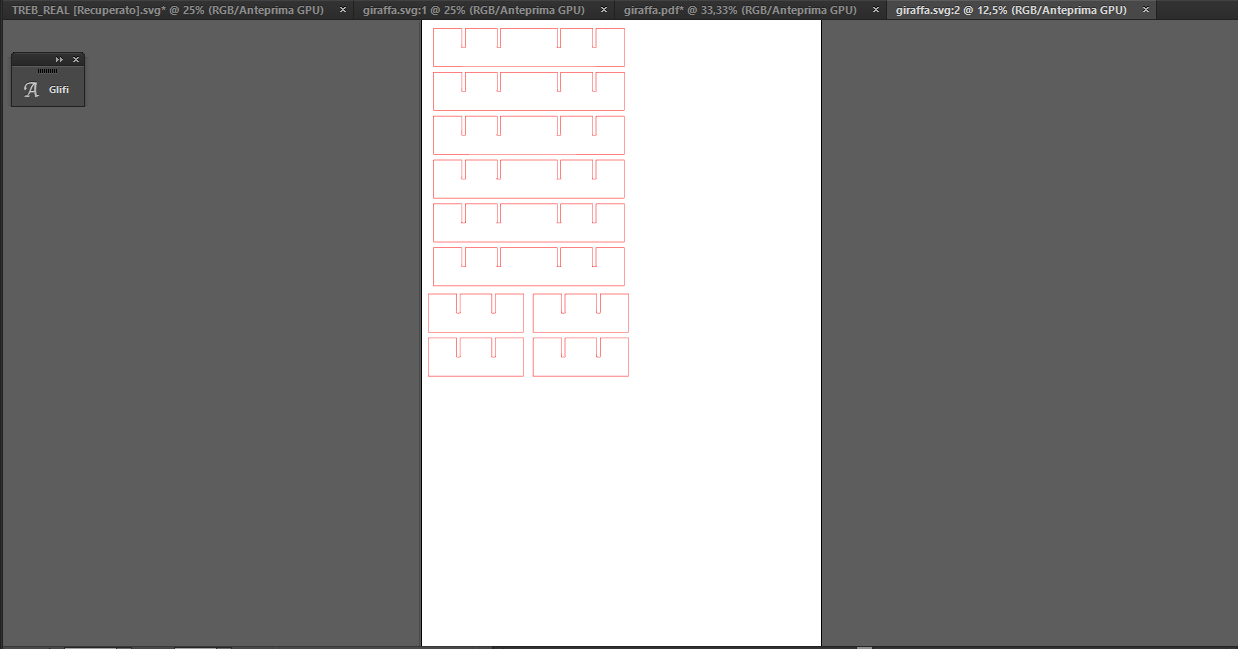
As you can see, when I opned it on Illustrator it opened it doing a resize of the image. I didn't aske for it and I didn't know how to fix it. When I tried to open it when Inkscape everything looked like it was fine, but when I open it in VCarve, the tracks were broken, as you can see:
I fixed it exporting the file from Illustrator in PDF format, I don't know why it worked to be honest, but it worked. I did it after exporting it in different formats, when I saw that pdf was fine I stayed with it.
My file was ready to VCarve.
VCarve and milling
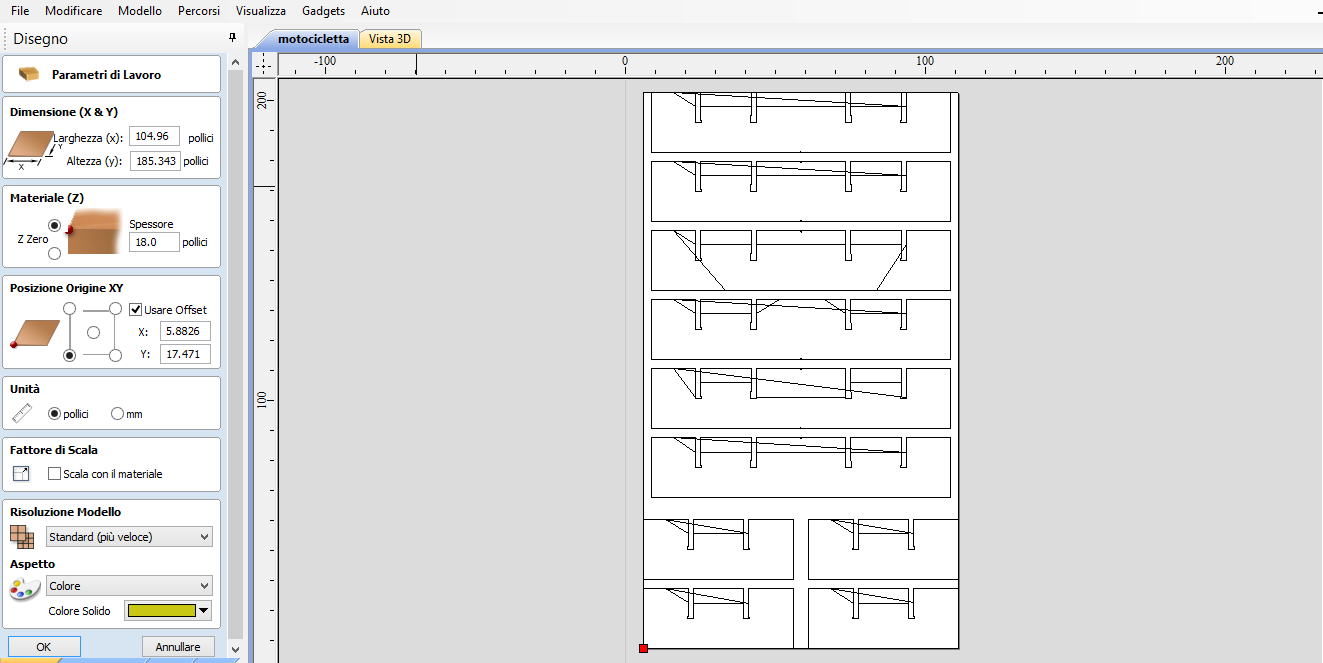
Once I imported my pdf file on VCarve I had to adjust some settings: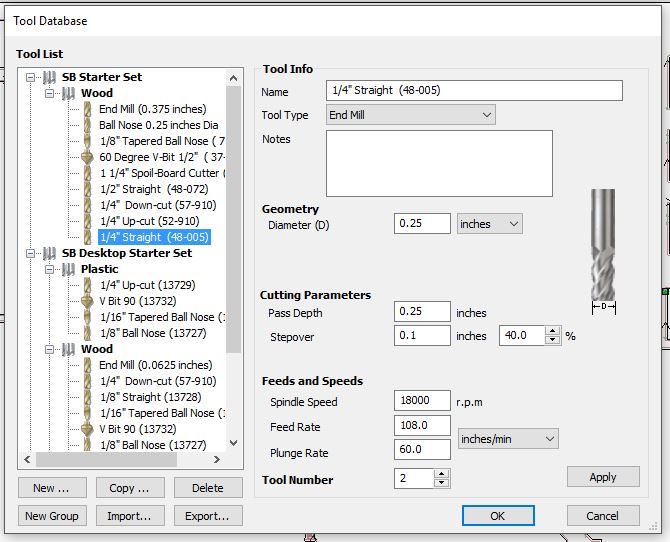
First I selected the 1/4'' straight drill bit, because it was the best one we had to do this kind of work. In the beginning we wanted to use the 1/8'', but unfortunately we did not have it. Everyone of us did his model thinking about that 1/8'' drill bit, so we all changed our parameter's model. Then I selected 18.000 rpm Spindle Speed, because it was an high speed and (above all) our machine can afford it.
At this point the ShopBot was ready, but our instructor explained us some preliminar steps to work in a safety way: First, when we set the Z axe, someone had to stay with the emergency stop button ready, just in case something went wrong.
Second, before the real cut, we did a "fake" cut, with the Z axe set 10 cm above the board, so we were able to see the path and see if it was right. Third, before the real cut, he explained us to stay always as far as possible from the machine, but always watch our work with the emergency button in our hand. Never leave the machine working alone. It may look excessive, but this machine is as cool as dangerous. Above all, the important thing is to stay focused on the job.
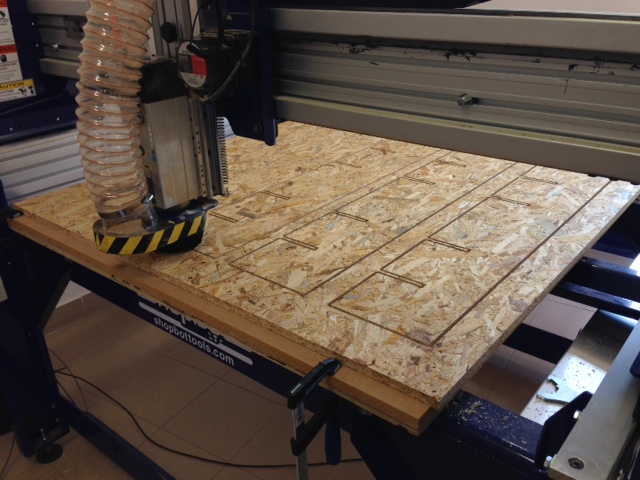
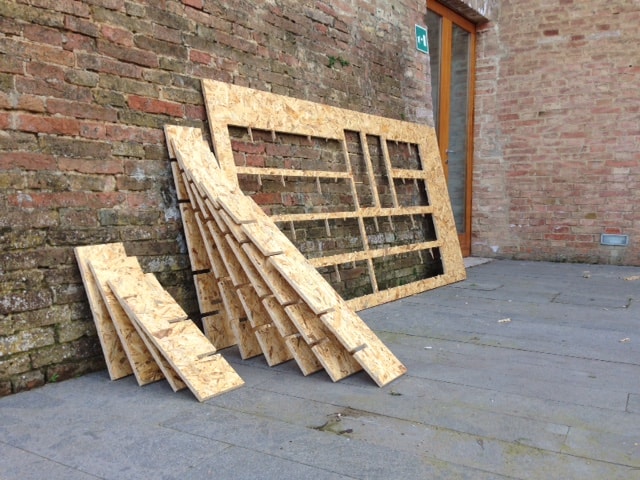
Here's the Shopbot at work:
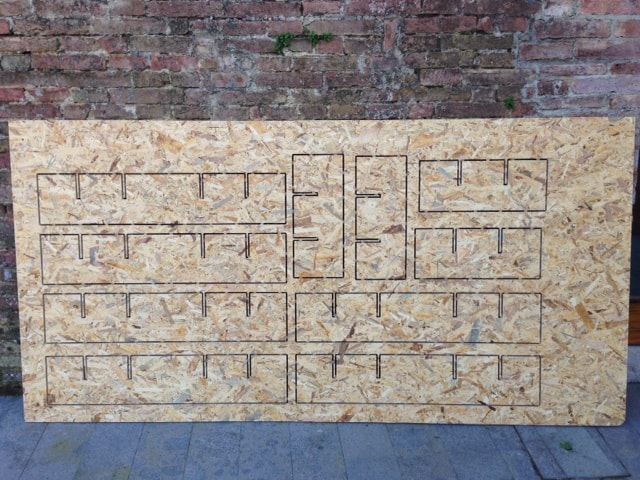
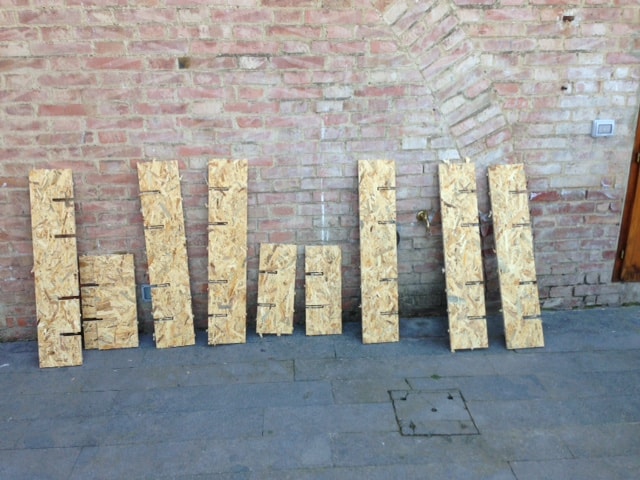
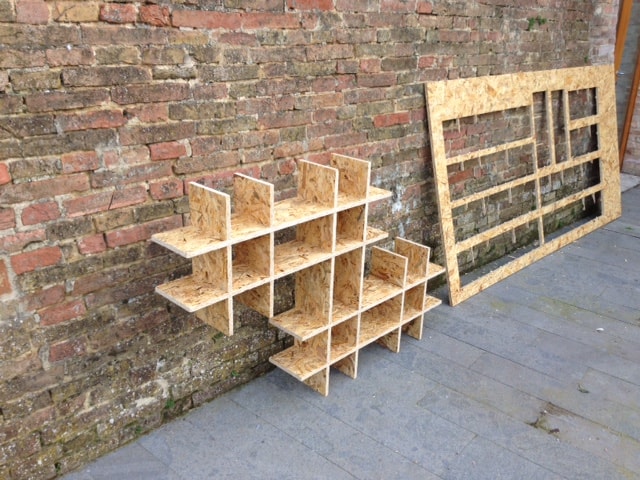
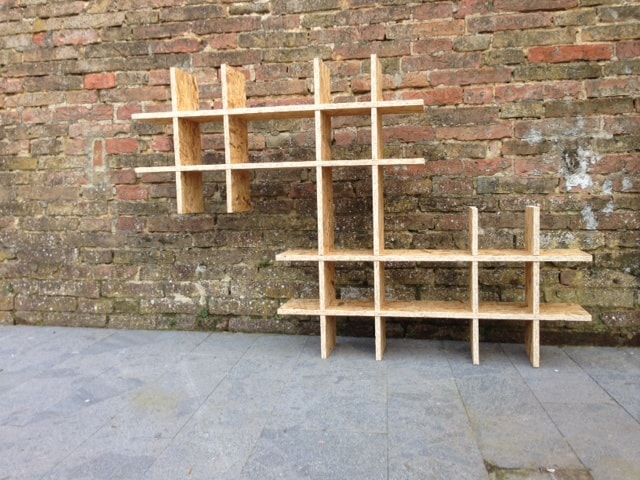
Here's the result!

Conclusions
This week was amazing! I had some problems working with the softwares, but the milling part was fun indeed! I hope I can work with it again, maybe I'll do something more complex next time.Download
PDF file
Antimony file
VCarve file

This work is licensed under a Creative Commons Attribution-ShareAlike 4.0 International License.