Introduction
This week was composite, I had to do an object made by different materials.
Documentation
After Neil's lesson, our instructor explained us again all the process, the materials
involved in it, what to do and what not to do.
He gave us a sort of reminder with the most important information about this week:
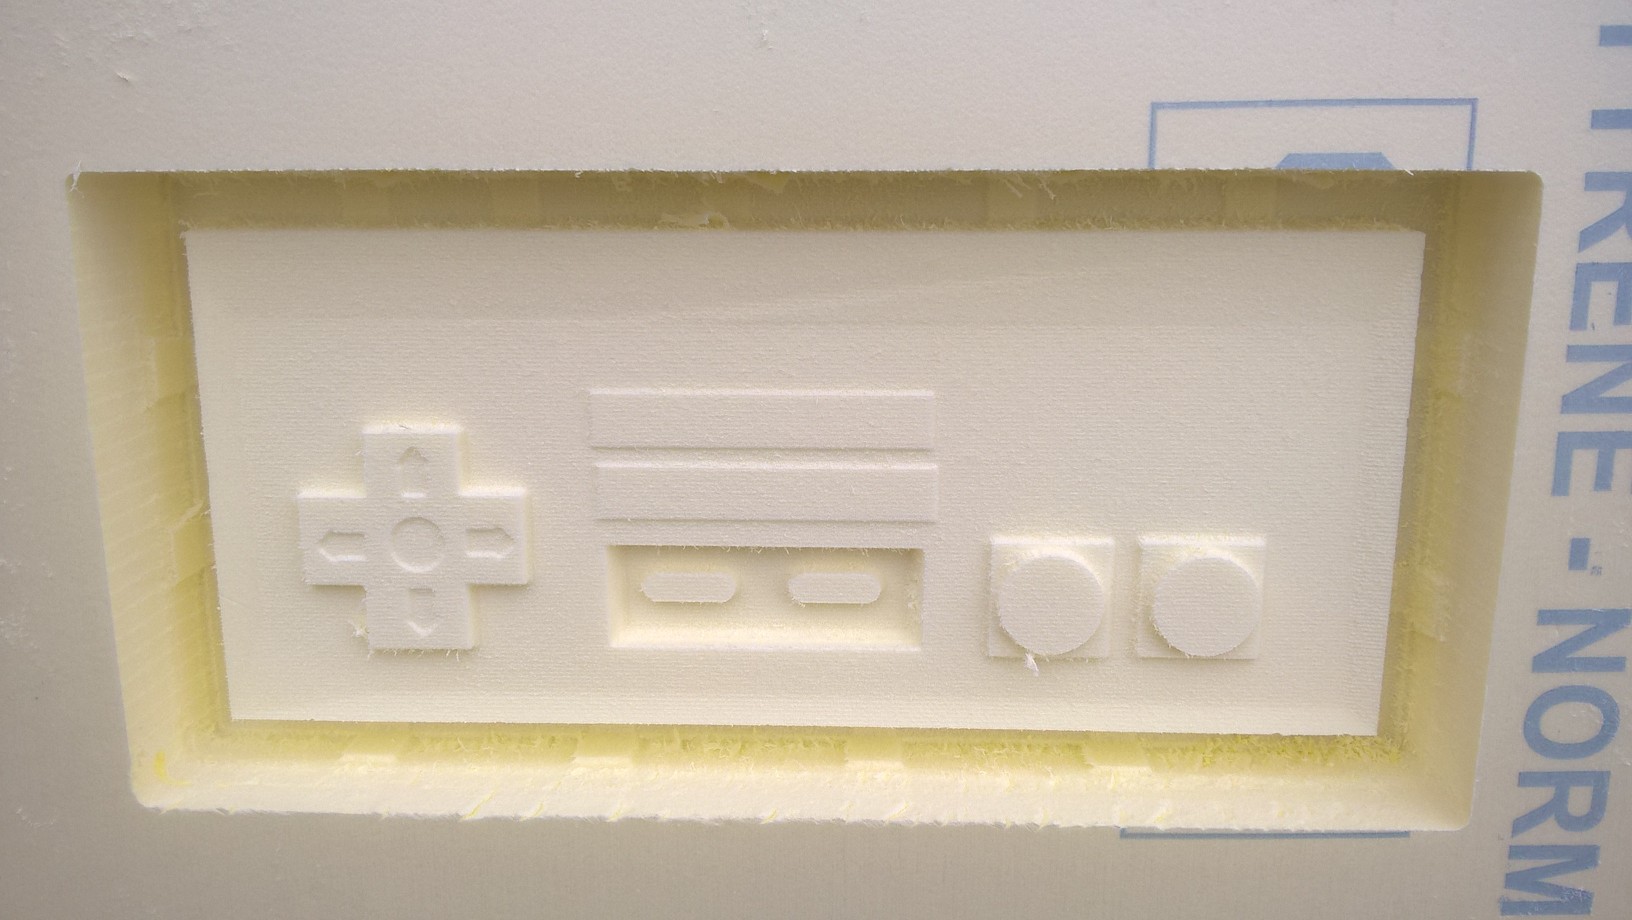
Nintendo model (wrong)
My first try with composite was a complete failure. I did a Nintendo joystick, but
the result was really really bad, this is why I decided to re-do it.
However, here's my journey through Nintendo's joystick:
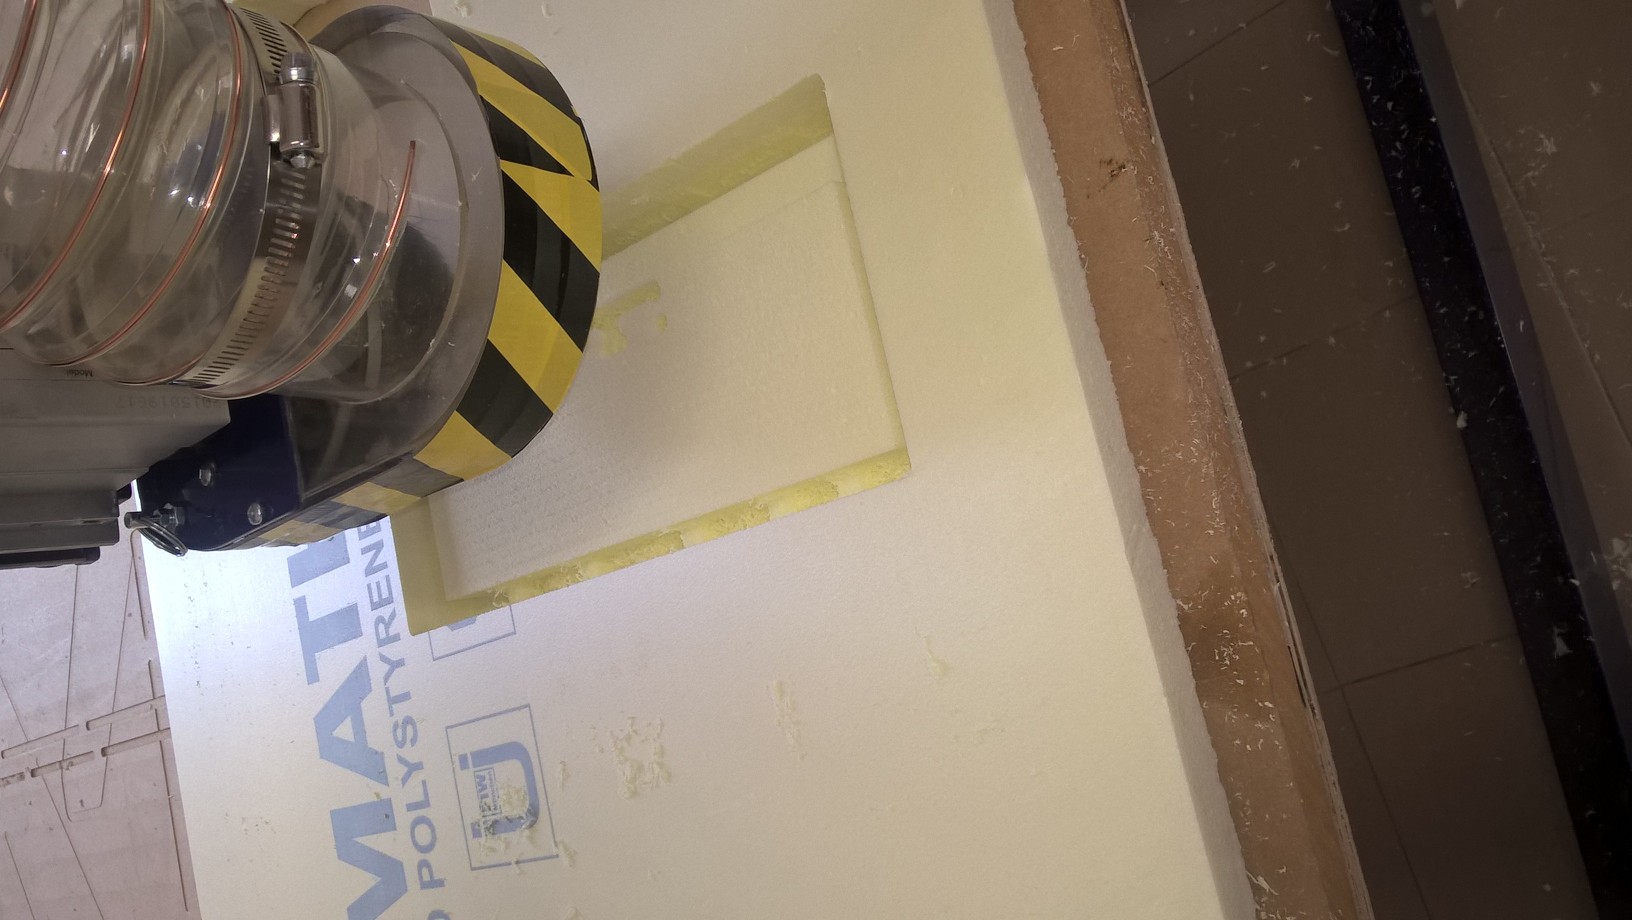
I started milling polystyrene with the Shopbot:
Here's the final result of the polystyrene's model:
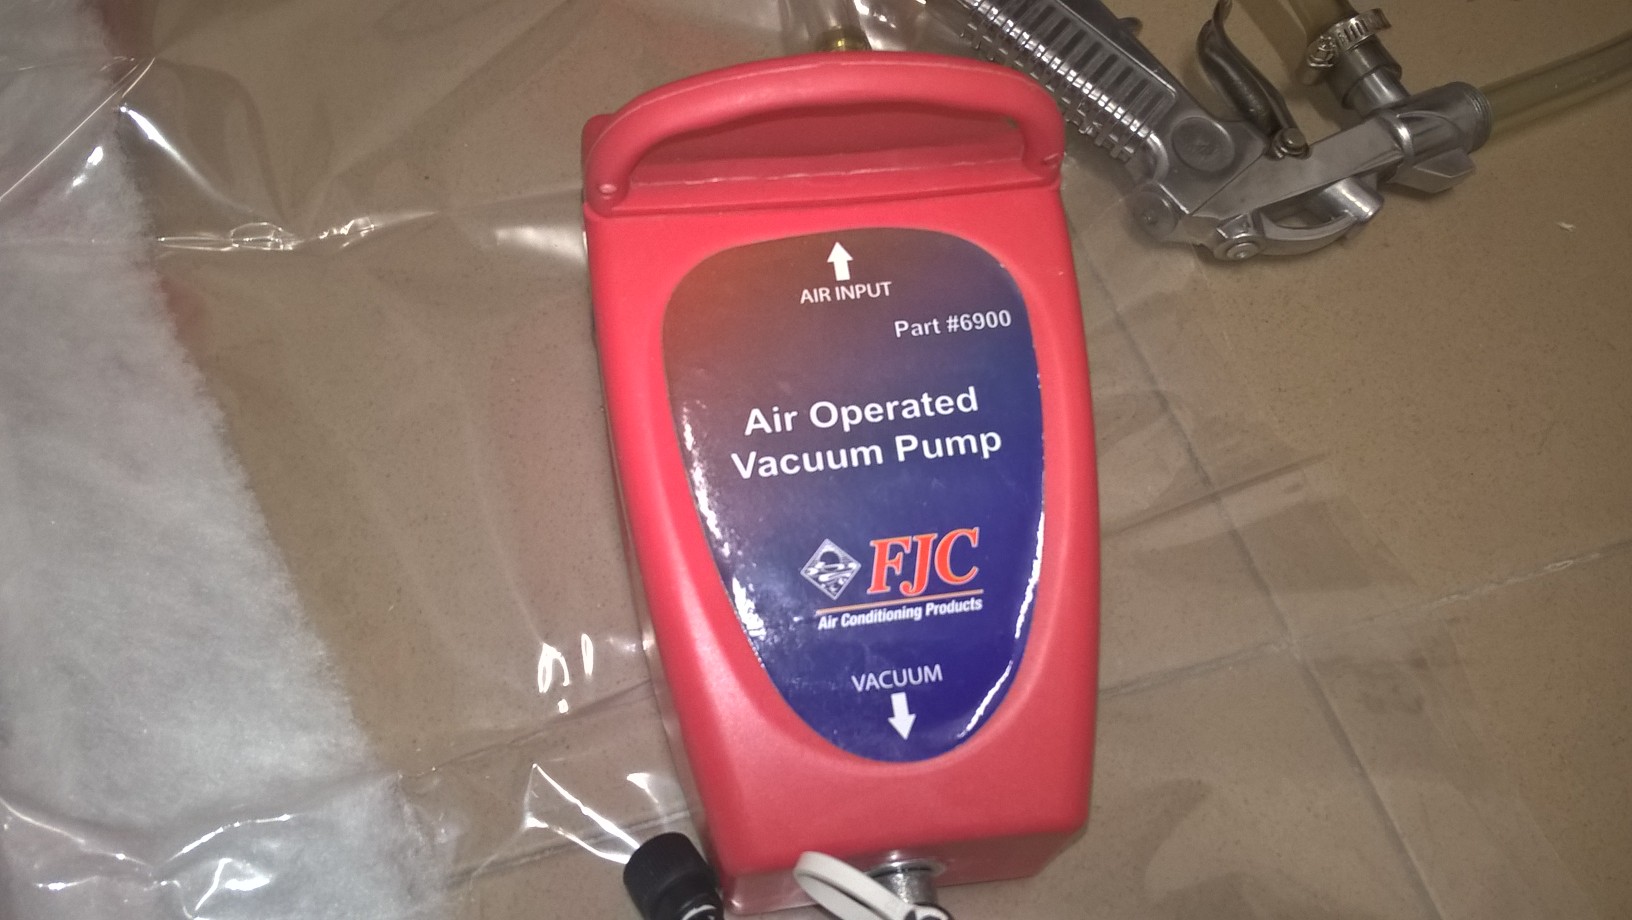
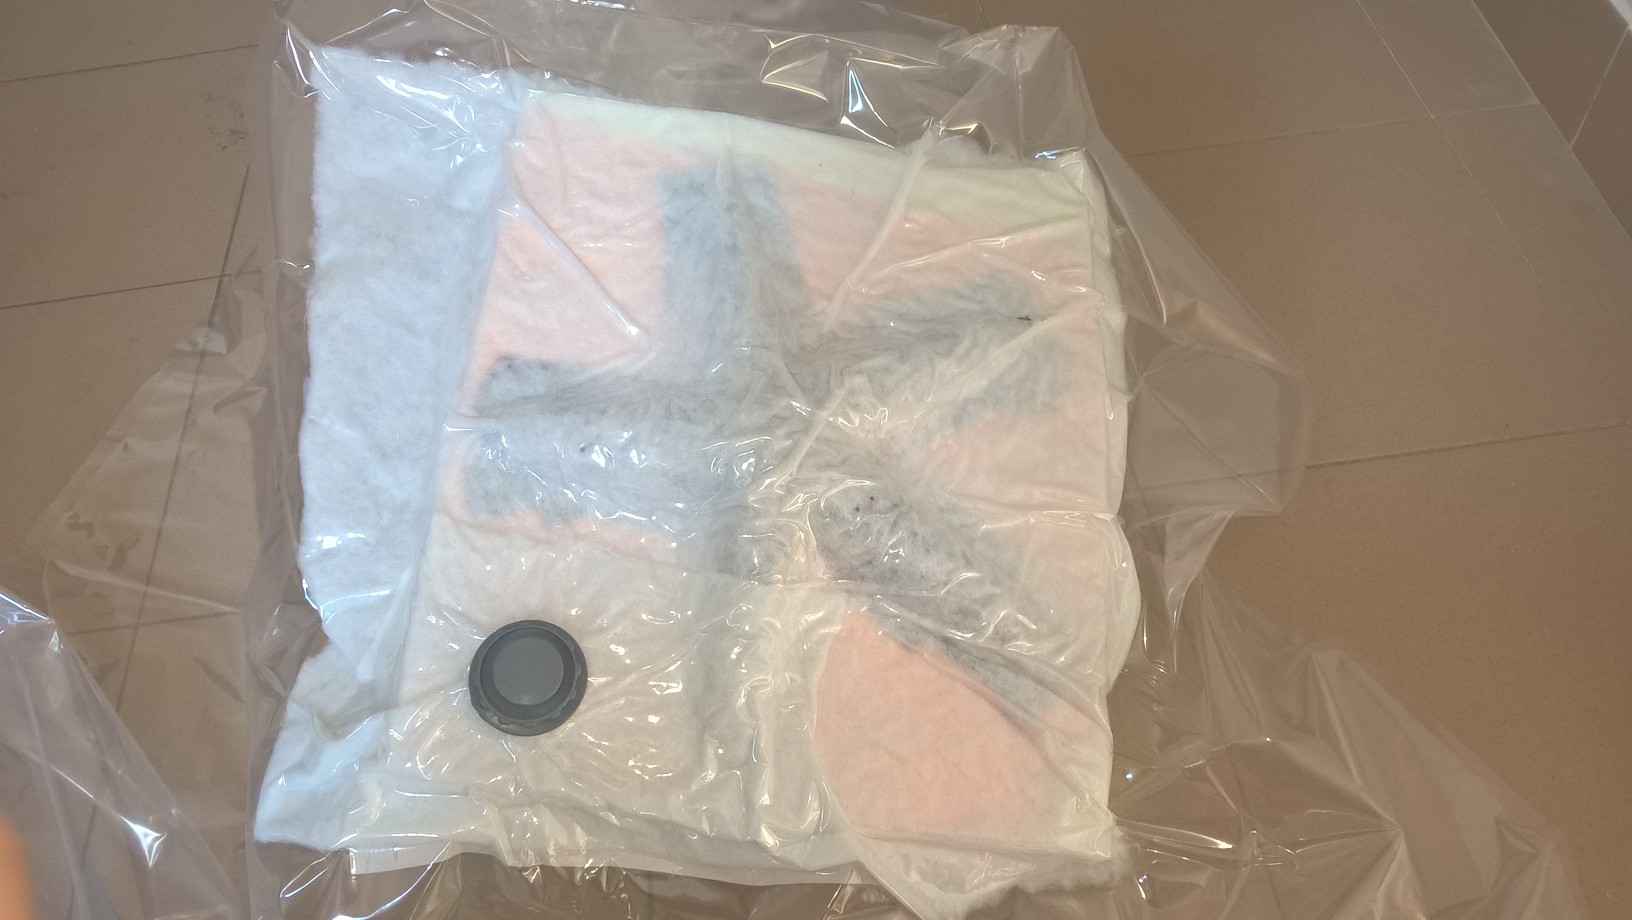
Then I used this vacuum pump in order to eliminate the air from the bag:
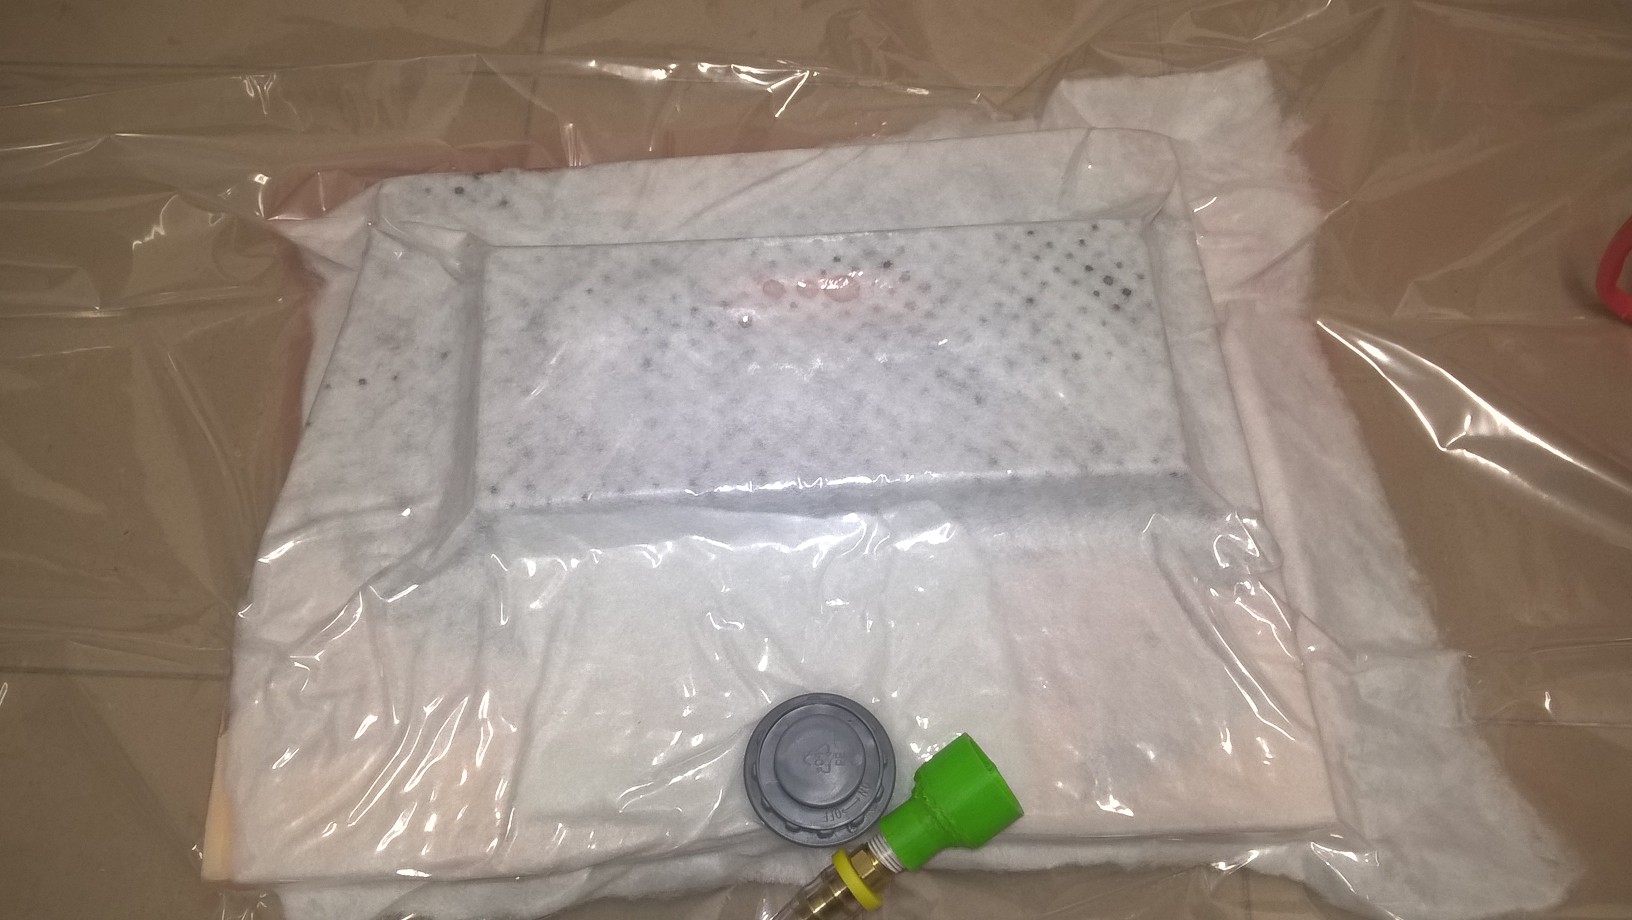
Here you can see the model inside the bag. The pump is connected to the breather,
so it can actualy work.
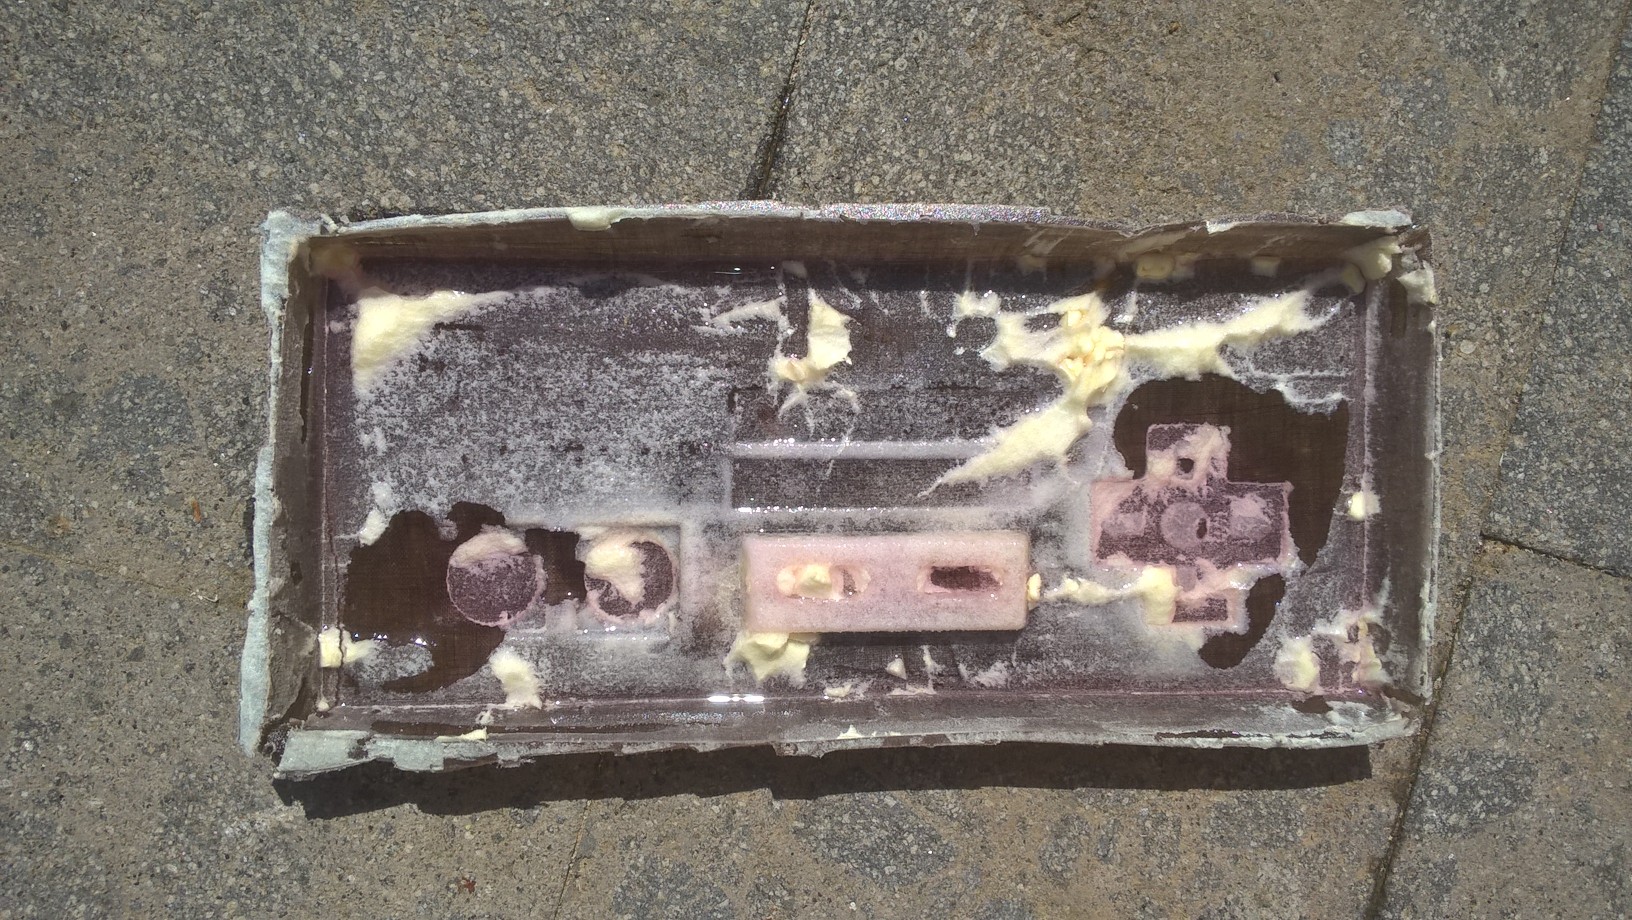
Here's the final result, it was a shame not only for me, but also for my family!
3D model
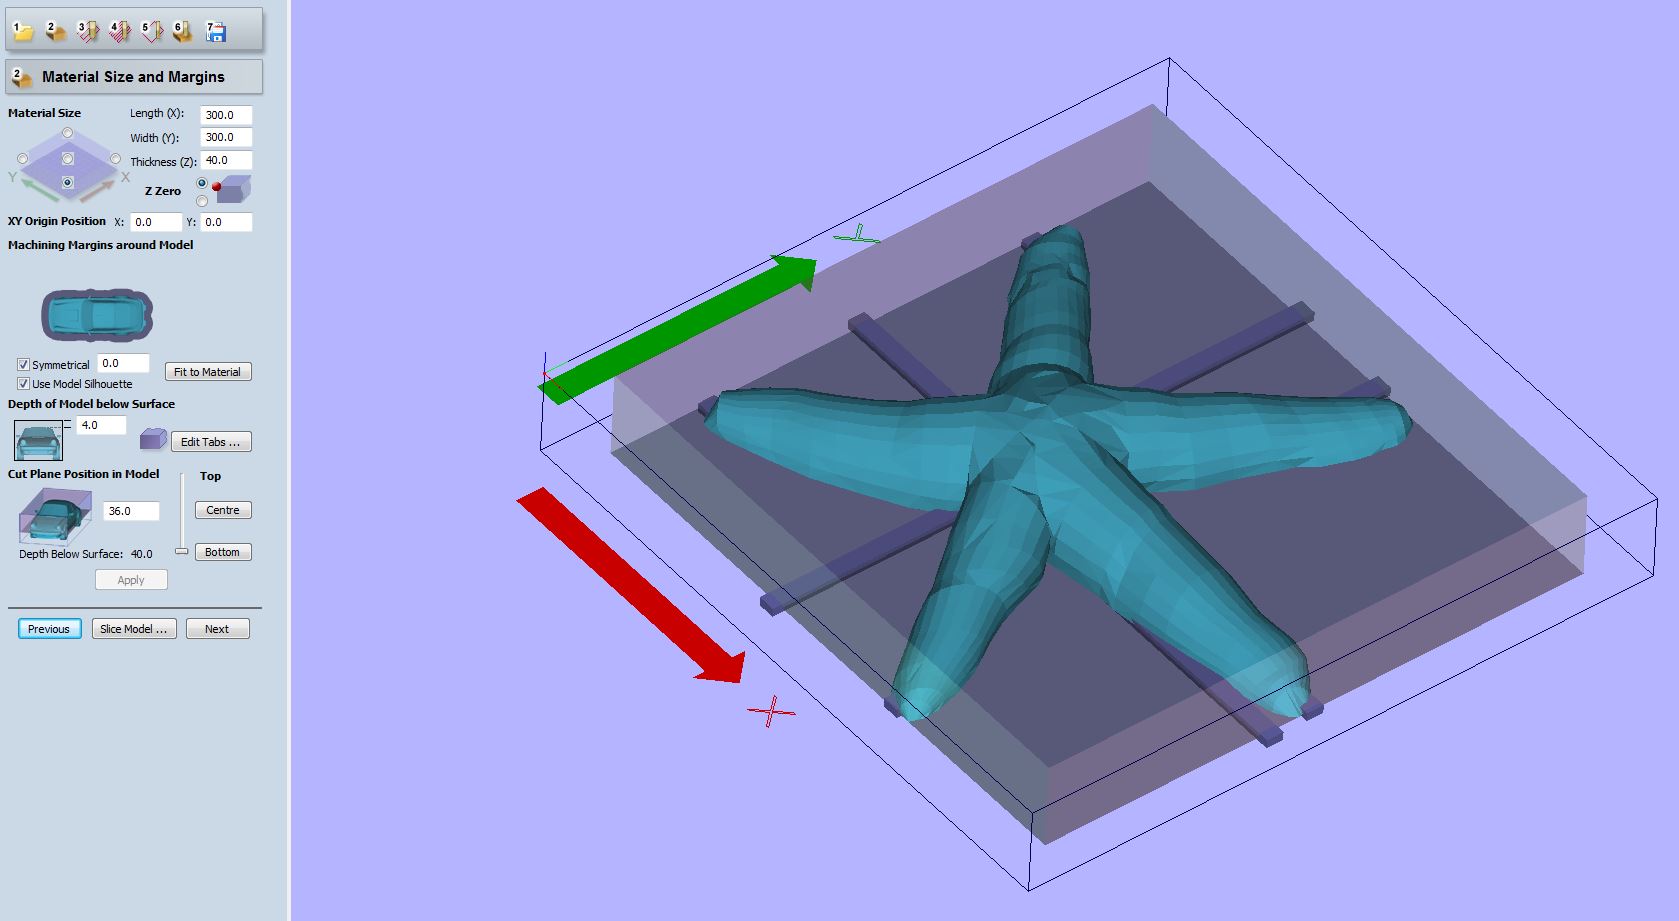
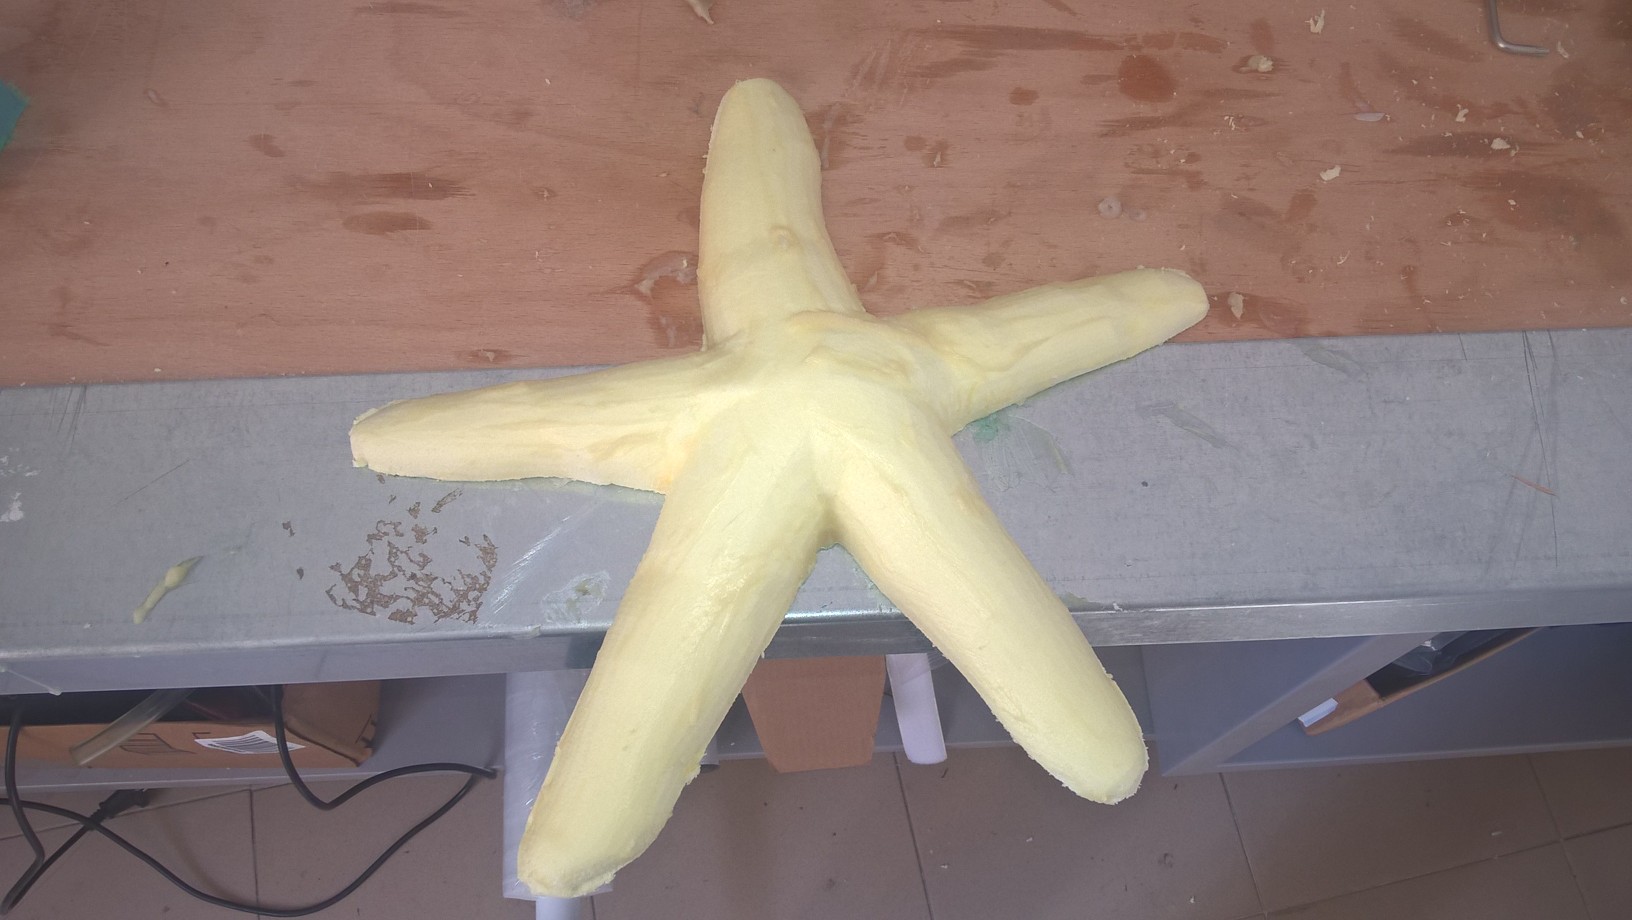
So I decided to do a Starfish, because that model had not the problems that I've found with the first one.
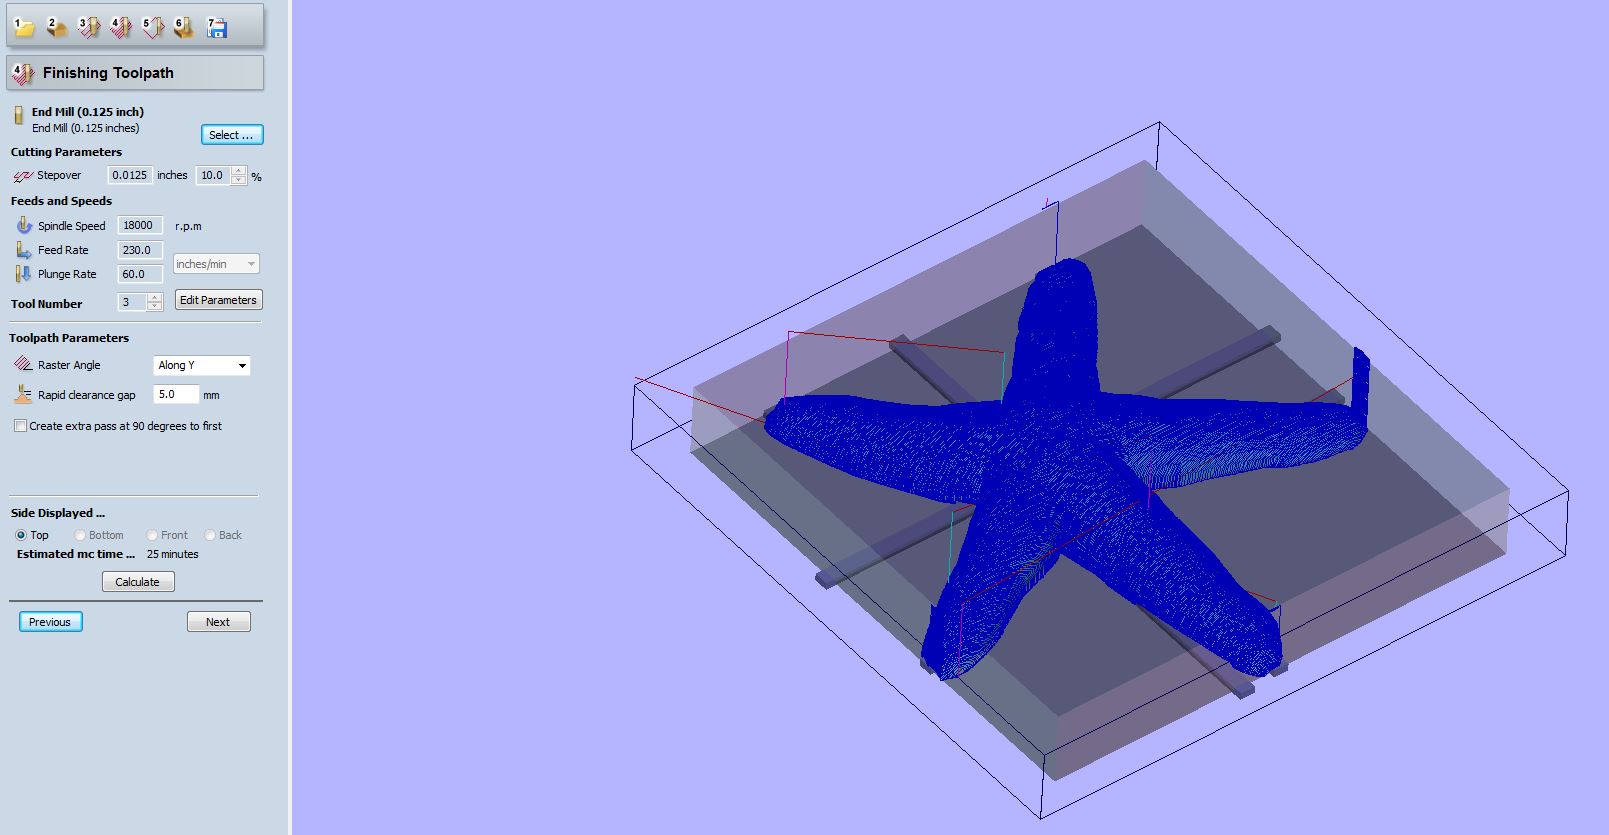
Once the model was ready, I had to upload it on Cut3D in order to prepare the file to mill with the Shopbott. I used Cut3D during Molding and Casting week, so I was pretty used to it. I made two files, the roughing toolpath and the finishing toolpath: again, the first one erase the most part of the material, the second one does the details.Here's the size fo the model:
 Here's the roughing path:
 Here's the finishing path:
Milling
I, just like my classmates, used polystyrene as material for my model. It is cheap, easy to use and the shopbott mill it pretty well. Here's the polystyrene on the shopbot: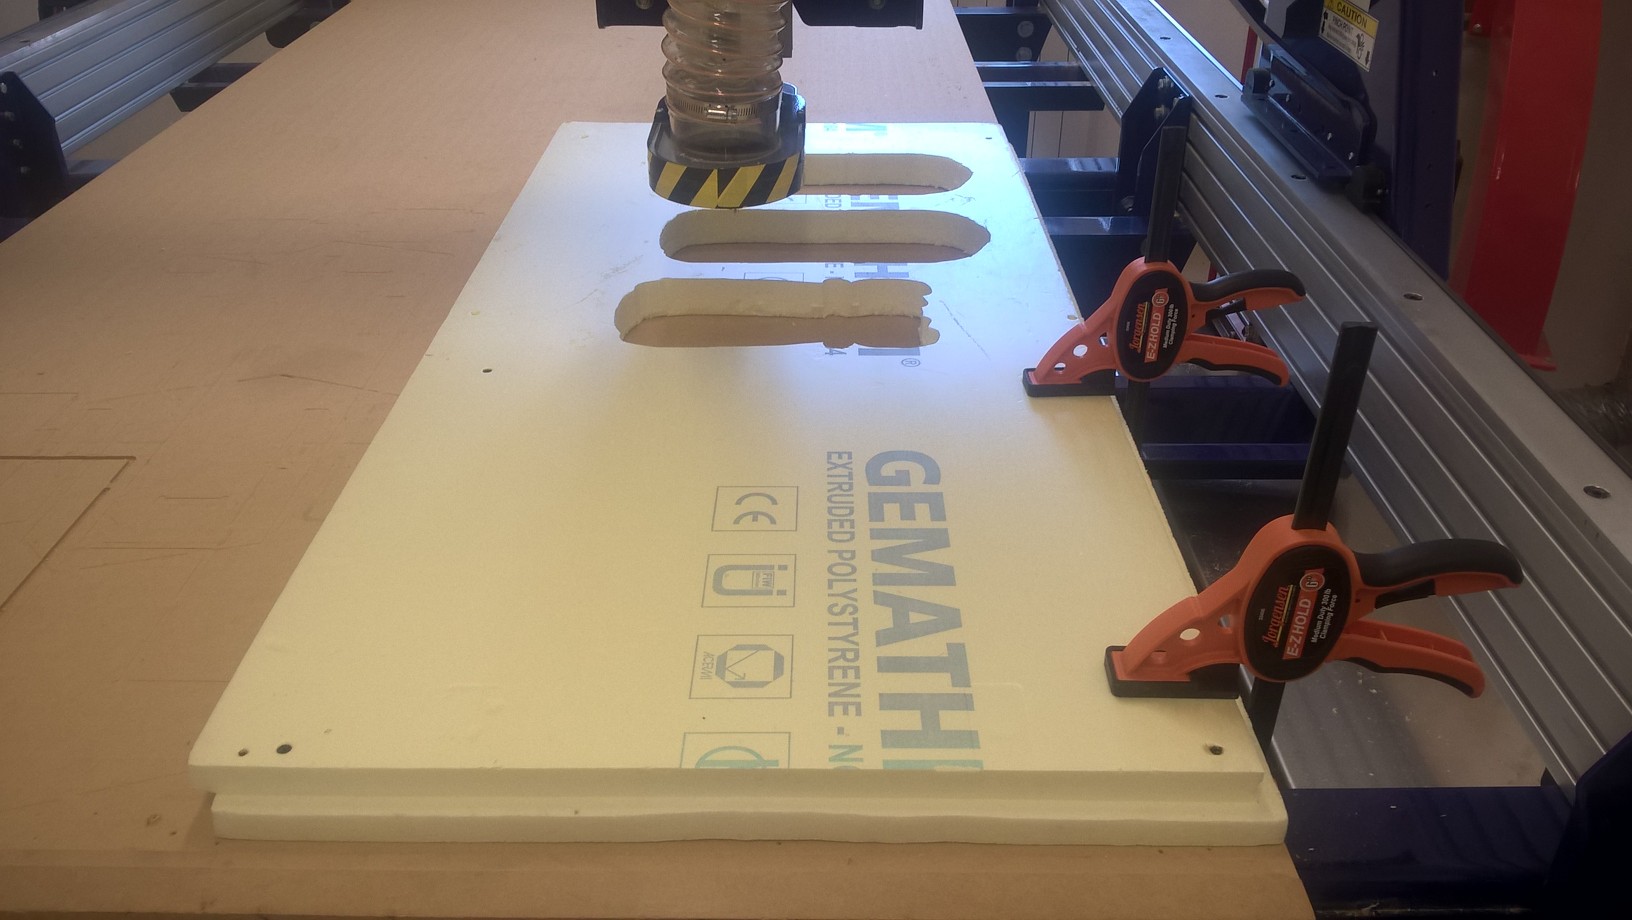
Here's the shopbot doing the first cut:
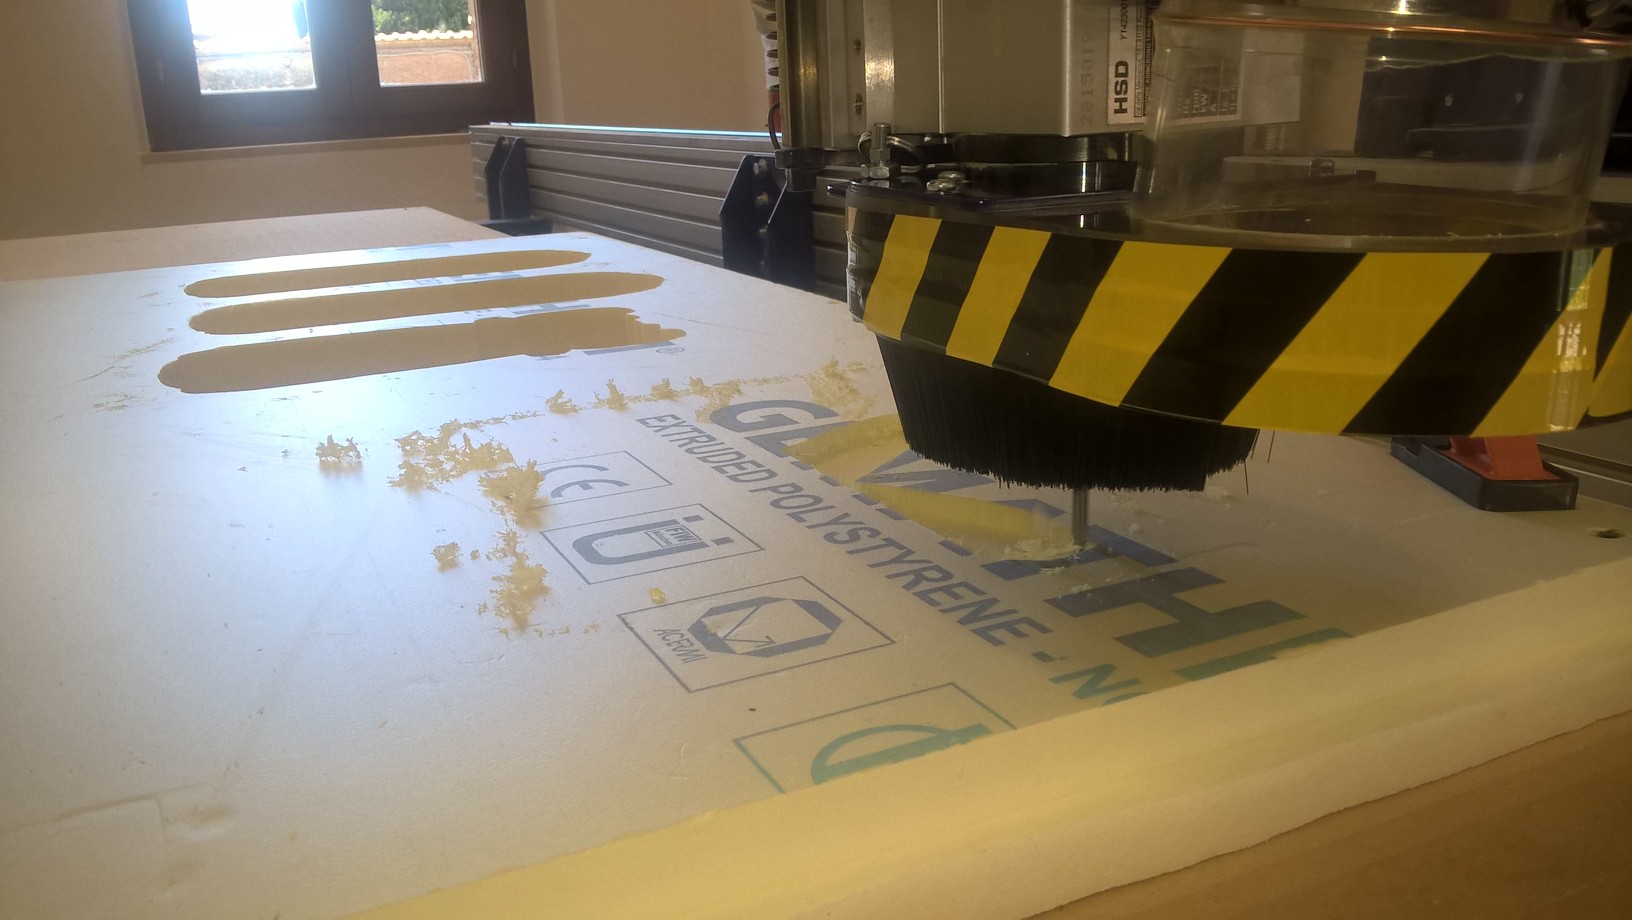
The shopbot finished its first cut:
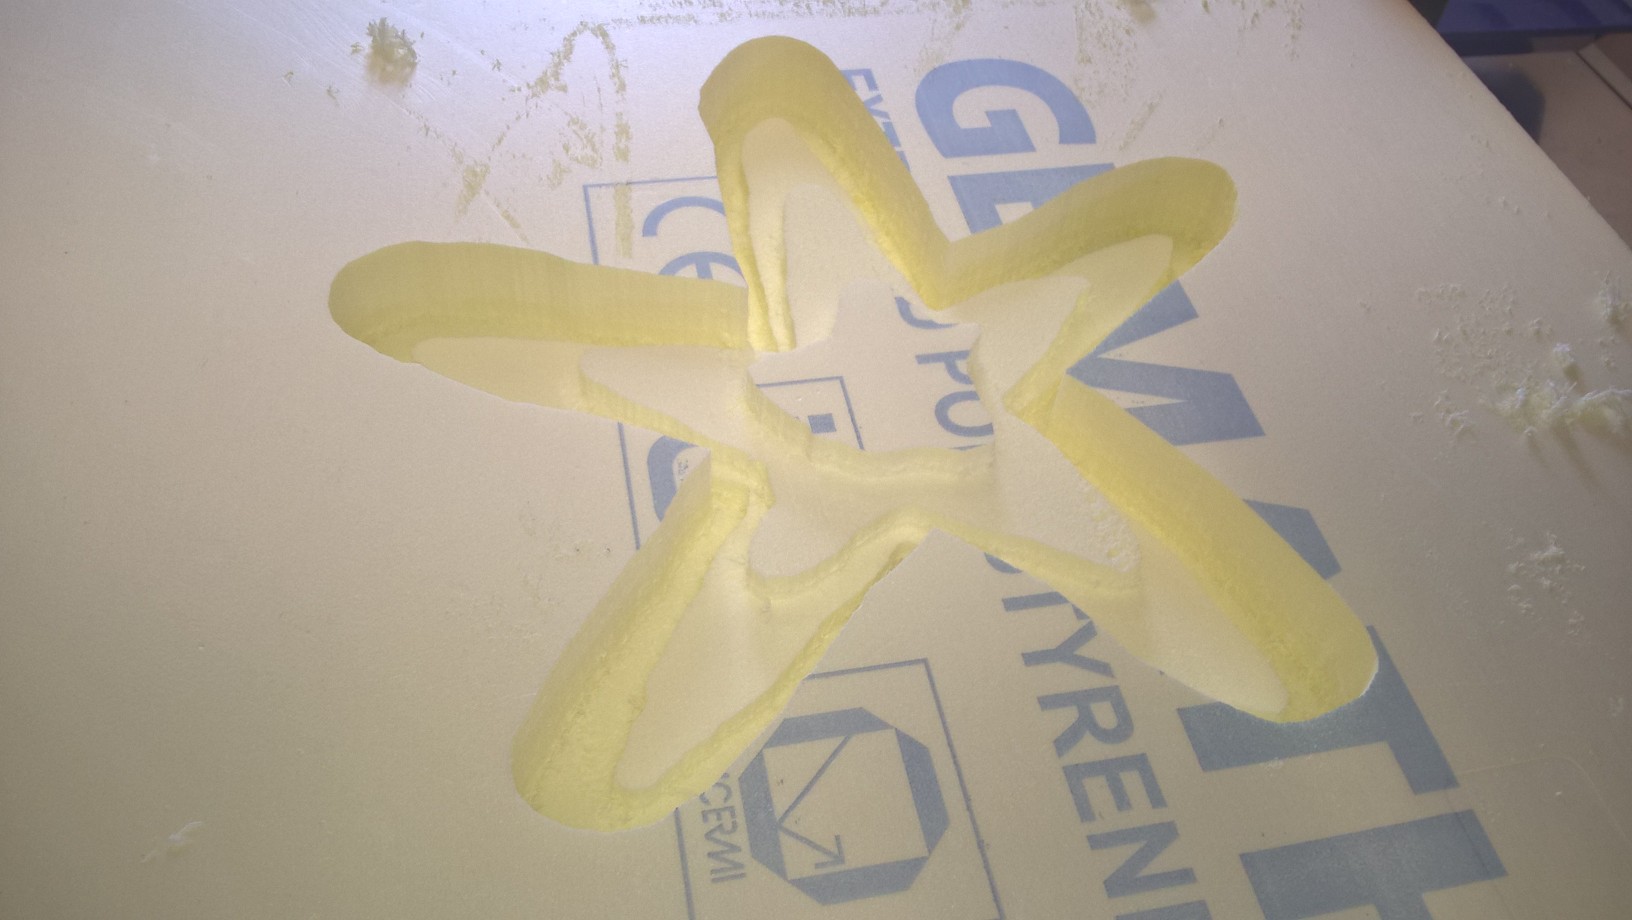
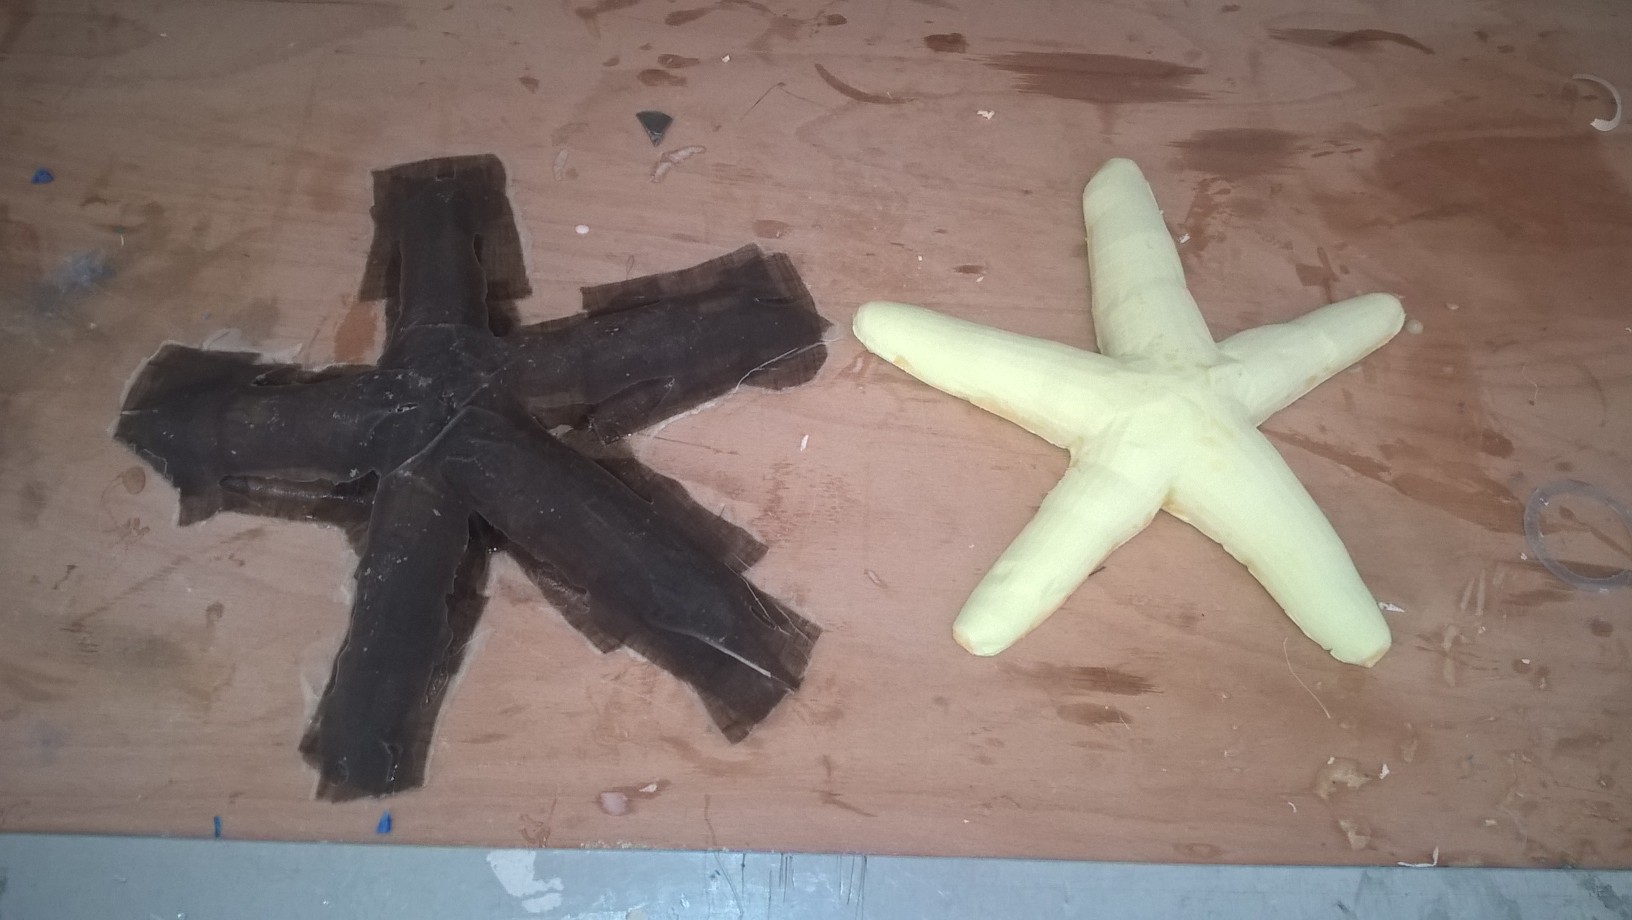
And this is the final cut, the polystyrene starfish was ready!
Resin
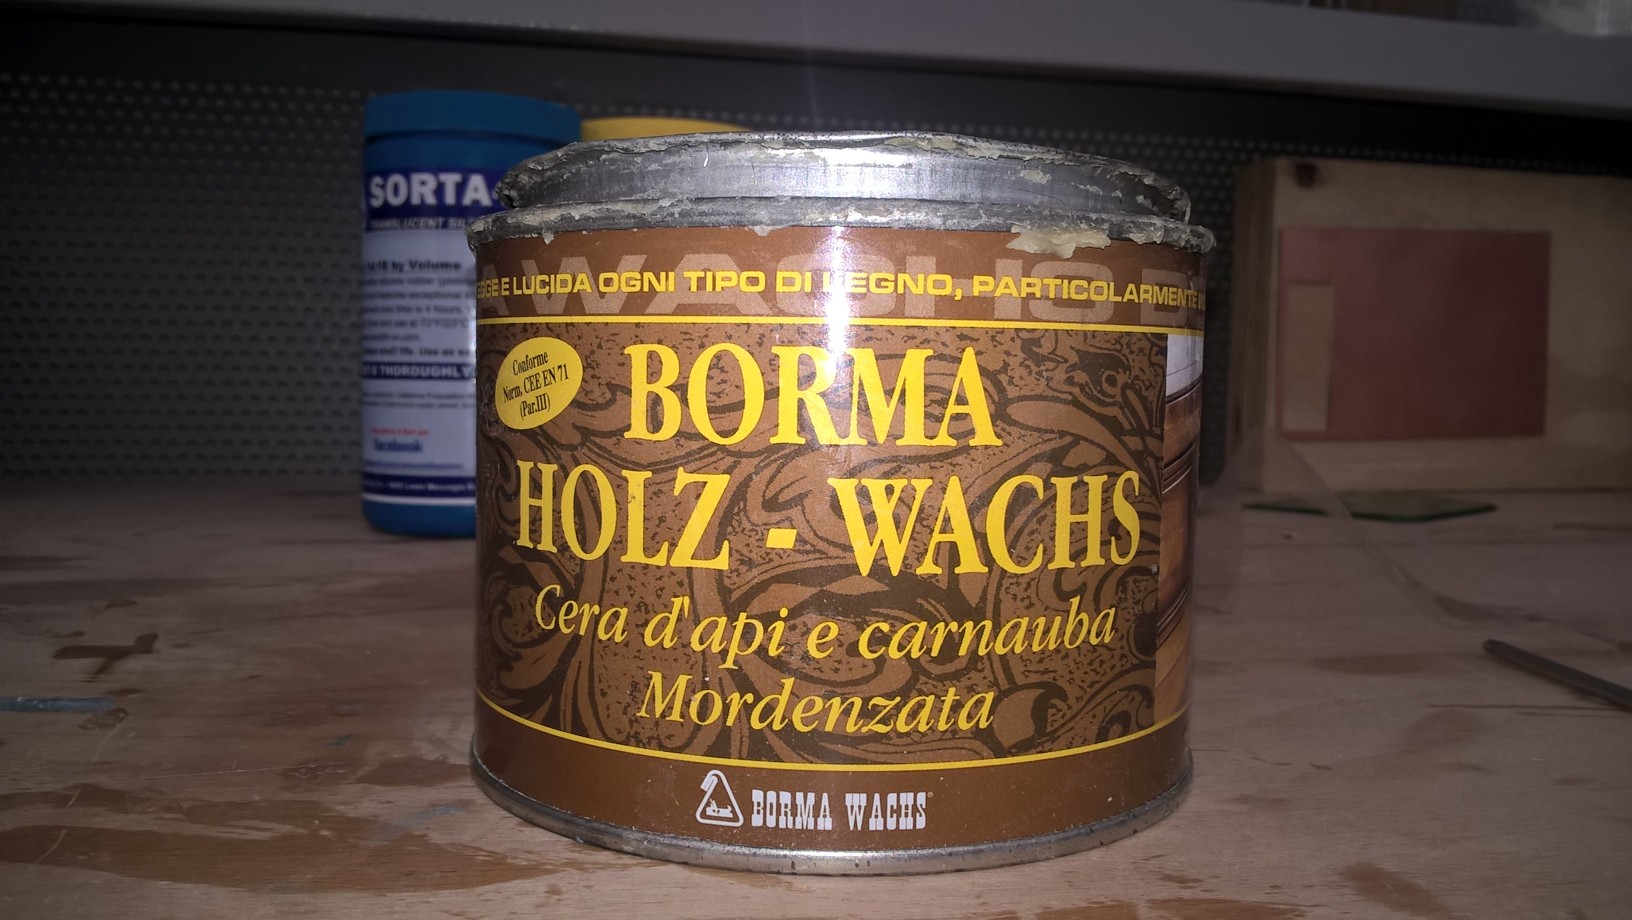
Now I had to put resin on it, but first I had to use wax, in order to make it really,
really smooth. I had to apply wax 5 or 6 times, waiting 30 minutes in between. It must
be Carnauba wax, and it's really important to choose it well, if it's not the right
one, you will not be able the resin model from the polystyrene one. This is the one
i'm using this time:
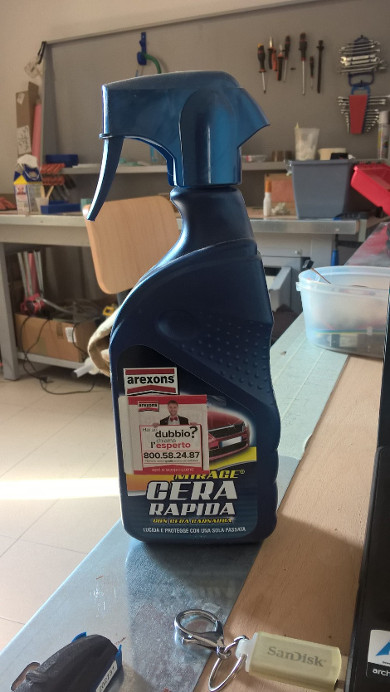
 This one instead, it is the one the I used before and it didn't work at all:
 Then I needed epoxy resin:
 And linen:
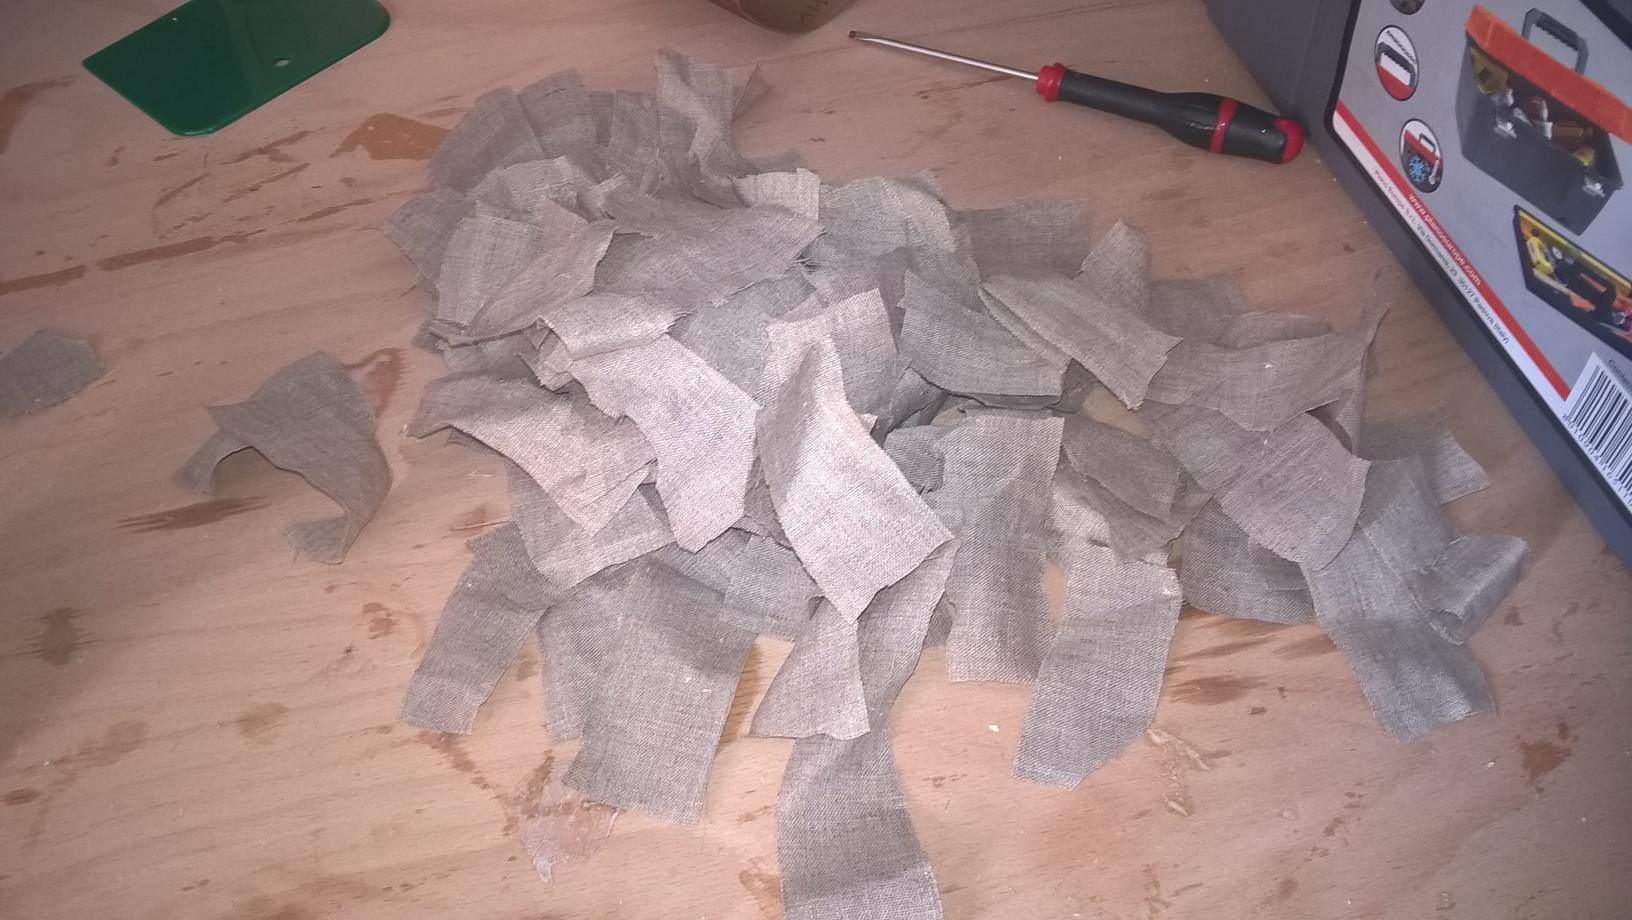 Epoxy resin comes in two containers, the small is the hardener. I had two mix them
in equal parts, put the linen on my polystyrene model and then pour the mixed resin
on it.
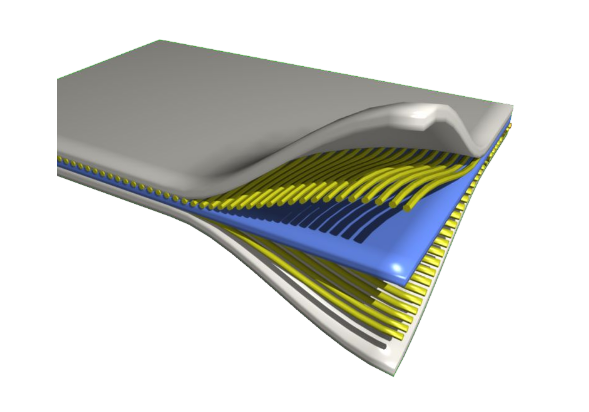
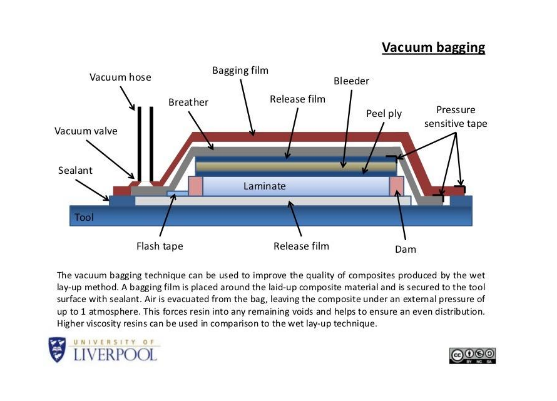
Once it was ready, I needed to put it in a vacuum bag. I had to put inside the breather,
a material that actually allows to vacuum the bag, and a release bag, so my model will not
stuck with the bag.
Epoxy resin comes in two containers, the small is the hardener. I had two mix them
in equal parts, put the linen on my polystyrene model and then pour the mixed resin
on it.
Once it was ready, I needed to put it in a vacuum bag. I had to put inside the breather,
a material that actually allows to vacuum the bag, and a release bag, so my model will not
stuck with the bag.
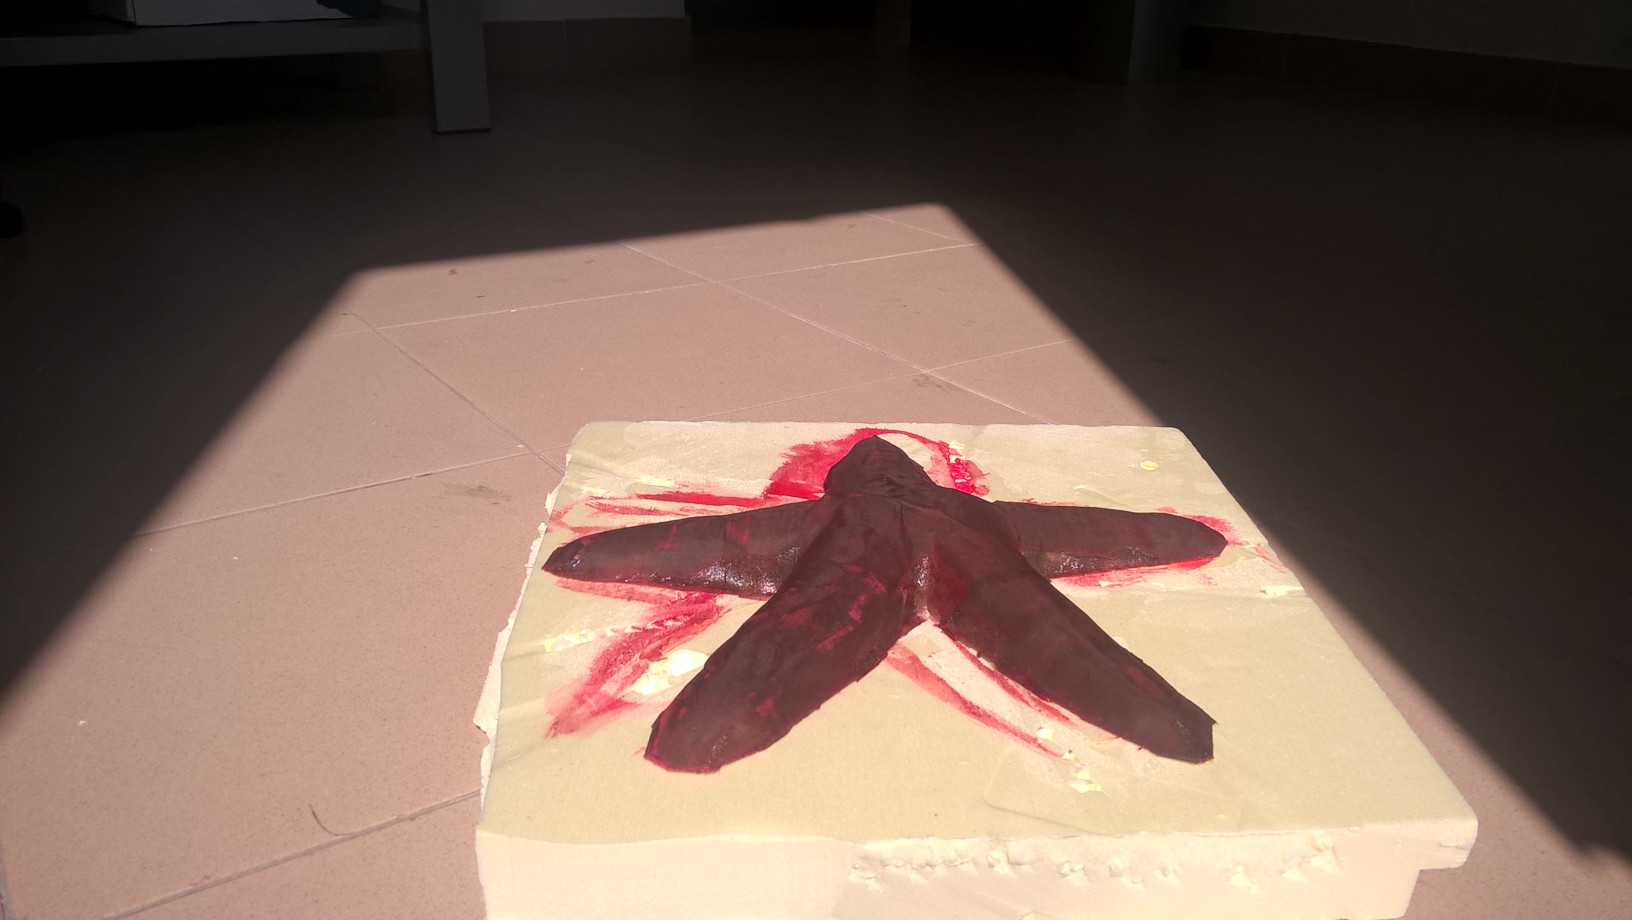
As you can see:
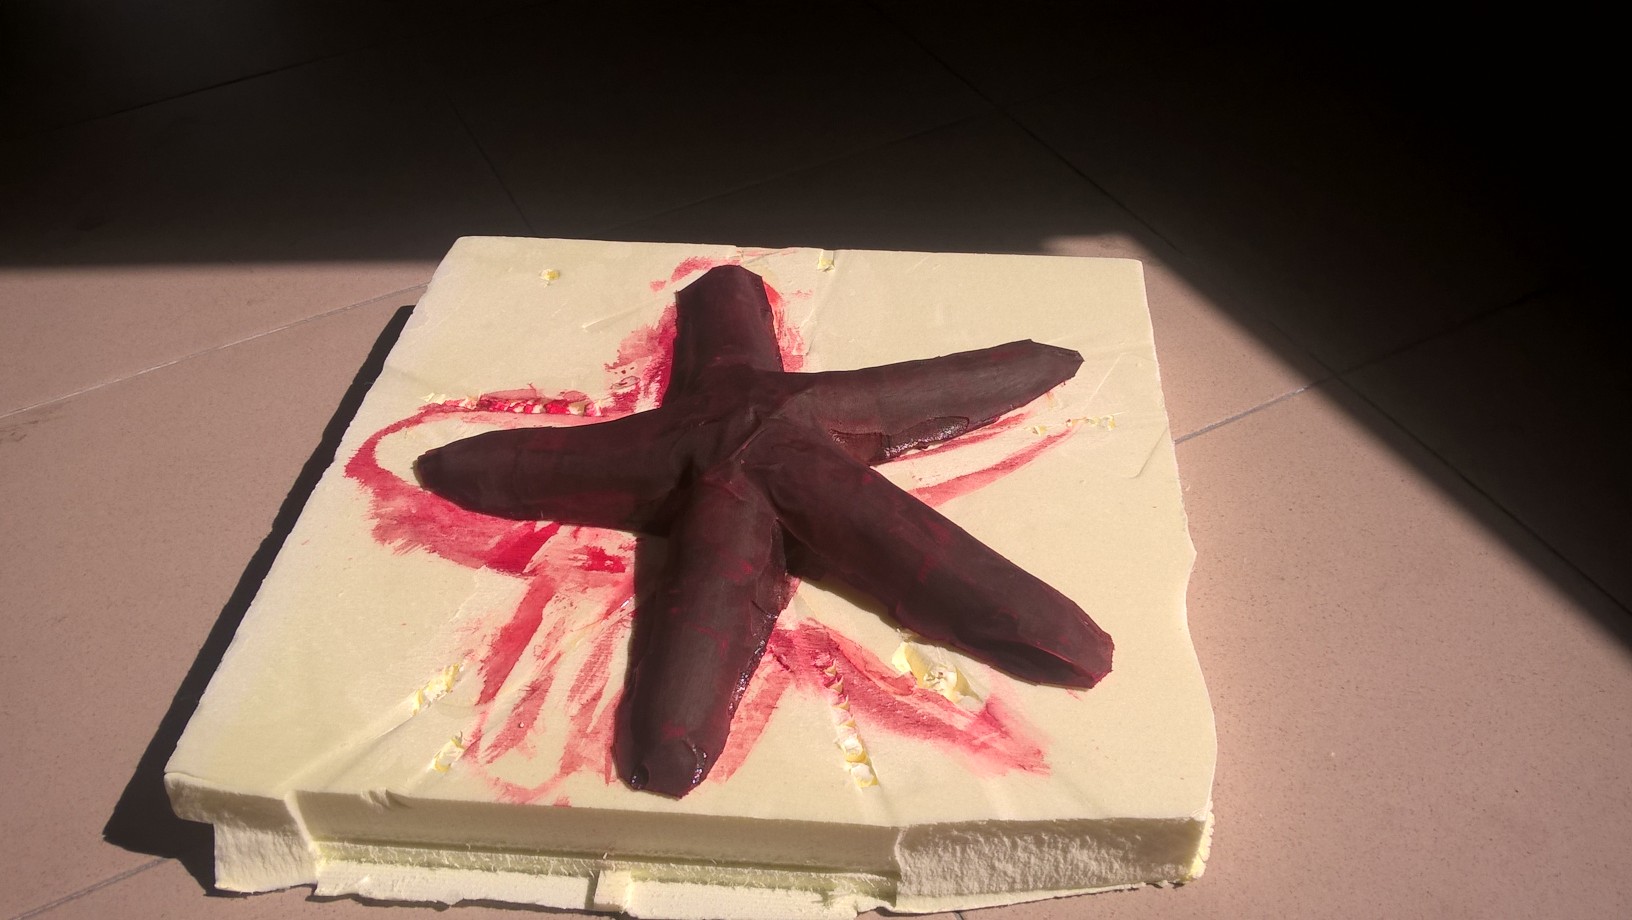
Here's the final result:
Conclusions
This week was pretty funny, still pretty hard. This is not my assignement for sure, since I did two models and no one was at least nice to see, but I still hope to do something better in the future!
Download

This work is licensed under a Creative Commons Attribution-ShareAlike 4.0 International License.