Introduction
This week I had to learn how to use a 3D printer and how to do a 3D scanning. I had 3 assignments:
- Test the design rules for your printer.
- Design and 3D print an object that could not be made subtractively.
- 3D scan an object (and optionally print it) (extra credit: make your own scanner).
Documentation
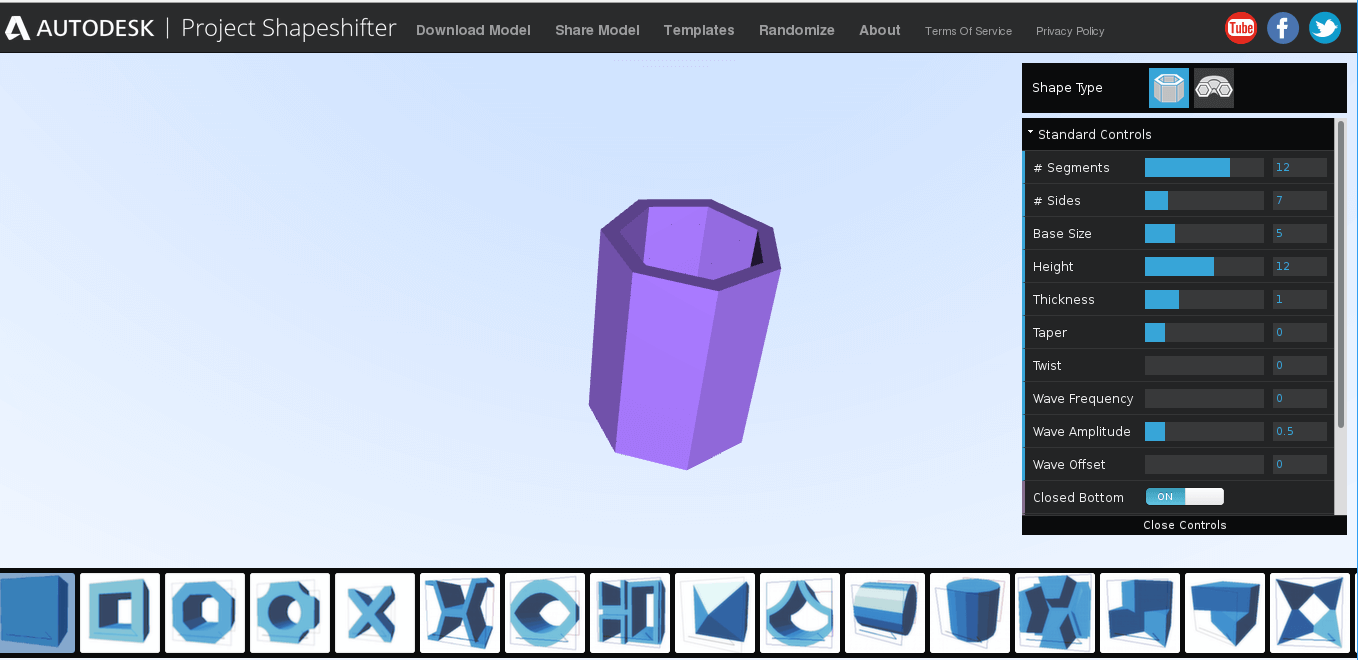
I have never used a 3D printer, nor a 3D scanner. First thing I did a check on 2015 Fabacademy students, as I did every week, in order to find something uselful for my week. I've found several programs not mentioned in the week's assignement page, that looked very useful. In particular Project Shapeshifter, a web 3D model program, powered by Adobe, looked very easy and very good to start. I thought I could use it to familiarize with the shape I wanted to do for this assignment. Here's a screenshot of the main page:
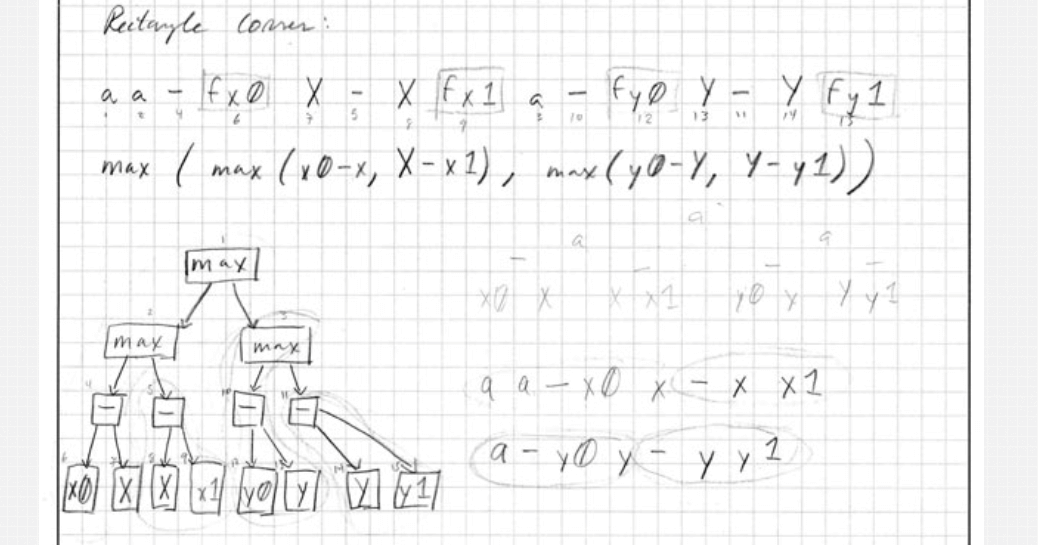
Then I decided to look for some serious tutorial for Antimony. I really wanted to use it, but it was too hard for me and I didn't find any documentation on the internet. Since no one was able ot find any documentation nor tutorial about this program on the web, I thought that maybe in one of the students pages I could have find something useful, and so it happened.
RobotGrrl's page is nice because she did an awesome documentation about using Antimony. In the 2nd's week assingment page there's a guide to how to install and build antimony by yourself. I reccomend this page for a particular reason: Robotgrrl didn't do everything right with antimony, both in the compilation and in the using guide, but she wrote very well about her mistakes. In my opinion Antimony is not that hard by itself, the real problem is to deeply understand how it "thinks", and since there's not a proper documentation, nothing is better than a documentation of tries and mistakes.
As you can
 Thursday came to our fablab Giacomo Falaschi, he did a workshop about 3D printings and scanning. It was not the first time I've heard of him, since I used his tutorial to progam my FabISP tiny with an Arduino Uno. However, he was very clear and he explained us tons of things about 3D printers.
He explained us quickly how a 3D printer works and he explained us how to set the advanced parameters to improve our stamps.
Thursday came to our fablab Giacomo Falaschi, he did a workshop about 3D printings and scanning. It was not the first time I've heard of him, since I used his tutorial to progam my FabISP tiny with an Arduino Uno. However, he was very clear and he explained us tons of things about 3D printers.
He explained us quickly how a 3D printer works and he explained us how to set the advanced parameters to improve our stamps.
He talked about the differences between each 3D printer, which was pretty interesting. In particular he explained us why Zortrexis one of the best printer in commerce, because it is able to heat not only the sides of the objects on its plate, but also the bottom. Anyway, I have to admit that since I didn't know anything about 3D printers, I didn't understand completely what he said. I got that what he was talking about would have been really useful in the future, so I wrote everything down. Now I'm pretty interested in this world, so I will study some theory and I will read again my notes about that workshop.
3D printing
In order to print an object that could not be made subtractively, I decided to print a sphere into a cube. I didn't the sphere touching the cube, so in the beginnign I decided to put a pyramid inseide the cube, between it and the sphere. The idea was, once printed, to shake it hard in order to break the (hopefully) weak link between the pyramide and the sphere. If it worked, the cube would have made sound once shaken again.
I used Antimony to model it, here's a screenshot of my try:
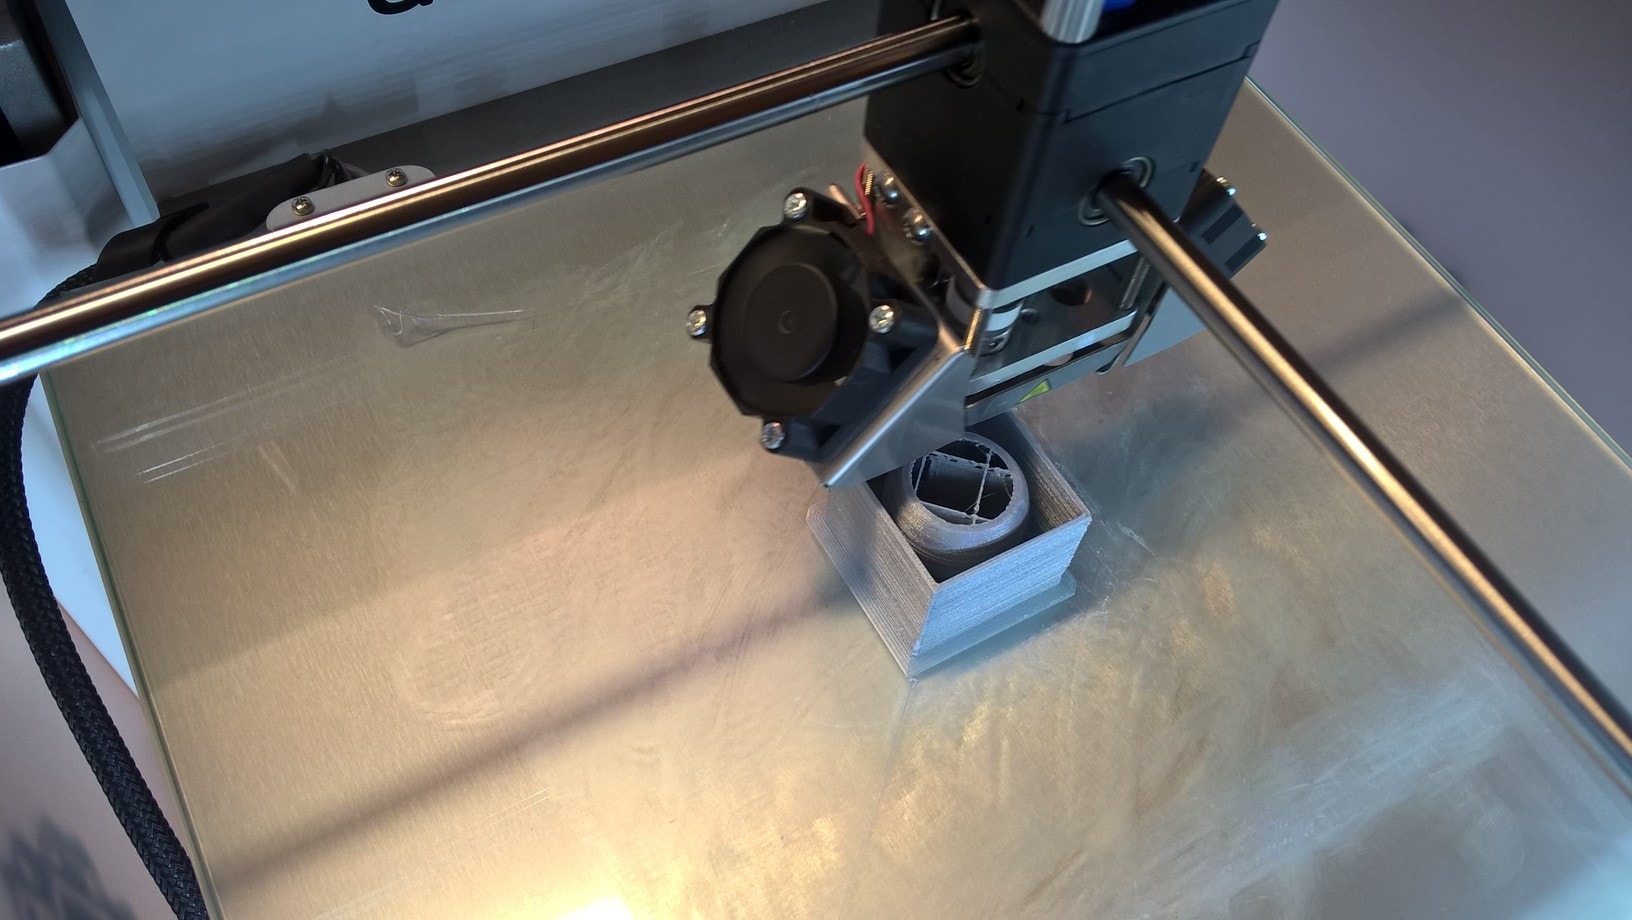
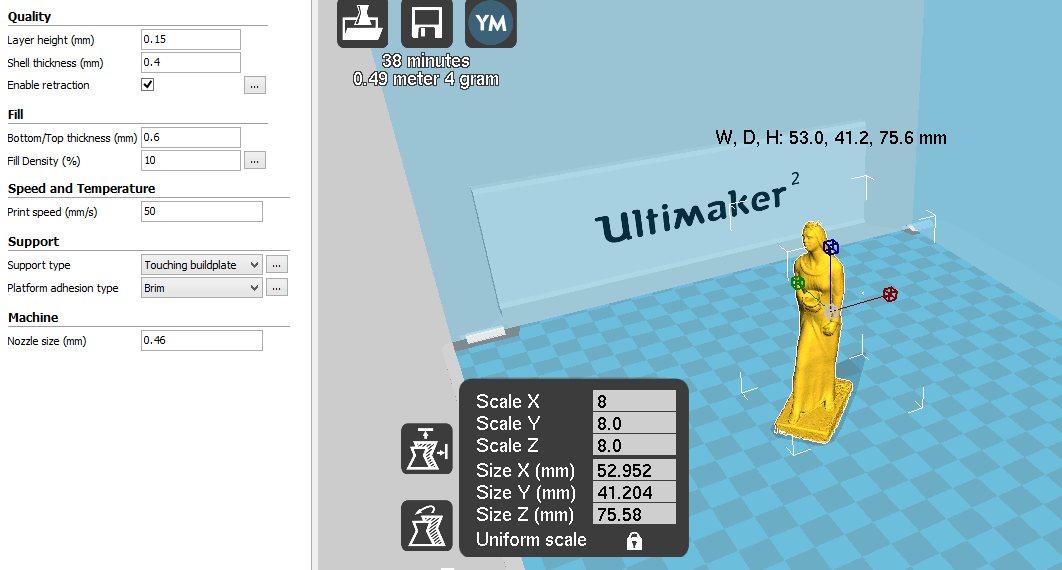
 I opened Cura, I set the parameters and I started to print with the Ultimaker 2, here's the first part of the print where you can see the pyramide and the base of the sphere on it:
 That's the last photo of this model, because once the ultimaker started to print the sphere, the link between the base of the sphere and the top of the pyramid started to move. Initially it was a little movement, but after some minutes it began to sway too much and I had to turn off the machine before I did some damage. One of my classmate told me that also, with just that pyramid in the base it would had been really hard to build the "roof" of the cube. Because of these two reasons I changed my mind, and instead of the pyramid I put a cylinder, from the base to the top of the cube. The cylinder gave me more stability during the print, and I helped during the stamp of the top face of the cube.
Here's the antimony's model:

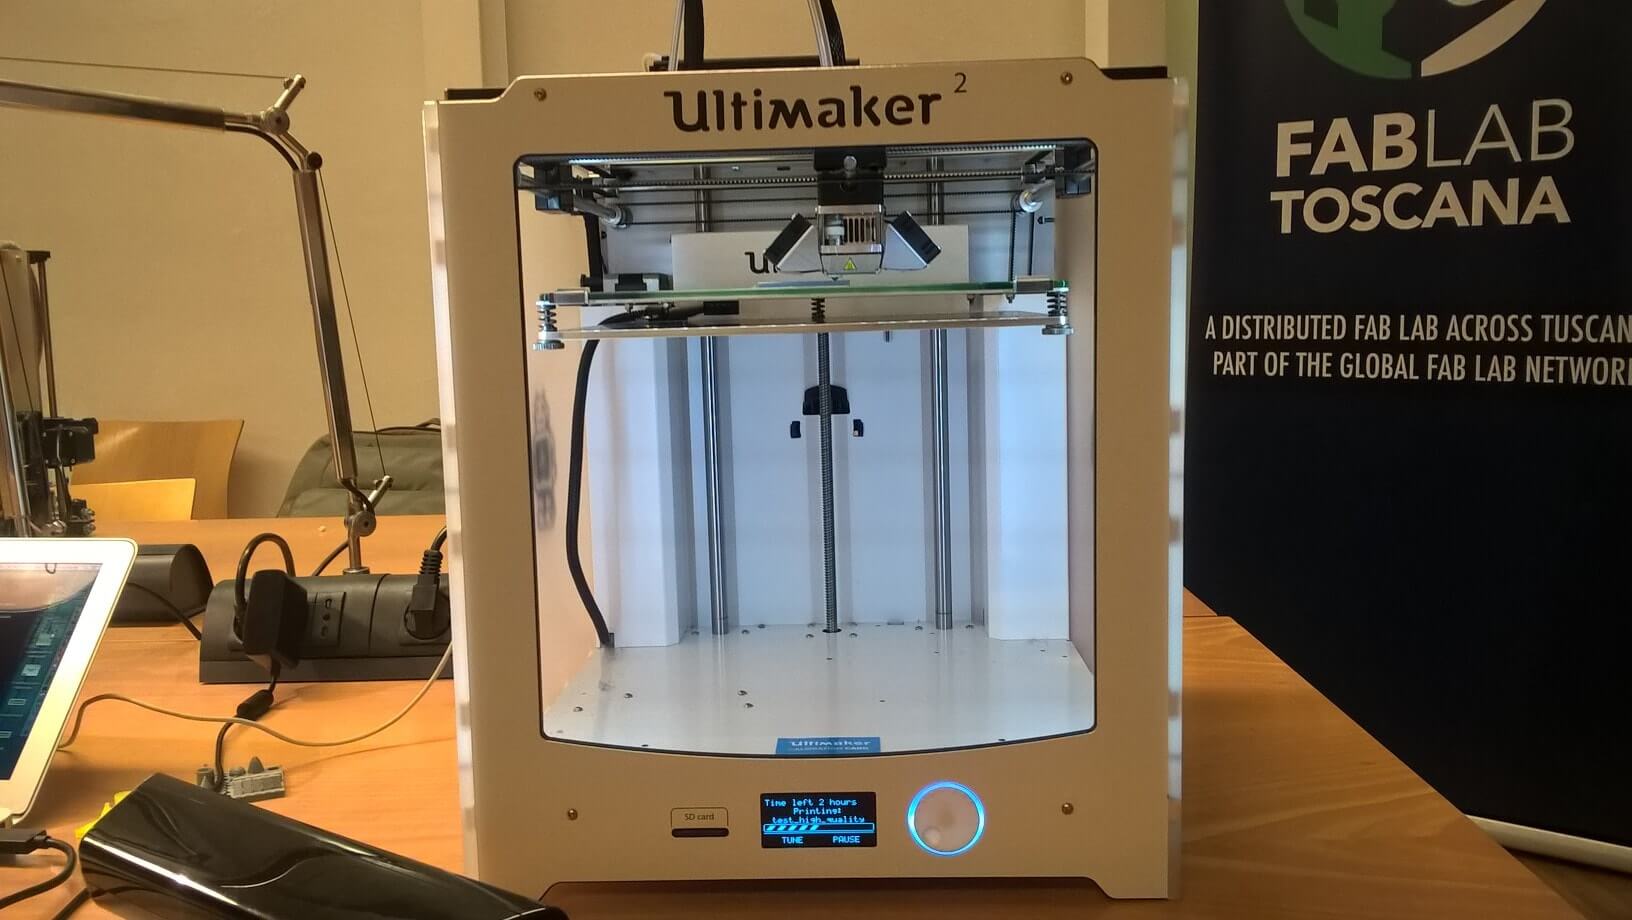
I used a Ultimaker 2 for my stamp. During the workshop we did, it was told that the Zortrex was one of the best machines, but the Ultimaker was a good halfway between speed and quality, so I went for it. This is the Ultimaker 2 of Diego, we use it in our Fab Lab:
Once I generated the .stl file with Antimony, I loaded it on Cura. Cura is a open-source software that generate the g-code. The g-code is then read by the 3D-printer, that uses it to stamp the model. Both the Ultimaker and the Lulzbot uses it, insted the Dreamer uses flashforge. I'm writing this, because these are the models we have in our Lab.
In this image you can see a visualization by layers of the model:
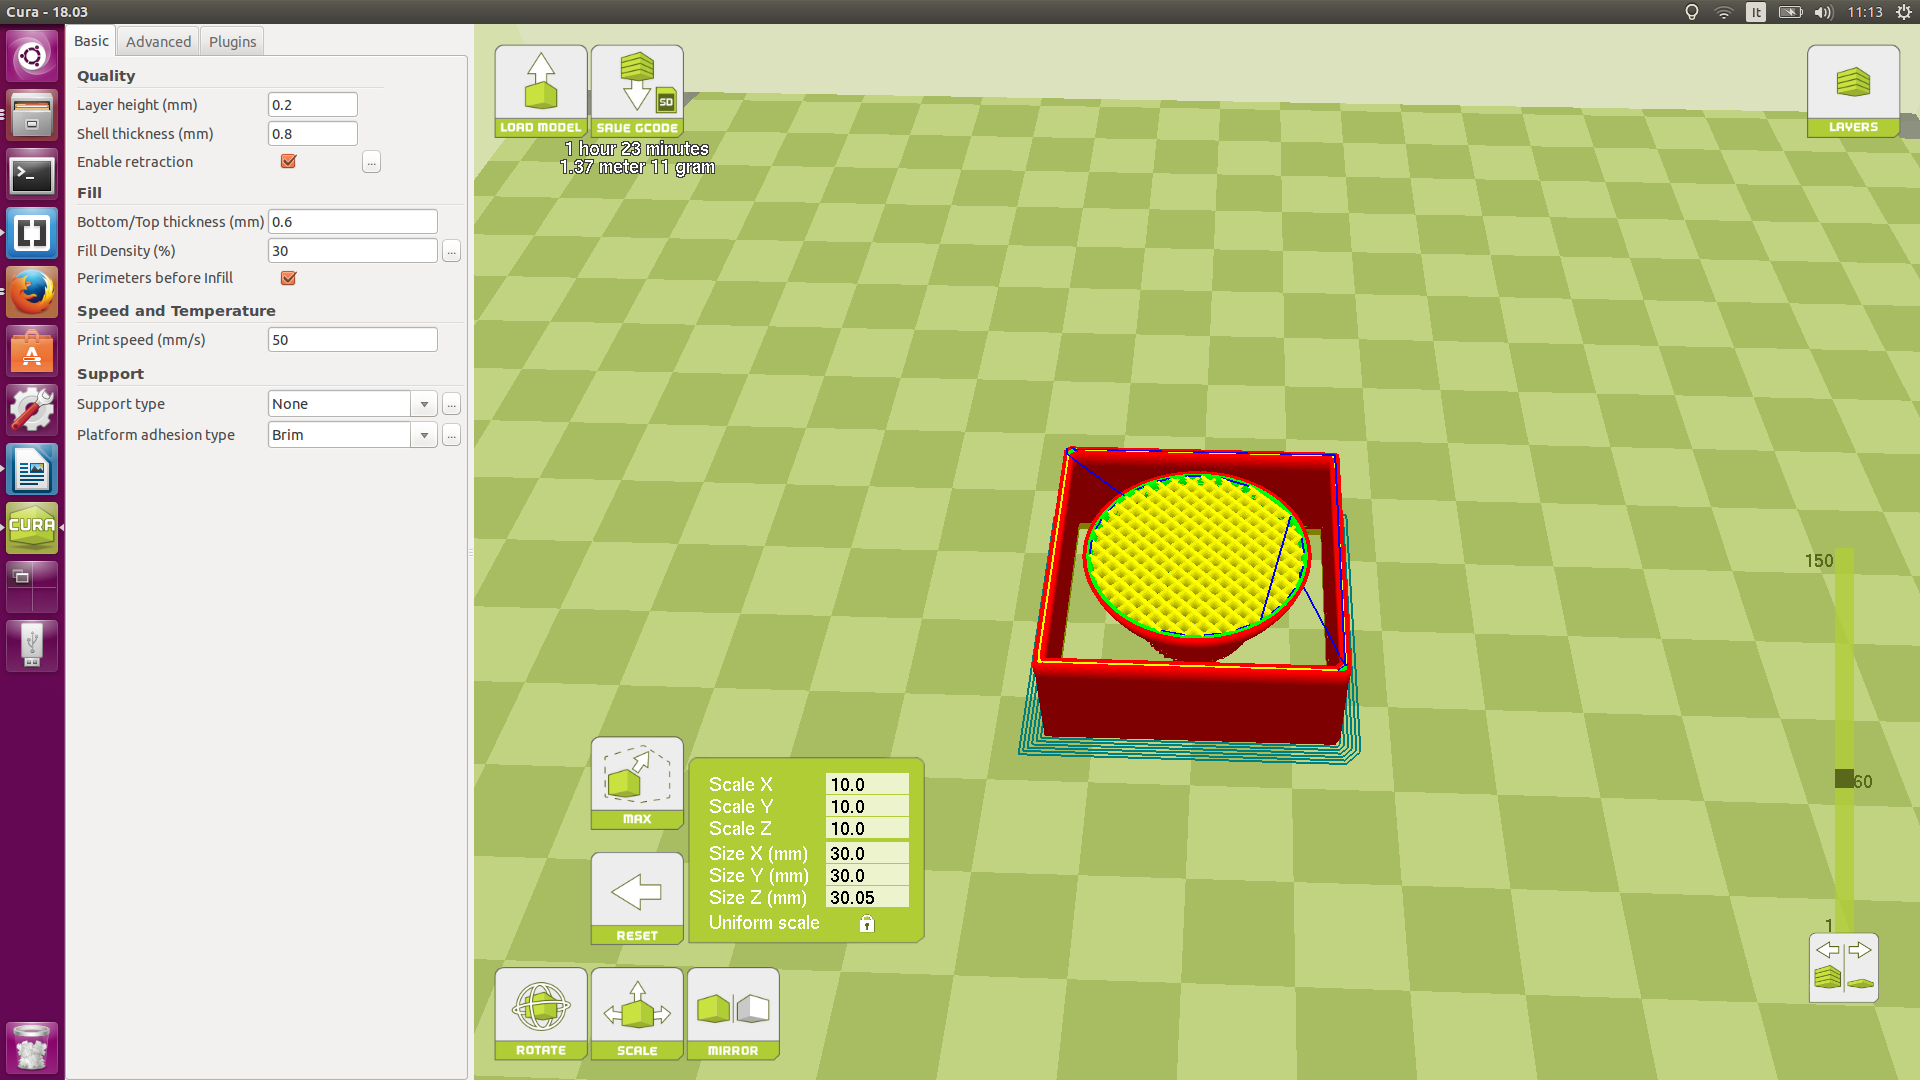 The red lines are the external perimeters, the yellow ones are the inner ones.
Here you can see a x-ray visualization of the mode:
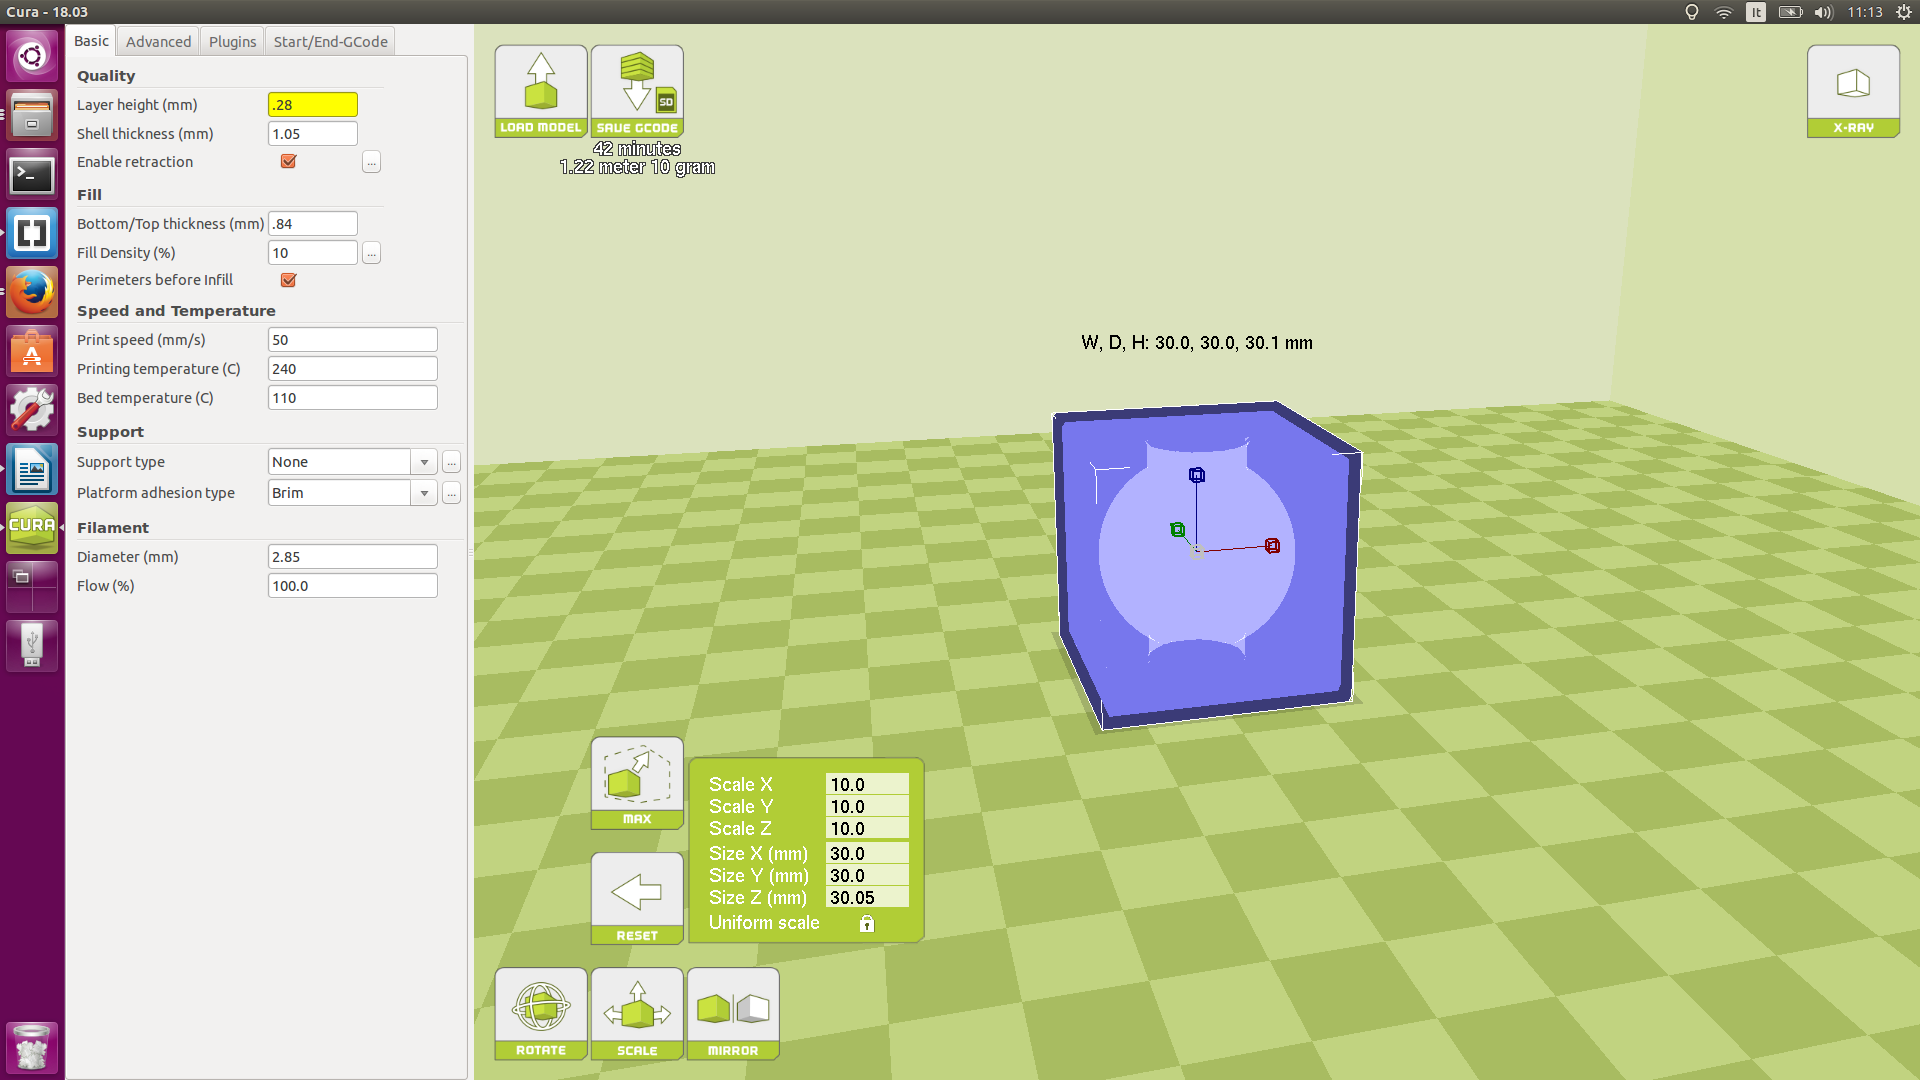 .
From this visualization you can see both the cube and the sphere at the same time.
Here's the model when it was about to finish:
.
From this visualization you can see both the cube and the sphere at the same time.
Here's the model when it was about to finish:
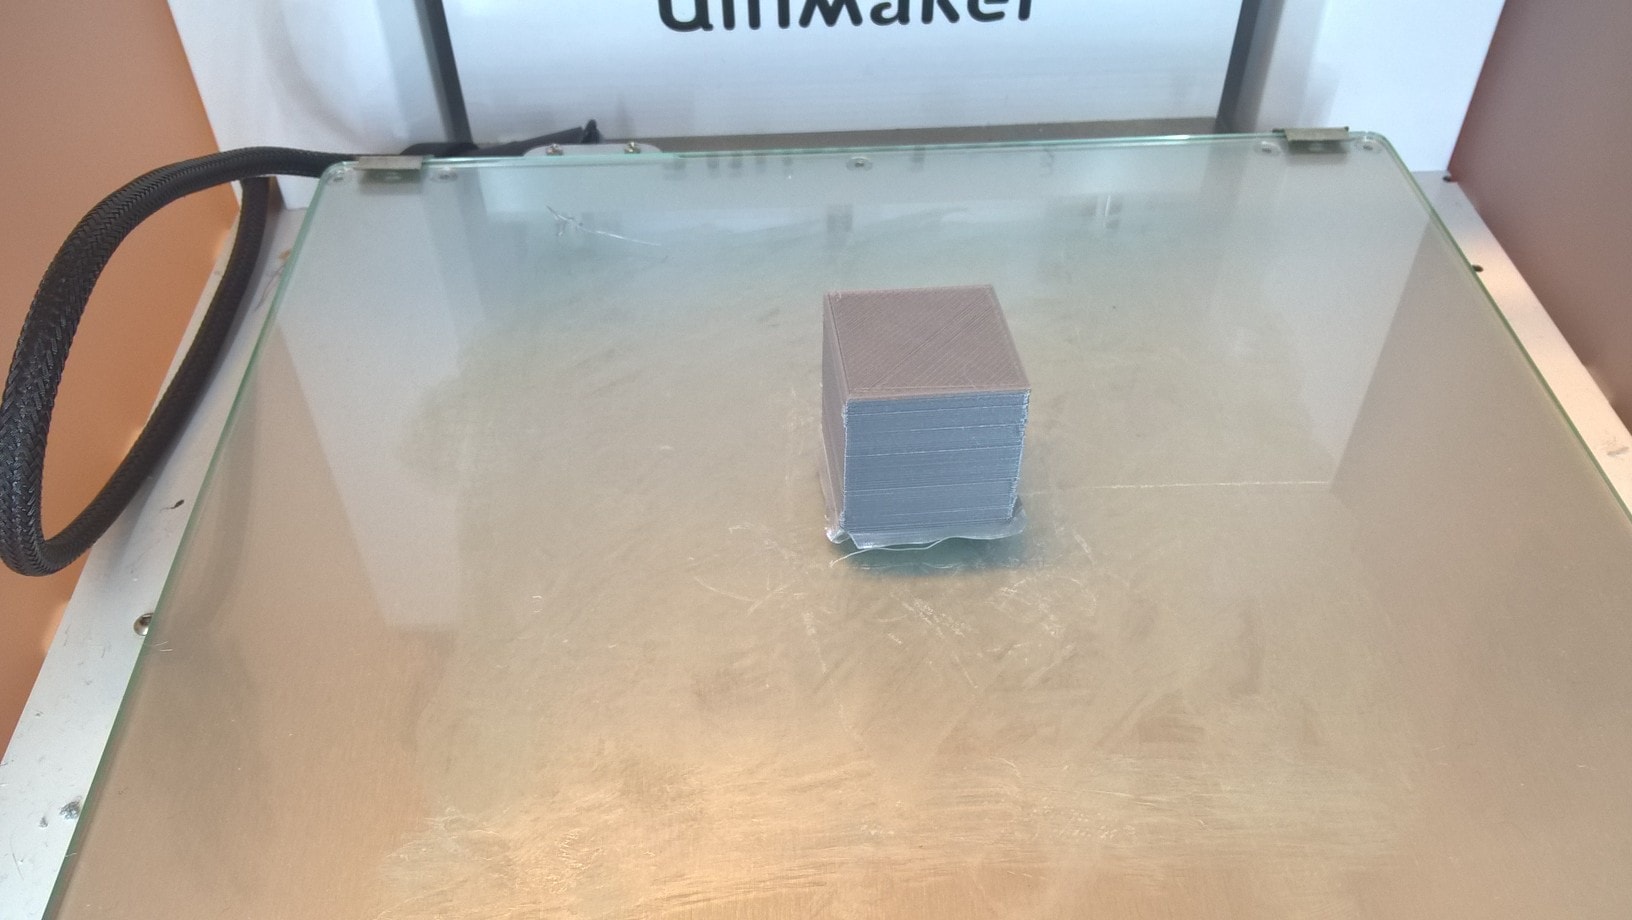
 Here's the model finished:
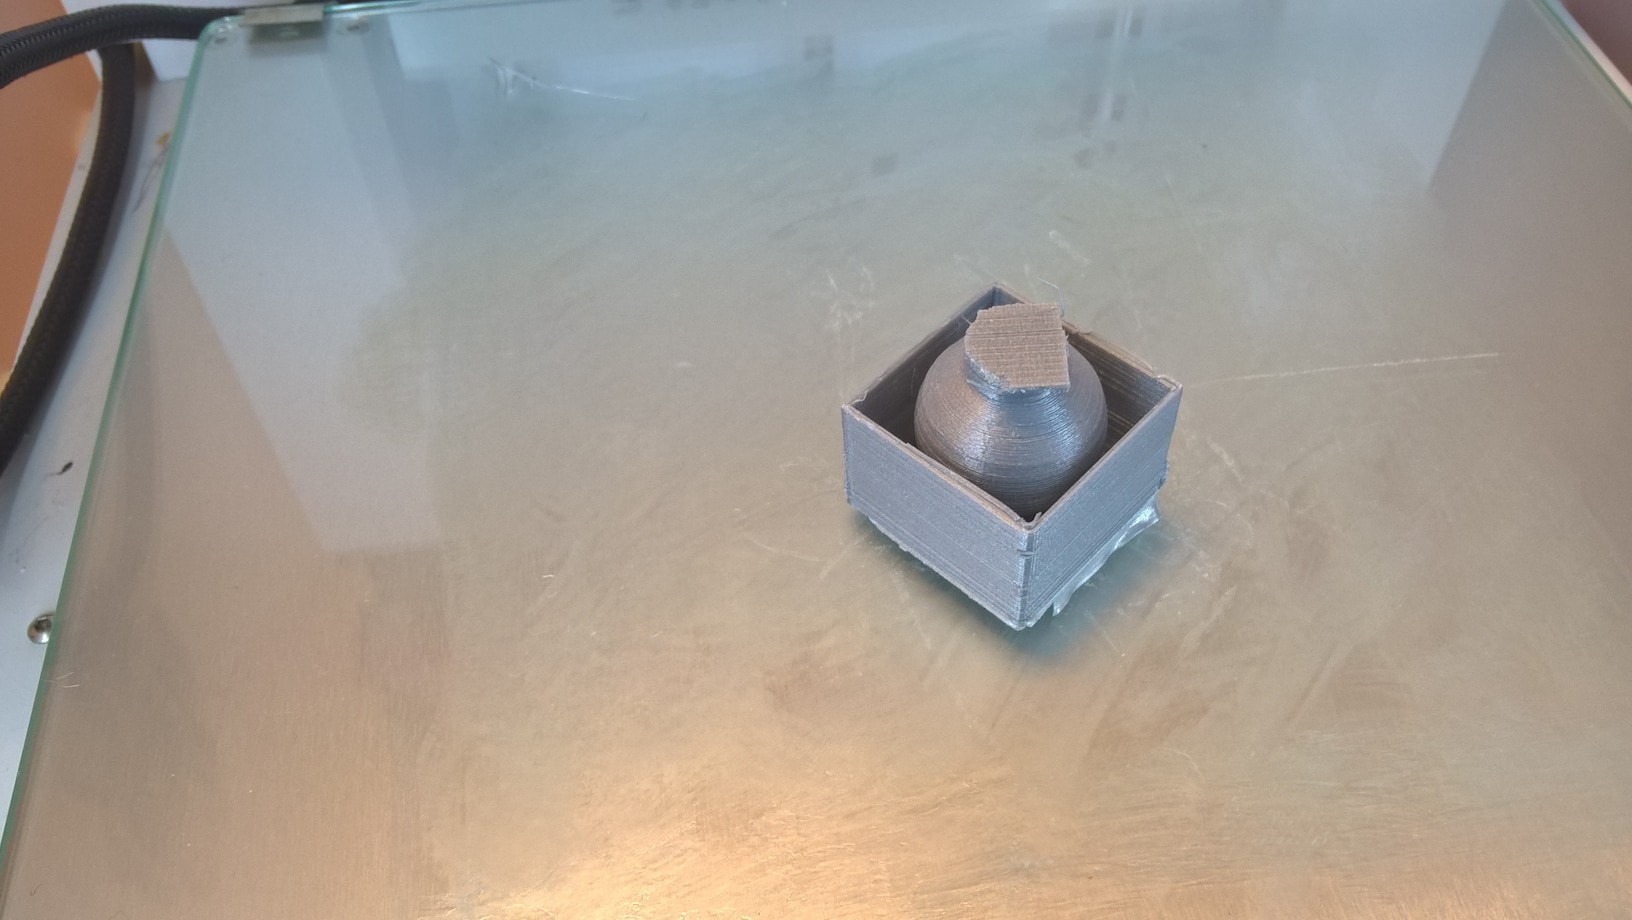
 Here's the model broken in half, just to see the inside:
3D scanning
Chiara2 by bangalore on Sketchfab
Then I uploaded the .stl file on Cura:
Once I generated the .gcode file, I uploaded it on the Ultimaker, and I printed it, here's the result:

Conclusions
I discover that I like 3D printers. I really liked everything I did with them, my goal now is to build my own 3D printer. It will take some times for sure, but it would be awesome for me if I do it. I can't say the same thing for the 3D scanning, maybe because of the bad experience with 123d Catch.
#Update (29-03-2016)
Download
Modello 3D Antimony
This work is licensed under a Creative Commons Attribution-ShareAlike 4.0 International License.