3D Moulding and Casting
Overview
Last updated: 28/06/2016
Objective Design a 3D mould, machine it, and cast parts from it.Learning outcomes 1.Design appropriate objects within the limitations of 3 axis machining; 2.Demonstrate workflows used in mould design, construction and casting; Have I... Explained how I made my files for machining? Shown how I made my mould and cast the parts? Described problems and how I fixed them? Included original design files and a ‘hero shot’ photos of the mould and the final object? Summary Last week I built three molds. The first one is a simple Cola bottle that I downloaded from Thingiverse. I made two molds with two different silicon rubbers and I poured liquid plastic. The second one is a simple soft robotics membrane. I directly poured the silicon into the wax mold. Eventually, at the end of the semester, I wanted to build something nicer and I made a small necklace.
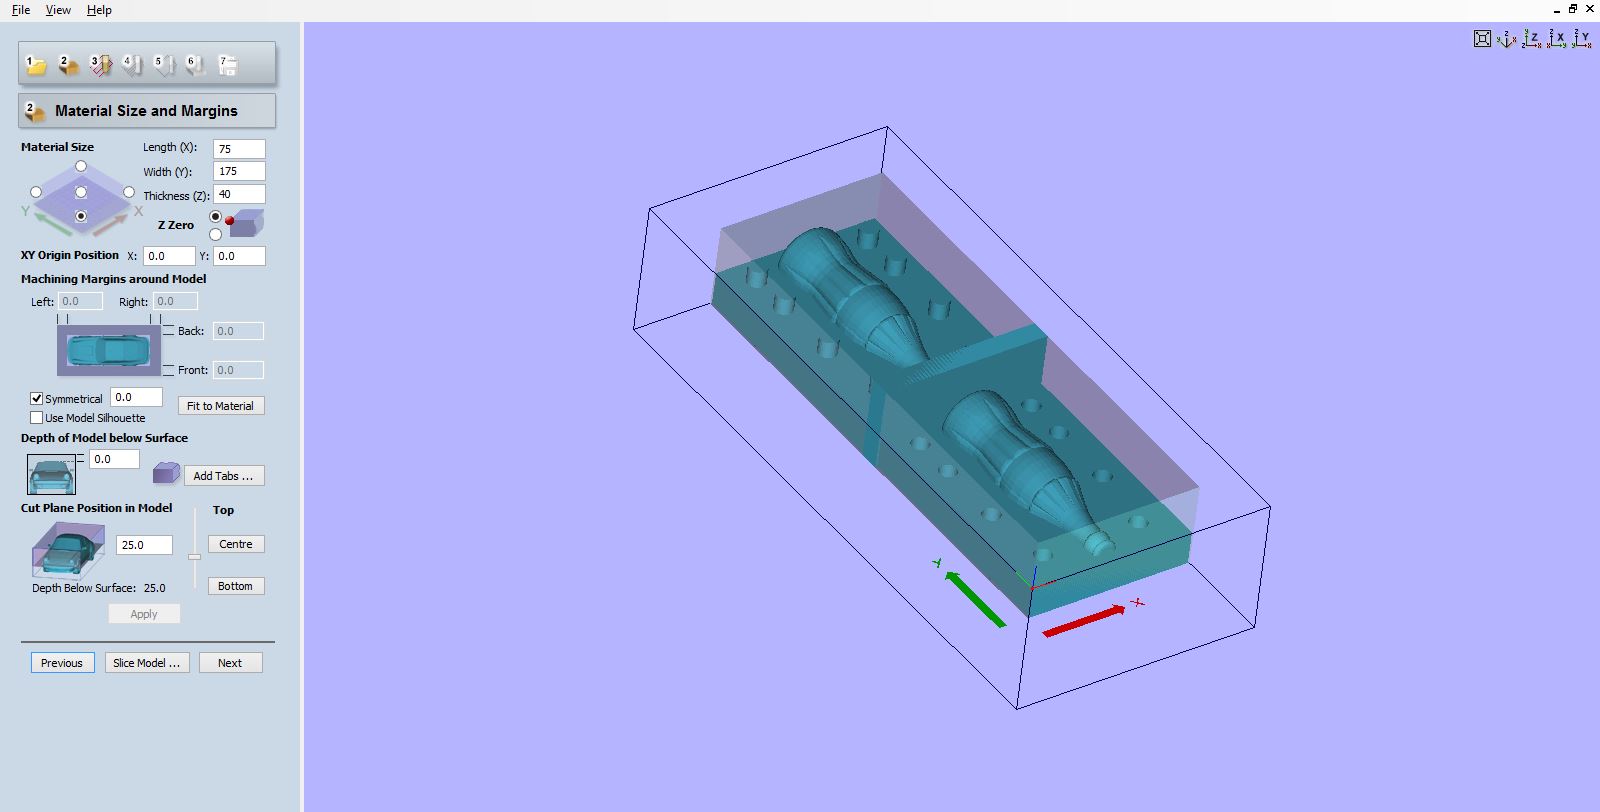
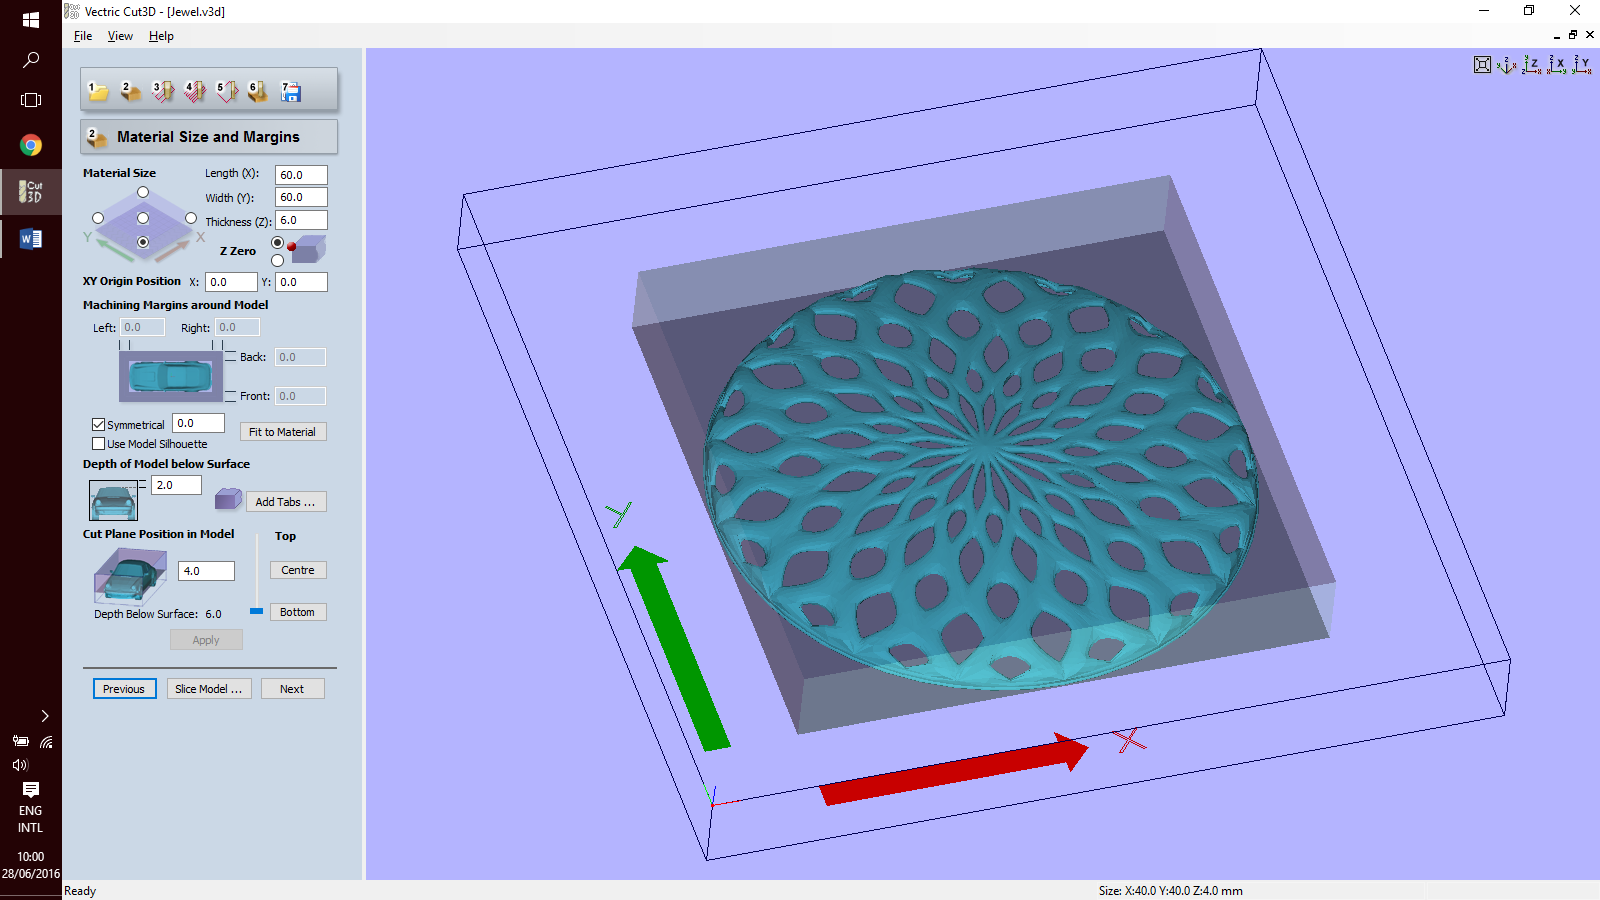
Cola Bottle: preparation I simply downloaded a cola bottle from Thingiverse, put the keys in and I moved on to Cut3D [1]. Cut3D is a cool software for preparing the milling files. It can be used both to prepare files for the Shopbot and for the Roland. The settings that I used are shown with the pictures below.
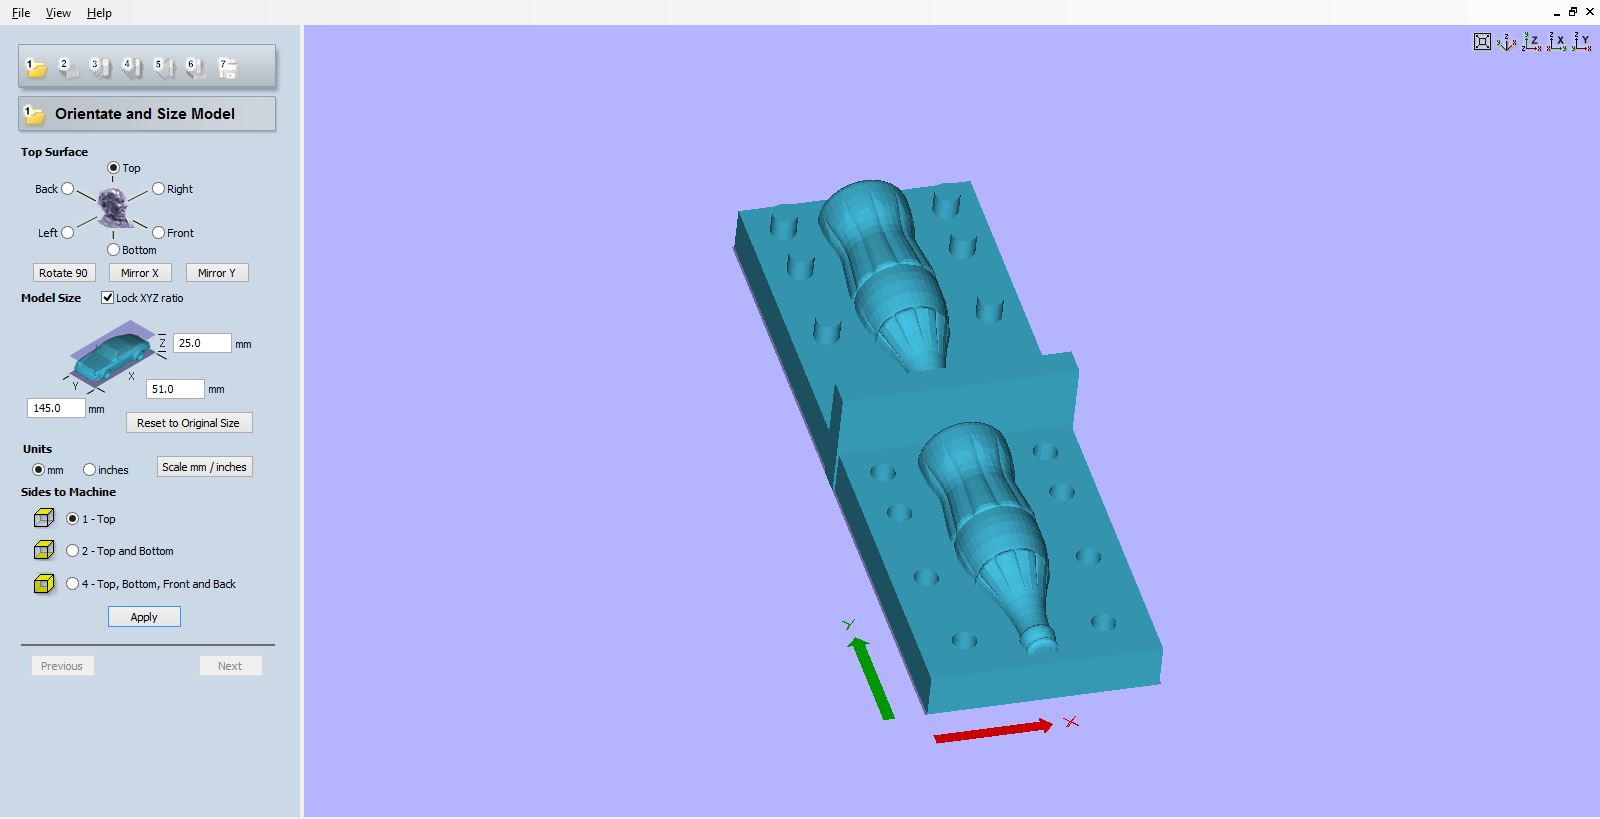

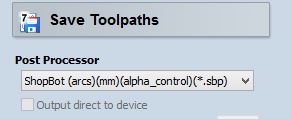
 You need to save to this format. If not, the spindle does not spin.
Cola Bottle: Machining After the wax was mounted on the Shopbot, I did set the X-Y-Z axis manually to the corner of the brick.
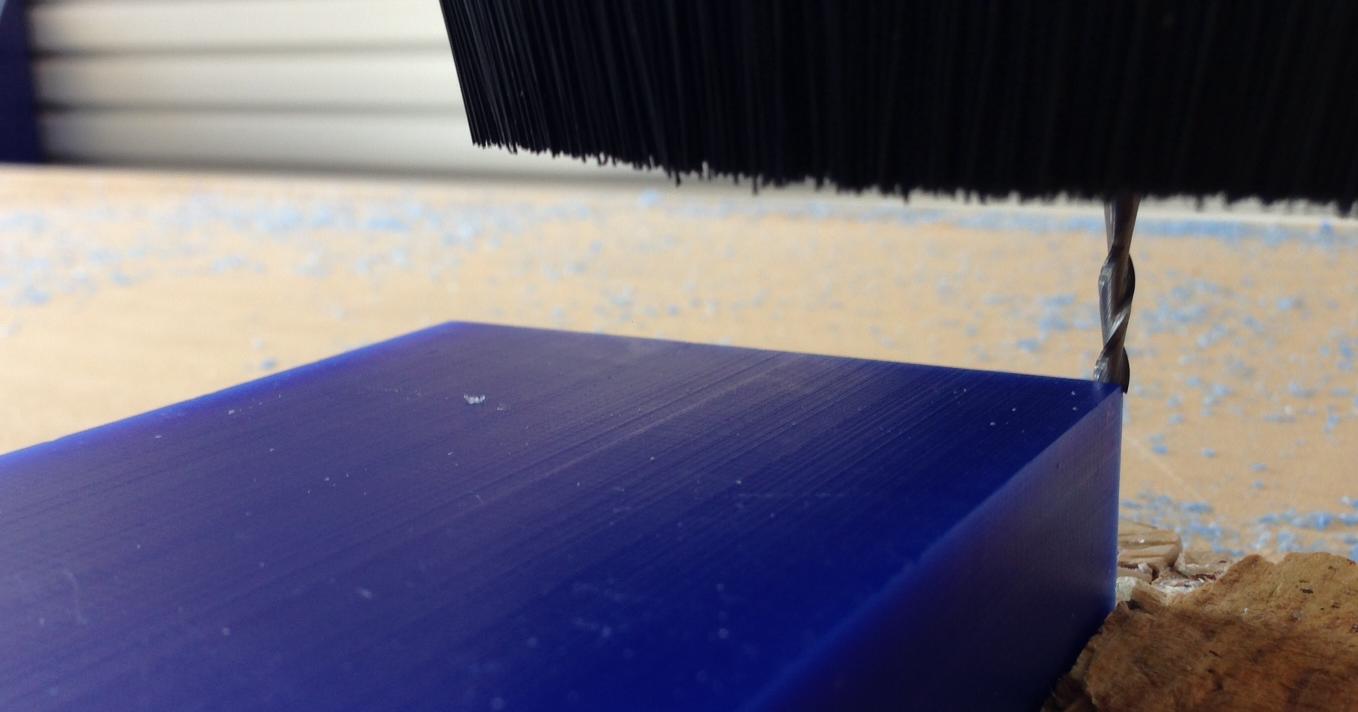 The rough cut was made with a 1/8 inches end mill in the X direction only.
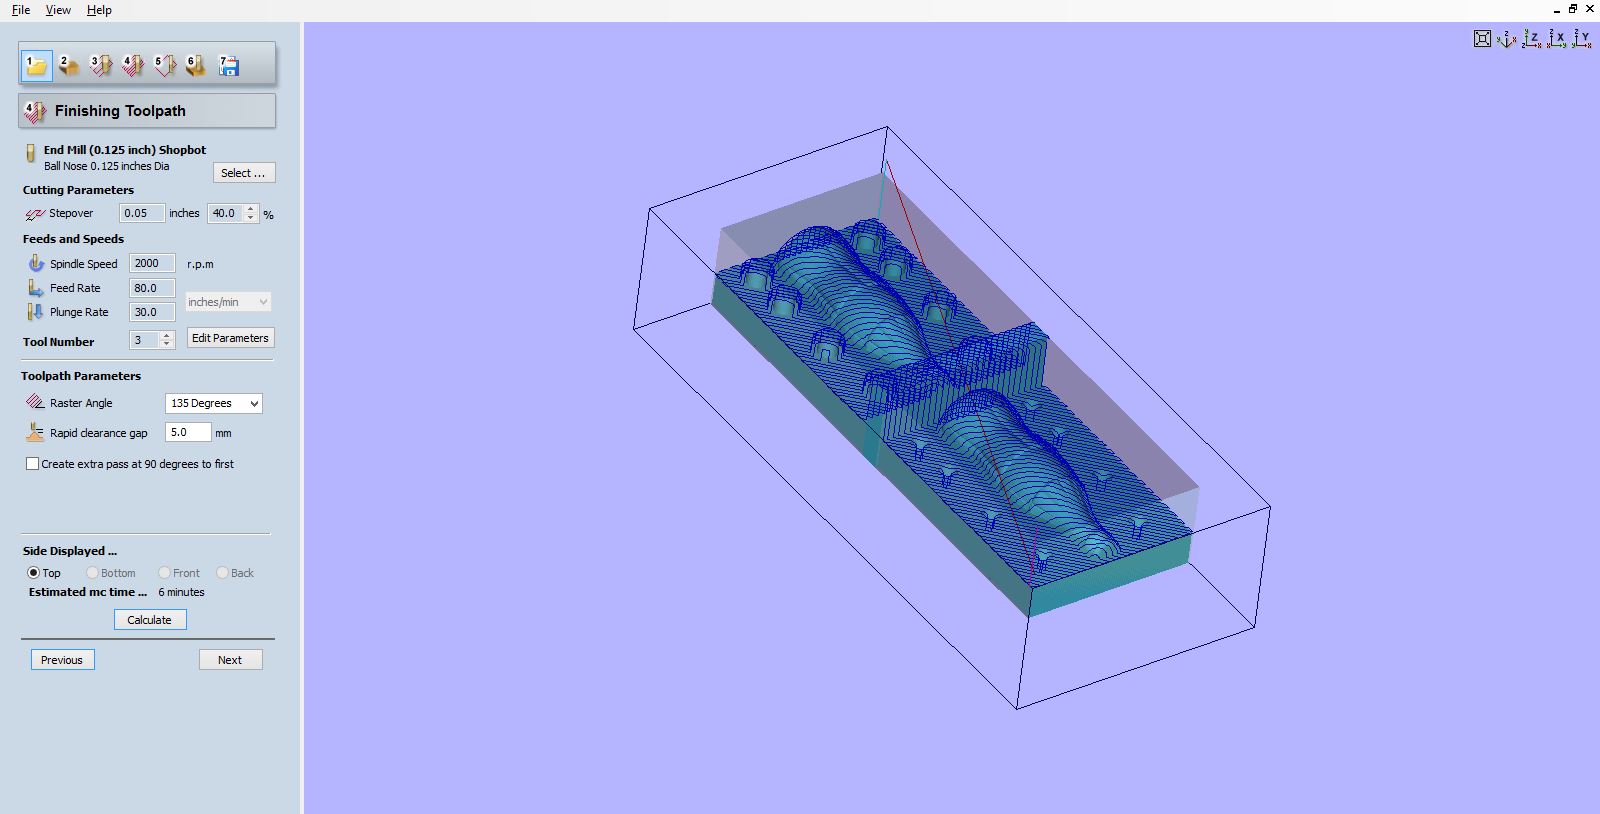
 The finish cut was made with a 1/8 inches end ball mill in the X direction only.
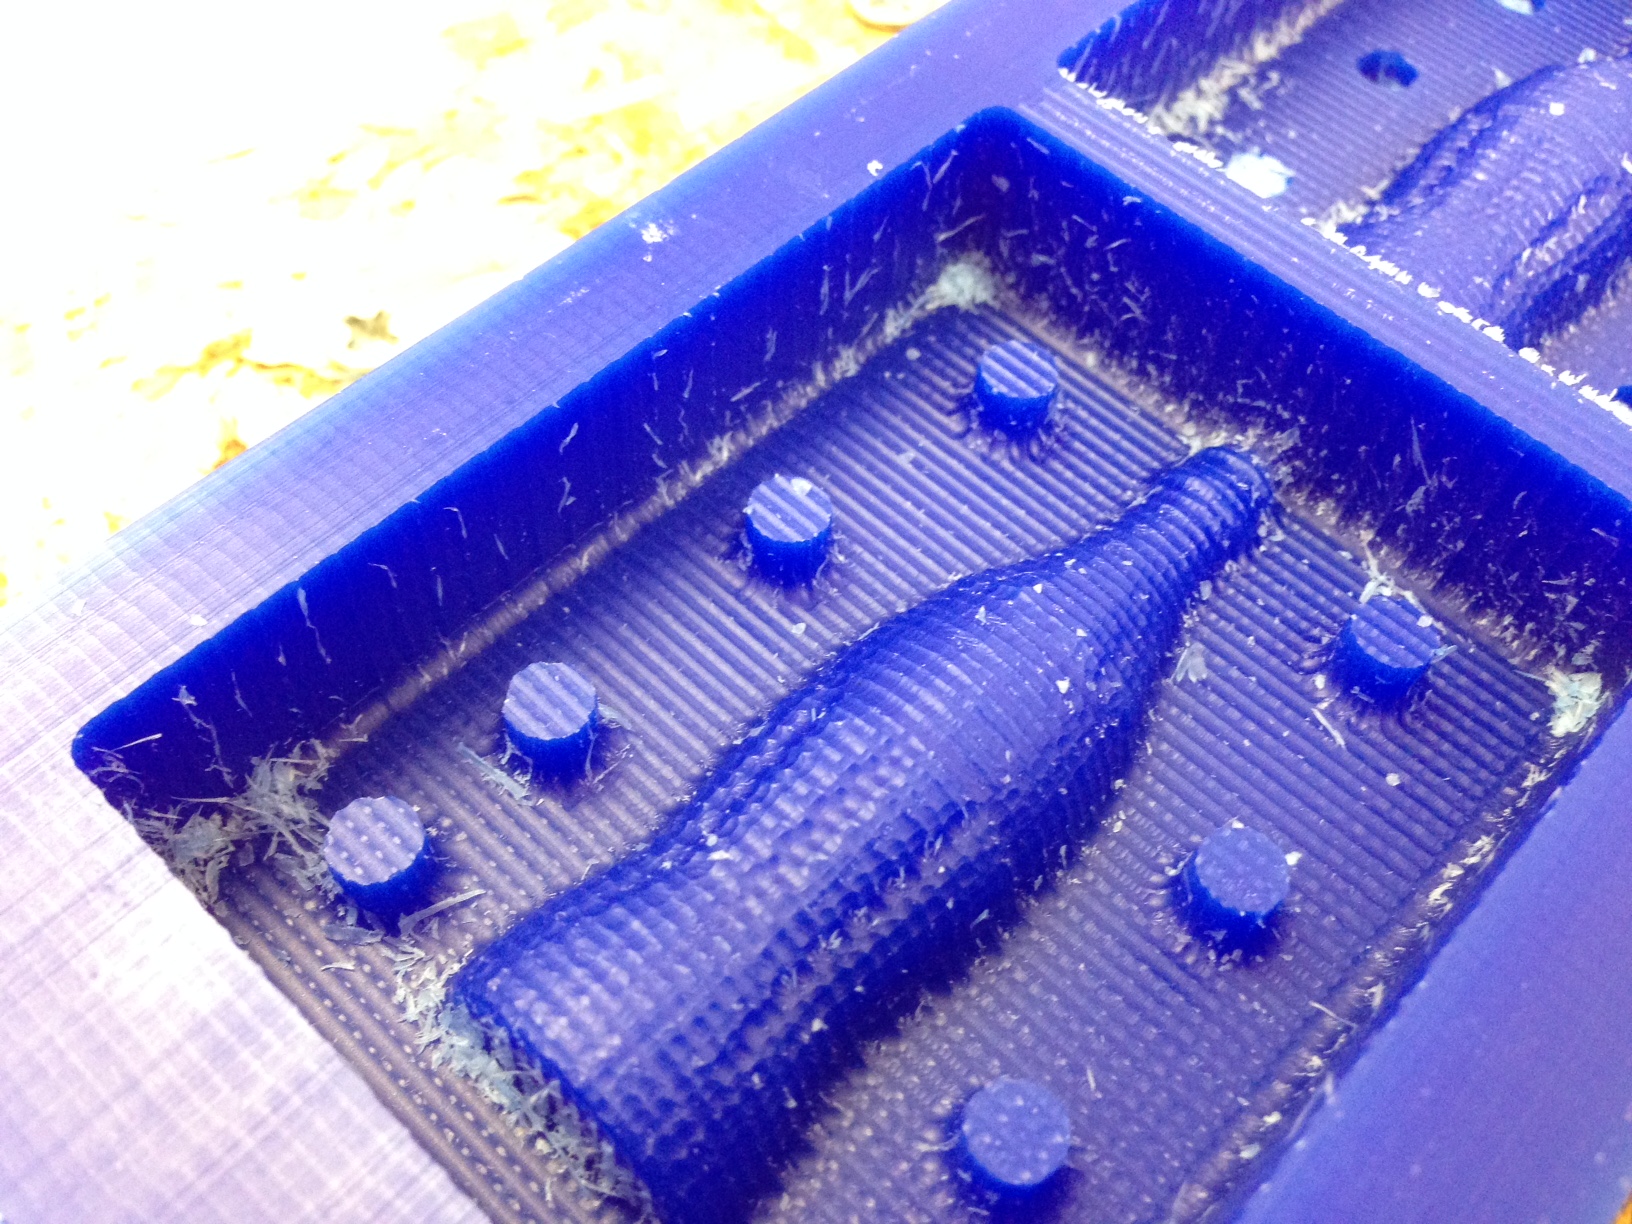
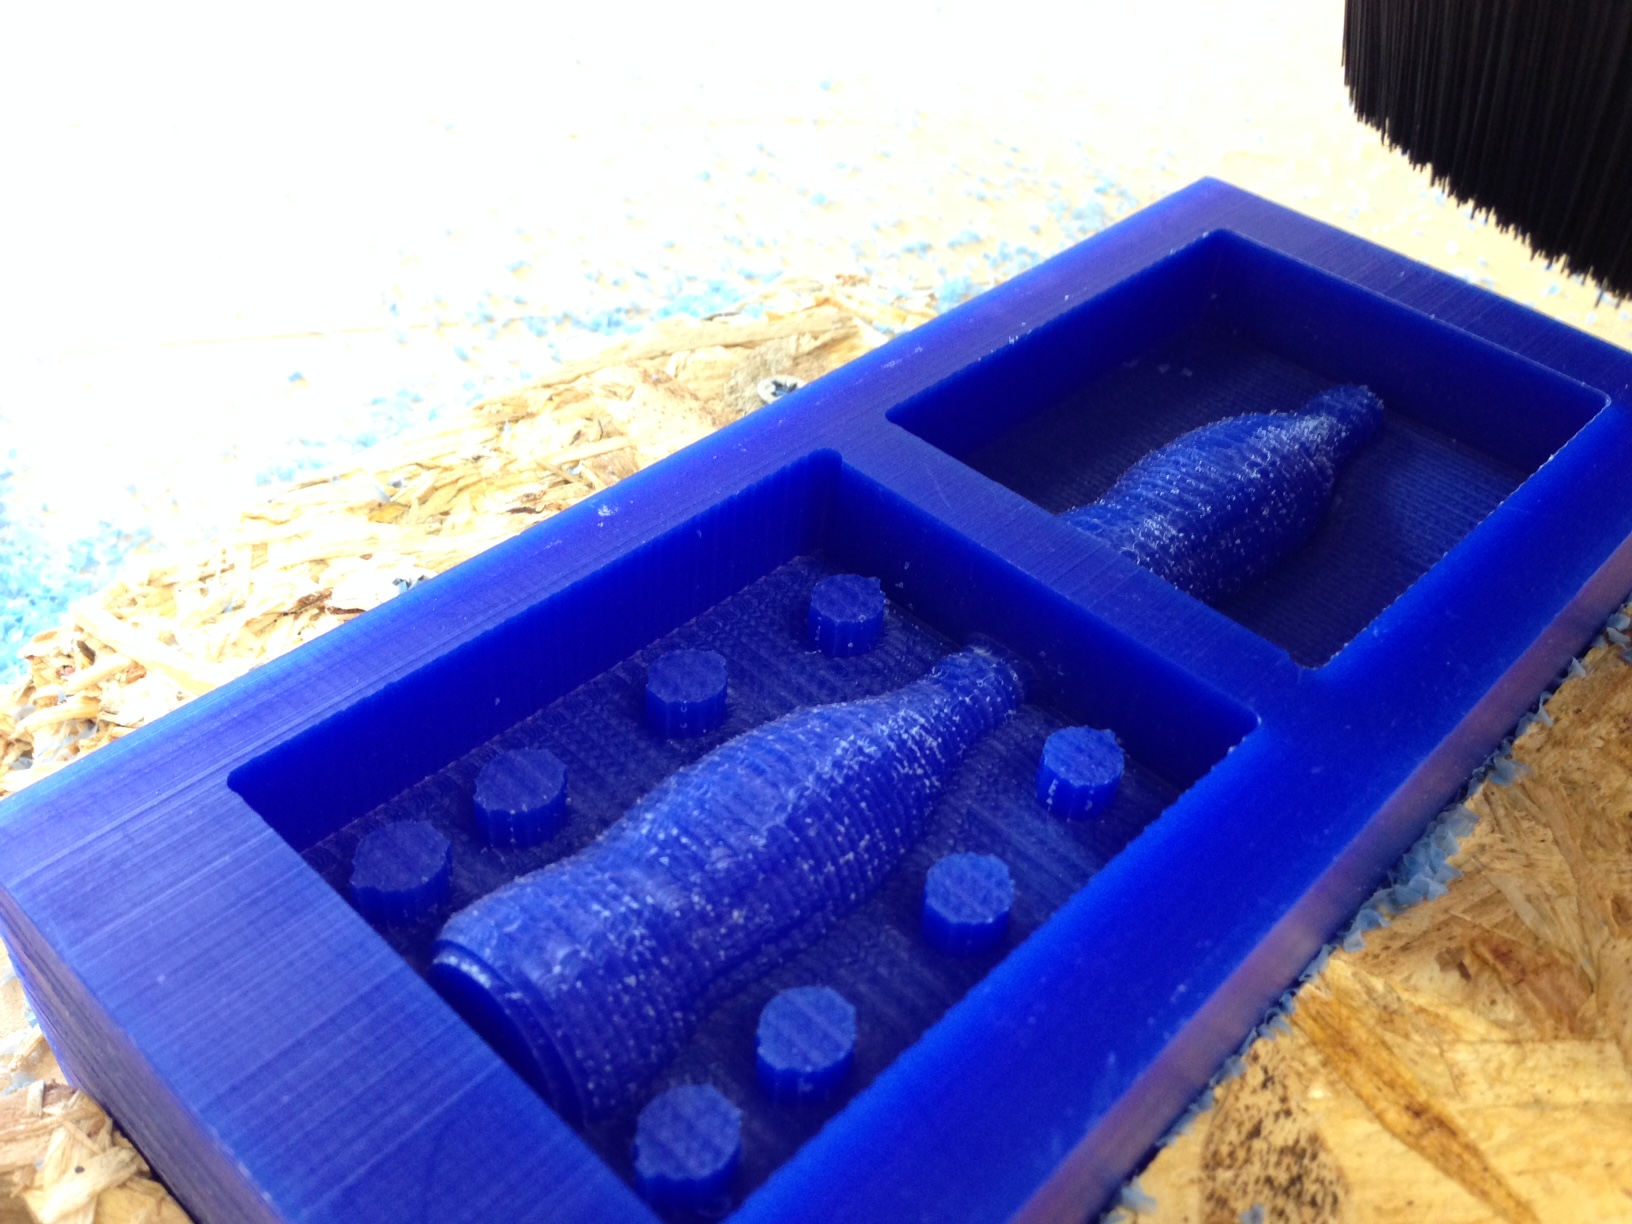
Cola Bottle: moulding and casting I made the mould with OOMOO 25, that cured in only 90 minutes, more or less. The mould was actually quite soft, and I found it difficult to perfectly allign the two valves because the keys would move too much. After that, I poured the liquid plastic.
 The result is quite okay as as first try, but it is actually not acceptable. Definitively setting the stepover to 40% saved time but produced not enough details.

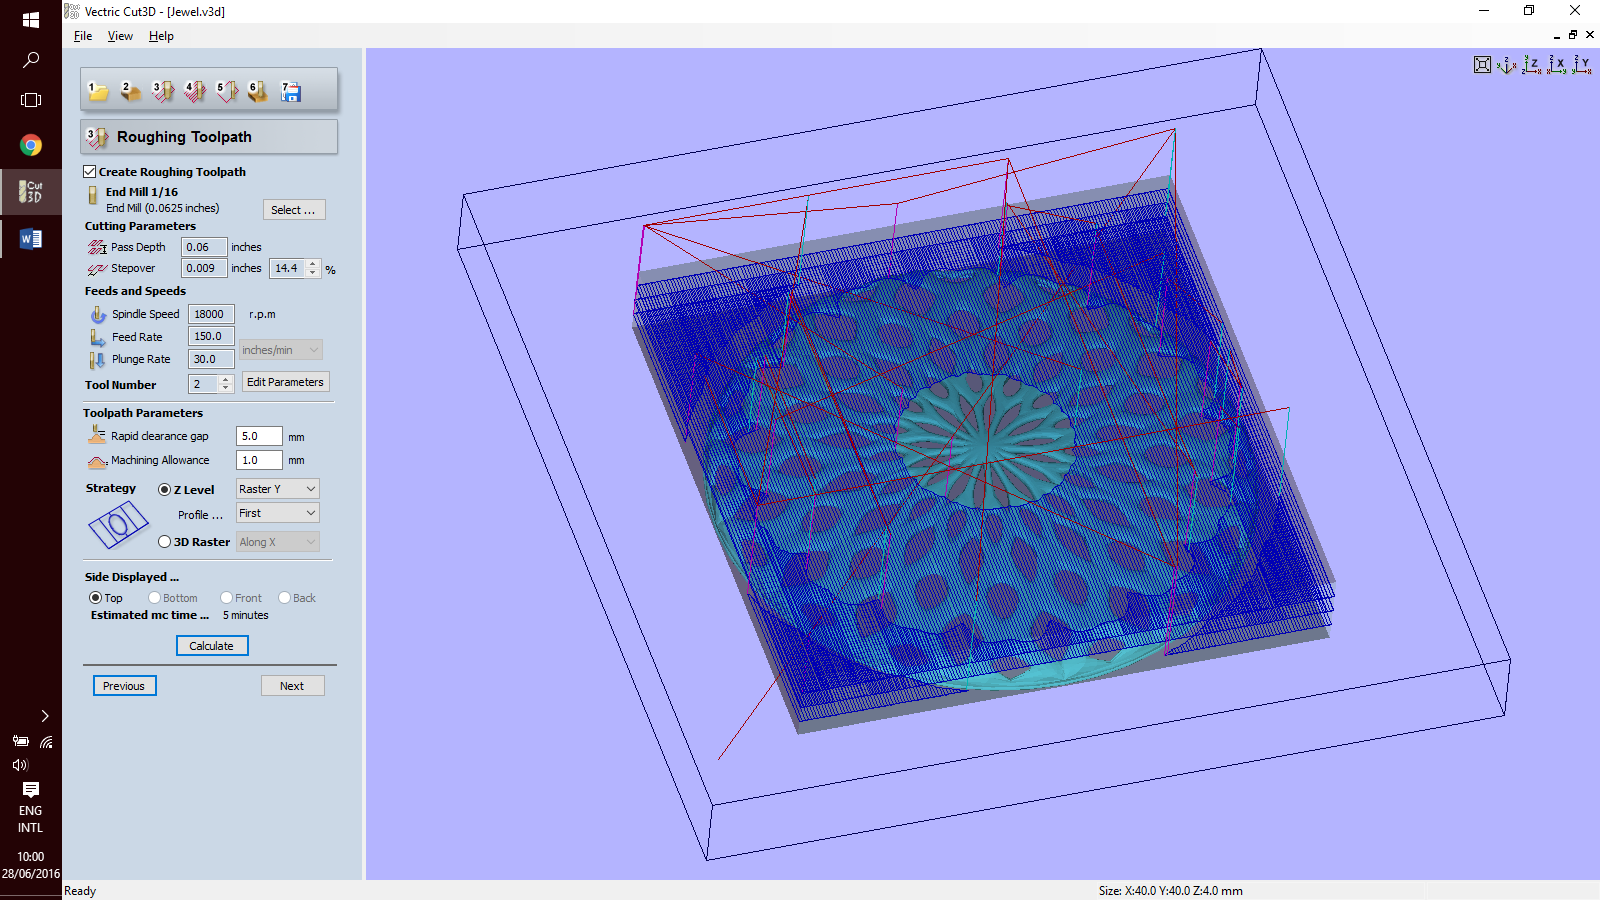
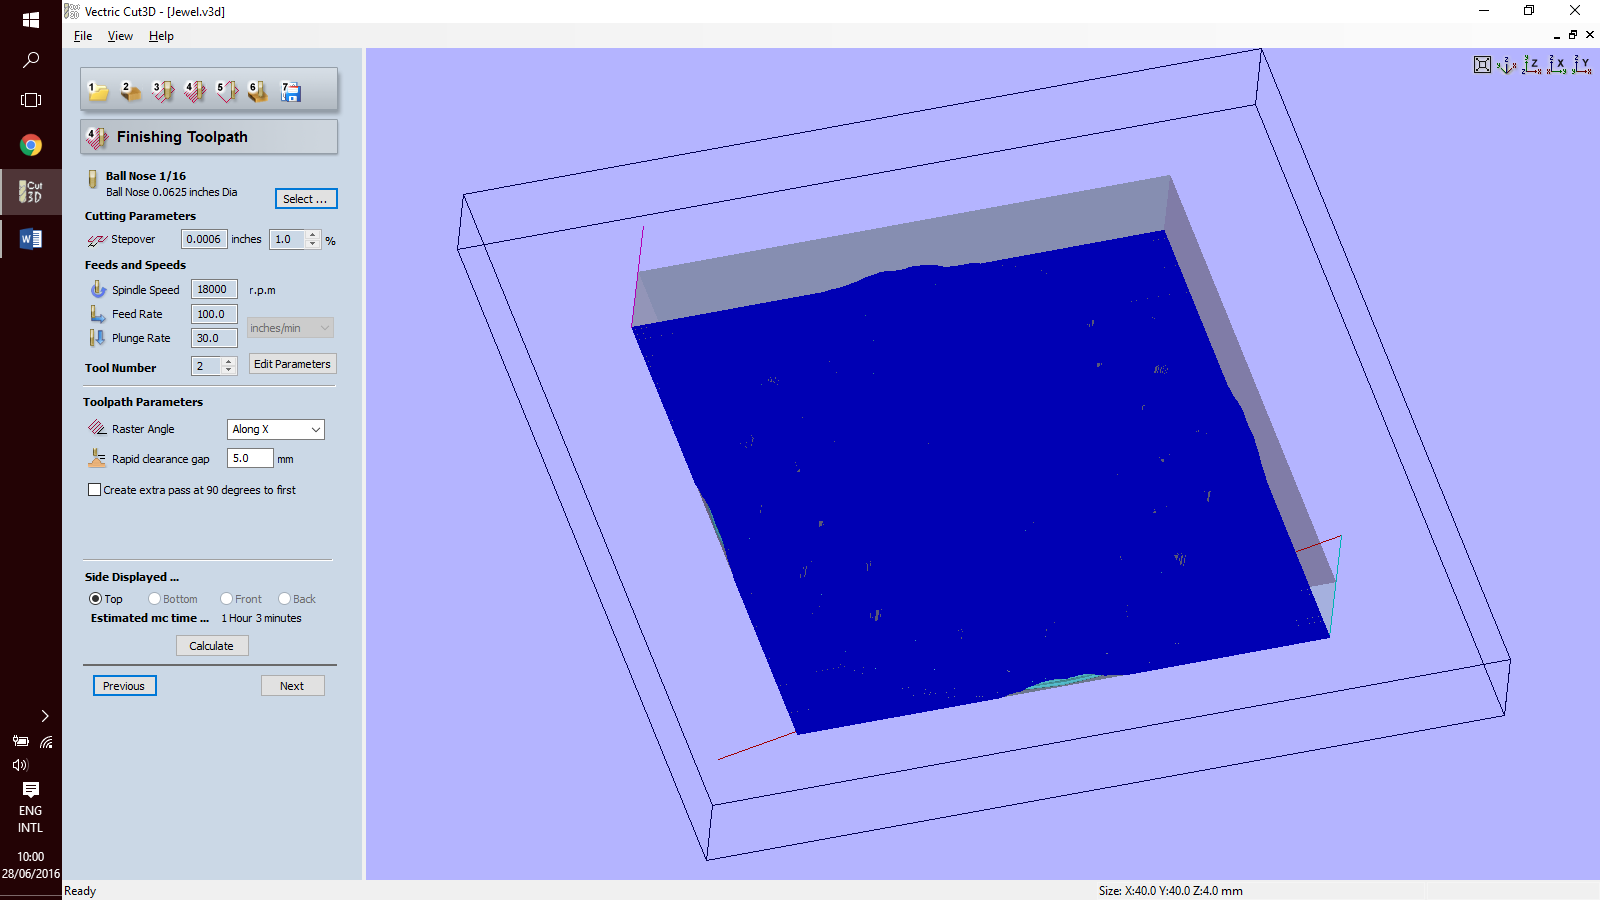
Necklace: preparation After the first try I wanted to manufacture a better object, so that I could really compare the quality of printing with the quality of moulding and casting, also time-wise. I chose this simple necklace, that has a lot of tiny details though. Since I still wanted to improve my skills with the Shopbot, I "borrowed" the 1/16 mills from the Roland. For the finishing toolpath I used a stepover of 1% this time and it really made a difference, both in terms of time and quality.

Necklace: manufacturing This time manufacturing took a lot of time. Approximately the Shopbot needed 1 and a half hour to machine both the roughing and the finishing toolpaths. After all, it is just a 60x60mm object!
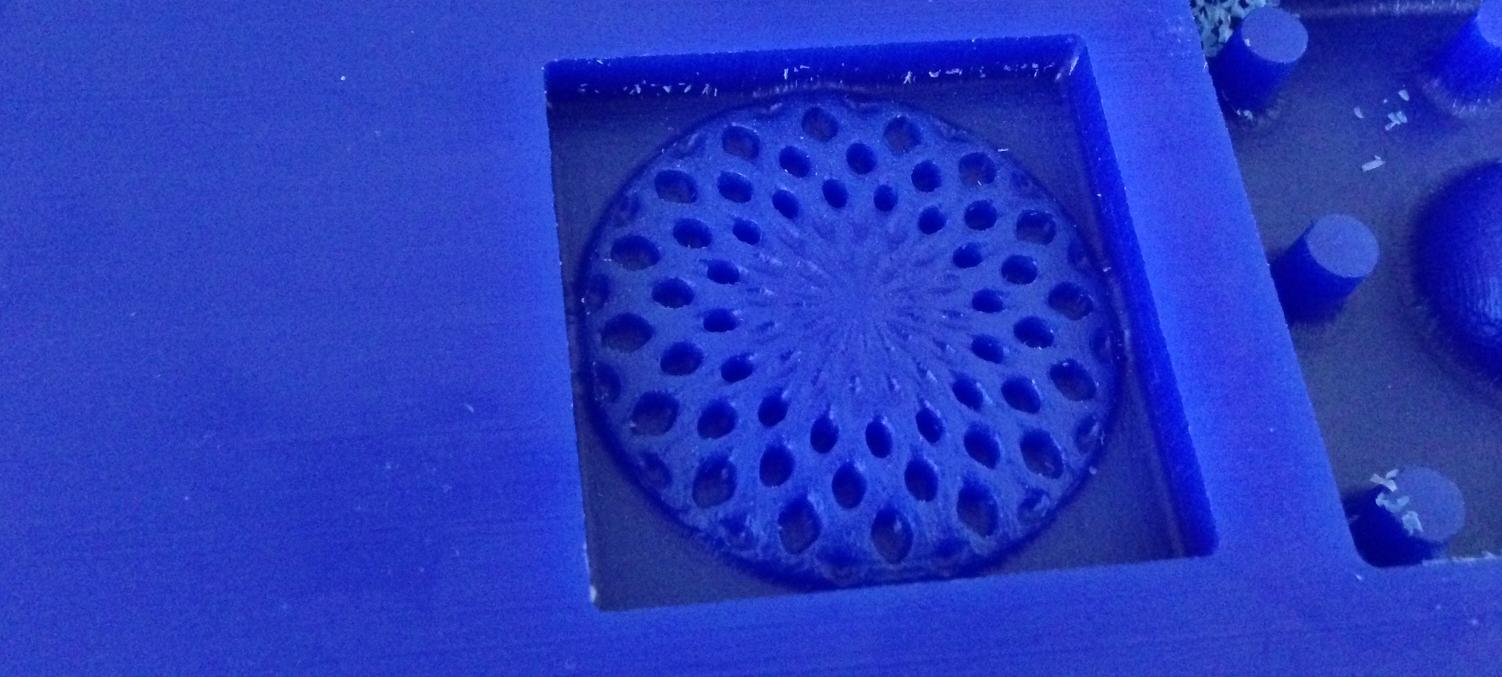 Pouring the OOMOO 25 was quite a pain this time. All the tiny holes were difficult to fill, especially because the air would not flow out. I used my fingers to actually push the material into the gaps. It did help a little bit.
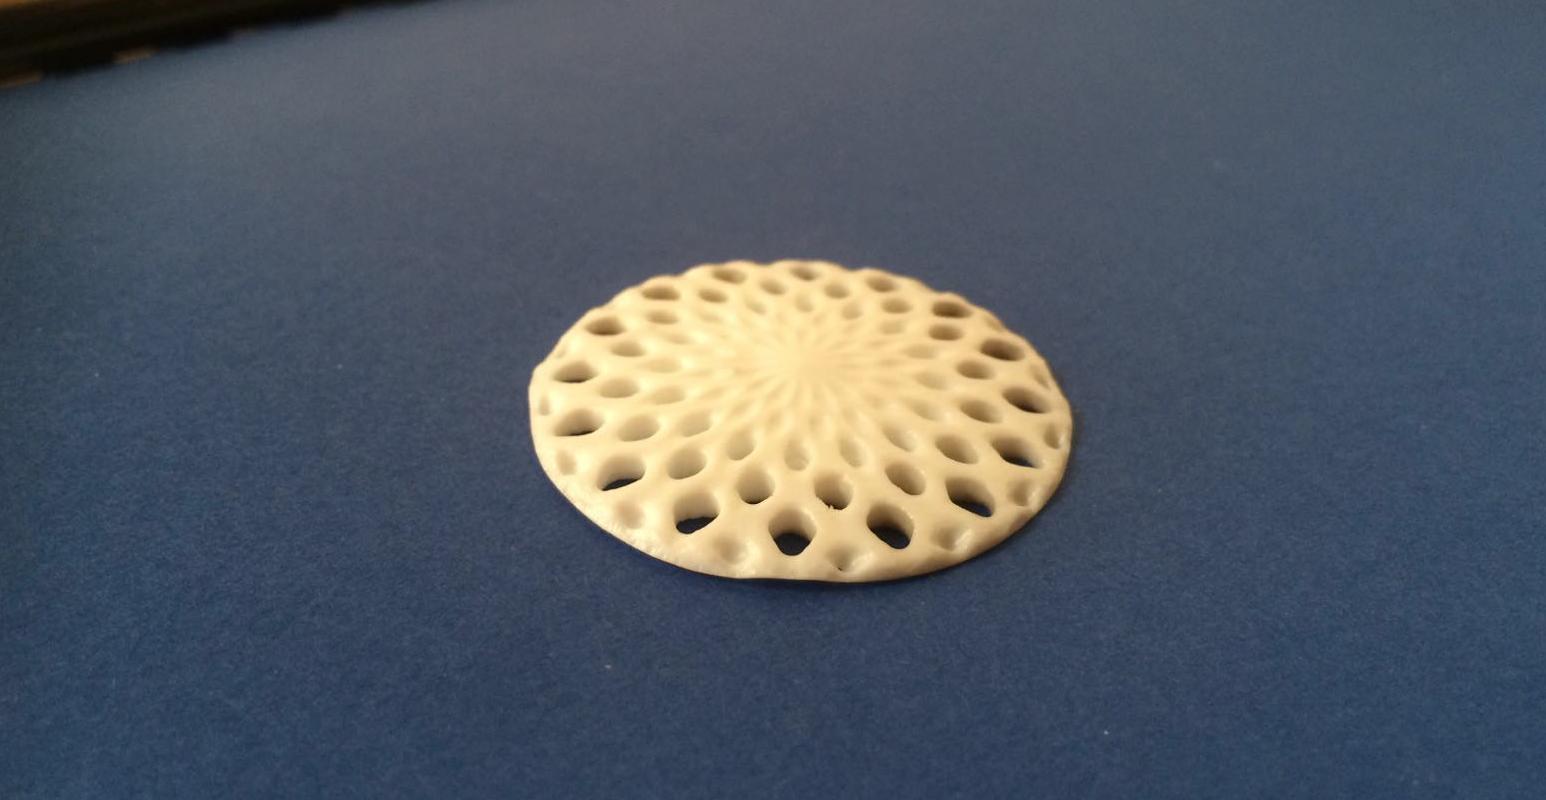
 Below are the picture of the first try on the right, where I just poured material on top of the wax. On the left, instead, I pushed it down with my finger.
 Overall, the result is quite cool I believe!
Soft Robotics: preparation During this week I focused on soft robotics. It was meant to be a preliminary research into materials/techinques for executing my final project. I mainly looked at three places when I was gathering information: 1.The workflow of Sabina during FabAcademy 2015, as explained here; 2.Harvard's toolkit; 3.Inspirational video1 and video2. Below is the picture of the rough technical drawings of PnetNets. I started from there.
 Eventually, I took the risk of designing my own toolkit, made of 2 membranes in total and 1 air chamber. I wanted to have a small object that can be actuated and move a bit like a worm.
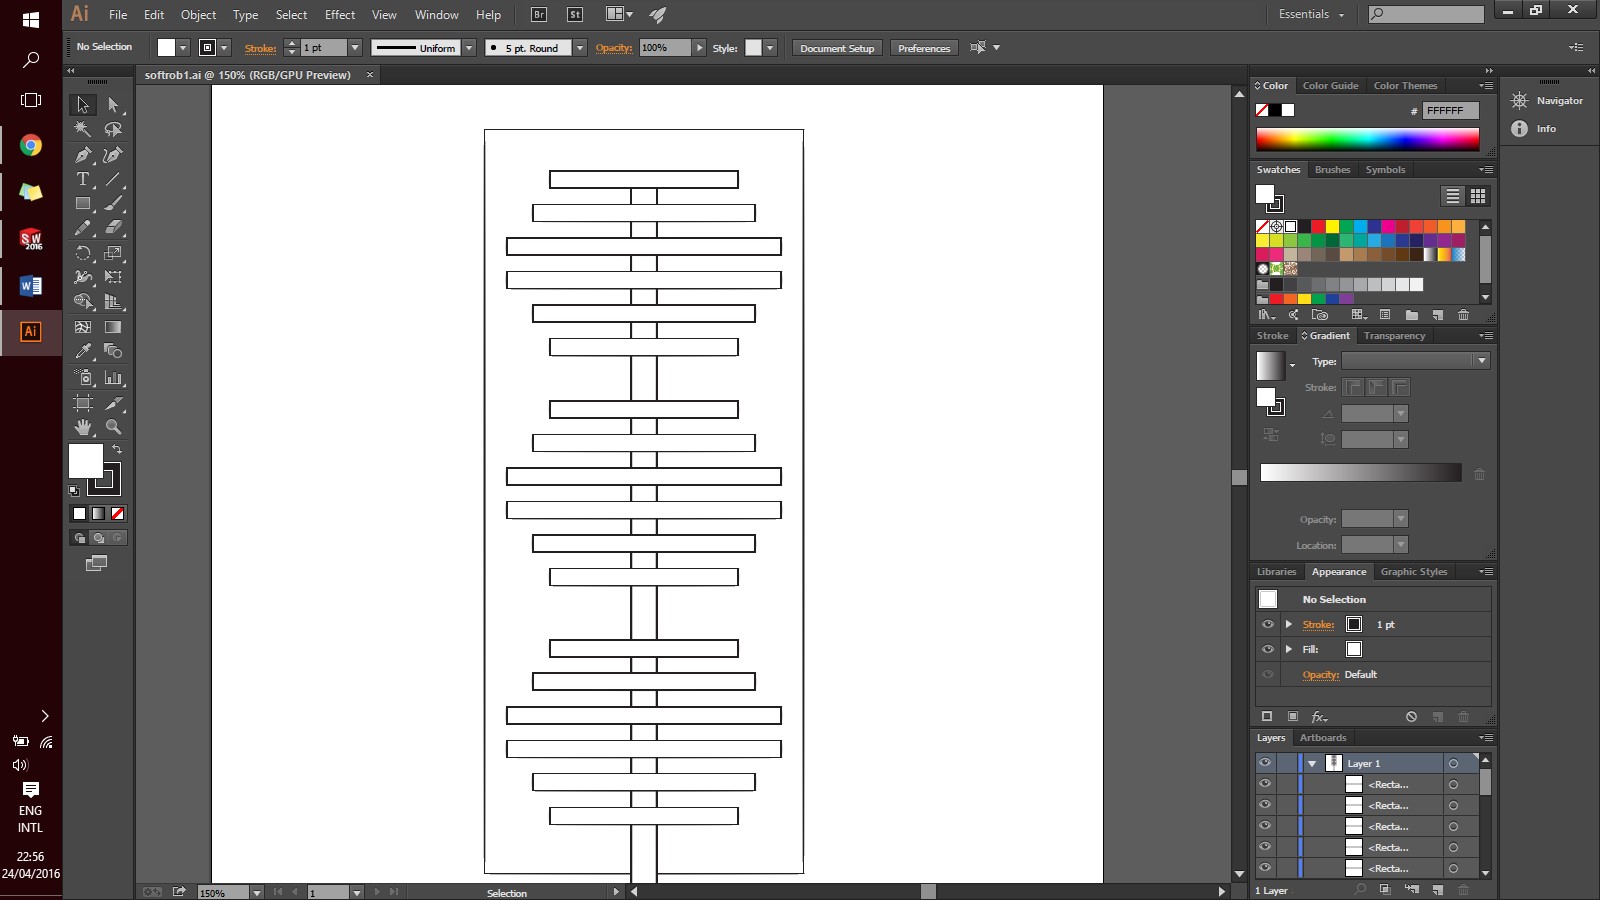
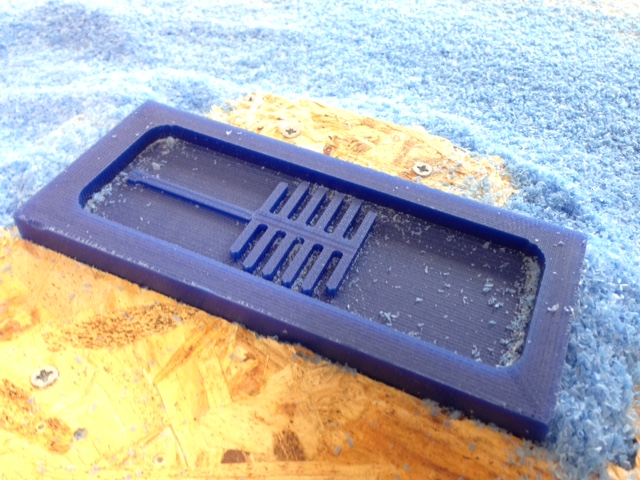
In the first place I wanted to visualise the pattern of the air chambers that I wanted to design [2]. It turned out to be quite simple. As shown below, there are three identical chambers displaced on the whole lenght of the wax block (175x75mm).
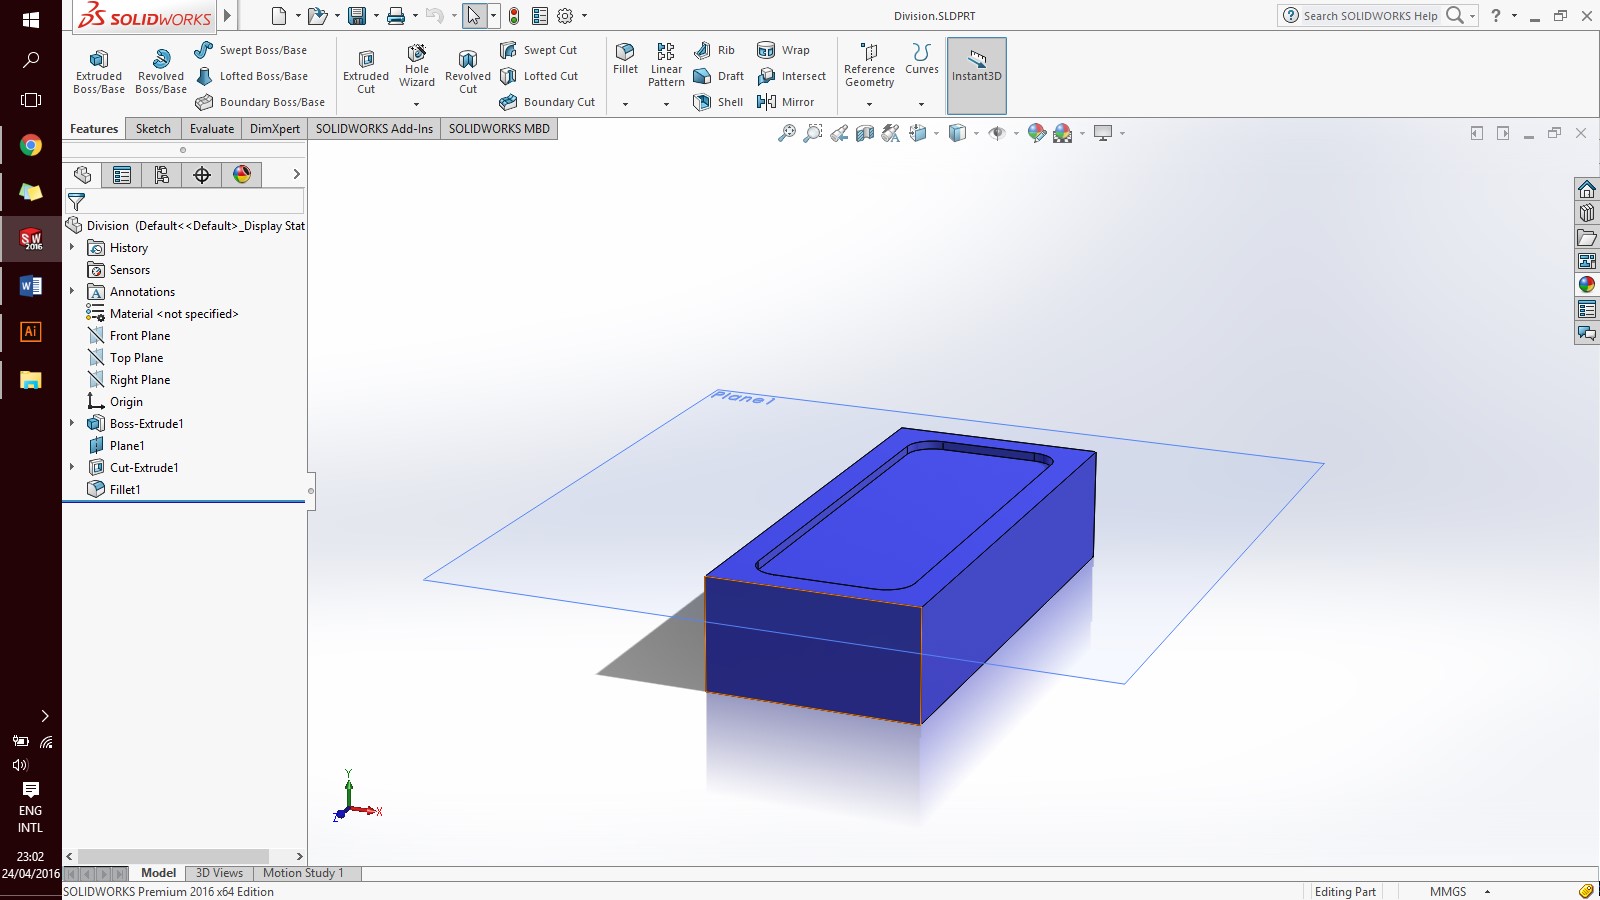
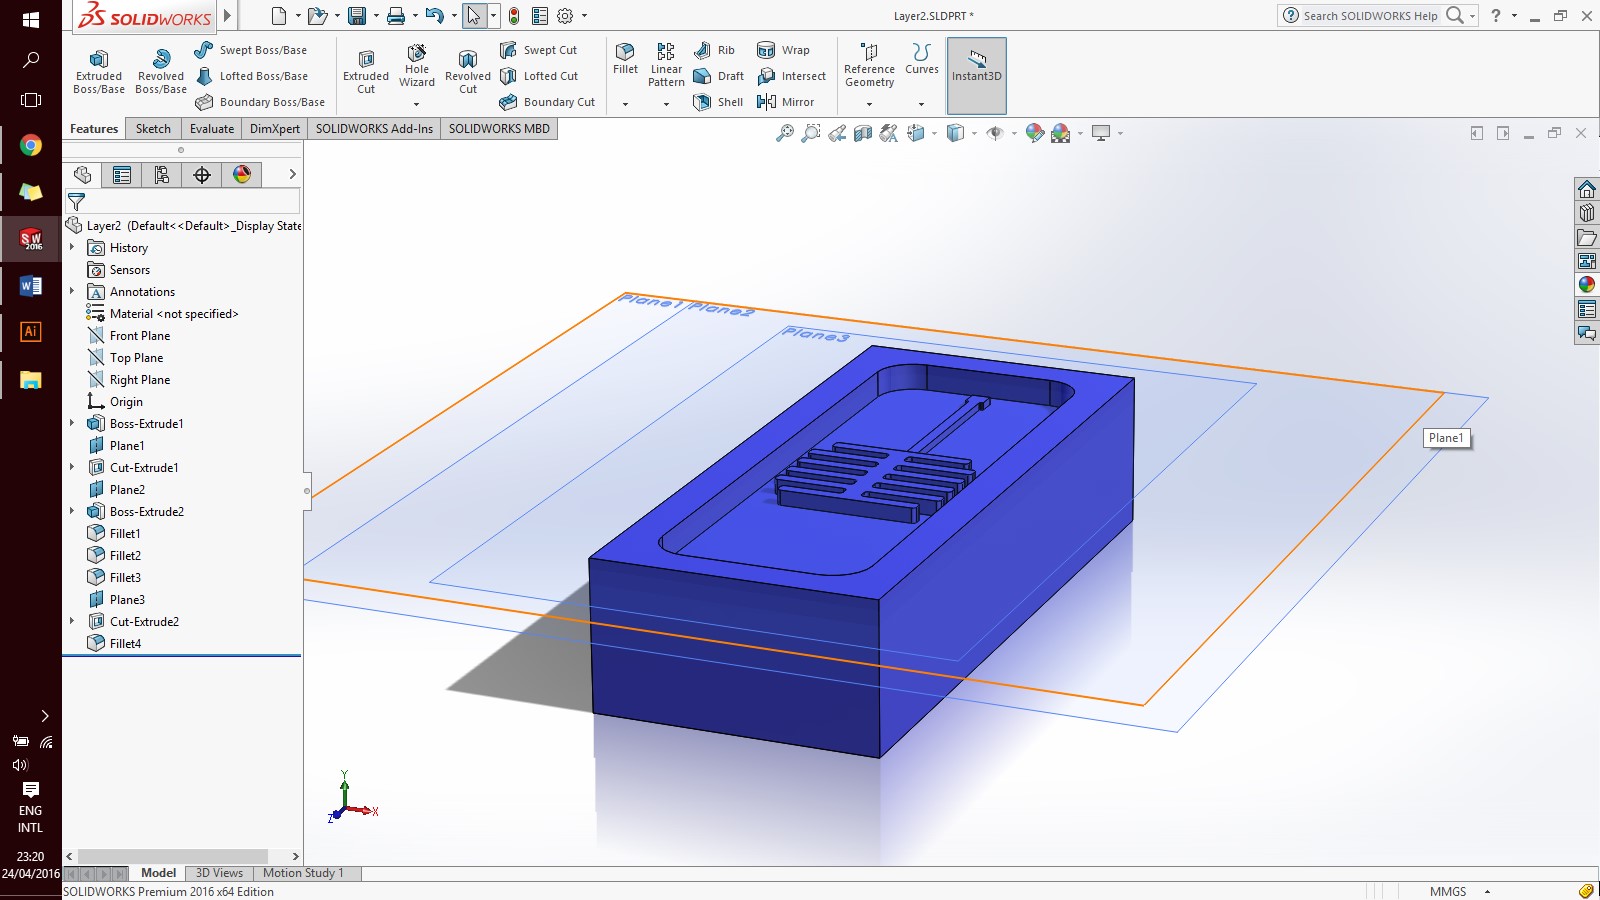
 Then, I started to model in 3D using Solidworks. I made a copy of each box with each one of the four patterns that were to be machined (the dividing layer would have been casted twice). As it emerges from the snaps below, my goal was to pump air to the three different chambers from the same spot, maybe using a solenoid valve to control the flux. That is why a small connecting line was necessary.
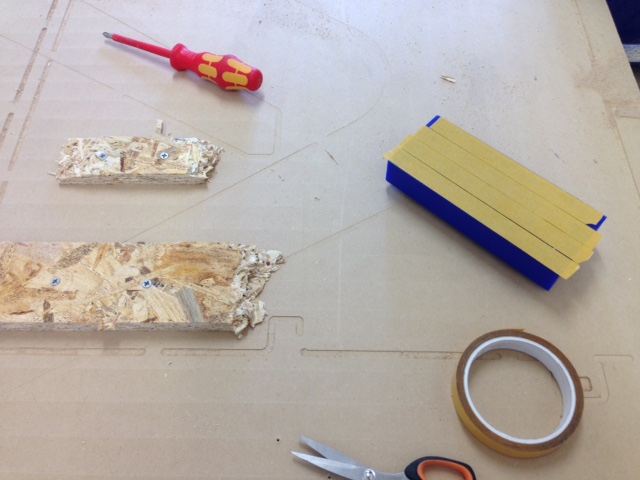
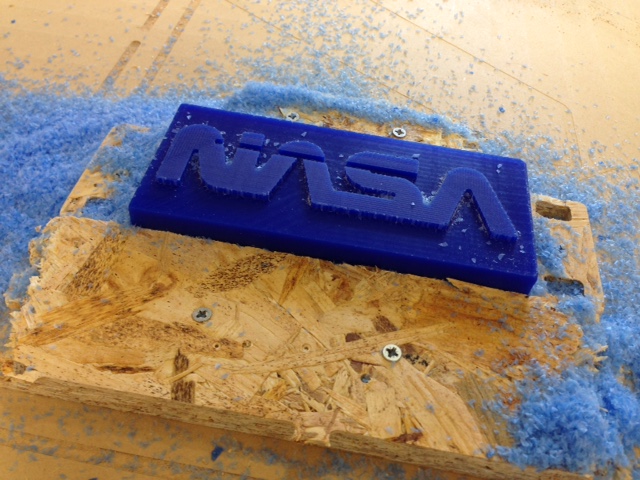
Soft Robotics: machining As shown in the pictures below, I used the Shopbot. Since my mold was just 10mm deep, I tried to recycle some old materials. The first step with the Shopbot was fixing the piece of wax on it, which I did with some double-sided tape at the bottom and four pieces of wood screwed at the sides.

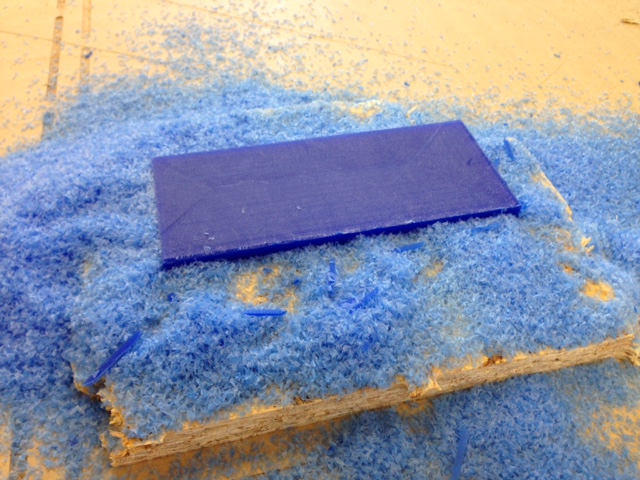
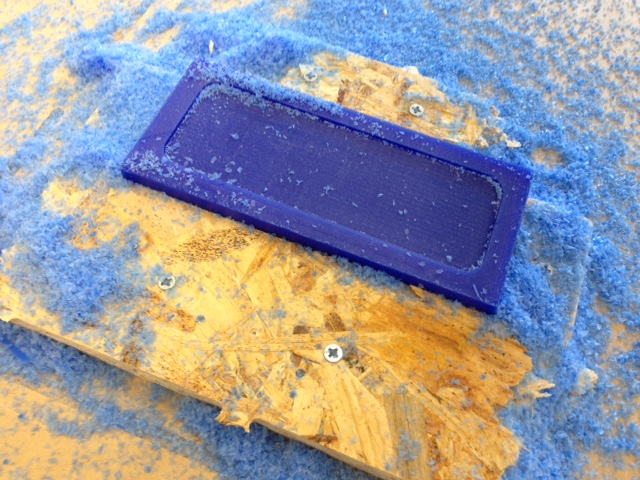
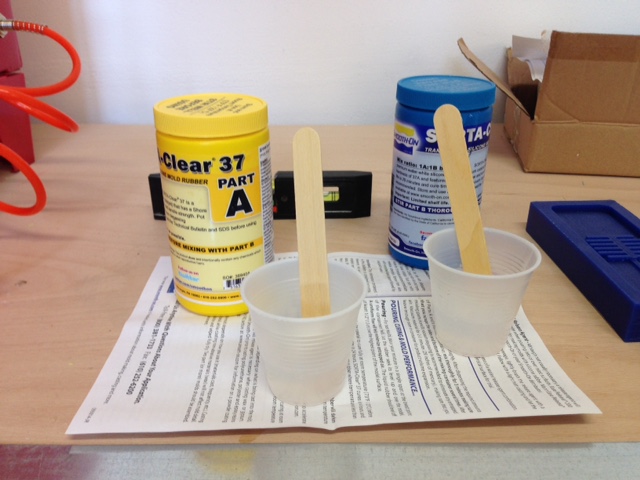
Soft Robotics: casting Since the wax model was already my one-valve mold, I poured the silicone SORTA clear 37 directly into it. The material is a bi-component, that needs to be put in equal parts. I did that using the signs on the plastic glasses. Then I mixed the two glasses and I leveled the molds. I poured and let rest for 4-6 hours.


Conclusions This week in Siena we split in two groups and we made the molds both with the Roland and the Shopbot. The shopbot is much faster than the Roland (100 inches/min instead of 20 mm/s) but it is much less accurate (0.10 mm instead of 0.010 mm). Overall, I love the Shopbot because I think it is a sexy machine.
Table of Content
Resources
- [1] Cola Bottle Files
- [2] Necklace Files
- [2] Soft Membrane Files