Week 7 - Computer-Controlled Machining
Make something BIG
Steps:
* Design a support table for the Delta 20-40 Wasp 3D printer
* Prepare a nasting file and a gcode
* Mill and assemble it
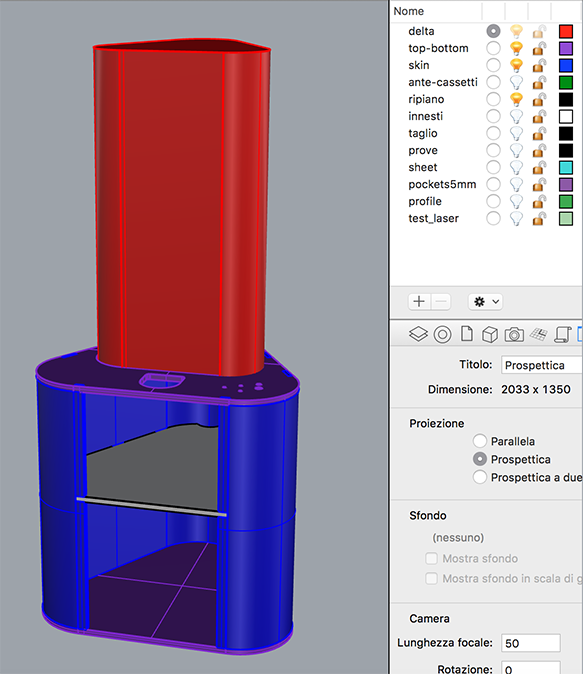
Design a support table for the Delta 20-40
In this case I used Rhinoceros. I 3D designed all the components, in order to observe all the critical points and joints. The shelf is functional and structural at the same time.
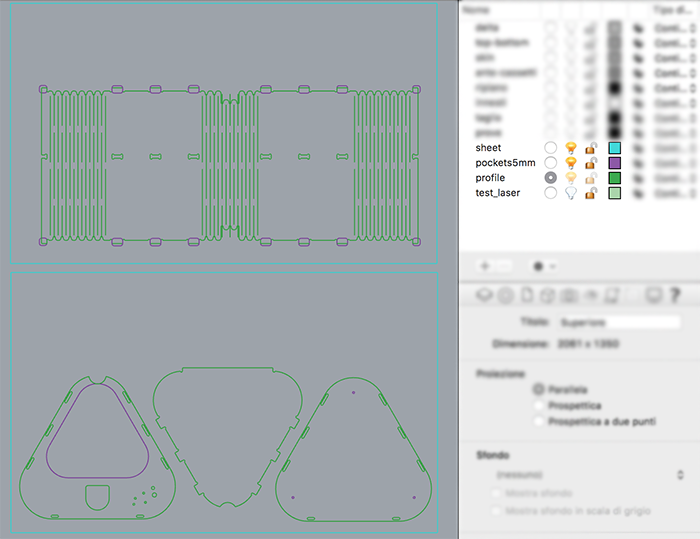
I translate the 3D object into 2D using the "create 2D" and the "smash" buttons. At this point, I started to think like a CNC machine:
I optimized the sketches, programming where the milling tool will cut and how let it turn withot taking off too much material.
I just drew lines to create the flexi zone because I used a 10mm milling tool on a 15mm playwood: I stimated that with this pattern is
enough to make it flexible.
I designed pokets in another layer. So at least I had a "seeht layer", a "shape layer" and a
"pocket layer".
REMEMBER ALWAYS: check the playwood thikness in differents points in order to be able to make a medium and set
the real value.
In the female joints make an offset of 0,25mm to be sure will fit.
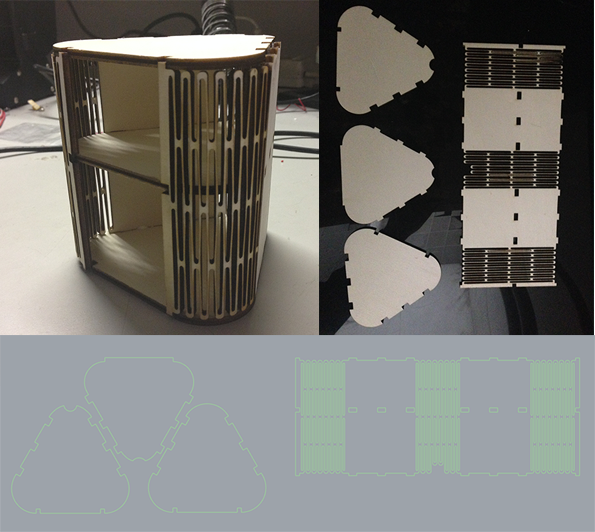
Before milling I choose to cut a little model with the laser cut, in order to ceck the shapes and the flexi zone. So I create a simplyfied skatch in scale, I cut it and assemble it.
Prepare a nasting file and a gcode
I exported the milling file like .dxf, choosing the "R12 Natural" option: doing that you solve all the convertion problem between
millimeters and inches.
I tryed to generete a gcode with Heeks CNC,
but was too complicated to manage a lot of vectors as I had on my skatch.
So
Gianfranco Caputo gave me a tip: use Vectric!
A super easy software he found, very intuitive and easier to use with complex shape.
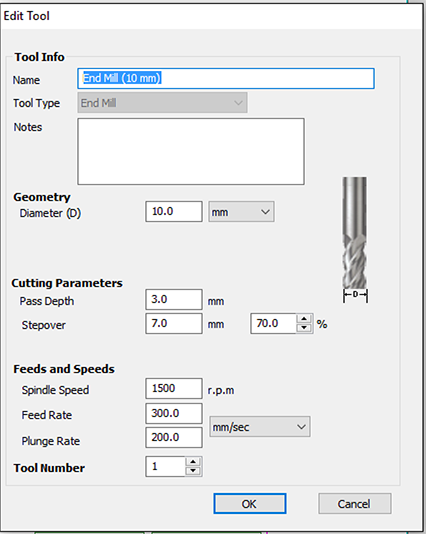
So I set the specific of our 10mm
tool and I gave the right operation to every pocket and every shape.
Just remember that the operation order is very important: pockets first and outline profile lastly, so you minimizes
vibration while the CNC machine are working. Furthermore while you are milling the outlines, the tool must be positionated outside
the vector you drew, adding tabs where it's possible; in the "flexi lines" must be positionated on the vector and for all the
other lines and pockets must be inside.
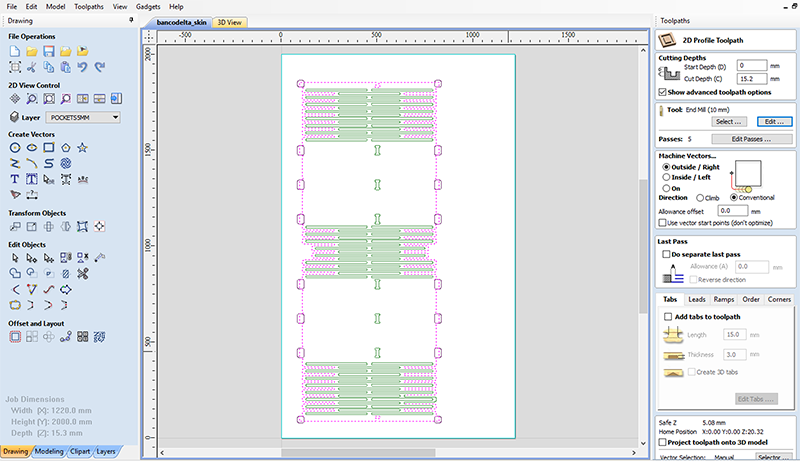
Finally my project was too big and doesen't fix in one sheet of playwood (2000x1220mm). I save two gcode: one for the "skin" and another for the triangles that are respectively top, shelf and bottom. I designed also some doors, but I will cut them later by some panel scrap.
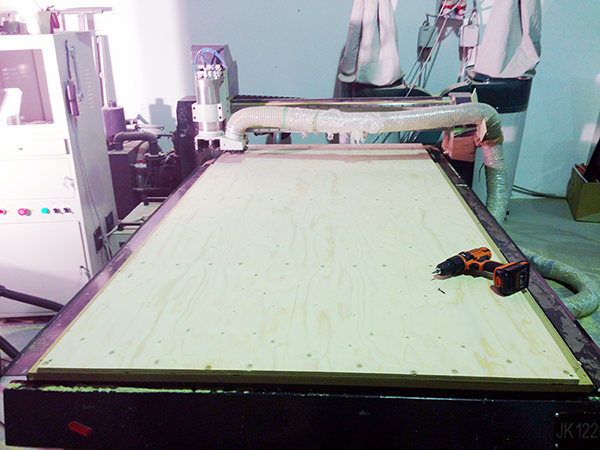
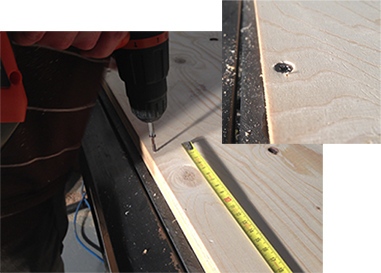
Mill and assemble it
I placed the plywood panel on the milling machine and I firmly secured it by six panel screws. Be sure the milling tool never works near the screws.
I set the XY origin, than I turn on the spindle and I set the Z origin.
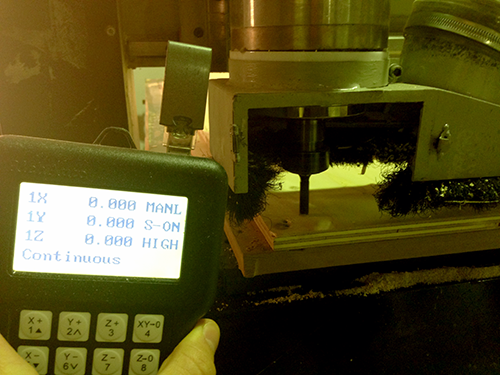
I plug the USB where I saved my gcode on the machine's controller and I upload the gcode. It started milling!
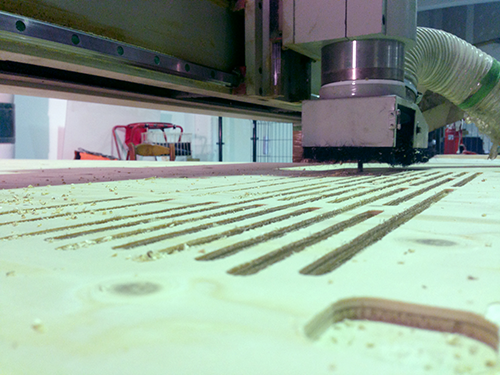
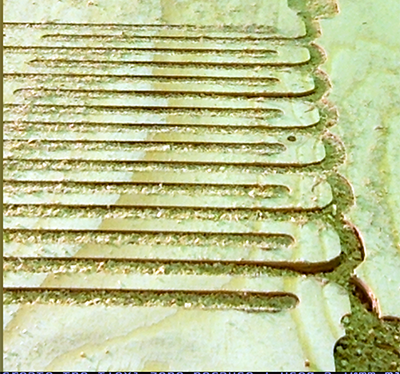
I set a very low speed for the displacements, so it takes many hours. In this long time I had the time to observe that, where the machining were too close, the vibrations produced did move the multilayered panel, compromising the surface. So I removed the aspiration in the flexible areas: in this way, the chippings helped to make it more stable during the passage of the tool.
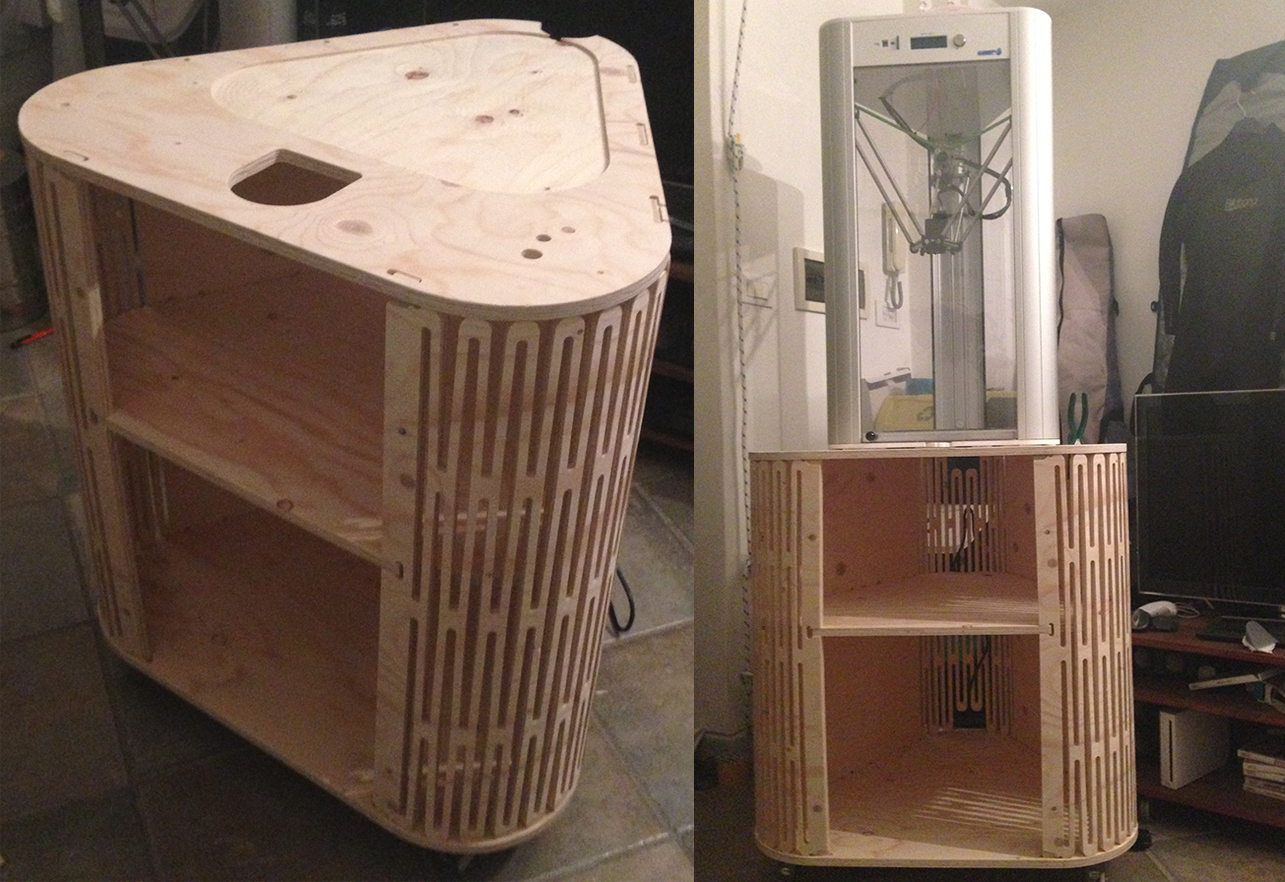
I sand it well to remove the tabs and I assemble it. Good job. If you have a Wasp Delta 20-40 you'll need it!
I've done a pocket on the top where
I will laser cut a piece of EVA: this foam material will absorb the vibrations.
I also designed an hole for throw production waste
and some little holes to storing screwdrivers.
Back side there are some holes to pass the supply cable.
On the bottom there are 3
pockets holes for screwing wheels.
RETURN UP
| ← week 6 / Electronic design | week 8 / Embedded programming → |
|---|