Week 16 - Interface and Application Programming
Write an application that interfaces with an input and/or output device that you made.
Steps:
* Processing exercise
* Design an interface
* Do it with a custom board
Processing exercise
I started with something simple to understand the topic: for a biginner like me it's better to use something clear and easy
like processing.
I made some embedded links,
follow the exercise steps. I made a button on processing that bring me to my Fab Academy website.
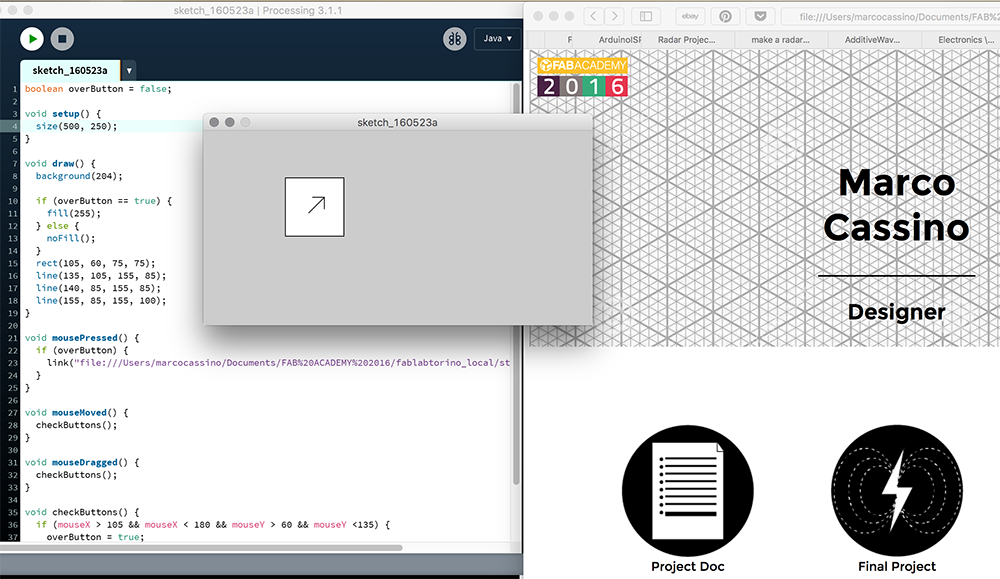
I find the electronic page very useful to understand better the potencial of this basic instrument.
Design an interface
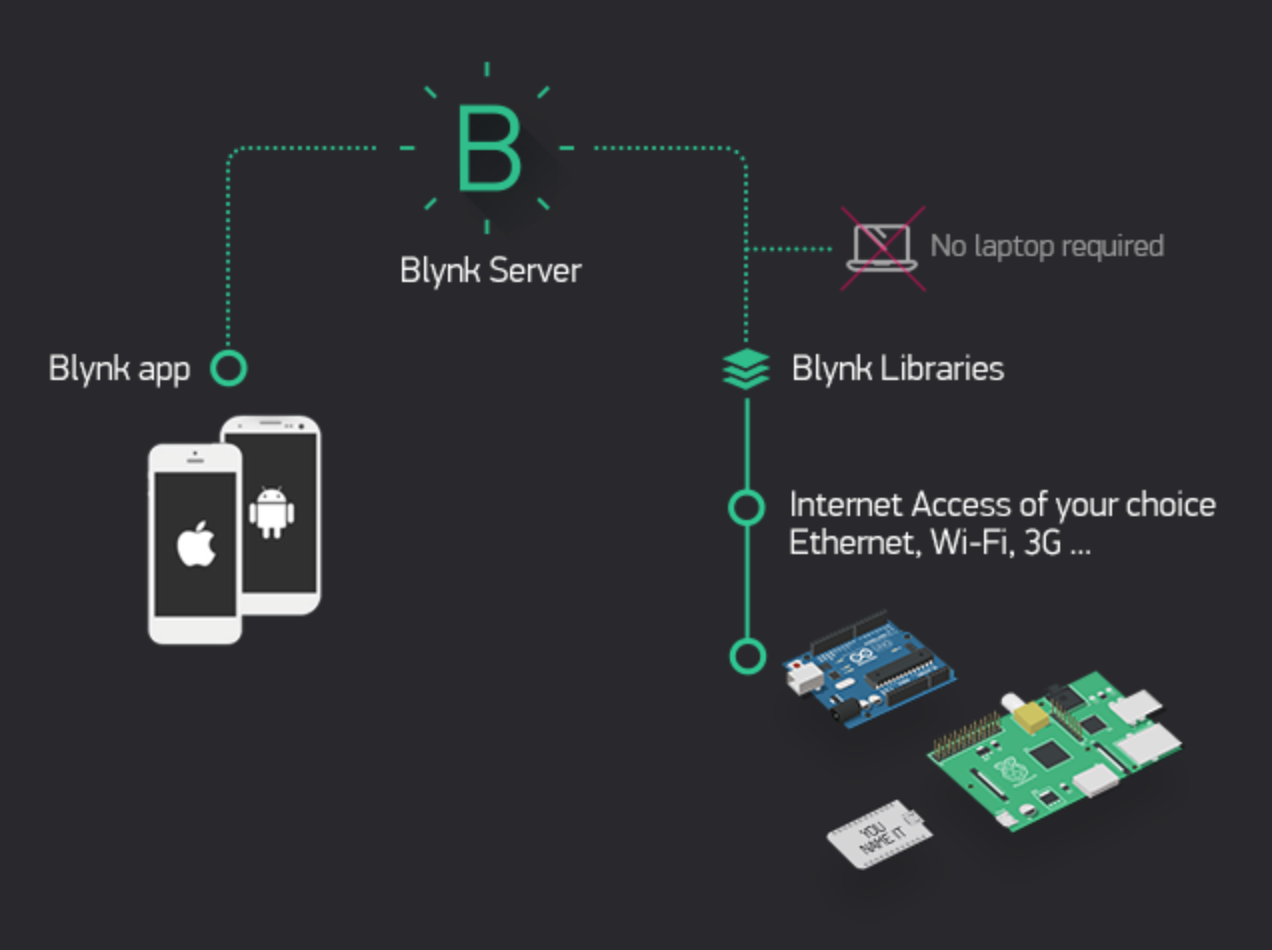
I spend a lot of time looking for something easy to use. I find blynk: a super useful Platform
with iOS and Android apps to control Arduino, Raspberry Pi and the likes over the Internet. It's a digital dashboard where you
can build a graphic interface for your project by simply dragging and dropping widgets.
Seems easy, but the iOS structure is quite
hard to manage, all the tutorials you can find online are
from Windows' users.
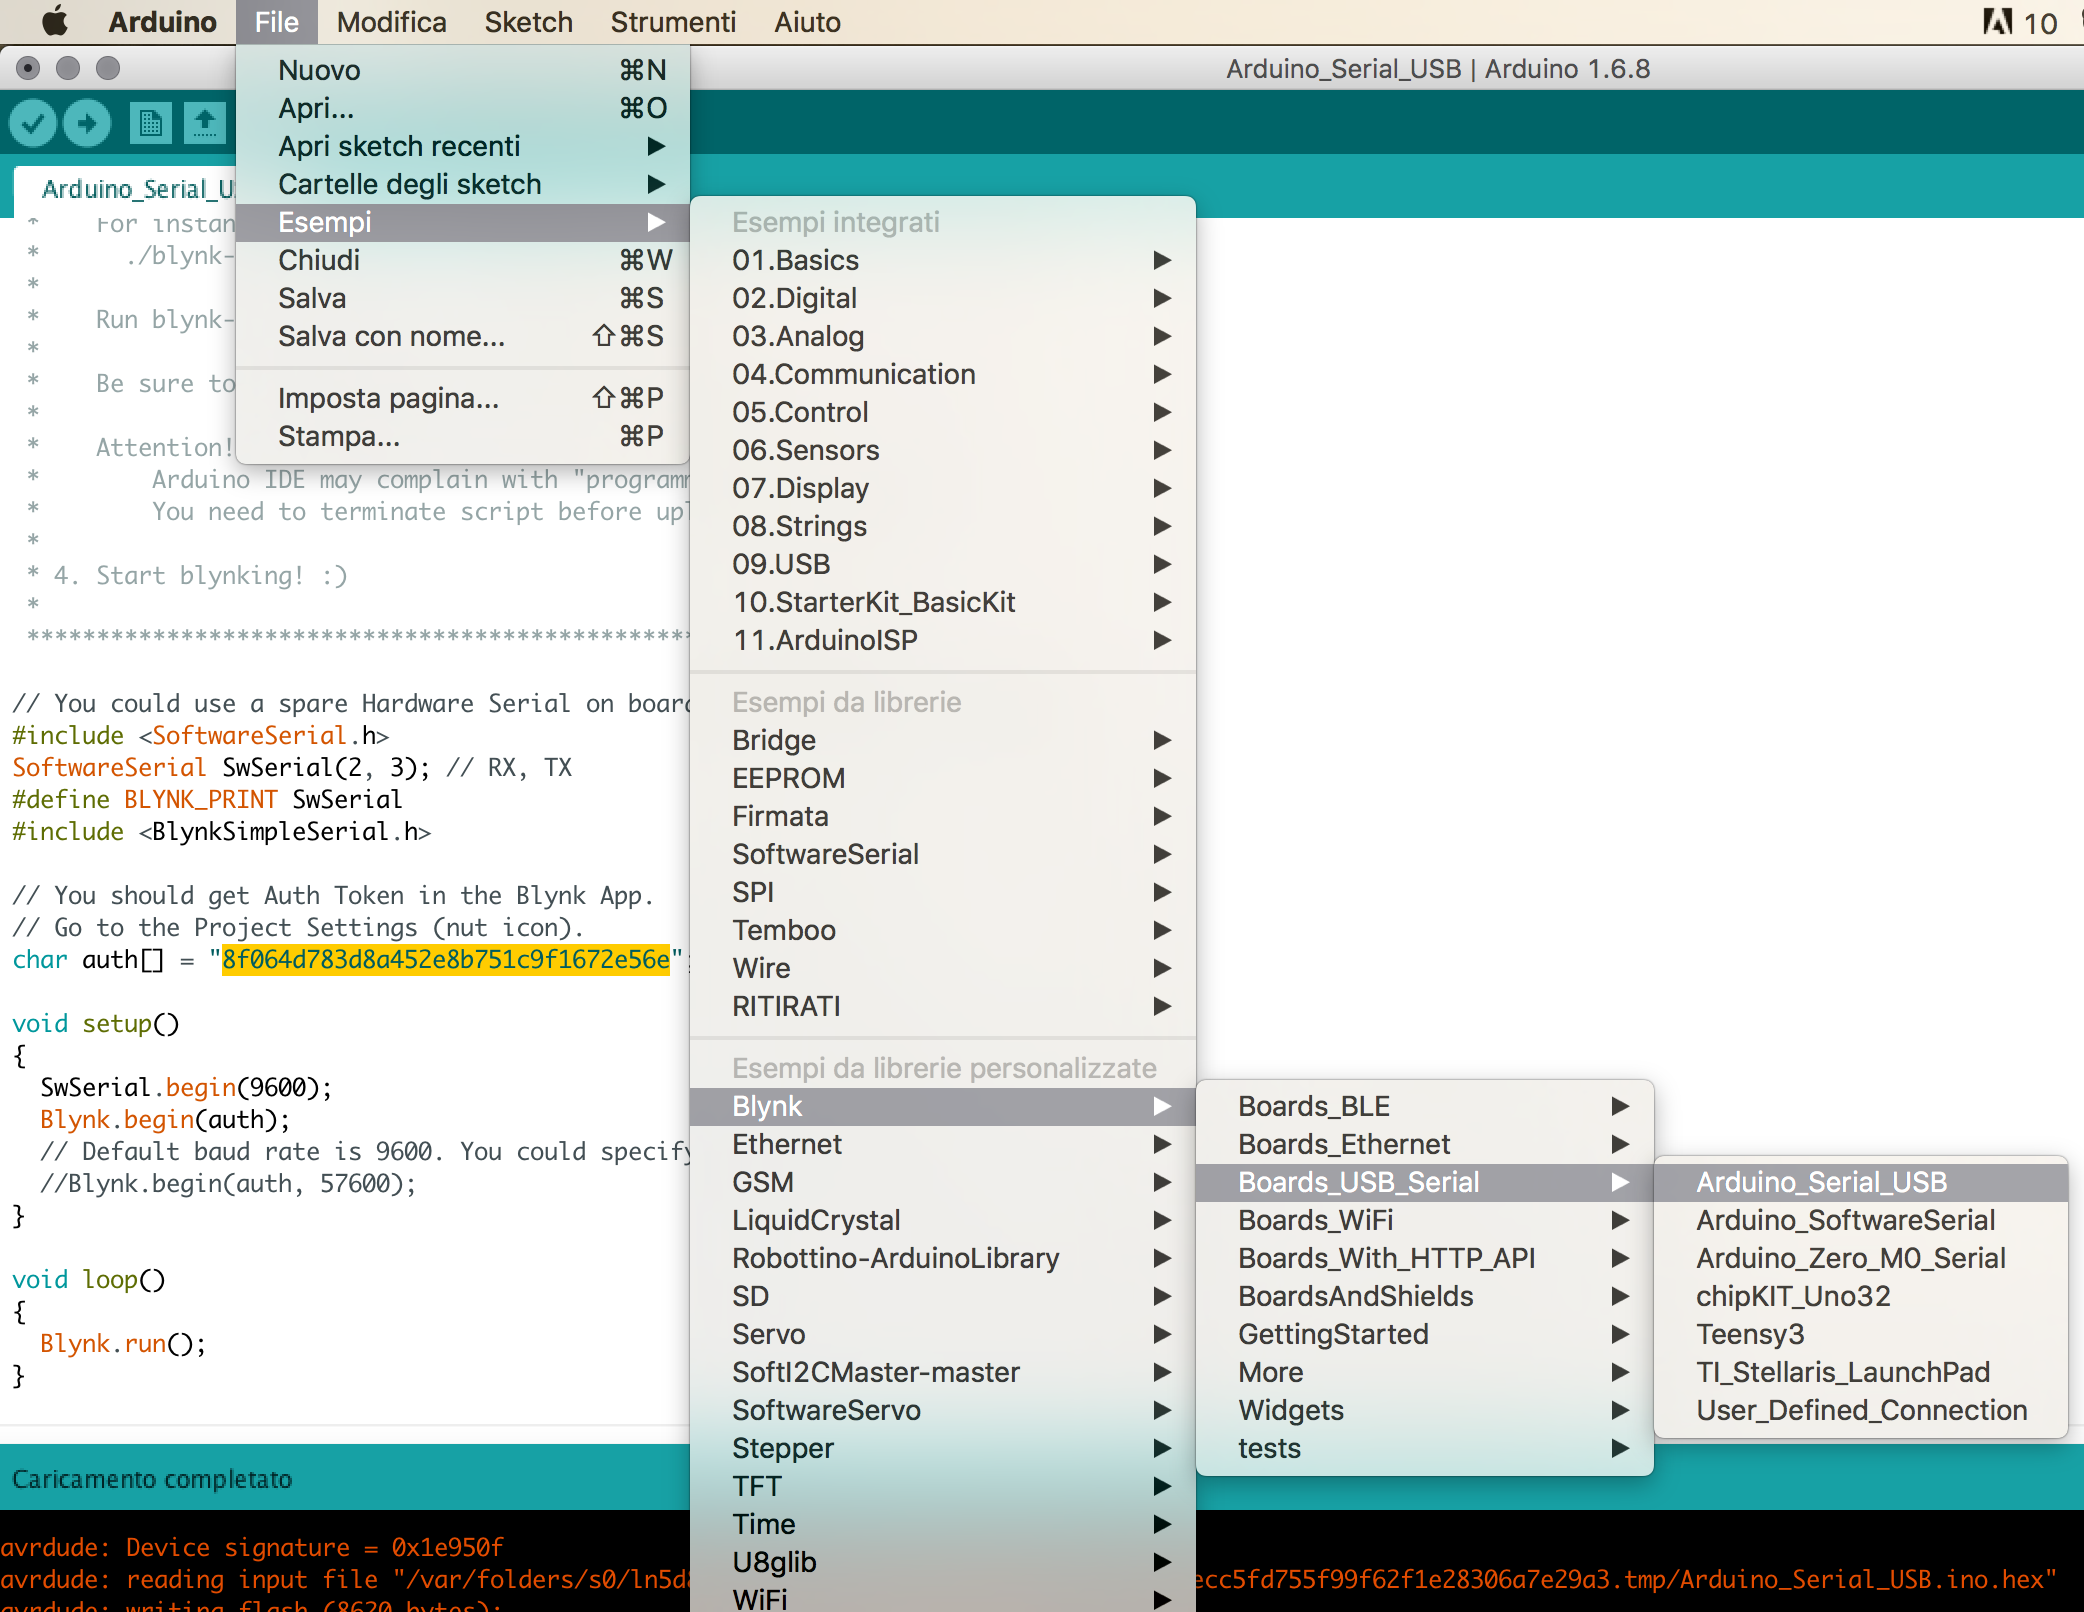
I download the Blynk app on my Iphon5, I install the Blynk library for Arduino in the IDE. After that I went to File-Examples-Blynk-BoardsAndShields-Arduino_Serial_USB and I opened this. I just follow the instructions that you can find in the //comments and I change the "Token": doesn't work!
I loose a lot of time looking for a solution, than Gianfranco
help me, he finds a strange difference between the USB port which it try to connect and the available one. In my Mac Arduino use
./cu usbmodem 1442, not the ./tty usbmodem 1442 as was write in the documentation.
So the correct string
to use on Terminal in my case is:./blynk-ser.sh -c /dev/cu usbmodem 1442 -b 9600 -s blynk-cloud.com -p 8442
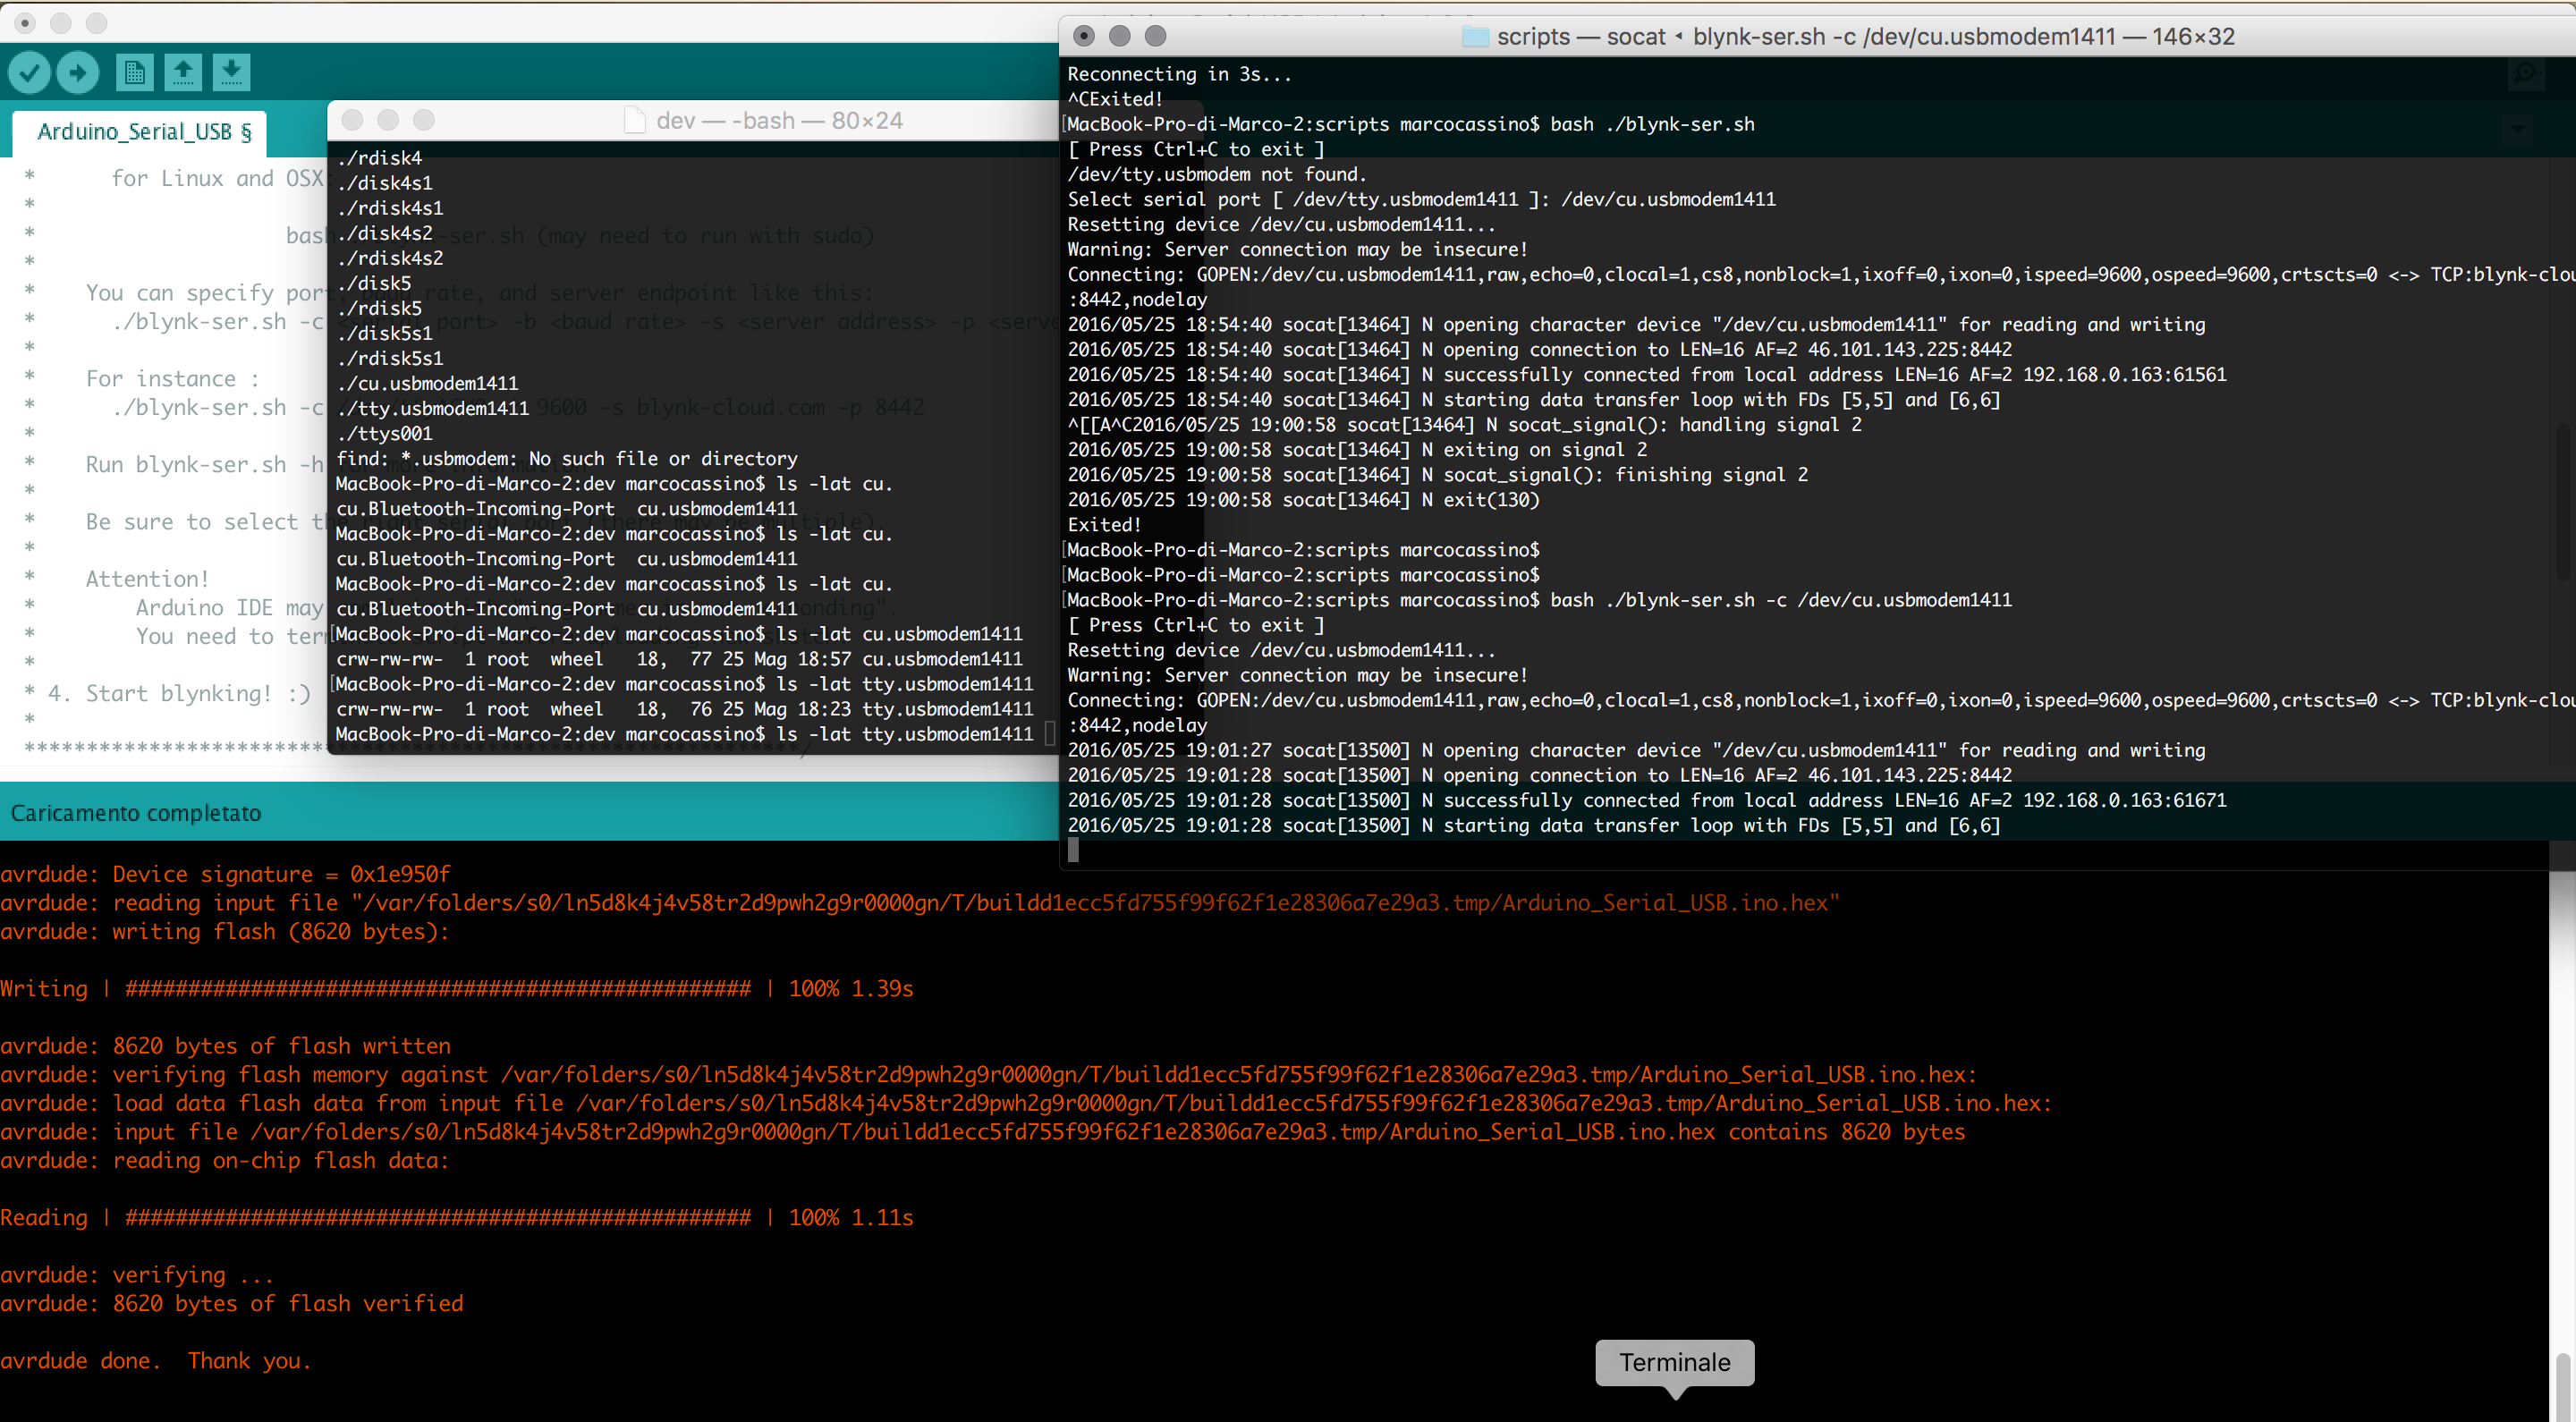
At the end works very well! I'll check all the function, it's an easy way to approach the internet of things and to take confidence with it.

Do it with a custom board
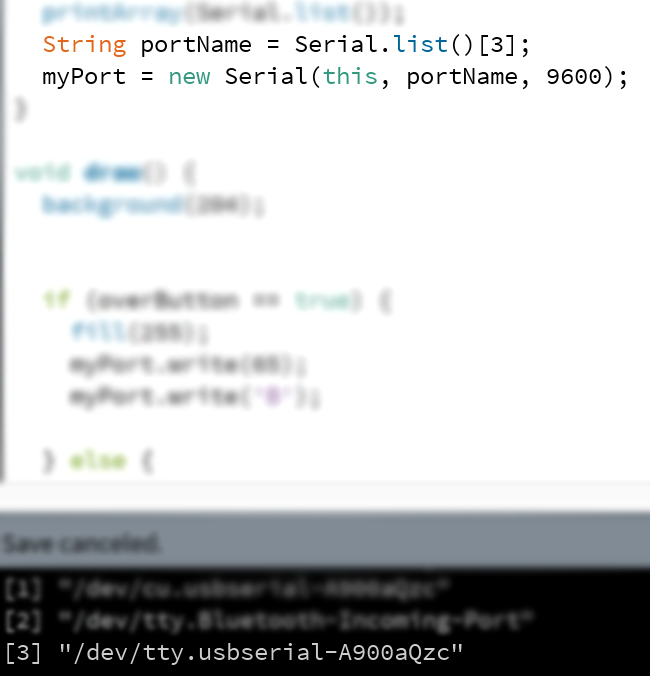
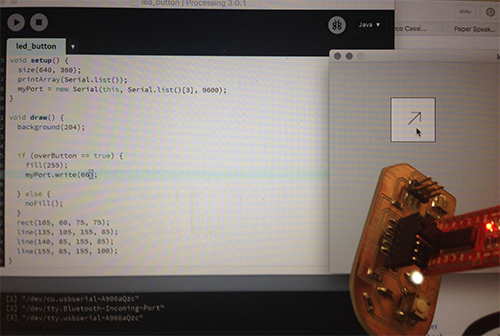
I take the previous processing exercise and I implement it with a serial coding part that I easy found in this tutorial page. Then I adjust the code in order to organize the comunication between Processing and my week6 board. As you can see, I use it in Networking as an output, so I leave the same micro settings: the goal is to make it light by the virtual button that I made.
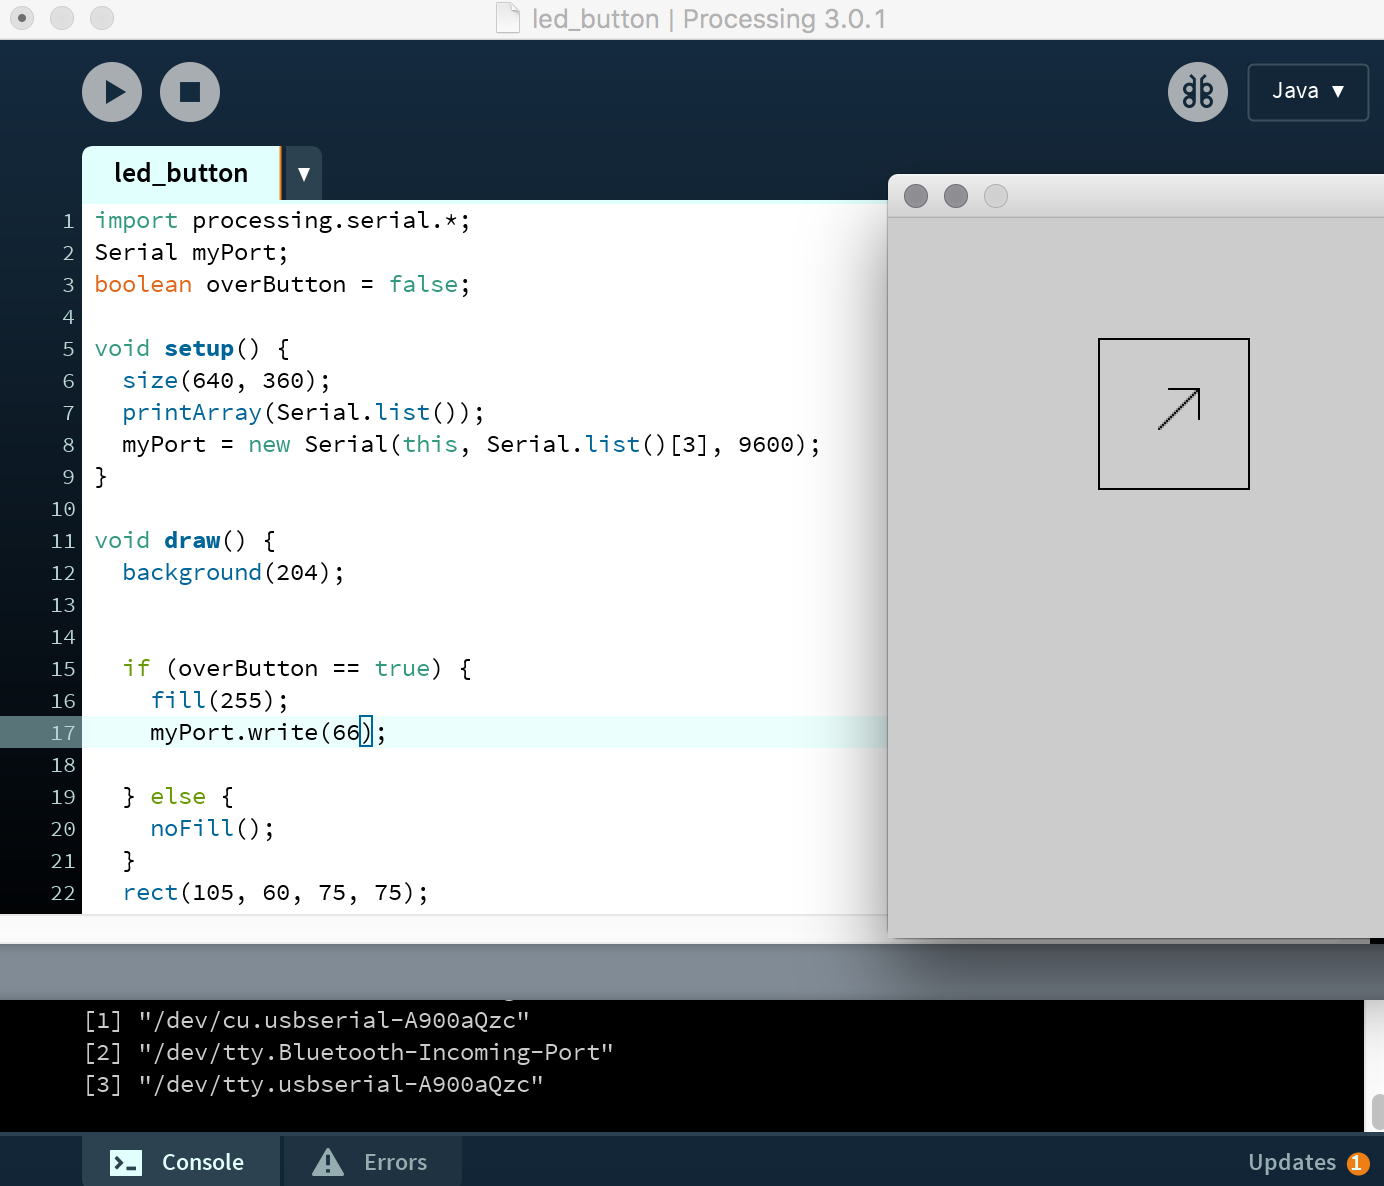
REMEMBER to check wich port is used to sand and receve.
RETURN UP
| ← week 15 / Networking and Communications | week 17 / Applications and Implications → |
|---|