- Stefano Galbo
Beginner
Desing

First I looked for a simple idea in class archive 2015 of Fab Academy: all good jobs, but nothing inspired me.
To optimize limited time, I thought directly to my final project, so I drew on paper different solutions about it: I know this is an old way to work, but squared grid helped me to think about joints and measures.
Finally I had an idea: two panels (later I'll understand I need 3 panels) with slots to insert concentric circles in order to simulate Dante's Inferno.
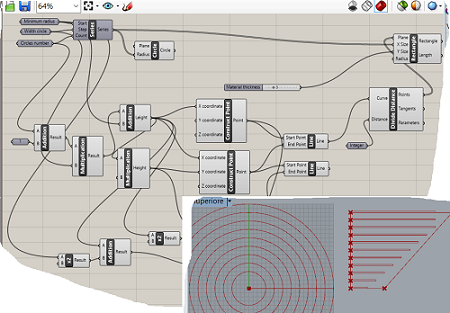
After a full session of learning about Grasshopper, I was able to draw a good first object..a parametric object!
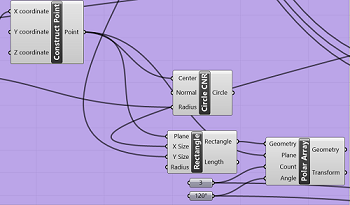
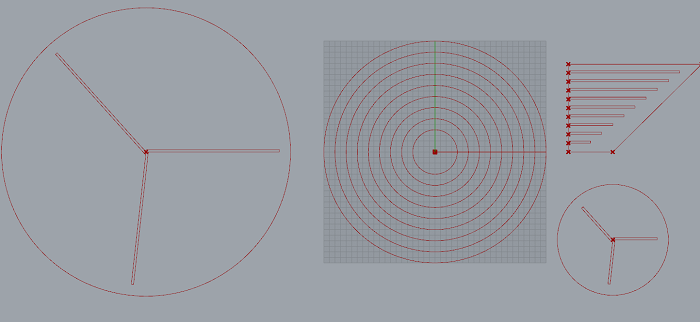
Starting element are circles, that you can modify by number, by width and by radius of smallest one.
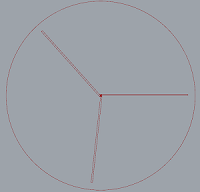
Second element are edges of panel: I built 4 lines with 4 start/end points, with positions depending of circles, in order to move and change lines if circles change. For example, if I put more circles, panel goes a little bit more right and its dimensions increase.
Last element are slots: their numbers and thickness are in parametric relationship with circles, but I couln't obtain right position on the panel.
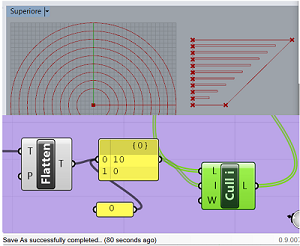
Fortunately my instructor Stefano Paradiso taught me use of lists, so I could exclude the first and the last value of points: in this way, slots start and end at the right height on the panel.
I will bake everything from Grasshopper to Rhinoceros, I will make little changes (join all the lines in one, delete useless items) and I will ready to cut!
Lasercut
First of all, it's better to verify chiller is turned on and aspirator works.
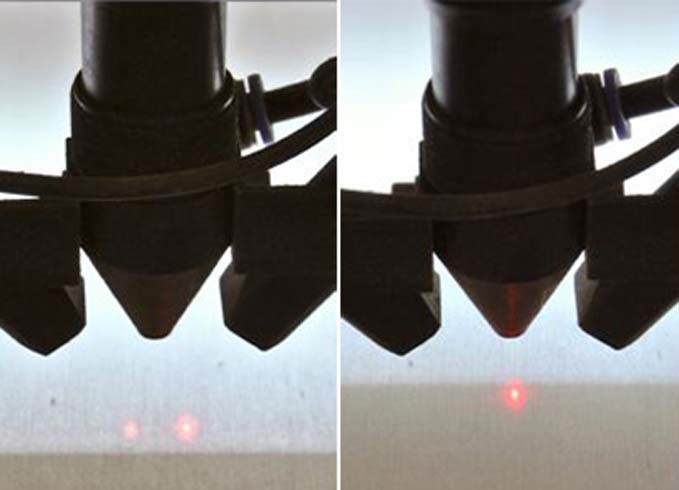
Second step was to focus the laser, to be sure that cut will be precise: here in Turin we have two pointers, so I have to move the cutting plan on the z axis until the two red dots coincide:
Then I worked on laser-cut computer, to import my vectorial file to the machine (program is LaserCut 6.1).
The file must be imported ".dxf" (natural 2004): it preserves different layers from Rhinoceros, this is useful to select many cut types.
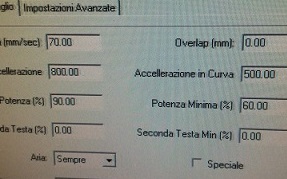
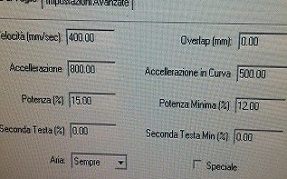
At that time I set the kind of cutting (depending on material or desidered effect), changing some parameters such as linear velocity, angular velocity, air pressure, power level..; you could create your own parameters, or (if you have no experience like me) choose one of preloaded set of parameters, and try them.
I used this preloaded parameters (cut and engrave), and I was lucky because with them cut was perfect!
Remember to use different layers to combine different types of cutting, for example I put on layer 1 all objects to be cut and I associated them to virtual pen for cutting, objects to engrave on layer 2 with pen for engraving,..
Now file is in machine memory, so I put material on the plan, and I pushed "Test" button: this is very important, because it shows you where the laser will work to cut your pieces, therefore you can put material in the right position.
When I was ready, I turned on the aspirator and I pushed "start" bottom; after few minutes I heard a sound for finish, but I waited few more minutes to aspire all the smoke.
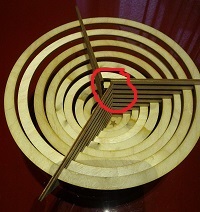
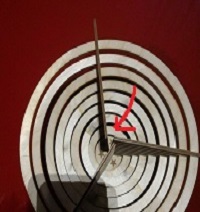
I was very proud of result (my first digital product!), I mounted it and it was quite good: aspect was what I imagined, but structure didn't have stability: on the top, three panels are not fixed, so all the pieces move excessively or even they fall.
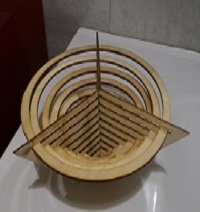
I have to go back to Grasshopper!
Corrections
In order to stabilize structure, after many good and bad ideas, I drew two caps: a big one to put on the top, a small one as a base. Here parametric form is very useful, because with few command I'm able to create these caps with correct measures, where I can insert panels and lock them.
With polar array I could create these 3 slots, where panels are positioned at the same distance and they couldn't move.
I haven't had time yet to cut the caps and test them, I will do it soon but I'm quite confident they work.
Conclusions
This is final Grasshopper file, with complete kit (circles, panels, caps): file
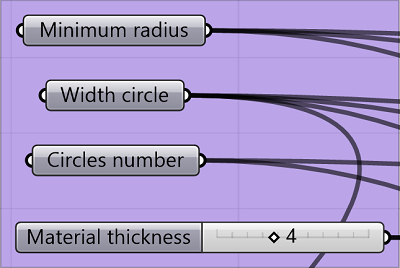
Here the parameters you can set in Grasshopper to modify all the scructure:
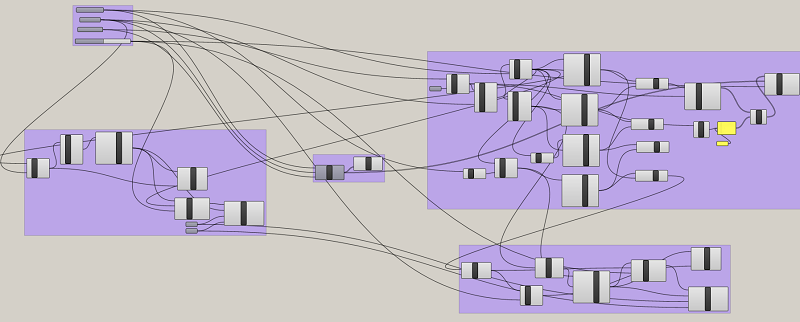
Here a complete vision of Grasshopper file, where every component is inside a separated group, and group positions is the same of object positions in Rhino:
Here the kit in Rhinoceros:
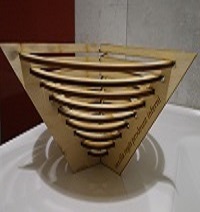
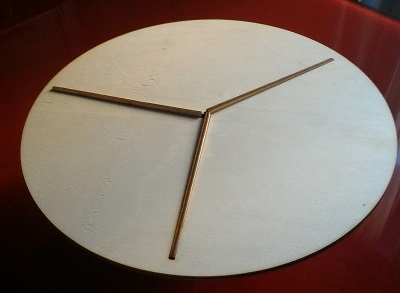
Here, finally, product!

Vynil cut
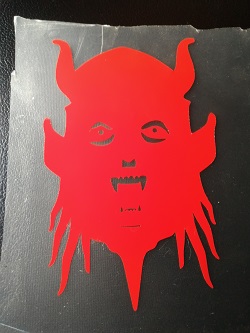
To desing I used Inkscape, idea was a simple logo for my project.
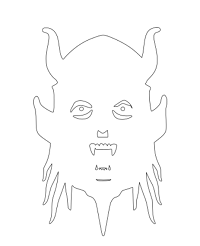
I looked for a starting draw in Google Images, I found one nice in this page, and I imported it to Inkscape. Then I use "Trace Bitmap" command, I exploded all the elements and I deleted most of them, because I saw in other works it's better there aren't too many details.
This is final draw (here, file):
I imported this file to vynil cutter pc, and I launched print as a normal paper printer: in options it's very important to set unit measure in mm, right cut orientation, right cut speed, right cut force, and finally click on "Get from machine" button to load right cutting area.
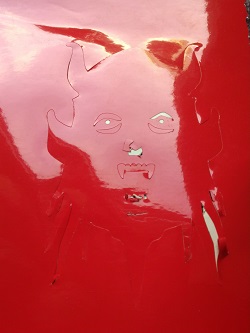
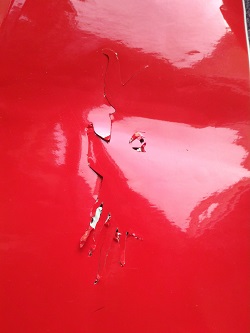
These are failed tests with wrong cut speed (20 cm/s) or cut force (140 g): right parameters for my logo was 10 cm/s and 120 g.
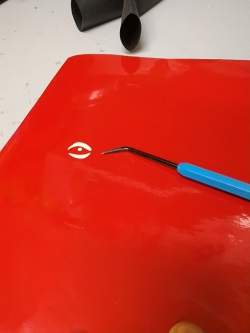
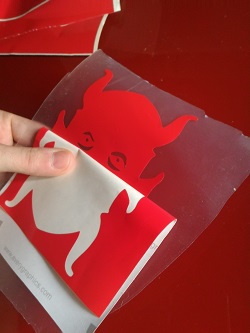
After cutting, I removed empty areas (patience and slowness!) and I applied transfer tape on my adhesive. Finally I removed unnecessary adhesive parts and I was ready to stick!
Now I have my logo on my notebook!
