Week 7::Computer-Controlled Machining
Learning outcomes: Document the process of design and production work flows. Result Source Files.
Document the process of design and production work flows:
Practice using FreeCAD , Sketchup and Fusion360 to design this week assignment. When I was child. I am very like rocking chair. So this week I want to make a rocking chair by myself.
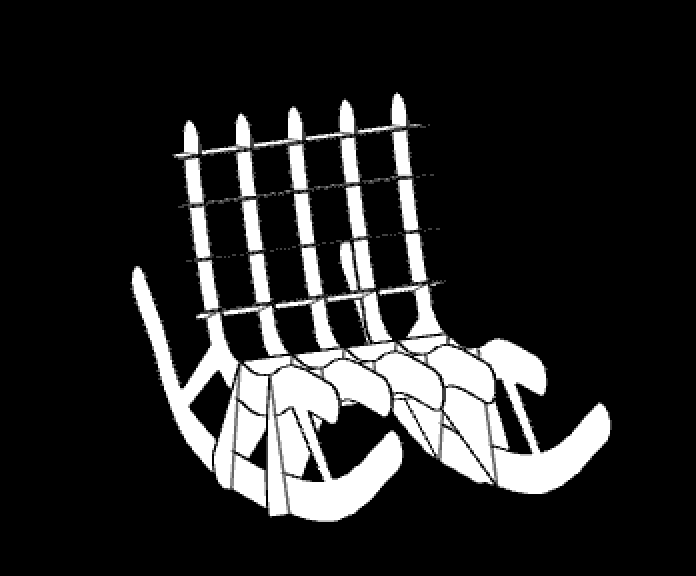
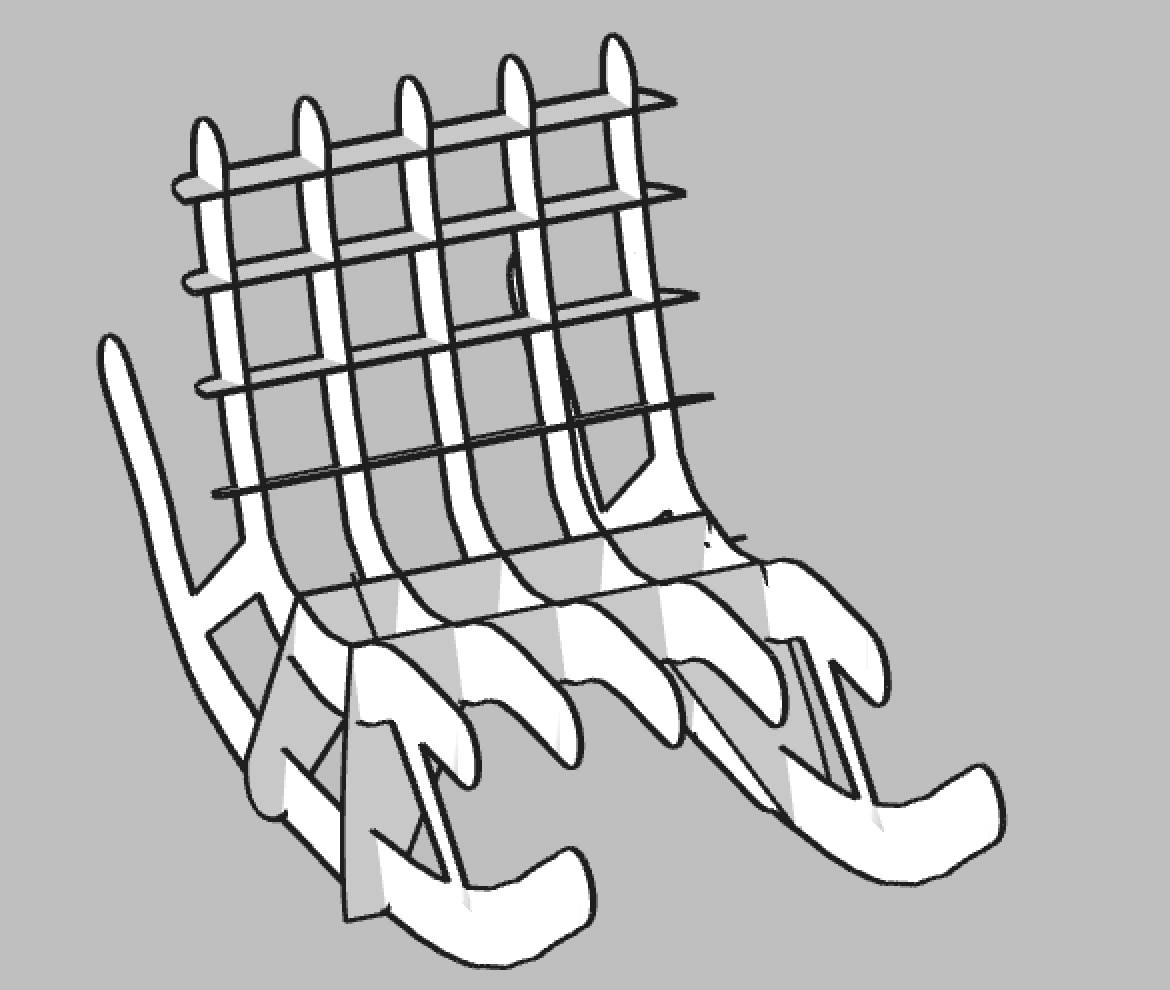
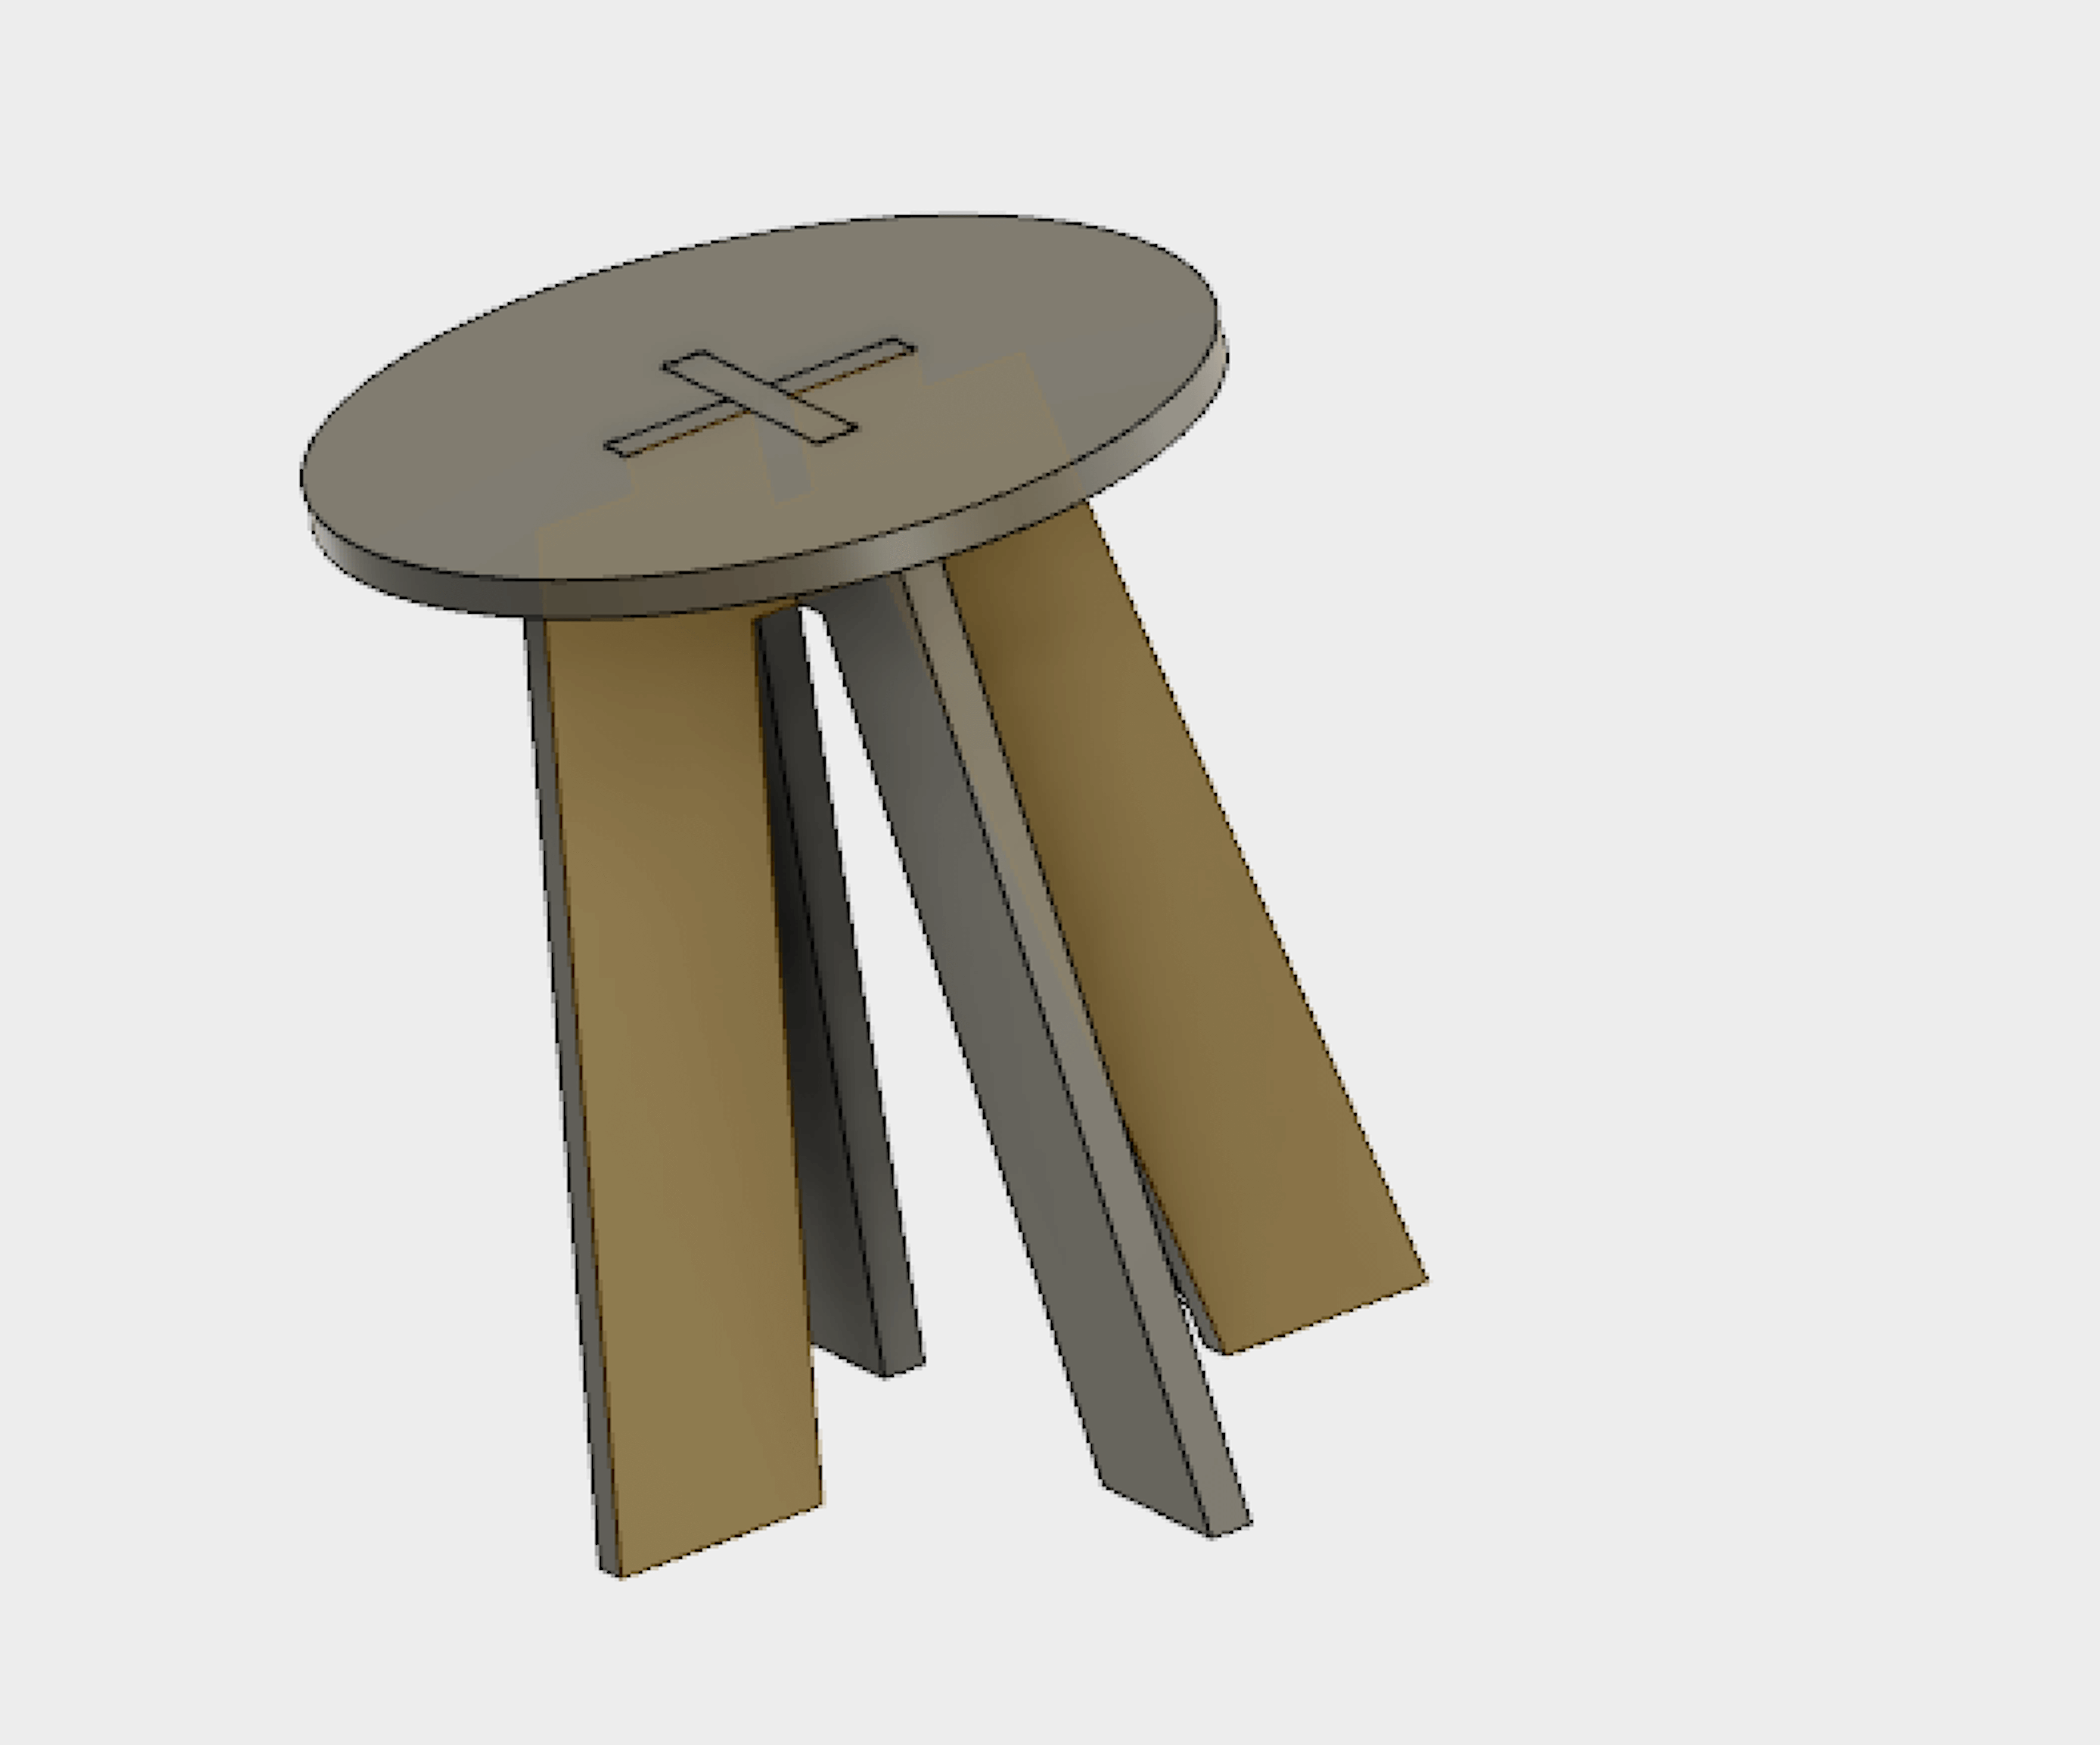
But our cnc just only can cut 450mm * 350mm size. So I redraw my design to round stool.
Finally, I used Fusion360 for my 3D design.


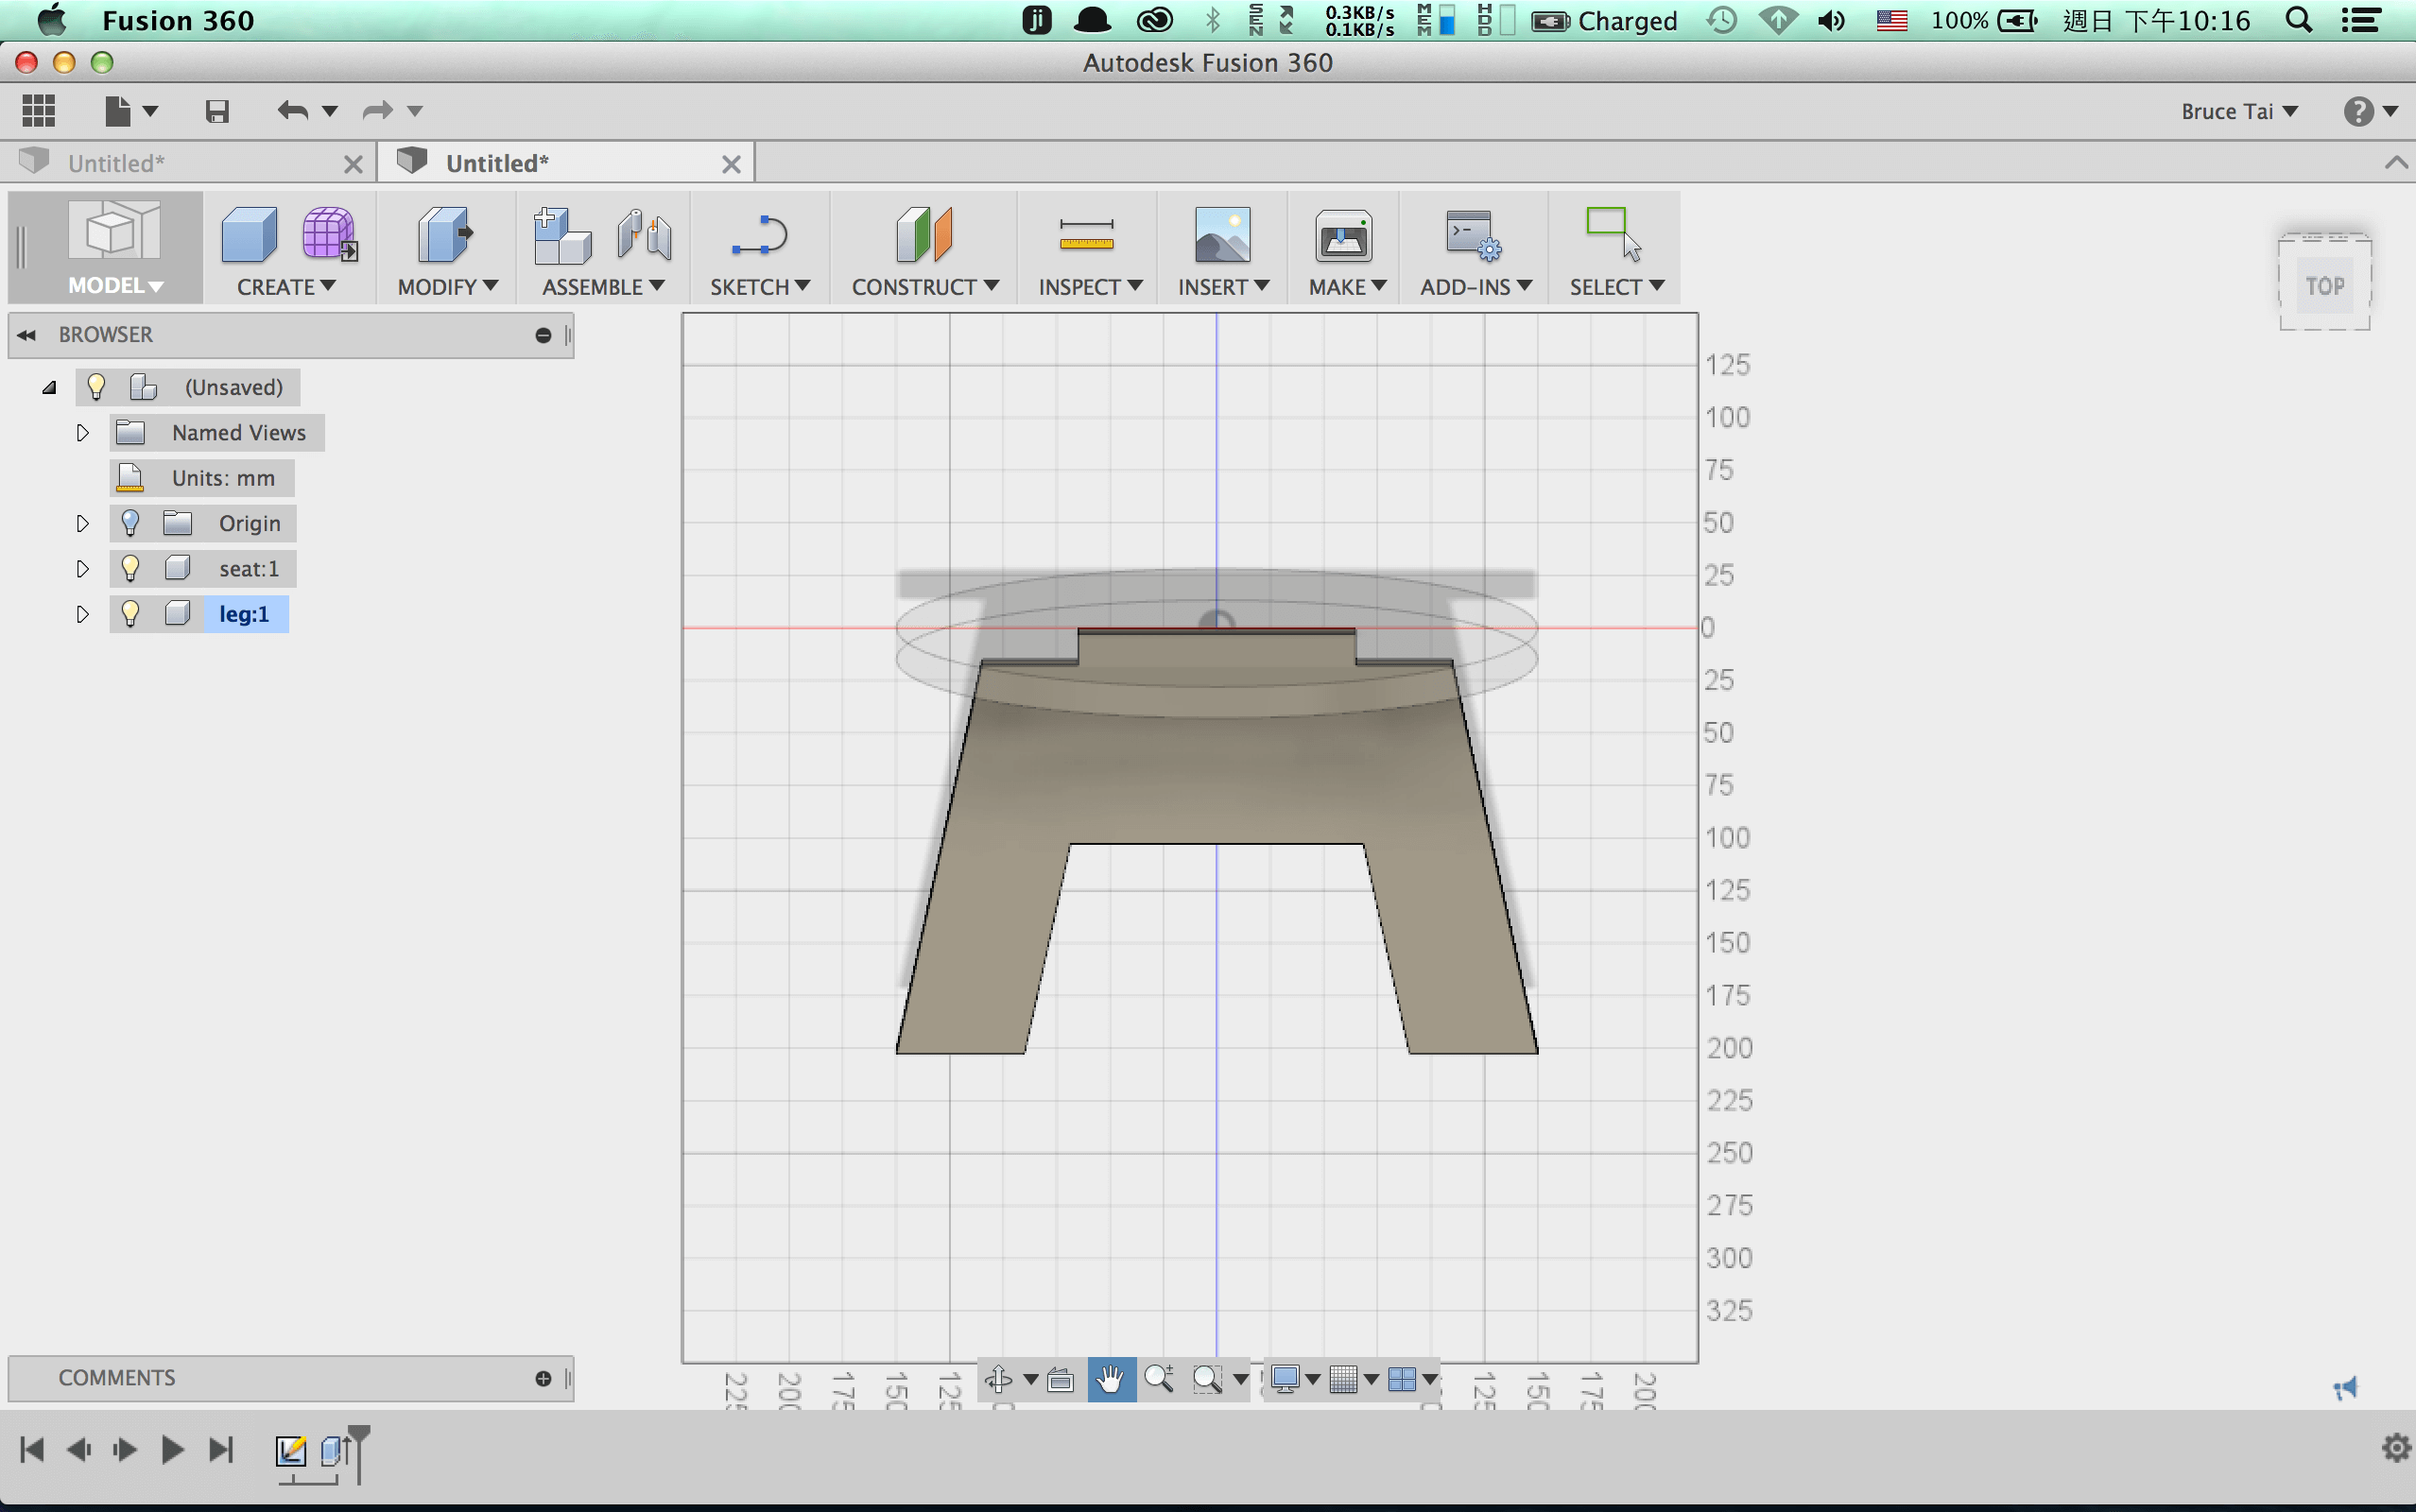
After design then go to CNC to cut.
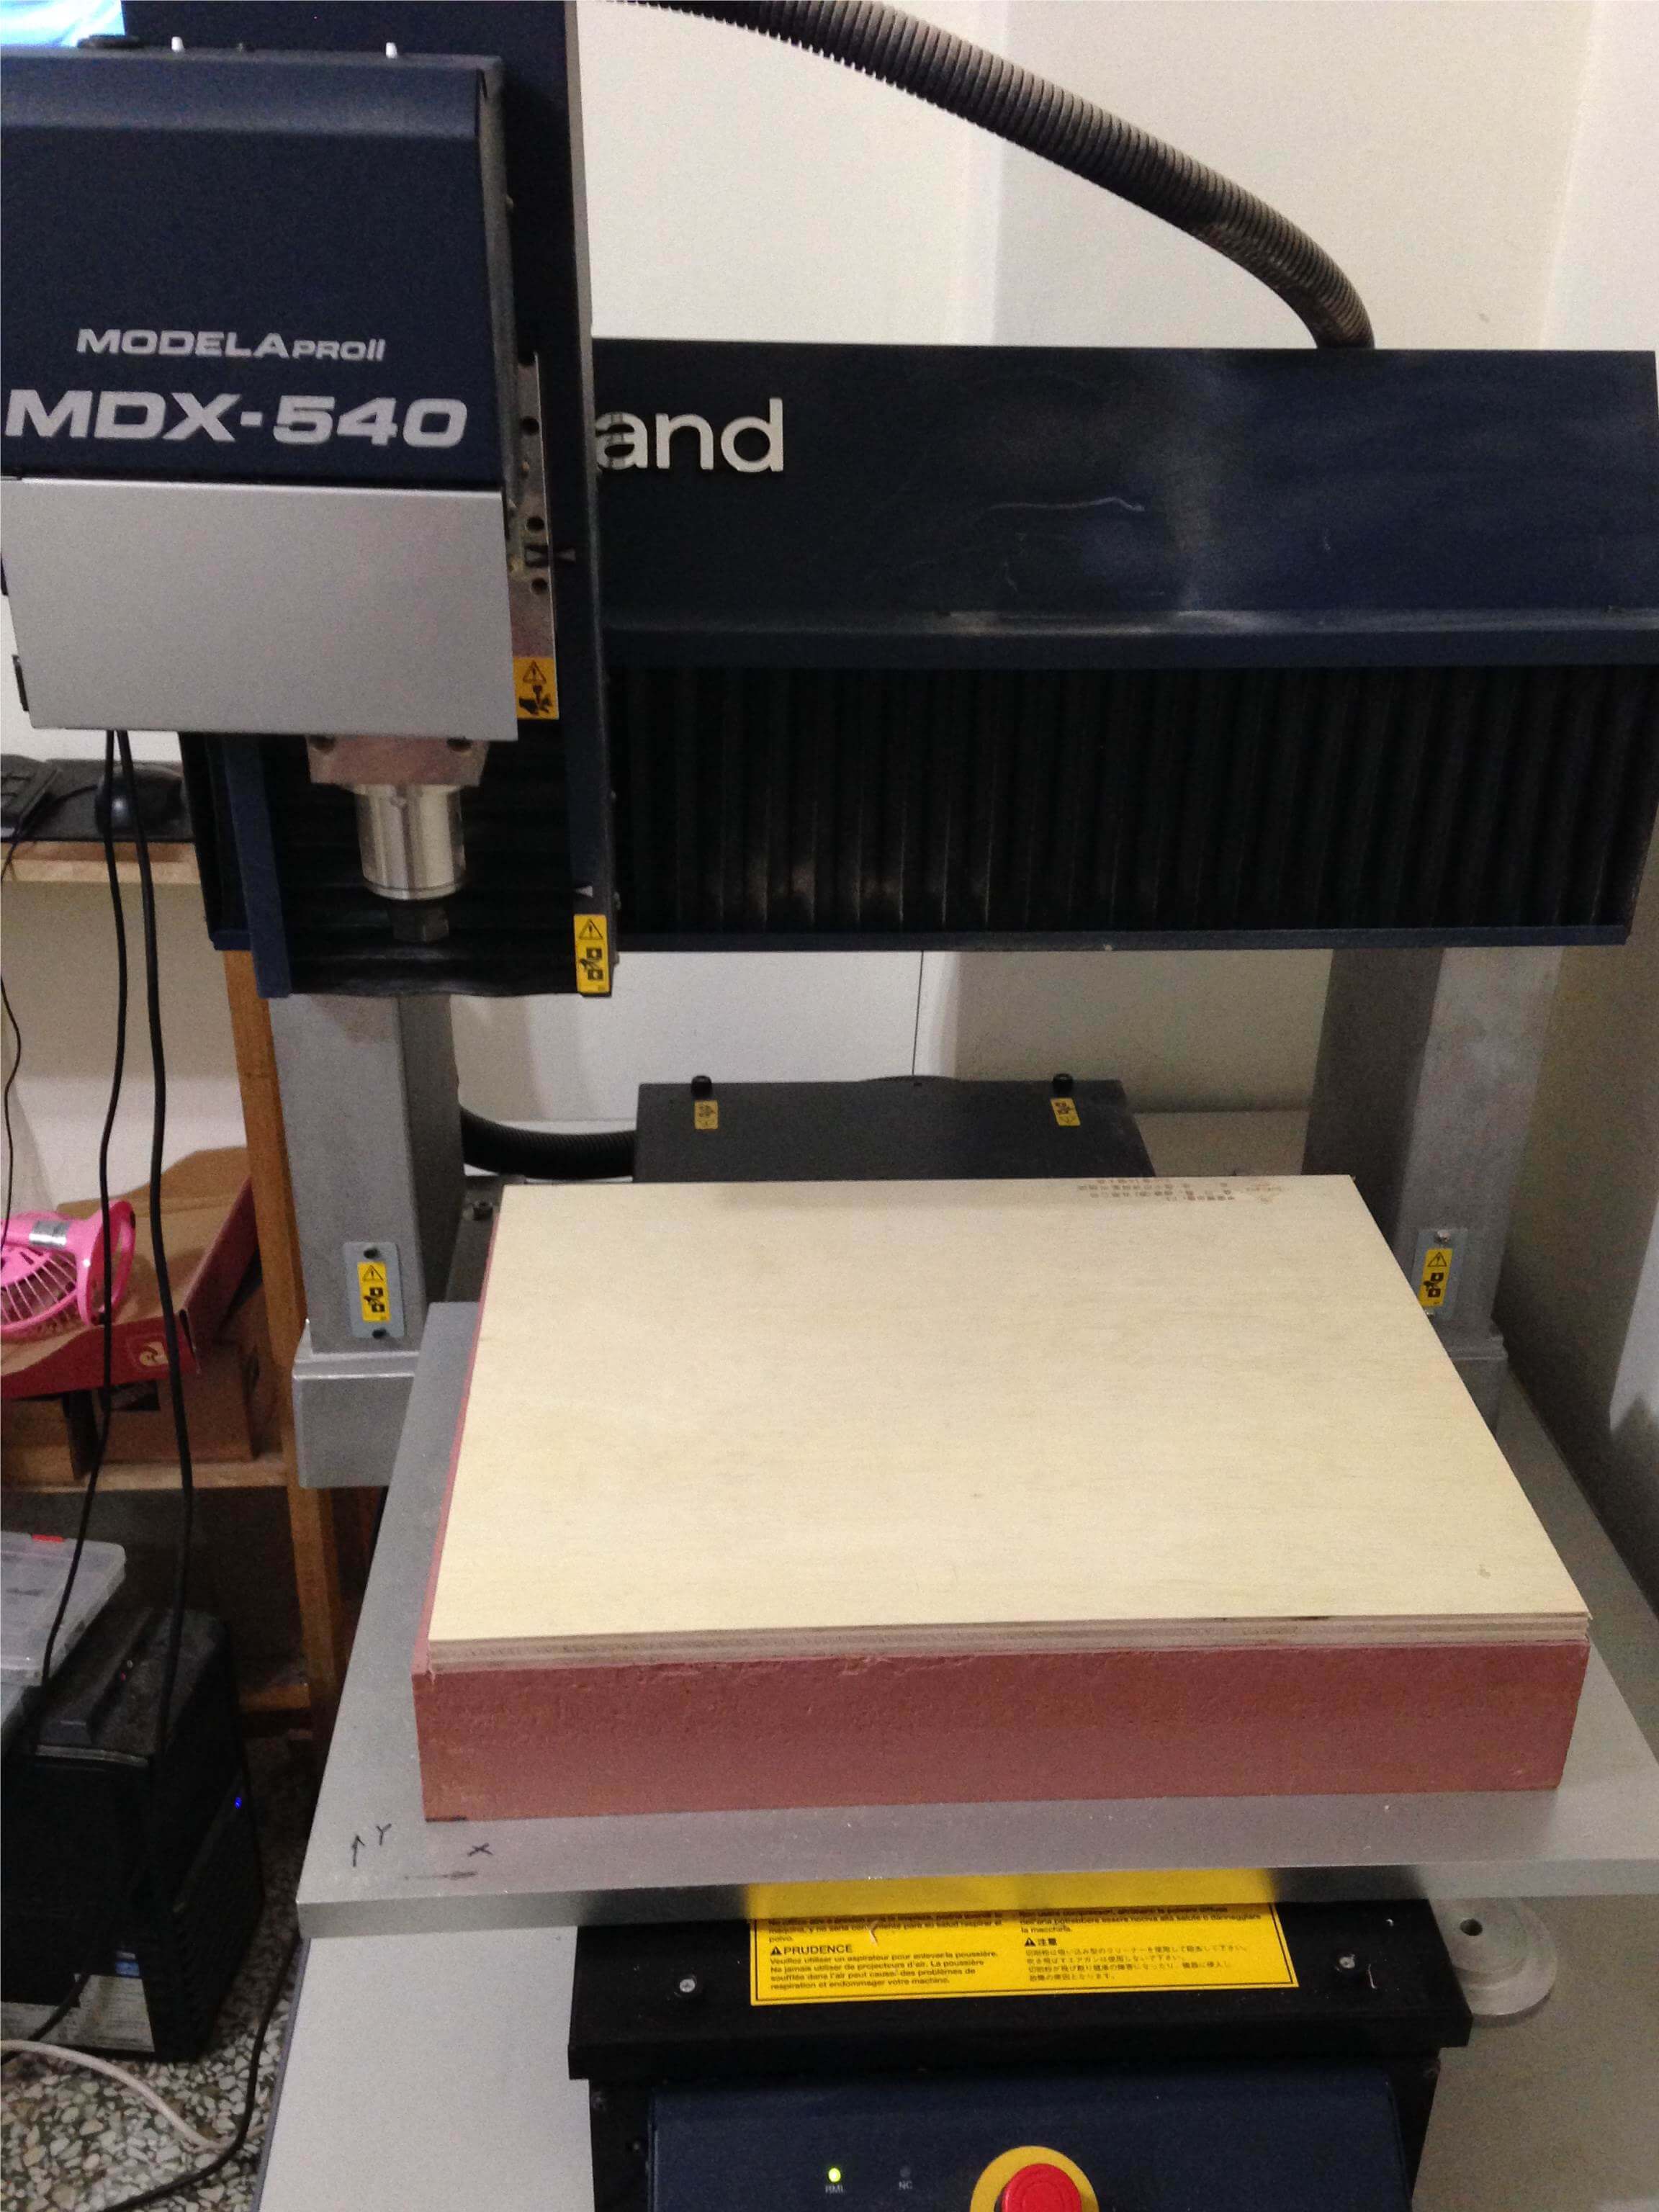
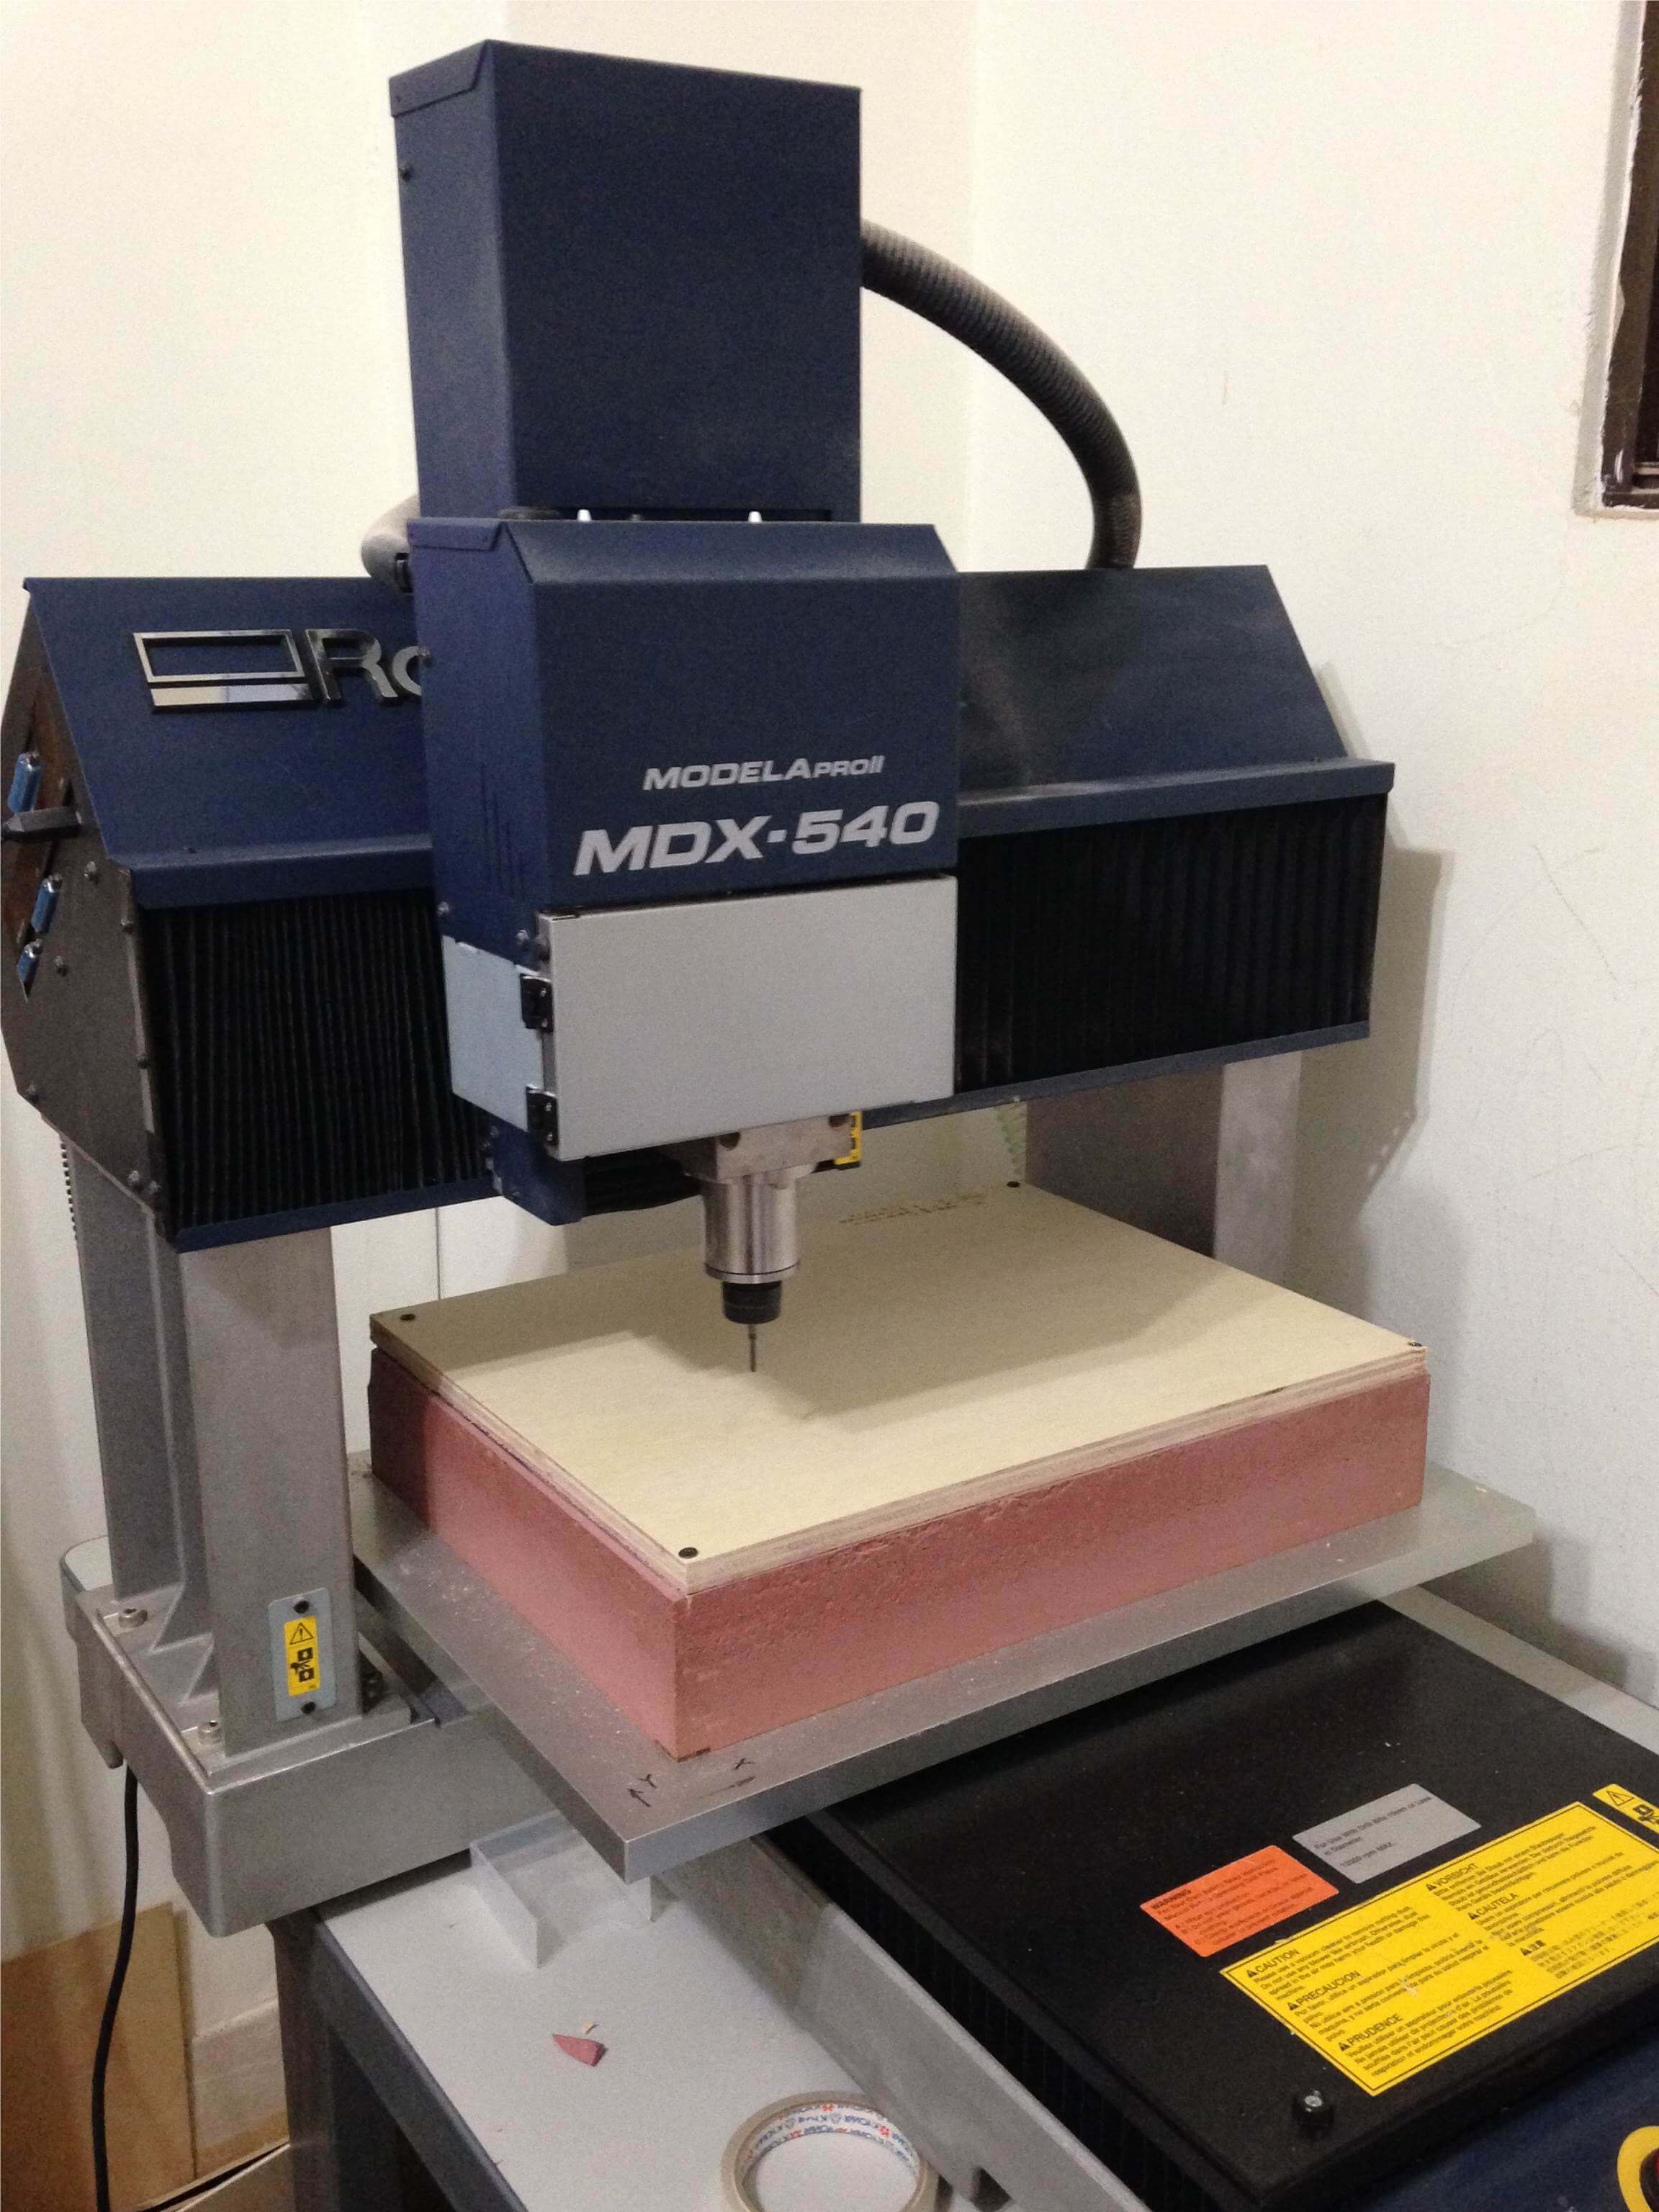
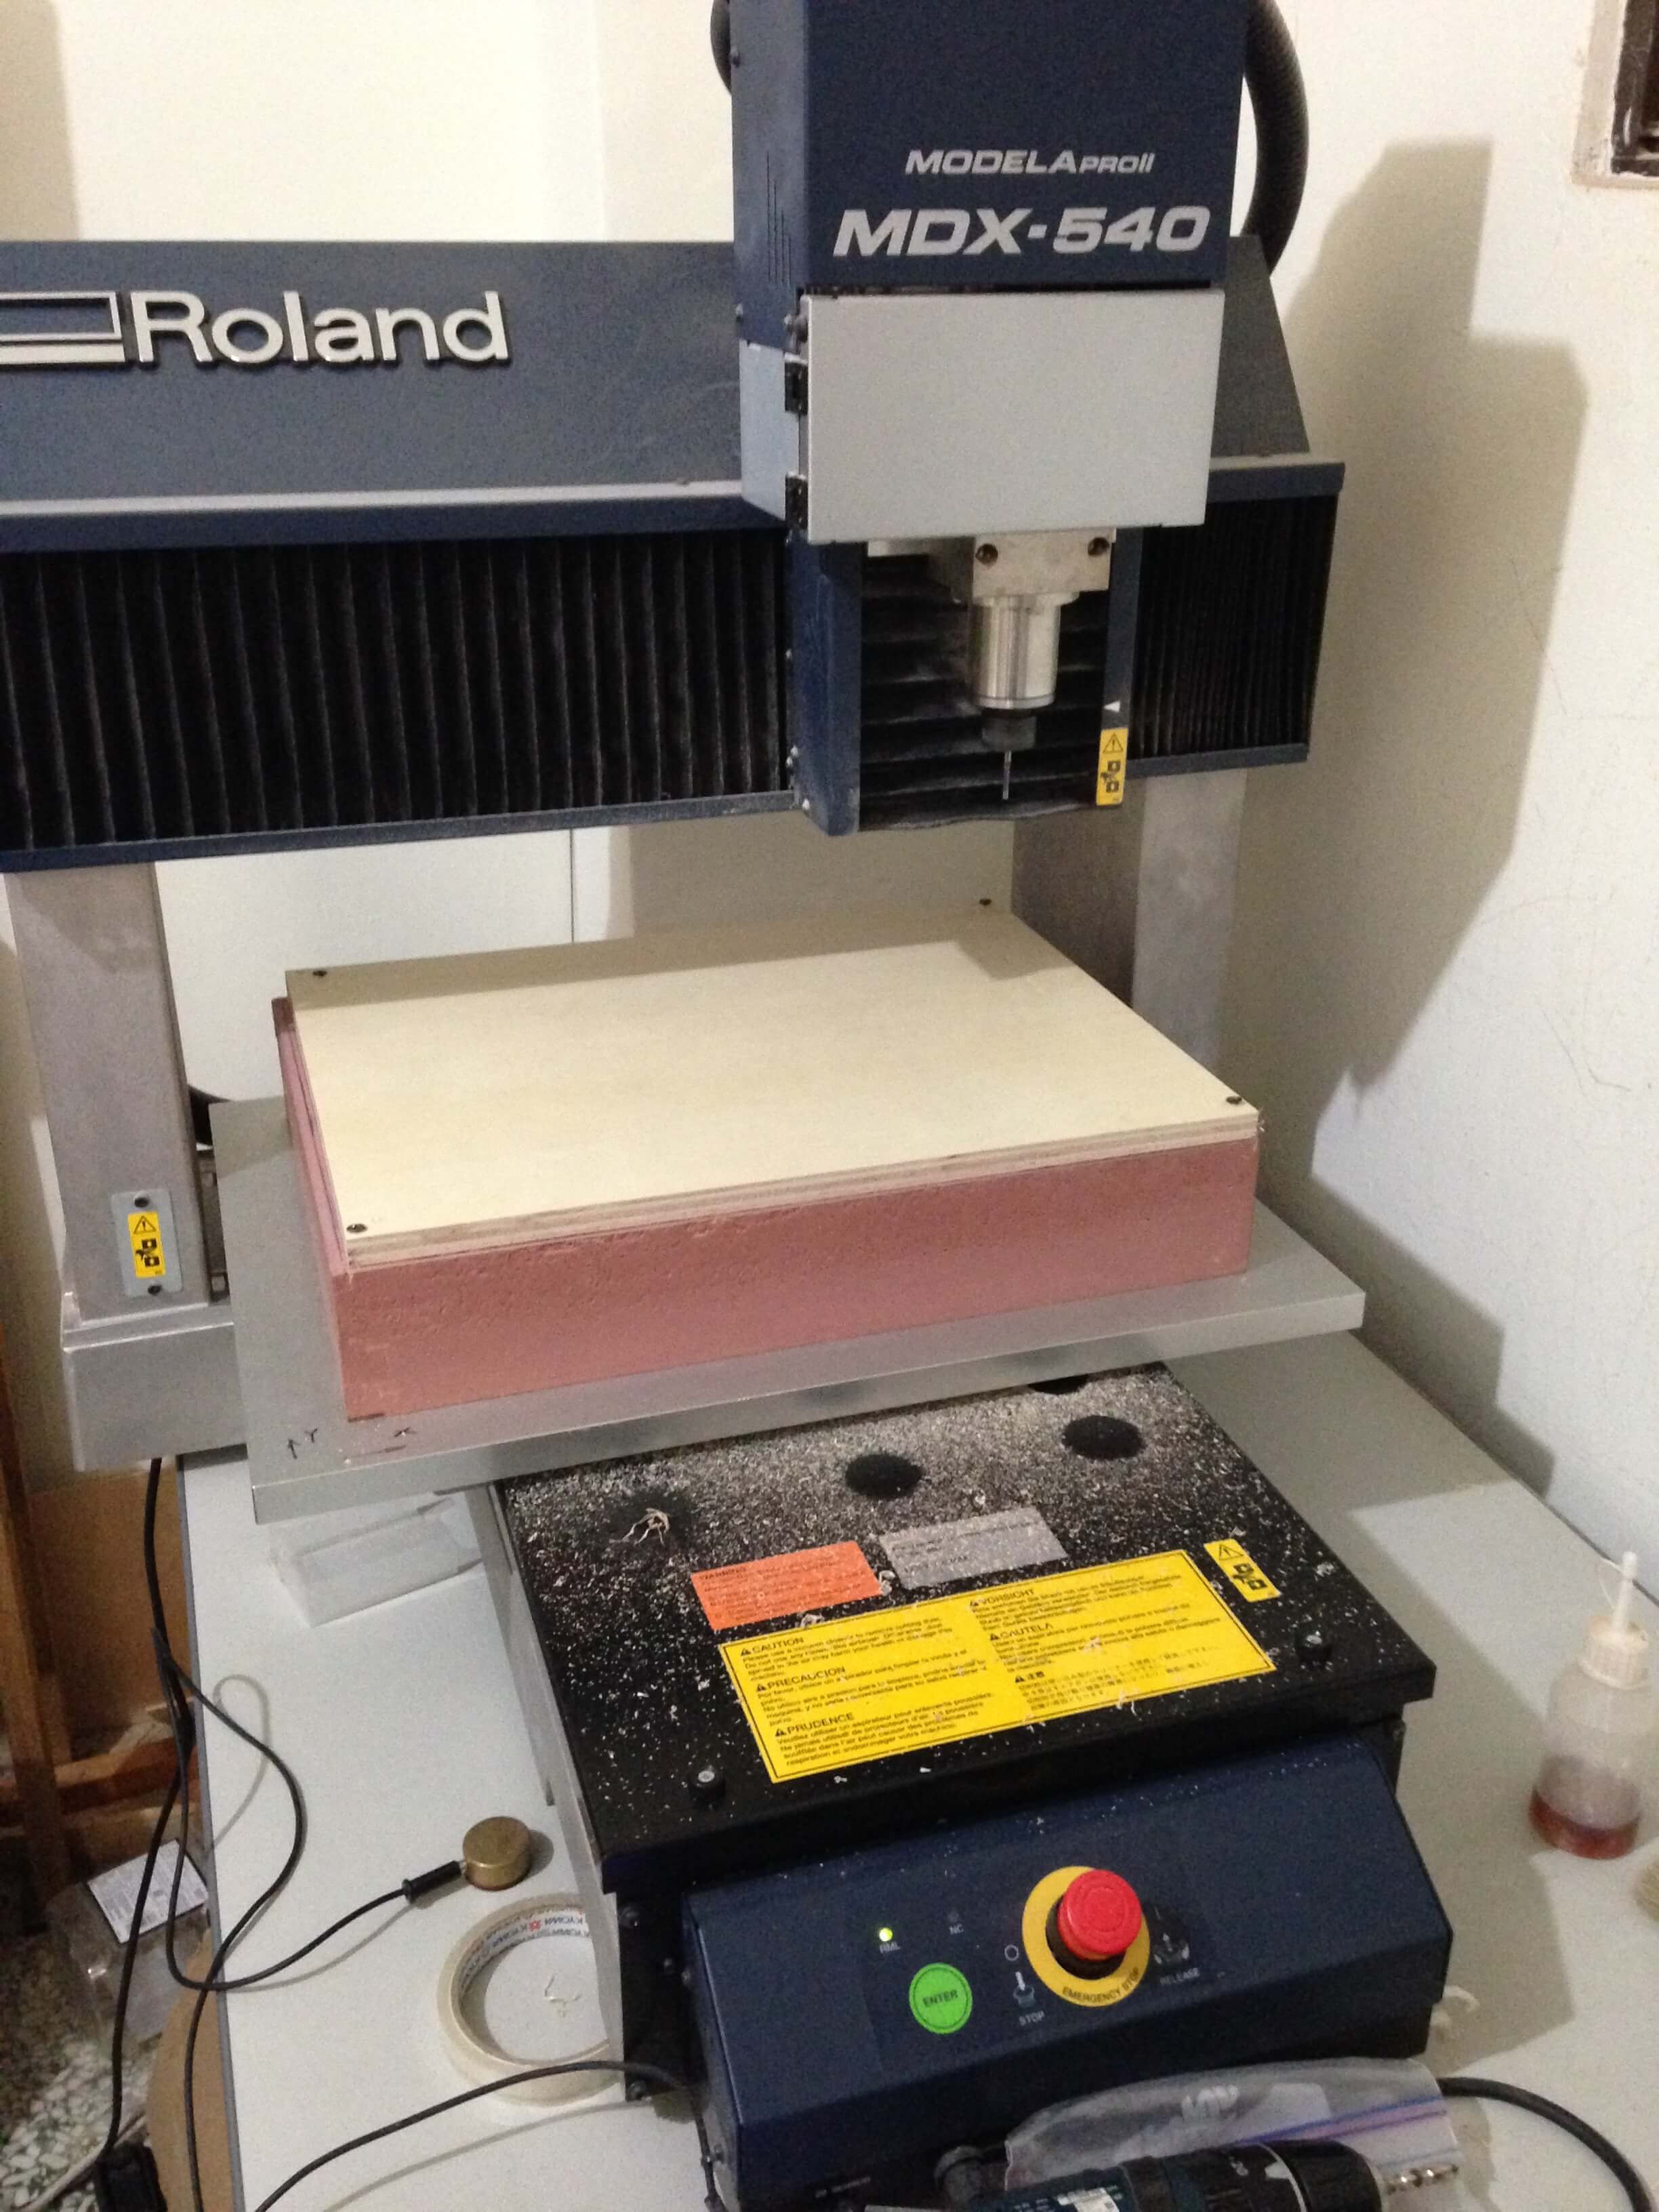
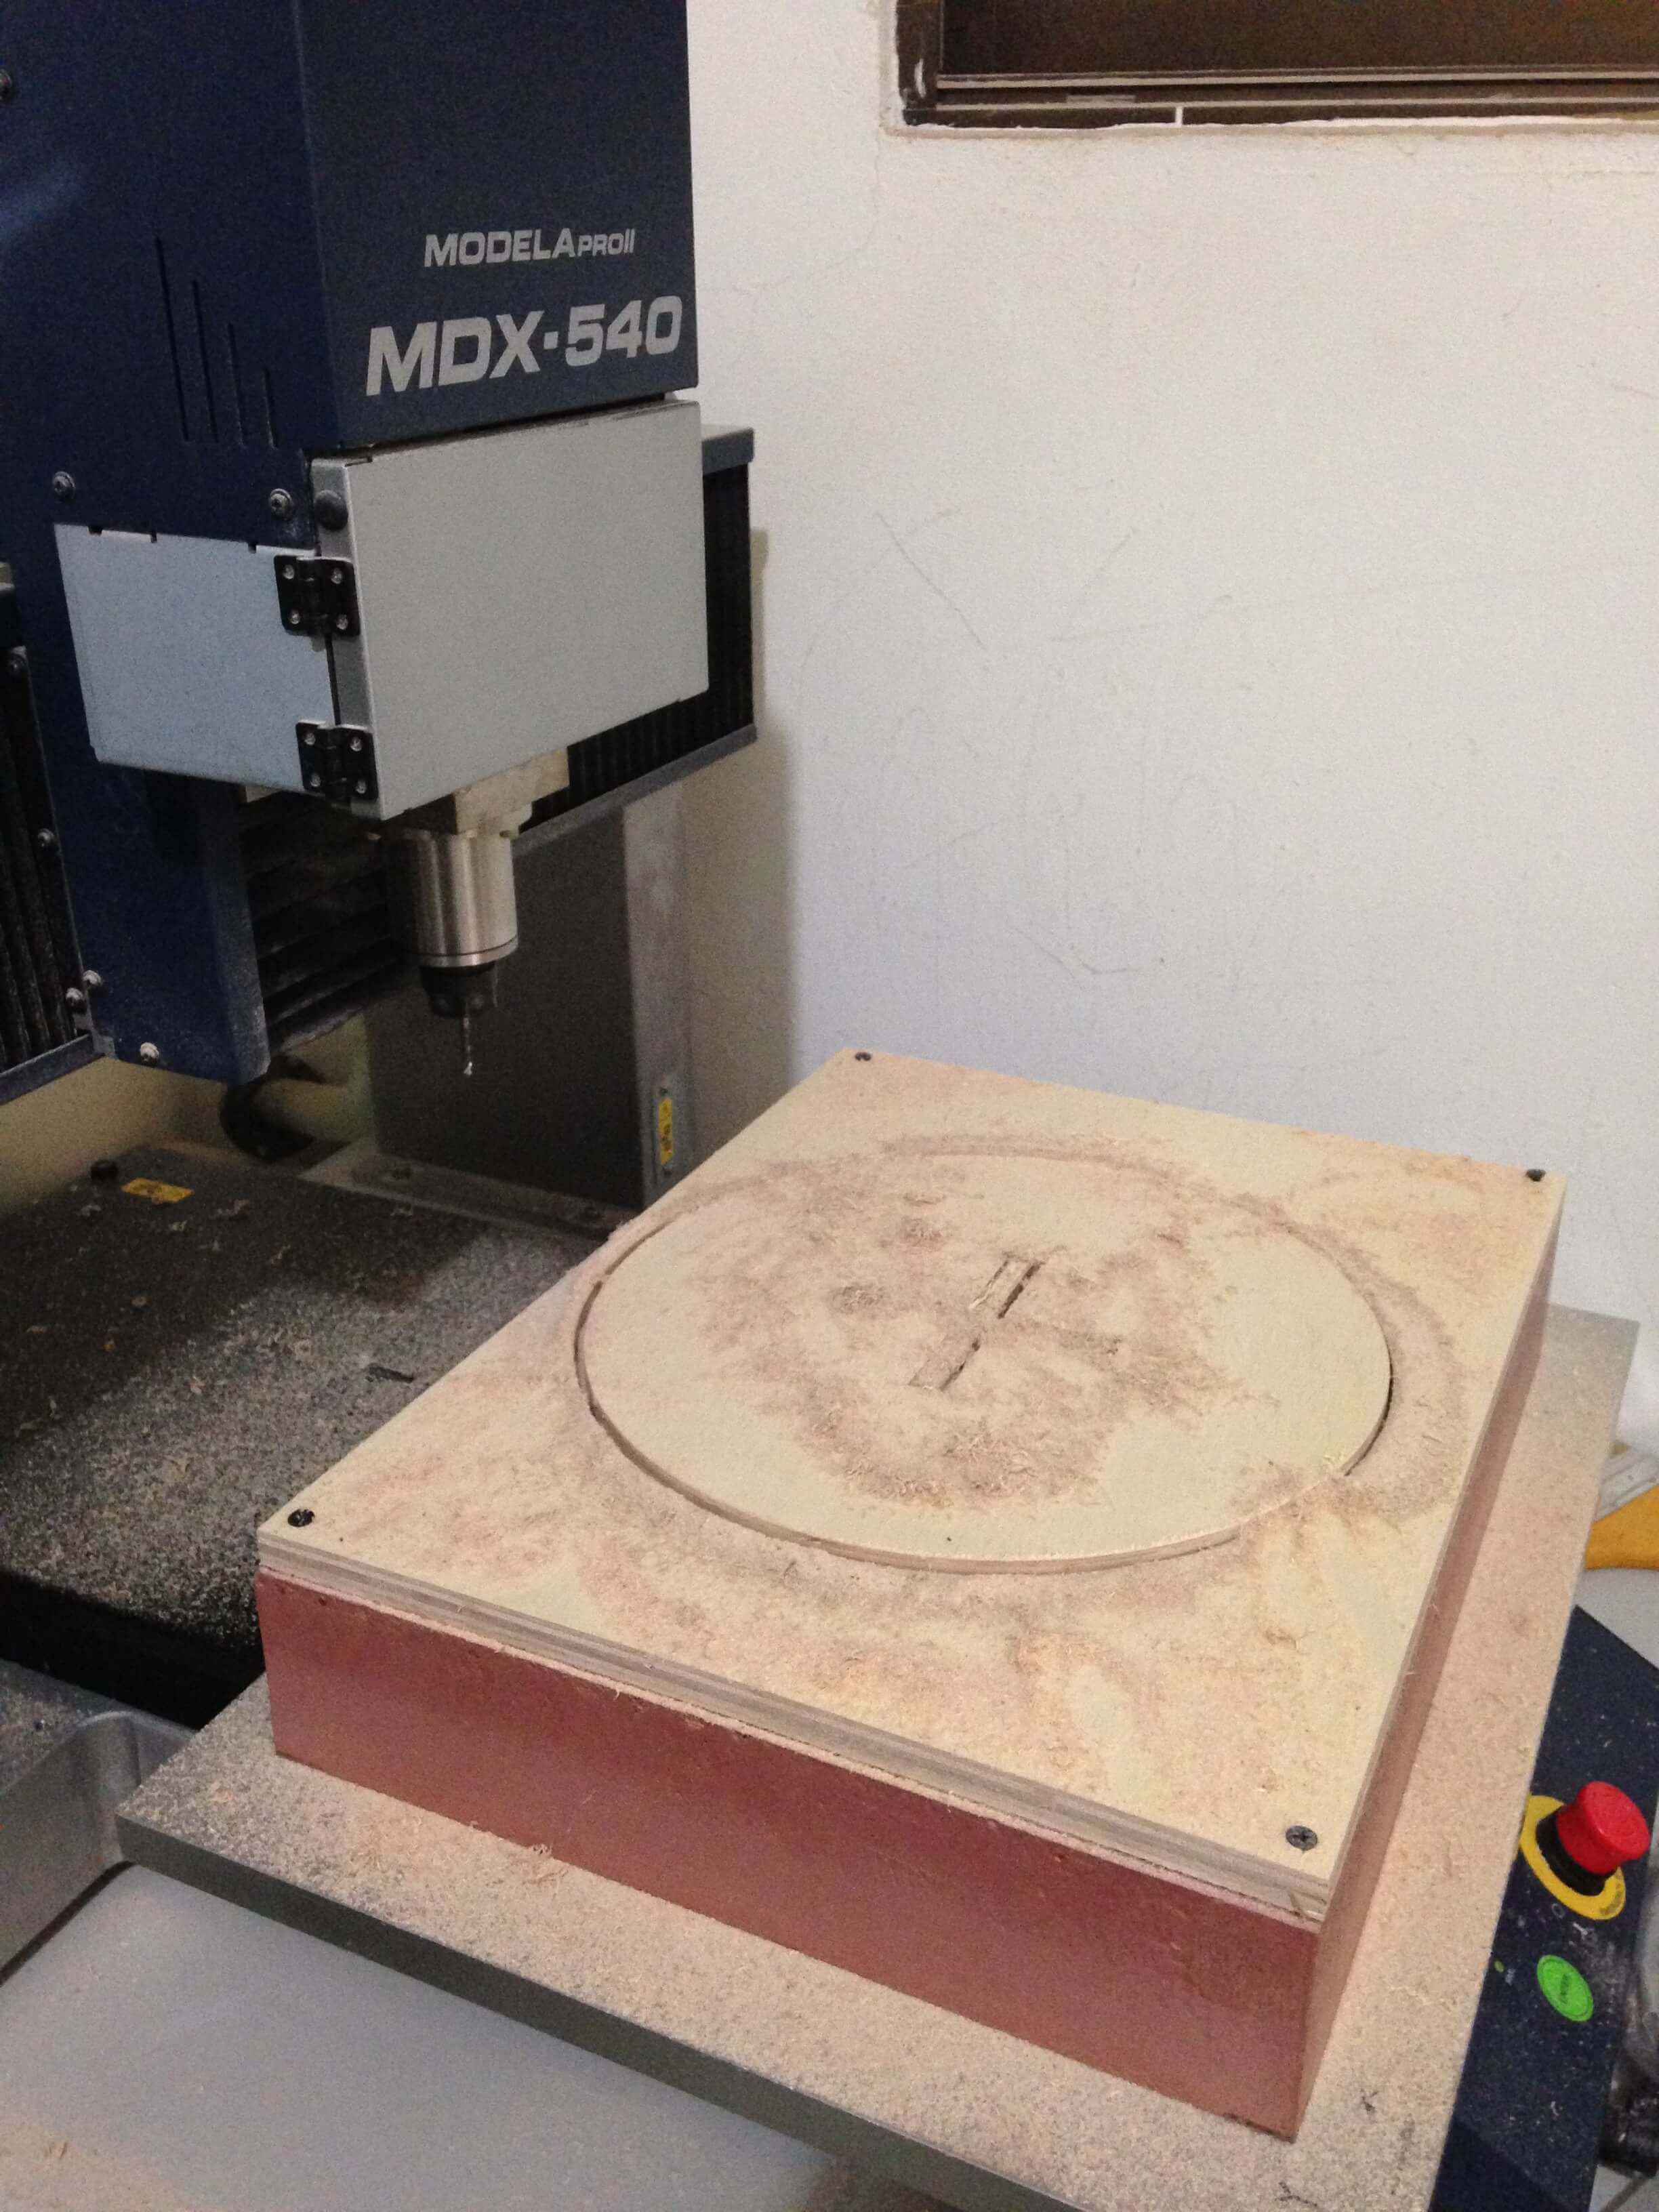
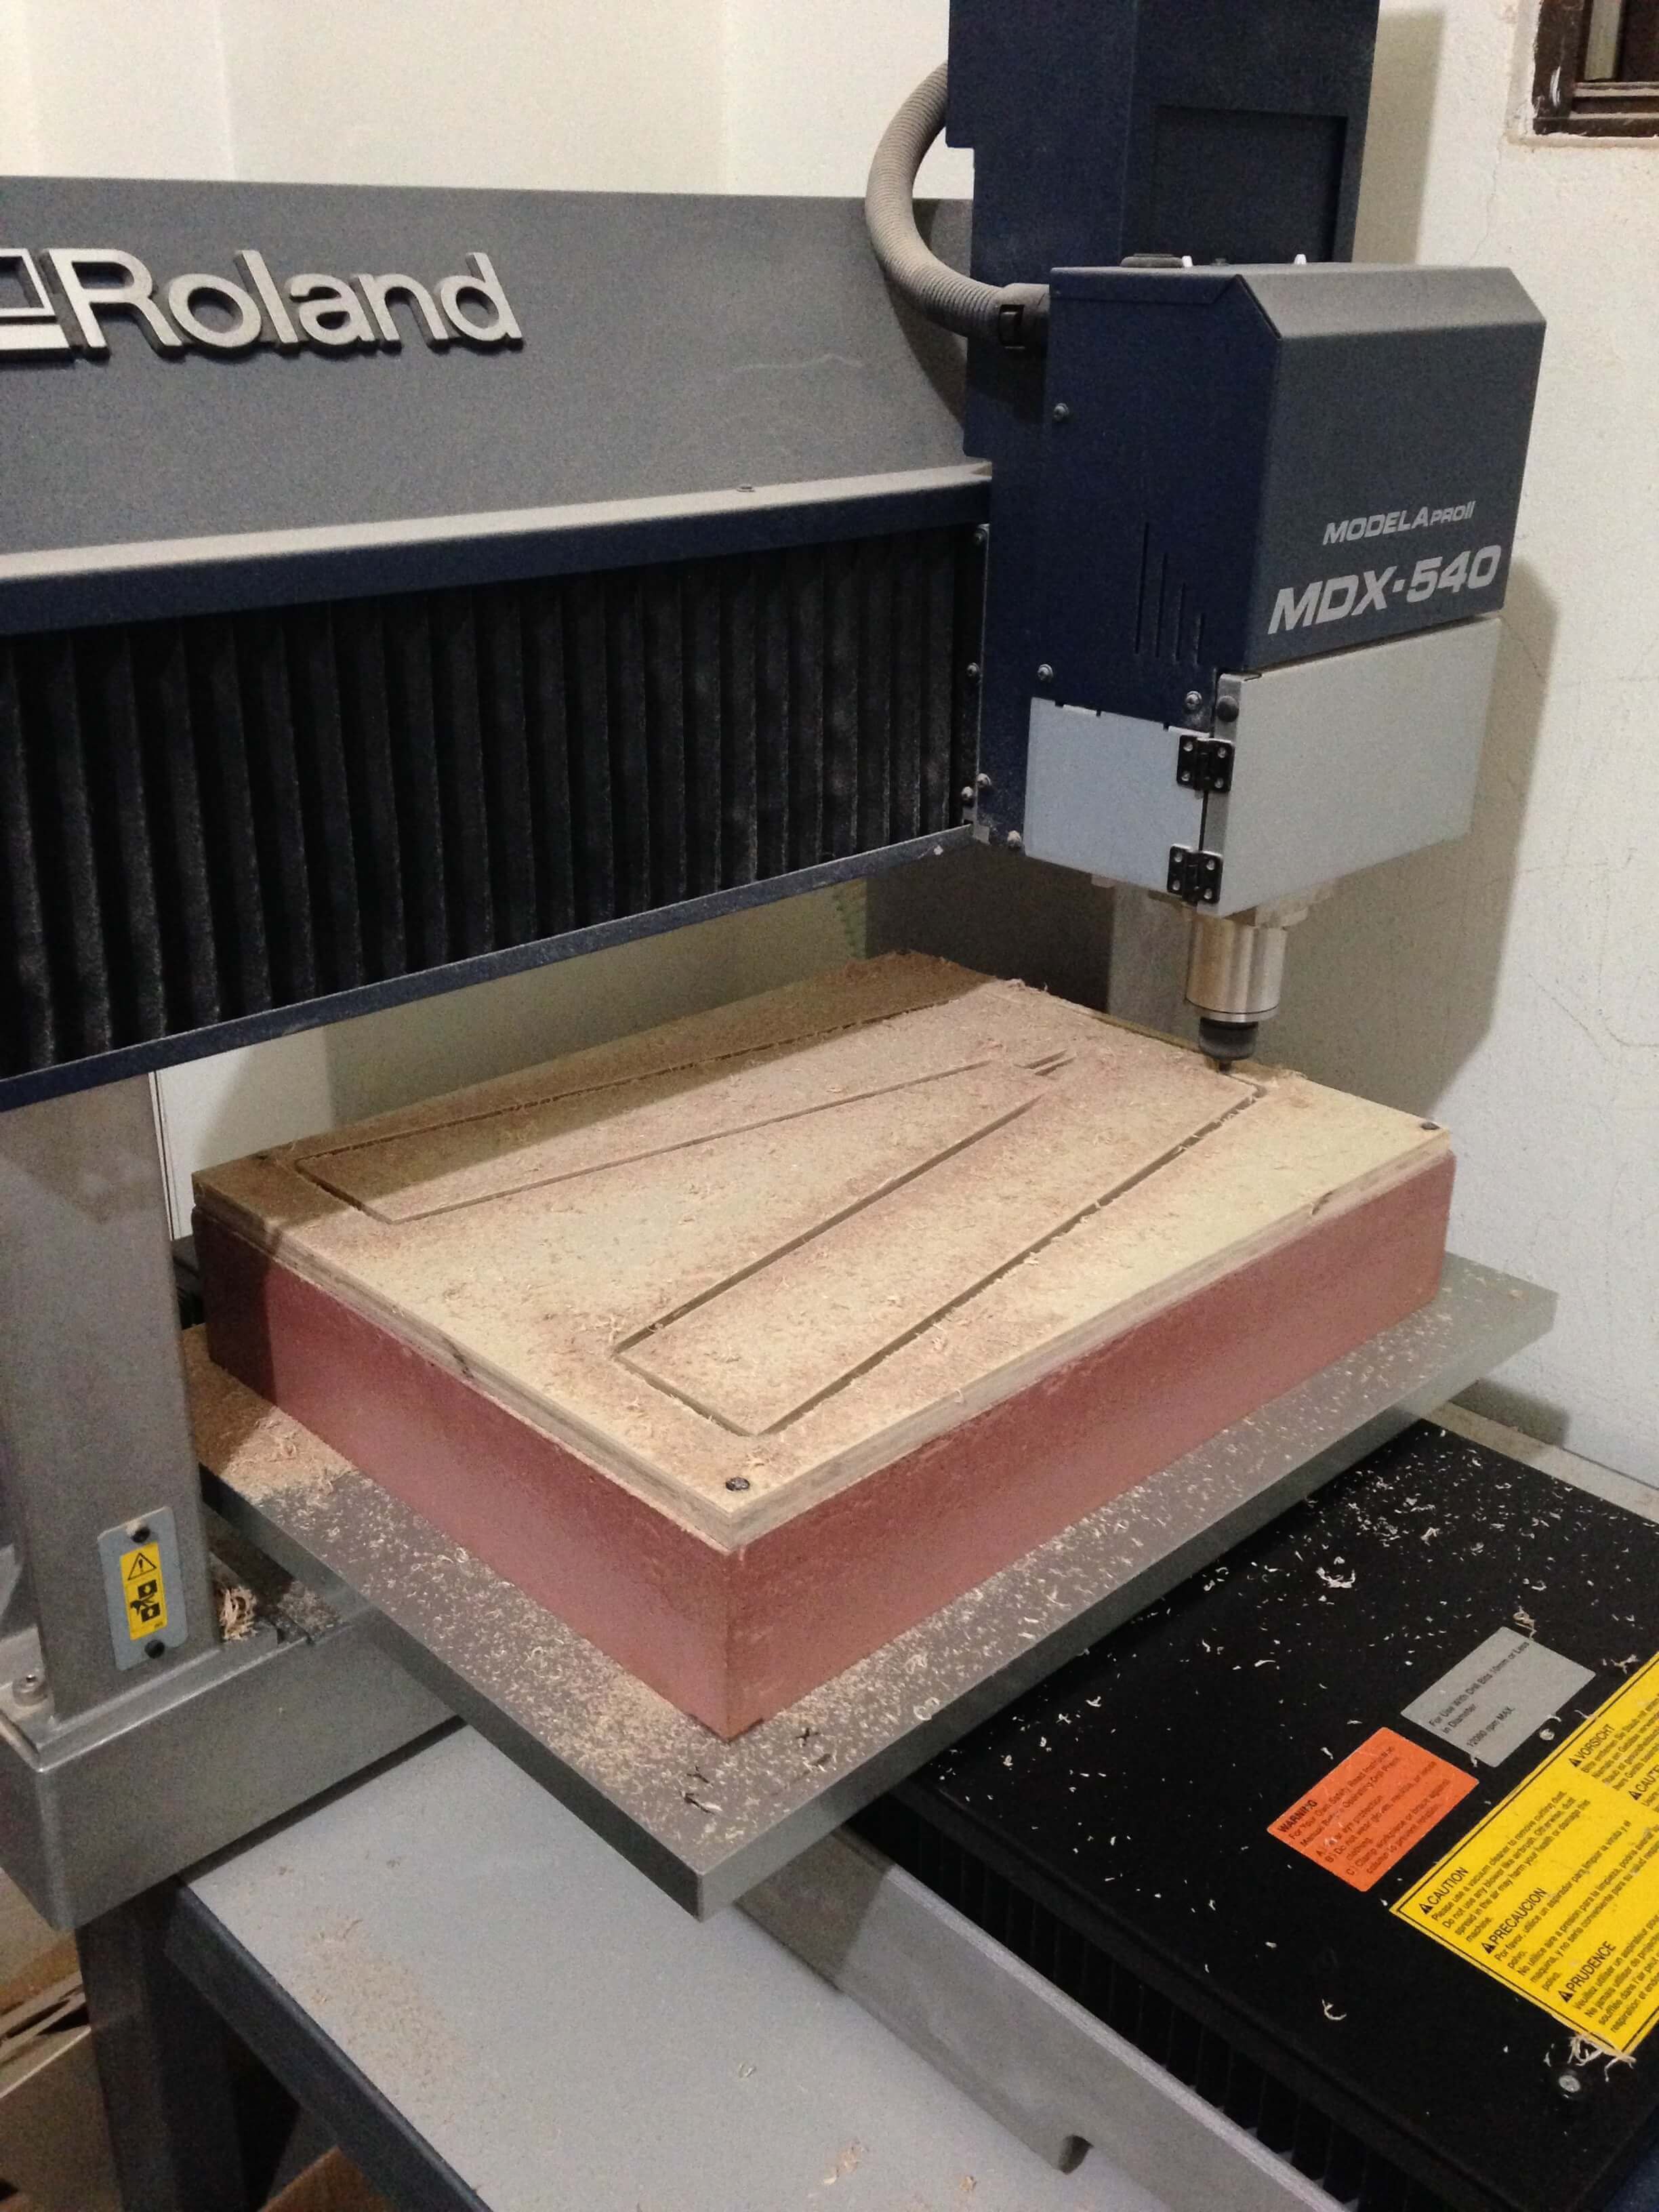
In FabLab Taipei, we are using Roland MDX540 to cut what we want to cut.
Fablab's milling machine with maximum 50 cm by 40cm by 15.5 cm XYZ-axis travel.
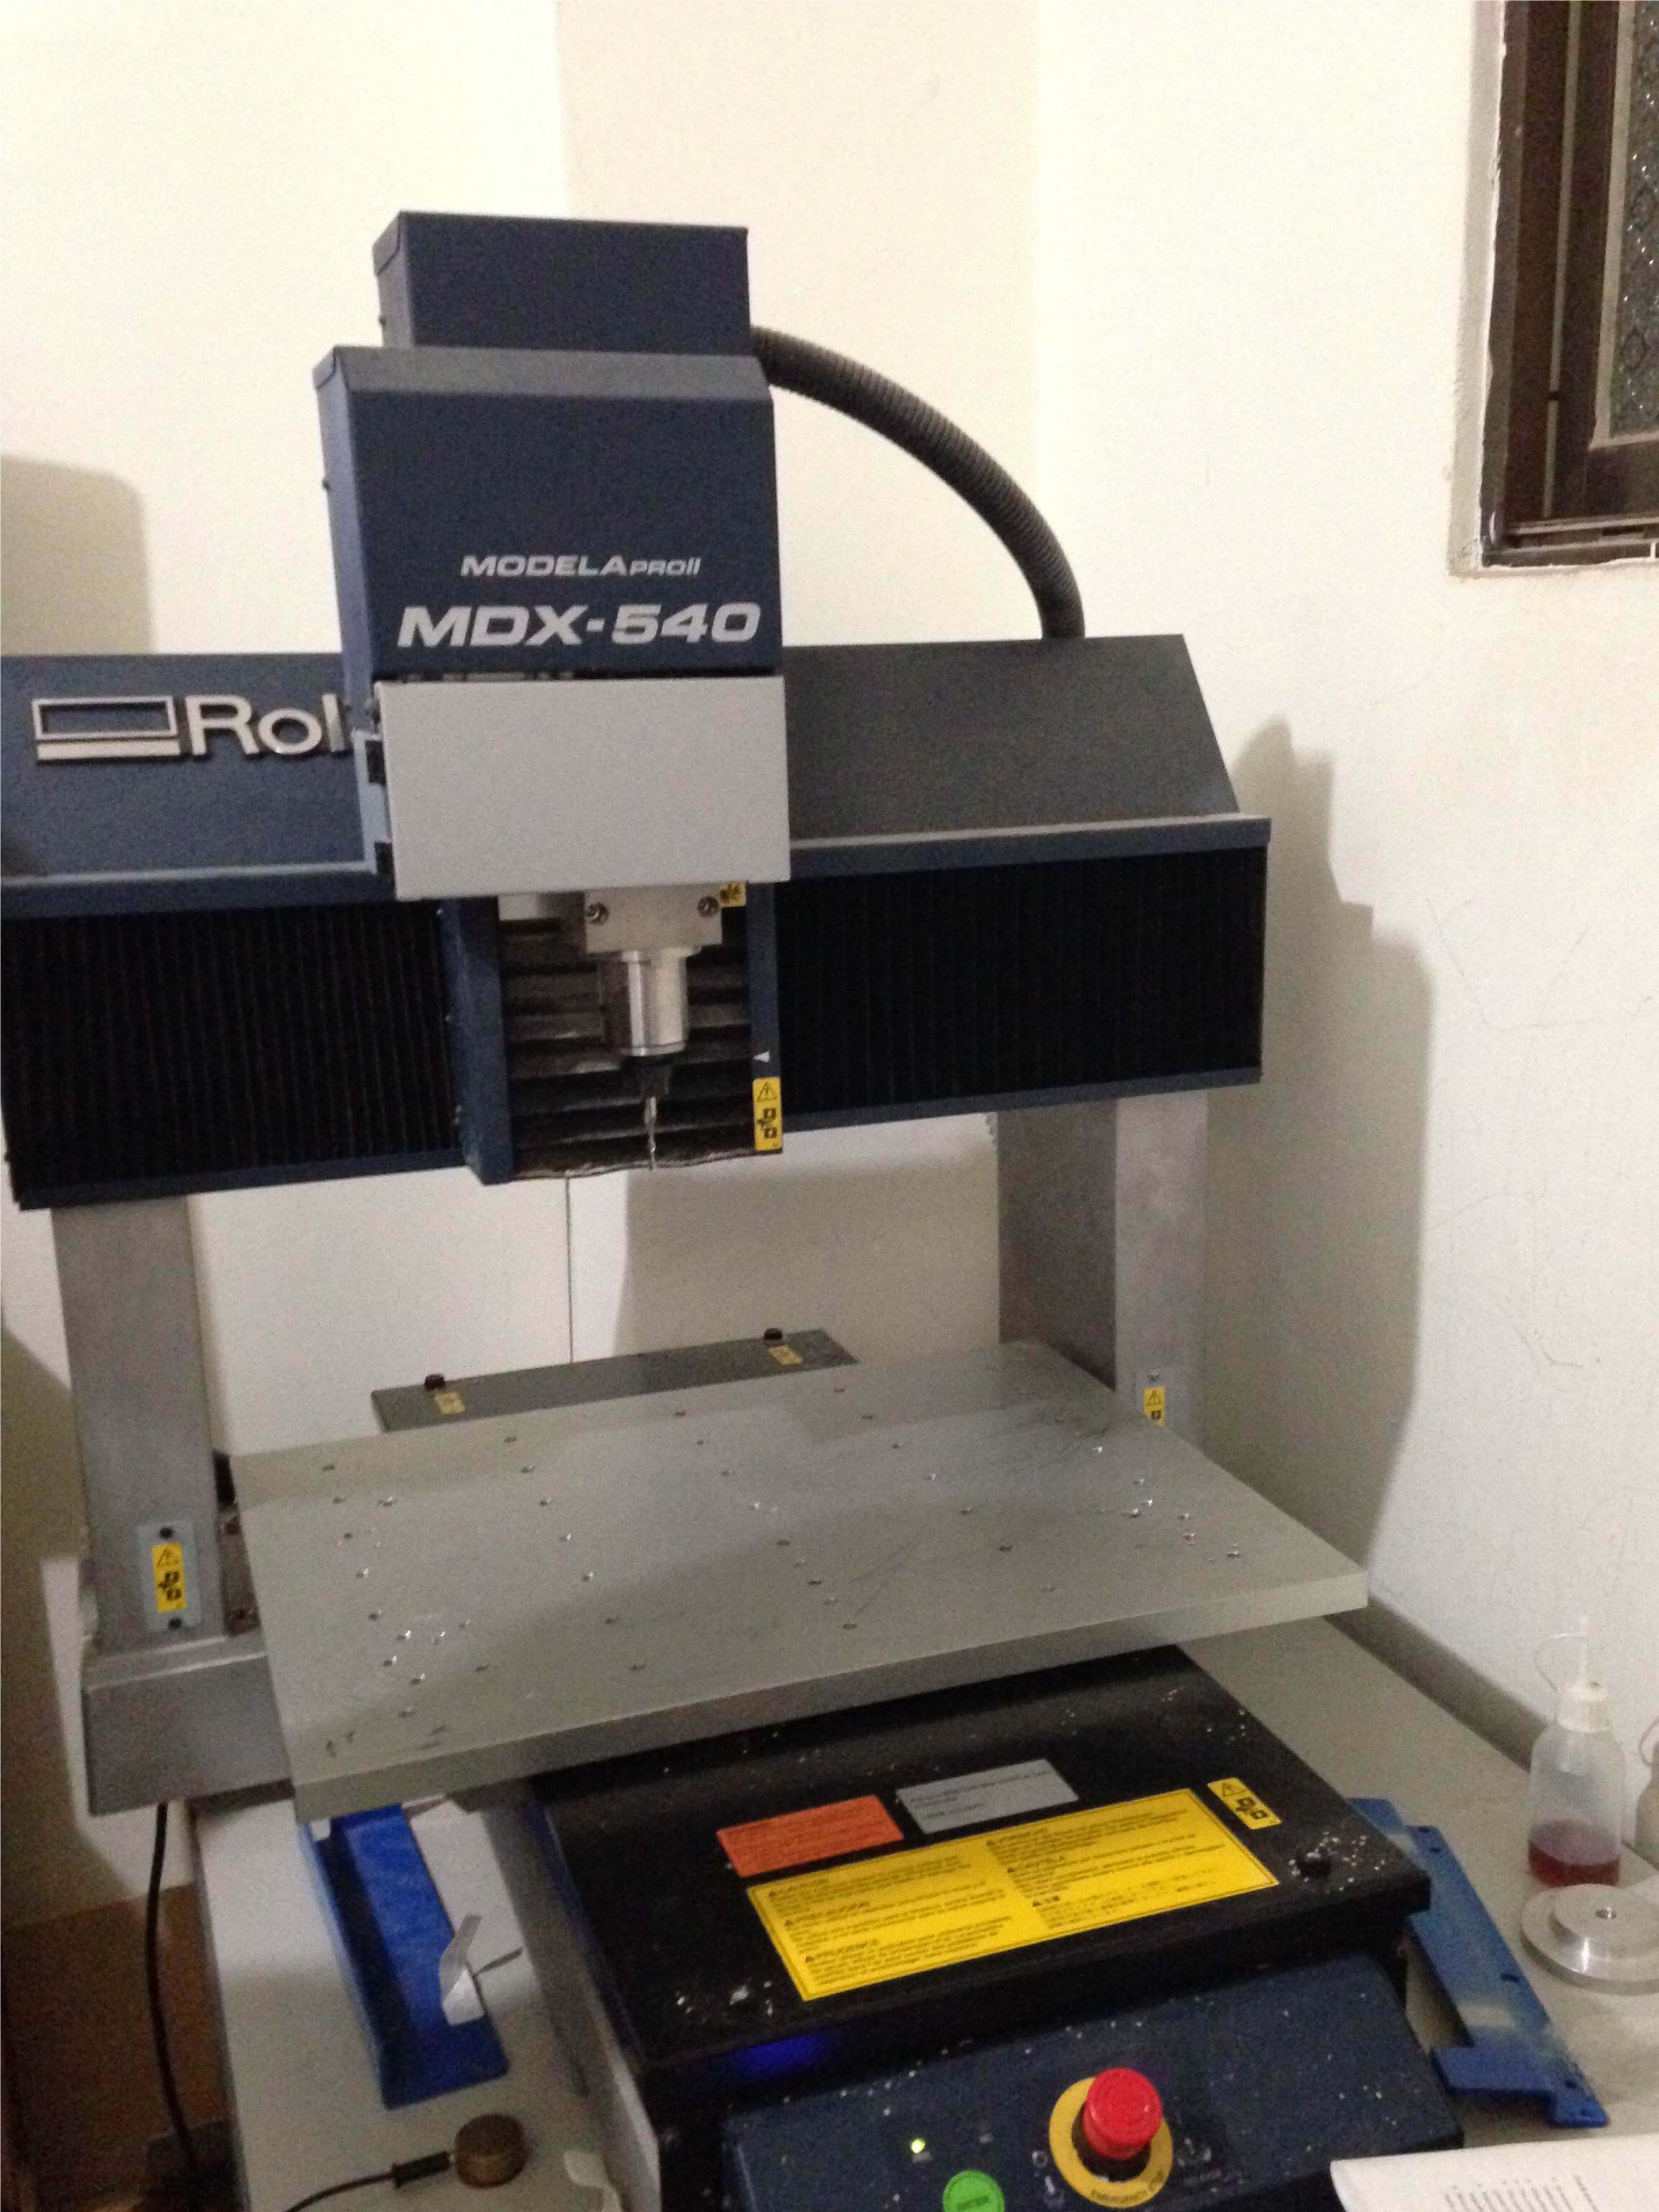
Our local instructor Yi-Pin Huang teach us how to use this machine.
I bought 45 * 35 * 1.5 cm pieces of plywood from local material store, it is the exact size for our machine.

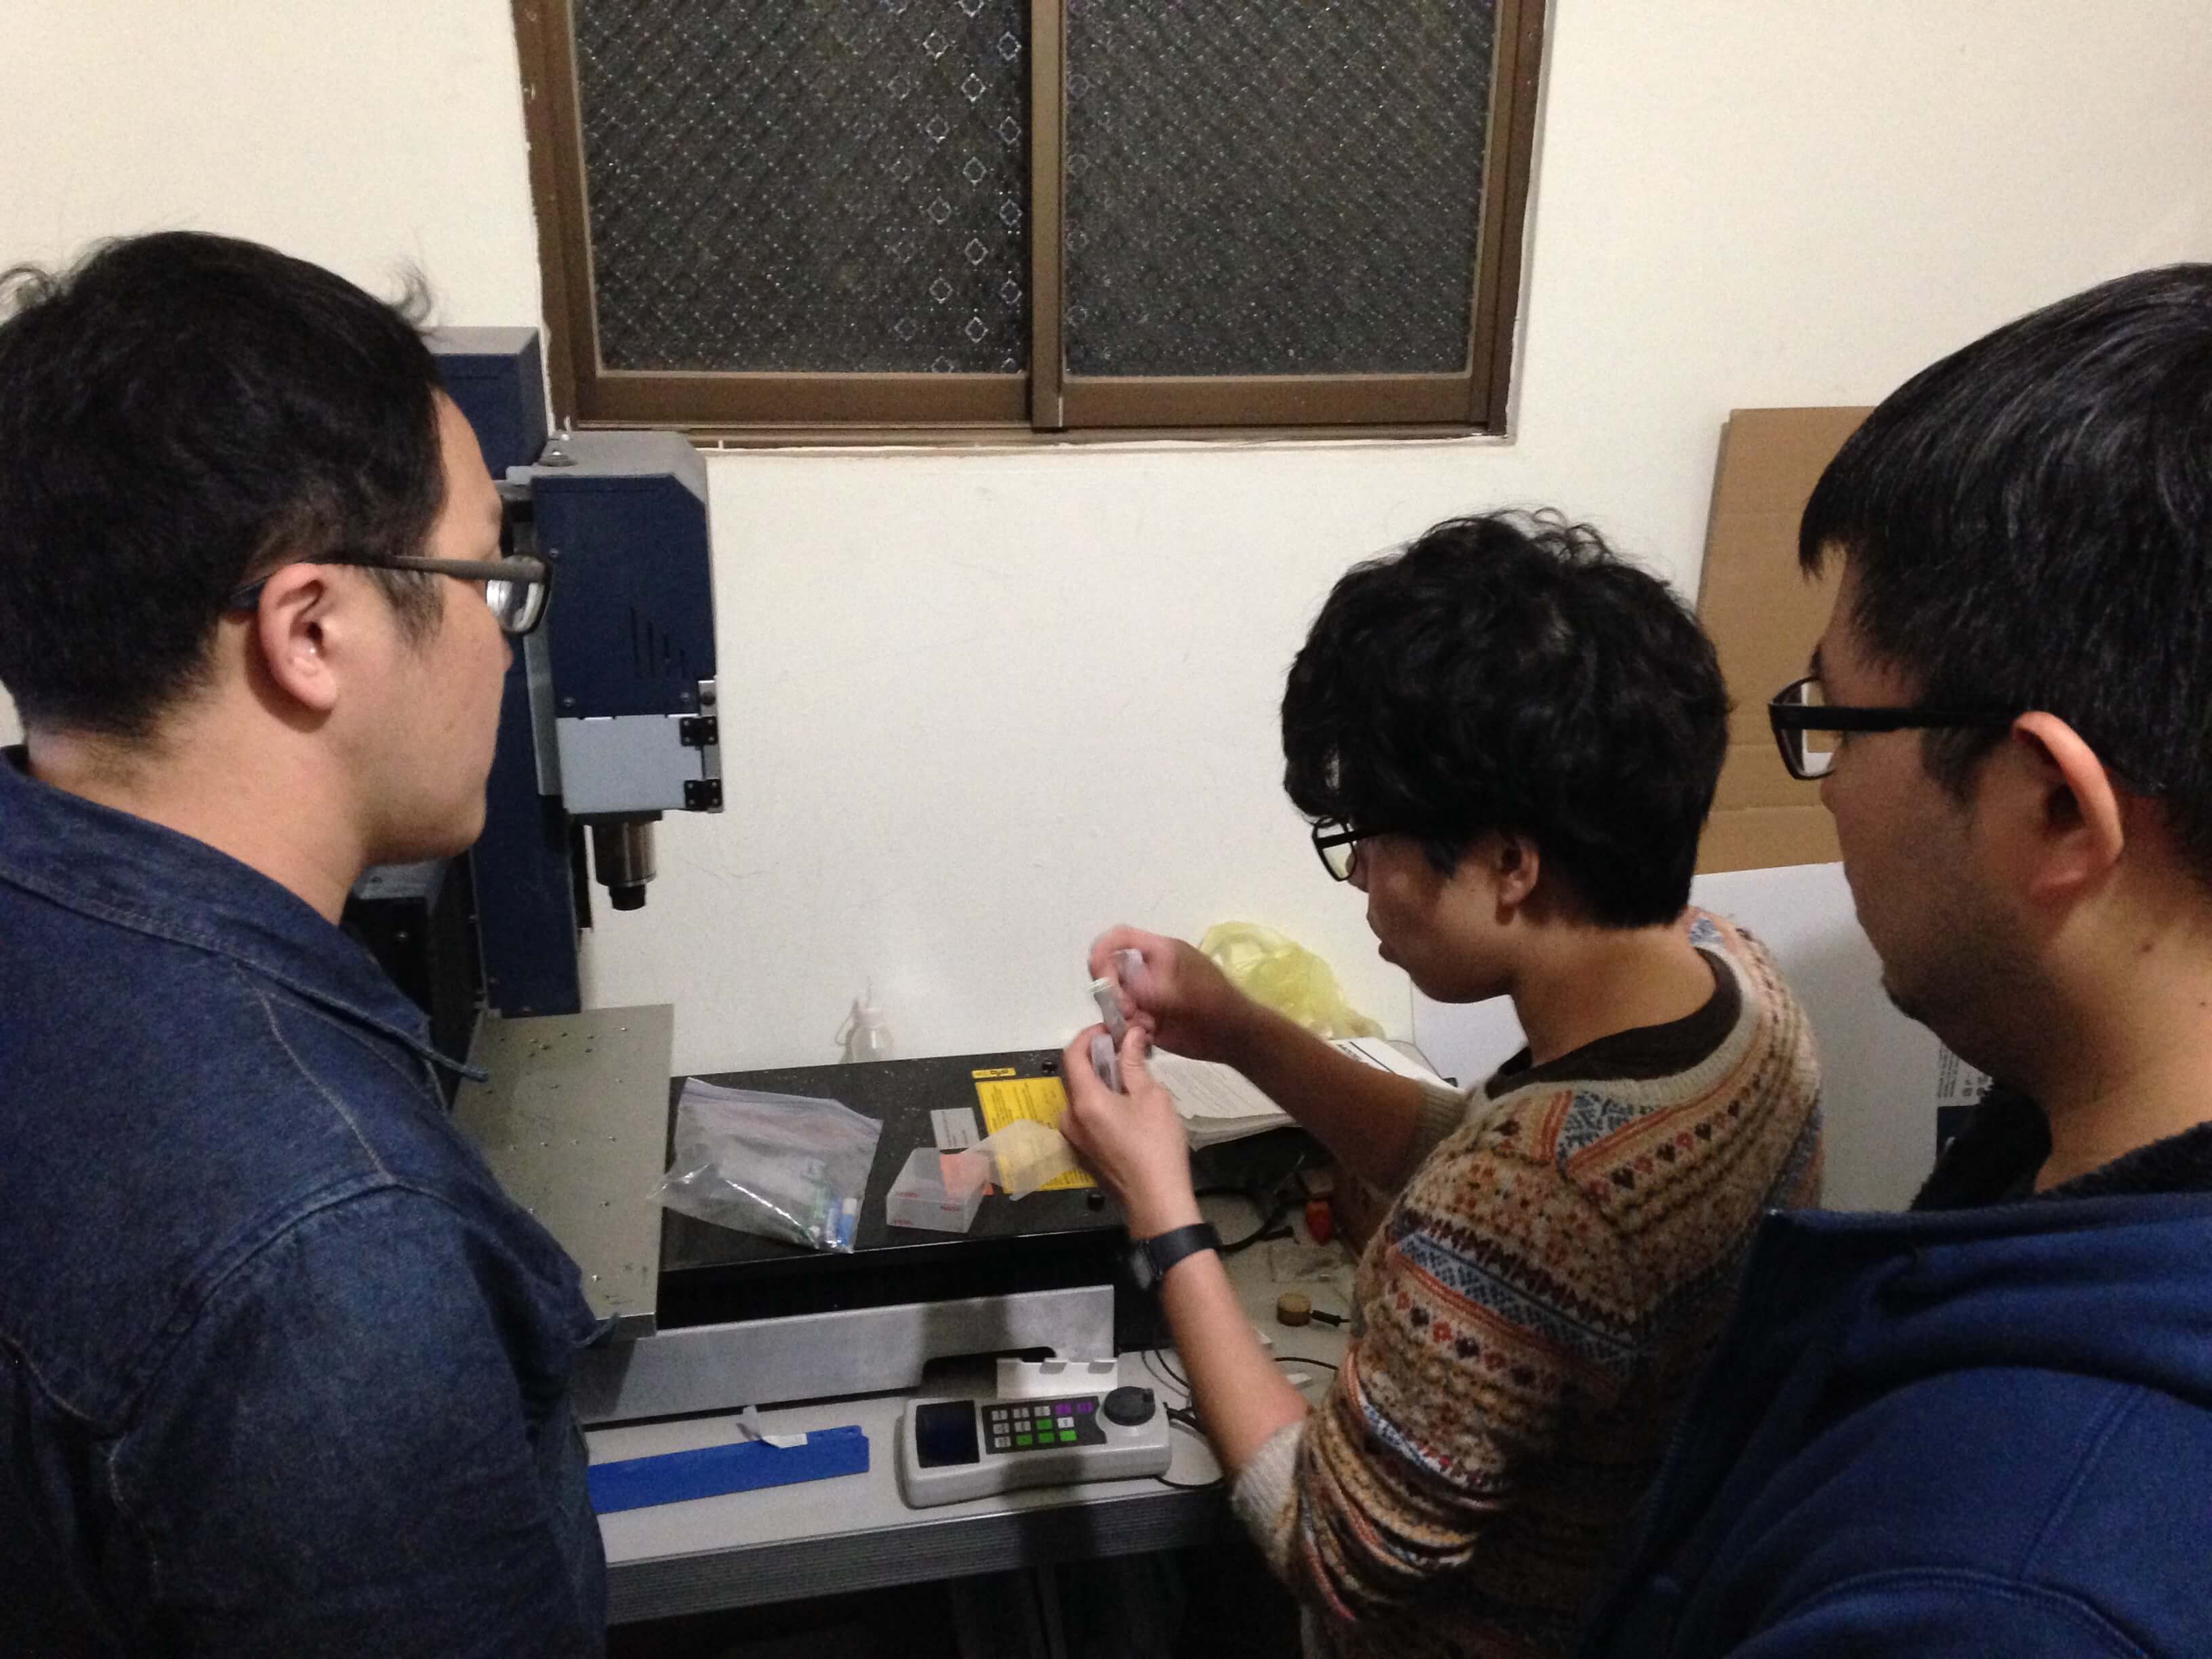
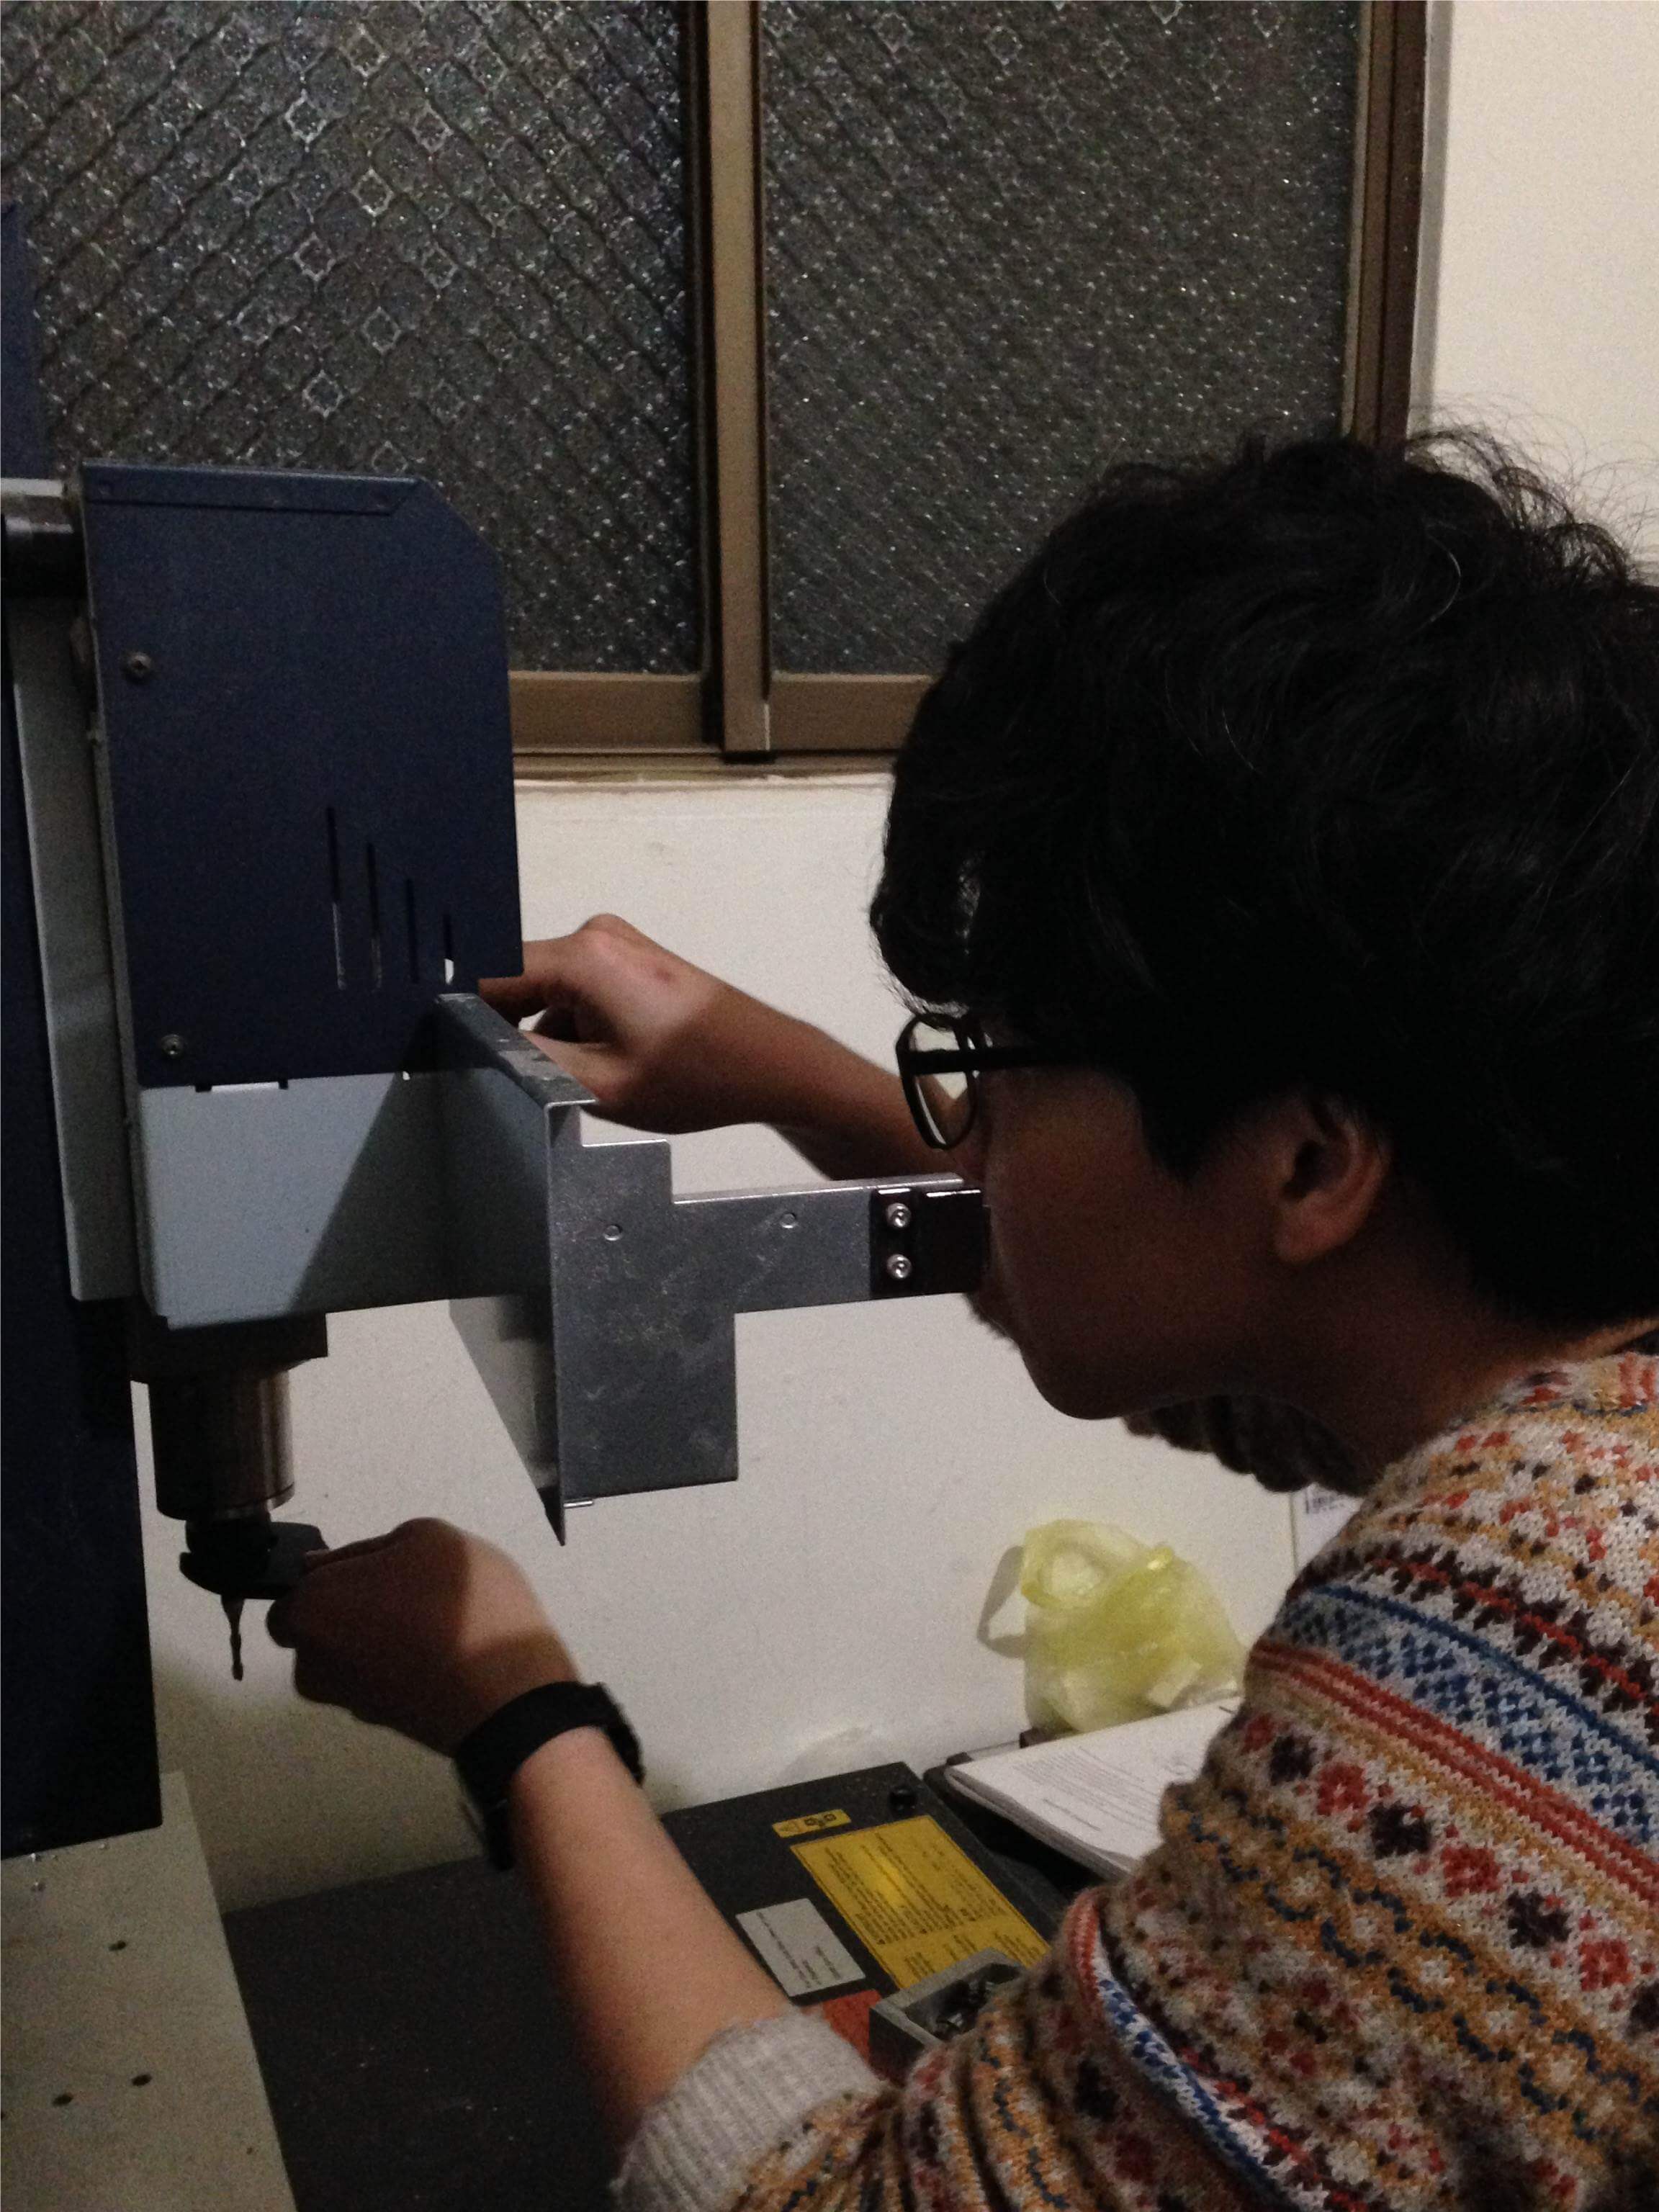
Shift X and Y to the center of your workpiece. Then press "COORD.SYSTEM" to change the USER mode.
Press X then press "ORIGIN". It can be set X value to be origin.
Also press Y then press "ORIGIN". It can be set Y value to be origin.

After setting X and Y value. Use Z axis setter to set Z value.
Put on the workpiece. Then press z0 sense button. It will setting z value automatically.
For milling the plywood. The variable what is set:
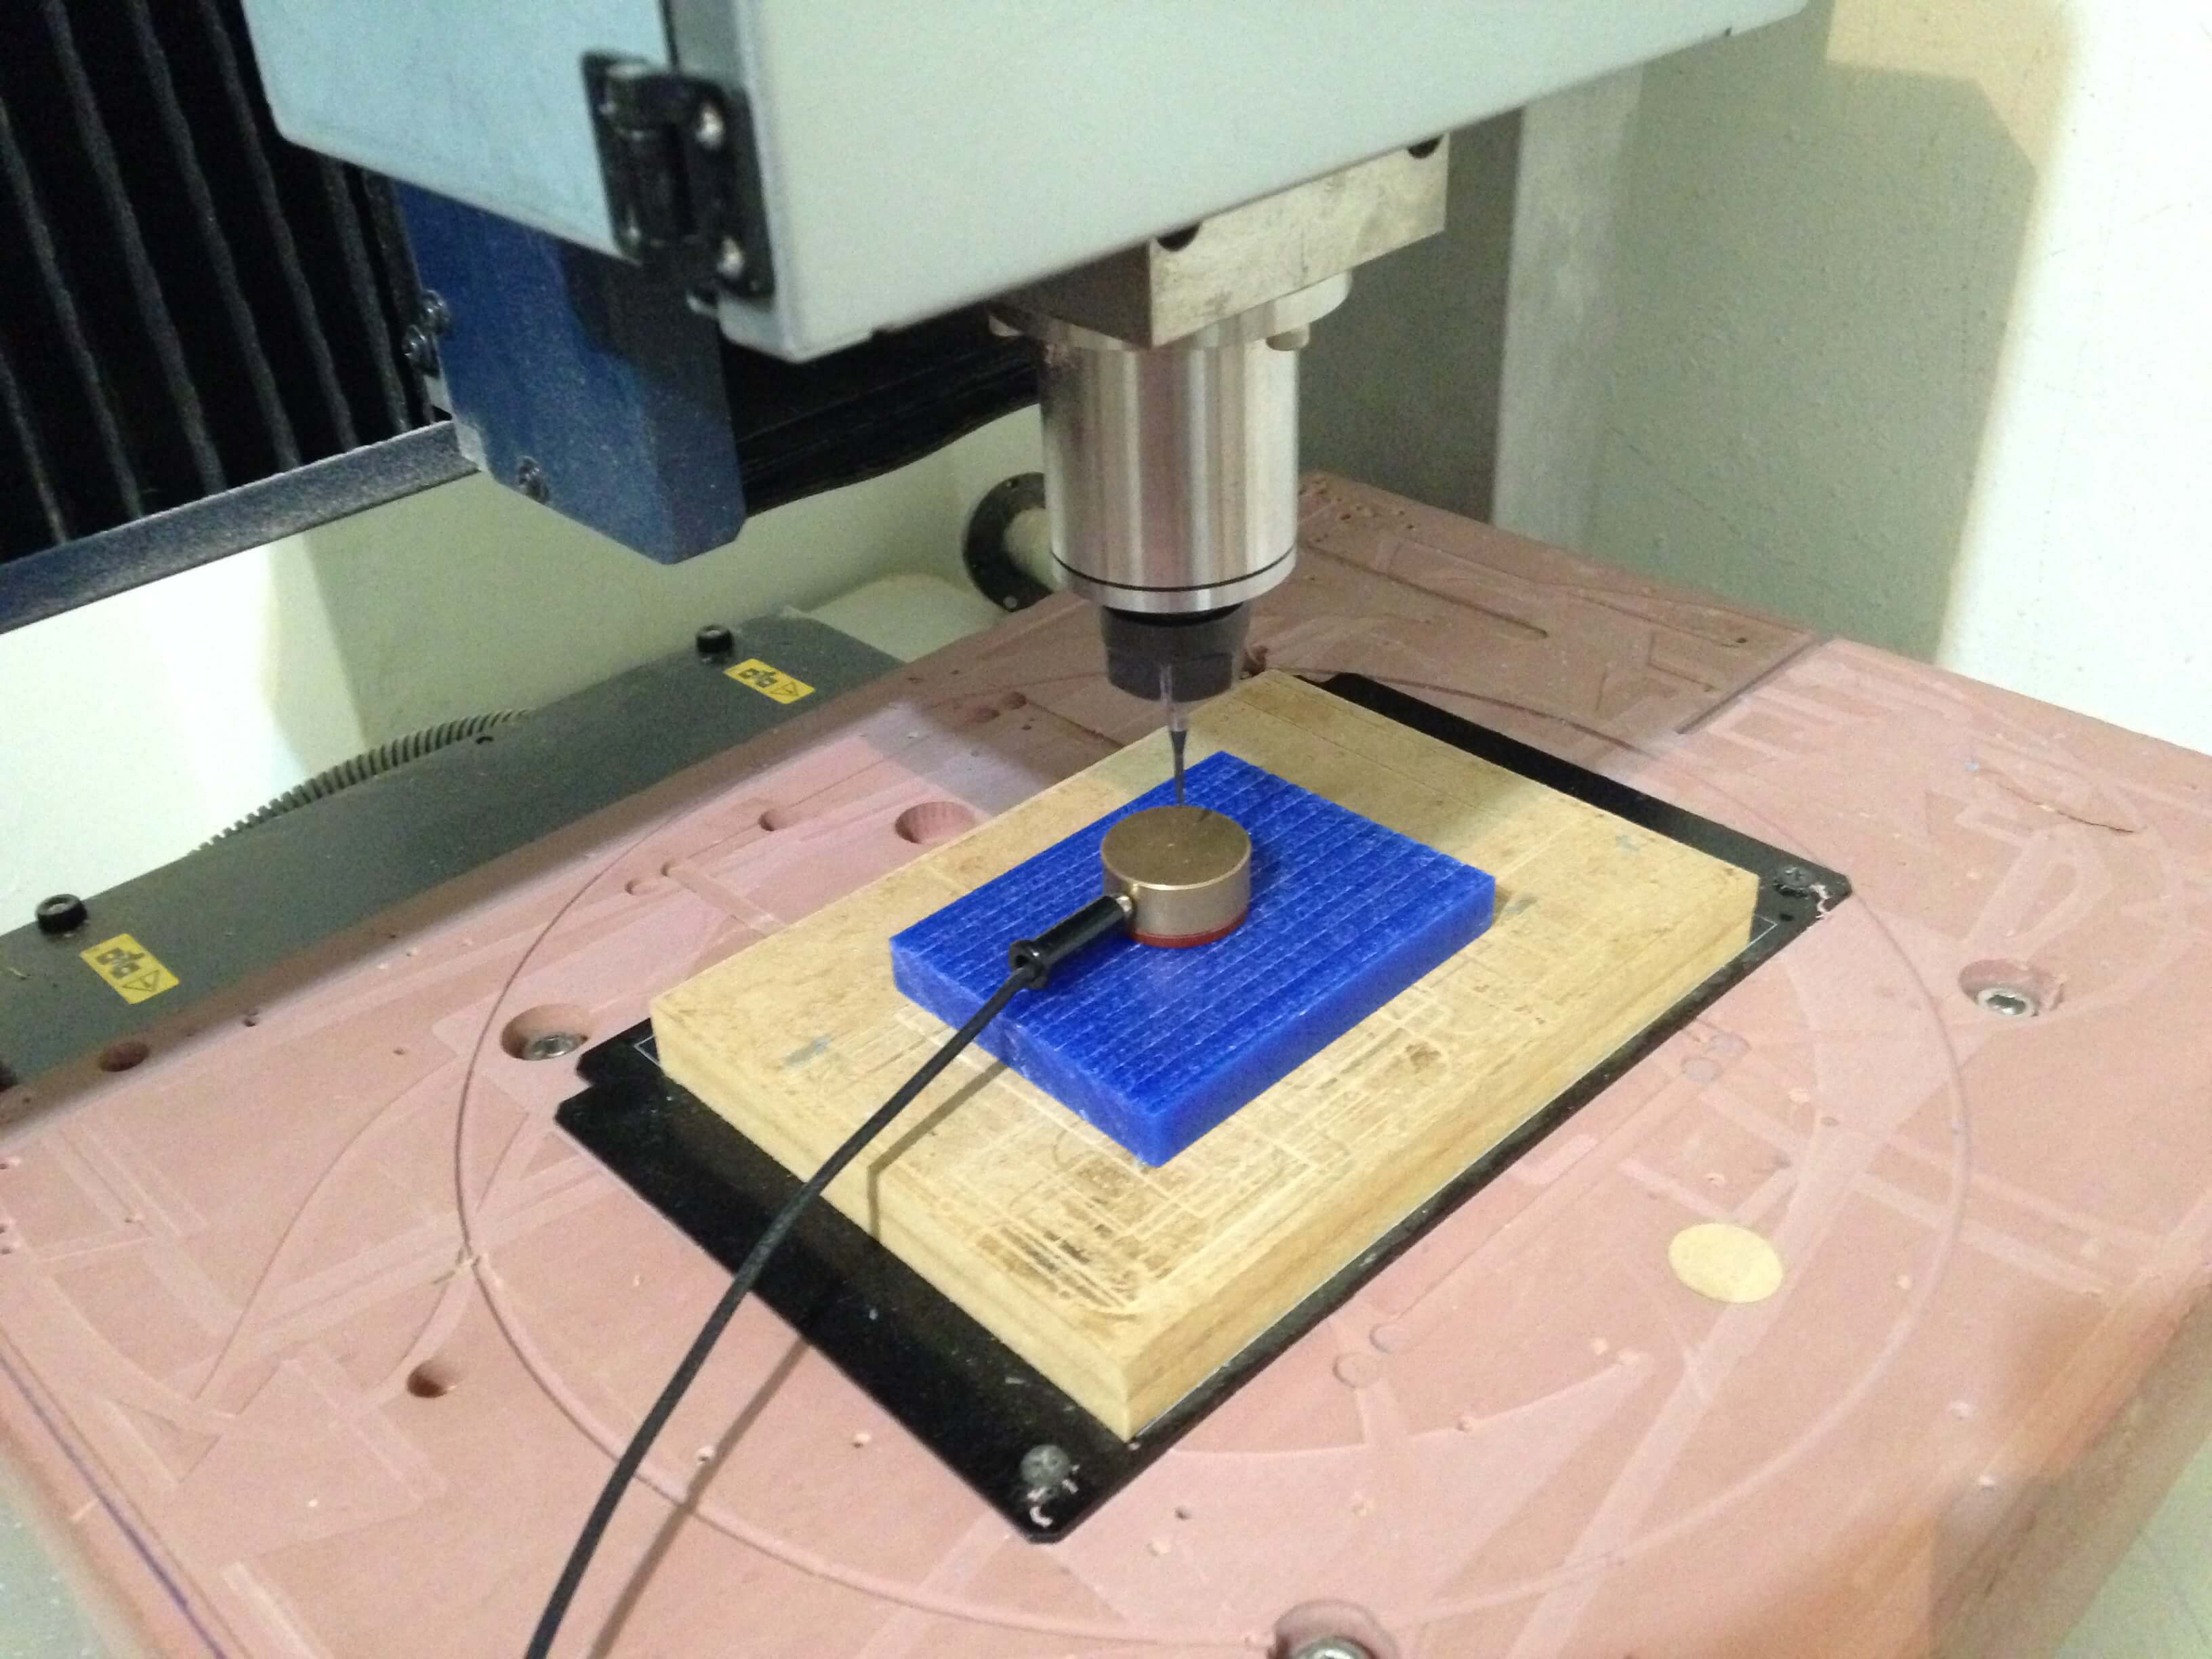


Fine Working:

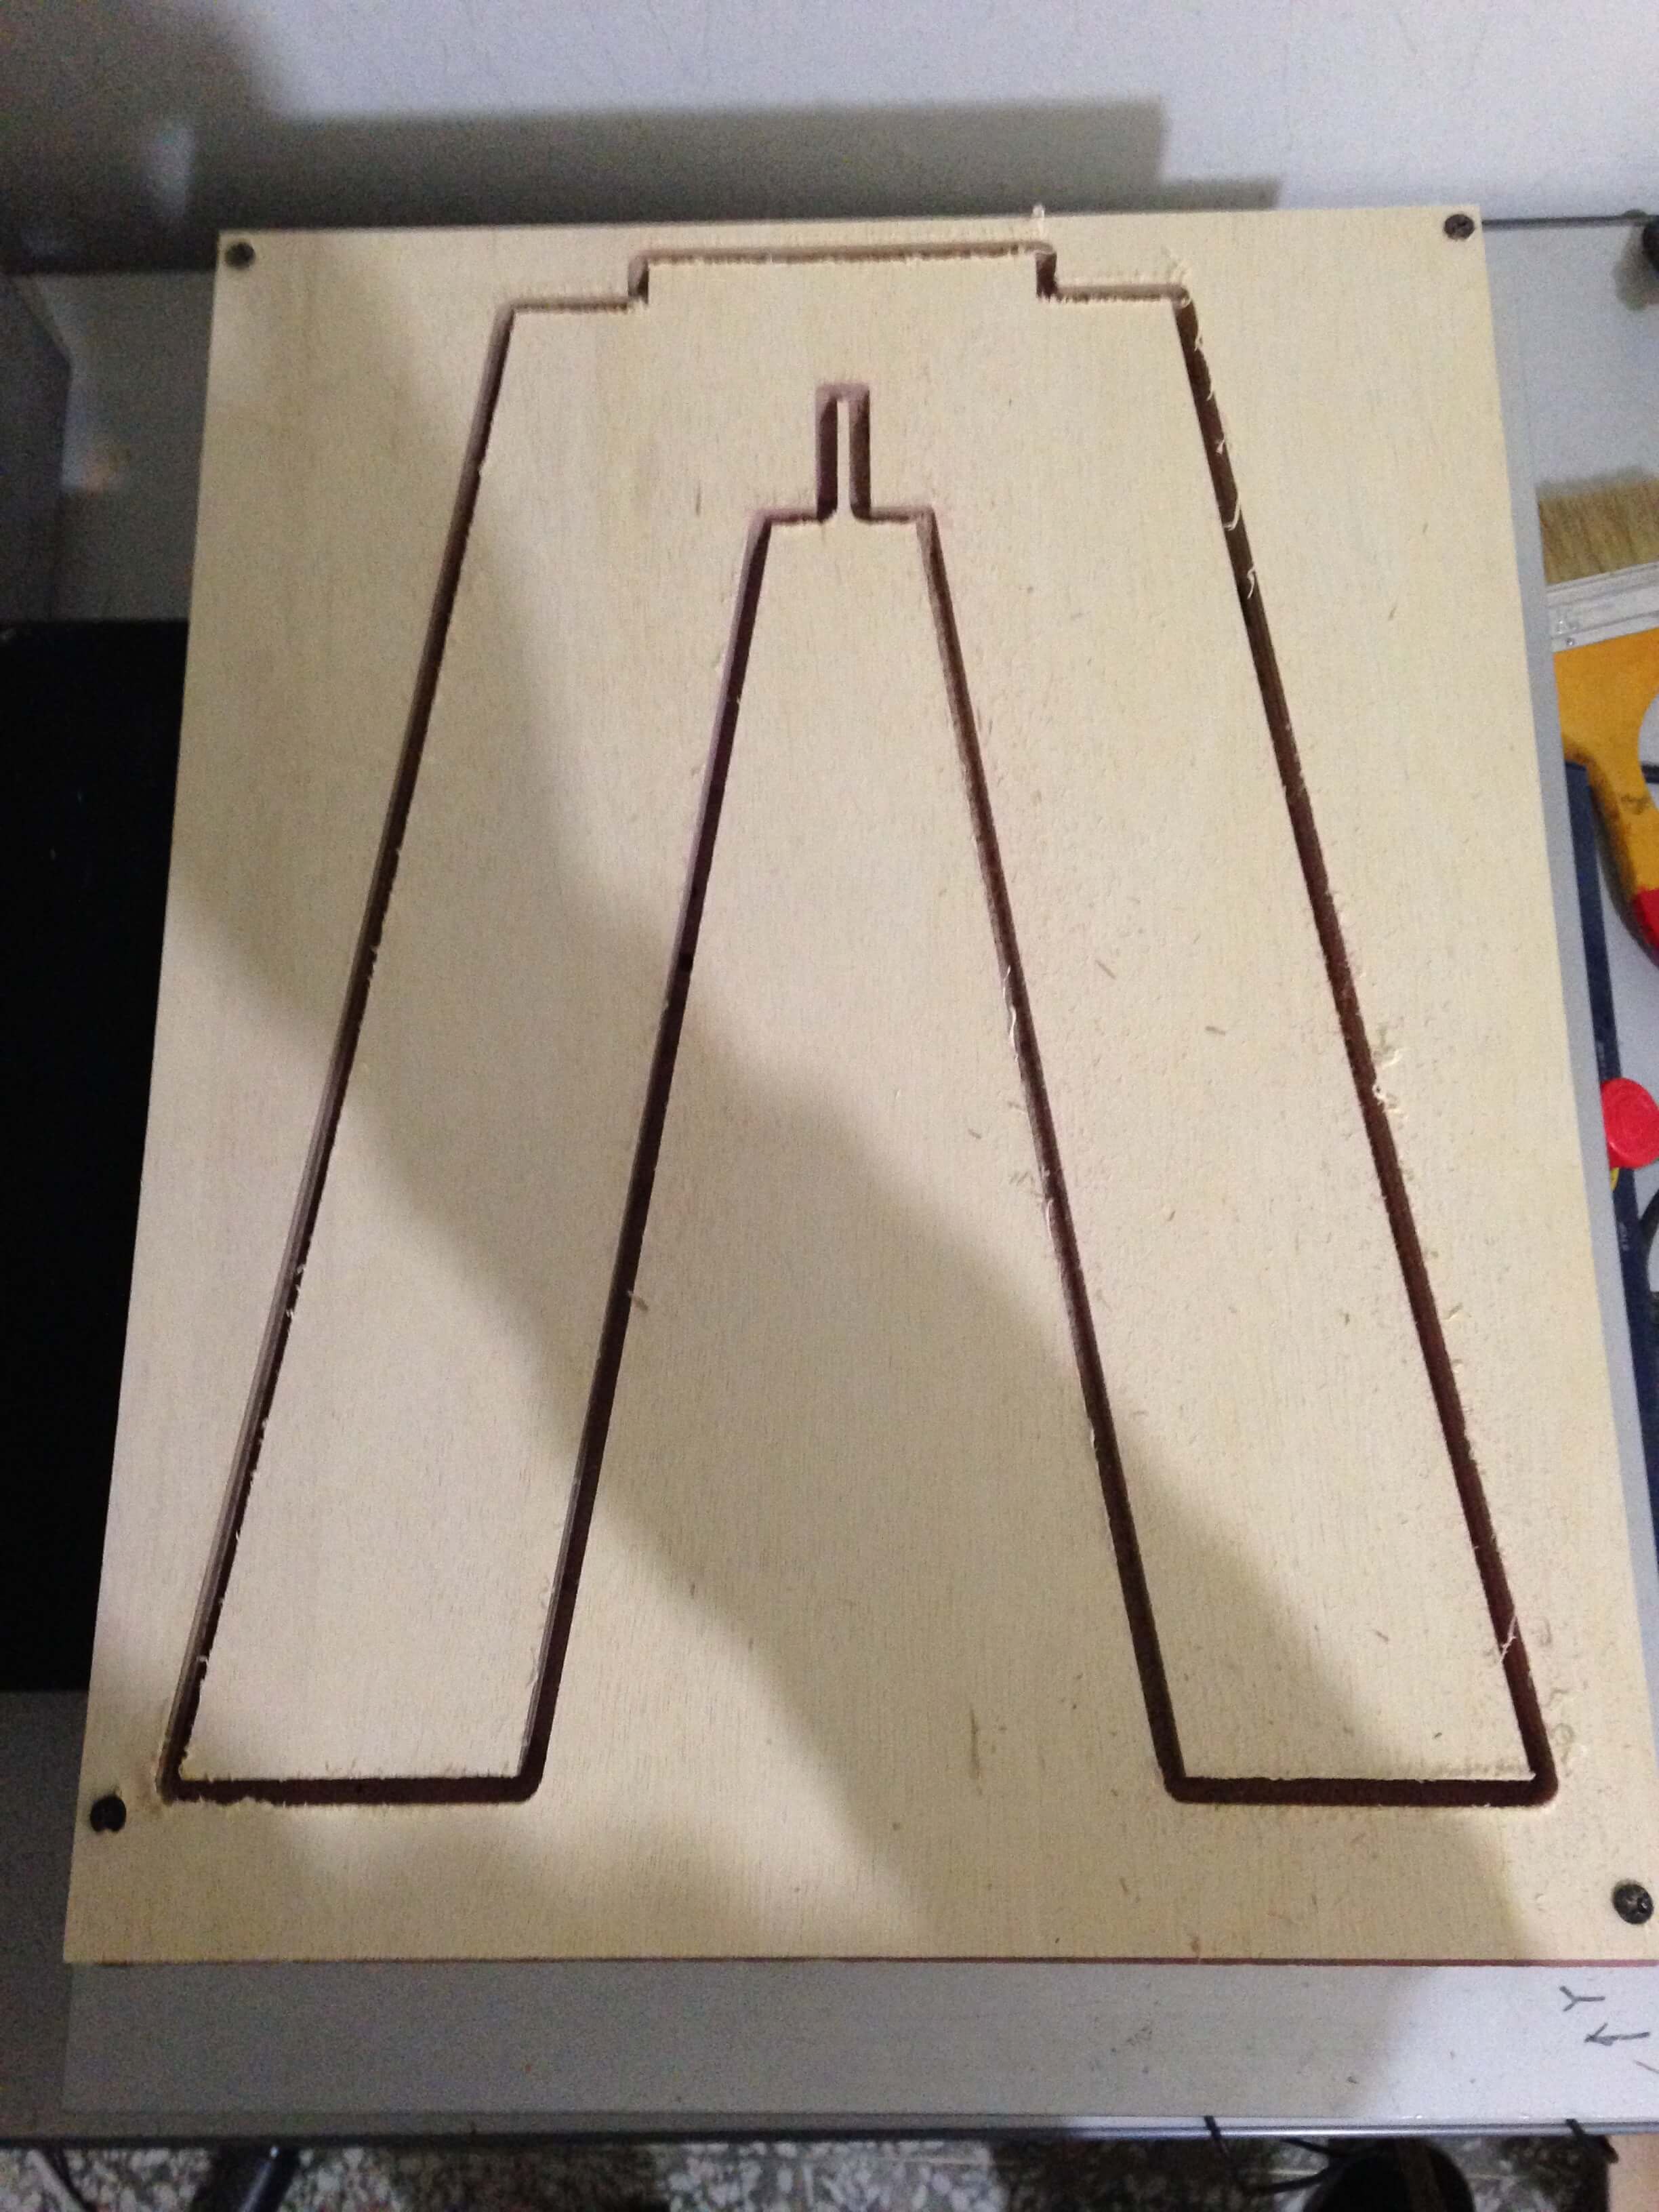
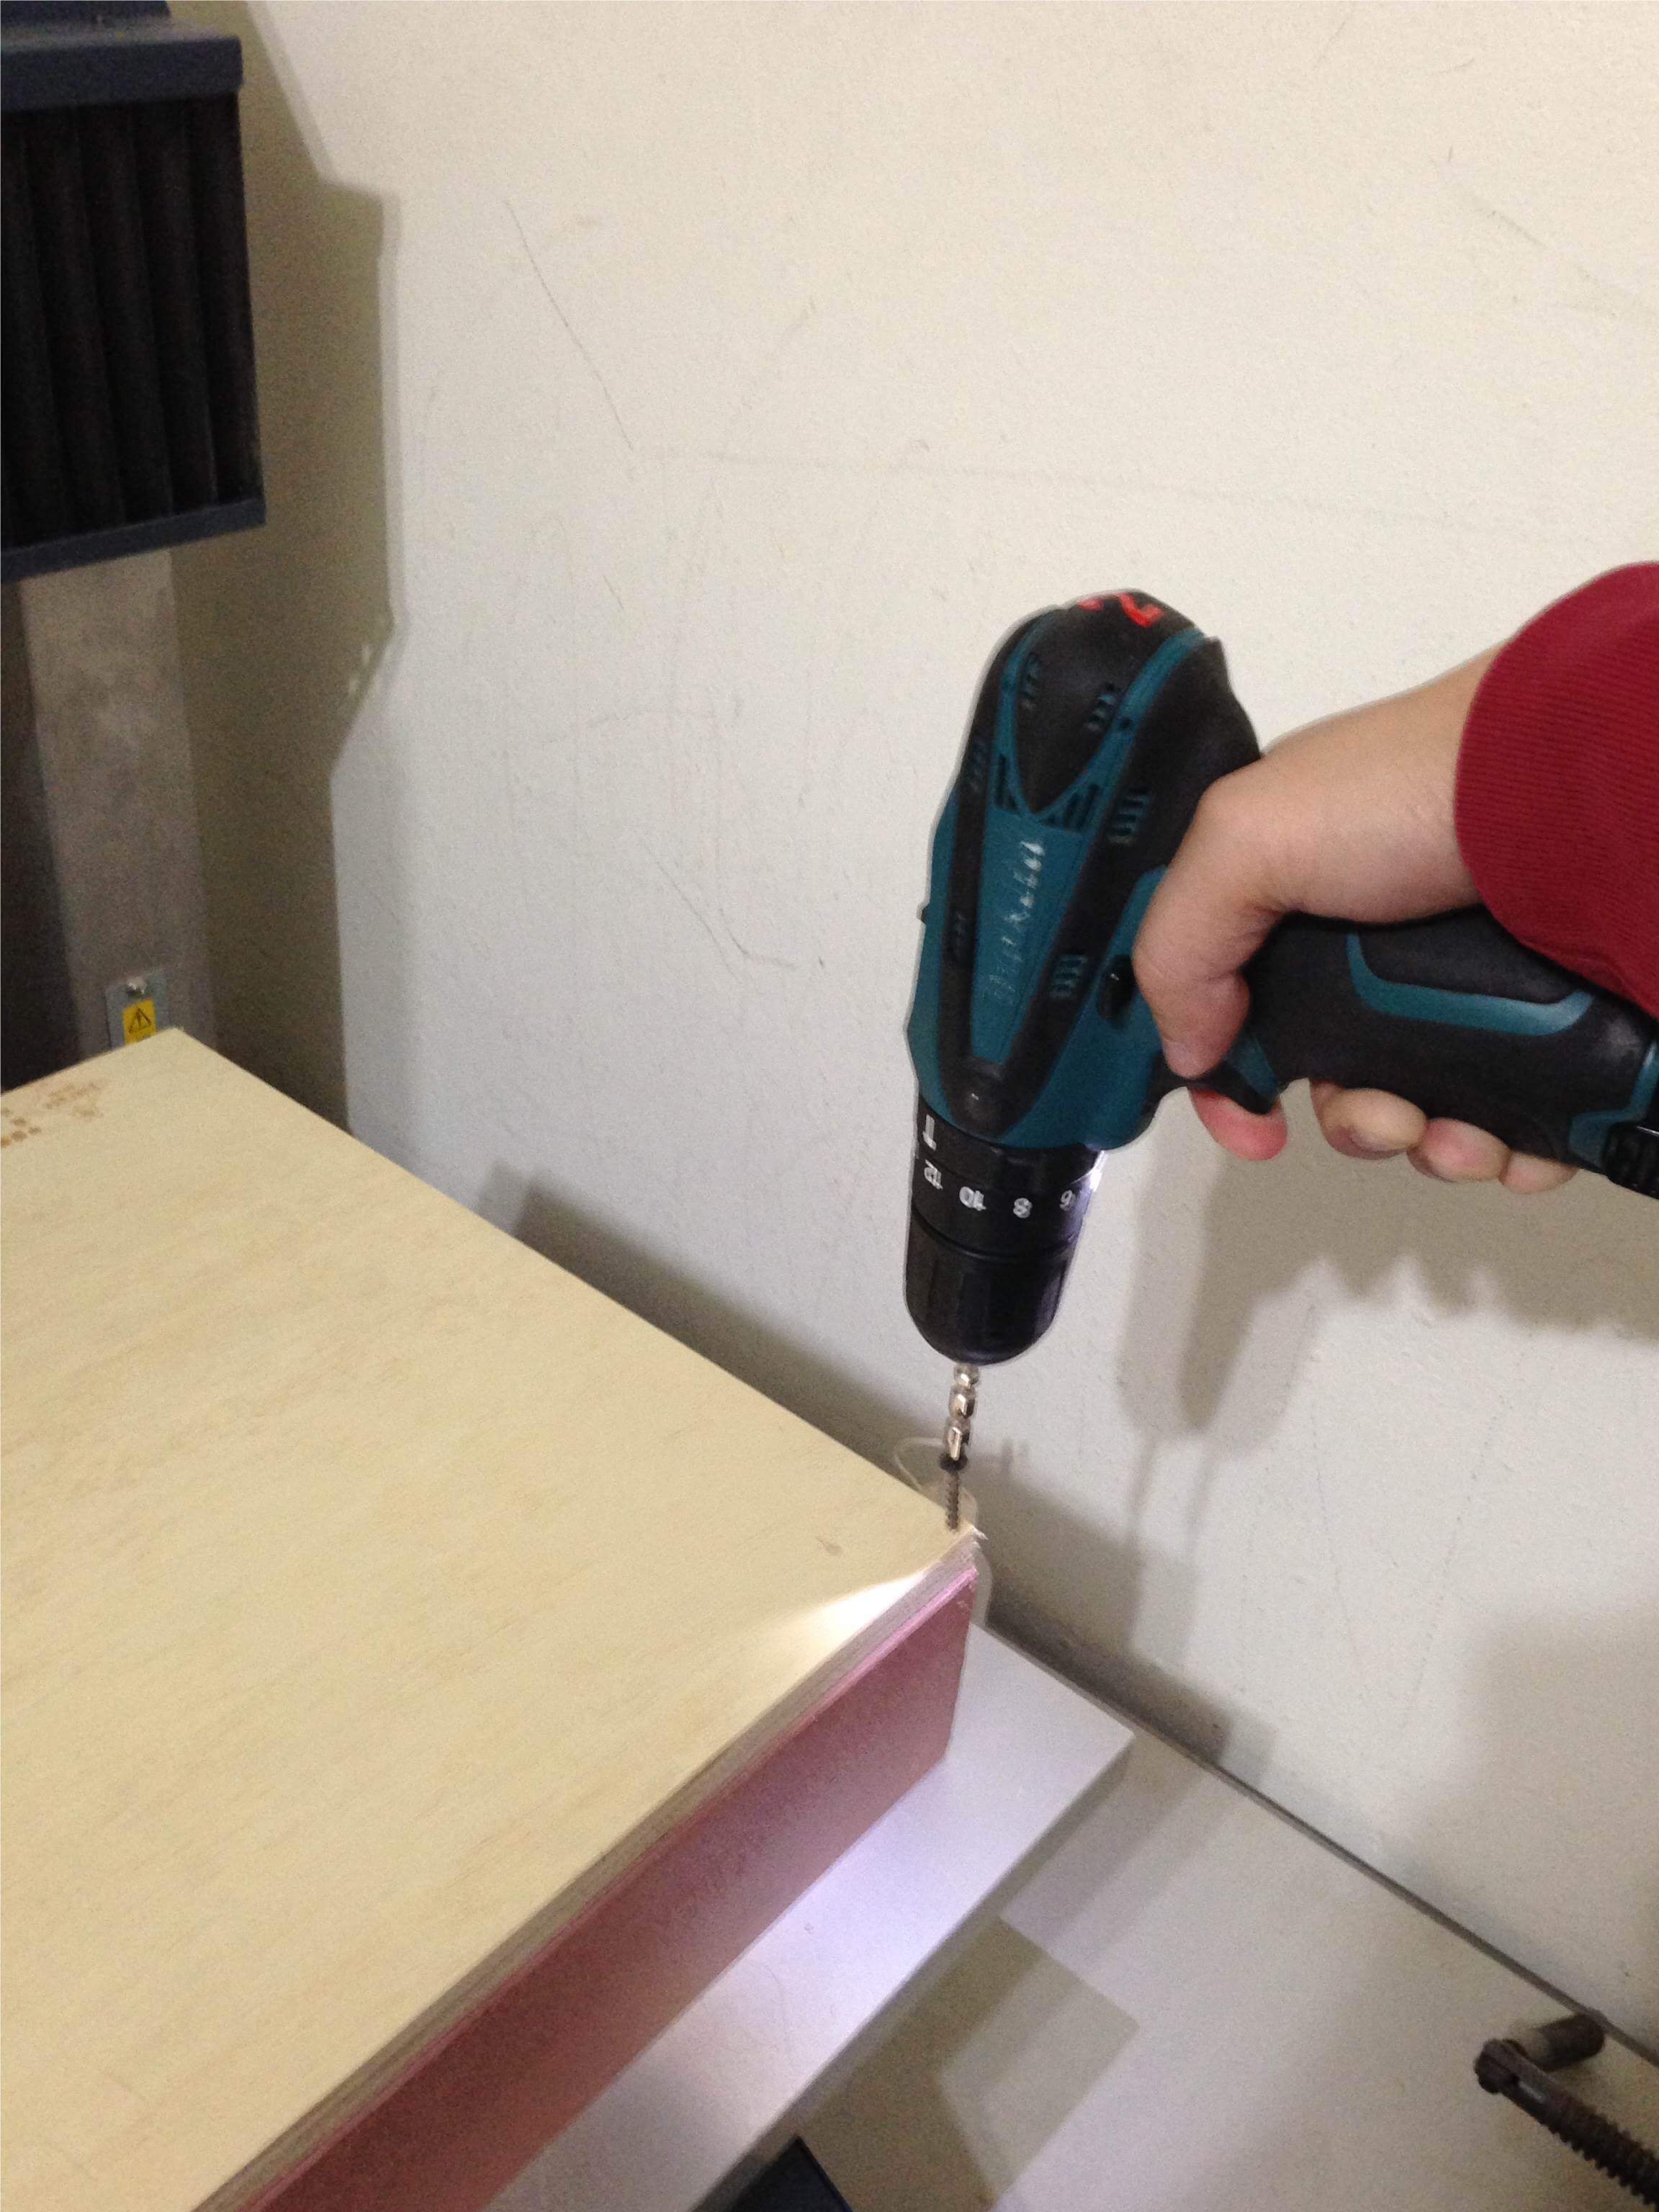
Use the rasp tool for flat surfaces of plywood.

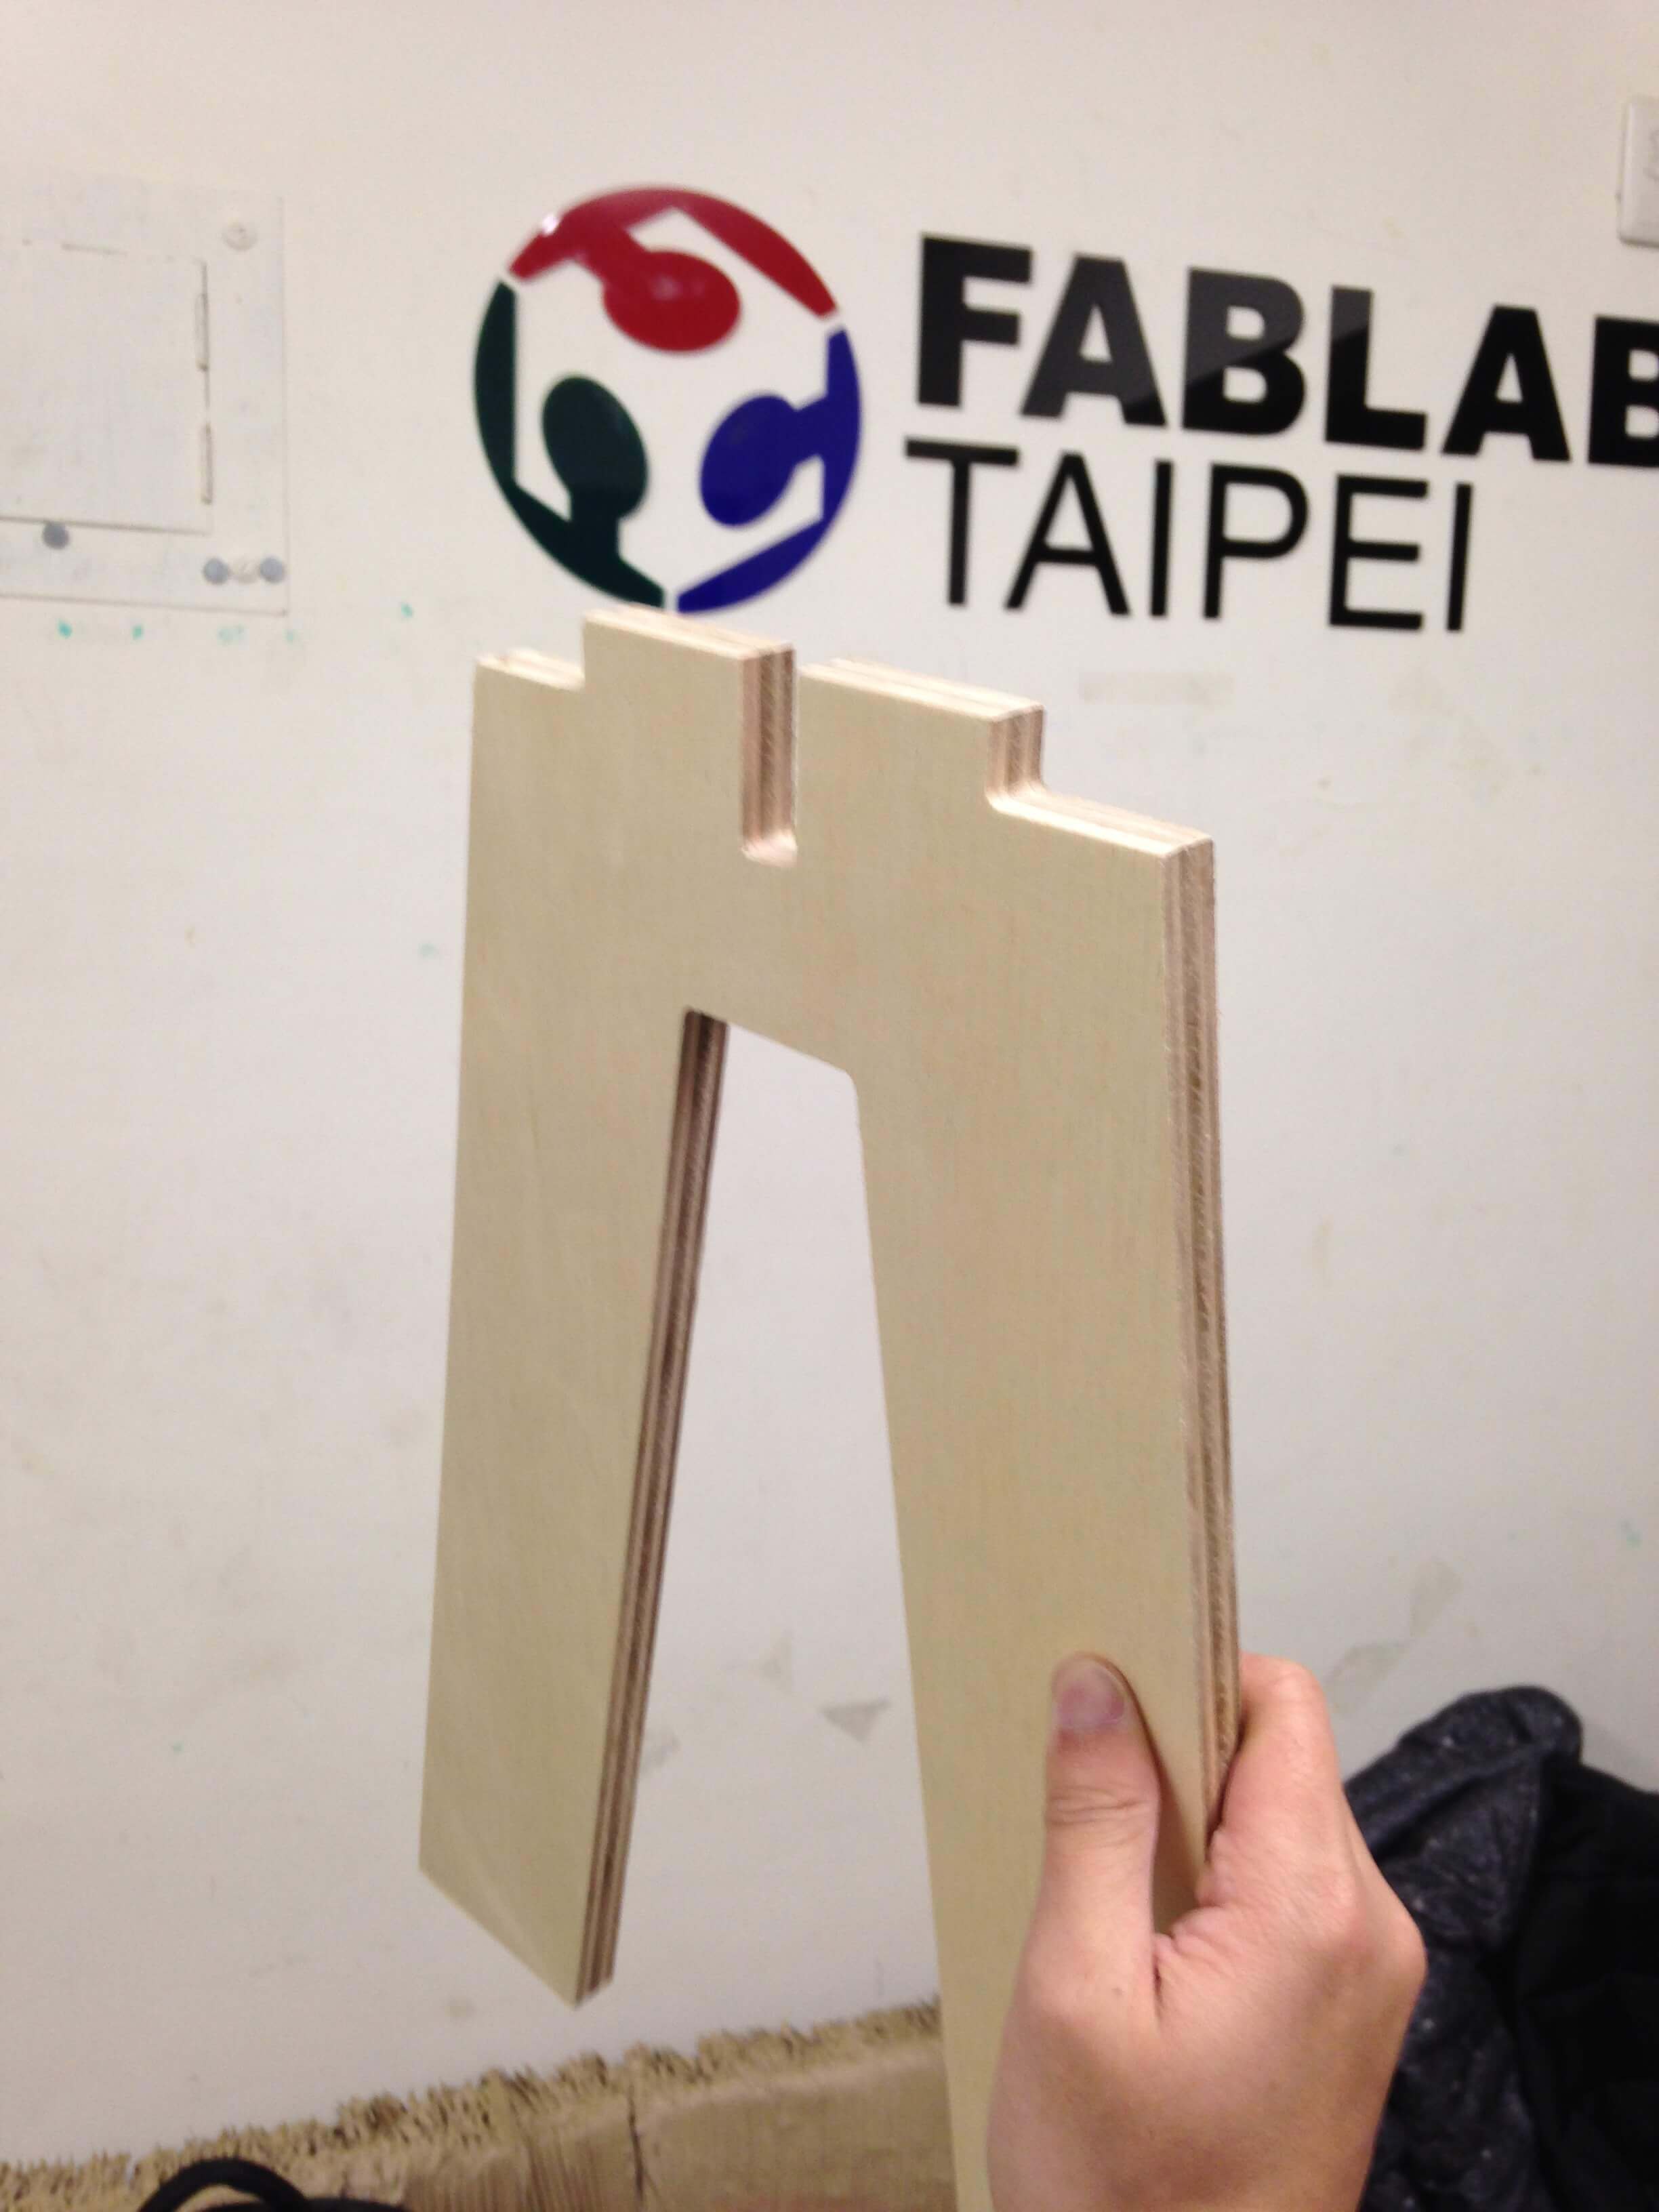
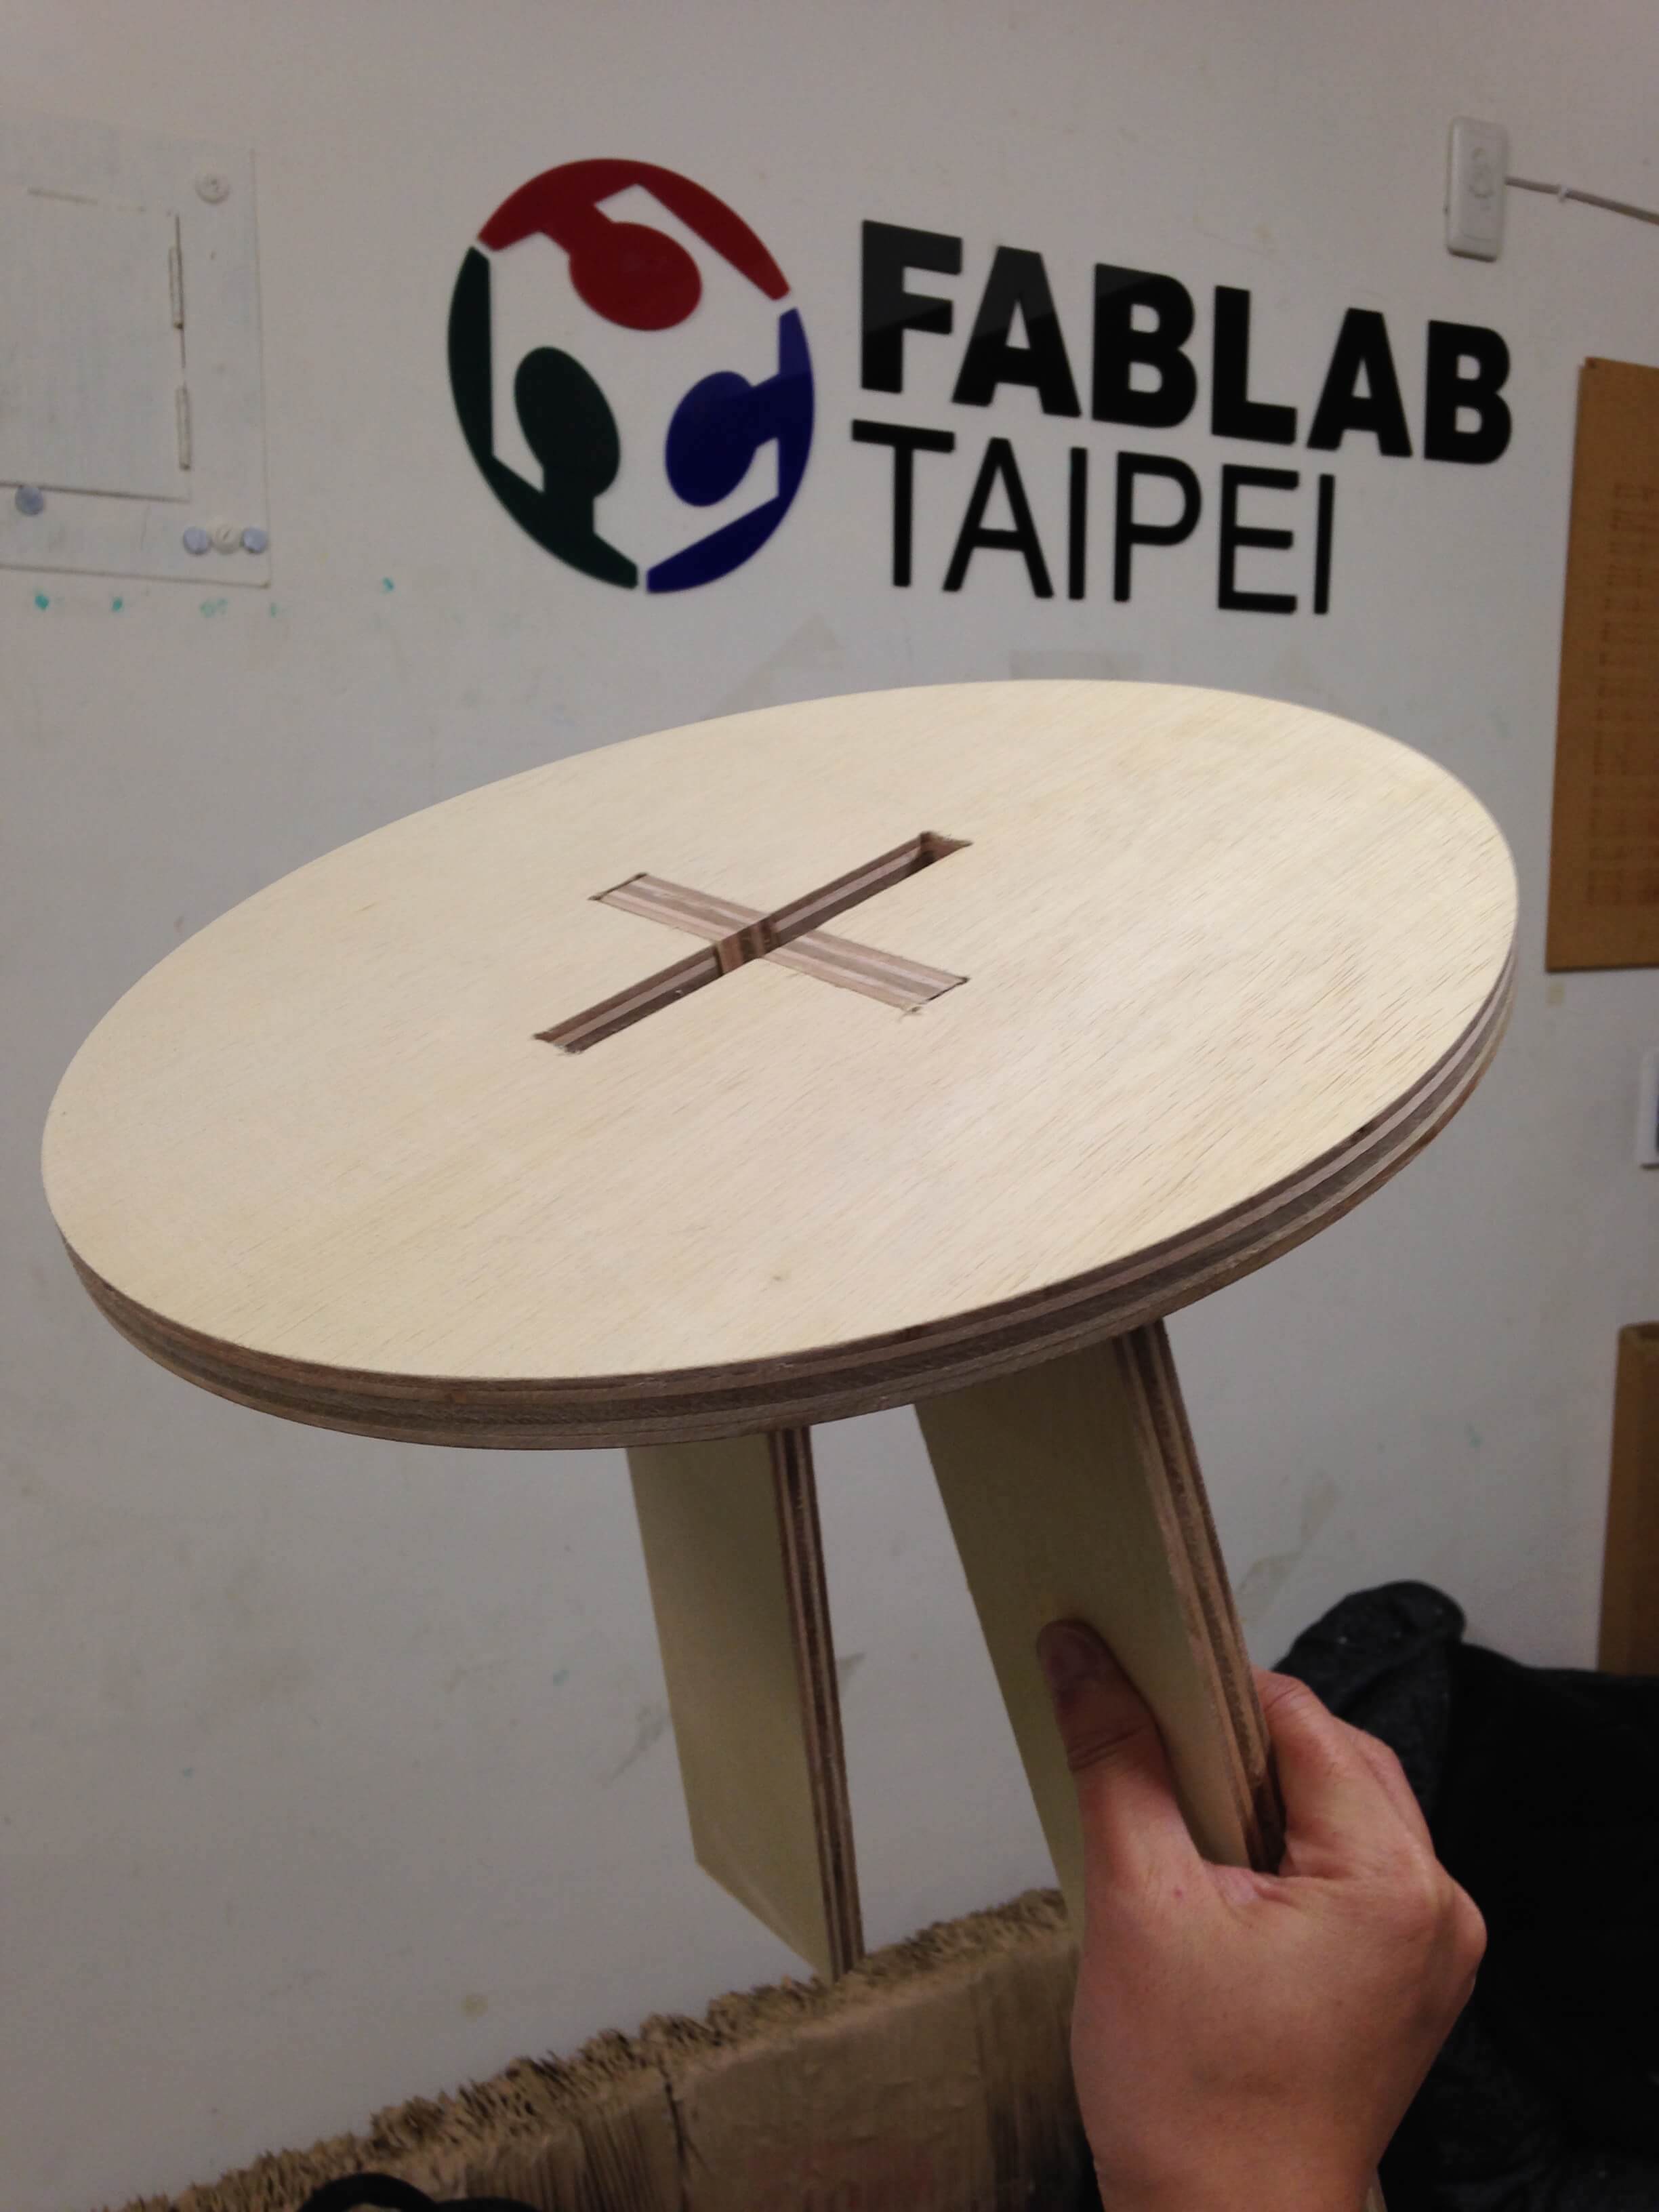

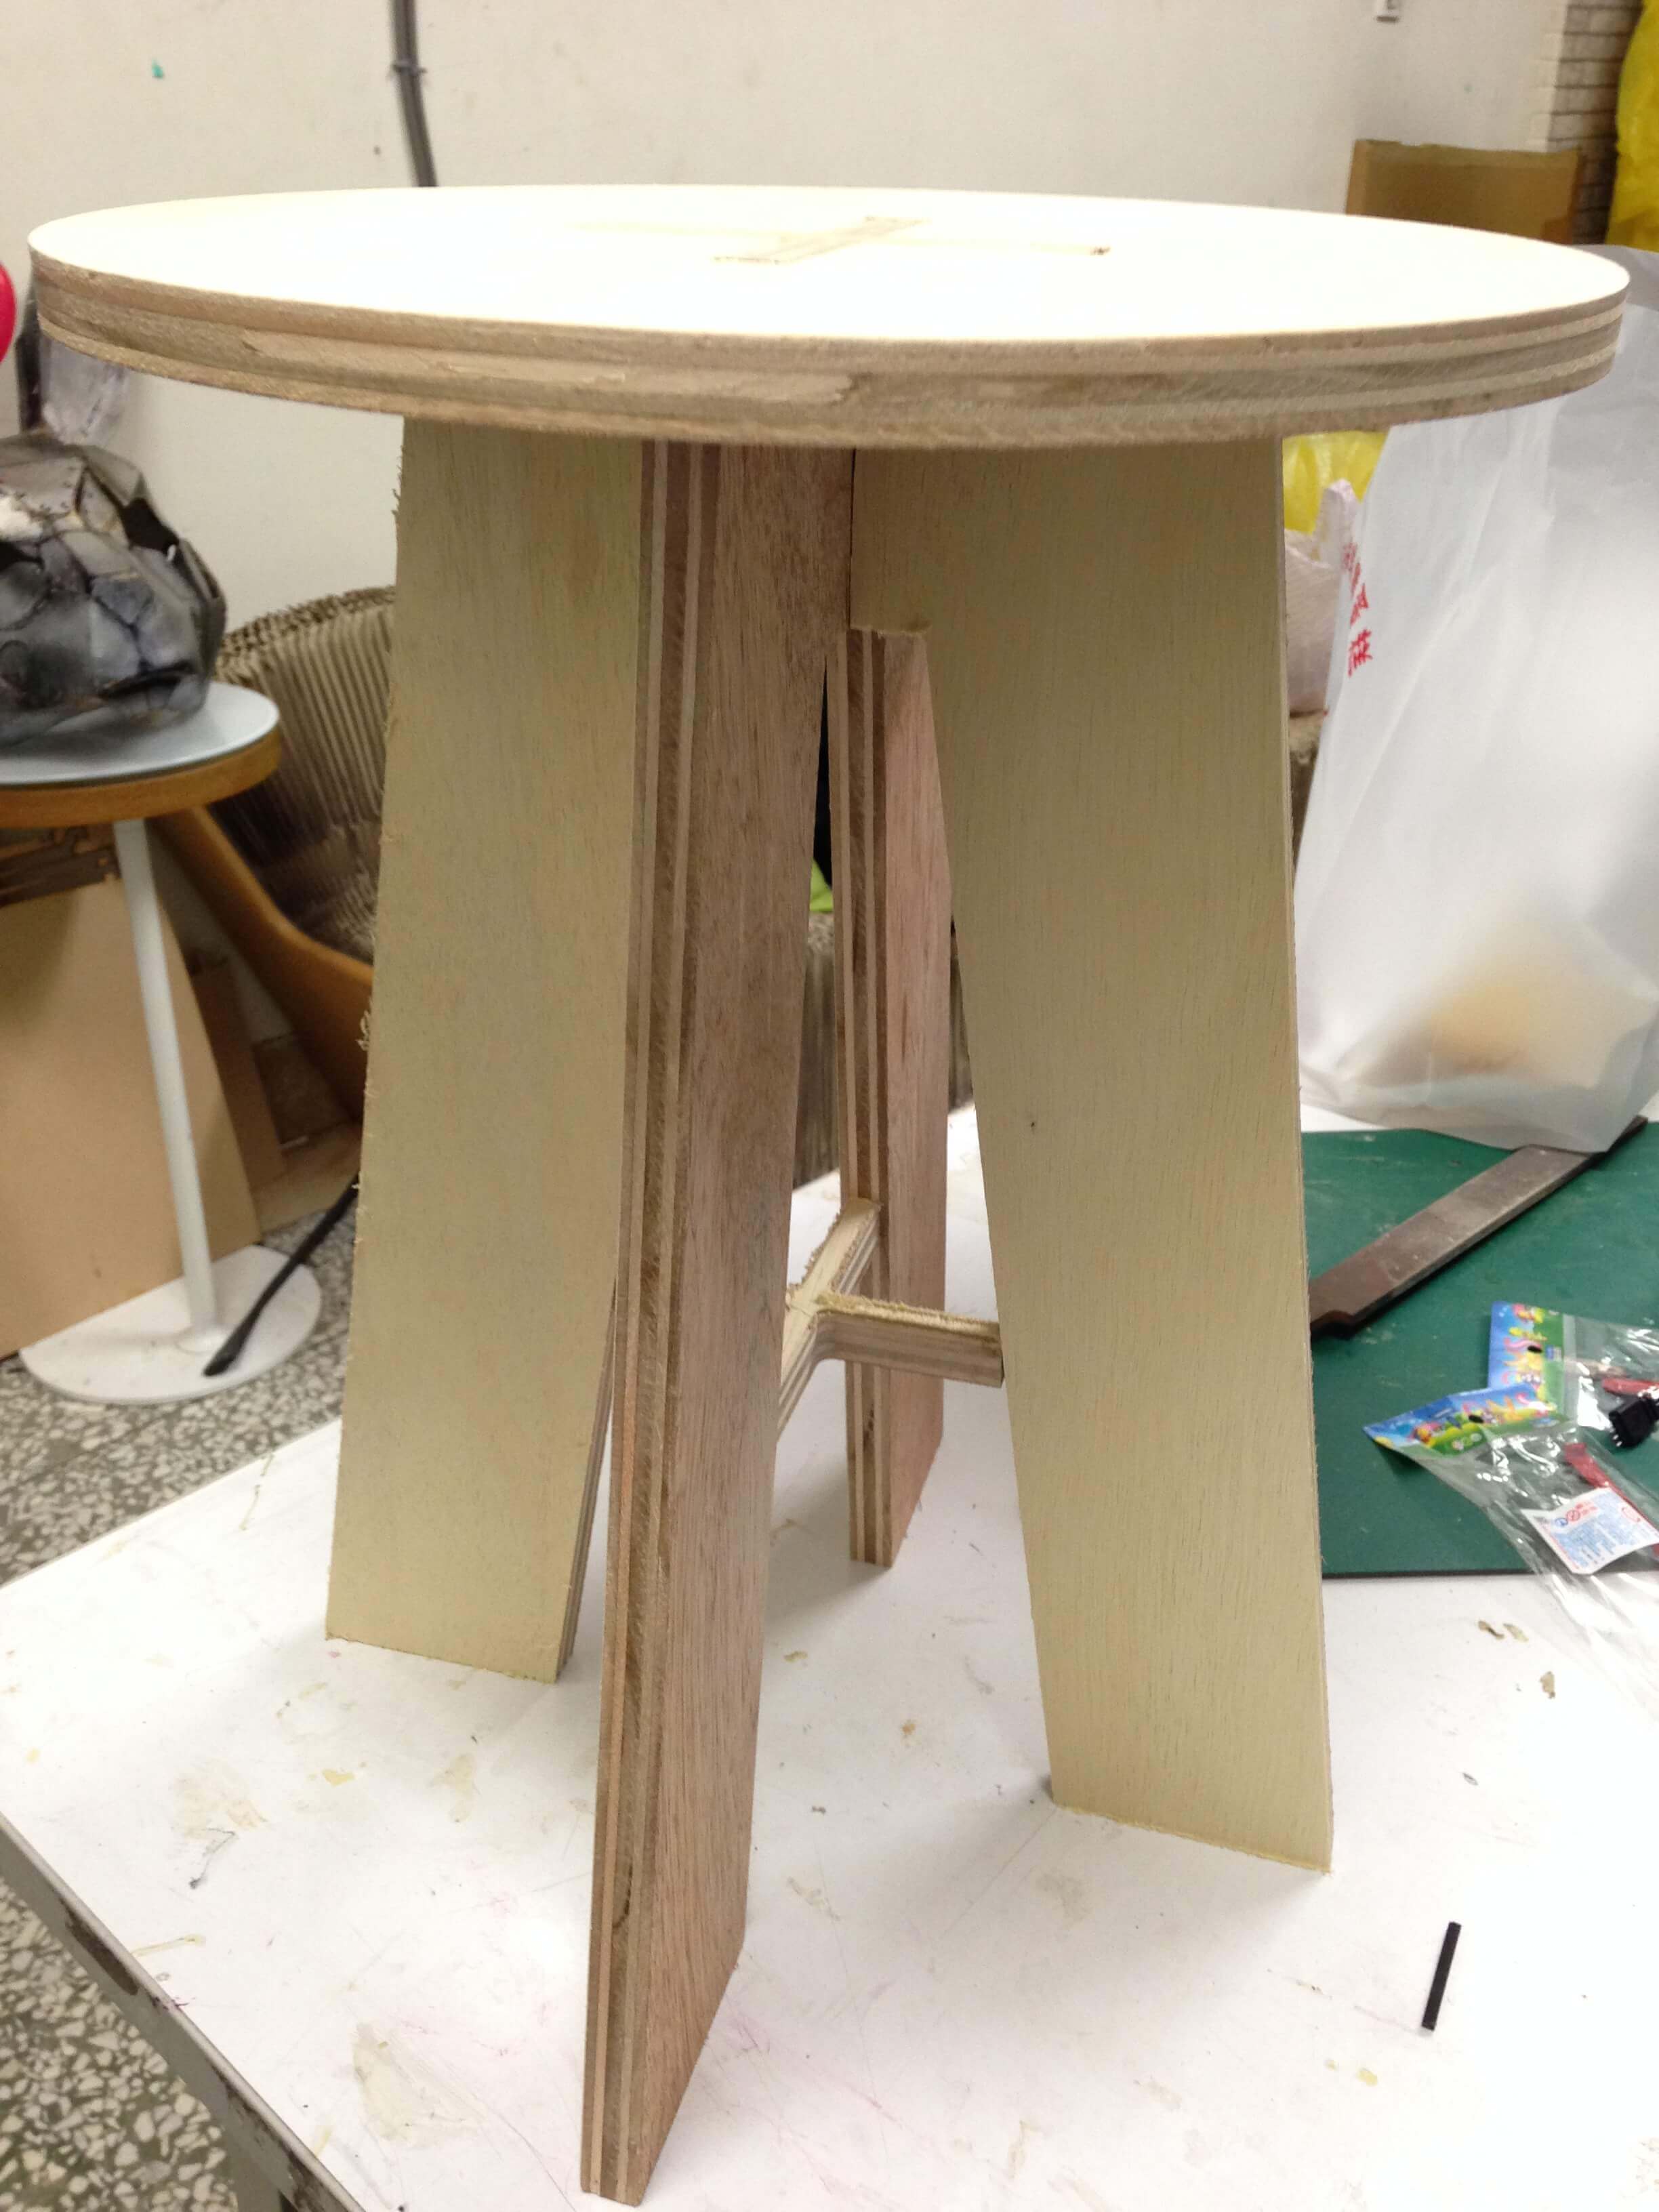
The result looks great! I can sit in this chair or I can put something on it for shelves.