Exercise 05 - 3D Scanning & Printing
Testing on Makerbot Replicator 2 & Utimaker 2
| Makerbot Replicator 2 | Ultimaker 2 |
|---|---|
Overhang Ok at 60 degrees |
 Overhang Ok at 60 degrees |
 |
 |
| Makerbot has problem printing | Ultimaker is ok |
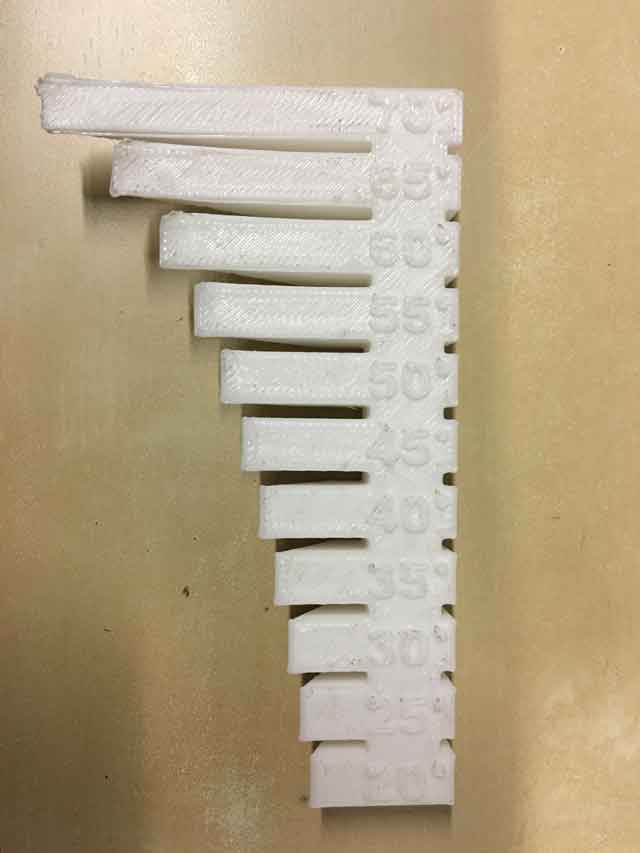
We tested for overhang by downloading the test model from Thinginverse.
Both are able to print up to 60 degrees without support. I did the 14 test in one.
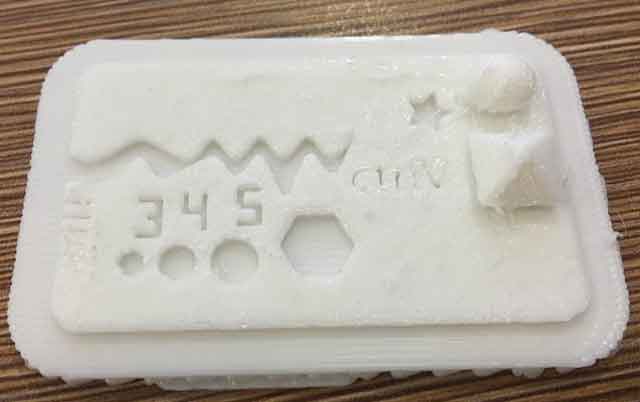
 These test are included in this very tiny file:
size: the object is 2x50x30mm (baseplate)
hole size: 3 holes (3/4/5mm)
Nut size: M4 Nut should fit perfectly
fine details: pyramide, cone, all numbers
rounded print: wave, half sphere
minimum distance & walls: 0.1/0.2/0.3/0.4/0.5/0.6/0.7mm
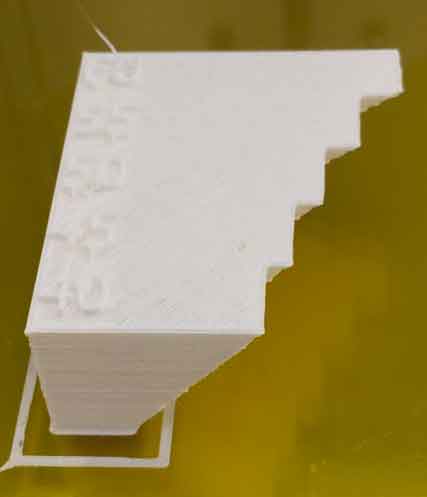
overhang: 25°/30°/35°/40°/45°
bridge print: 2/4/8/16/mm
surface: all the flat parts
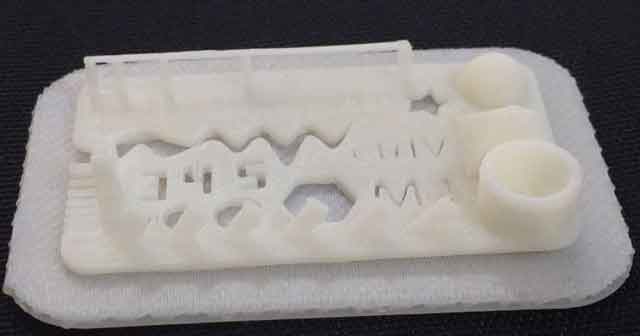
Makerbot was not able to print many of the items.
1. Bridge print failed.
2. Overhang failed.
3. Rounded print inverted sphere failed.
4. minimum distance wall failed.
A check with the specs revealed that Makerbot's resolution is 100 micron wheras Ultimaker is 20 microns.
Create 3D printing object that cannot be milled
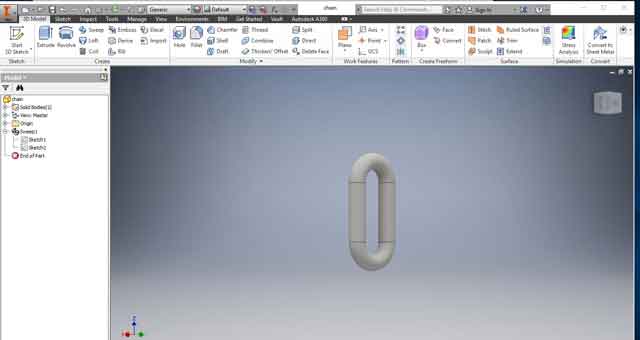
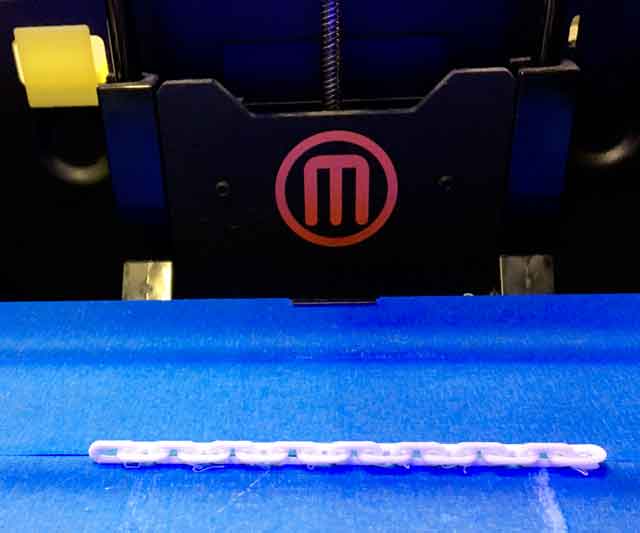
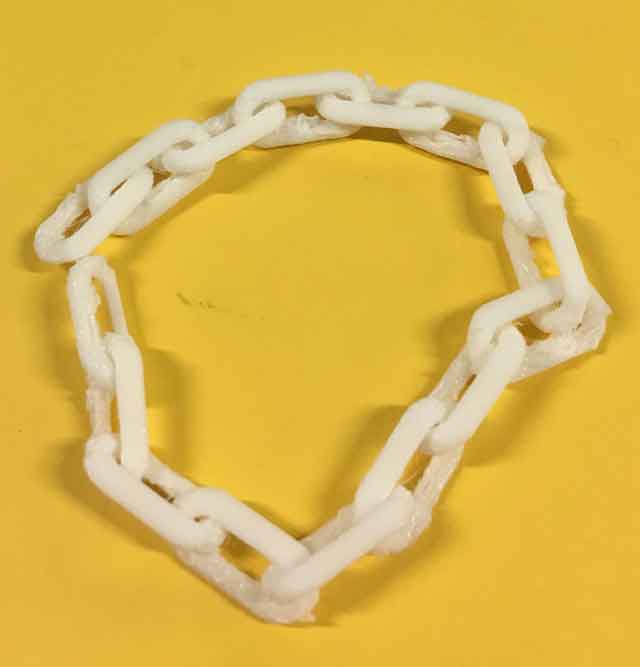
I intend to make a chain link. The chain link cannot be milled because all the links are interconnected as 1 single chain.
The software that I used is Autodesk Inventor.
1. First create a cicle 2mm
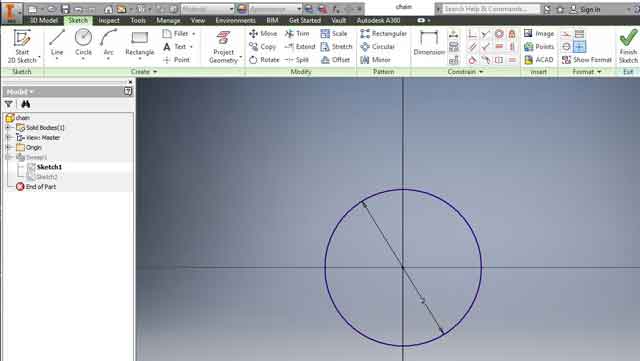
2. Create the path for the circle.
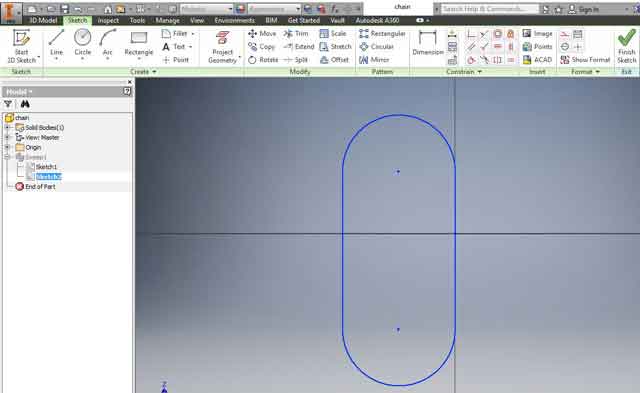
3. Use the sweep command.
4. Create assembly by importing the part created several times and put each loop at right angle to another.
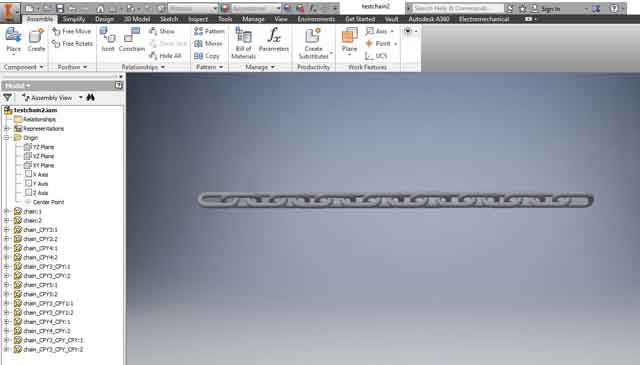
5. export to stl and print.
3D scanning using Autodesk 123D catch
Autodesk 123D catch is a program that converts pictures into 3d models. It is available for handphone or pc download. For 123D Catch, I have tried both handphone app and pc version. The PC version seems to be more stable. I have errors converting the photos to 3d models when I used the handphone app. I took the pictures in my hp and used them on the pc version. I was successful in creating the model.
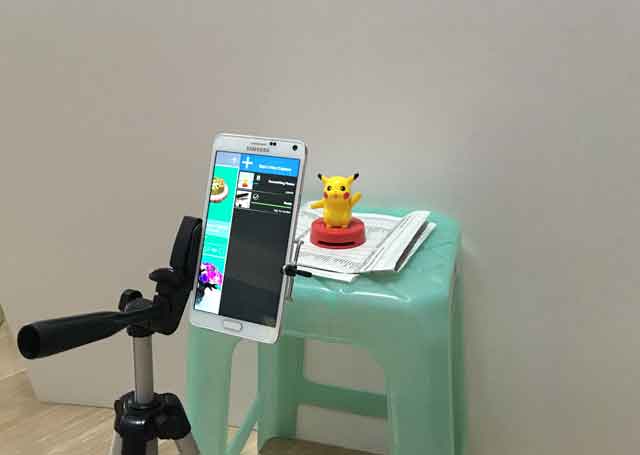
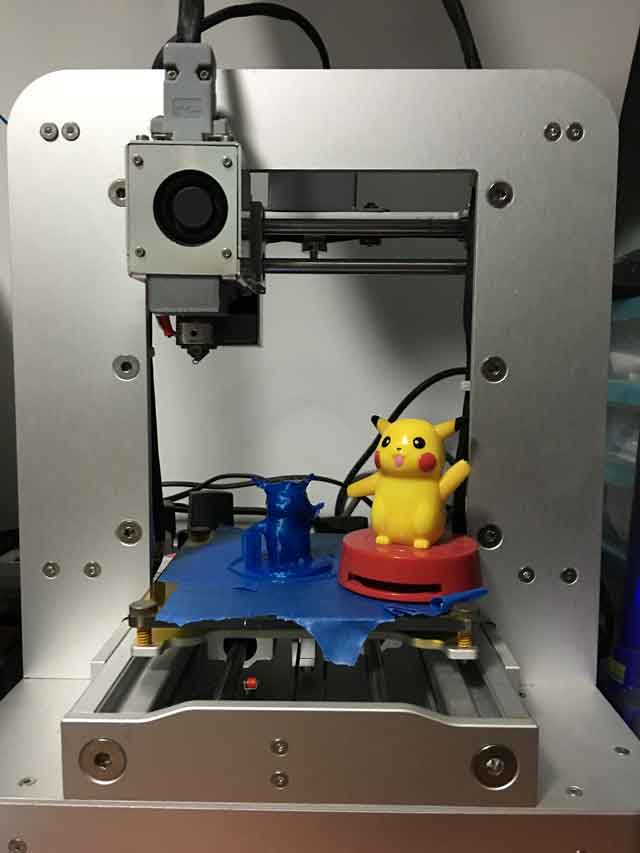
My setup & process
i have a very simple set up. My model is Pikachu. Whiteboard as background. Handphone(hp) camera stand. As the hp moves, so does the background. Make sure that the place is not dim. Take photos at different angles at the same level for one round. For the next round, move the camera slightly higher (so that the head and ears can be captured clearly) and repeat the steps. Take at least 30 pictures.
Open the 123d catch program in your pc and import all the photos taken. After the processing, remove the unwanted parts with the lasso tool. Below is the scan that I got.
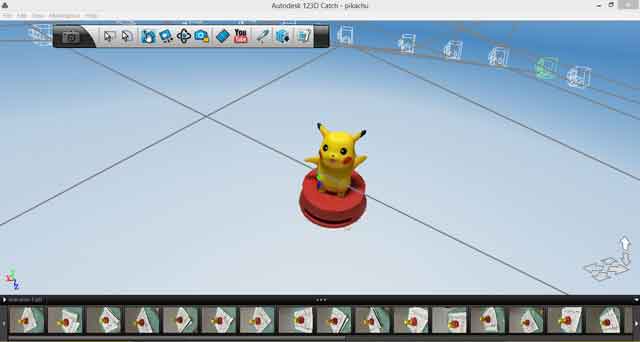
I used meshmixer to cut off a little of the base and 3d print it.
Download
Download chainlink.ipt
Download pikachu.obj
My thoughts
There are over hangs in the chain. I should have them aligned at 45 degress so that the entire chain touches the buildplate instead of alternate chain. Given more time, I should explore on meshmixer and do some repair on the model. We should explore different options in prototyping rather than do everything in 3d print. For example, depending on situation, sometimes, it is more efficient to laser cut a box than to 3d print a box.
Would you like to insert more style/elements?
Check the documentation of Bootstrap here.