Week 7 - Computer-Controlled Machining
Tasks:
To design and build something 'big'.
Available material:
~11.5mm thick plywood with raw size 1.2m x 2.4m.
Intended machine to use:
CNC router.
Design Stage
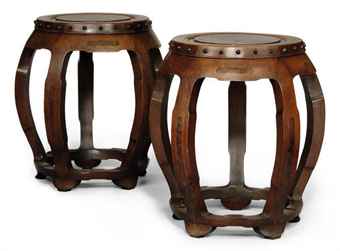
With the intention to design and build something useful, this week's task is to design and build antique wooden stool. The design of stool is similar to the following image.
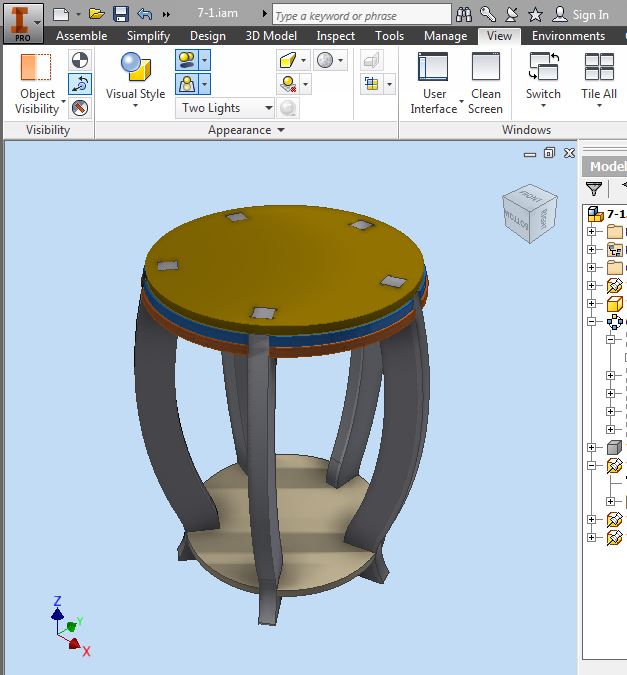
Designed in Inventor, the following is the result of the design.
N.B. neither fasterners nor adhesives are used. The design is solely adopting the press-fit construction methodology.
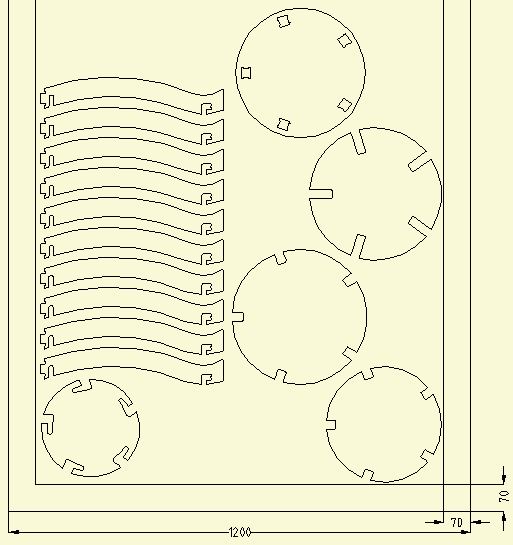
2D drawing which shows the layout is then generated and saved as .dxf.
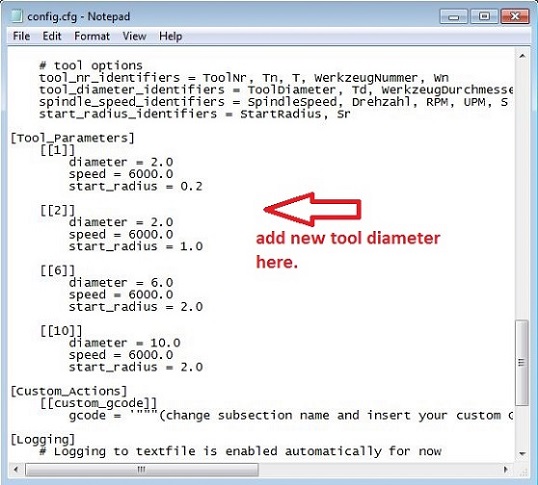
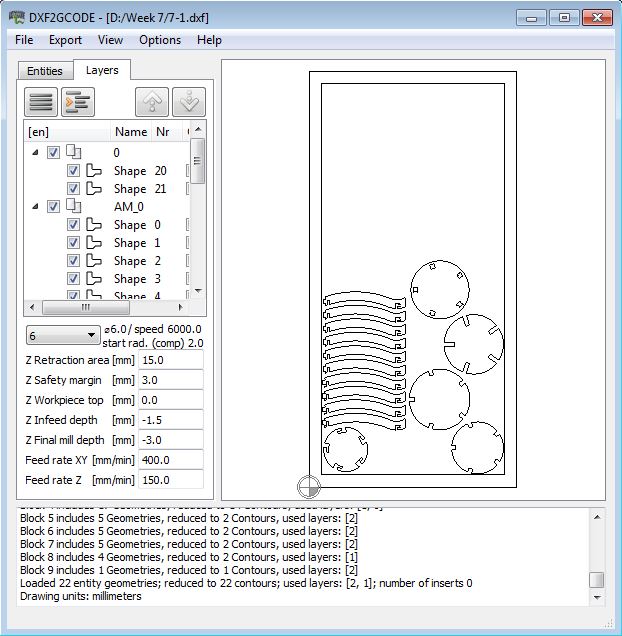
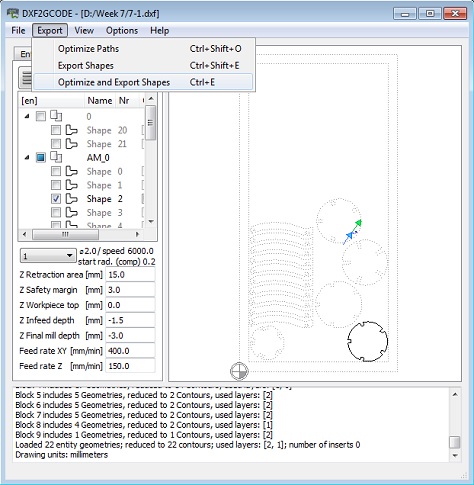
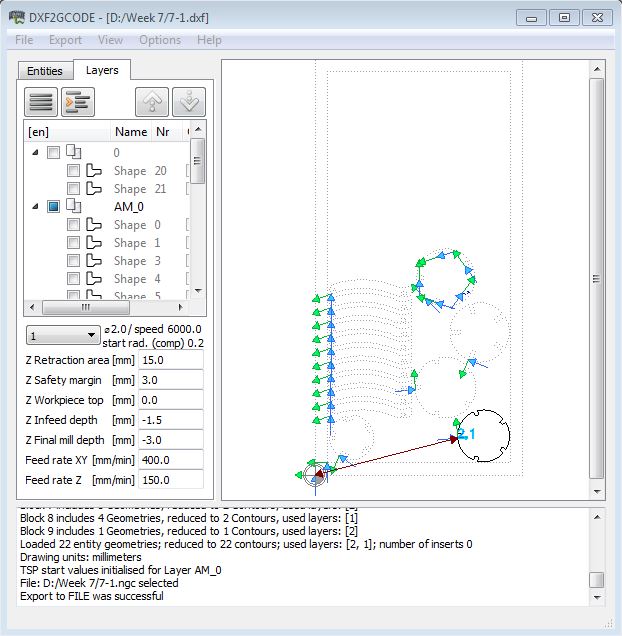
This week task uses the open source tool to generate g-code(.nc), called DXF2GCODE. This is very basic and yet handy tool. If interested, click here to download and try it out. The drawbacks are not able to create tool diameter in the application (nevertheless, tool compensation must always be turned on so that tool diameter can be omitted), not able to do pocketing, lead-in/lead-out feature not available and other more advanced milling operations are also not available, and user must have basic g-code know-how because you need to re-check and do minor editting on the generated g-code. After reading some forums, the tool diameter and spindle speed can be set through the config.cfg file.
Prior to executing the routing on the stool layout, a test cut is done to determine the best opening to achieve press-fit fittings. A series of rectangular holes with sizes ranging from 10mm to 12mm (with 0.5mm incremental) is cut as shown and test-fitted.
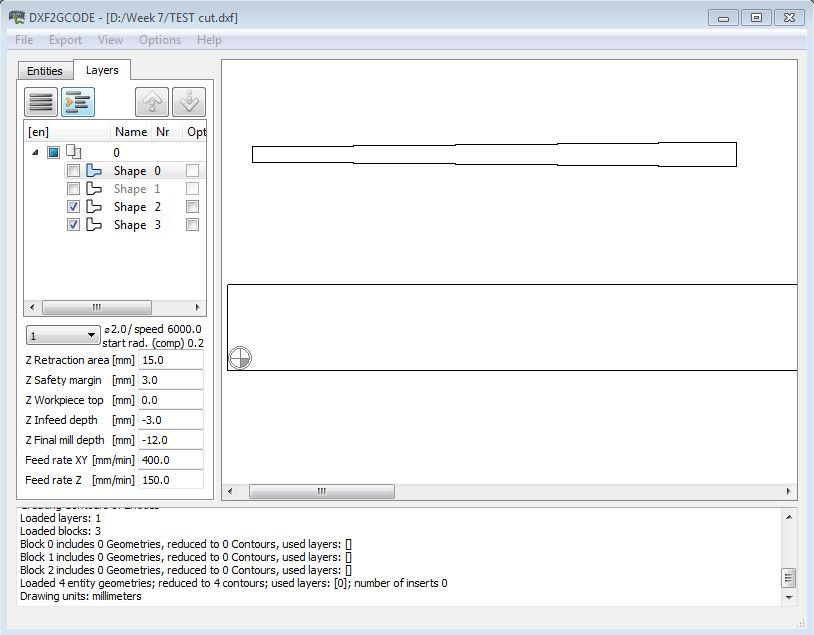

Finding: 11.5mm gives the best press-fit among the 5 sizes.Thus, the openings for the design of the stool are all based on 11.5mm.
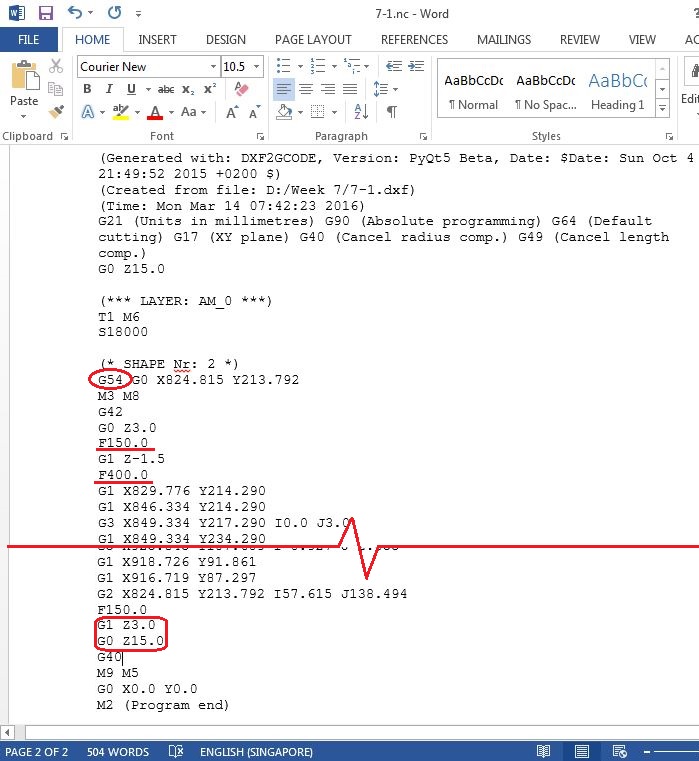
Once the g-code(.nc) for the layout of the stool is generated. The file can be opened with either microsoft words or notepad. The following shows the g-code.
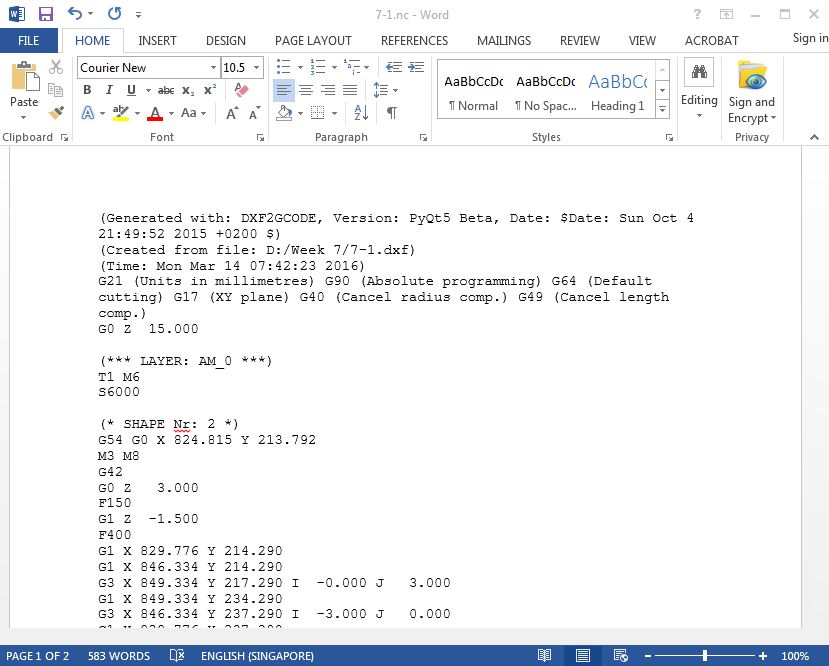
The following are things to be updated/edited in the g-code (.nc) file:
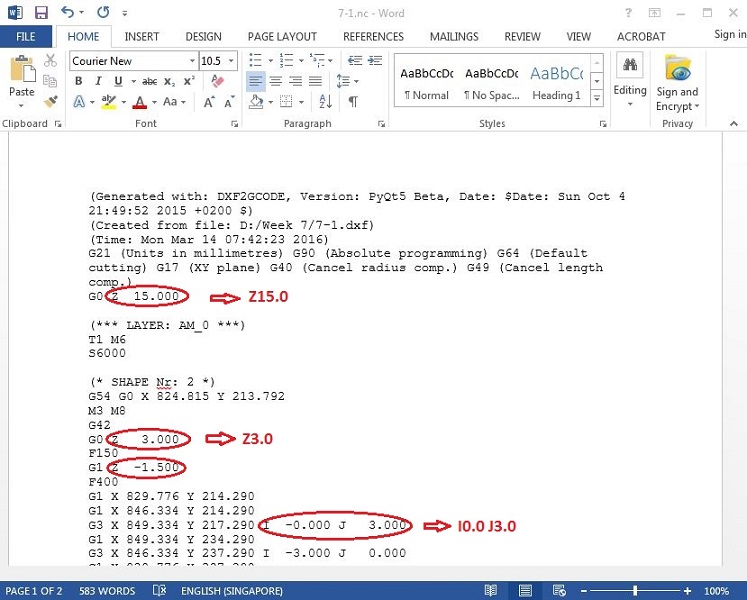
- Remove all the spacing following the axes XYZ and IJ (see the following image).
- Check and ensure the correct cutter compensation is applied as user is not able to specify "cut inside (cavity)" or "cut outside (core)" in the DXF2GCODE.
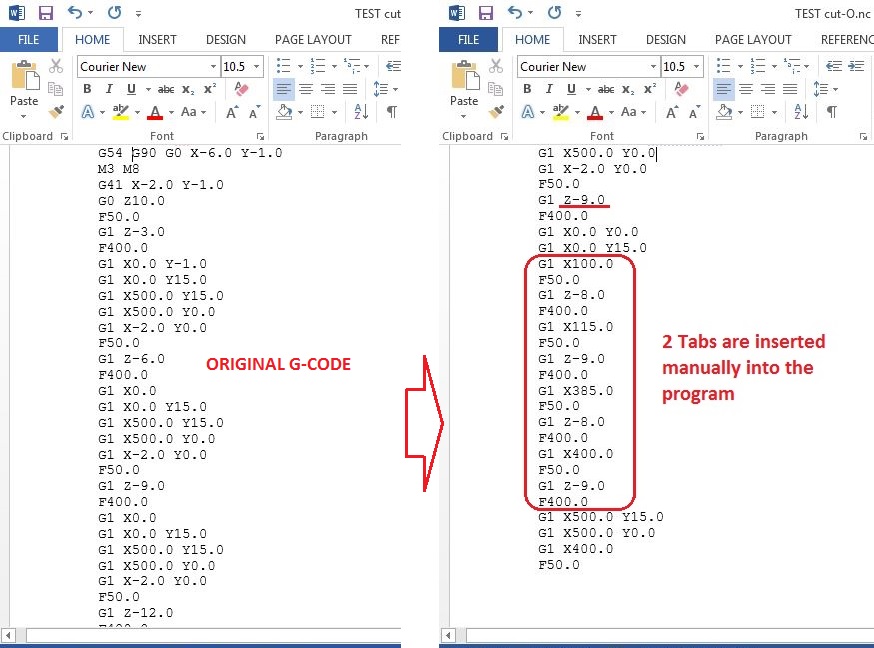
- Add "Tab" at specific locations to prevent the tool from damaging the cut part at the final cut. The aim of the Tabs is to hold the cut parts at the final cut. The size used in this operation is 10mm(L) x 2mm(H).
- Add G54 at the heading of the program to inform the router to take workpiece origin set by user/operator (see the following image).
- Check and ensure all the plunging feedrate are set as intended (see the following image).
- Check and ensure the tool is retracted to safe(+ve Z value) height at the end of operation (see the following image).
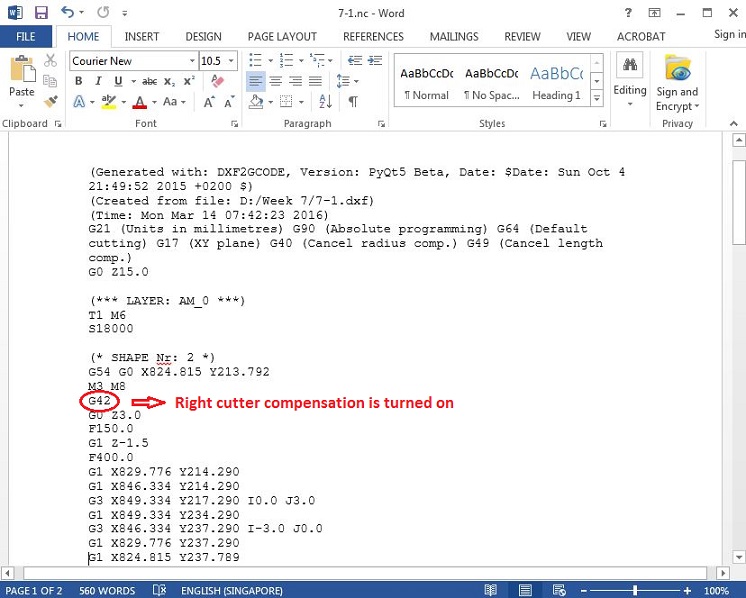
This compensation is very much dependent on the program path, thus user need to understand the subsequent g-code prior to deciding the right compensation code to be used.
For tab illustration purposes, the g-code(.nc) file used is the test cut file (as shown in the previous image: press-fit testing). Additional g-code for Tabs is inserted when the depth cut reached -9mm and -12mm (cut through depth). The following image only show the Tabs addition at depth cut -9mm.
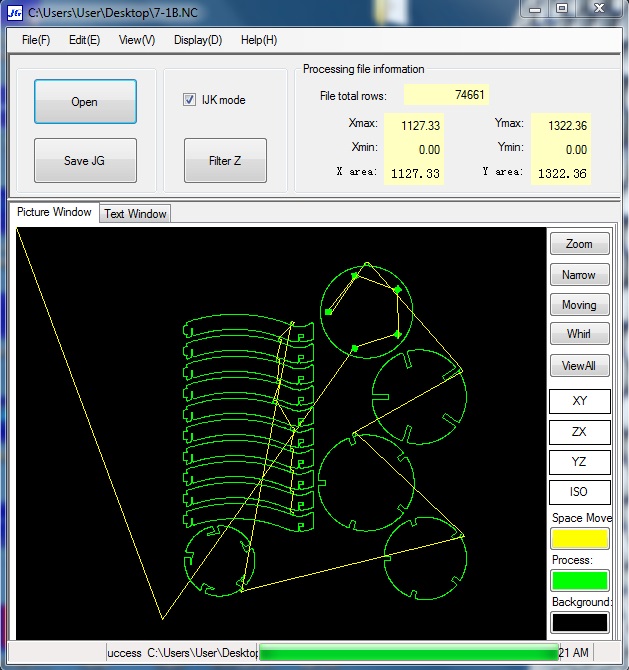
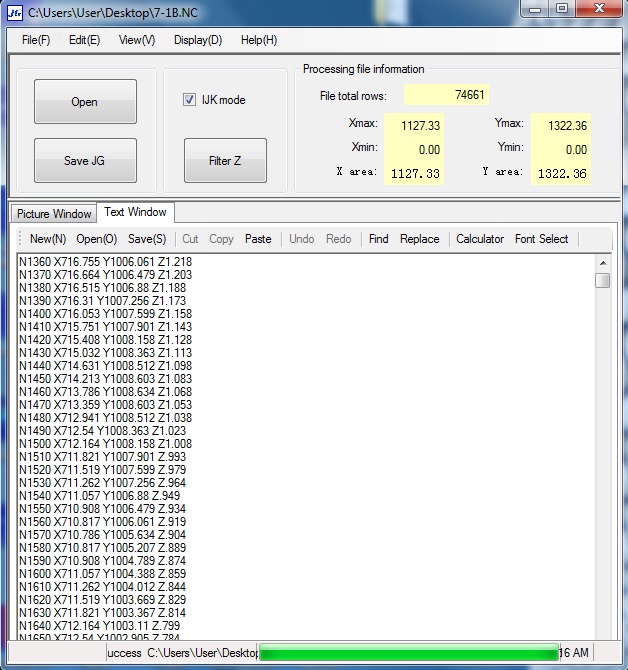
Next step is to use the machine's "JG" software to open the .nc file, re-confirm the program and save as .JG file. The following shows the JG interface (left) and .nc opened in JG (right).
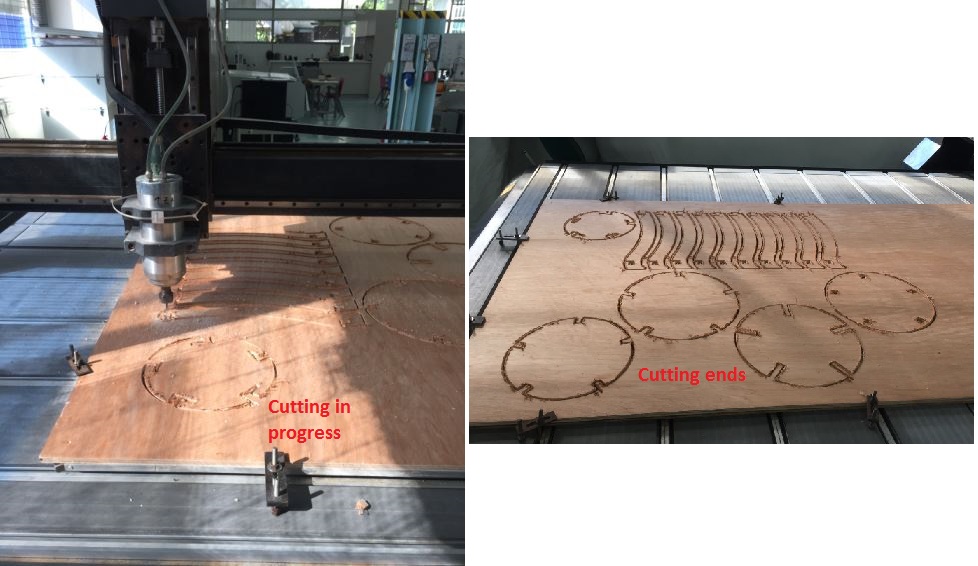
The .JG file is then transferred into the router's controller for execution (provided user has set the workpiece origin XYZ).
Final step is to take out all the routed parts, deburr/sand all the edges and assemble the parts accordingly. Here is the stool, strong and nice. Chinese character "Dragon" is laser-engraved onto the stool to give pride to the user he/she is riding a dragon. LOL

Interested to build one for yourself? The working files can be downloaded here.
7-1001.ipt; 7-1002.ipt; 7-1003.ipt; 7-1004.ipt; 7-1005.ipt; 7-1006.ipt