1. Antimony
This week we learned a lot about computer-controlled cutting. Forget about those expensive software, I have chosen a totally free software-Antimony.
Install
I highly recommand to install the Antimony on Mac. There is a dmg file on the Github. Right here. All you have to do is download and install it.
I have also installed it on my Ubuntu. It's a little bit complex. First install these with terminal.
                                sudo apt-get install build-essential

                                sudo apt-get install libpng-dev

                                sudo apt-get install python3-dev

                                sudo apt-get install libboost-all-dev

                                sudo apt-get install libgl1-mesa-dev

                                sudo apt-get install lemon

                                sudo apt-get install flex
Because 14.04 ships with gcc 4.8, you'll need to update the compiler manually
sudo add-apt-repository ppa:ubuntu-toolchain-r/test
                                sudo apt-get update

                                sudo apt-get install gcc-4.9 g++-4.9

                                sudo update-alternatives --install /usr/bin/gcc gcc /usr/bin/gcc-4.9 60 --slave /usr/bin/g++ g++ /usr/bin/g++-4.9
After, install QT.
1. Download QT at http://qt-project.org/ . I recommand the offline install version.
2. In the terminal, go to where the QT downloaded files at. Change the authority of it. chmod u+x qt-opensource-linux-x86-5.3.1.run
3. Open the *.RUN file and install it.
Then, you can clone and build Antimony. Building from the develop branch is recommended over master, as develop has all of the latest bug-fixes and improvements.
git clone https://github.com/mkeeter/antimony

                                cd antimony

                                mkdir build

                                cd build


                                ~/Qt5.4.0/5.4/gcc_64/bin/qmake ../sb.pro

                                make -j8


                                ./app/antimony
Remember, the step "make -j8" could be very slow.
Using antimony
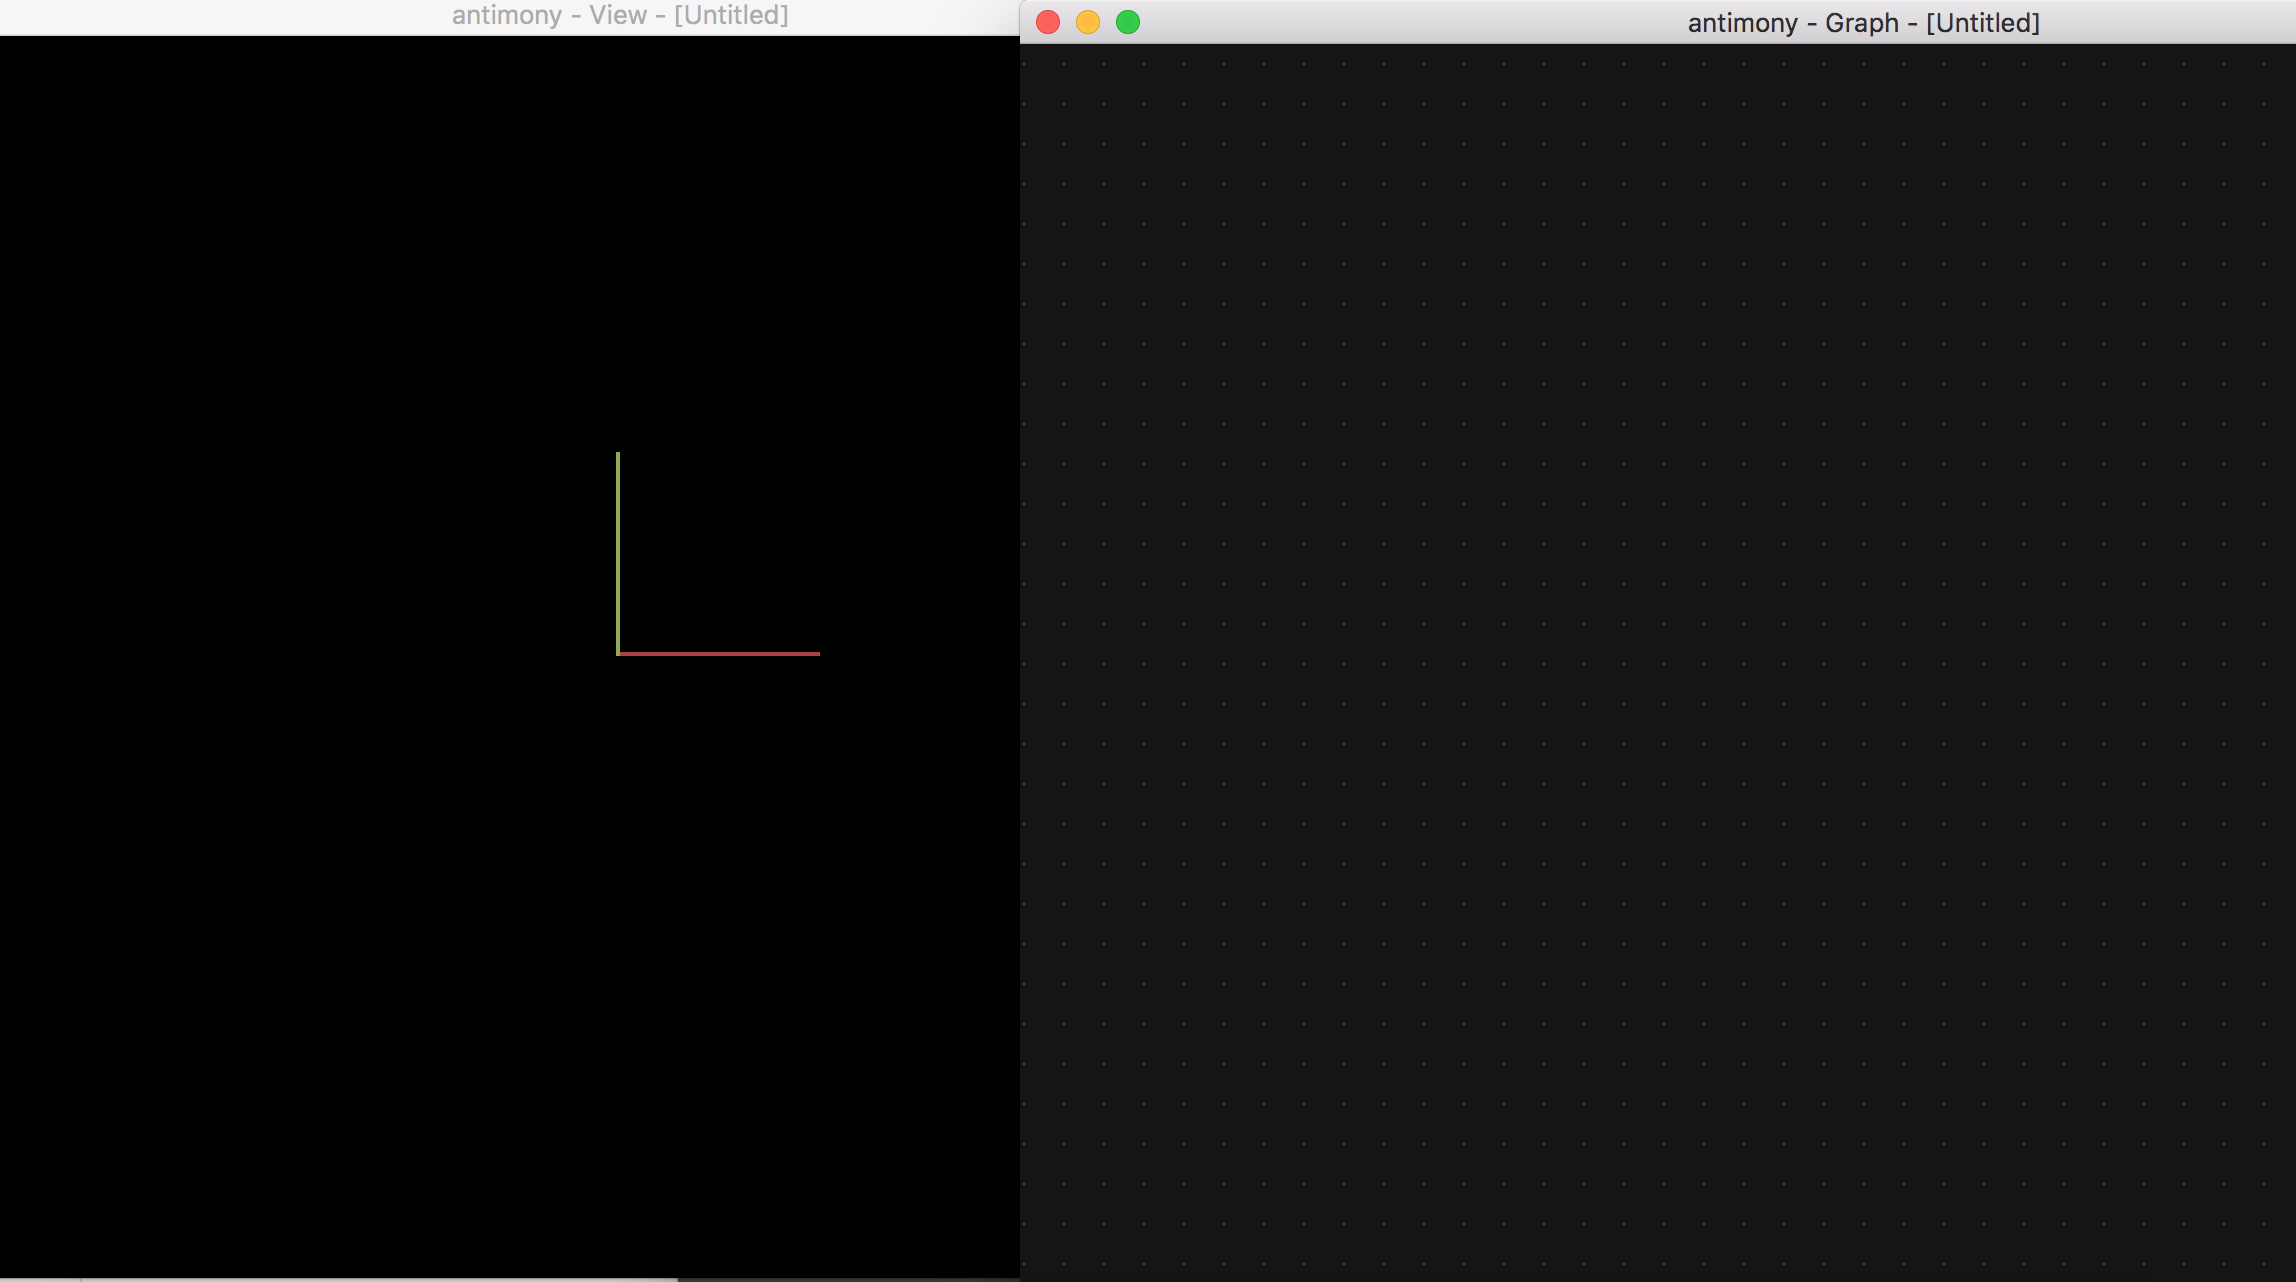
When open the antimony, you can see two windows. The view window is for looking but you can also draw on this window. Graph window is for drawing and coding.
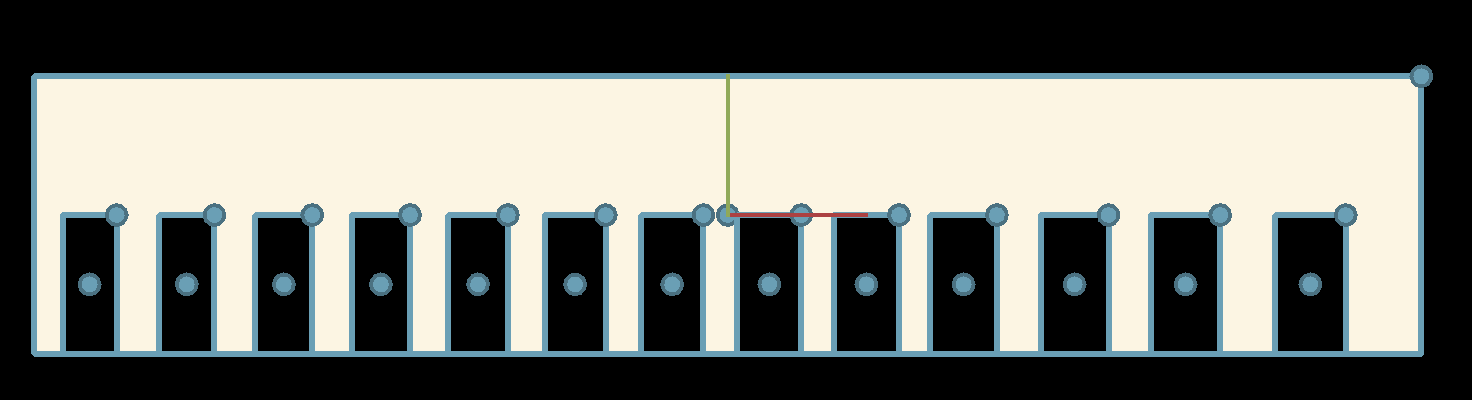
The first thing I do is to create a comb to test how long is the slot size that better fit. To make a comb, first thing is to make a square. Using "Add-2D-Rectangles". Set the parameters. Then add another rectangle for cut.
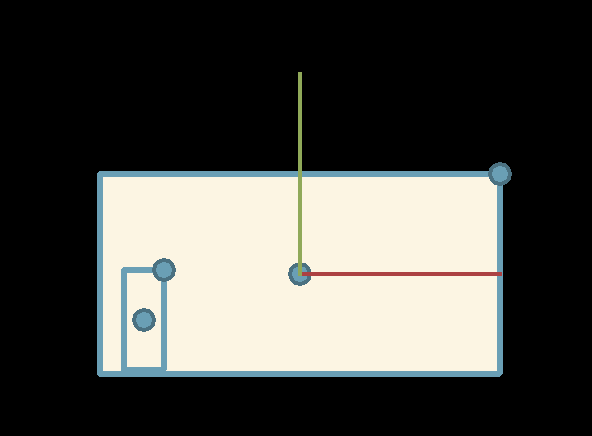
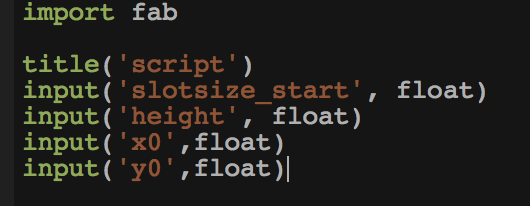
For parameter design, we should first create a parameter controls the slot size. Using "add-script", and then goes to the code. Remove the output and change the input to "slotsize_start". This represent the start size of slot so that we can add it up to test how big it is that most fit.
 Then we can use this parameter to control all the slots' size. Do "add-CSG-Diffenence" to cut the slot.
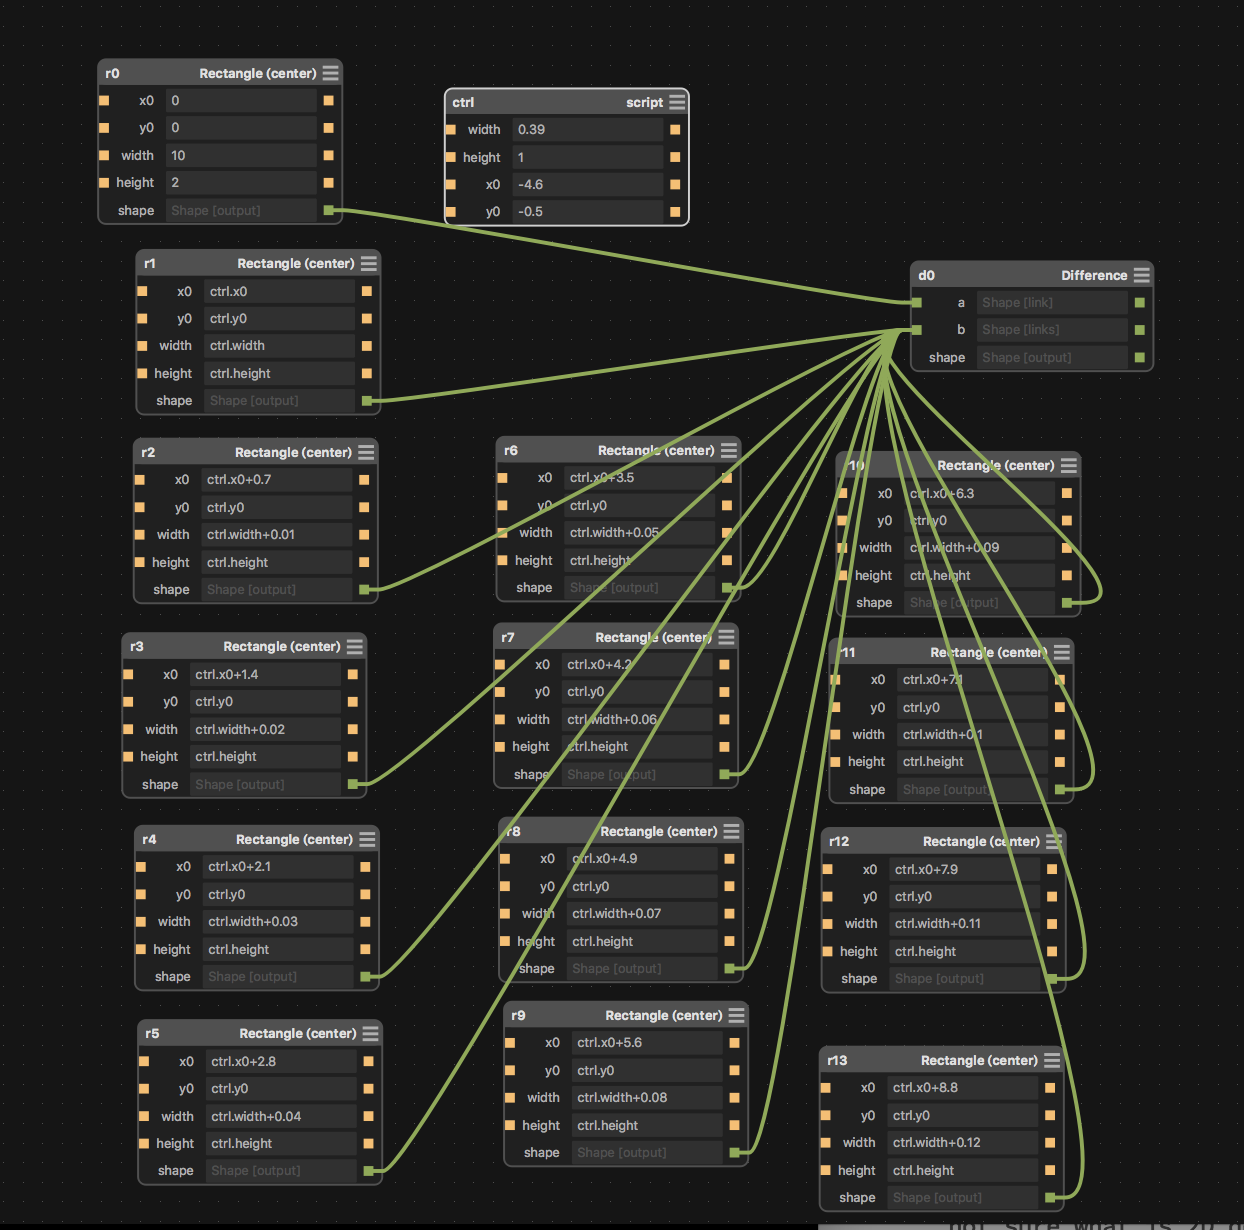
 This is the "code".
 Comb file
Then we can go to cut the files.
Comb file
Then we can go to cut the files.
2. Laser Cutter
First thing to do is to output a PNG file. United every part in Antimony then output it.
Go to fabmodules.org to convert the png file to svg file.Using "outline" and set the tool diameter to 0.01.
This is my svg files.svg
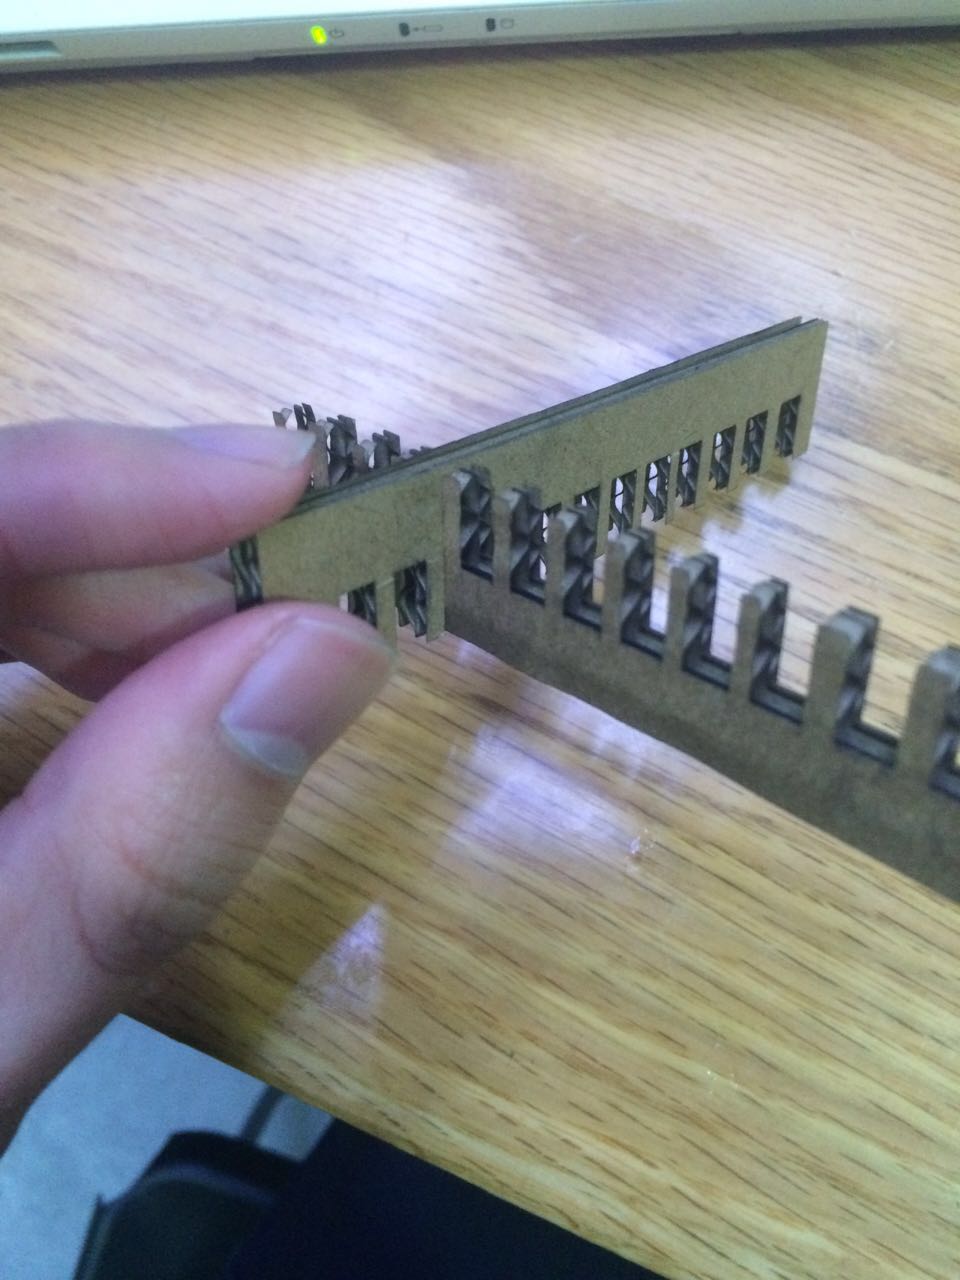
Then go to the computer linked with Laser cutter. Open with illustrater and print. Set some print diameter before cutting. The comb I have cutted is as follows.
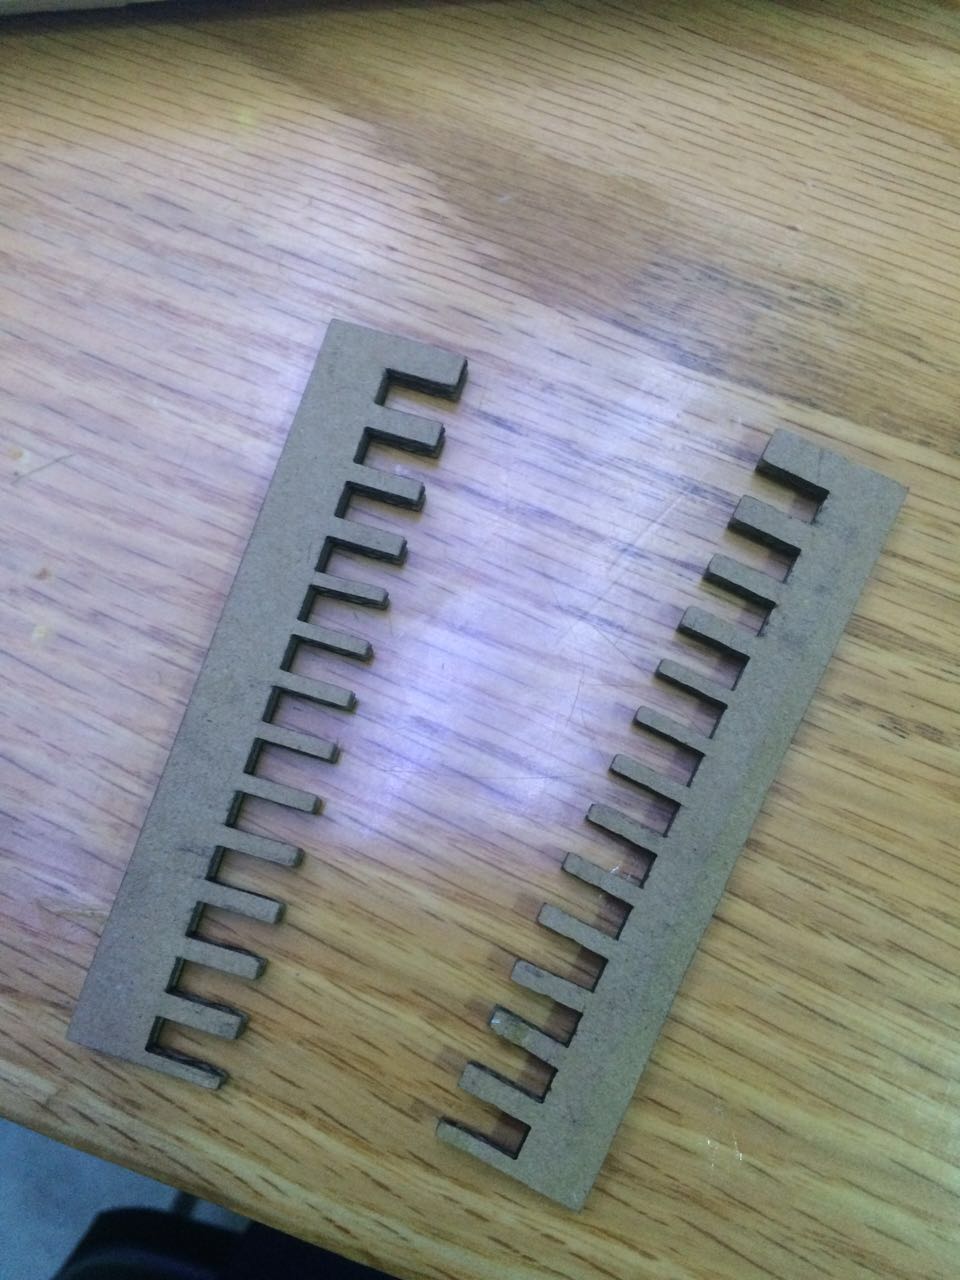 After assembling them each other, I finally find that the 0.41 slot fits better. Firm enough.
3. Plane
Now I can design my own plane with laser cutter. I want to make a plane. First I need to make every parts of plane. Just using uniting and diffenence function.
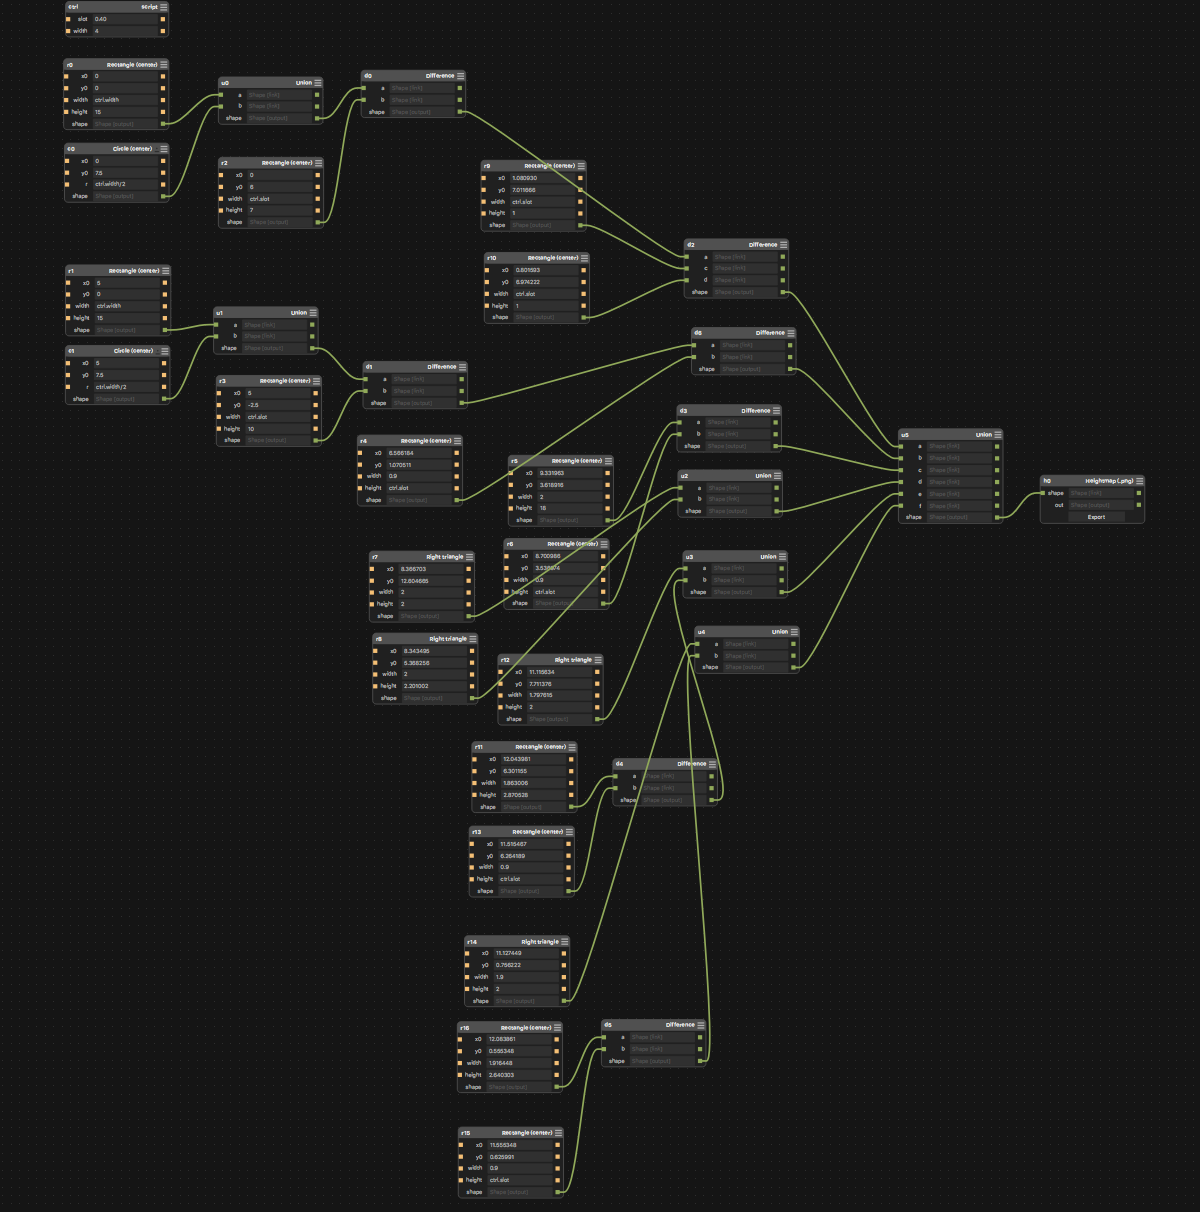
 Here is the code.
 Here is the engine.
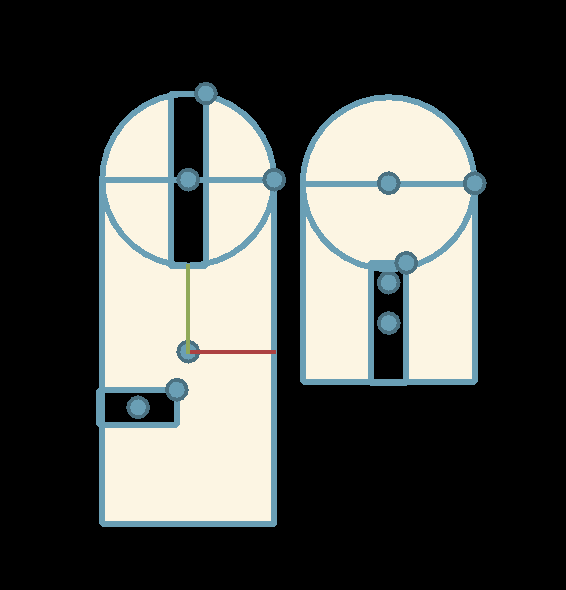 I use parameter design in the slot size. I have found that even if I use my comb to find the better size, still it may change due to different part.
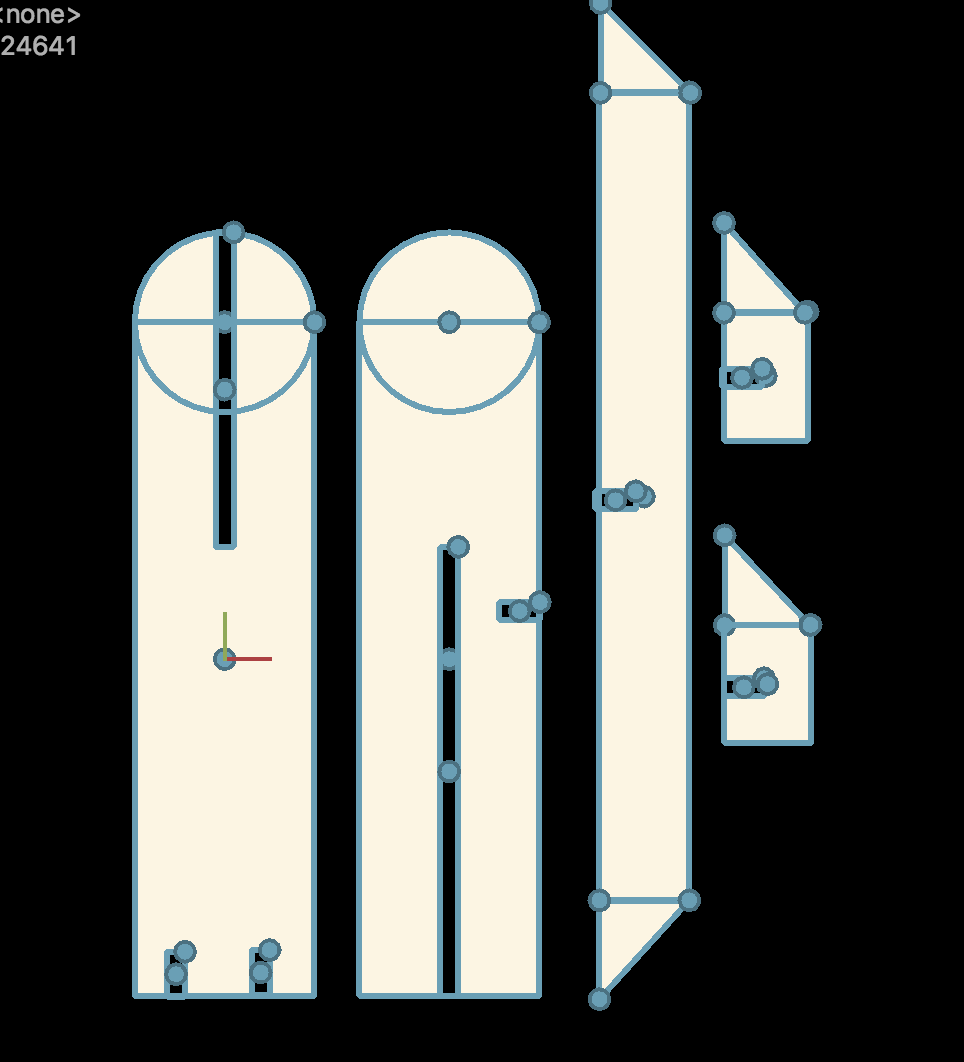
Here is the plane file.
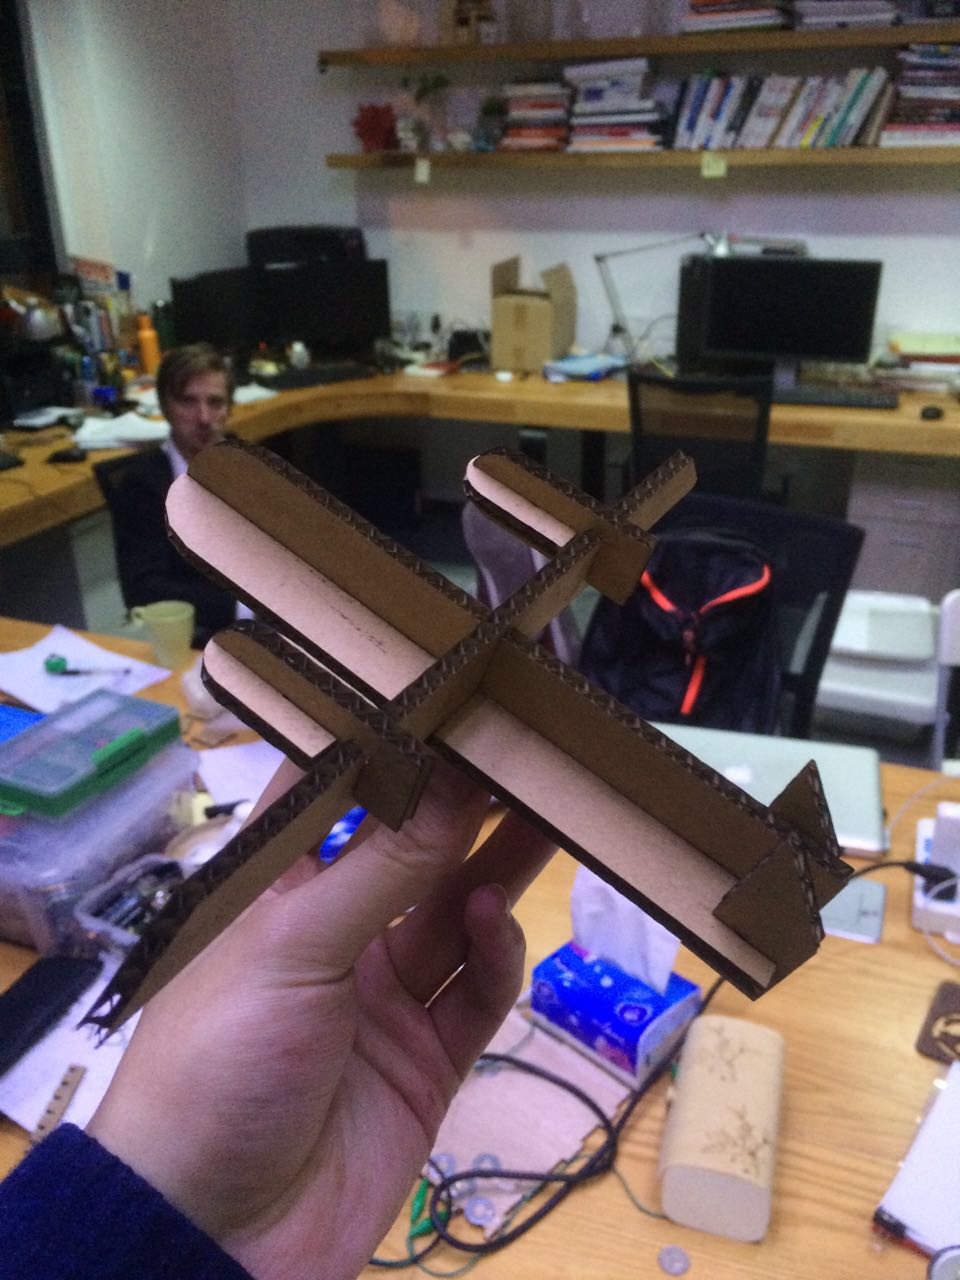
This is my plane. It's still version 1.
4. Fabmodule and Vinyl Cutter
Vinyl cutting can be driven by fabmodule. So first thing is to install the fabmodule. I install it in my Ubuntu system. Download fabmodule on kokompe.cba.mit.edu
Then install Python, wxPython, Numpy, GCC, G++, libpng, GIFLIB, Make, BASH, Okular, Boost and cmake.
Then unzip the downloading files and cd to folder it's in. Type these.
make clean
Do not forget sudo in the last order.
make fab
sudo make install
ADDING THE PRINTER IN UBUNTU.
1.Connect the printer to your macine with the USB cable.
2.In a browser go to http://localhost:631/admin
3.Add Printer
4.log in with your username and 5.password.
6.Find you printer and click continue
7.Click continue.
8.In the Make list choose Raw
9.Add Printer
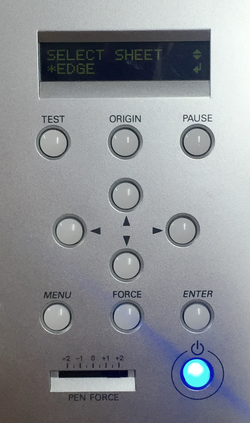
PREPARING THE PRINTER
Load in the desired material and make sure it is straight and turn the power on.
Choose Roll, Edge or Piece depending on what you are using. Usually Edge is the best. Confirm with enter.
Press the test button. This will cut a circle inside a square.
With a good cut you should be able to peal of the square leaving the circle intact. If not adjust the pen pressure slider or blade hight by remove the blade and twist the cap surrounding it.
Move the cut head to desired location with the arrow keys.
Press and hold the origin button (2-3 sec)
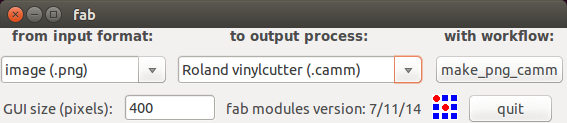
INTERFACING WITH THE MACHINE WITH LOCAL FABMODULES
Type fab in terminal. Set image.png for input format and Roland vinylcutter (.camm) as output process.
 send it!
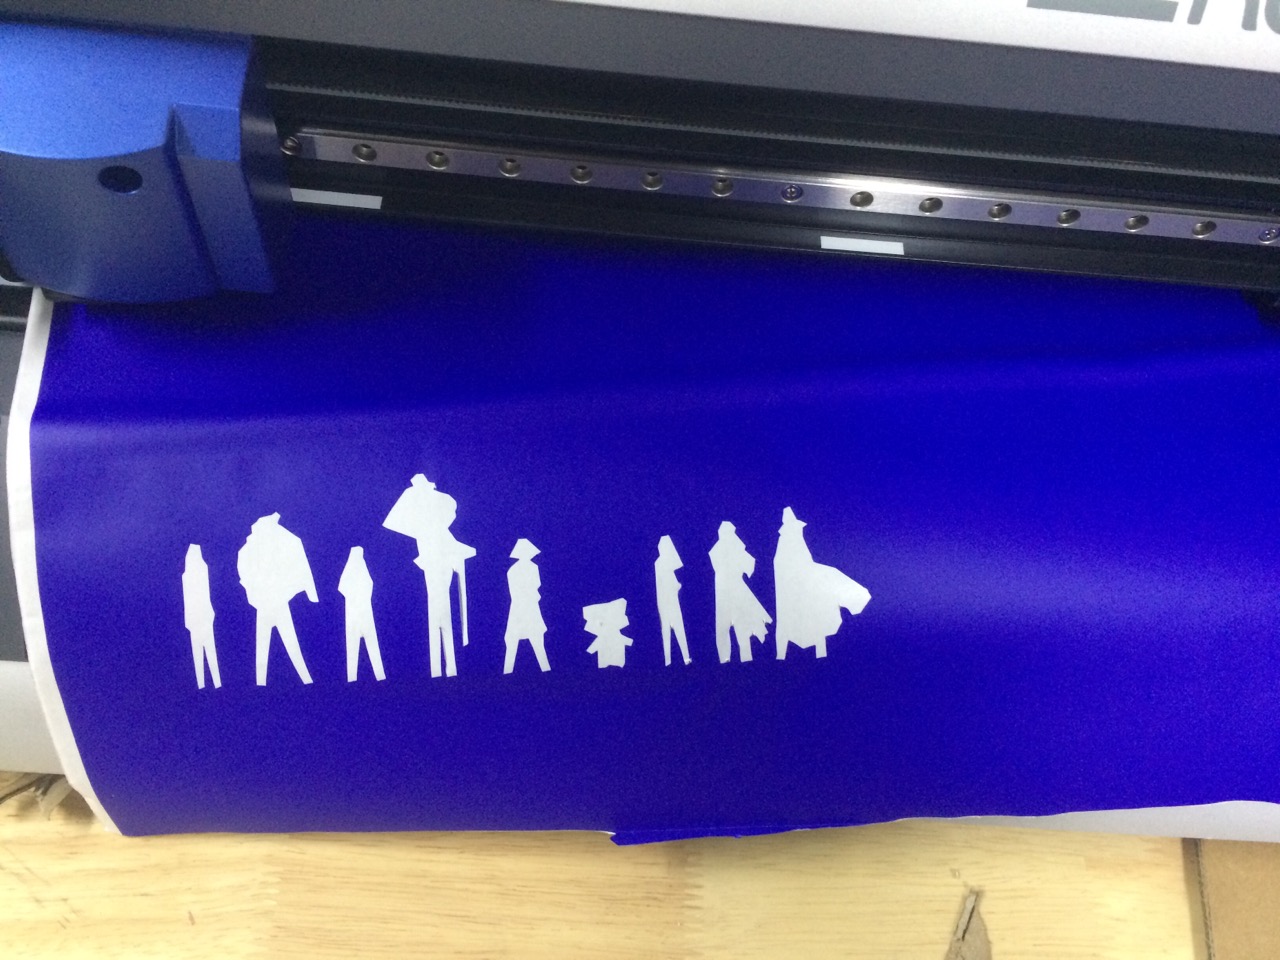
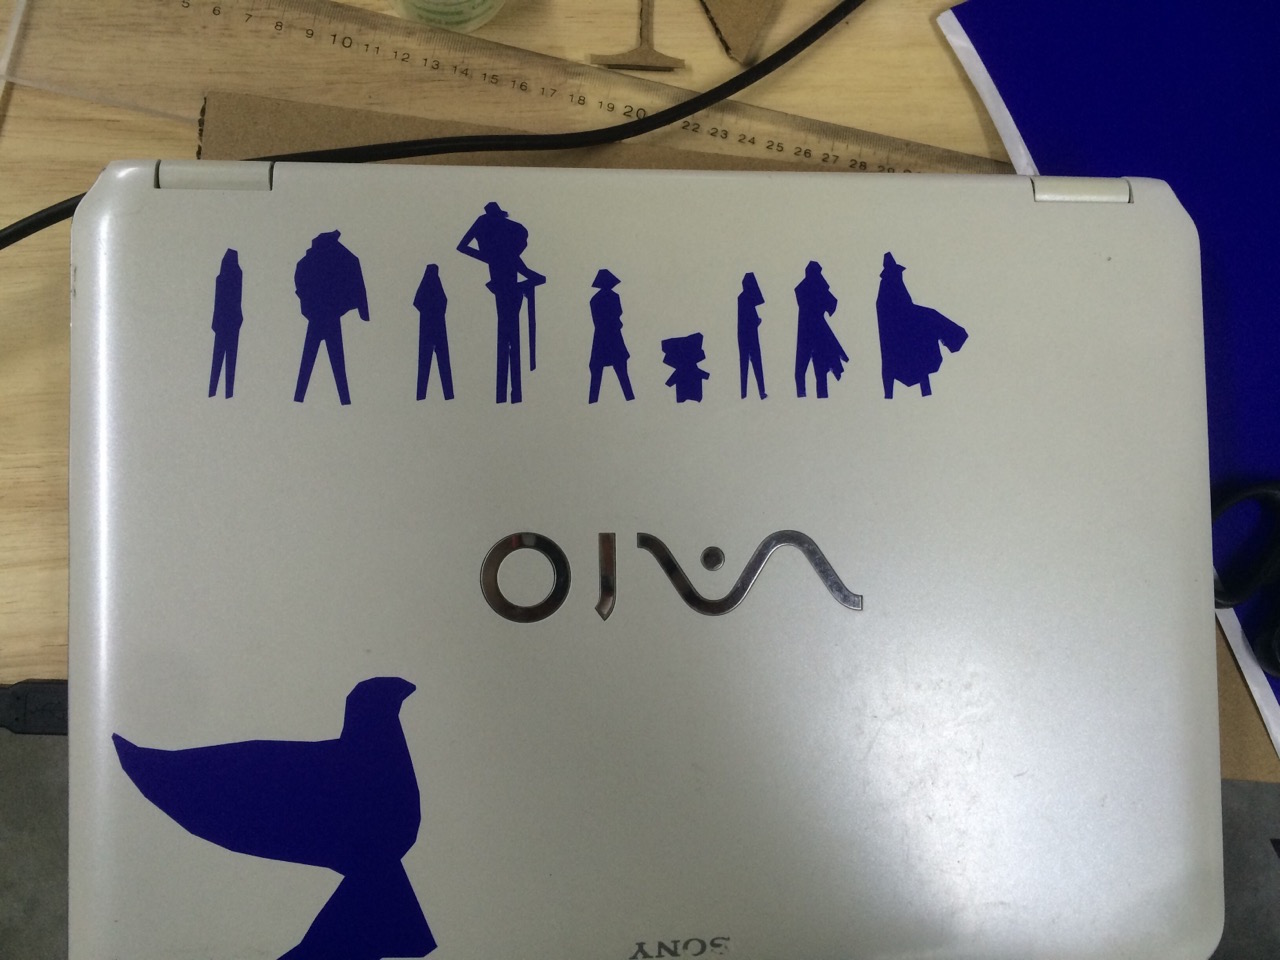
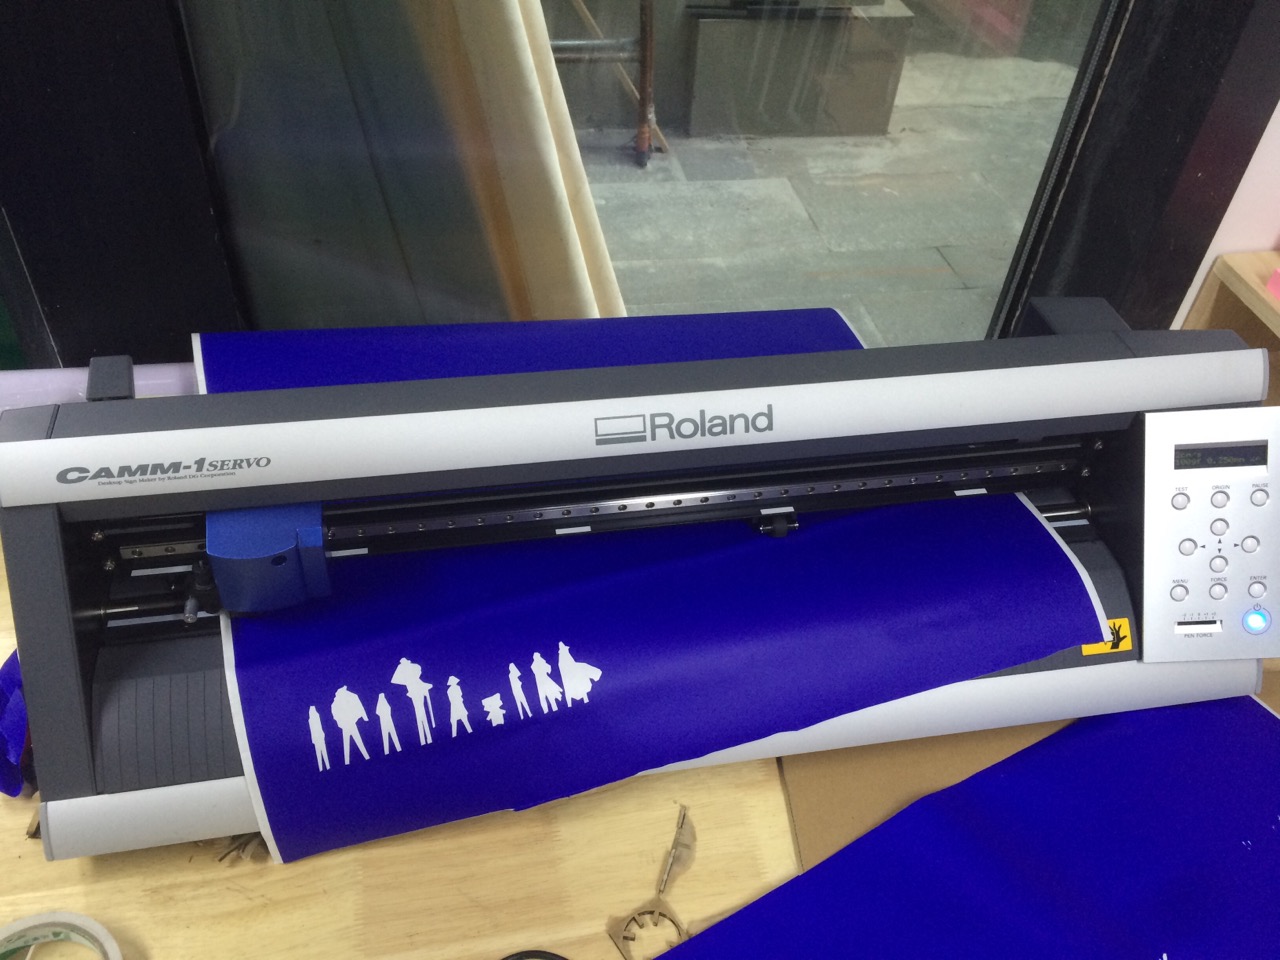
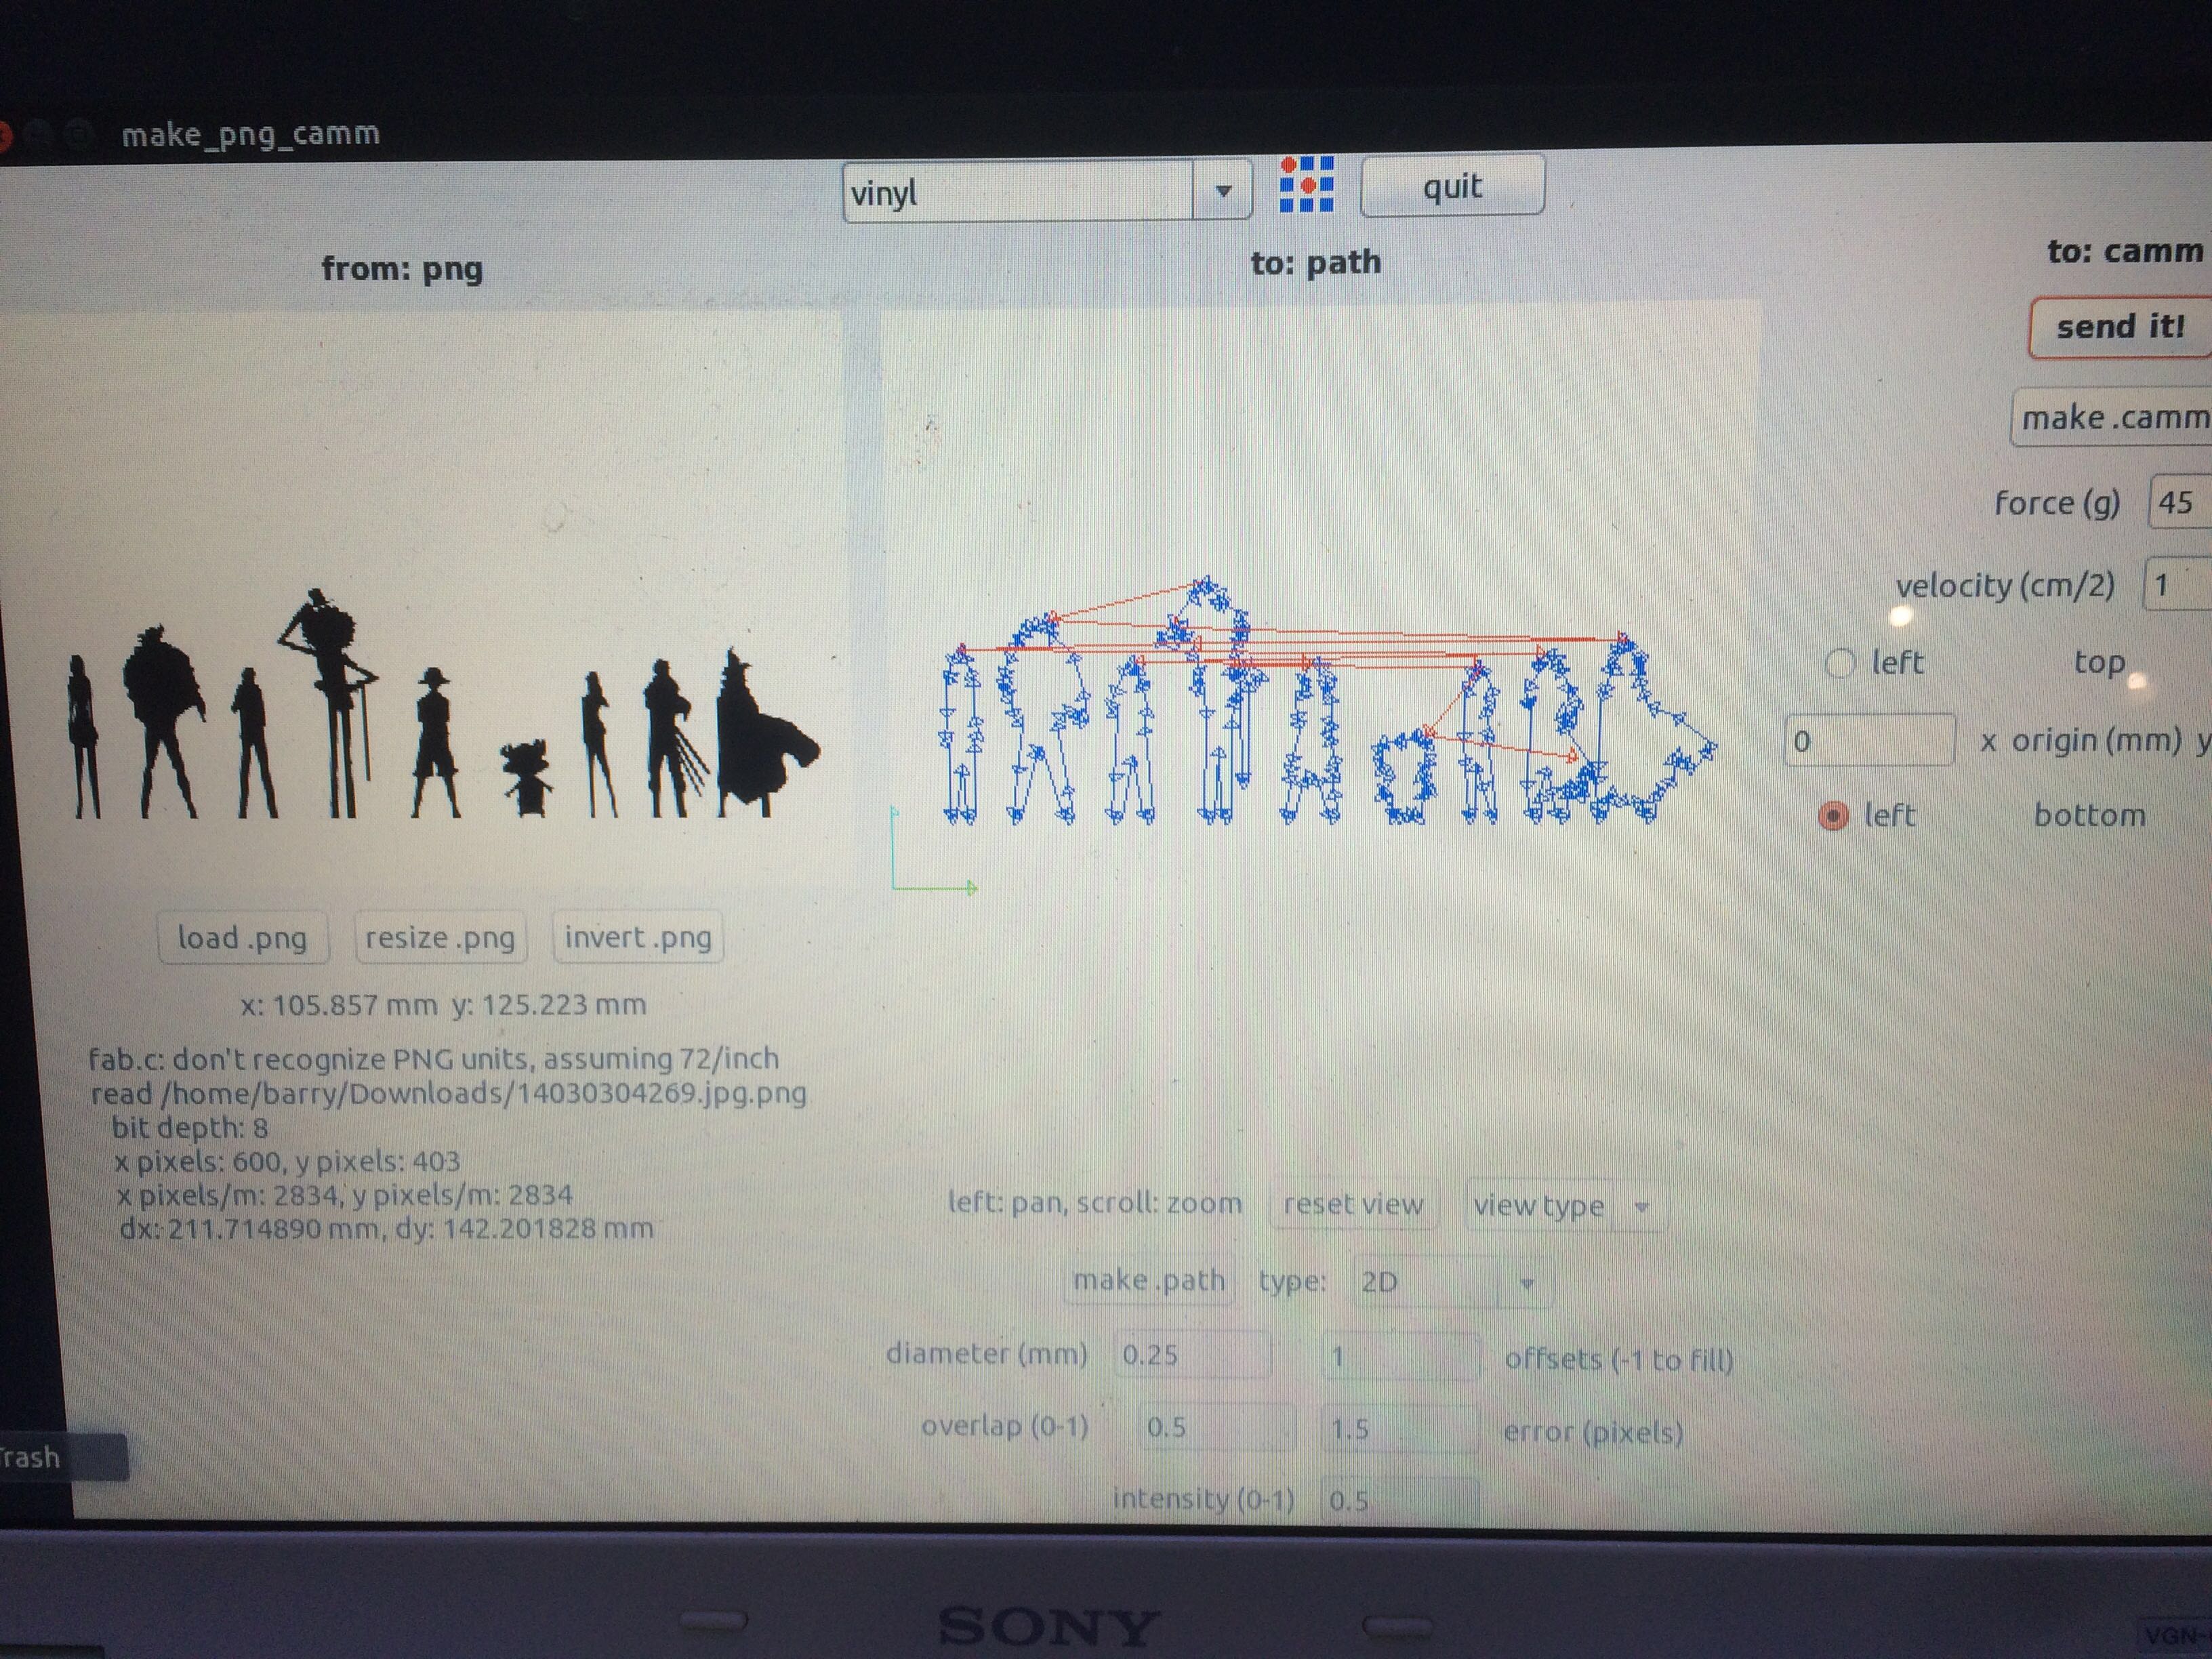 This is my vinly cut designs.
 This is my vinyl cut file.
And for how to draw this picture, I use Photoshop to convert an ONE PIECE picture to black and white version. Trace the edge and get the picture.