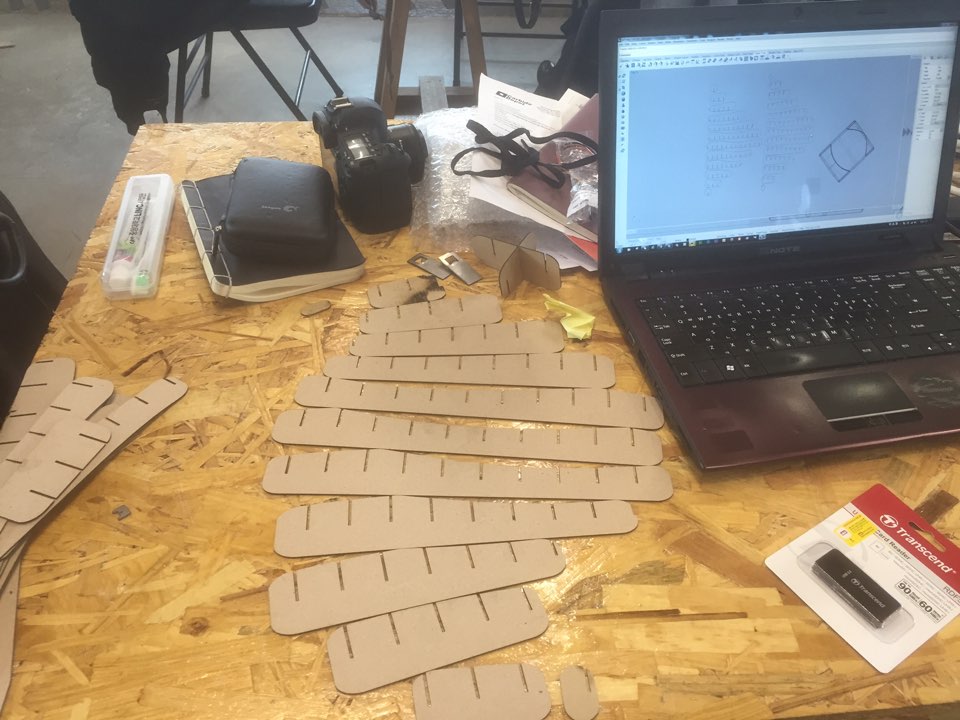
Week 3 / Parametric Design, Press-fit, Laser Cutting
I really want to make that solid has a hole but the original part is not gone away.; :< 

Why..?

So i am going to try more.
I tried and even looked in further procedures but.. I can't simply use Flood so, I turn back to use Grasshopper in Rhino. Actually I am use to Rhino5 but not in Grasshopper. 

First, I made a model with Multiple Line command. You have to draw at least 3 open line to do the command. 

That is a chair whole dimension is 310*350*60mm and it will be the life size of the Kart seat. Here is a Tutorial for the Grasshopper. I read a two books to do this week assignment.
Make a Bounding Box and Divide sector with the point and connect the points after that you can get the poly lines through the solid and after that simply extrude all the line and make them intersect with the solid.


and then you can get the sliced contour not a pieces. after make contour you have to extrude them and voila! There are beautiful segments are generate. I should have more Screen shots... :( While I'm doing it Problem like left picture has occur. so I turn the original model a little bit(turn z axis). and I can solve the problem.
To make sure that intersected parts are completely removed I baked them and move a part and checked it. (However if grasshopper doesn't alert any warning then you can just trust it. ;) )
Render with the Keyshot5. Keyshot is a user Friendly 3D renderer. you can make simple animation with. and it is a drag and drop style renderer. Select color, material to show roughness etc.. just click drag and drop. NOW, THIS PARTS WERE PAIN IN THE BUTT. to make 2d plan with the grasshopper you have to make separate plain(like X, Y plane). So, I have to do all this thing again and I mess everything up. I have no choice but down load the Some others .GH file to observe it. And I have found the book has a tutorial for it so, I will look through it.
Bake the plan and export it as .dxf file.
Check it with the AutoCAD and it seems okay. Let's cut it!
To Test the file I erase it and left some of the components. and Duh... It is way tooooo big hole. So I simply move the Numberslider in Grasshopper to tighten the interlock gap.
It is a 2mm thick cardboard so I give 1.5mm gap between it and I think I can reduce some more until 1.2mm.
As you can see, here we have burnt part and it is caused by overlapping laser right on to the dropped segments. It can cause the fire inside of the laser cutter to prevent this you need to put masking tape or reduce the pressure of air compressor.
Tada! I assemble every components. and here is our seat.
Real life Kangaroo.(Physics Simulator)
I think the biggest problem of Laser cutter is Dirty hand. You should put latex or latex glove like gloves right next to the laser cutter to prevent Dirty hand Situation.
One of my hobby is calligraphy and I try to make sticker for my helmet. By using Vinyl cutter. First do some calligraphy. Is High on Fabbing.
After finish your drawing make it as a black and white image use software whatever you want. In my case Photoshop. Make Black and White image and live trace it to make vector image. because the machine works with the coordinate and to generate the coordinate we need vector image not rasterized one.
After Image trace. You can make it as a line. If you put this vector image to Rhino or CAD program than you can make 3D letter from it.
Export file as .dxf and open it in the Silhouette Cameo.
Always! Test the File First!!!
Unfortunately after I put High on to my helmet there was not enough space..

Here is my file


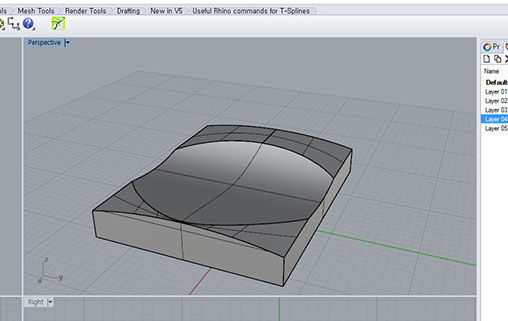
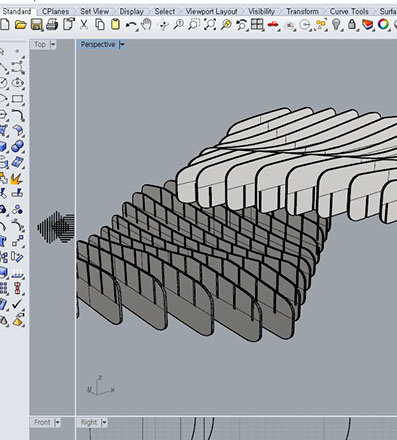
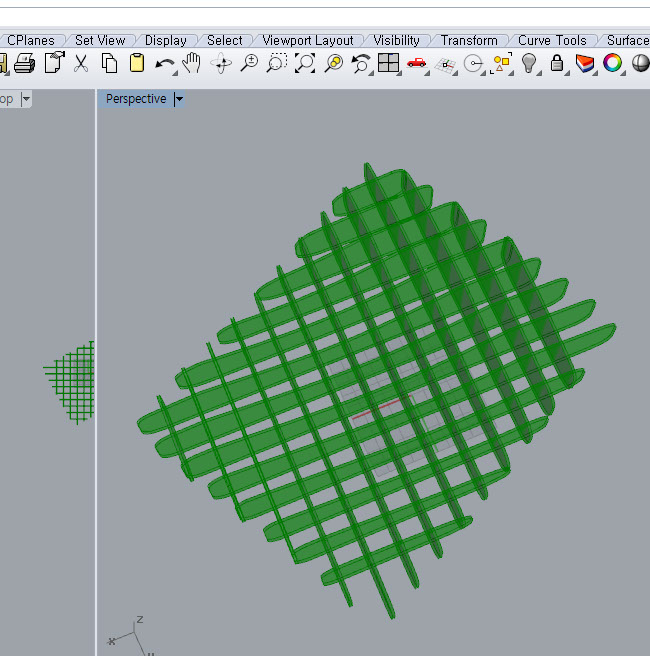
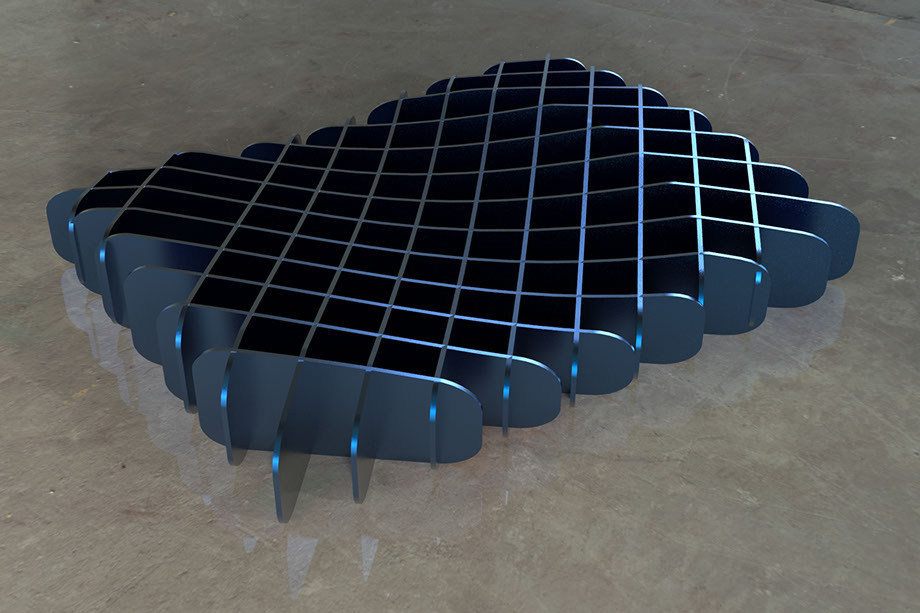
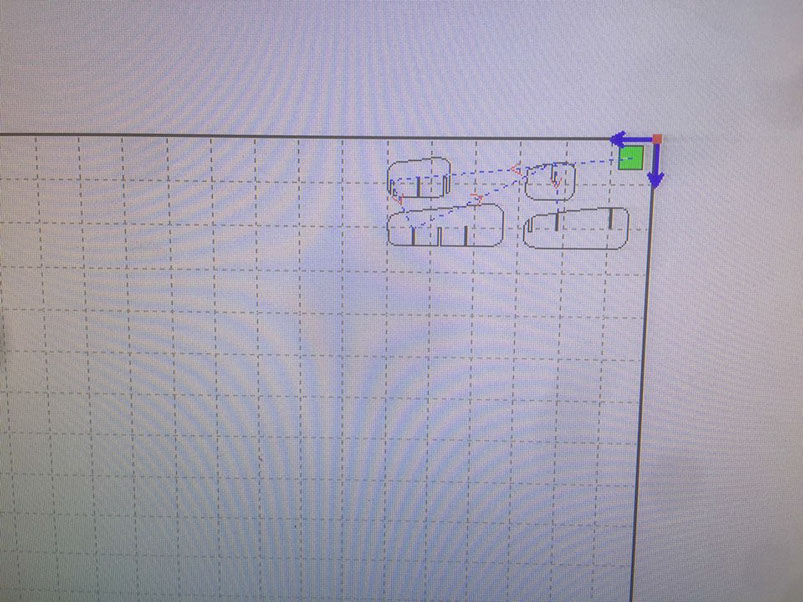
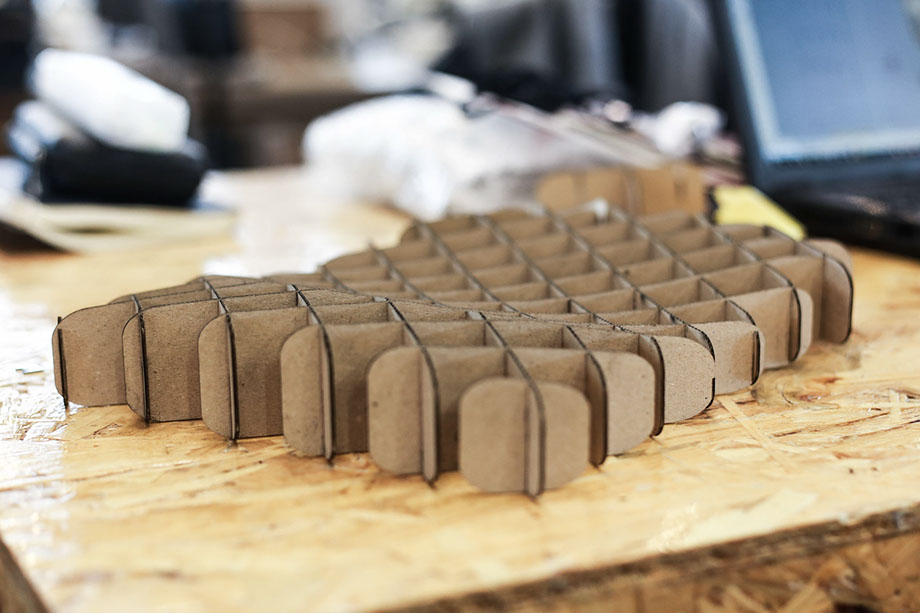
3d modeling _ chair / wheel
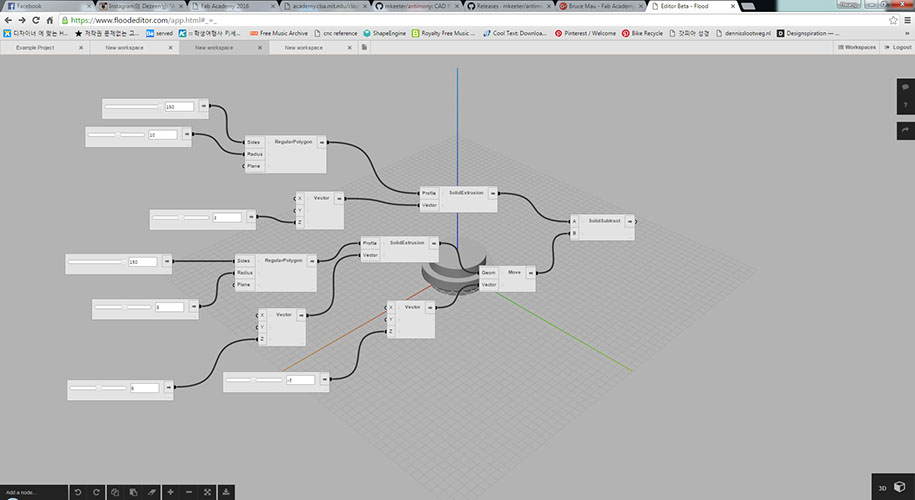
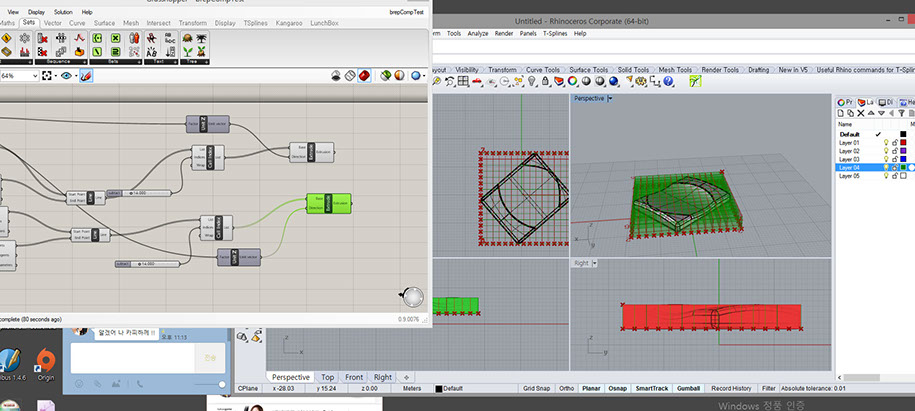
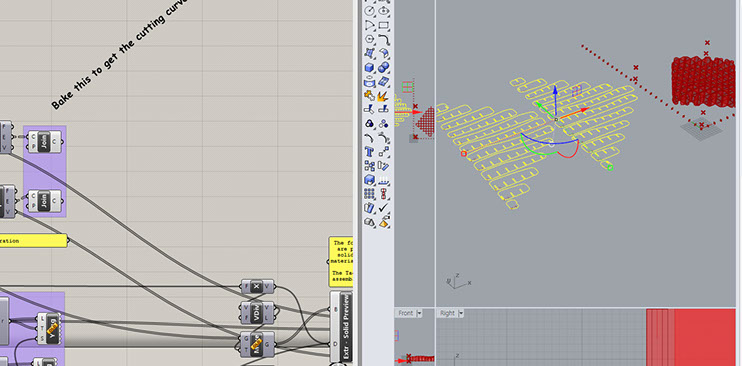
Grasshopper file _ 1 / 2

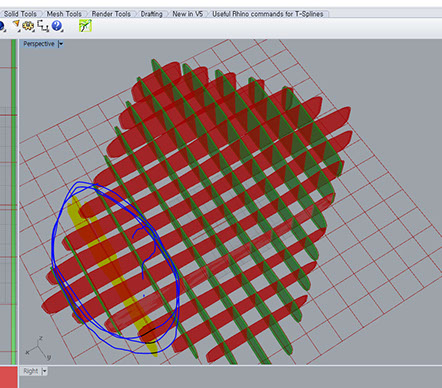
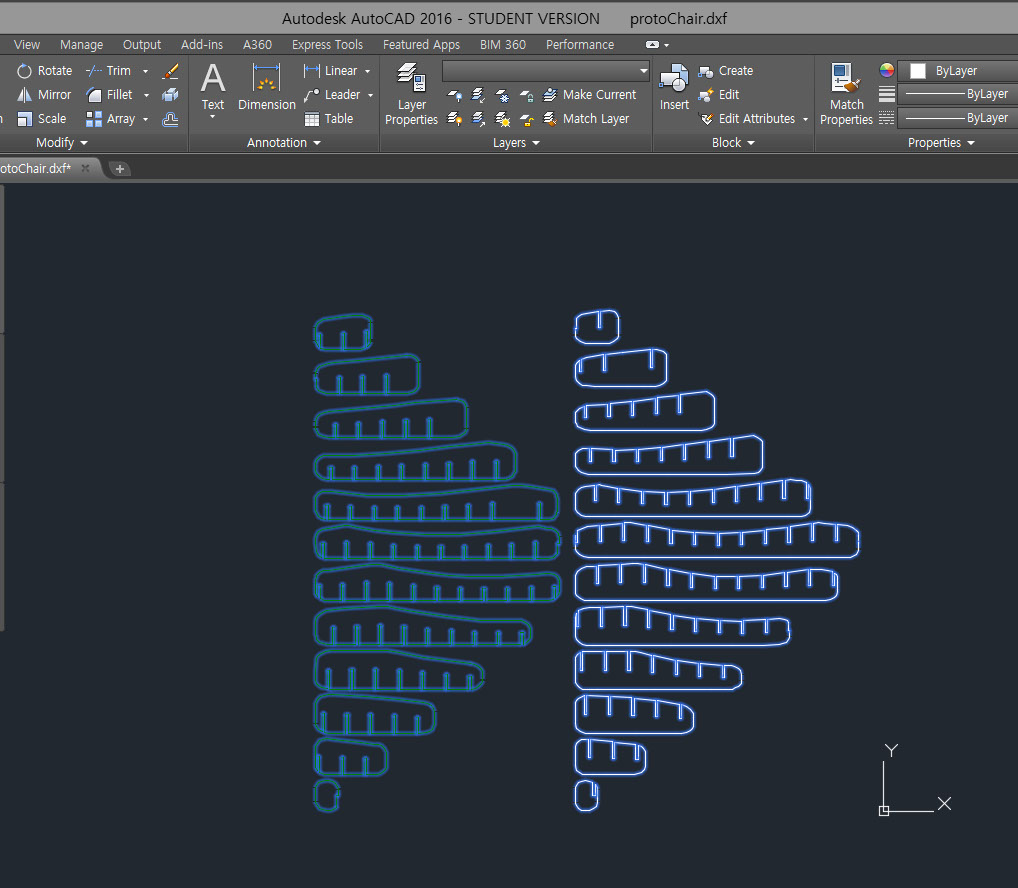
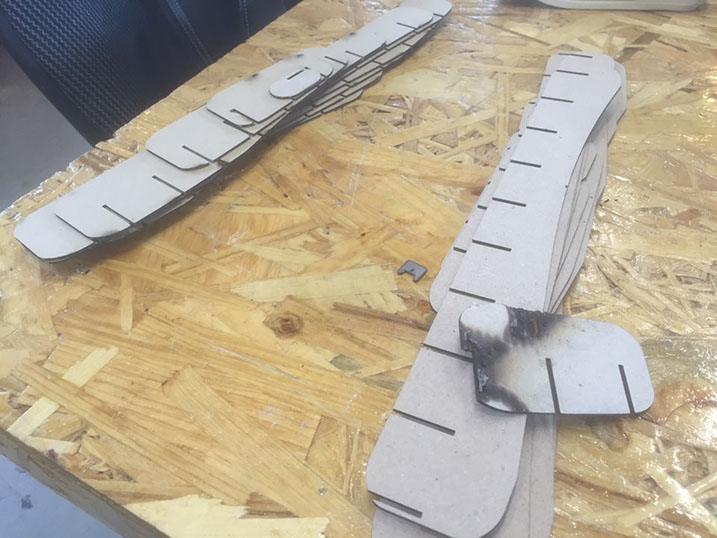
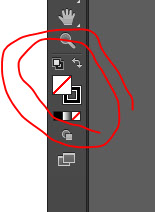
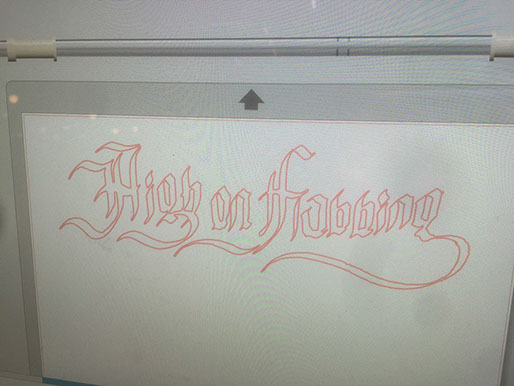
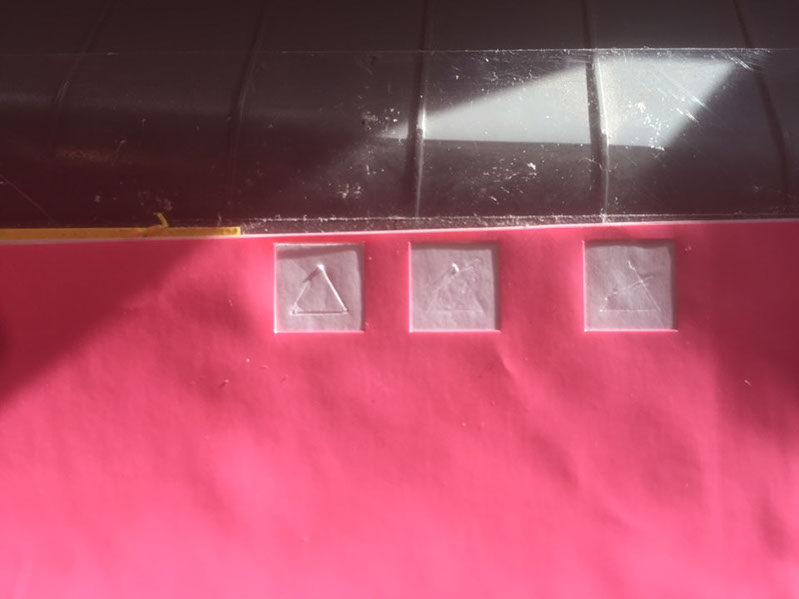
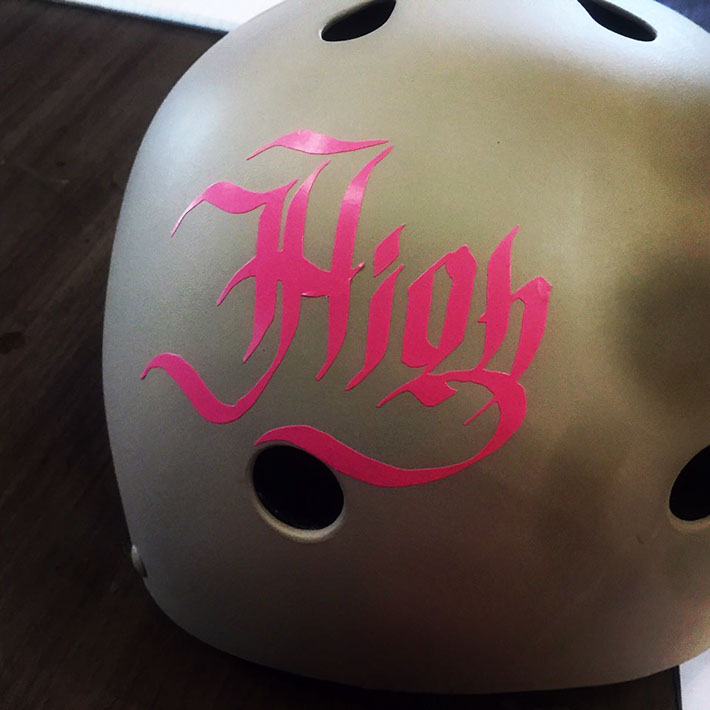
2d cutting file _ Laser Pattern / vinyl cutter

Back to home
Well this is my Week3 Assignments. Thx!