
Electronics Production
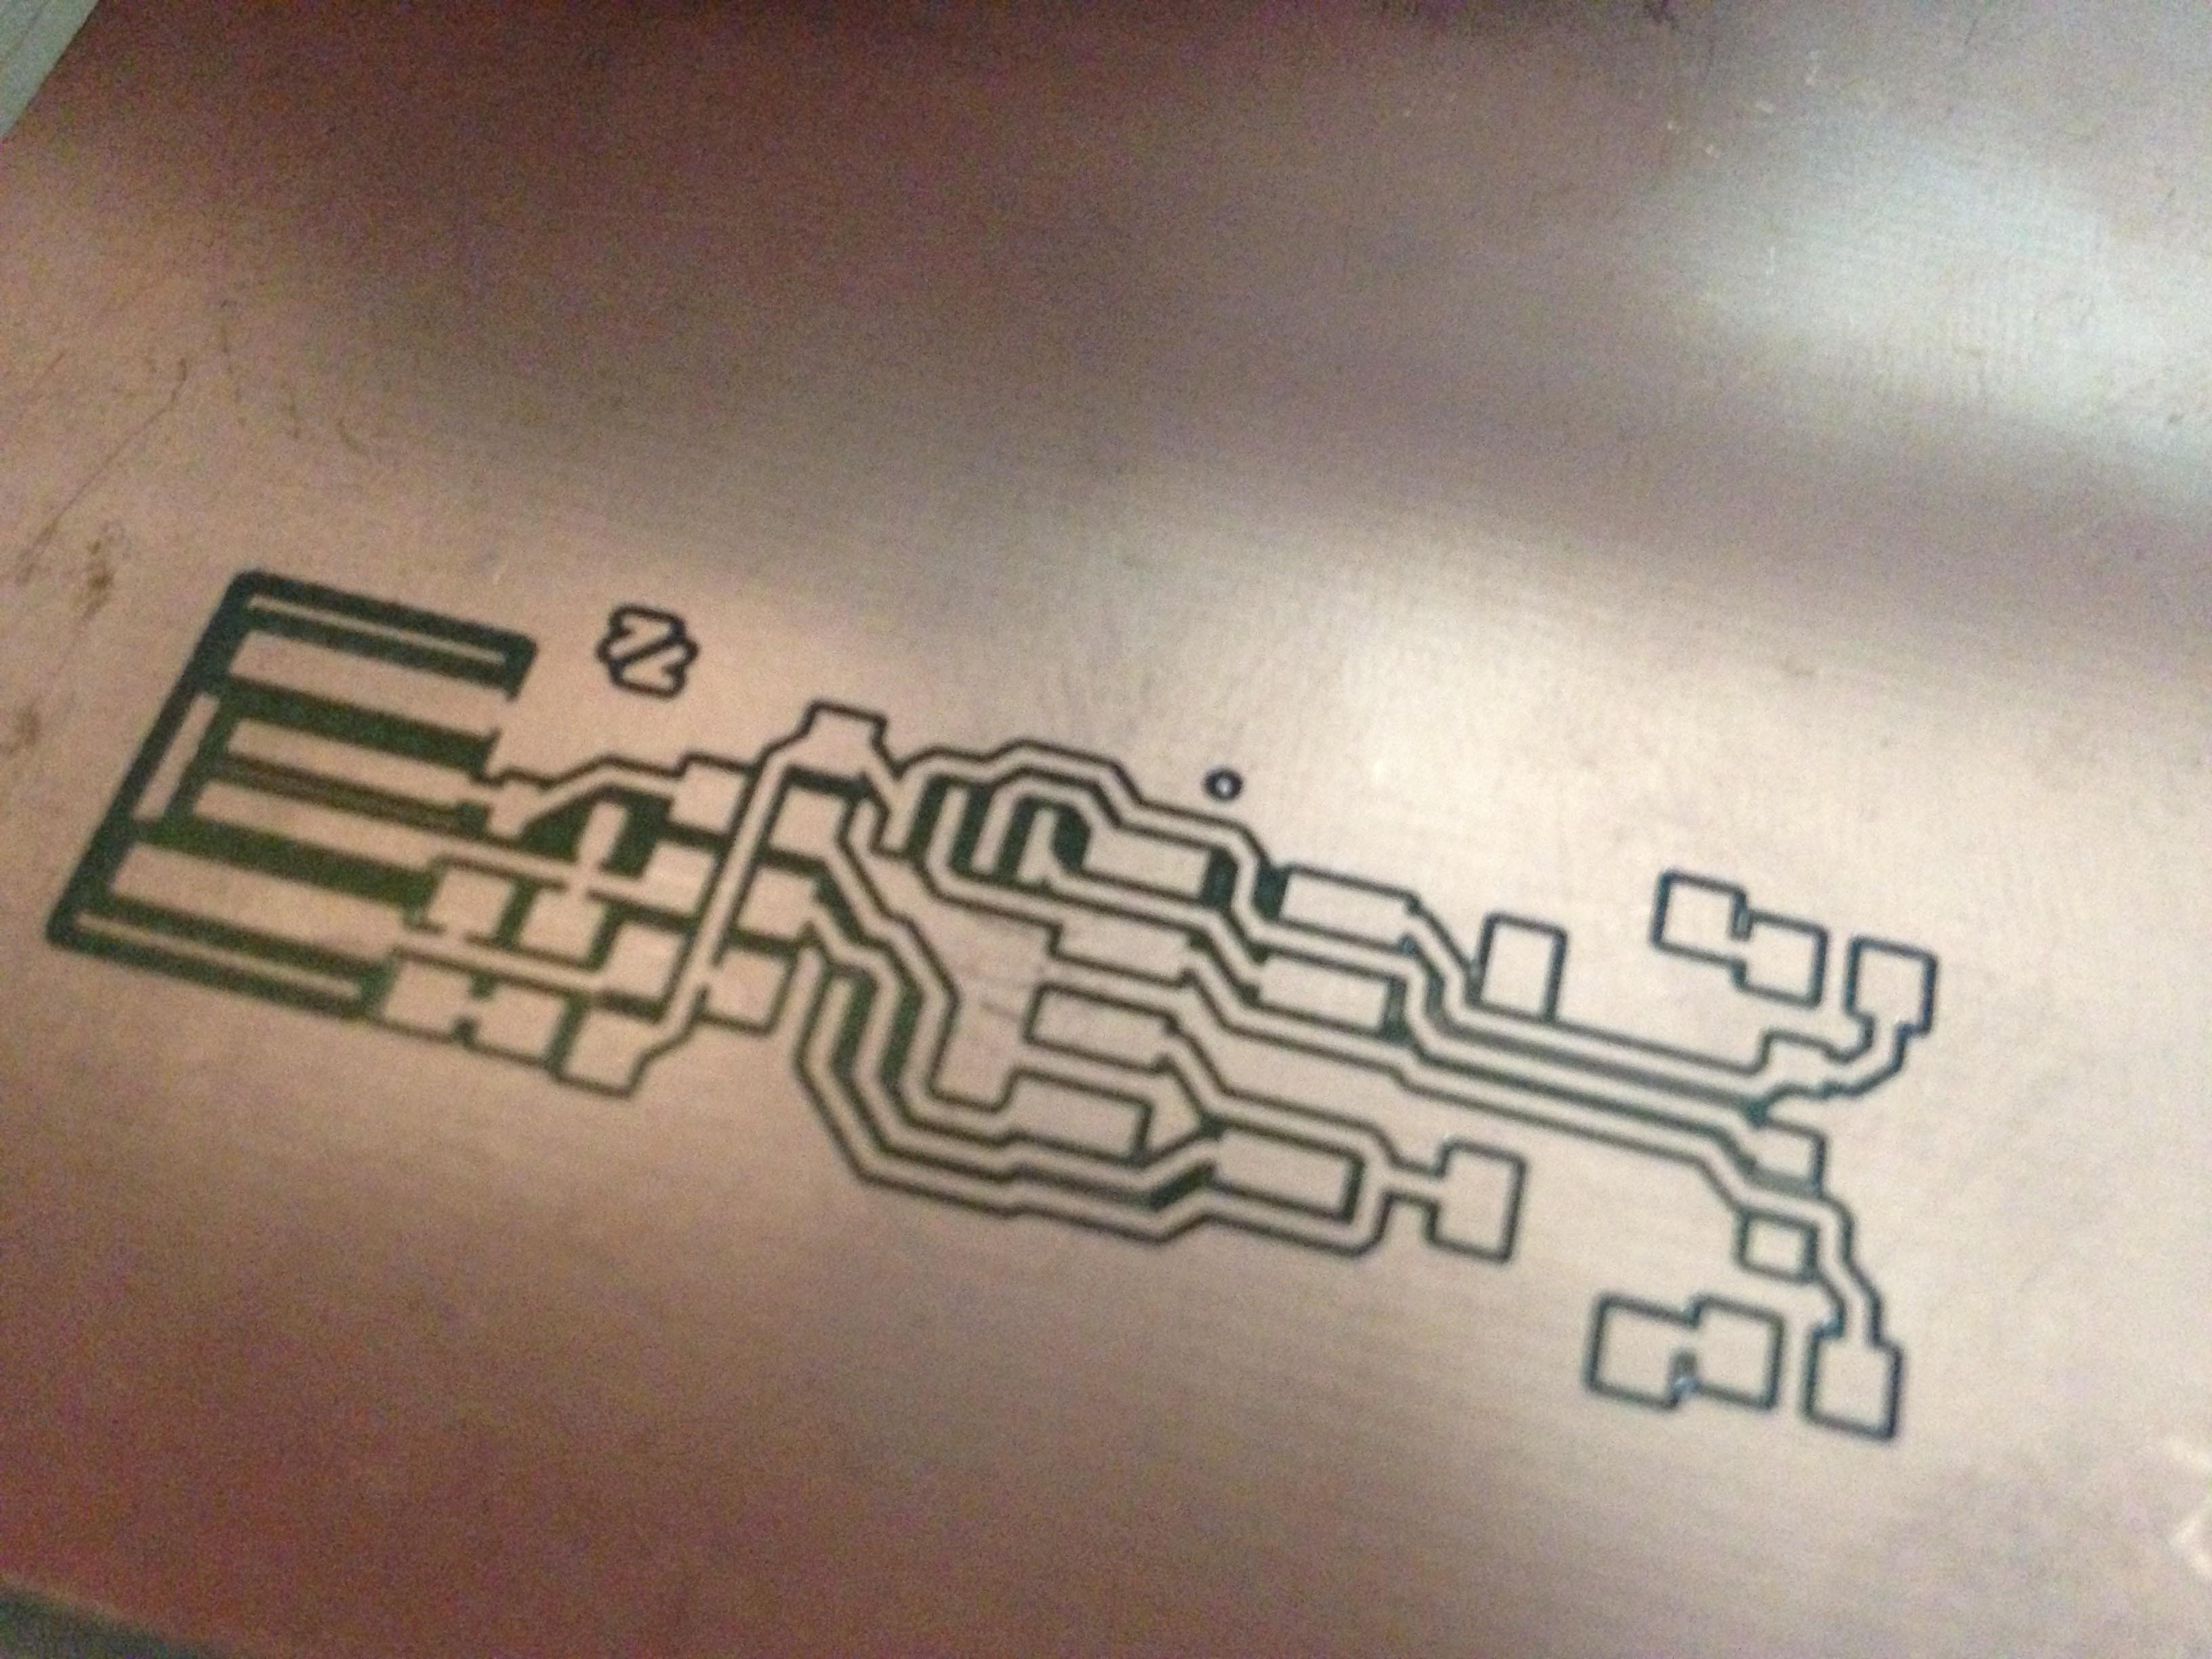
1. Milling the circuit with fab modules

- 1. Import the PCB traces in PNG format
- 2. Select Roland mill output
- 3. Set the PCB Traces 1/64" with 4 offsets , calculate and save the .rml
- 4. Import the PCB outline in PNG format
- 5. Select Roland mill output
- 6. Set the PCB outline 1/32", calculate and save the .rml

- Fab modules works great, is simple and the Roland SRM-20 understand the traces, first run the 1/64" traces then the PCB outline with 1/32"
2. Sending traces and outline to the SRM-20
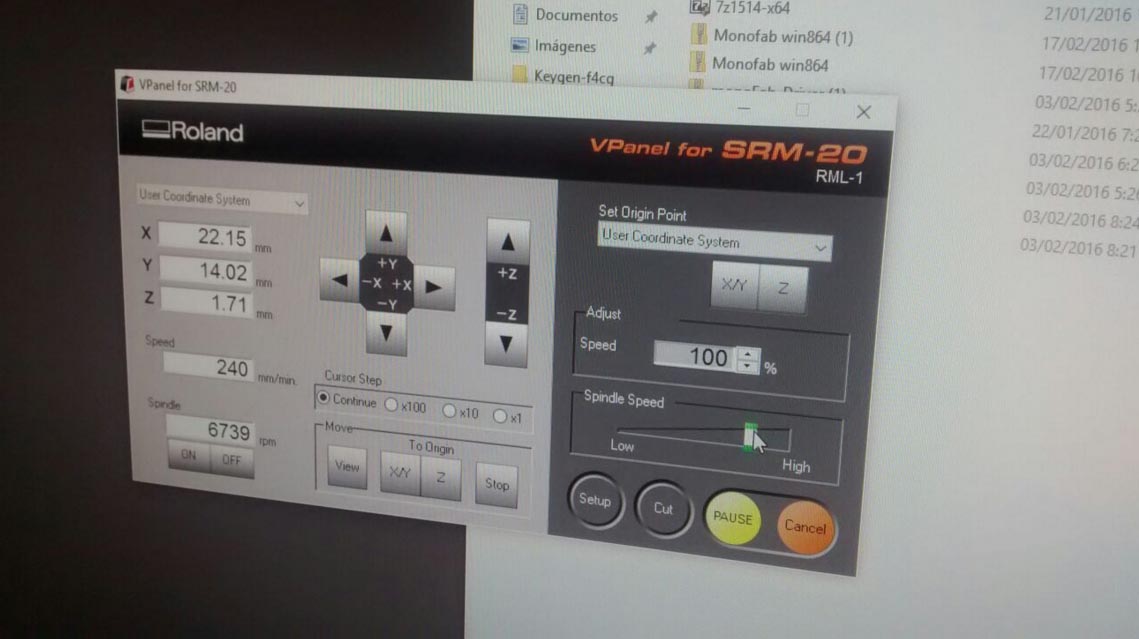
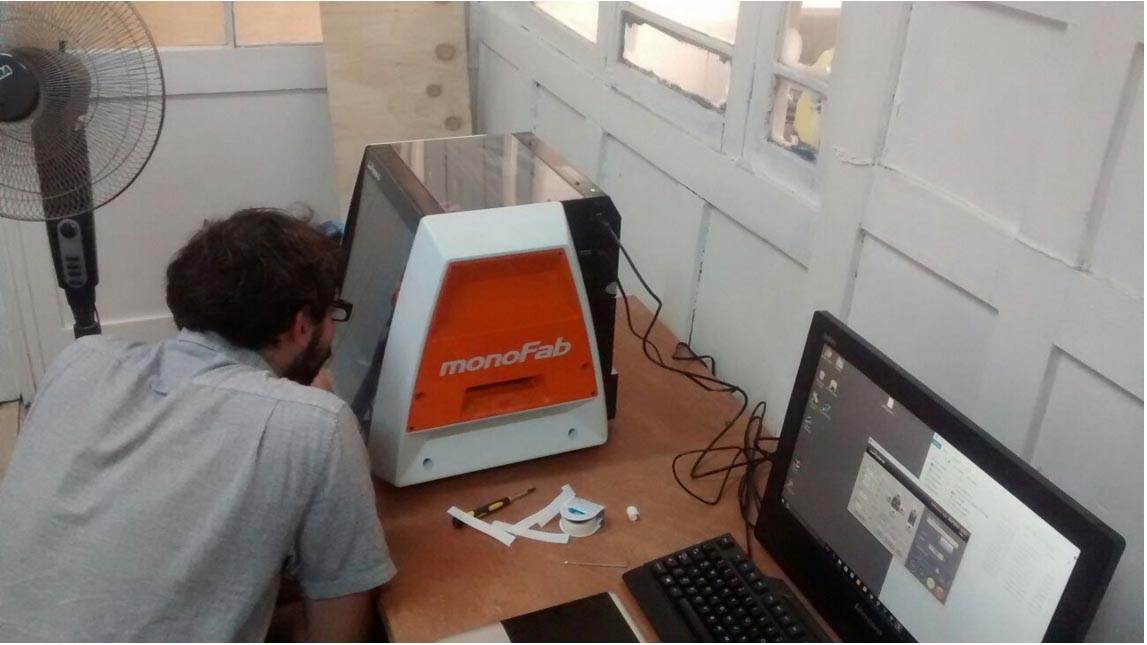

Part of this assignment was to set up the machines, is the first time using this machine in the lab, so we have to install all the software and drivers for windows 10, it was relatively easy cause is very well documented. Here you can compare the time you need to set up a Roland Machine, and a generic Chinese Machine. I have experience setting up Chinese CNC machines and the differences are substantial, the software and drivers are mush more complicated and no up to date, sometimes the documentation is in Chinese, here you can have the pros and cons of both.
3. Electronics soldering


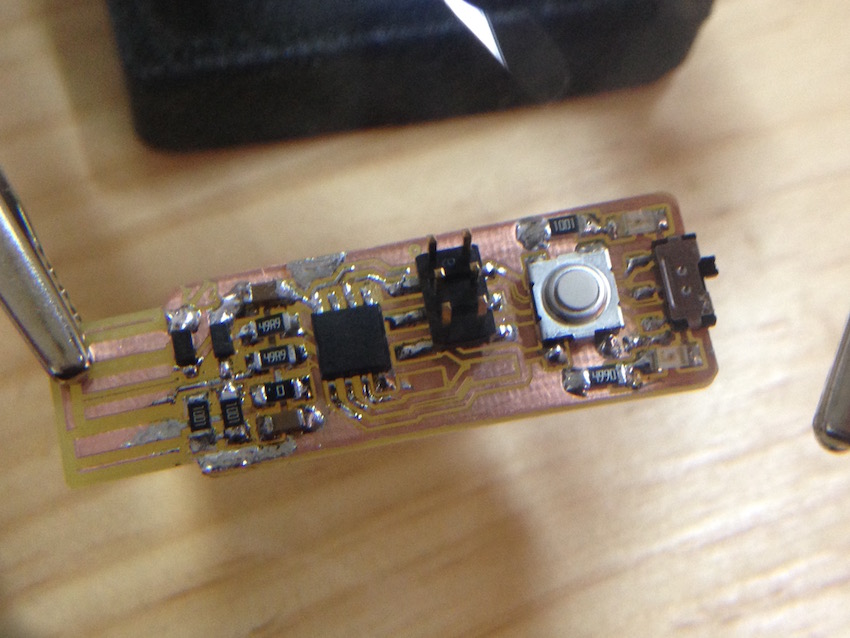
I have to get more confident with soldering, Is my first time soldering smd components, I´m using a 0.7 mm diameter solder wire, I think, it could be better with a 0.4 o 0.2 mm. I will try for the next assignment.
4. Programing

After installing CrossPack fro AVR I learn how to do the make file. With the .hex file I try to write to the attiny85, but I have a lot of trouble with the terminal. I ask for help to an engineer and him recommend me AVRDUDESS that help me to understand the parts, but my device is not recognized. I´m sure that the principal problem is the soldering process, I have to practice more! But for now I understand the workflow.

- AVRDUDESS is launched in Windows, I have a virtual Machine with windows 7 running in VMWare. When you plug a USB device the software asks you if you want to plug into Windows or Mac. To be sure that all the steps are correct in the programming I have made a little device with an Attiny 13.
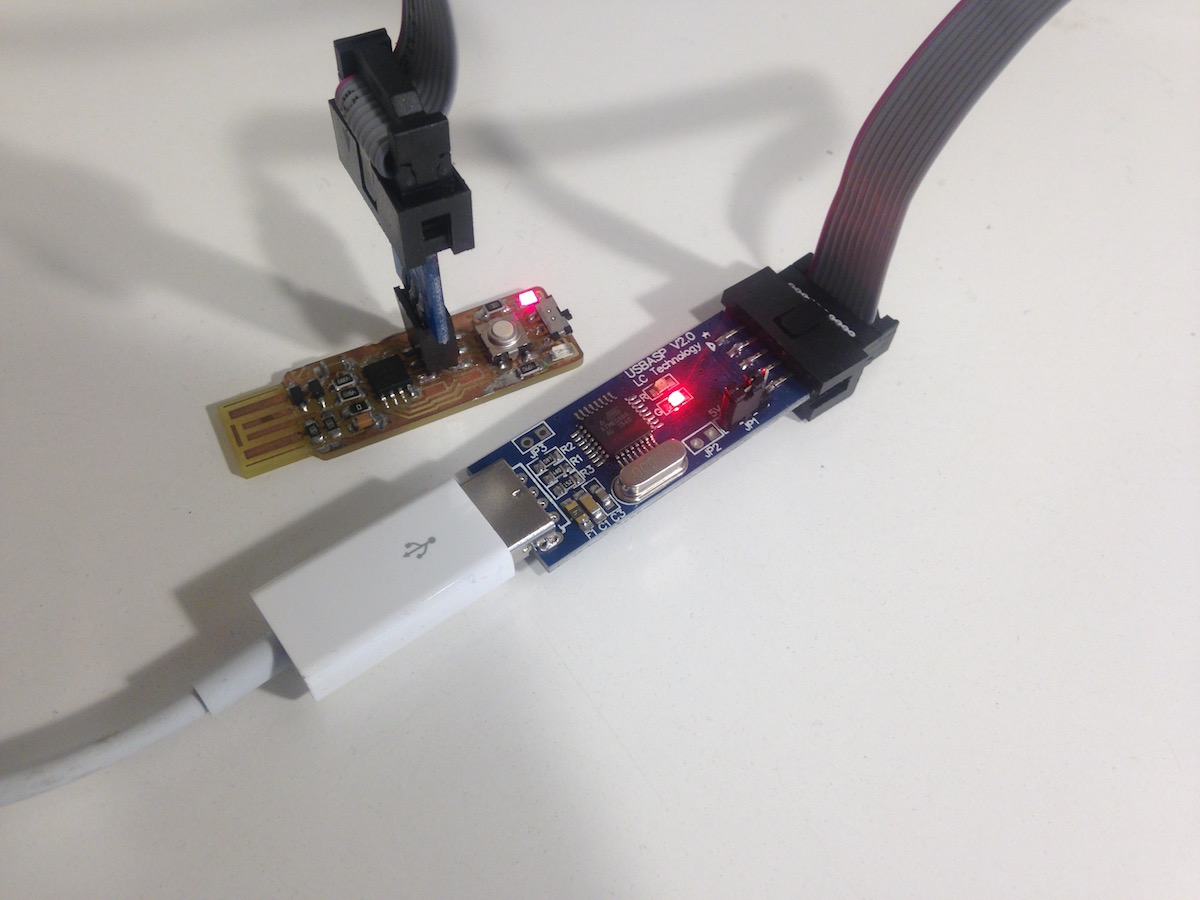
Debugging Device

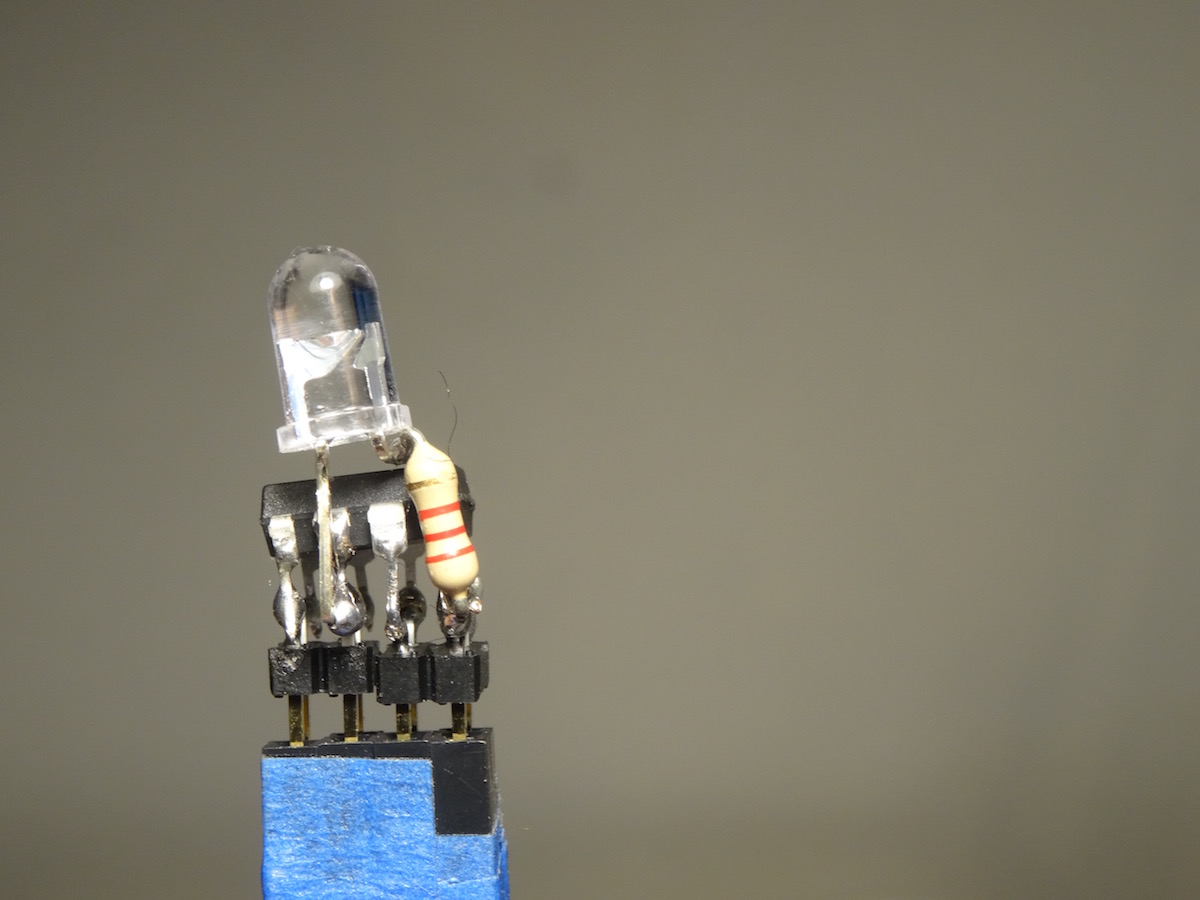

I have made this special wire to plug the Attiny 13 and check if the workflow is correct. I plug to AVRDUDESS and the device is recognized, I can read the fuses and burn the .hex file of a blink example into Atmel Studio and in the project folder once you build the file you can copy the .hex.

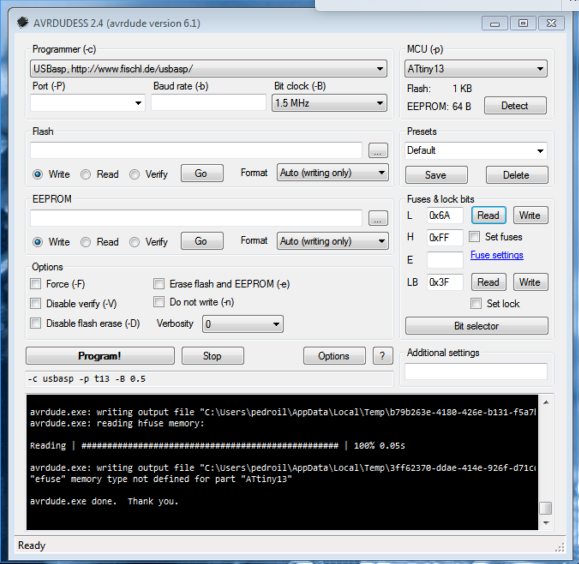
- First detect the device, then read the fuses, all seems ok with the workflow.

Work info:
References:
FabTiny*ISP,
fab modules,
Description:
First time using the Roland SRM-20, in the lab I work we use Chinese CNC machines, the difference between them are outstanding, the SRM is very easy to use. Between SRM + Fab modules and Chinese CNC + ArtCam, the workflows are so different, SRM + Fab modules are fast simple and have fewer steps, also is more secure and quiet. But Chinese CNC + Artcam cost 1/5 of the SRM price.