
Networking and Communications
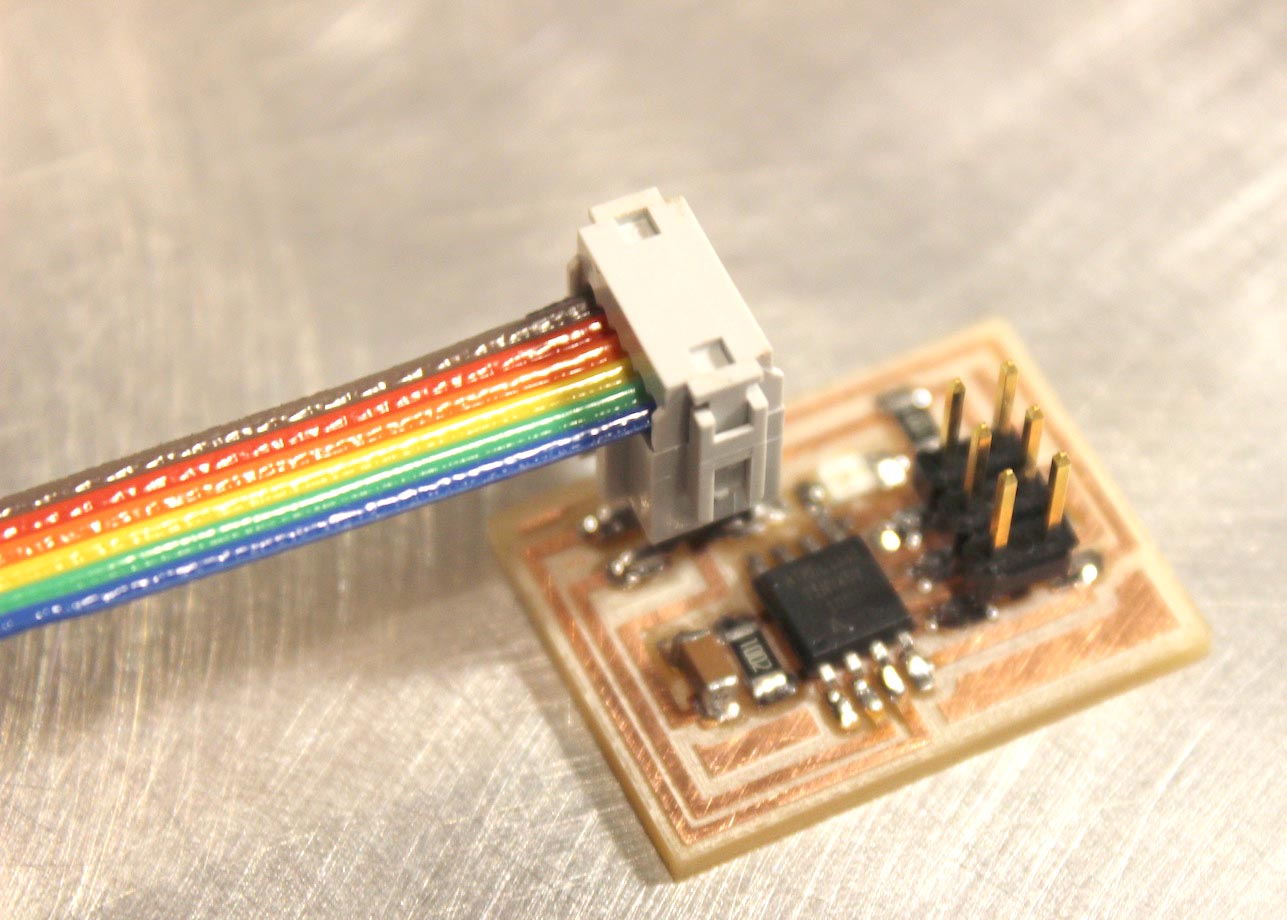
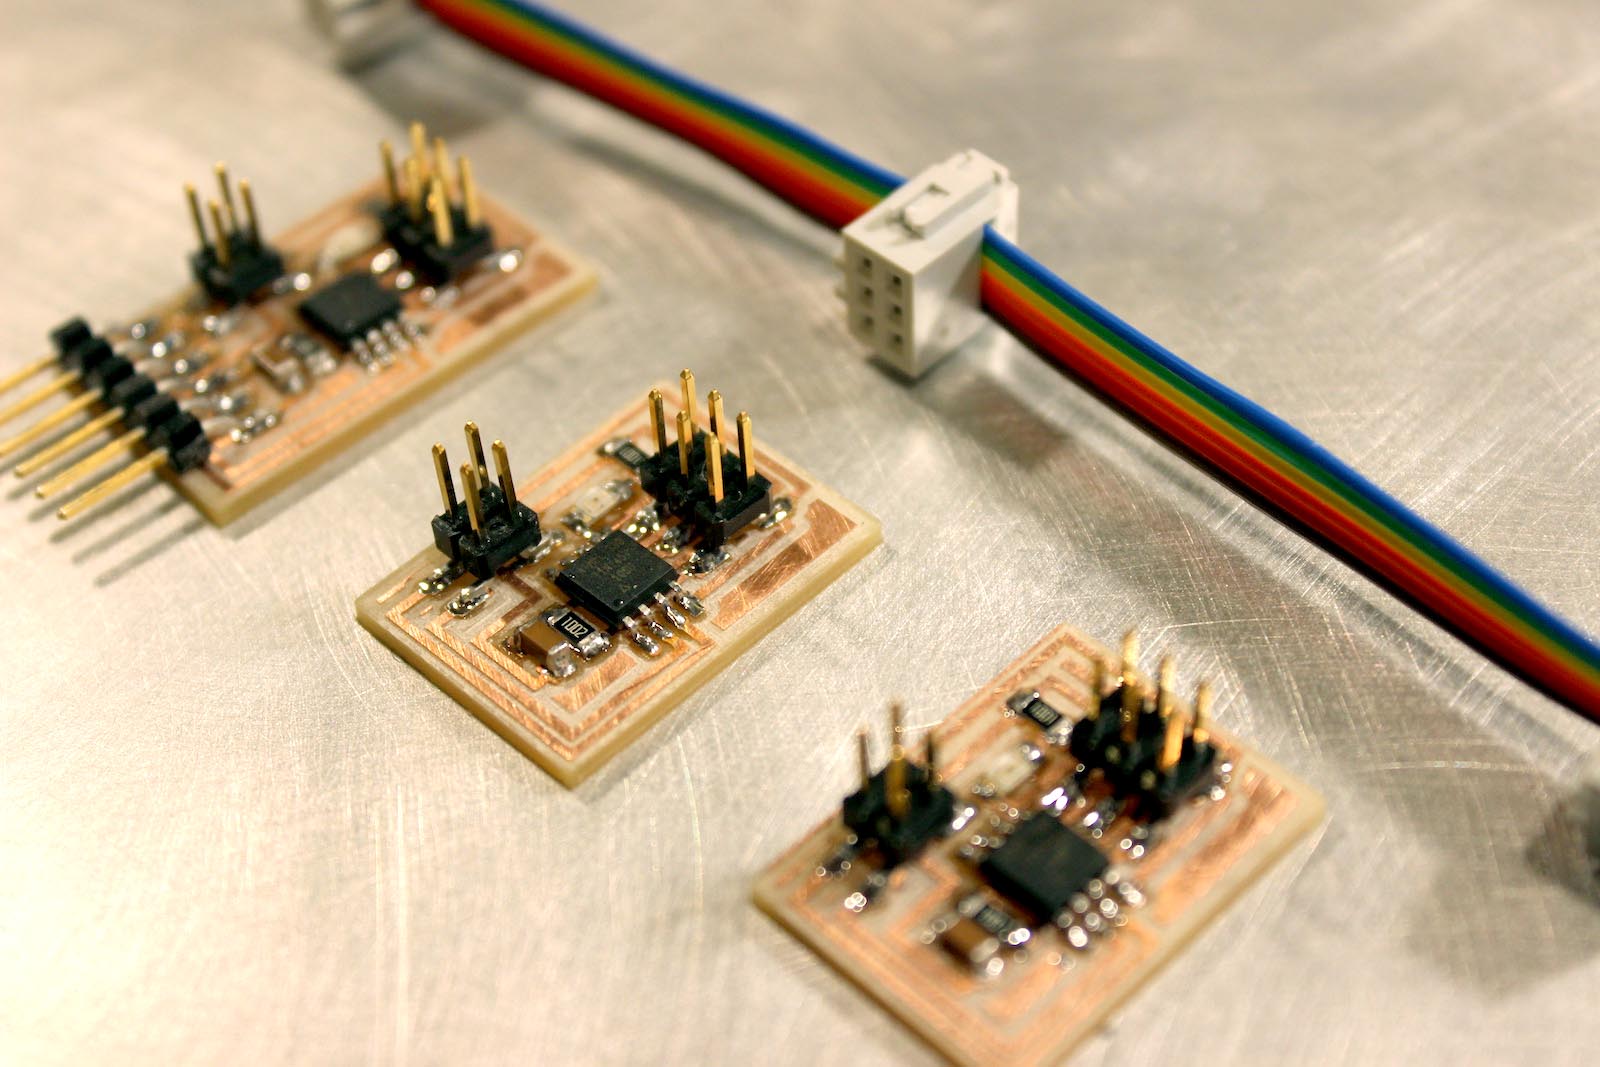
Hello.bus.45

#define node_id '0'
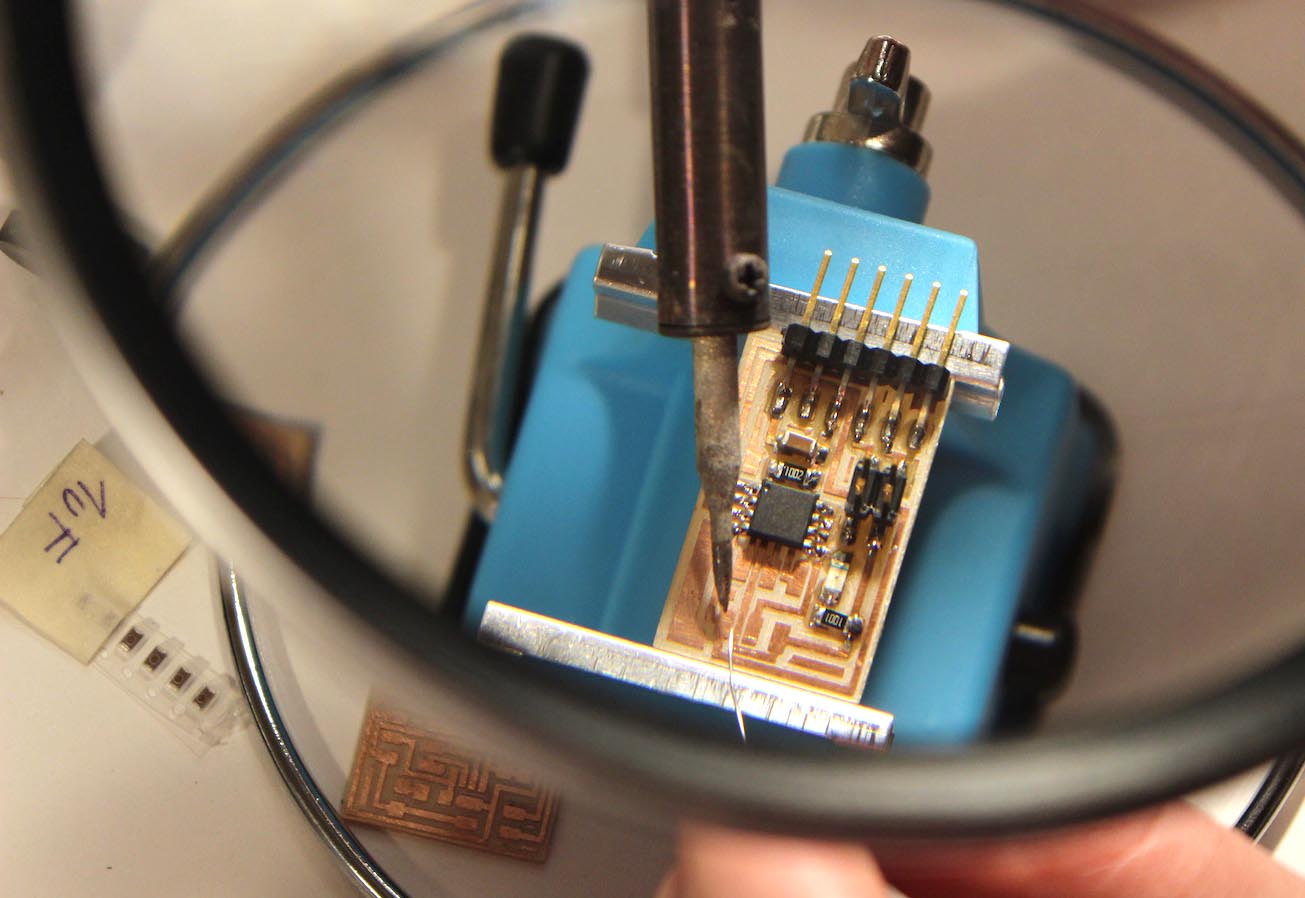
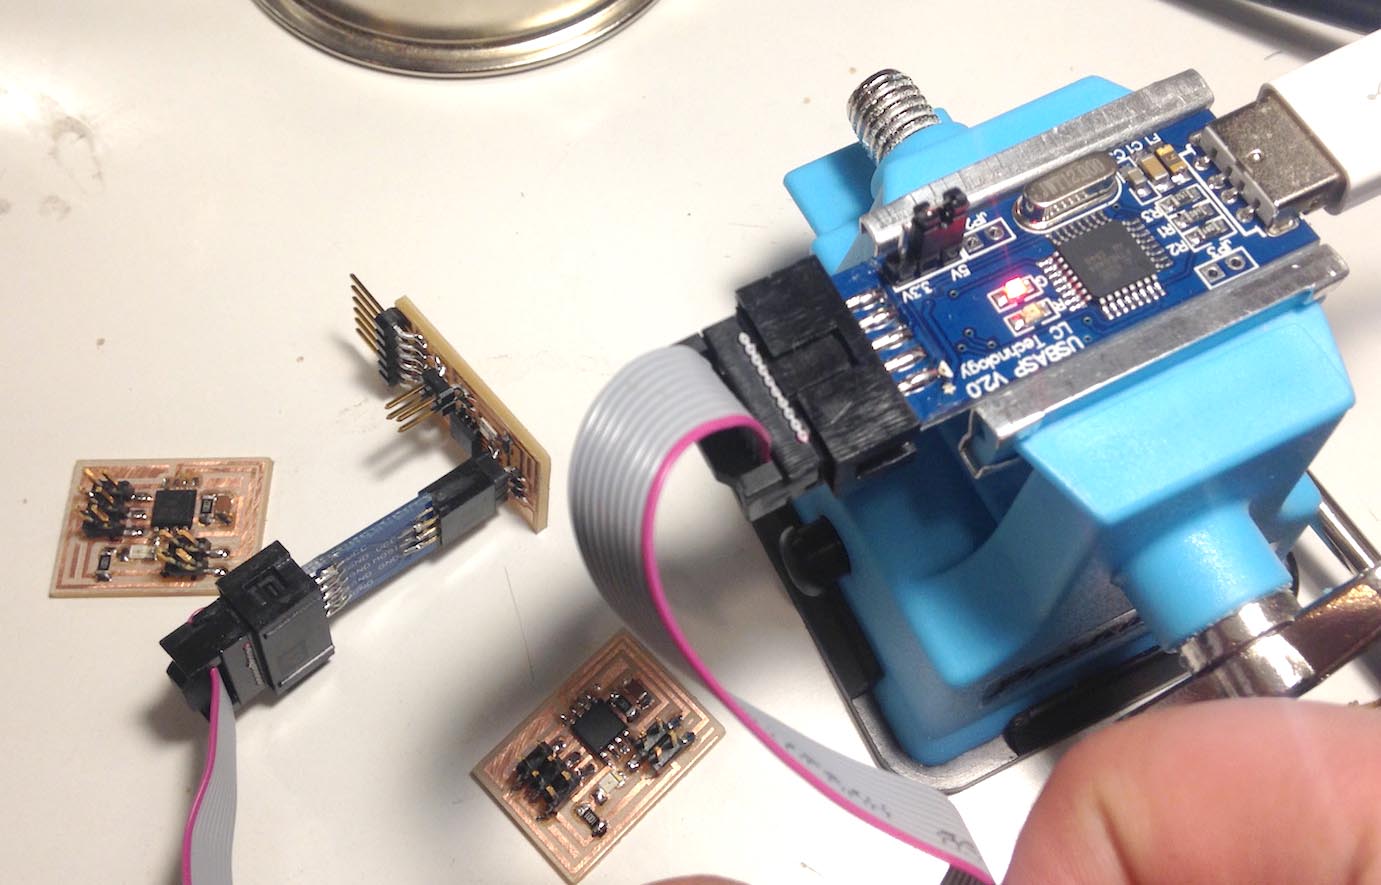
Changing the node_id value of Neil´s code for each node, I obtain 3 .hex files, those files were uploaded to each board with the USBasp and AVRDUDESS.

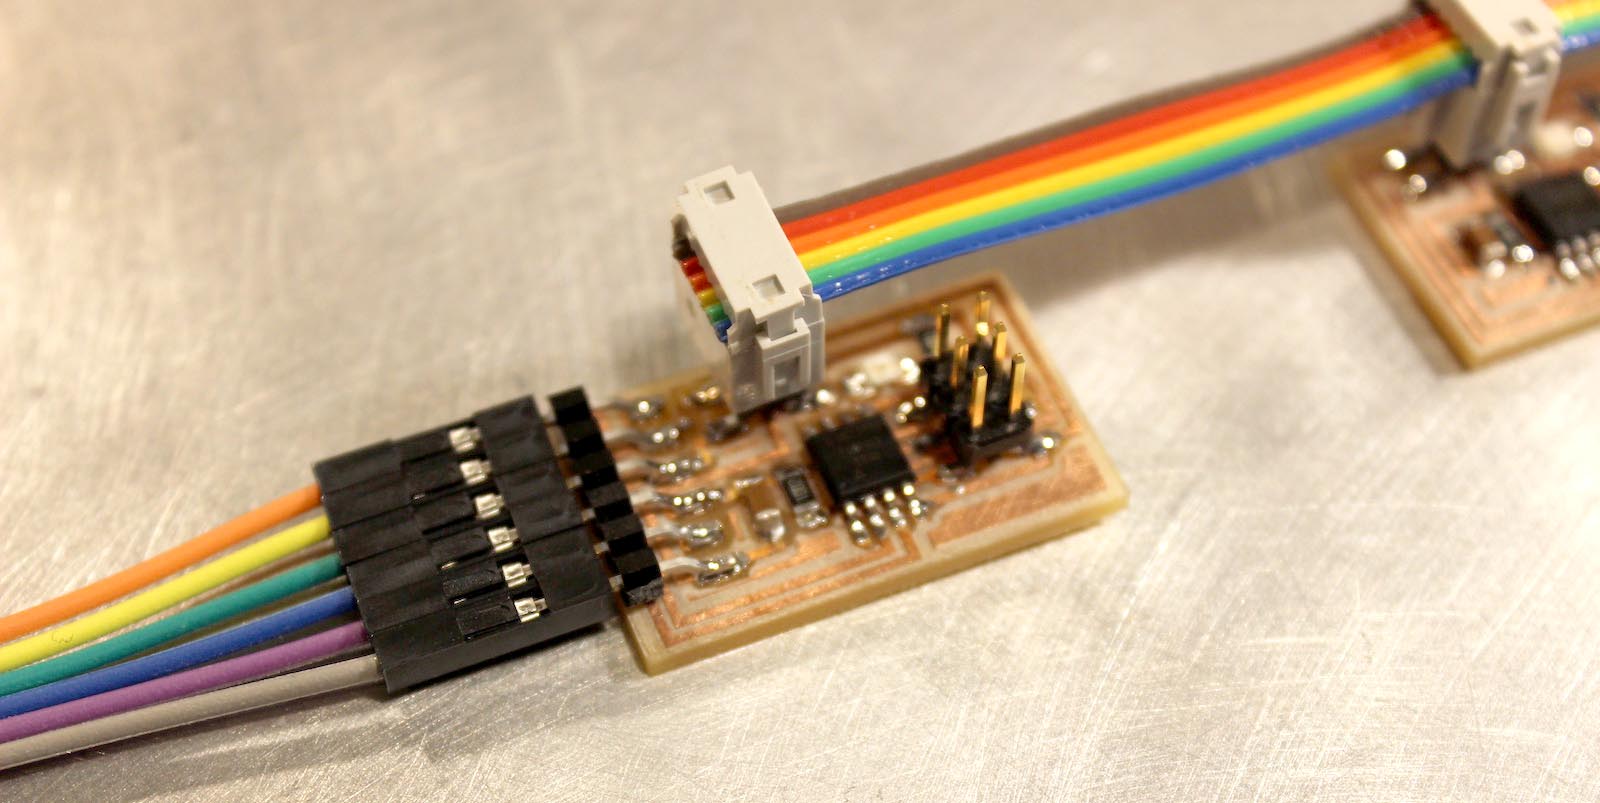
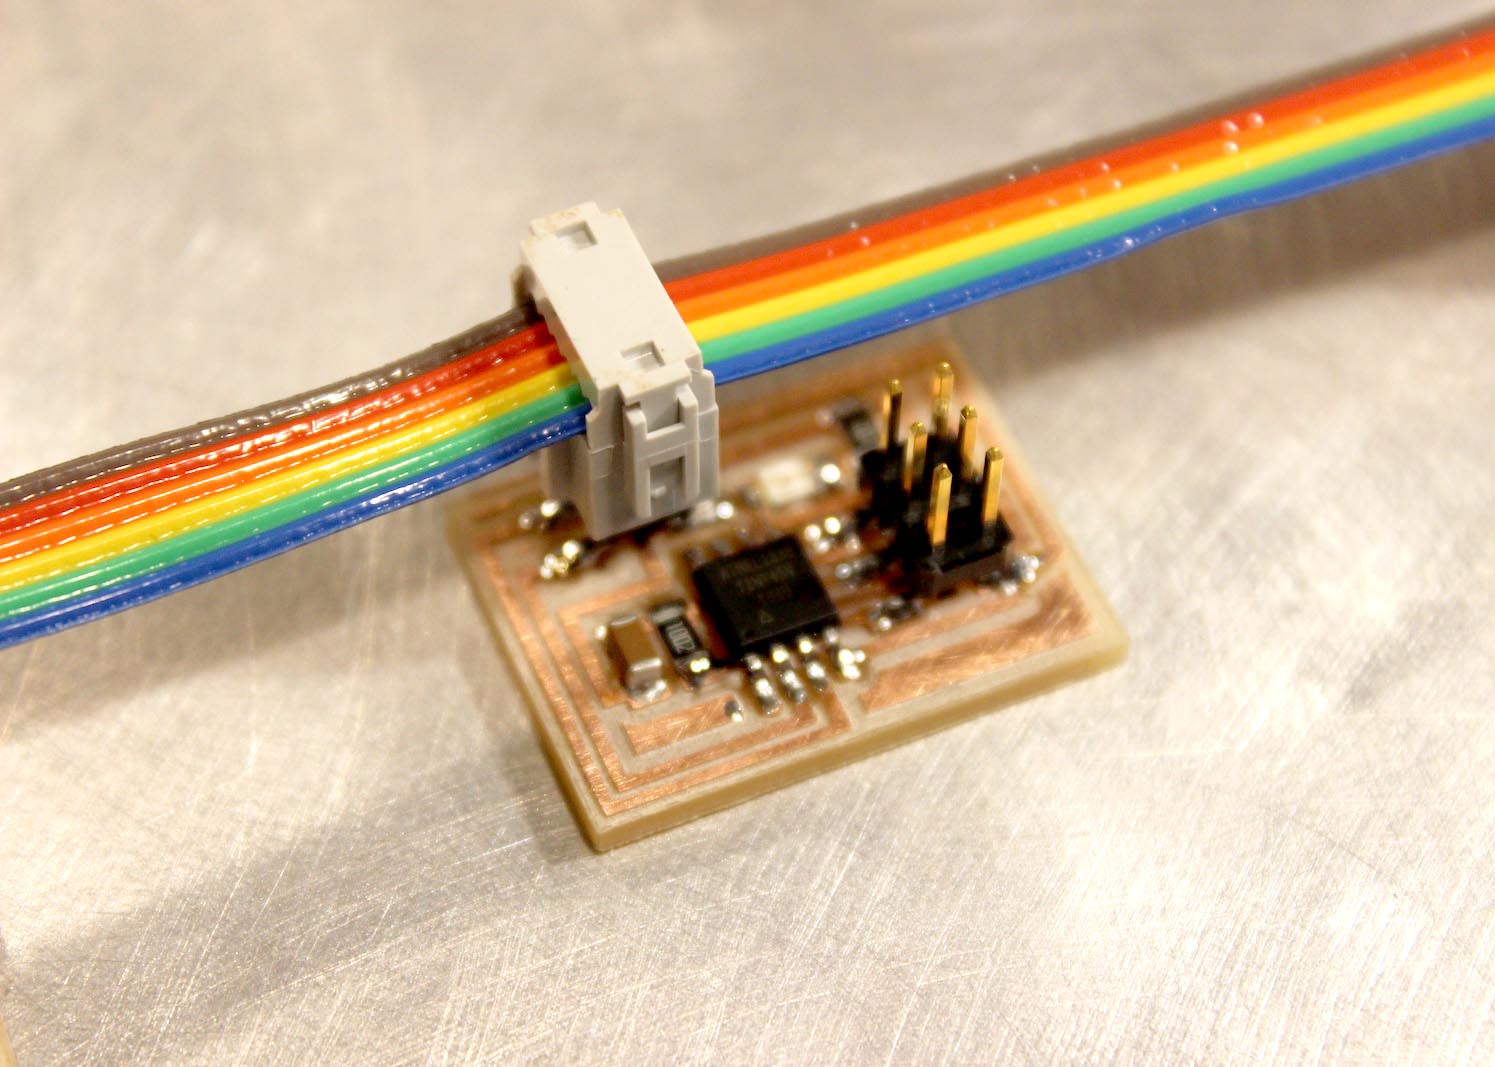
Then you have to connect the node 0 to the serial to USB converter, and in my case, I use the serial monitor of Arduino IDE. Then type a number in the serial monitor input and if it matches the node id it blinks twice.
#define node_id '0'
#define node_id '1'
#define node_id '2'
Configuring the mesh network
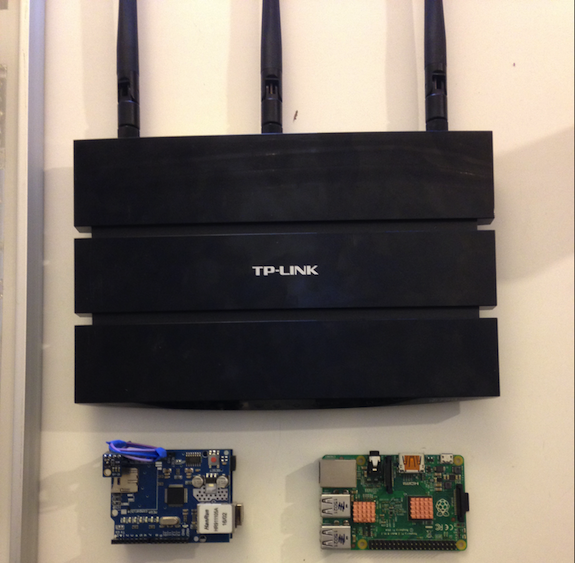
For this network, I chose the TP-LINK router WDR4300, because it is an inexpensive router for benefits you have, also sell it in Chile. It has high transfer speeds and enough memory to run the firmware qMp.
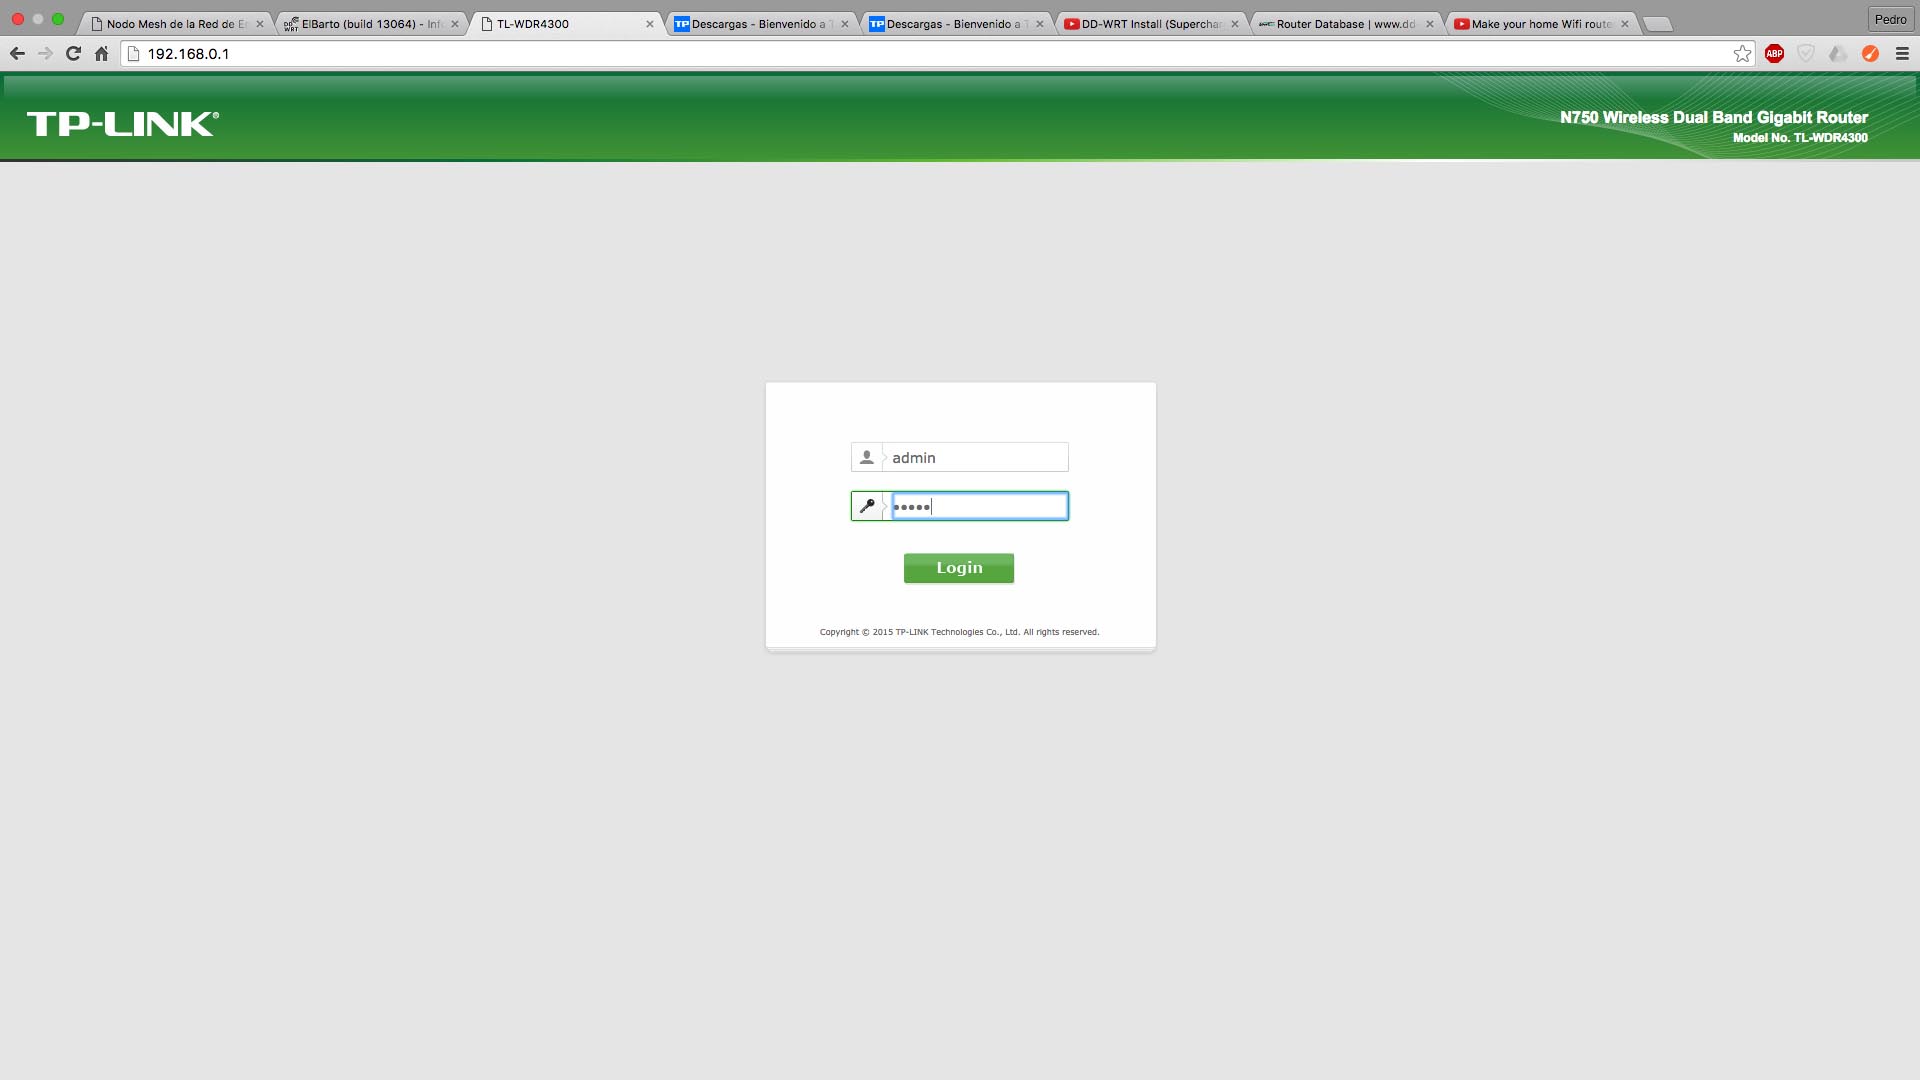
The first is to connect the router to the computer via a network cable. For safety I turned off the wifi, changing firmware should not be done by wifi. After that, in a web browser, you must go to the IP router and enter setup with user name and password.
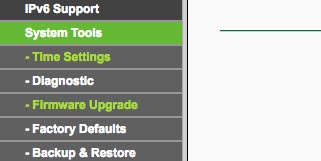
Once inside the router configuration in the sidebar go to "System Tools - - Firmware Update". Remember that this process can irreparably damage the Router if something goes wrong, such as energy goes.
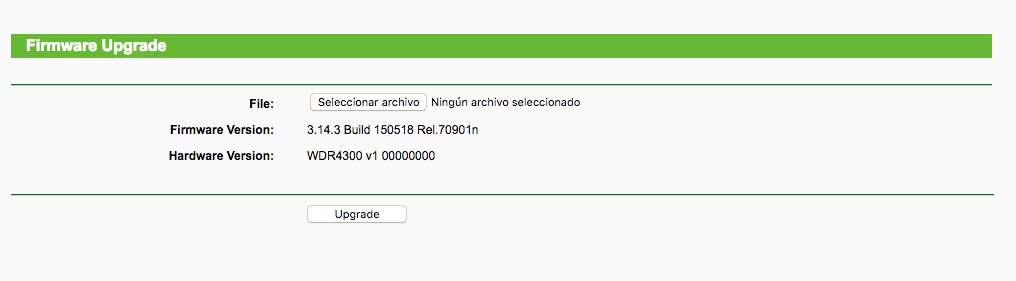
Now you must select the downloaded firmware image, you must have noticed that exist 2 firmware on the site QMP, in this step, we must use the Factory, as it is the only way that the router thinks is original.
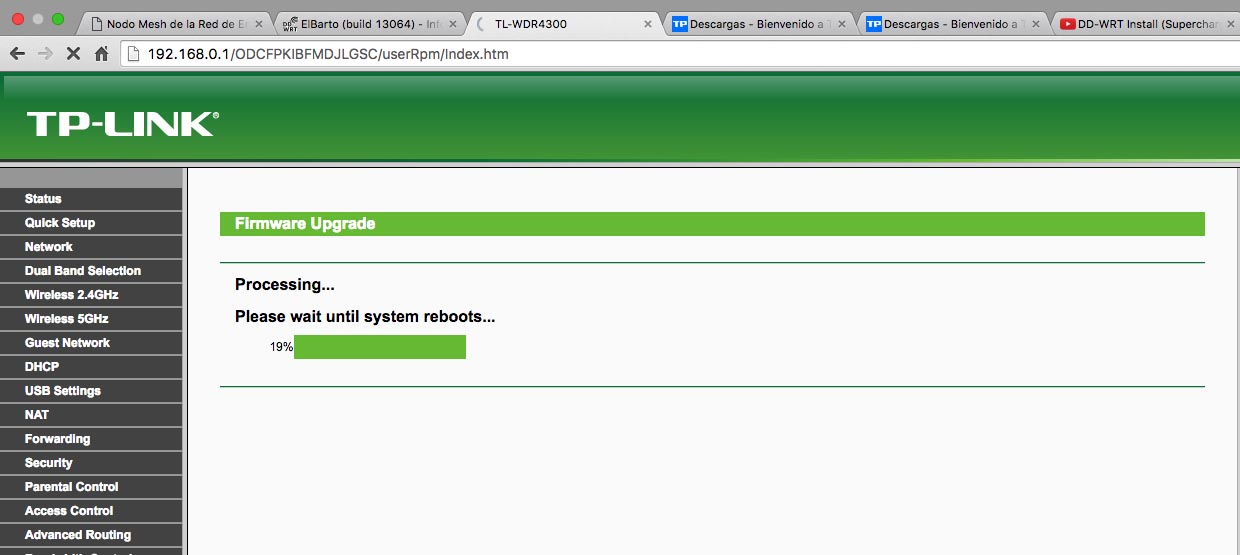
If all goes well, you should see something similar on the screen, you must wait 3 minutes menso not disconnect or move the cables.
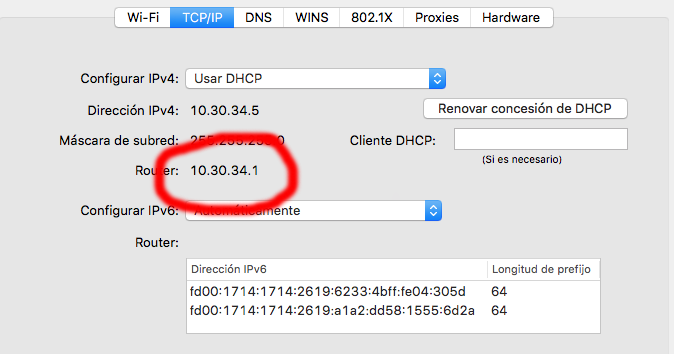
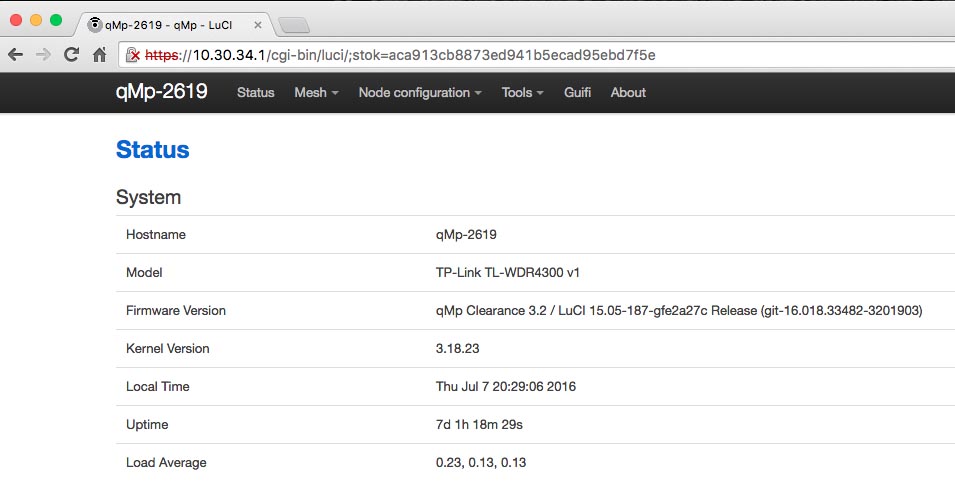
Network preferences (OSX) you can see the IP router, you must enter the IP in the browser and provide the username and password. If you use the default would be admin + 13f. Thus you enter the router control panel.
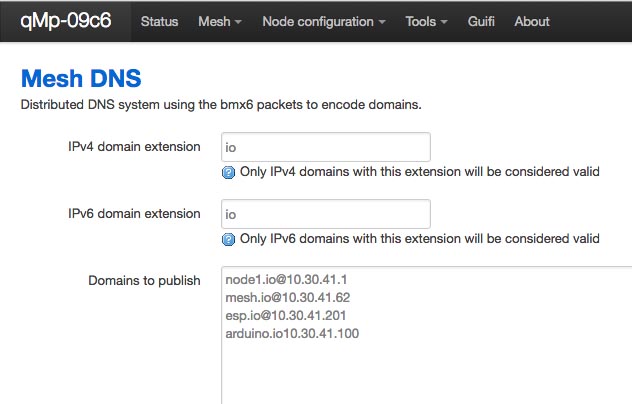
The router can make DNS server for this must go to "Tools - - Mesh DNS" and here can relate the IP of a device (such as the raspberry) to a customized domain that will work within the local network.
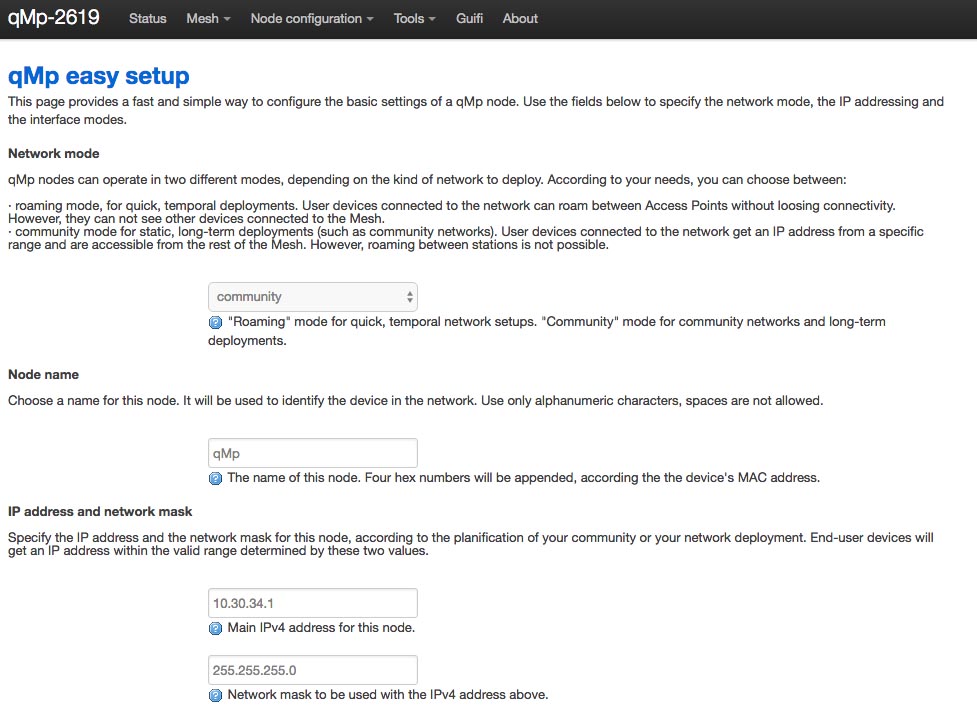
Finally, I used the Community Preset Mode. As it allowed me to identify each node and configure them independently and wirelessly.
If all went well the nearby routers are identified with each other and begin to share the network. In the photos above you can see that in the upper left corner is a QMP number .... this number changes according to the MAC device used, and how you have to identify each node. Now you can understand why it is called "quick Mesh project"! It can be easy but it is very powerful and fast, I made connection tests comparing the performance with the original firmware and the mesh nodes and virtually no difference in rates of download and upload.
Work info:
References: Lecture page, Quick Mesh Project, BMX6, OpenWRT
Description:
Assignement: Design and build a wired &/or wireless network connecting at least two processors.
For this assignment did the hello.bus.45 exercise because I needed to be more prepared for the final draft of electronics. As initially, we had many problems with the PCB and the most logical ATtiny was practicing with an example that we knew it worked.
I also include in this matter the configuration process node mesh routers TP-LINK 4300 used in my final project.