Assignment 7
Задание 7
In which I have an aMAZEing week and freeze SolidWorks
В котором я каламбурю по-английски и свожу с ума свой софт
Concept of fablabyrinth
Придумываю фаблабиринт
As this week's assighnment is to make something bit and generally have fun, I was struggling with not knowing what should I make. I could accept path of the furniture making but there are so many nice designs on the Internet that my project would be just one of many other stools and, if I get lucky, rocking chairs which is nice but not satisfying enough for me. And then, thanks to my tutor Polina, the idea came right in my face as "I want a labyrinth". Now, that's something I call fun!
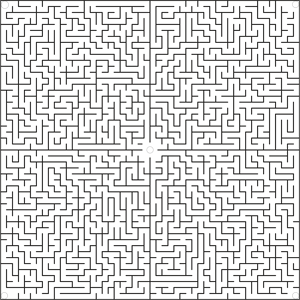
First, I thought that it would be a table with a labyrinth which you can turn in three axis in order to lead a marble through the maze to a hole in the center of the table conntcting top side with bottom side of the table which also has a maze but now you have to go to the preiphery and drop the ball into one of four corner holes and do the "ball-through-the-maze" routine again and again. To make the labyrinth itself I had either to make a program by myself or to use an already existing maze generator which is surpisingly common thing on the Internet. I tried this one (attention: site in Russian) with printscreening, tracing with abris in CorelDraw (God bless CorelDraw) and then connecting four different labyrinths into one dream of Minotaurus but this had a one major flaw: it had too many vectors in it due to Corel making one tiny pixel bump contain three vectors in it. And it was only CorelDraw. When I loaded the drawing in Solidworks and tried pulling it Solid froze instantly, I guess, that counts as a crime against software but I don't care. Then I tried different generators but this one was the best as it saved labyrinths as vector files but also could provide labytinth as a trace wich was perfect for me because I could just set mill alongh the trace and make a maze done.
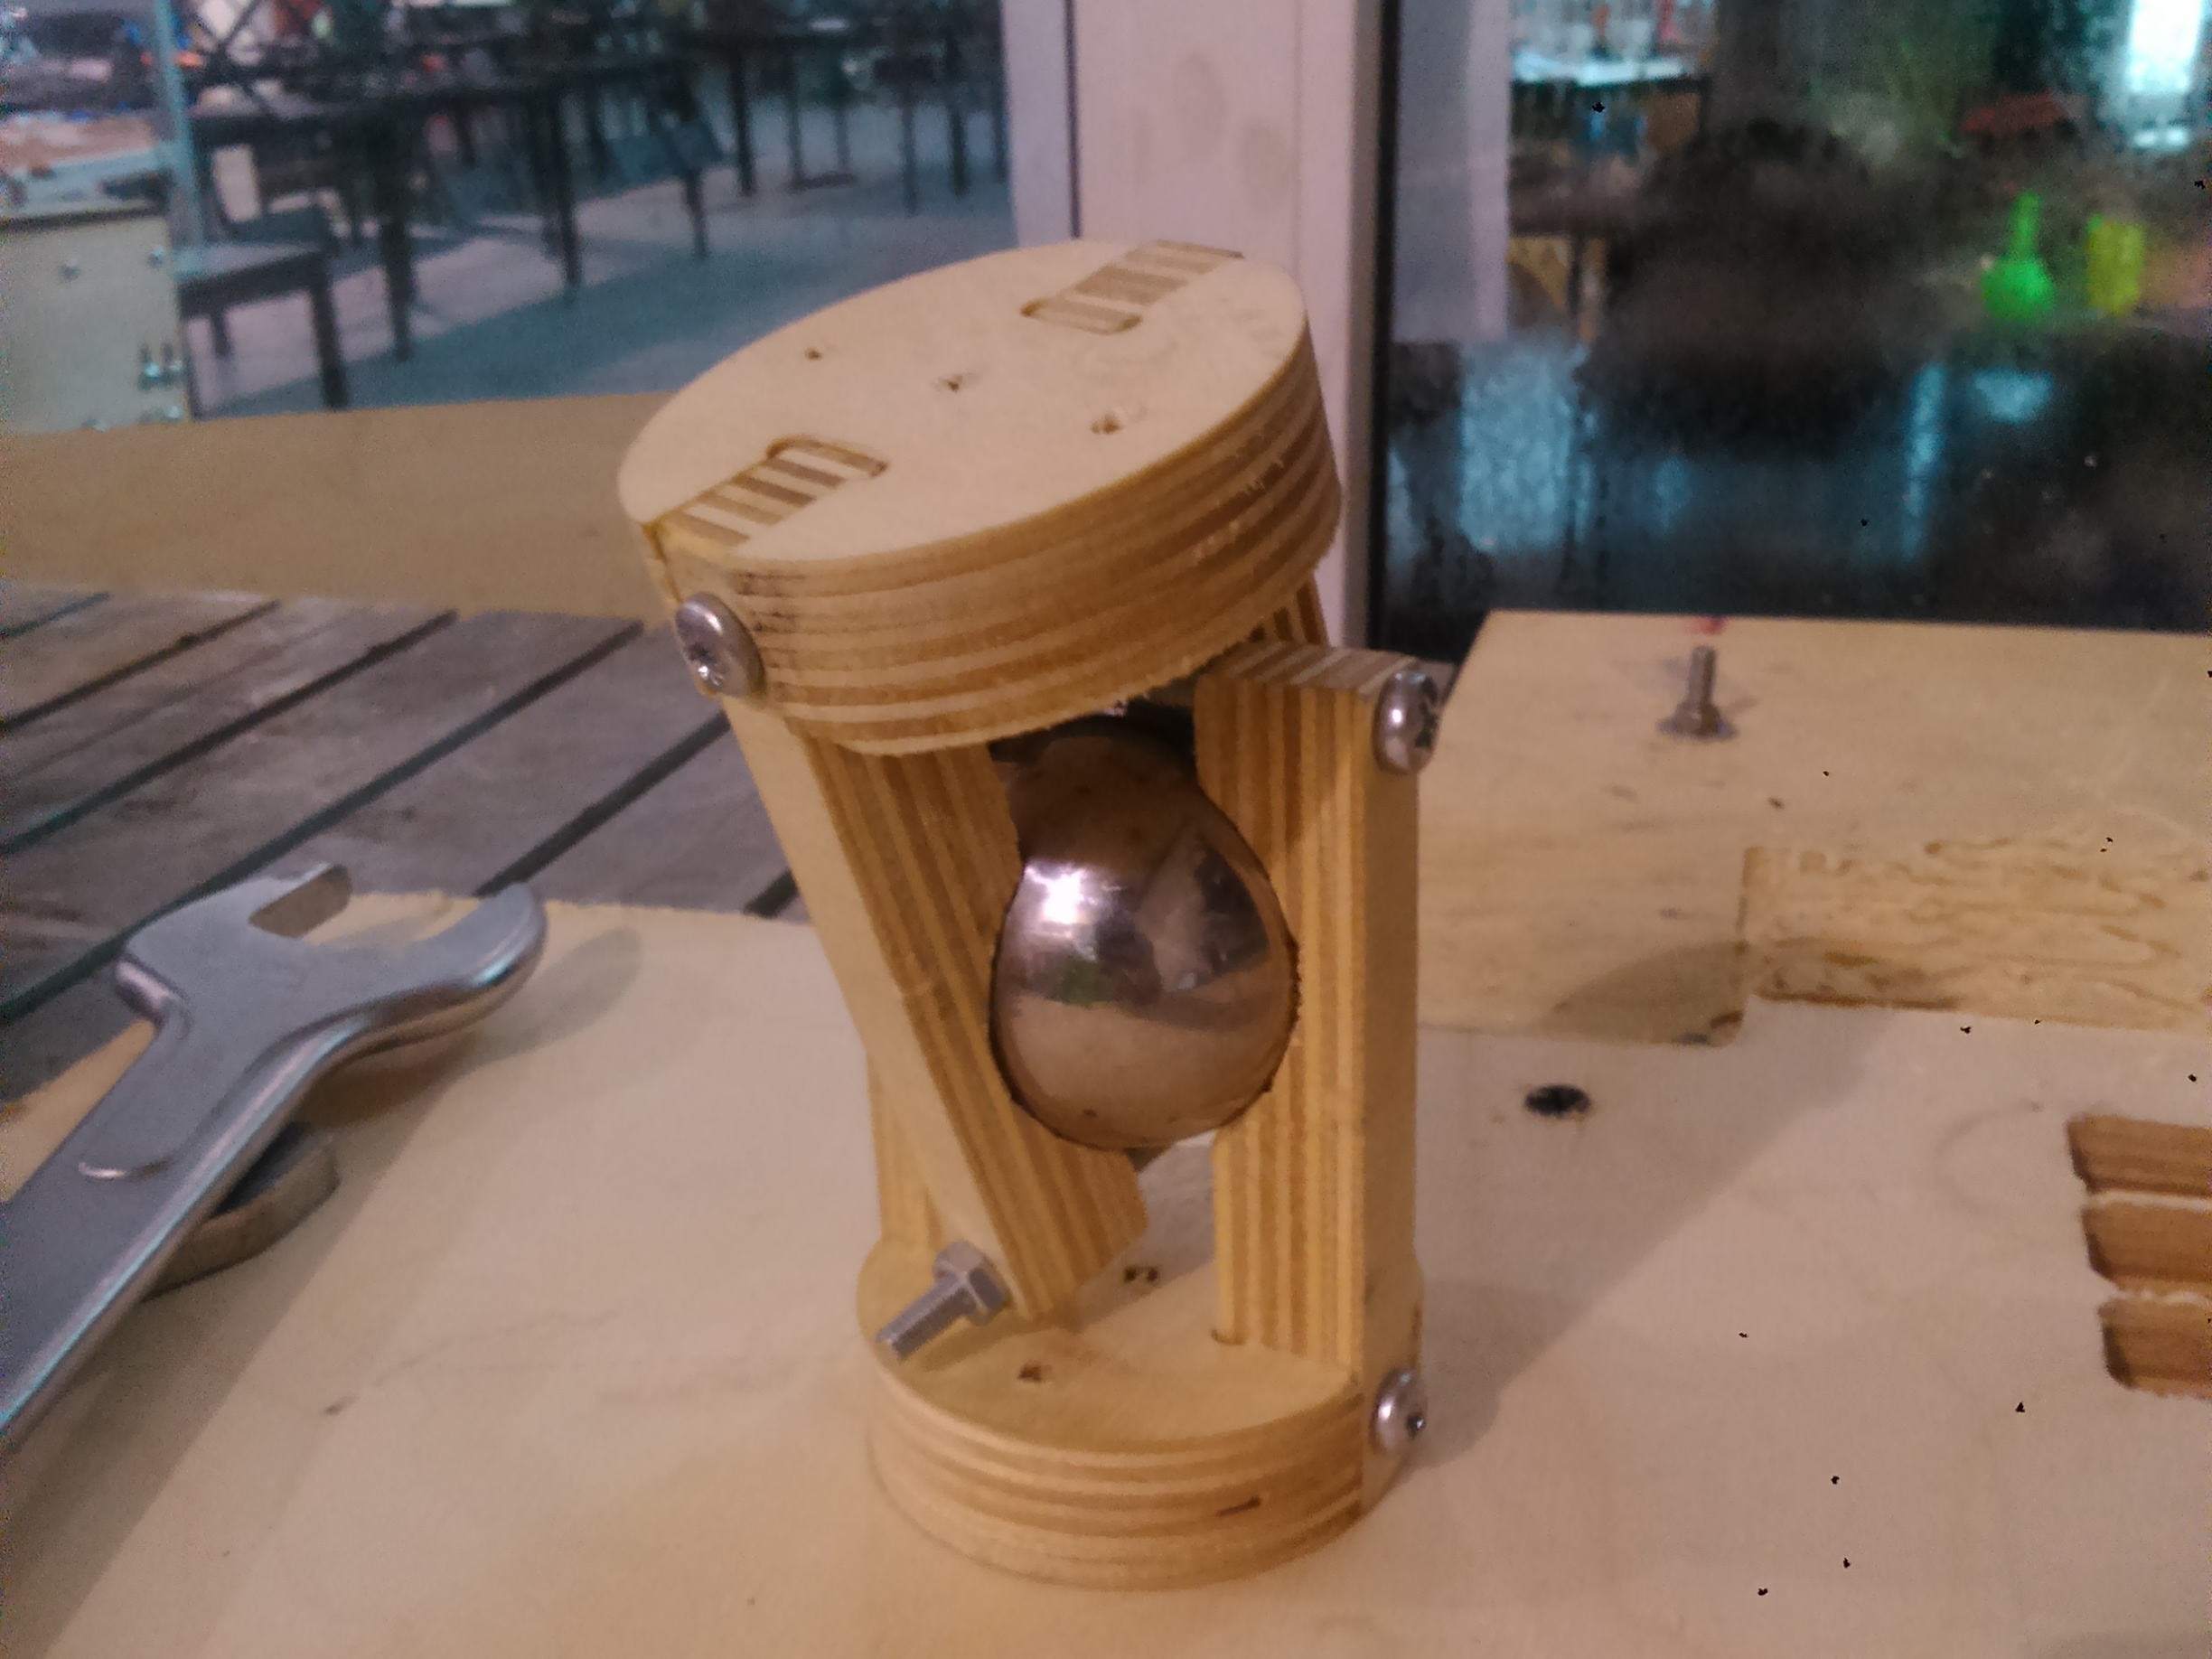
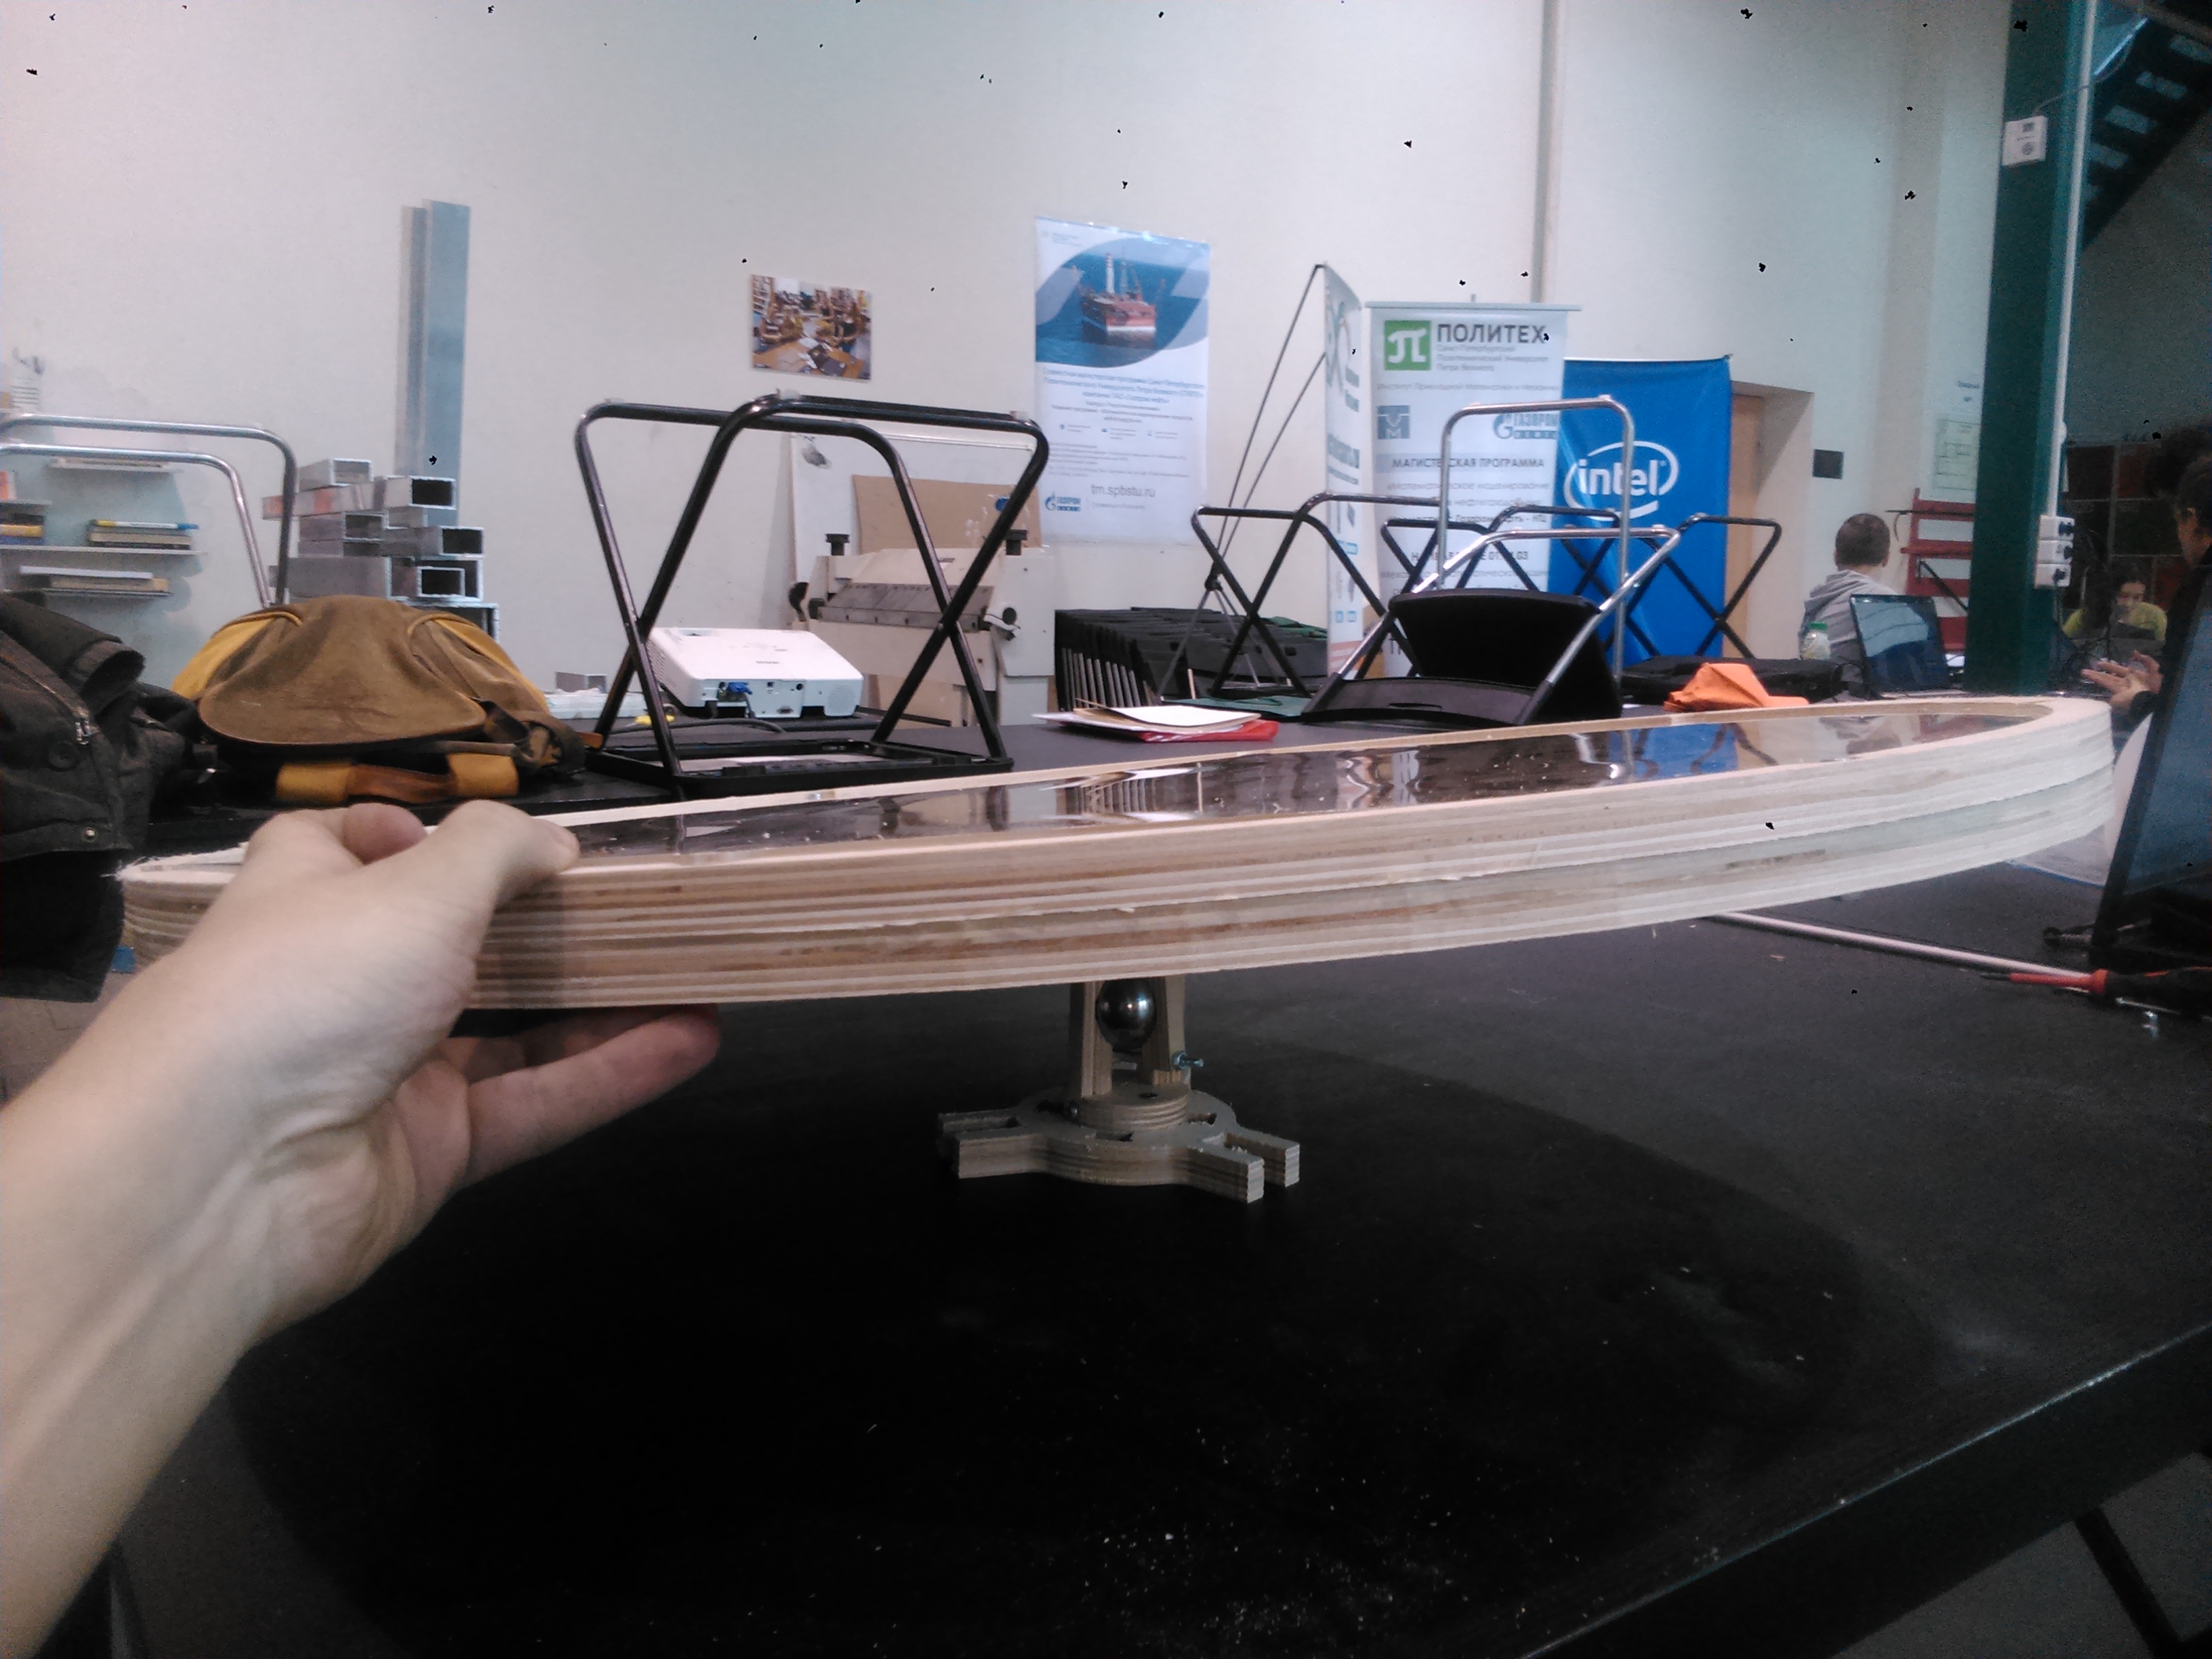
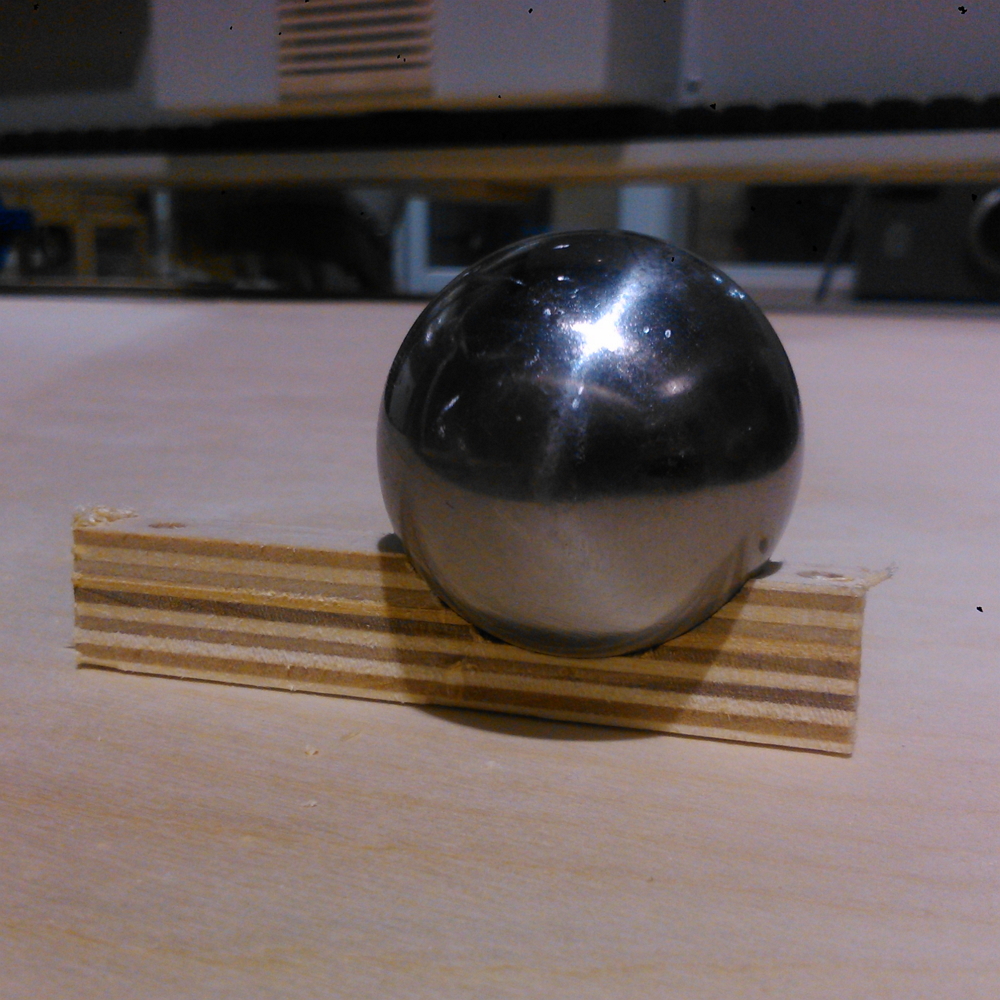
My final struggle was with the holder for the table: it would be enormous if I made it using bearings (if only I had spherical hinge... sigh) but then I thought about not turning the table around but pushing balls up to the different hole and that freed me from making the table rotate in three axis but I still had to make some kind of sphere holder and pushing mechanism.
Those parts of my construction would be: bearing ball with "claws" seizing it and allowing to rotate the table and a plate with screws or tubes of some kind which can go up and down.
Так как на этой неделе мы должны были сделать что-то большое и классное, я застрял с идеей. Конечно, я мог взять какой-нибудь стул или стол, что, конечно, не плохо, но я очень хотел сделать что-то своё. Спасибо огромное моему куратору, Полине, за то, что она сказала "Я хочу лабиринт!", это задачка по мне!
Сначала я думал, что мой лабиринт будет вращаться вокруг трёх осей и столешницу с лабиринтом на каждой стороне, чтобы шар, закатившись в отверстие, оказался на другой стороне, где он начинает своё движение в одно из четырёх отверстий на периферии. Повторить до полного самоудовлетворения. Чтобы сделать непосредственно лабиринт, мне надо было бы либо программировать, либо воспользоваться уже существующим генератором лабиринтов. Я воспользовался этим редактором, принтрскрином и трассировкой в CorelDraw (Боже, храни CorelDraw), а затем соединял лабиринты в одну здоровенную мечту Минотавра, но у этого плана был один большой недостаток: в эскизе было слишком много векторов, так как трассировщик Corel превращал каждый отдельно торчащий пиксель в три перпендикулярных вектора. И это ещё только CorelDraw... Когда я загрузил эскиз в SolidWorks и попробовал его вытянуть, он мгновенно завис. Возможно, это считается преступлением против софта, но наплевать. Я позже попробовал ещё несколько генераторов, но этот- лучший, так как не только сохранял лабиринты в векторном формате, но ещё и представлял лабиринты в виде путей, что было просто отлично, так как я мог просто запустить фрезу по этому маршруту и получить на выходе лабиринт.
Последней проблемой был держатель для стола: конструкция получалась гигантская и надо было контролировать каждую ось отдельно (если бы только у меня был сферический подшипник... эх). Но, подумав, я решил, что такая конструкция будет слишком громоздкой, так что я решил сделать односторонний стол с четыремя парами лабиринтов, между которыми по подложке внизу перемещаются шарики, что облегчало мне задачу, но мне всё ещё нужена была подставка под сферу и механизм, выталкивающий шары наверх.
Так, я решил сделать "когти", захватывающие сферу с двух сторон, и пластина с трубками или винтами, которая бы обеспечивала вертикальное перемещение.
First concept
Первый концепт

Second concept
Второй концепт
Making g-codes and getting familiar with Flexicam
Делаю g-code и знакомлюсь с Flexicam
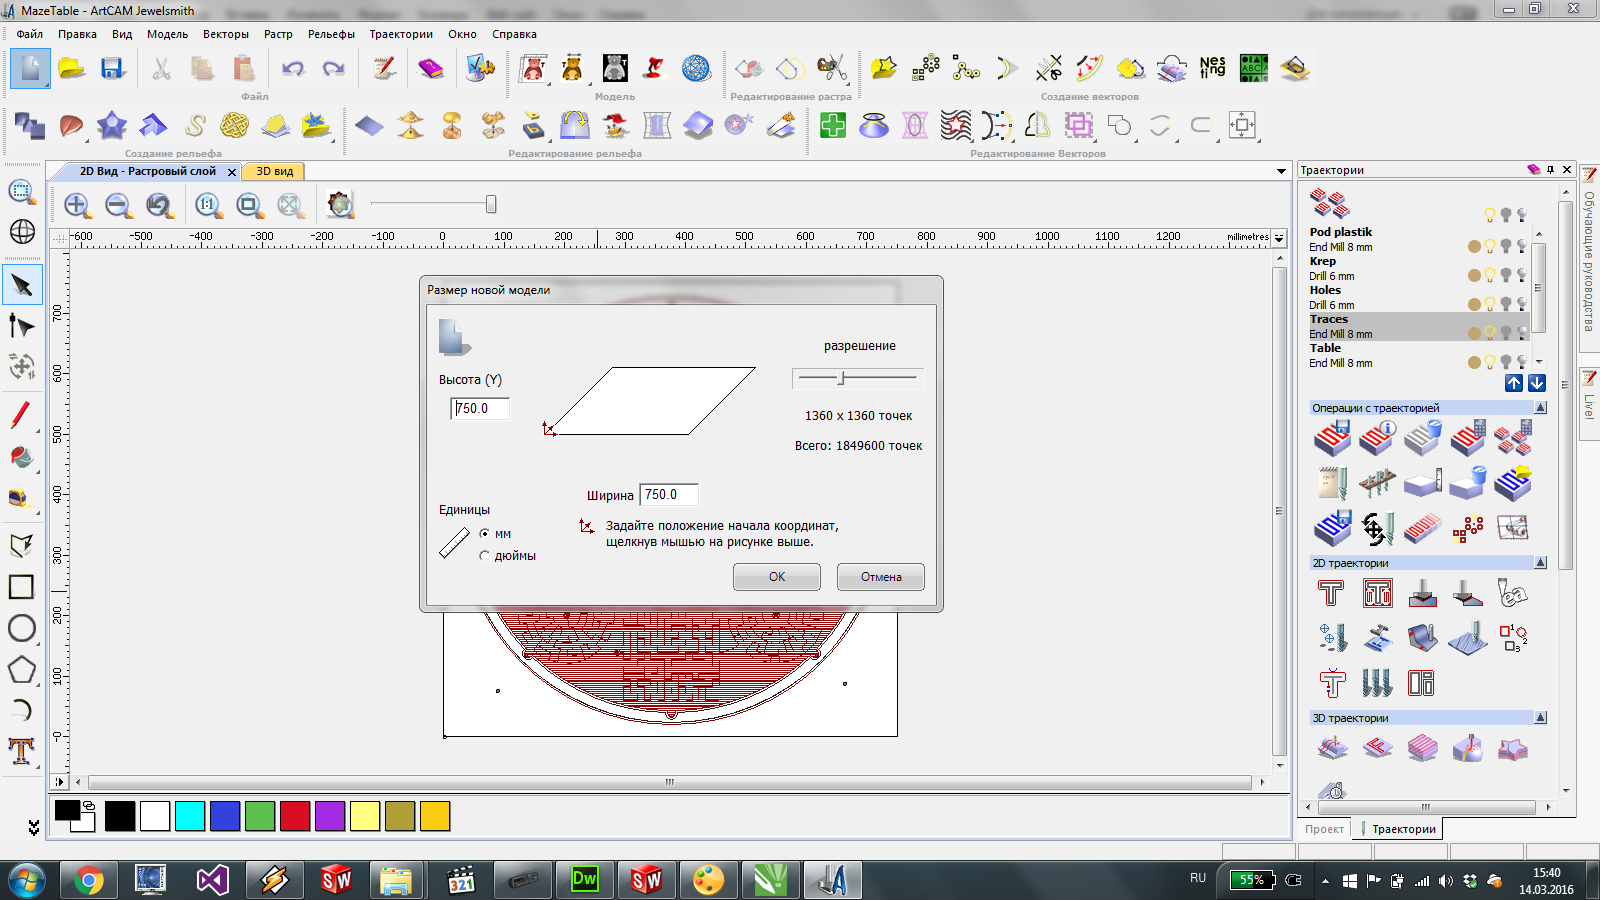
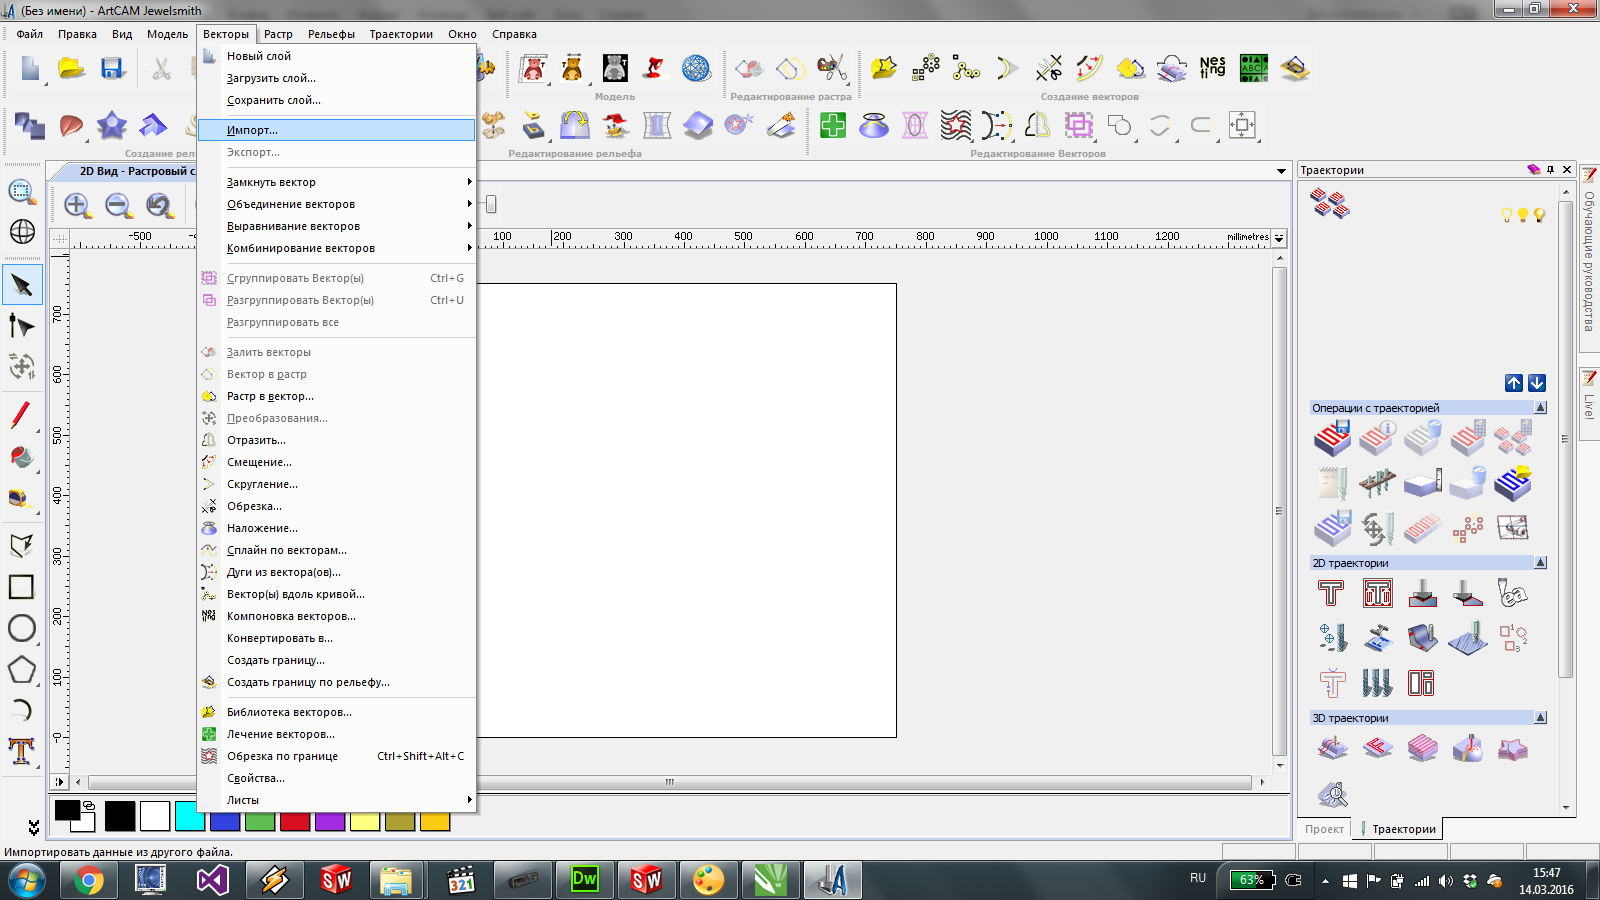
For two of three our milling machines you can easily use Artcam software for making g-codes. First, you should create a new model and set the zero. Then, import your vector or .stl model and then you are ready to set milling tasks, you can see how I milled my table below.
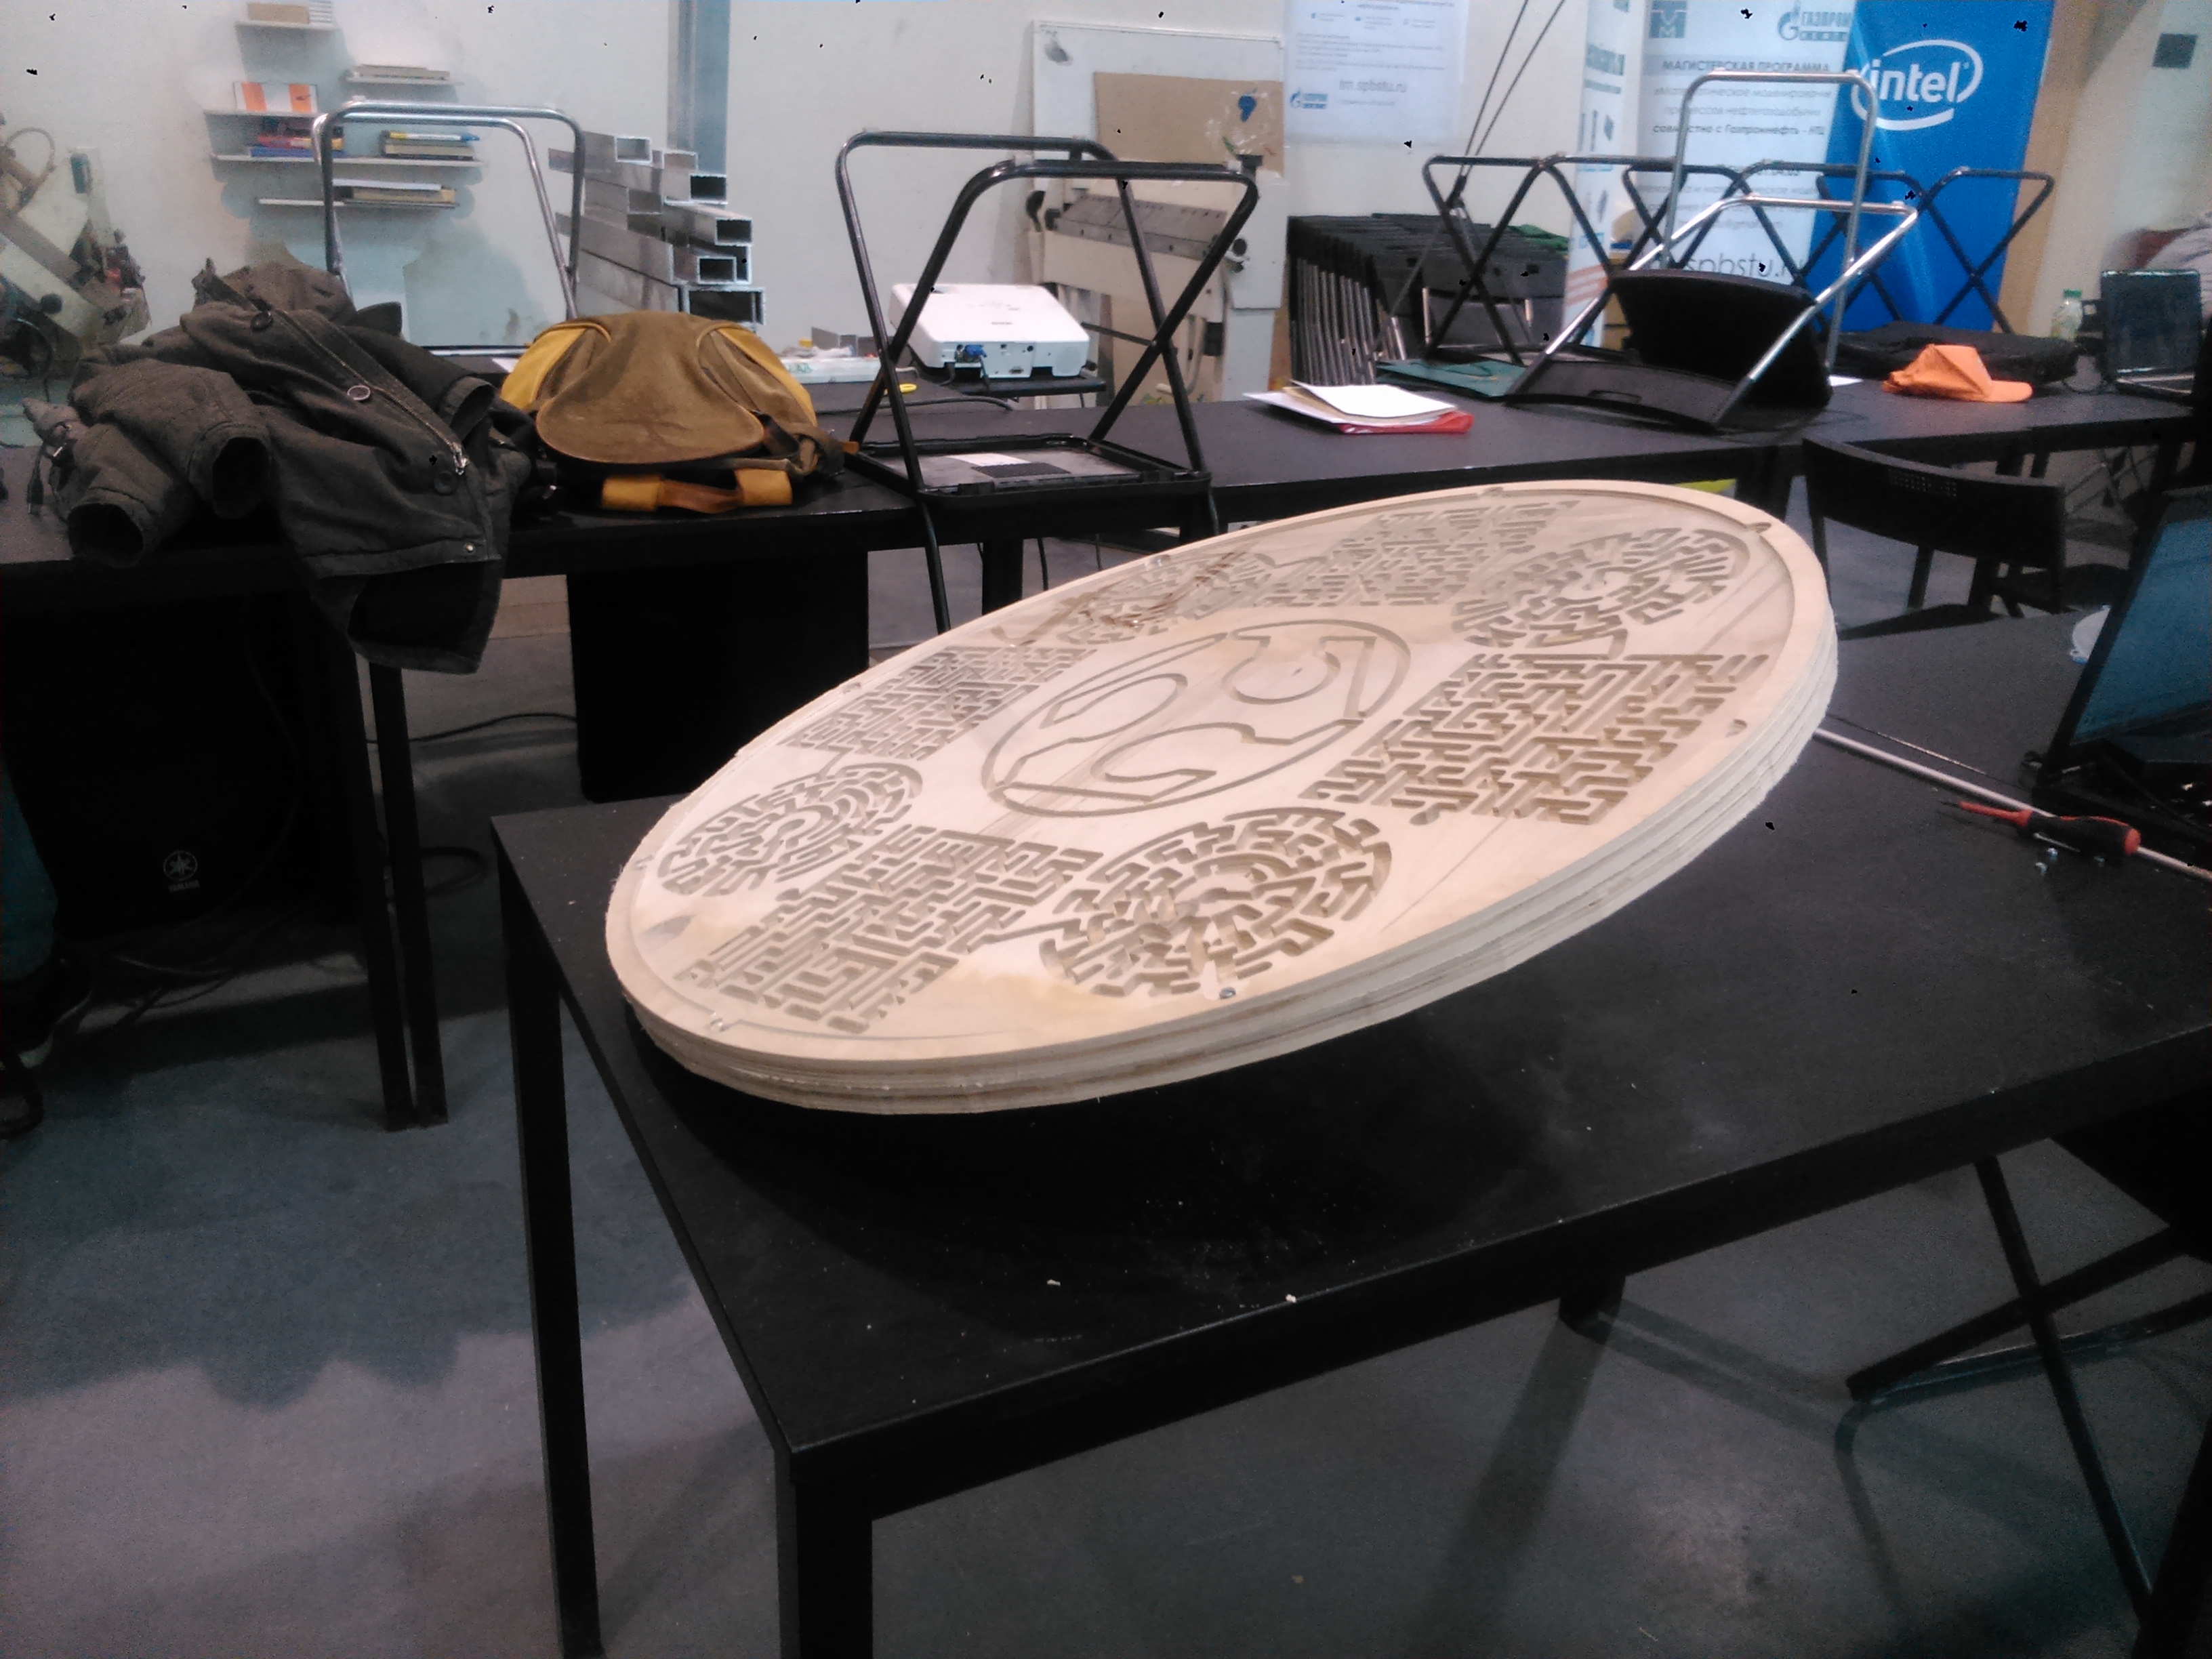
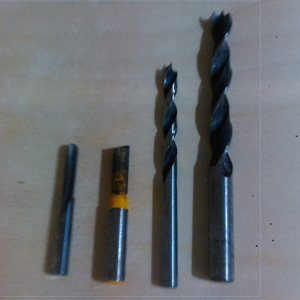
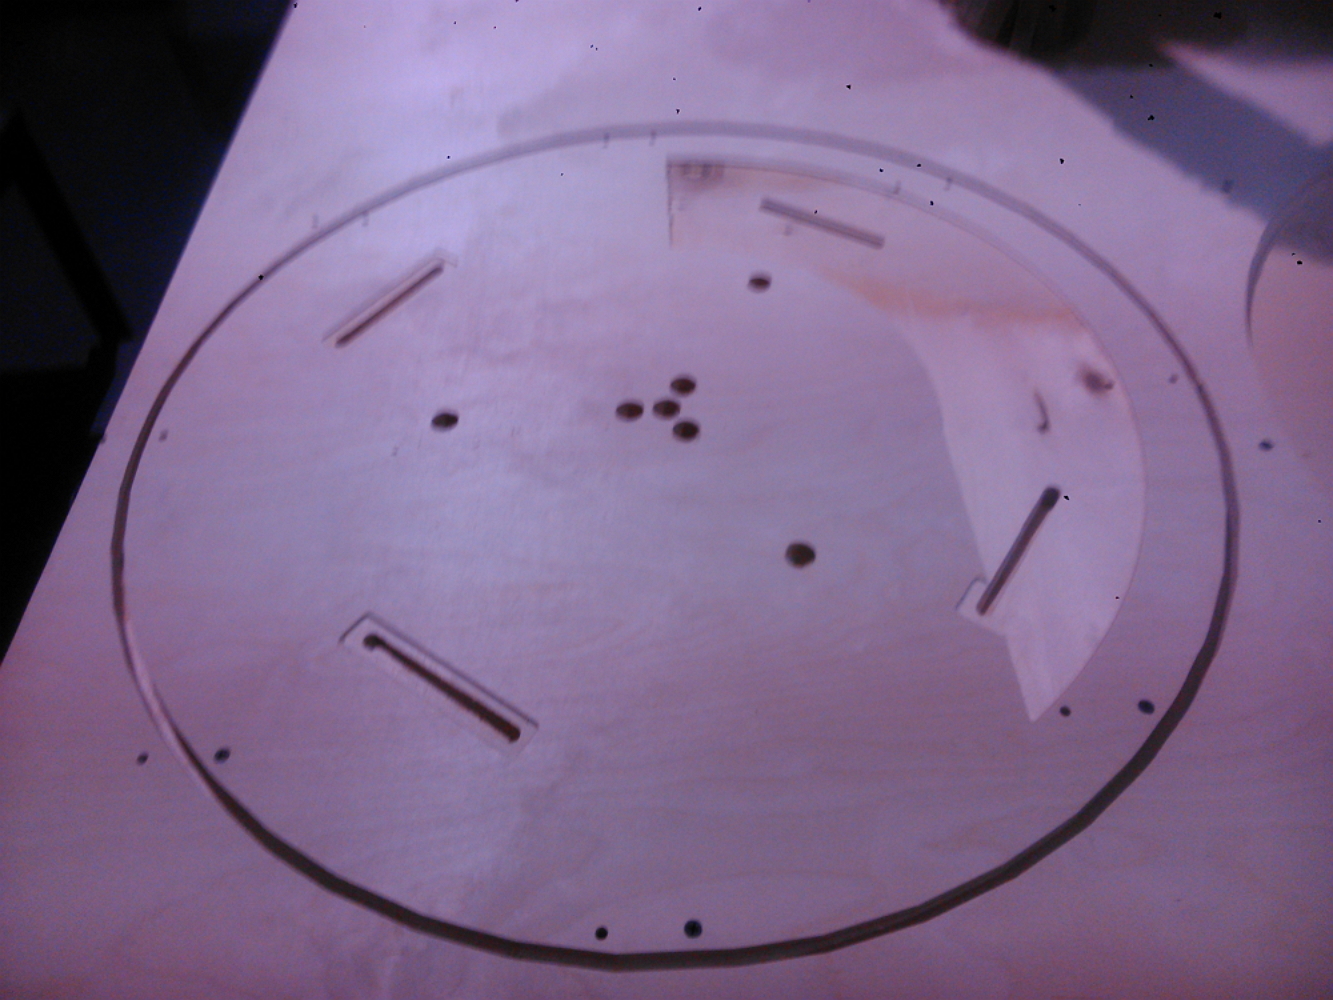
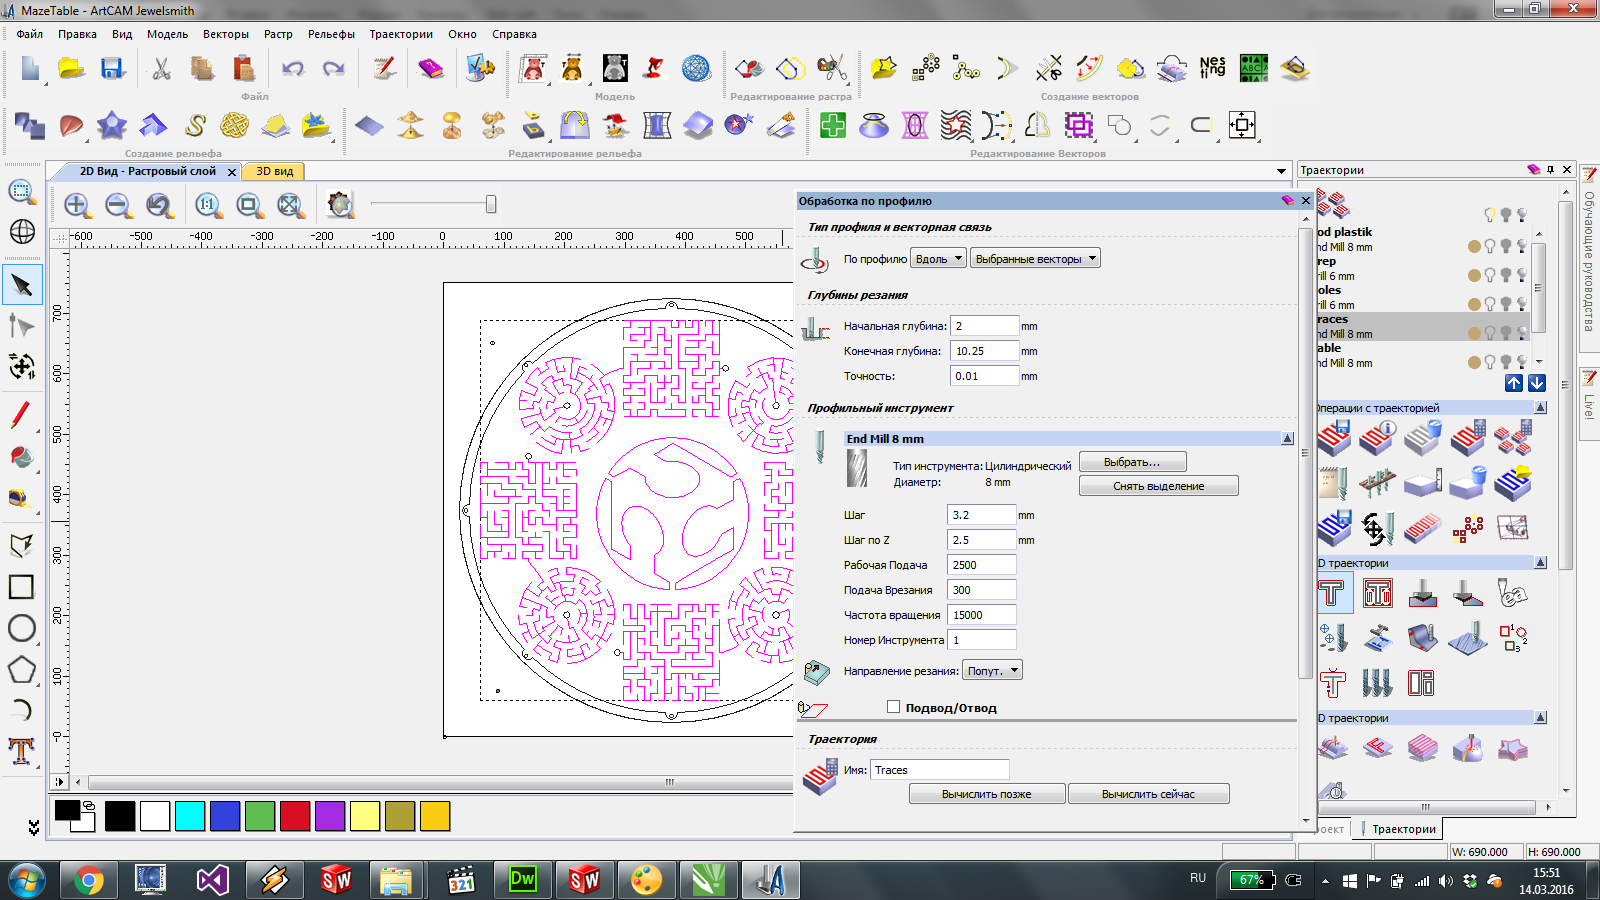
As my table size is larger than K2 is able to process, I had to use Flexicam. A while ago Anton Nekrasov made an instruction for working with our Flexicam machine, you can check it out and also practice in Russian here. With its and Dimas help I could make the table. It took forever. Like, four hours or something like that. And, what a shame, table was cut one layer before the program was finished so the table got torn away and there is a 50 mm piece which is cut out. Damn it. Yet, it looks amazing, I love it. Next, I made bottom layer which was designed for the balls to move from one labirynth to another and also to hold screws' hats in it. There was a difficulty as well because I had to make a ramp and finishing operation tried to cut the whole 700mm circle but I didn't need it so I made it go only within a vector I drew in Artcam. It's not as beautiful as the table but this operation saved me a lot of precious time. And also, my first experience in sphere milling - one of six "claws" which would replace a sphere hinge for me.
На два из трёх станков в нашем Фаблабе можно легко сделать задание в ArtACM'е. Для начала надо задать размеры модели и выставить ноль. Затем, импортируйте вектор и/или .stl модель, и уже после этого можно задавать задания станку. Ниже можно посмотреть скриншоты моей работы в ArtCAM, может быть, это будет полезно.
Так как размер моего стола превышал размеры рабочего поля К2, мне надо было использовать Flexicam. Когда-то Антон Некрасов сделал инструкцию по работе с Flexicam, с ней можно ознакомиться здесь. С помощью Димы и инструкции у меня получилось сделать стол с лабиринтами, это заняло целую вечность. И, к сожалению, стол прорезался на один слой раньше и стол поехал на фрезу, так что теперь у него вырезано где-то 5 сантиметров матирала, чёрт побери. Но всё же, он очень крут, я доволен. Затем, я сделал подложку для стола, внутри которой должны были перемещаться шары между парами лабиринов, а также там должны располагаться шляпки болтов. Здесь тоже была своя трудность: мне надо было сделать уклон, т.е. перейти в 2.5D-фрезеровку, и Artcam решил обработать всю поверхность диаметром 700мм, так что я прервал обратотку из запустил выборку внутри контуров, которые я нарисовал прямо в ArtCAM. Не так красиво, конечно, зато сэкономил кучу времени. И, конечно же, я сделал ещё одну классную вещь - один из шести "когтей", который заменит мне сферический подшипник.
All the files you can get here:
Все файлы лежат здесь:


Working with vectors
Make a model and set the model's zero
Import your vector
Drill the holes. Diameter of the drill doesn't actually matter here because you can place any instrument into spindel, feed and rpm parametes are important here.

Do the area clearance to remove material within chosen vector.

This is the function I used for making the mill move along the vector. You can choose different oprions such as make vector an inner border/outer border/center line; make the mill "clinb" or "dig" the material etc.
Save traectories which are made with the same instrument in one file. The order is: the highest program is executed first.