Assignment 4
Задание 4
(2ND EVALUATION EDITION) In which I produce FabISP and I do it right.
В котором я травлю плату, терплю неудачу, фрезерую плату и делаю арку из резисторов.
Second attempt. Preparing files
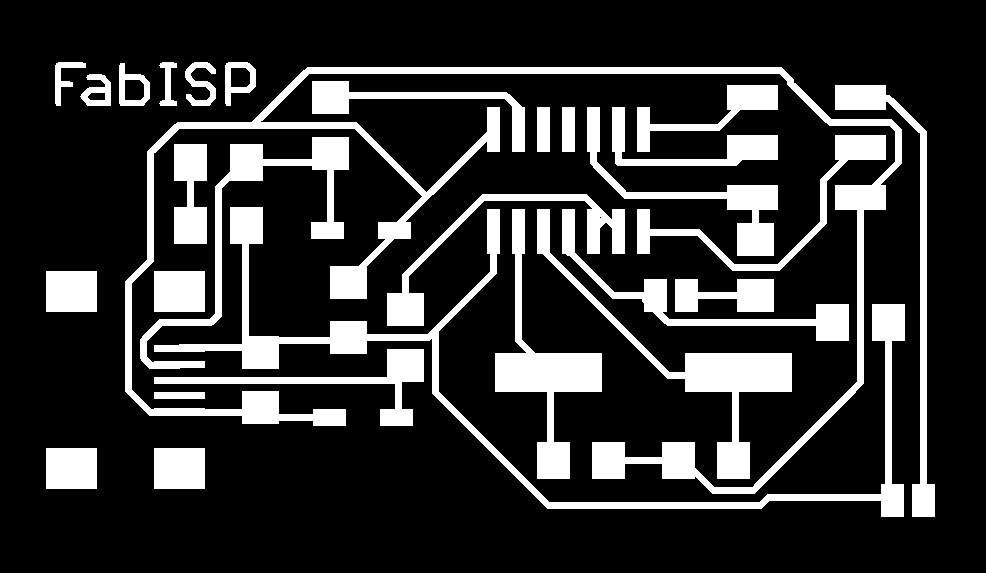
After failing first final evaluation we decided to remake stuff we didn't do fine and producing ISP was the first of them. This time we made version of FabISP by Ali and tried to program it. The way to do it right is milling fr1 textolite on a routing machine. I made g-code using fabmodules.org:
- input format - .png;
- output format - g-codes (.nc); K2 machine which I used reads this format just fine
- type of operation - PCB traces (0.010); I changed default settings in
- cut speed - 4 mm/s
- tool diameter - 0.3 mm
Next, after calculating and saving g-code, I had to convert this code to mm. In order to do it I used this program.

Second attempt. Milling and soldering
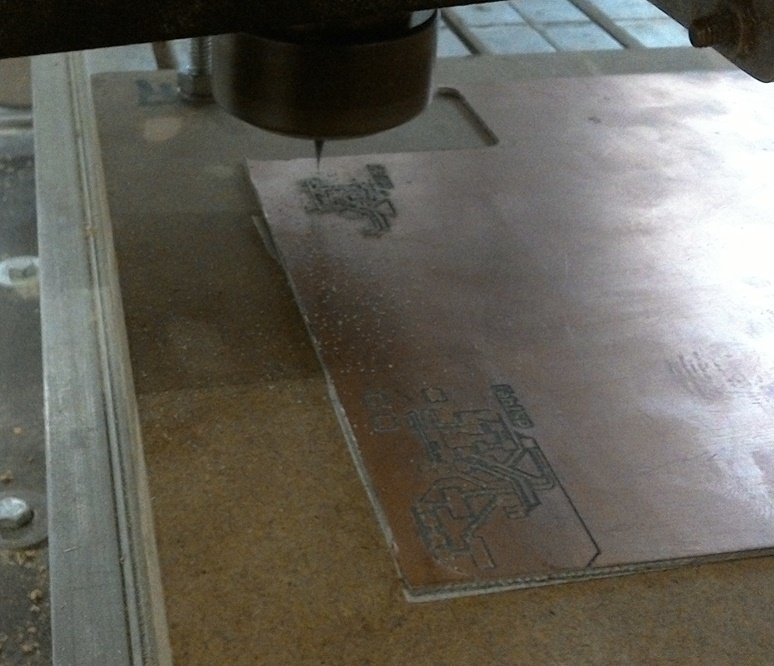
For milling the board I used fr1 textolite, K2 CNC machine and 0.3mm milling bit to make traces. To make textolite hold still, I used double-sided duct tape.
Soldering was easier because now I have more experience but basicaly thing is the same: you get a proper flux (I used liquid flux which can be washed by water) and not overheating you iron because you can burn your components before even getting to test your board.
In which I try making a circuit board using acid, fail, mill the board and make an arc of resistors.
В котором я травлю плату, терплю неудачу, фрезерую плату и делаю арку из резисторов.
The goal.
Цель.
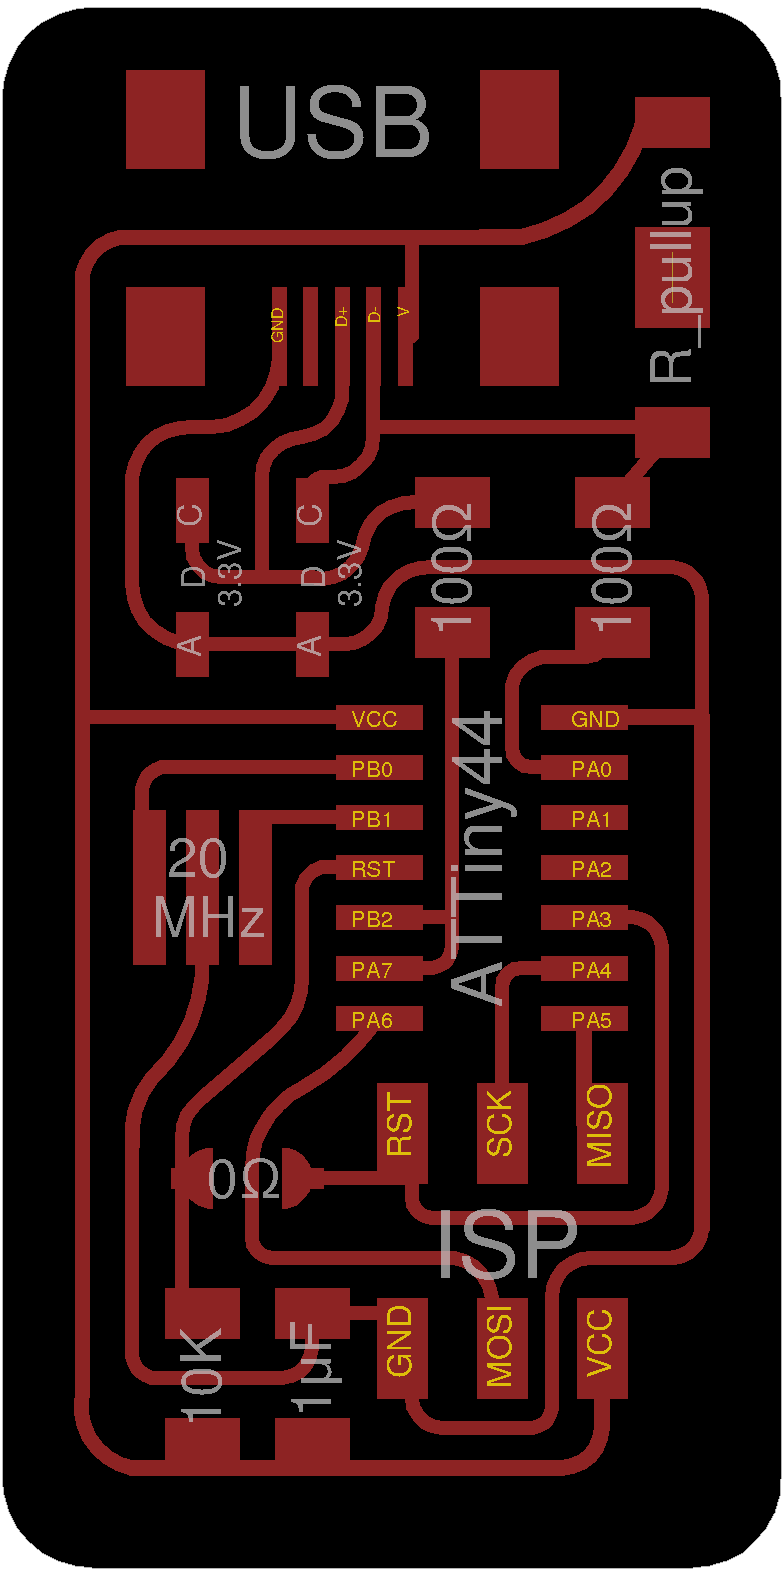
This weeks assignment was to make a programmer using a pre-made design. It included machining a board, making tracks, soldering components and putting firmware on the board. We chose FabISP board to make.
Заданием на эту неделю было сделать программатор по готовому дизайну платы, что включало в себя фрезеровку платы, установку электронных компонентов и прошивку платы.
Making the board. First attempt.
Делаем плату. Первая попытка
As I heard, 90% of pcb prototypes in Russia are made using acrylic paint, laser cutter and etching board in acid or other chemicals so I tried this method as well. Needless to say, I failed but yet I found out something new for myself:
Насколько я заню, 90% плат в нашем фаблабе изготавливаются травлением: покрываются акриловой краской, гравируются на лазерном станке, а затем в дело вступает кислота или другие химикаты, так что я решил сперва попробовать этот путь. Стоит ли говорить, что у меня ничего не вышло, зато я узнал кое-что новое:
- Laser cutter can't engrave paint clean enough
- You should clean this thin layer of paint with alcohol before etching
- Don't hurry the prosess and try to scrub the paint and copper frome board - you might lose thin tracks
- Лазерный станок не до конца програвировывает краску
- Оставшийся тонкий слой краски следует стереть спиртом
- Ни к коем случае не стоит торопить процесс, и уж тем более - пытаться стереть краску и медь вручную
This is how I failed
Фотоотчёт моего провала
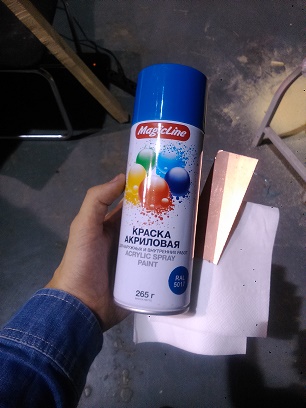
First, I sprayed acrylic paint all over the board.
Сначала я распылил акриловую краску на плату.

Then I engraved the layout of the board till there's a thinnest layer of paint on it.
Затем гравировал эскиз платы по краске до тех пор, пока не остался очень тонкий слой.

To etche the board I made a solution on 30g of lemon acid, 100ml of peroxide and 5-7g of salt (NaCl). I read about it here (attention: site in Russian)
Для травления я приготовил раствор 30г лимонной кислоты, 100мл перикиси водорода и 5-7г поваренной соли (NaCl). Рецепт я прочёл здесь
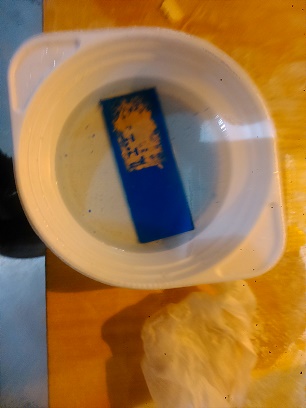
As I was impatient, I scraped the board with my fingers and accidently removed almost everything from the board. In the end, the solution worked, I didn't.
Из-за своей нетерпеливости я начал скрести плату пальцами и случайно стёр почти всю плату. В итоге, раствор сработал как надо, а вот я - нет.
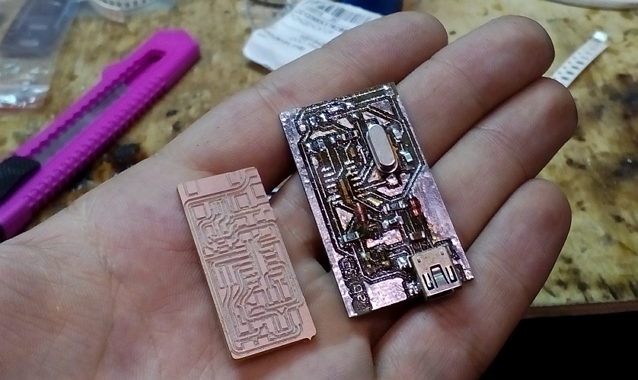
And this is how I succeeded
А вот, как я преуспел
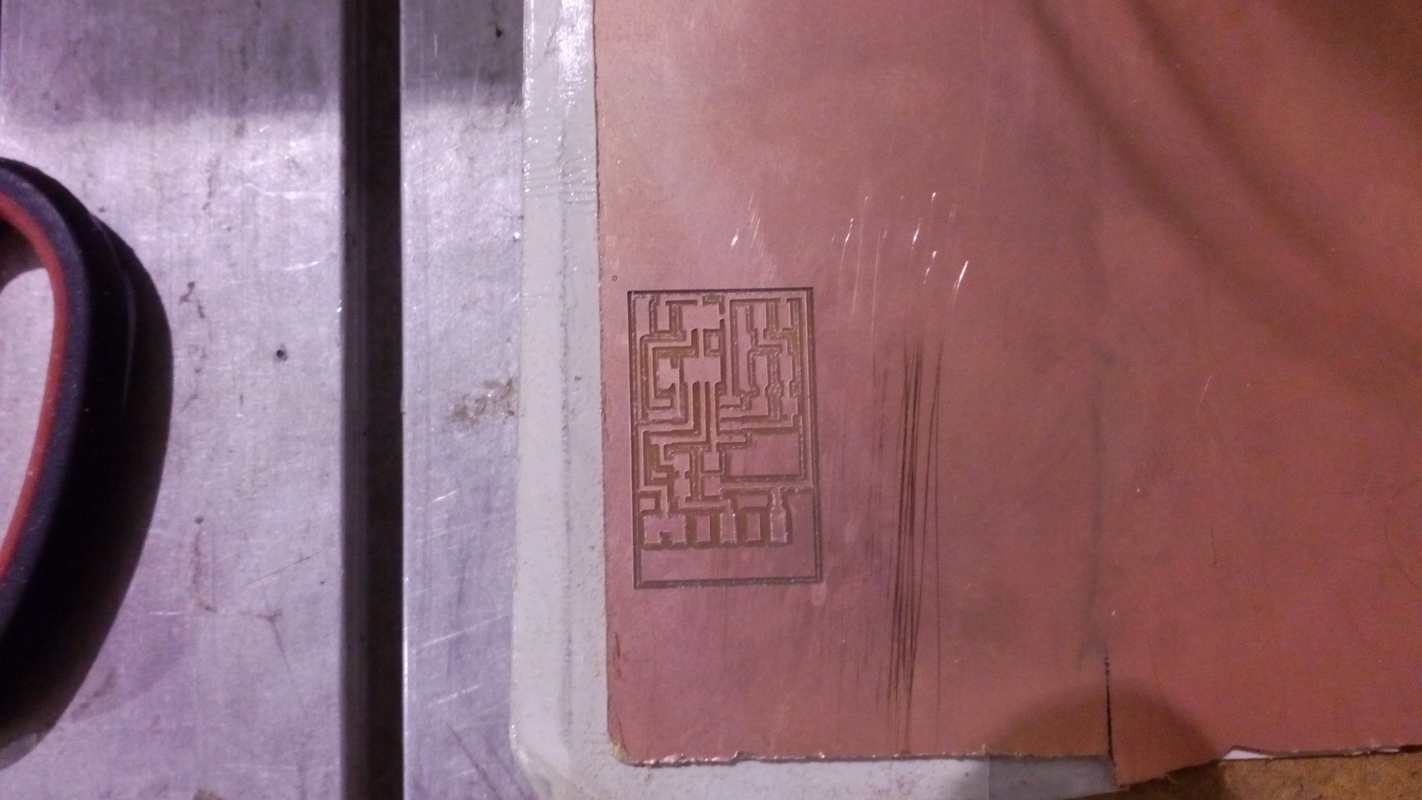
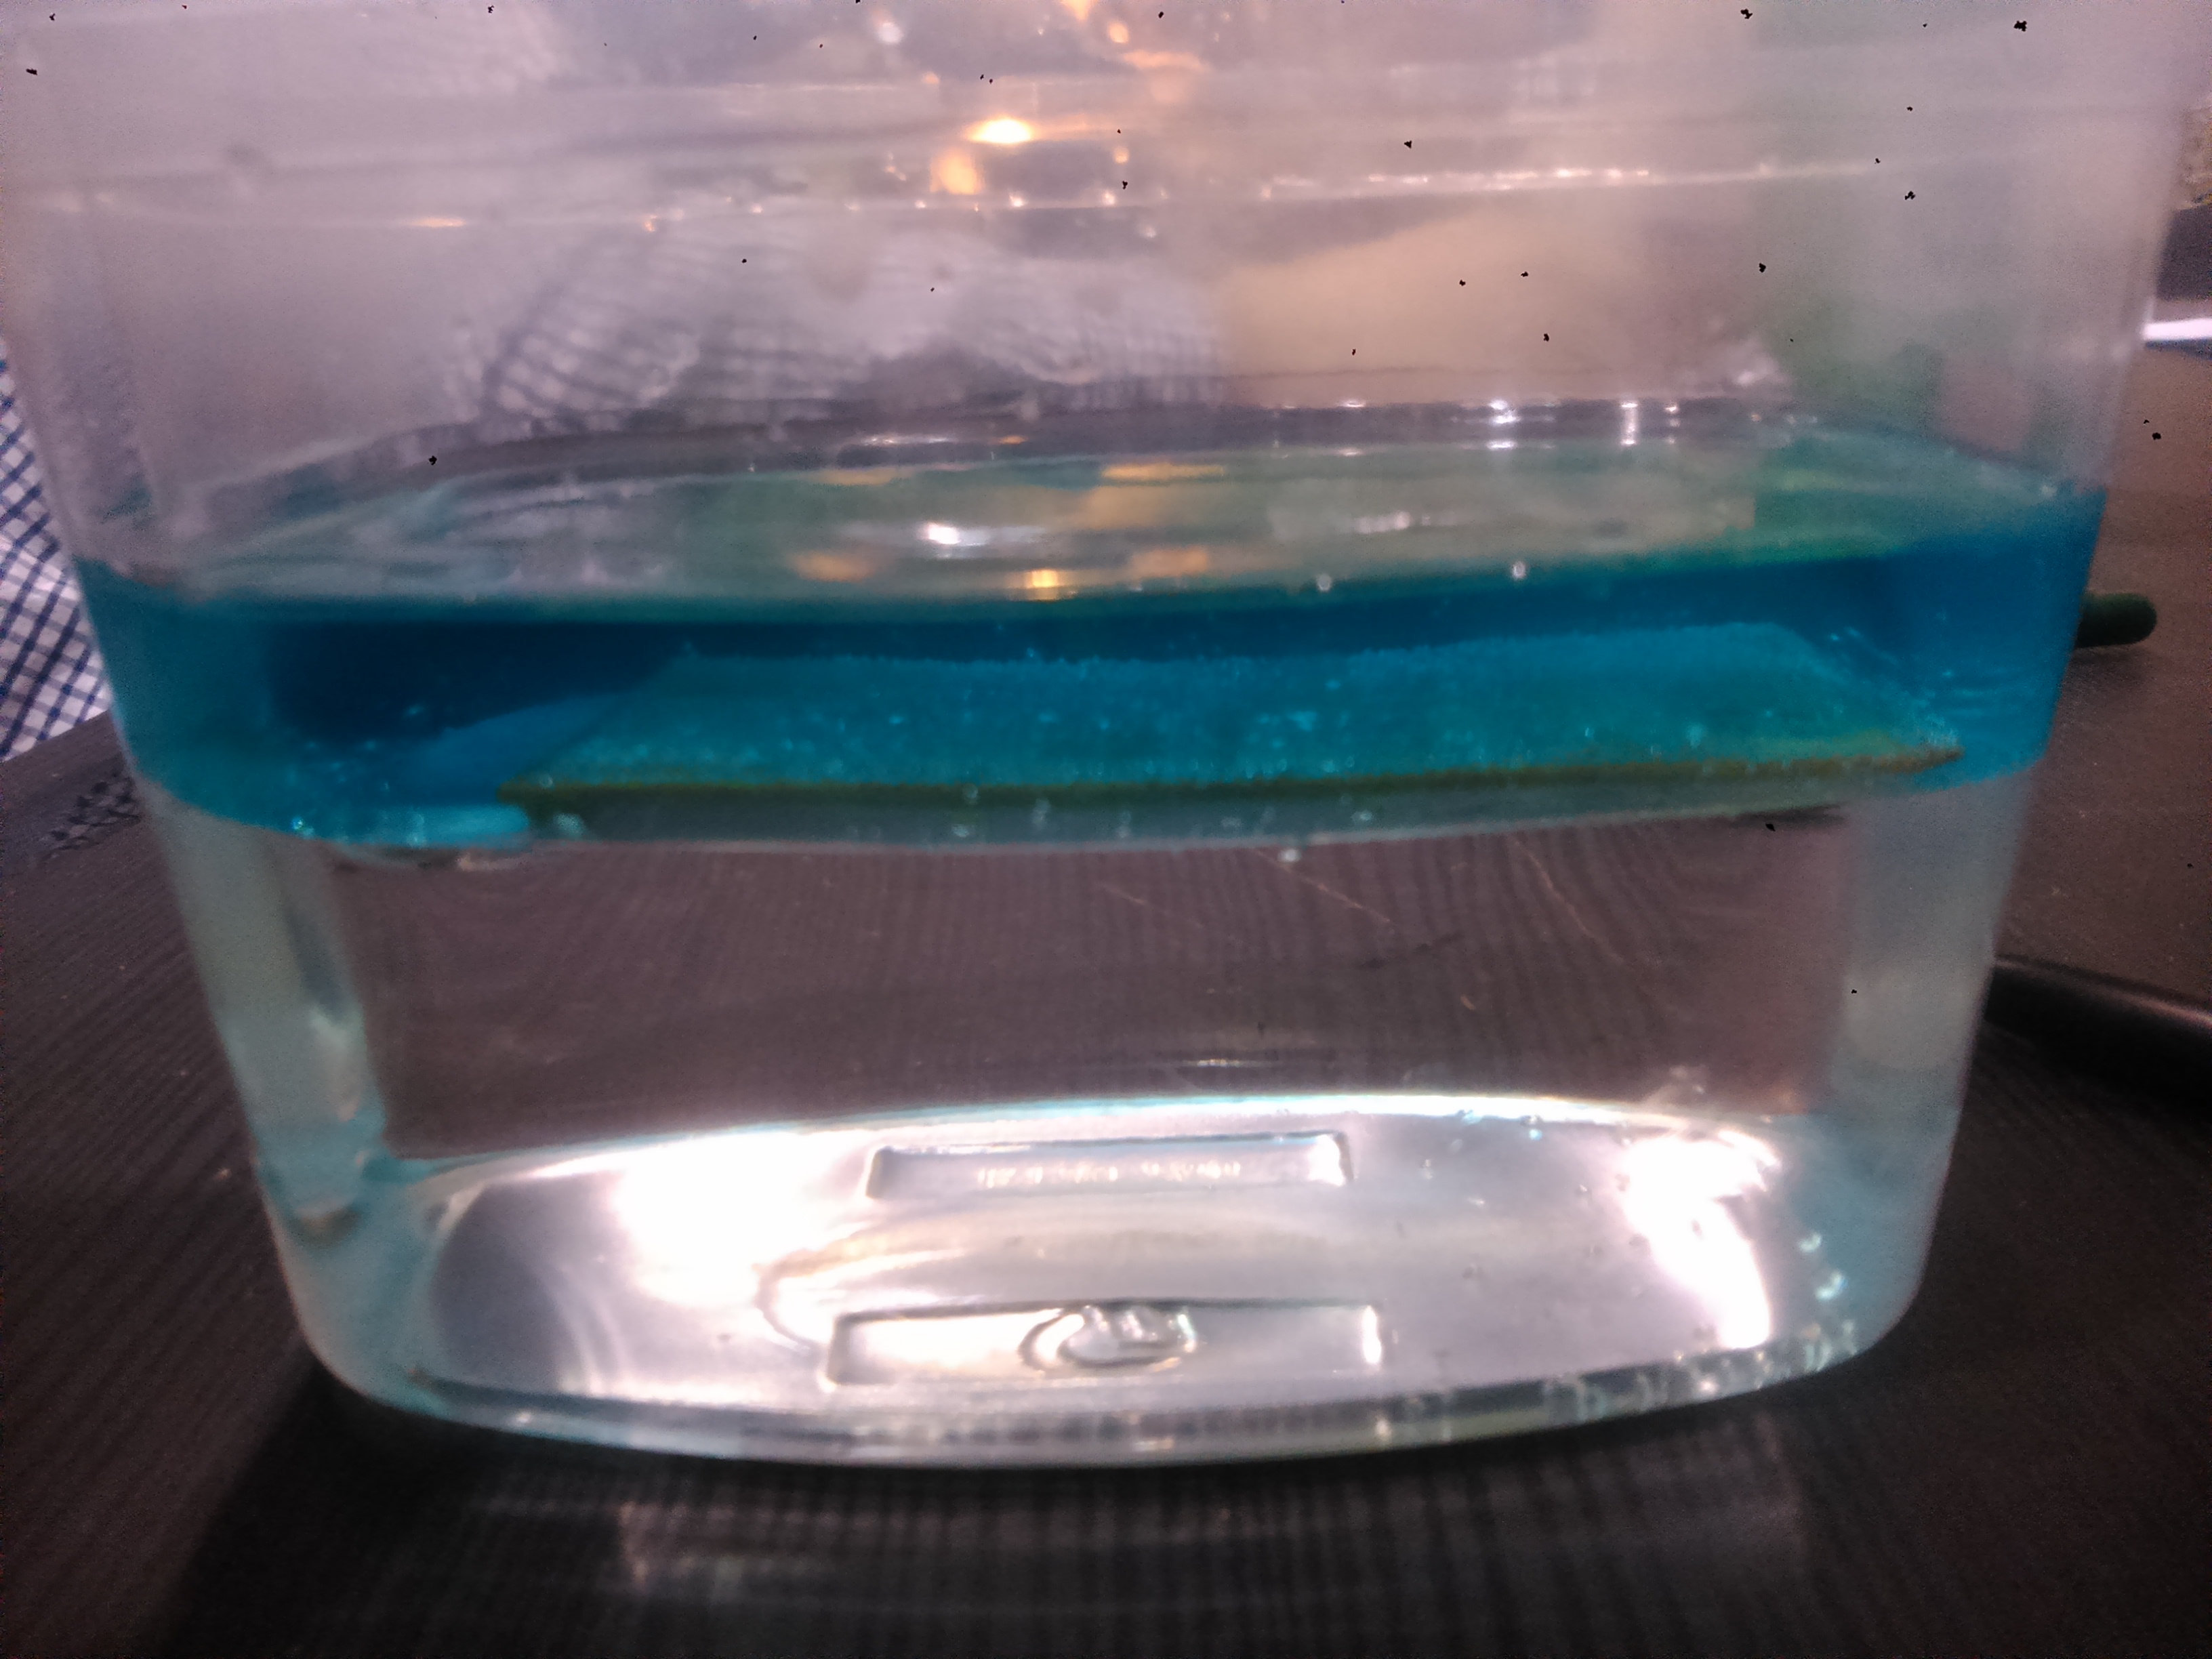
After a few tries with lemon acid I made a board using ferric chloride. I did it for replacing my week6 board to complete week9 assignment. To make a solution, mix ferric cloride and whater in equal proportions and also keep the temperature on about 40 degrees Celcius. The etching will be done in about 10 minutes.
После нескольких попыток с лимонной кислотой я сделал плату, используя хлорное желело. Плата была сделана на замену нерабочей плате из задания 6 для выполнения задания 8. Для создания раствора смешайте в равных пропорциях хлорное железо и воду, подогревайте раствор до 40 градусов Цельсия; травление займёт около 10 минут.

Last try with lemon acid
At least, the reaction goes. But it's a very long process.
Let's call it success.
Milling the board
Фрезерование платы
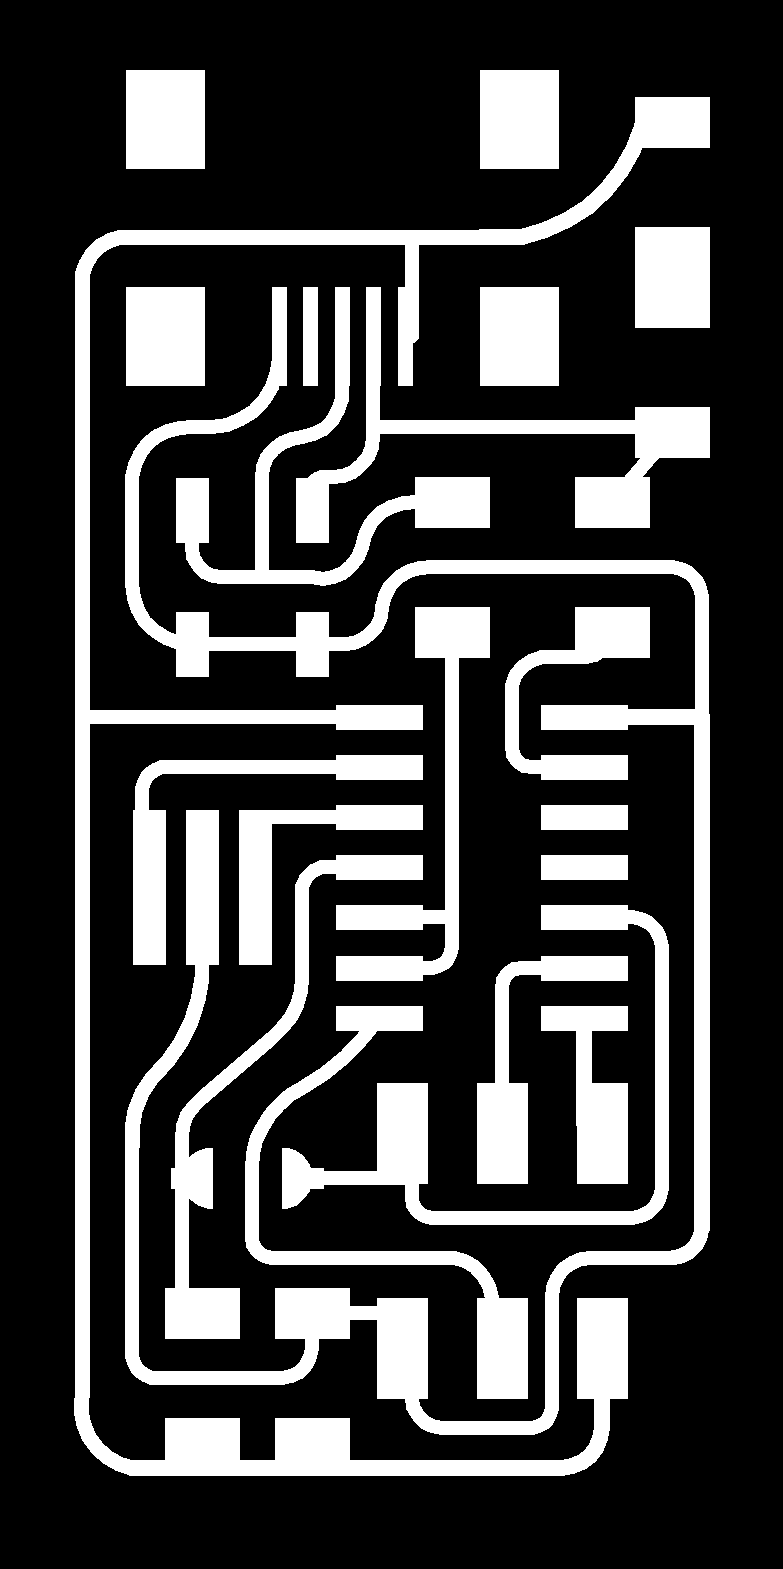
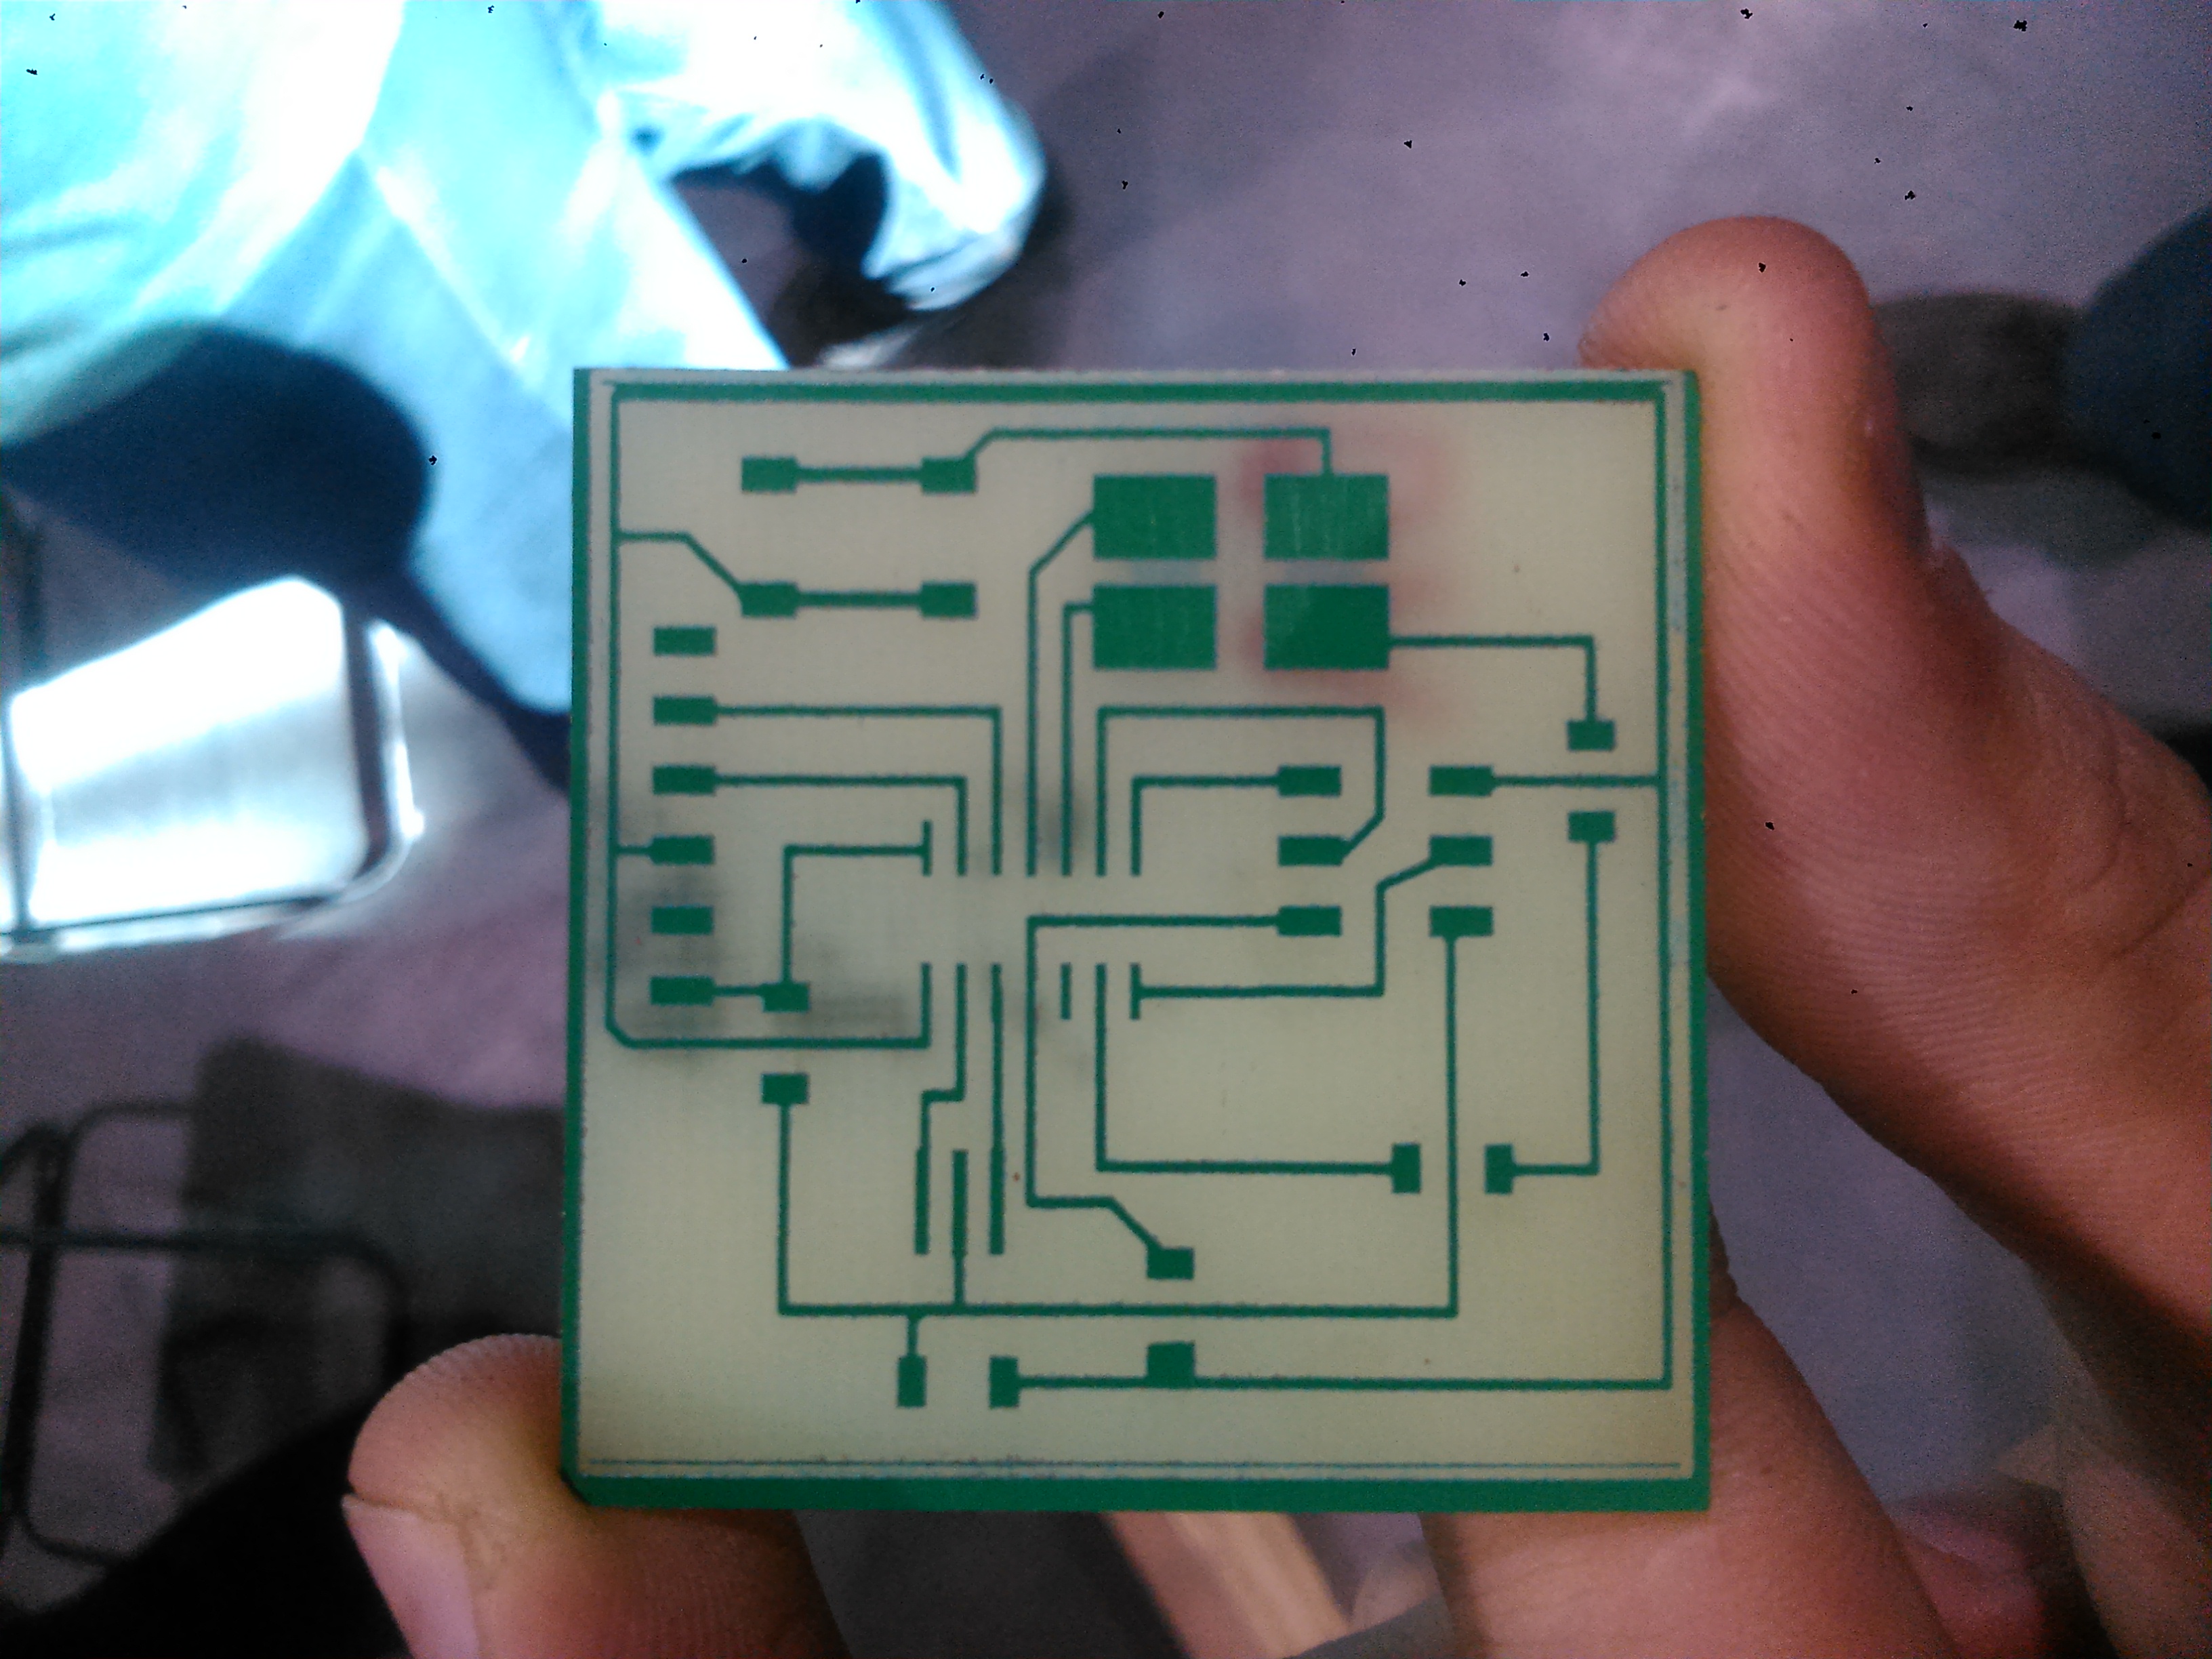
To mill the board I had to convert .bmp file to .nc file which is suitable for our milling machine. I used fabmodules to do it and it was fine because I had to change only tool diameter (0.4 mm mill) and number of offsets (I chose 3 and regret my decision because in the end I got very thin traces), other parameters were default for "PCB traces (0.010)" template. There's an useful observation: fabmodules switch g-codes from metric system to inch system with code G20 so you might want to convert your code back with this program Dmitry told me about. To make textolite hold still while milling I used tape with two sticking sides and to set it horizontaly I used a thick hardboard.
Чтобы отфрезеровать плату, мне надо было сконвертировать .bmp файл в .nc файл, который понимает станок. Я воспользовался fabmodules и остался доволен, потому что мне пришлось лишь поменять диаметр инструмента (фреза 0.4 мм) и количество контуров (я выбрал 3 и пожалел о совём решении, потому что дорожки получились слишком тонкими), остальные параметры я оставил такими, какие были предложены в шаблоне "PCB traces (0.010)". Чтобы текстолит держался на месте, я приклеил его двусторонним скотчем, а чтобы он ещё и был горизонтальным, подложил под него толстый кусок ДВП.
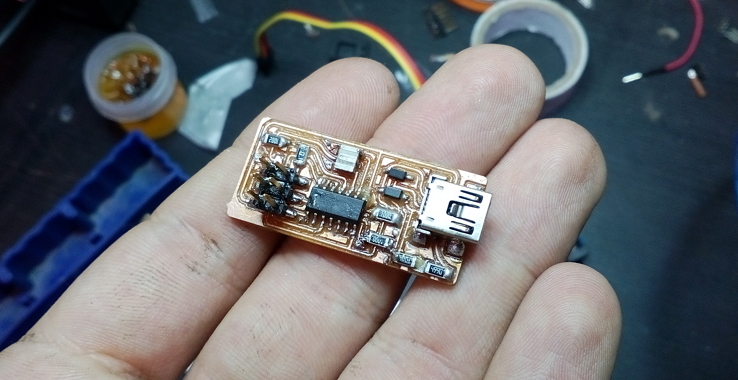
Soldering
Пайка
This part was tricky as well: first of all, I figured out that one of the main parts of soldering prossess is flux. I used two different fluxes and with one I barely got pointy ugly pieces of solder on my board and another gave me beautiful round and shiny solder drops.
Здесь также не обошлось без хитростей: во-первых, я понял, что одна из главных вещей в пайке - это флюс. Я пользовался двумя разными флюсами, и с одним у меня едва получалось нанести припой на плату, а с другим мне удавалось получить аккуратные круглые капли припоя.
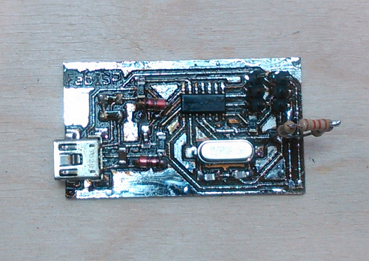
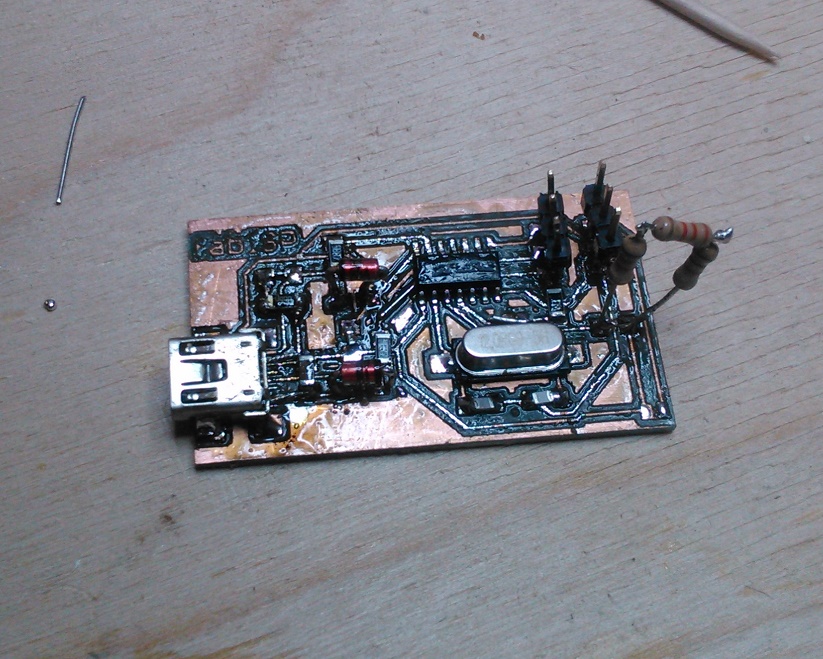
Another difficulty was buying the components we need. It turned out that some components are absent so we had to buy it in local store and, even worse, order them from Moscow so it took two days for the components to arrive. And even when we got the components we found out that I screwed up with sizes: some components were 0608 type instead of 1206 (to make it clear, 1206 are about 3.2 mm long and 0608 couldn't come across the trace on a board without touching it). In the last moment I had to find three resistiors 1 kOhm, 2.2 kOhm and 6.8 kOhm and solder them all together to replace 10 kOhm resistor that we didn't have.
Другой сложностью была покупка комплектующийх. Оказалось, что не все компоненты были в нашем распоряжении, так что пришлось покупать их в местных магазинах или, ещё хуже, заказывать в Москве, что отняло два дня работы. И даже когда компоненты были у нас в руках, оказалось, что я напортачил с размерами: некоторые компоненты были типоразмера 0608 вместо 1206 (поясню, 1206 примерно 3 мм в длину, а 0608 едва перекрывают дорожку на плате). В последний момент пришлось искать резисторы на 1, 2.2. и 6.8 кОм, чтобы спаять из них замену резистору на 10 кОм.
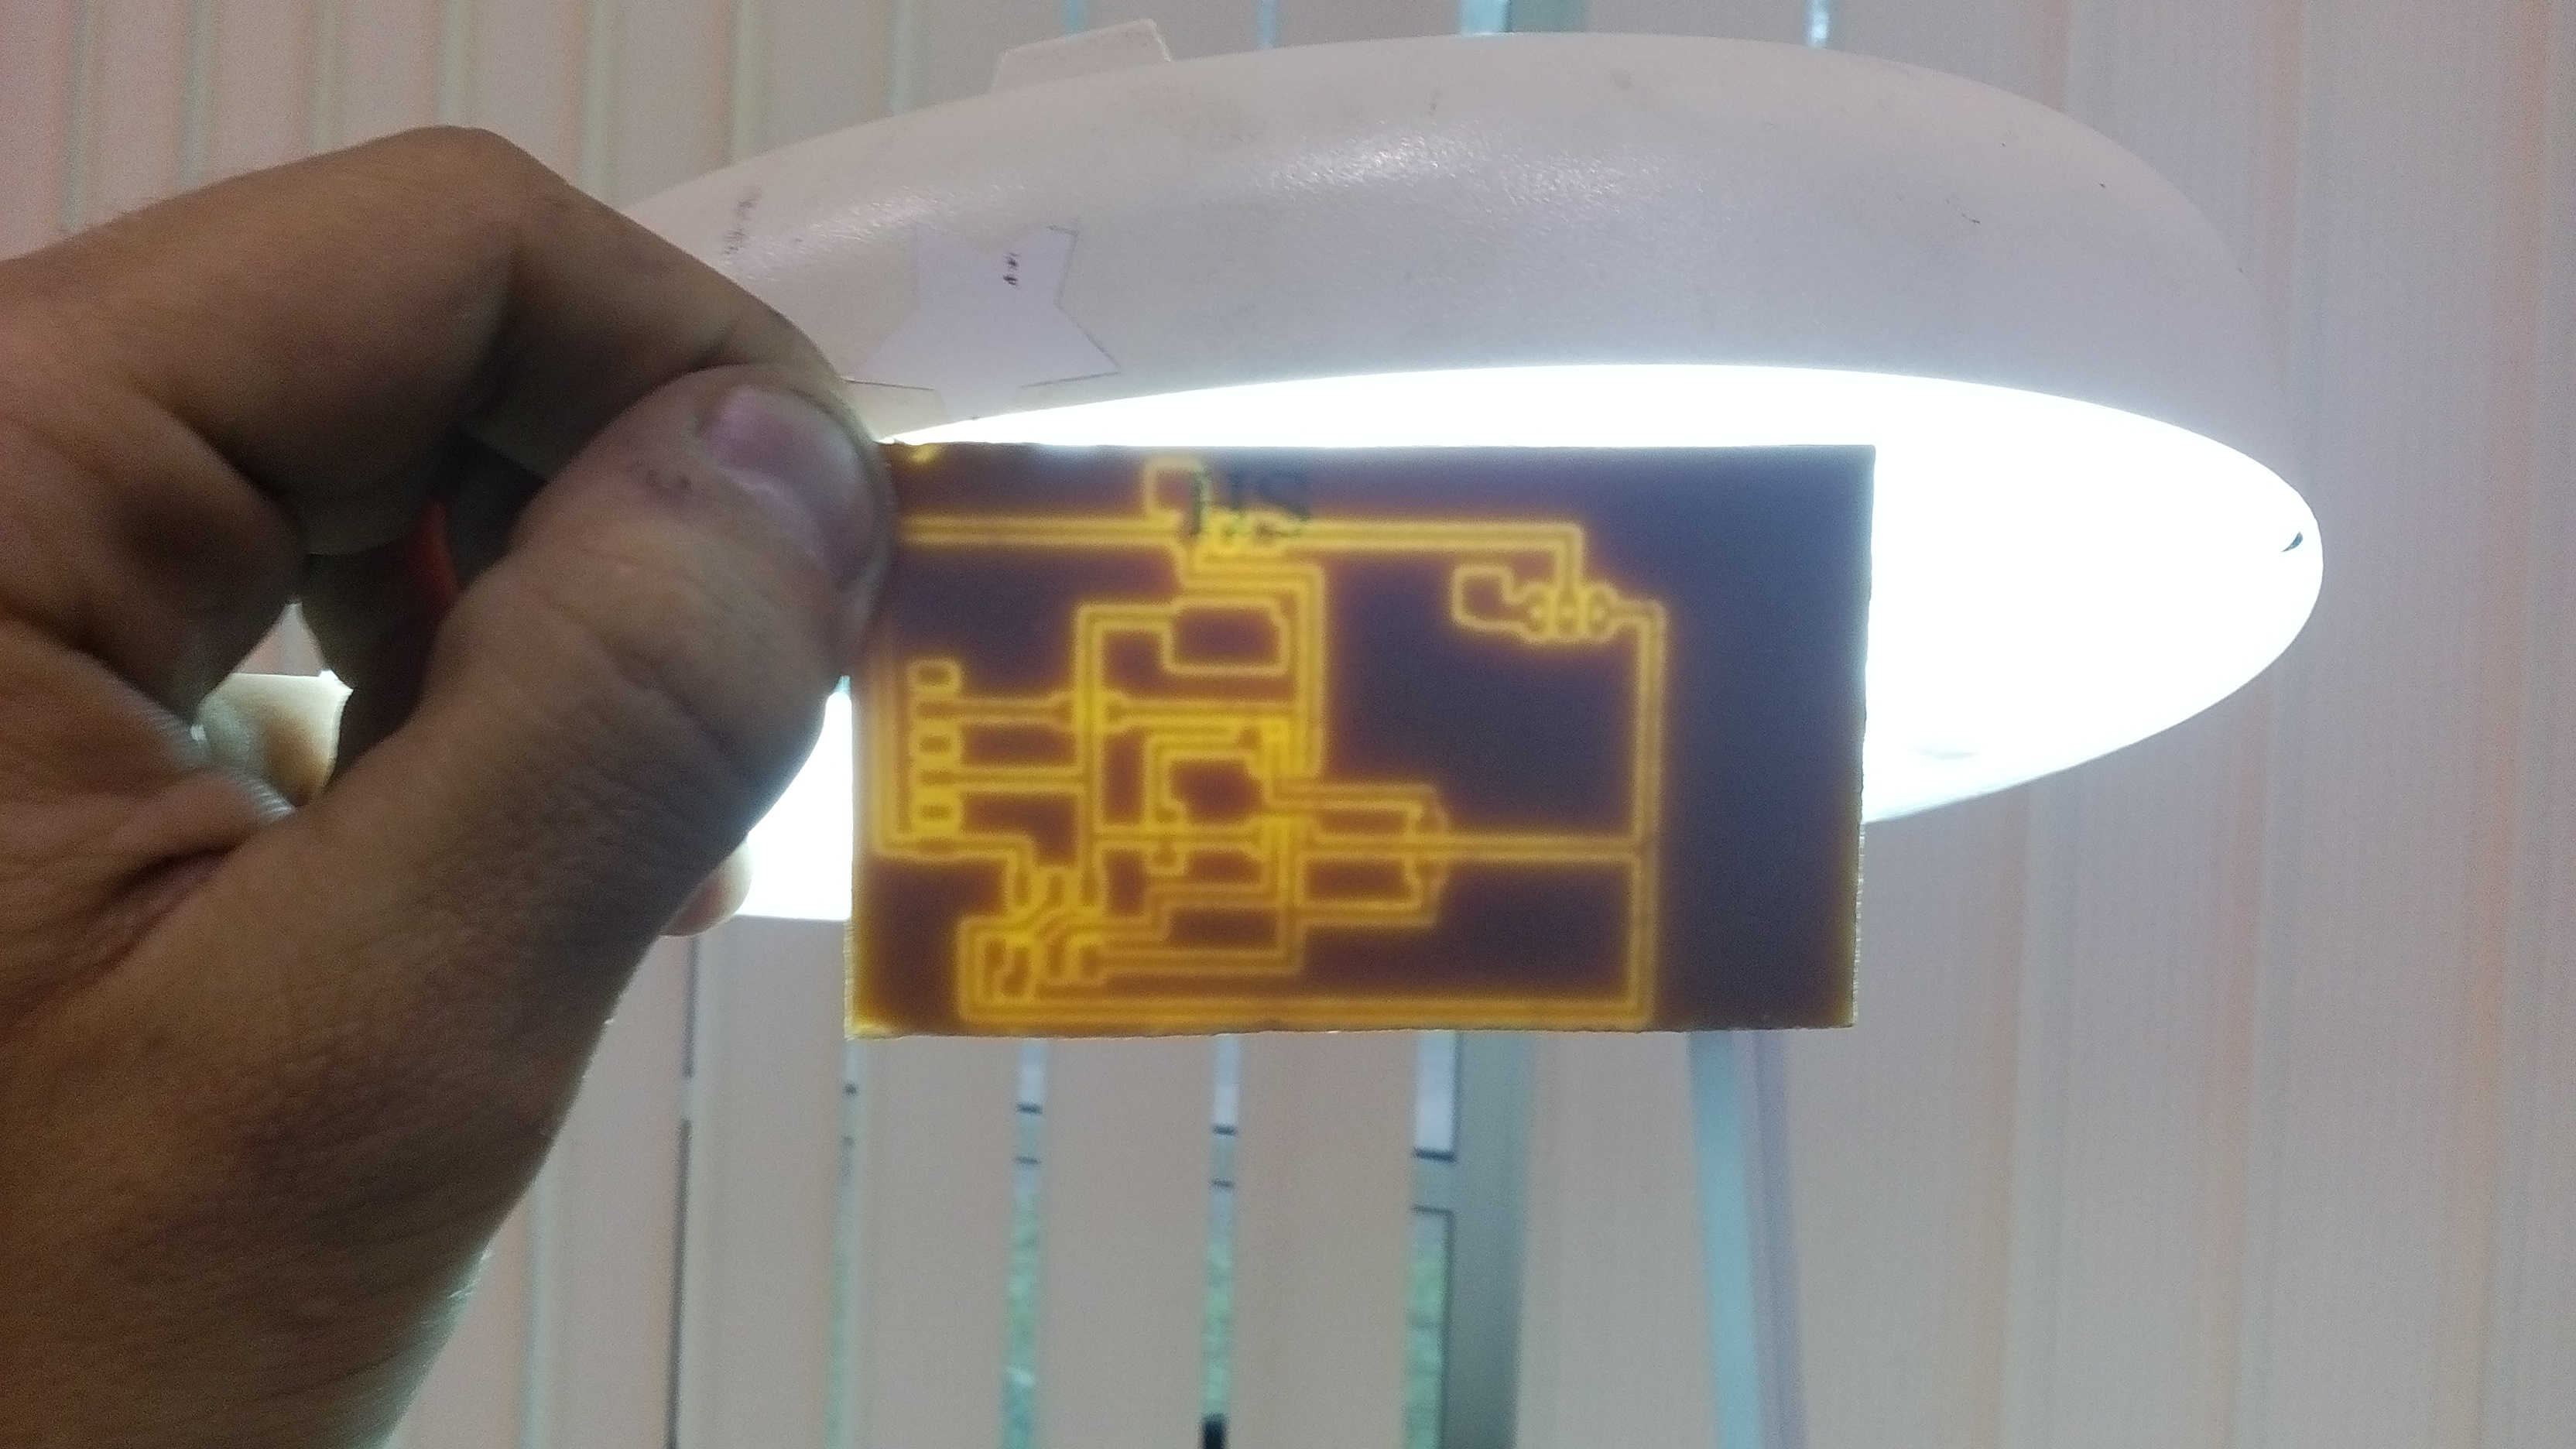
My board was covered in flux so I tried melting it with industrial fan but when I blew away ISP port and one diode yet flux was all over the board I gave up. Then I tried melting flux with solder and it just spread solder over the board so I decided to cover the whole board with solder and now it's nice and shiny.
По всей моей плате был размазан флюс, и я попробовал его растопить строительным феном. Когда фен сдул ISP порт и один из стабилитронов, я забросил эту затею и попробовал паяльник. Паяльник, видимо, был грязный, потому что на плате остался след припоя, тут я решил, что с менять хватит, и залудил всю плату, теперь она у меня красивая серебристая плата.


K2 CNC
K2 CNC
As I didn't use Modela machine I guess I have to write some words about the K2 machine. It was one of the first machines in our fab lab. It's using .nc g-codes with post-processor Mach2 and has aproximate milling space 700x1200x300 mm. Here's the instruction for using it. The machine is great since you get used to it and make your own instruments library. Also you should be careful with the spindle because you have to set the rpm on the frequency regulator.
Раз я не использовал Modela, надо будет написать пару слов о станке K2. Это один из первых станков Фаблаба. Станок работает с .nc файлами и использует постпроцессор Mach2; приблизительное рабочее поле 700х1200х300 мм. Здесь инструкция по работе со станокм. Как только вы создадите библиотеку инструментов и привыкните к машине, она просто восхитительна. А, и ещё: выставлять частоту оборотов шпинделя надо вручную, на частотном регуляторе, так что будьте внимательны.

The aftermath (Pre-evaluation)
After several weeks I finally got proper textolite and milling bits and it actually worked nice. Especially the quality of cuts, it was awesome. Check out, what I archieved as a results during my last assignments