 JOSE REAL
Week 14 - Composites
This week we have to design and make a 3D mold, and produce a fiber composite part in it. I use two materials for molding.
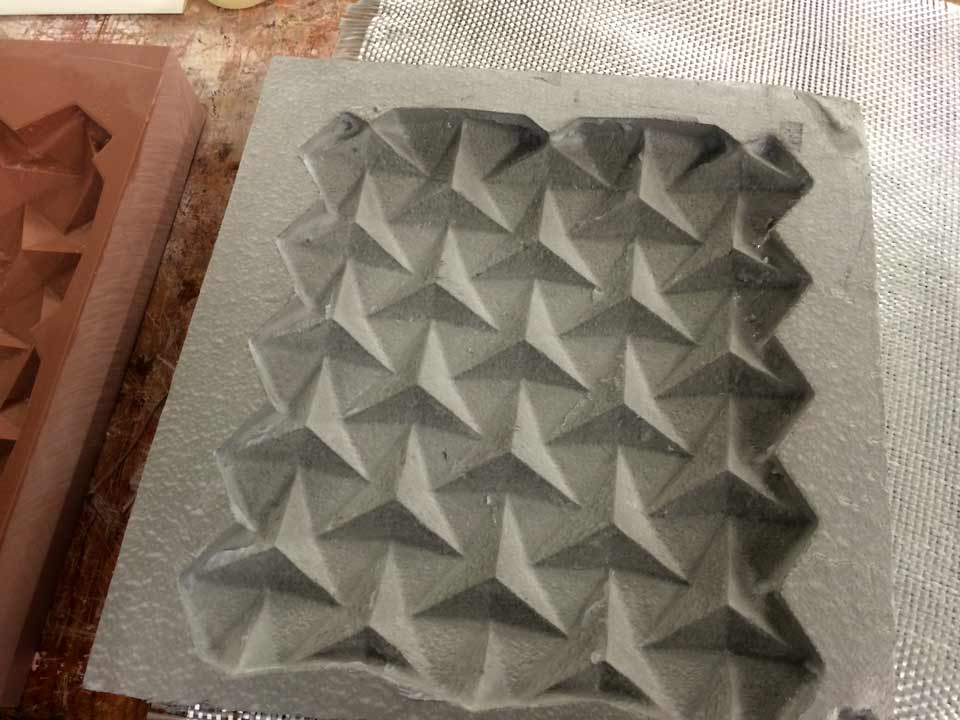
I used polyestrylene, 30mm height and an Axxson Lab 973 composite, it's a material that uses to make models for epoxy prepregs or heat curing composite tools or parts, short run vacuum forming moulds.
Design and mill
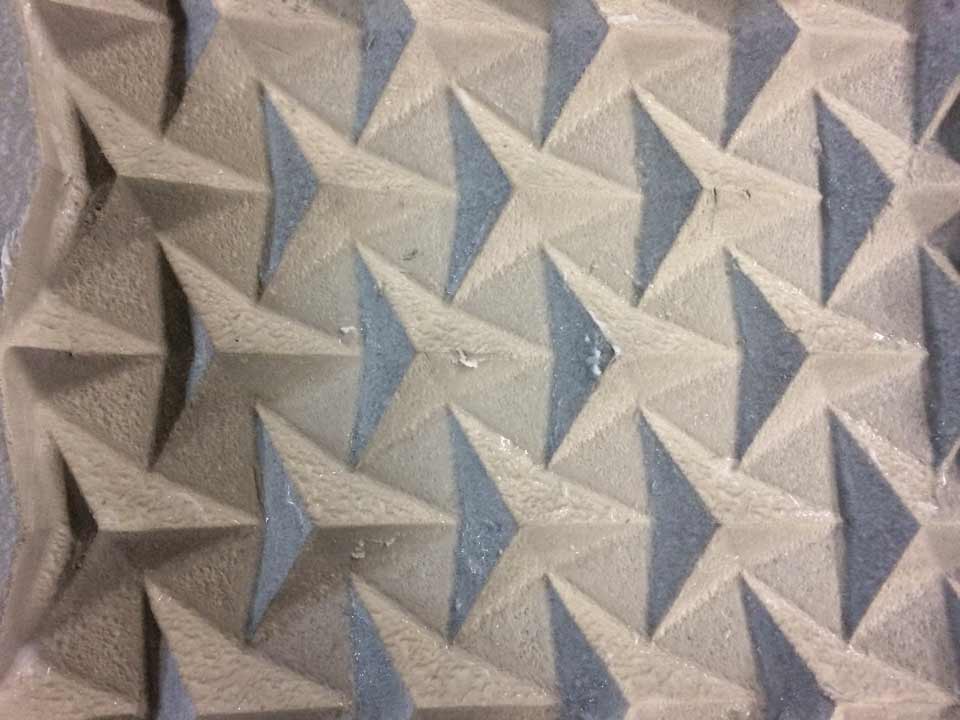
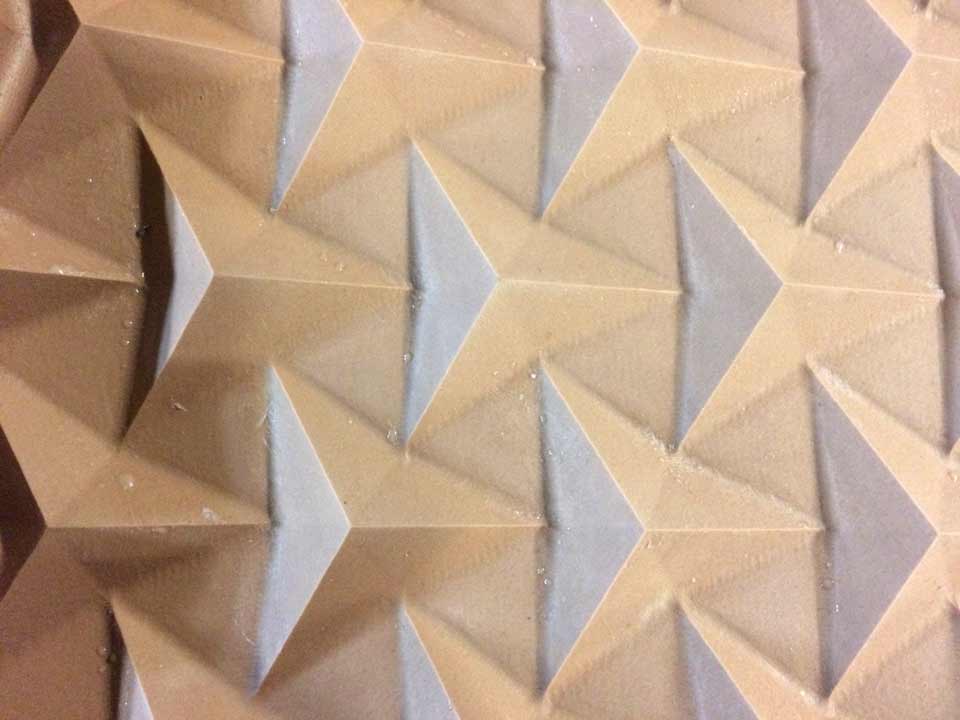
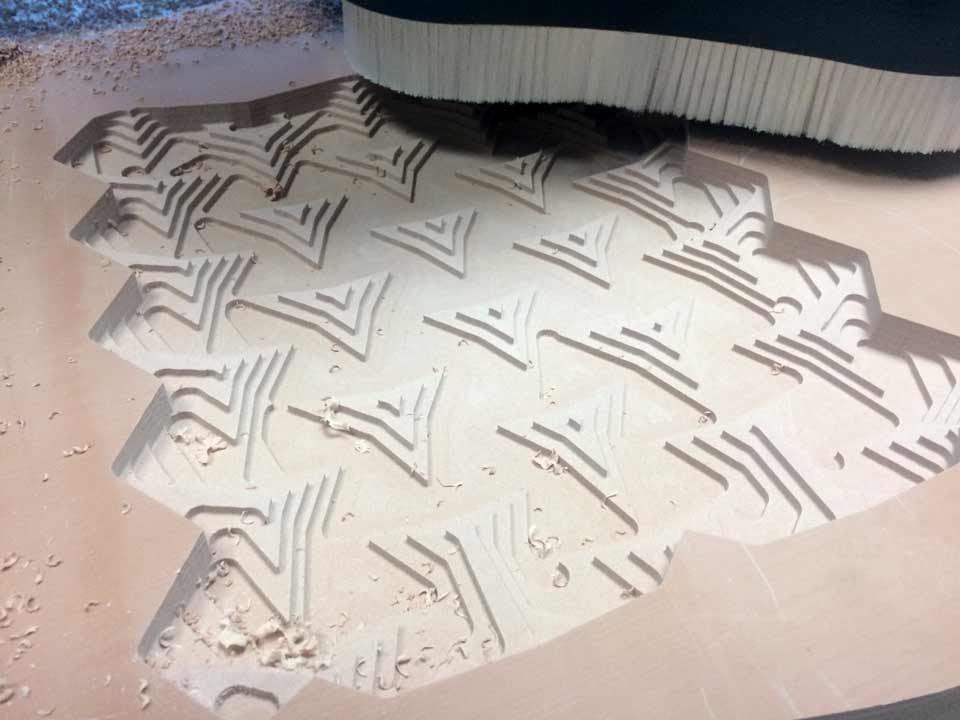
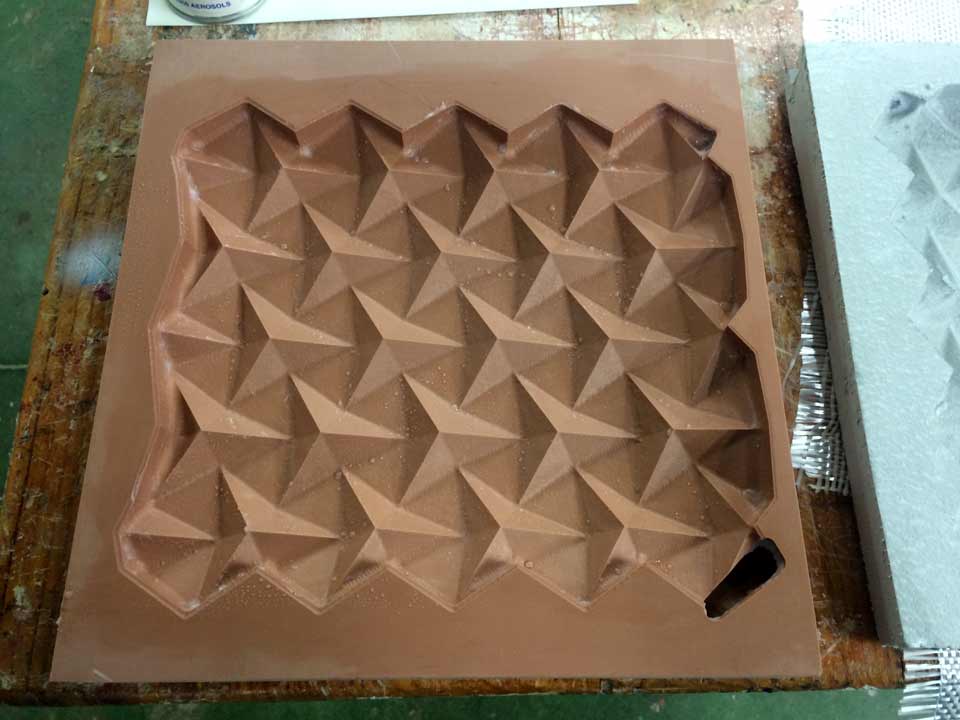
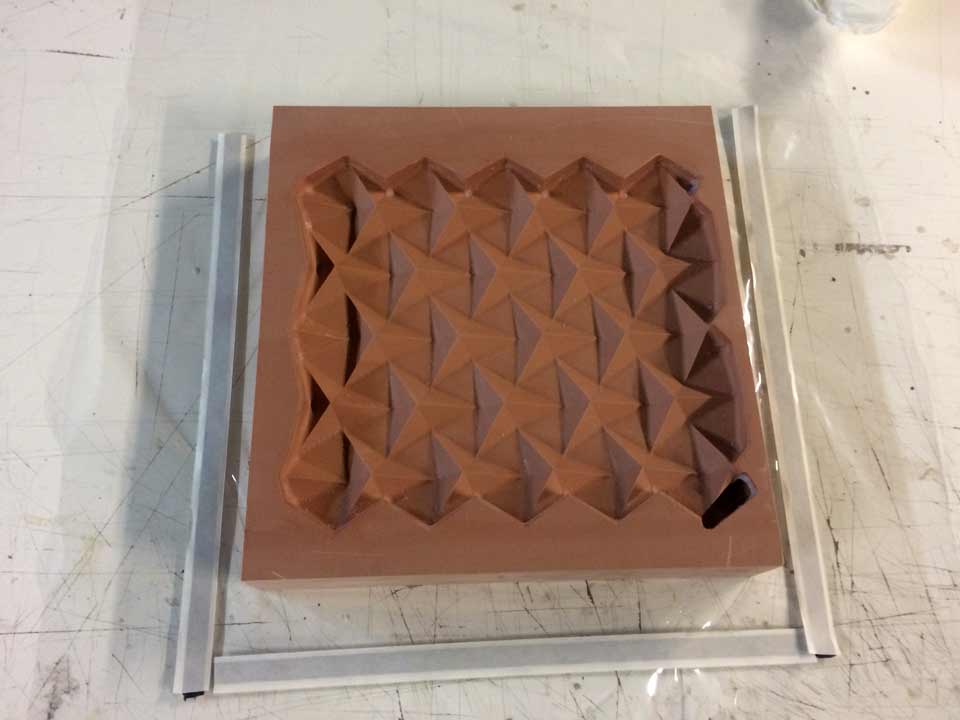
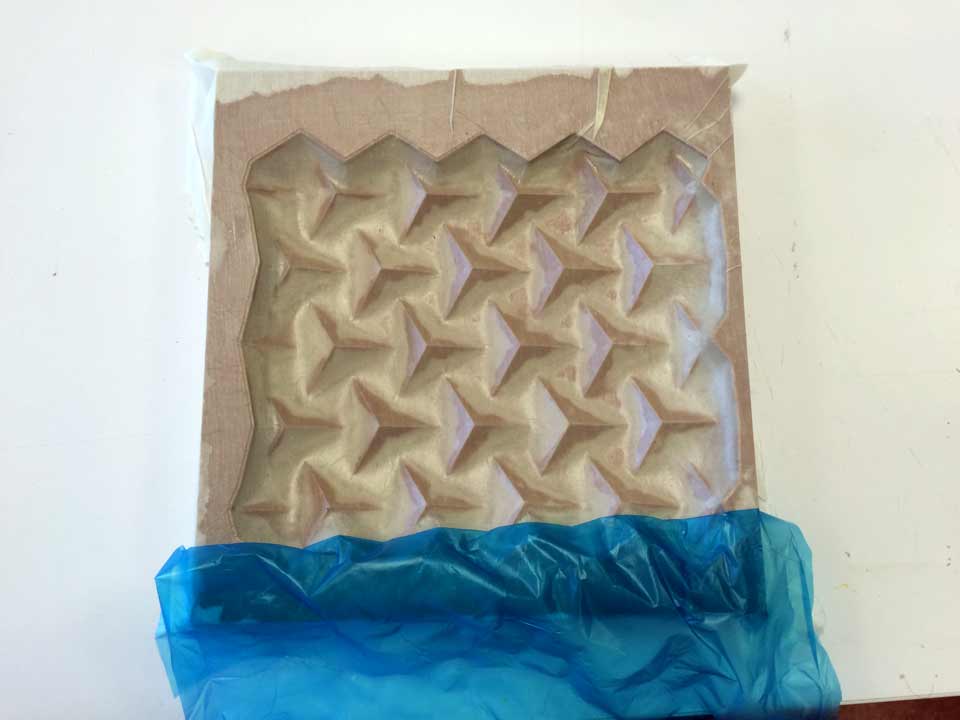
I make a very similar design for the molding and casting assigment. The design is based in an origami. I have scale it for the materials, with 280x280x28mm.
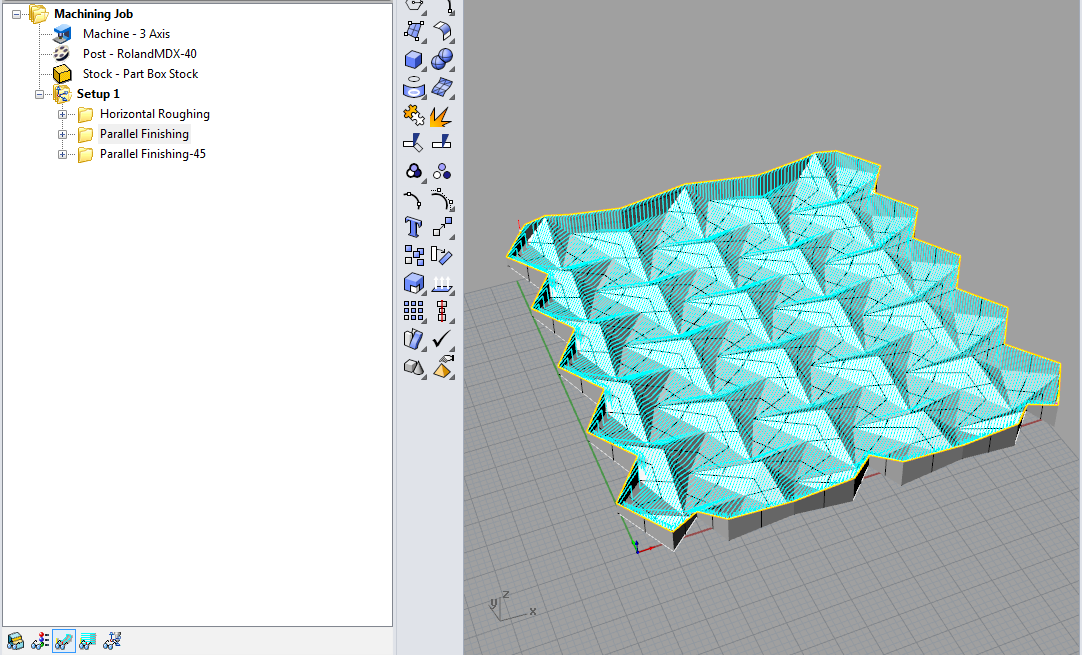
I generated two routines with two mills with Rhinocam program. One horizontal roughing (flat mill 6mm) and pararel finishing (ball mill 6mm). There are the same routines with two materials, but with the polyestrylene I can send with more speed.
CUT SETS / HORIZONTAL ROUGING
TOOL: First select the tool, to make an axis profiling I will only use a plane mill. 6mm flat mill.
REGIONS: I select the region to to make the cut. There are the closed curves of the chair.
FEEDS&SPEEDS: With my CNC doesn't work, I put the speed cut and travelling in the control of the machine.
CLEARANCE PLANE: this is the height where the milling head will pass, for more security, being a small piece 10mm.
CUT PARAMETERS: The stock is the distance between the curve and where the mill will pass. In this case 3 mm. Mixed cut direction will save a lot of time cutting. Cut pattern is stock offset (spiral pattern within stock and part). Cut direction is Mixed. the Cut Direction to Mixed. This enables the tool to cut either up or down, so that the tool does not have to retract each time the direction changes. Minimizing the number of tool retractions creates a cleaner toolpath. Stepover tells us when it passes each honey by the material. In this case half the mill, 3 mm
CUT LEVELS: I will not cut all the material so I'm going to progam to lower each 3 mm. The cut levels ordering is not important now because it's all the same piece.
ENTRY/EXIT: Along 3d entry (ramp). This is very important because if the cut depth is too long and the entry is only in 2d, the mill can break. It's better get out perpendicularly for the mill.
This is the preview of the Horizontal Rouging

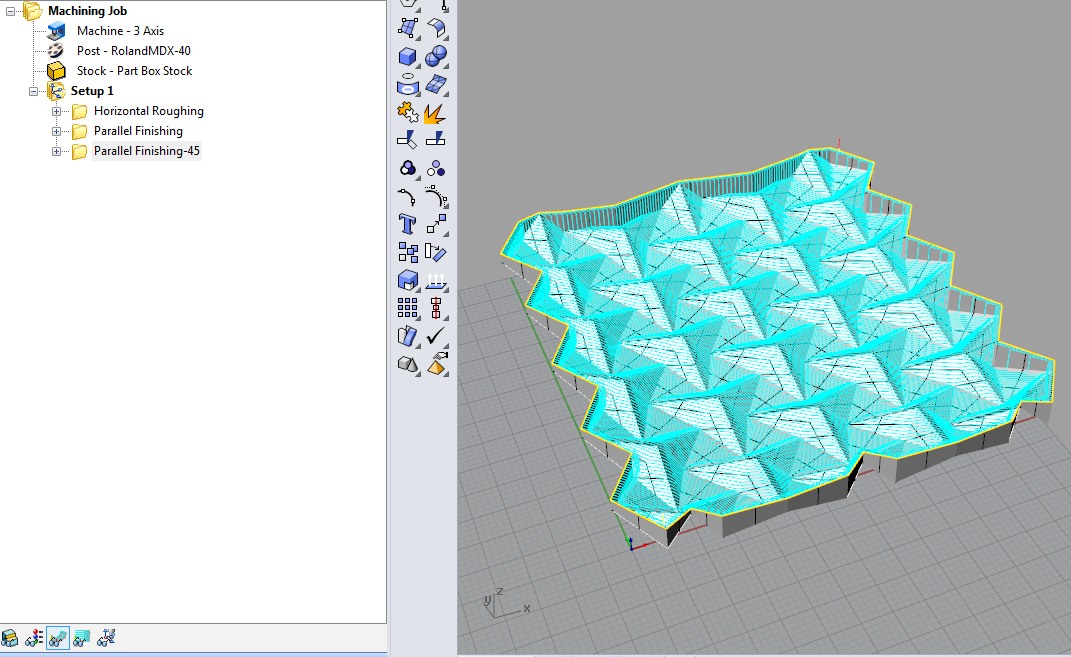
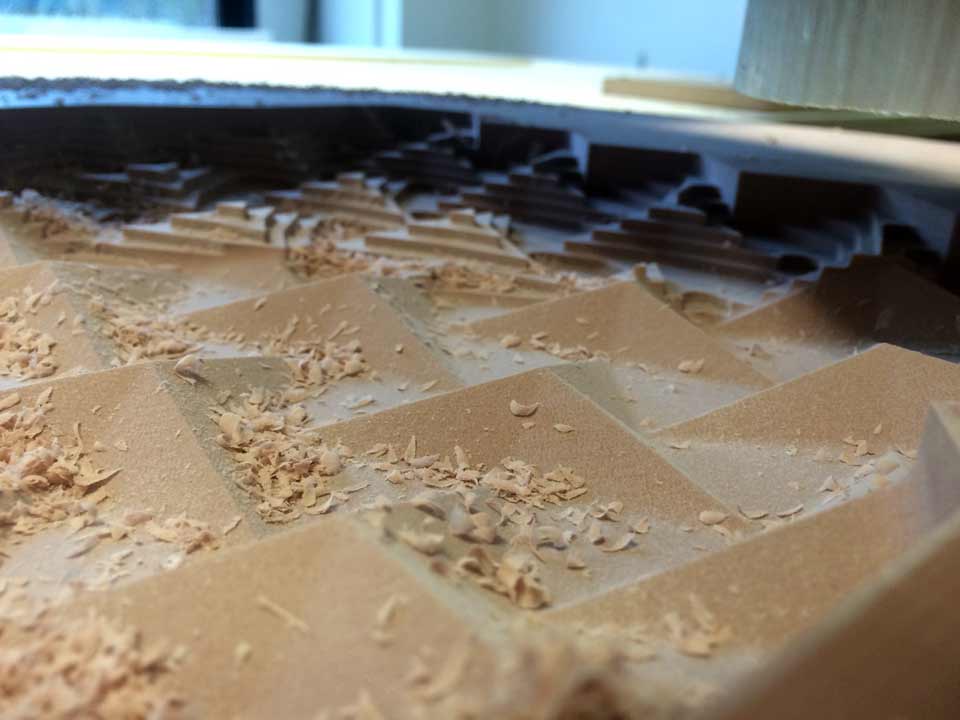
CUT SETS / PARAREL FINISHING
We use Parallel Finishing again as the final step to clean up any remaining material left in the previous tool path.
TOOL: First select the tool, to make an axis profiling I will only use a plane mill. 2mm flat mill.
REGIONS: I select the region to to make the cut. There are the closed curves of the chair.
FEEDS&SPEEDS: With my CNC doesn't work, I put the speed cut and travelling in the control of the machine.
CLEARANCE PLANE: this is the height where the milling head will pass, for more security, being a small piece 3mm.
CUT PARAMETERS: Stock is 0. Angle of cuts 45 (I made two routines, one with 45 and other with -45)
ENTRY/EXIT: Vertical dist 0,6mm and the cut connections is straight.
Origami Mill For Steel by josereal on Sketchfab
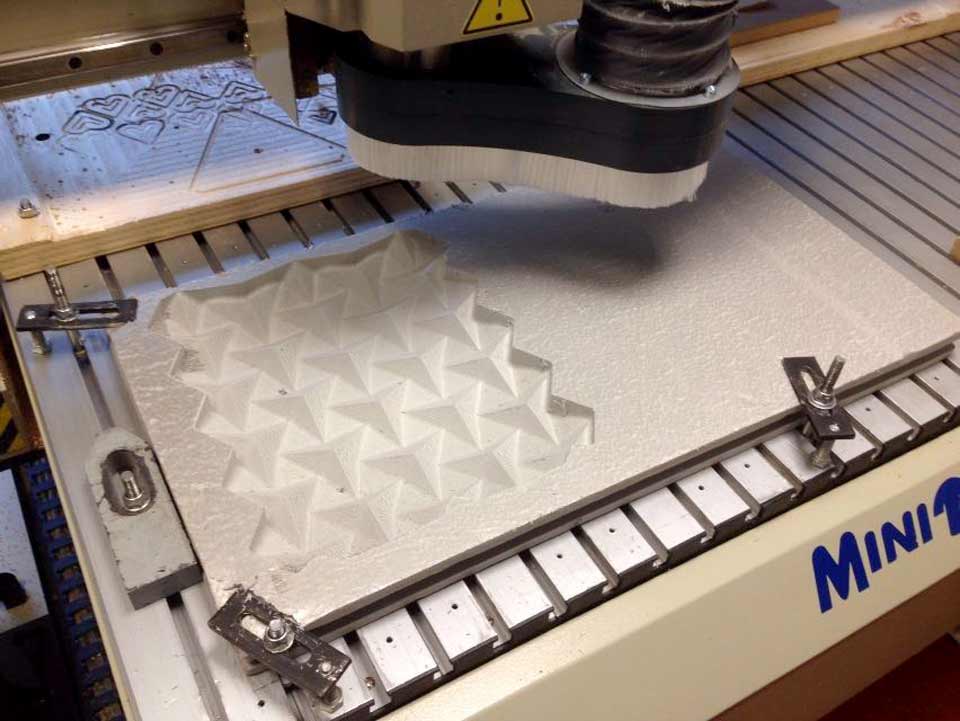
When I finished the milling routines I have cut both works to have a smaller object to work.
Composite
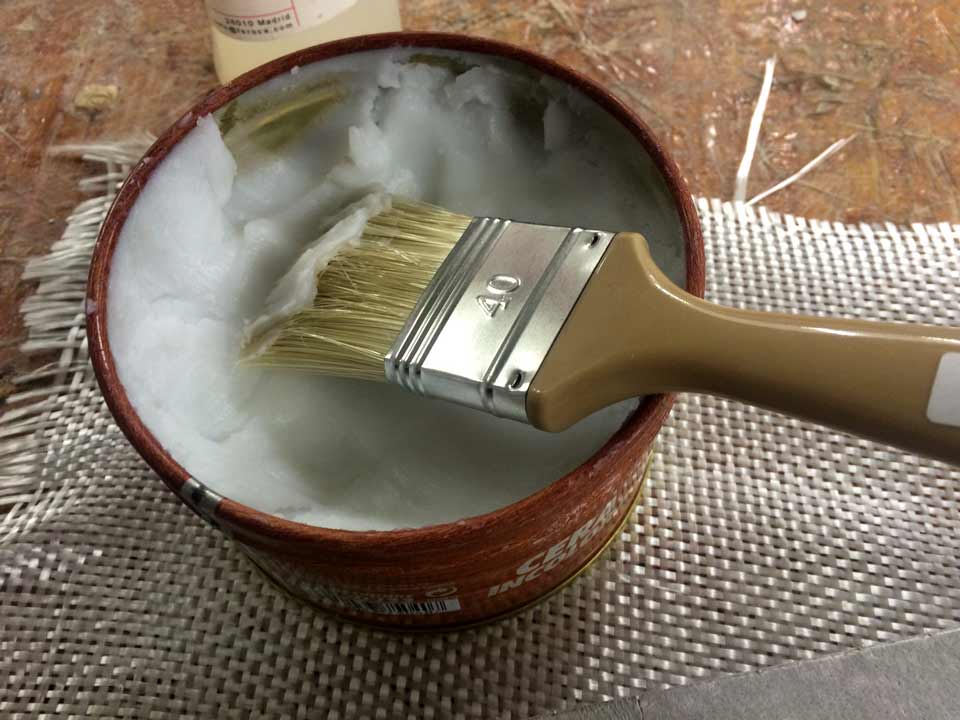
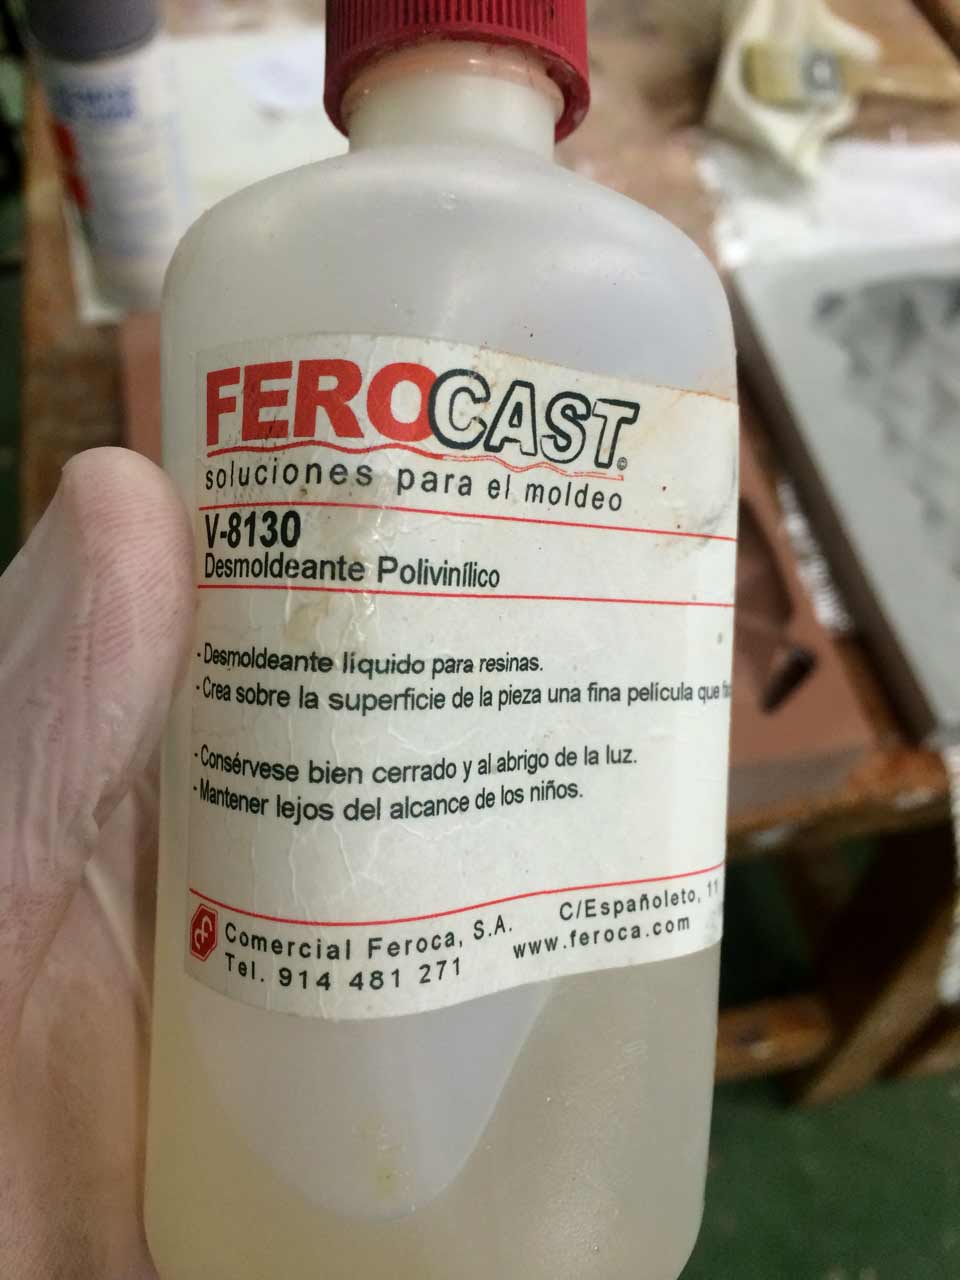
After seeing how my colleague Marta had problems with unmolding, I decided to use wax and release agent for resins.
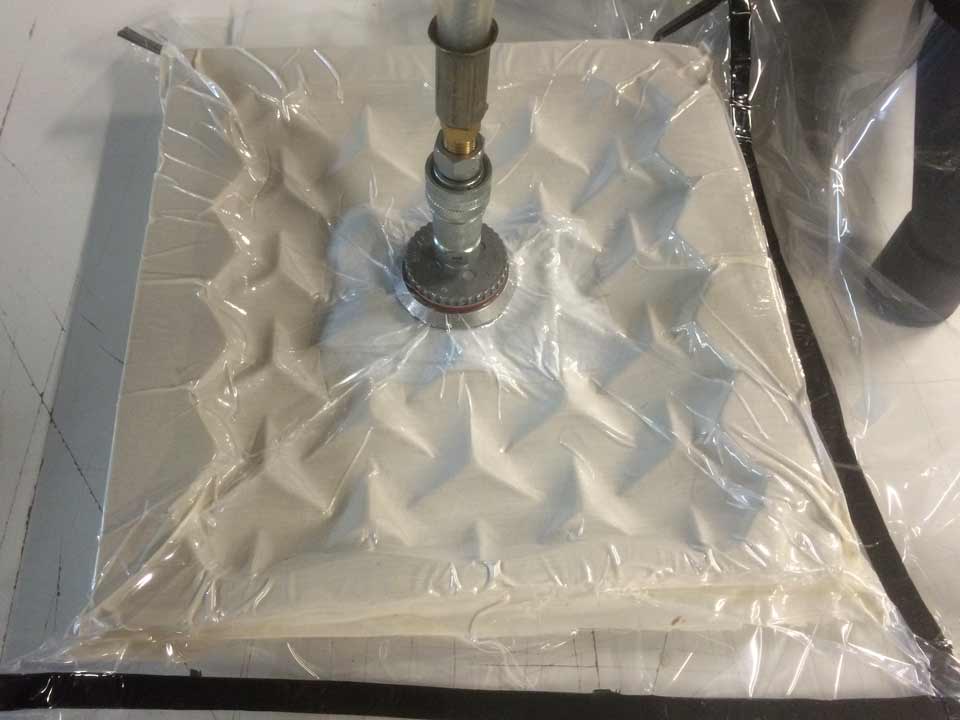
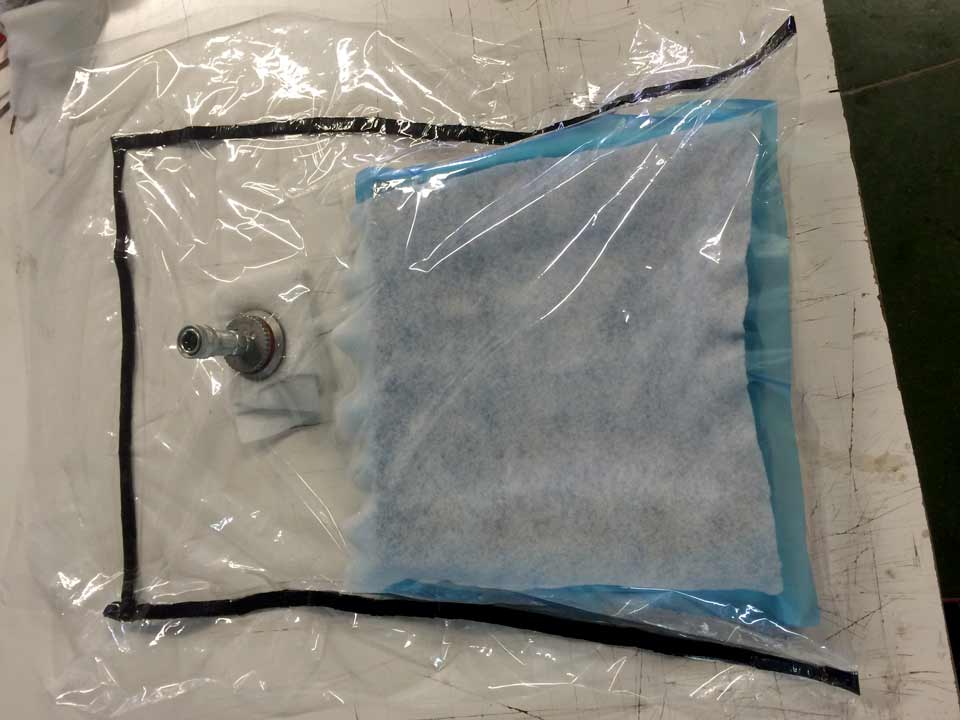
Preparing the vacuum bag, our friends from the automotion workshop at the university had a special plastic and some kind of double-sized tape that looked like plasticine to seal up the bag.
I have prepared the resin. 100 for A 16 for B. 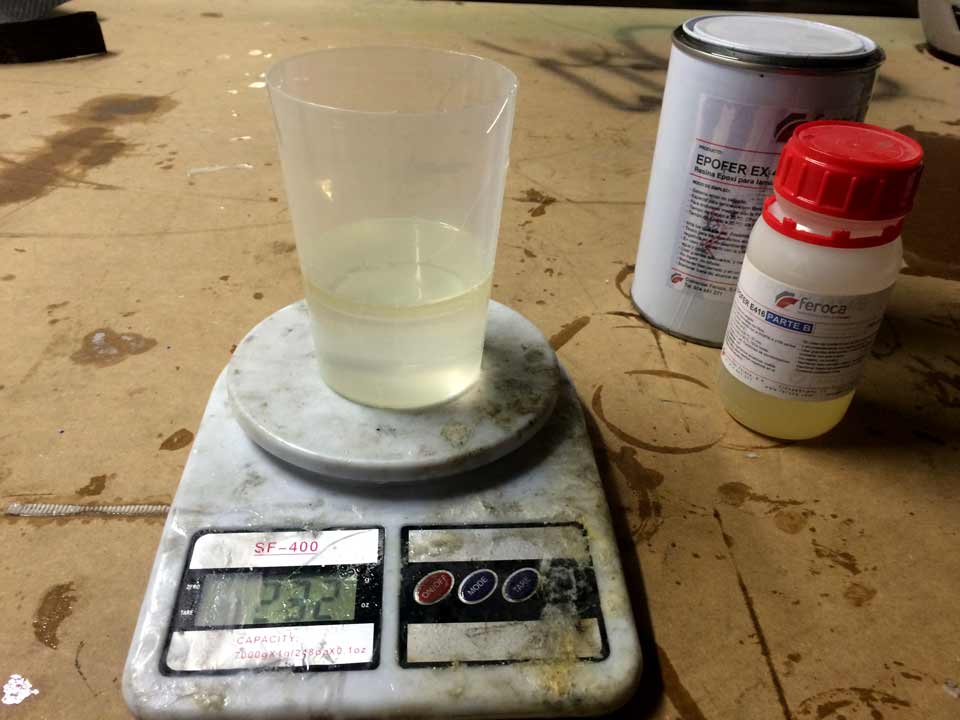
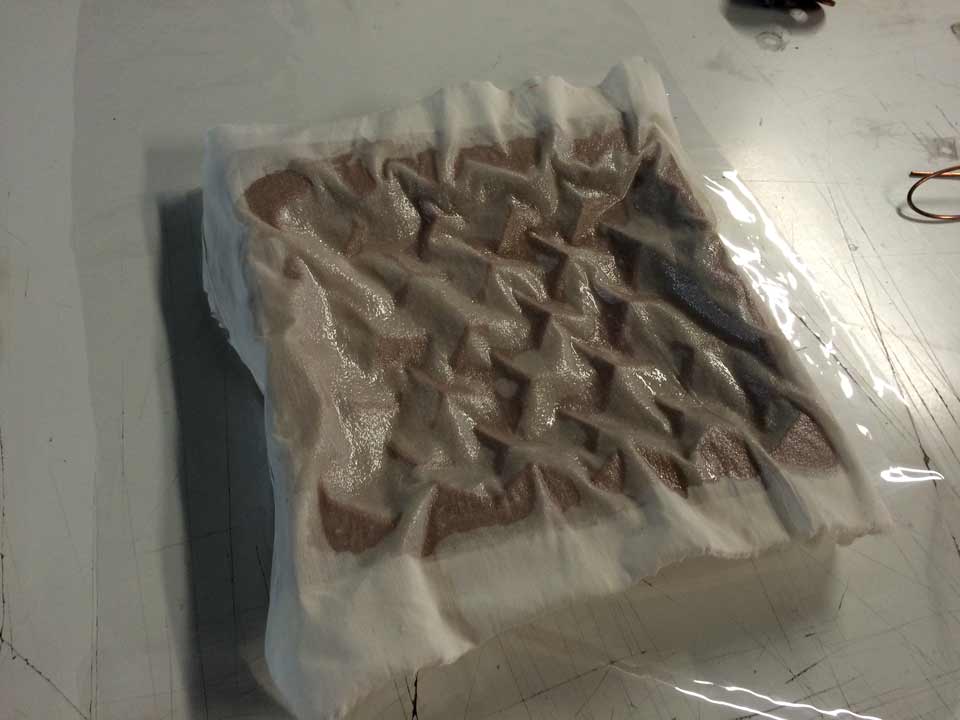
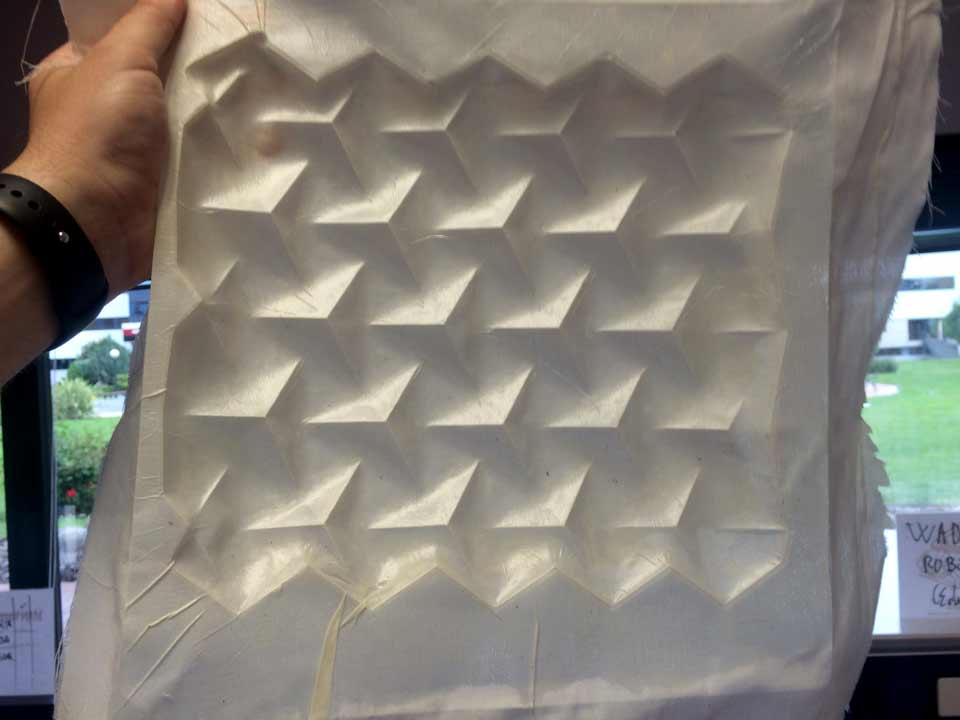
Placing the fabric over the mold.
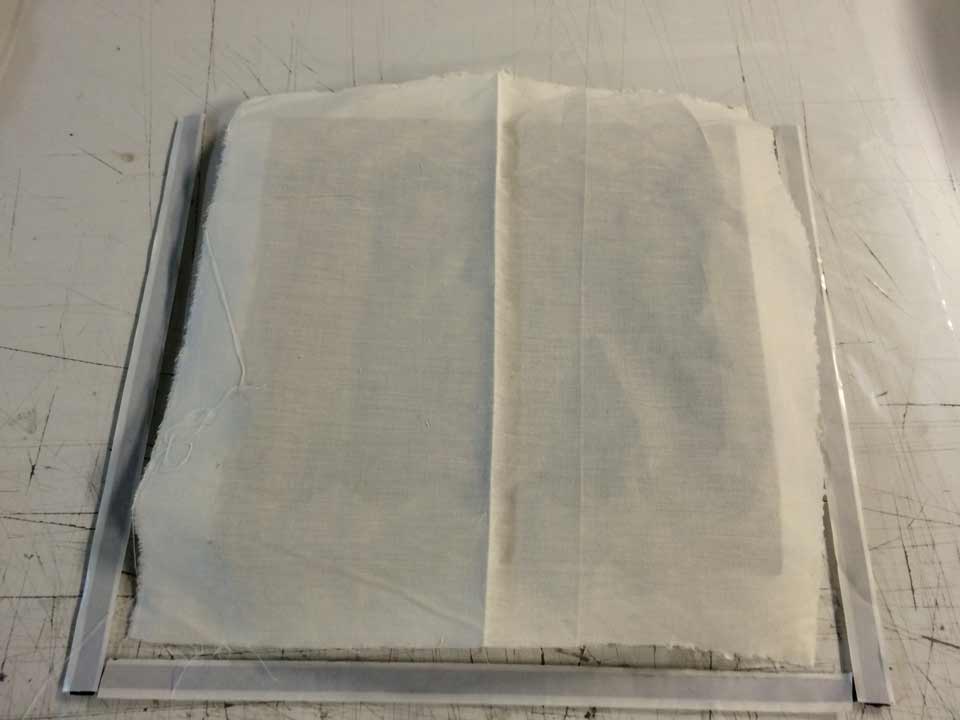
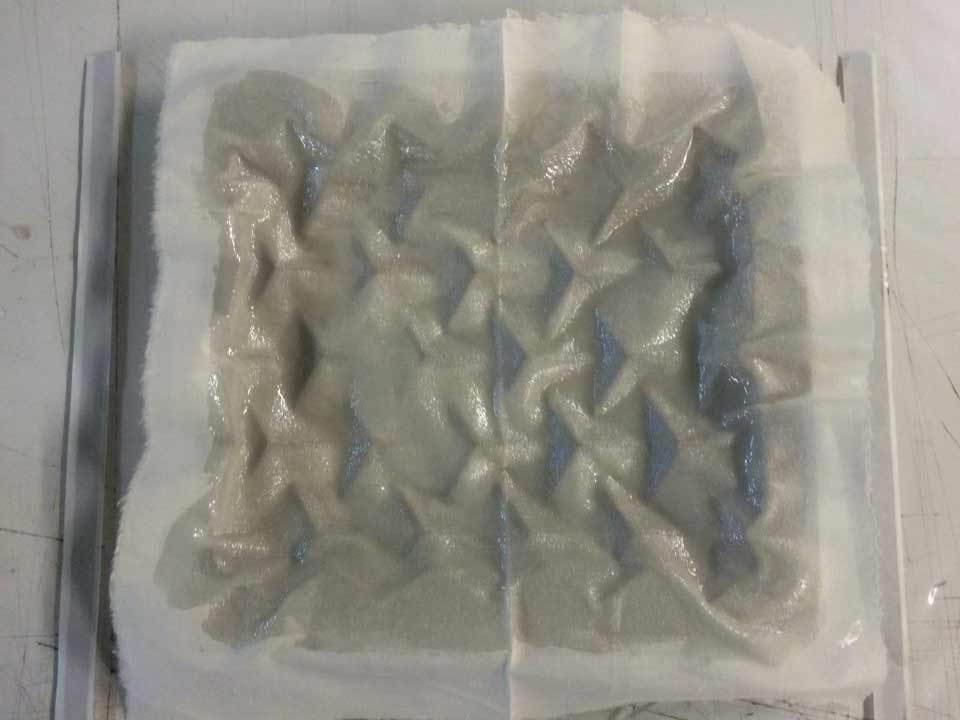
Applying epoxi resin and placing a transparent plastic film over. On this last we apply another fabric.
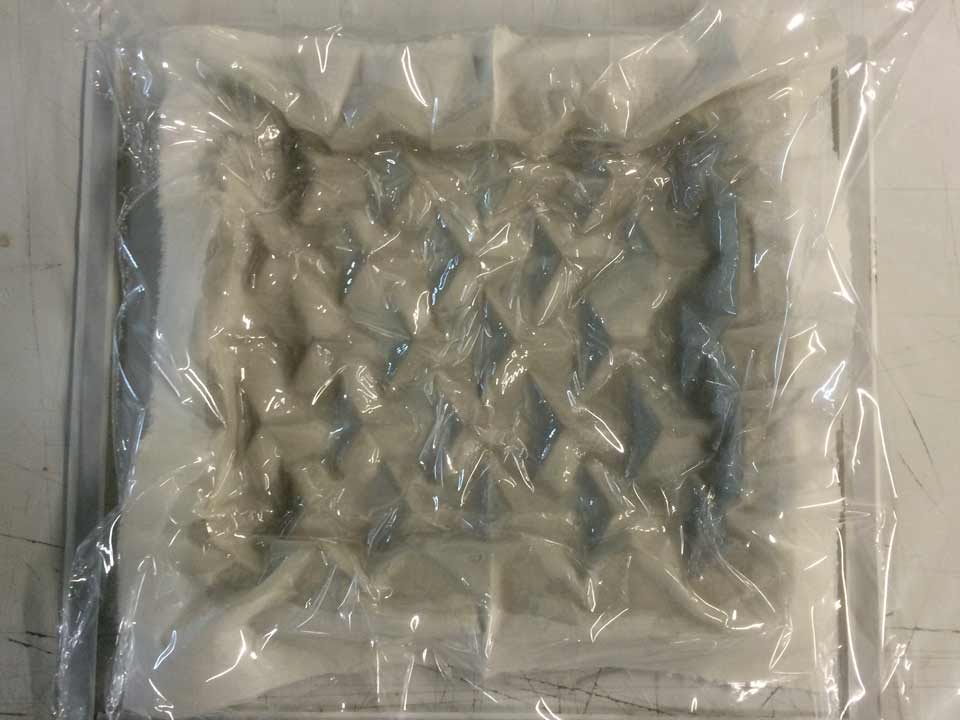
Folded blanket to avoid to mess up the composite because of the pressure with the valve, Closing the bag and apllying vacuum 24h max. This epoxi needs 48-72h to be able to unmold.

Make the same with the other piece:
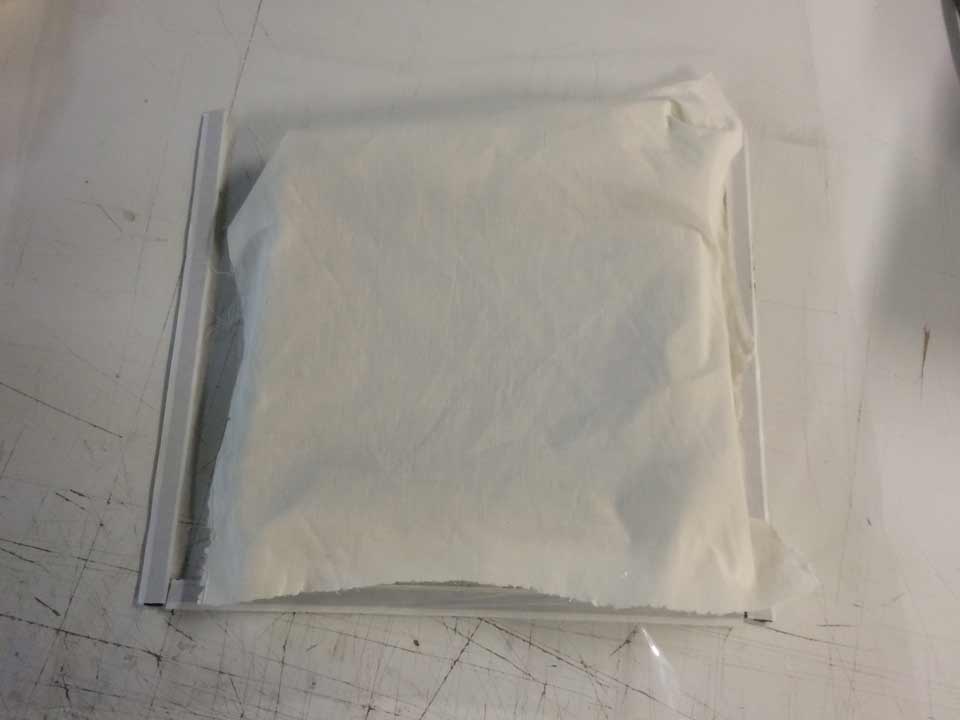
Using another plastic and final protection.

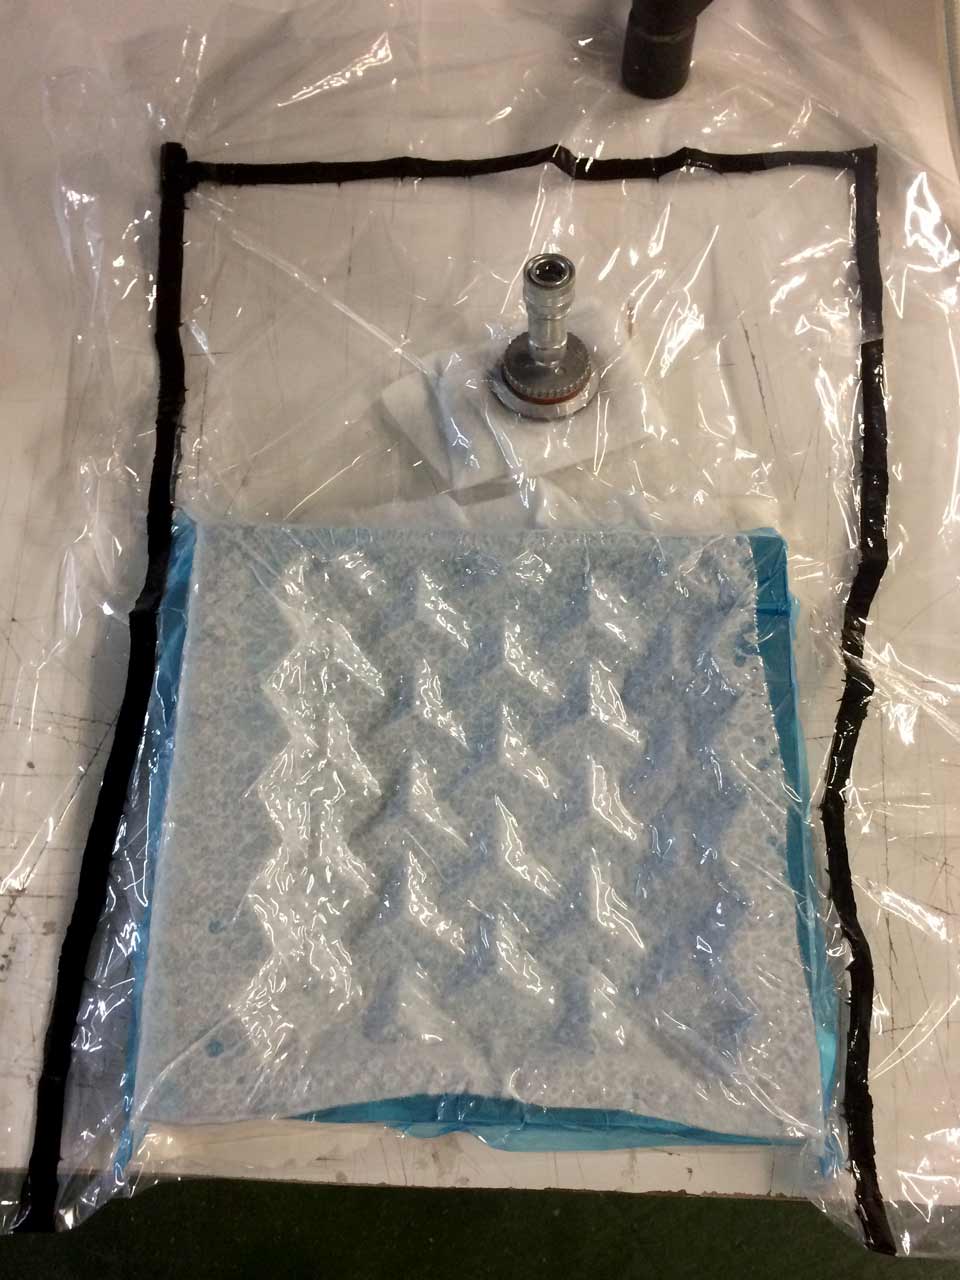
It applies the 24 hour vacuum and works very well not losing air pressure after removal.
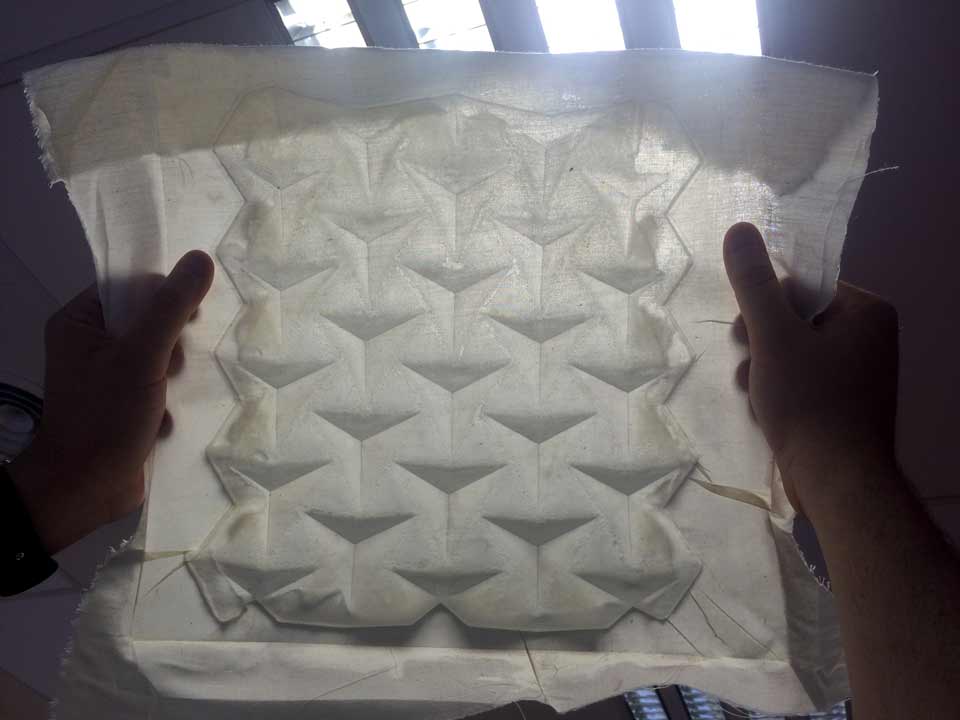
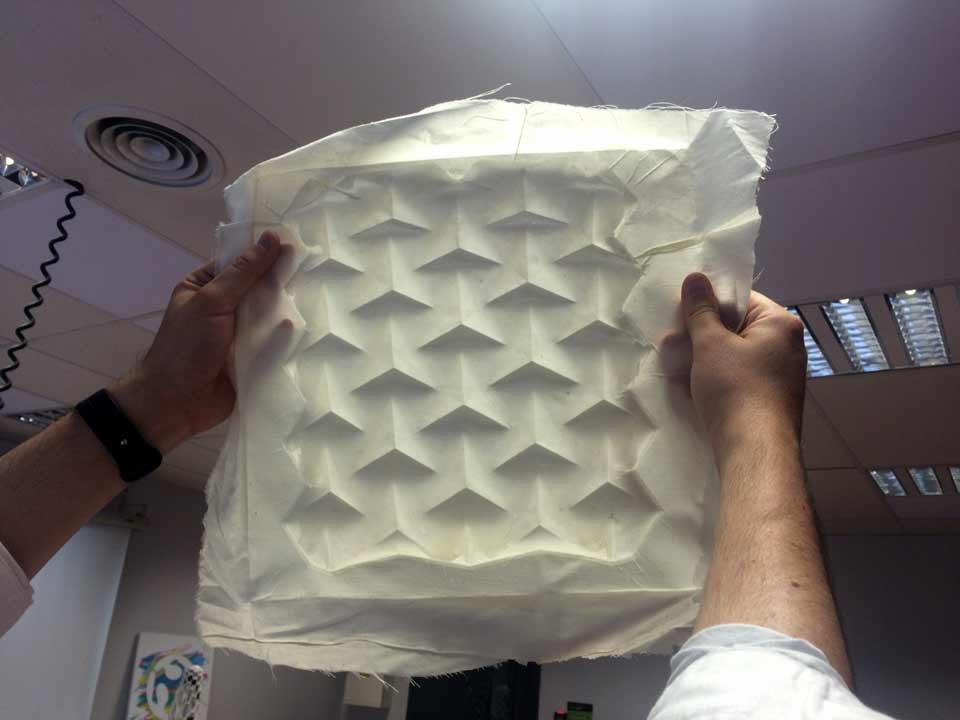
Bring out the pieces
I found hard to remove the first piece as the base was a soft material, but thanks to the wax went well, although it has taken some material.
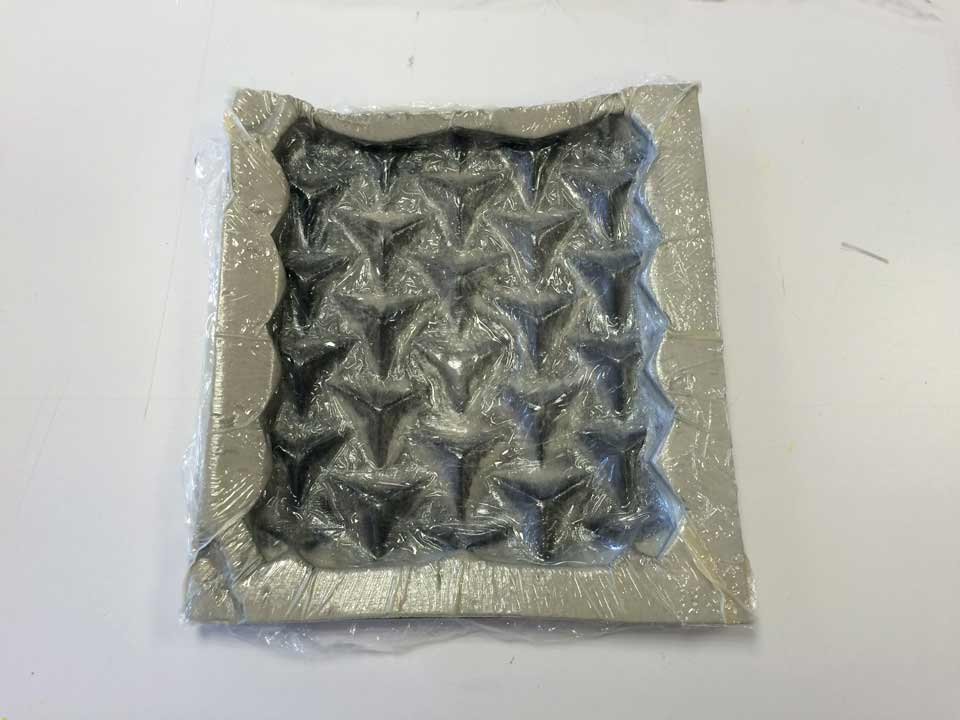
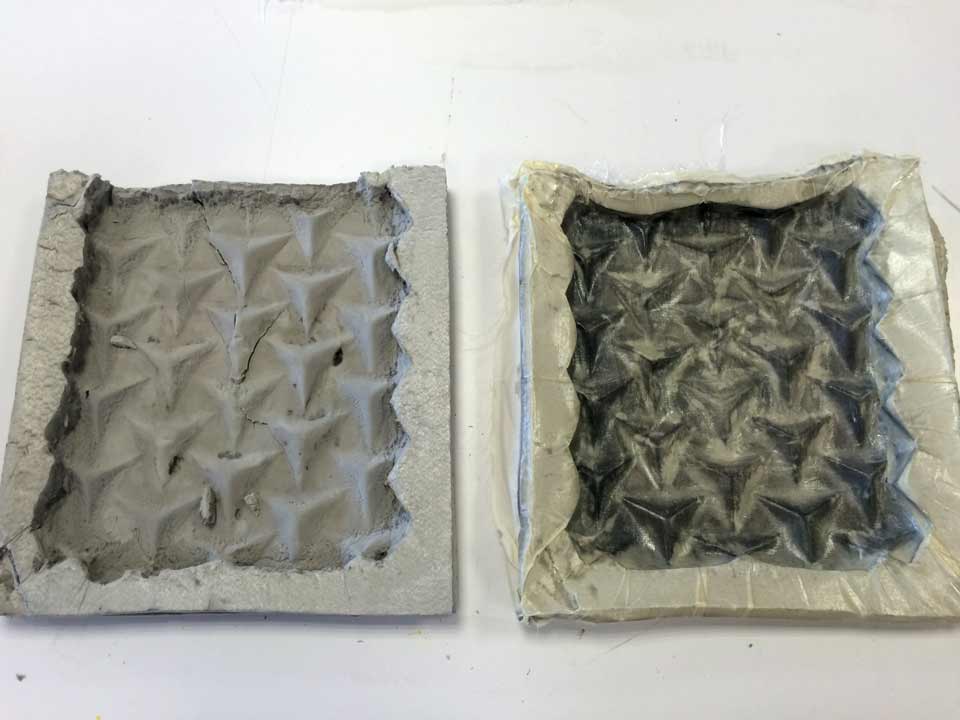
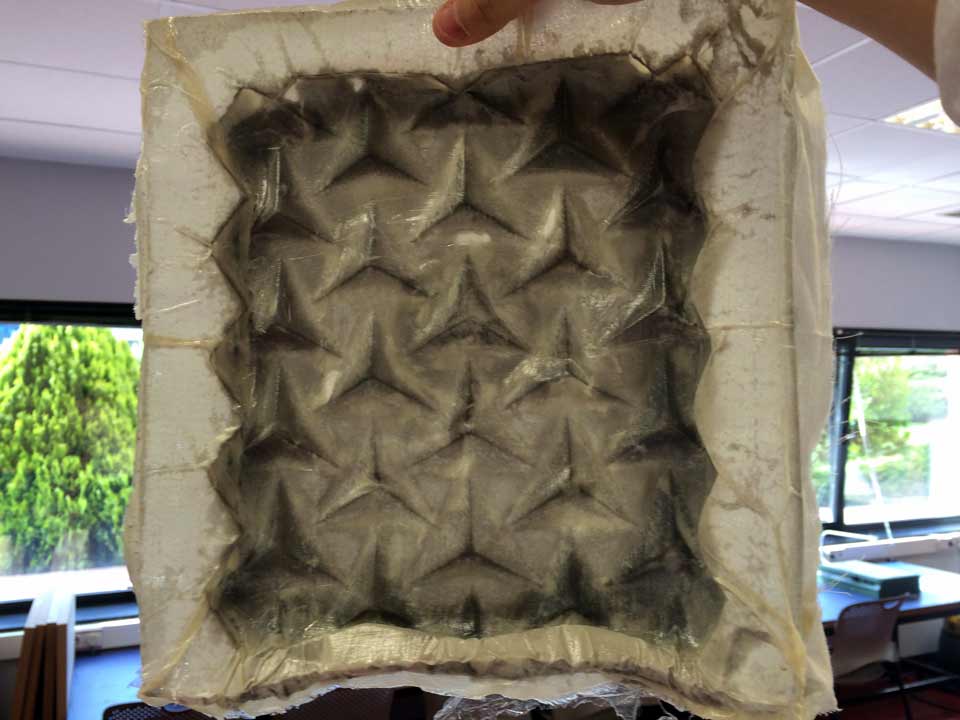
For the second part has been easier, has come out with ease and finish of the piece is quite acceptable. I think that iI will to become it on a lamp!
v
WHAT HAVE I LEARNED?
to make a recess must be very careful if you do not have the specific tool. I had to create a bag emptying which could have many leaks. Thanks to Jesus Noelia and I could do it correctly, the end of sucking the engine, my bag did not lose pressure. For better coupling of the material he might have been better to use a piece that stand out.
COMPOSITES |
|
Shown how you made your mould and created the composite |
x |
Described problems and how you fixed them |
x |
Included your design files and ‘hero shot’ photos of the mould and the final part |
x |
*missing files mill process
I want to thank Noelia and Jesus, members of the Formula UEM team, they are building a formula student car to compete with other universities. They use the Axxson Lab 973 for its carbon fiber composites and have given me an spare part. More info
FILES