The assignment for this week was to design and make a 3D mold around a foot squared and produce a fiber composite part in it.
I will perform the following this week:
I started by thinking about what it was this week I wanted to create. I looked at the sample composite in our lab and thought about the limitations of making composites. I paid attention to the sides and how vacuum systems worked. I read through the Vacuum Bagging Techniques manual from West System to get a better understanding of the process. This led me to want to create something like a mask out of carbon fiber. After Neil's talk, I decided to not use carbon fiber as to the potential hazzards in a high school lab. I decided to create a frisbee and produce a fiber composite part from my model.
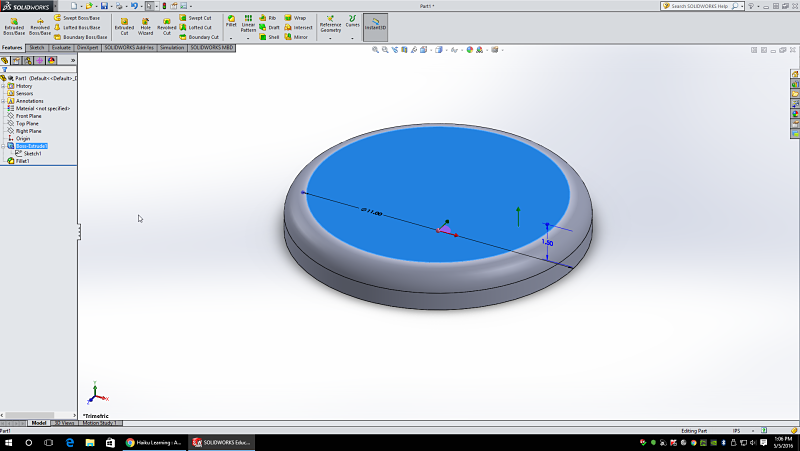
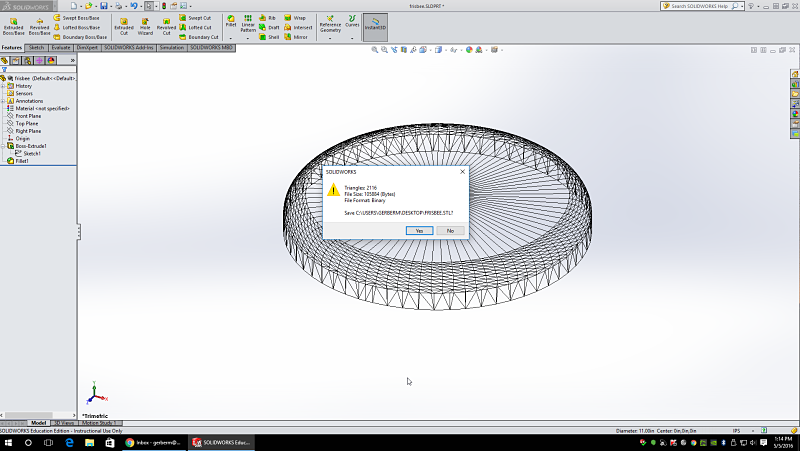
I decided to create the .STL model using Solidworks. It was a fairly basic design file. I created a circle, extruded it to 1.45 inches and then added the fillets on the corners. I played with the radius of the fillets to create a better frisbee look. I searched on a search engine to find pictures of frisbees to make my dimensions close to a frisbee. After I looked I again adjusted the fillet radius and settled on a design the looked like the frisbee. I then exported the Solidworks file to an .STL file to be used in the Roland MDX-40A.
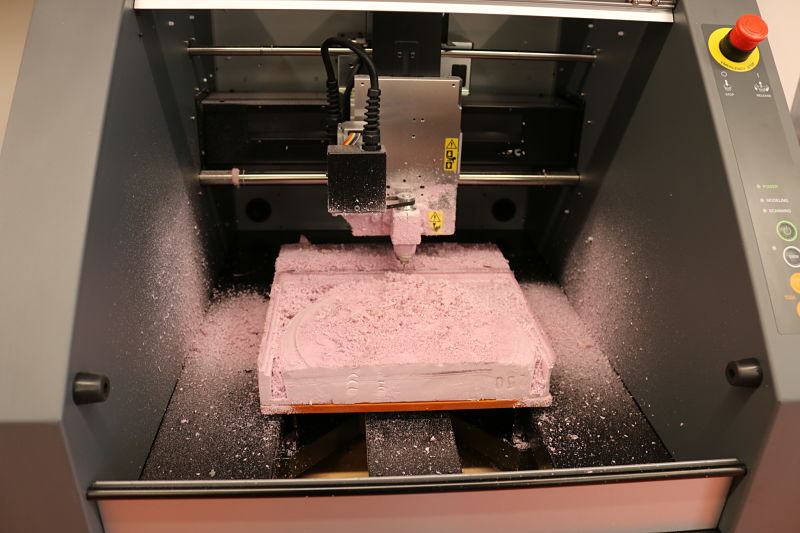
I decided to use the Roland MDX-40A to mill out the frisbee. I used a piece of Polystyrene foam and cut it 12" by 12" to fit in the Roland MDX-40A. My model was just shy of these dimensions to be able to be milled. I set up the machine and set the X and Y axis using VPanel in the Roland MDX-40A. I then used the sensor and set the Z axis. I set it to mill using the 1/16 end mill bit. half of the frisbee
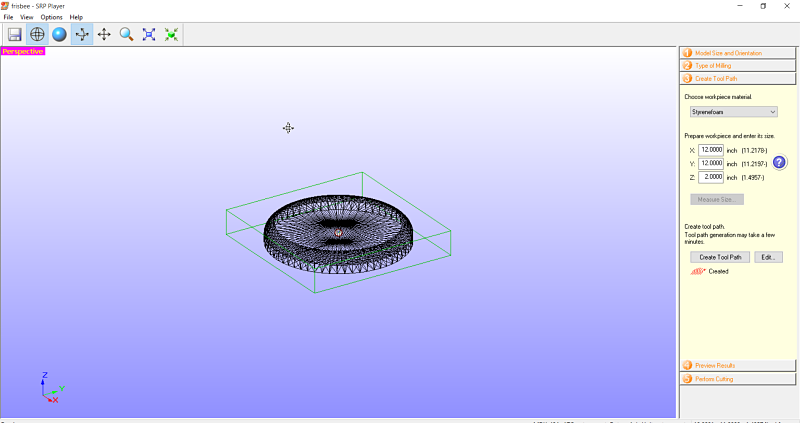
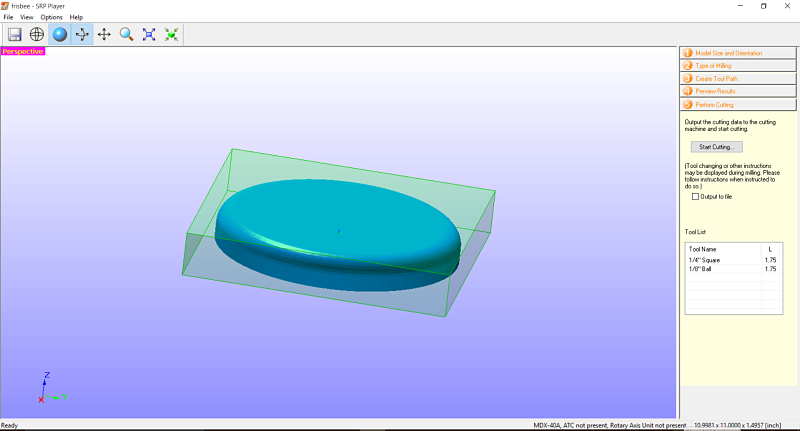
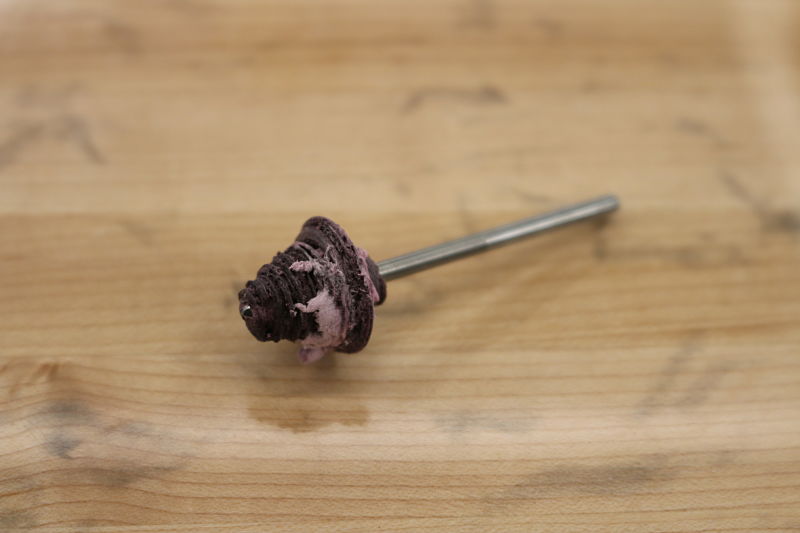
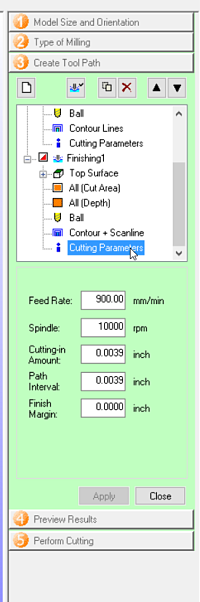
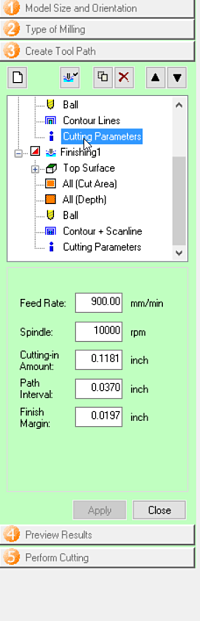
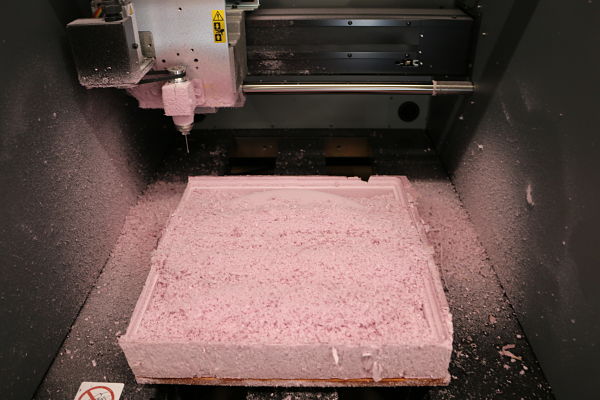
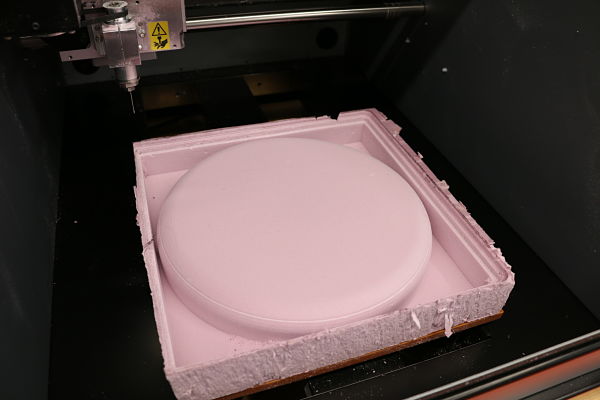
I started by setting up the Roland MDX-40A CNC to cut using a 1/16 end mill bit. I taped the Polystyrene down using double-sided tape and X and Y homed the machine, or so I thought. I came back in several hours and found the model was only half cut out. This was a major issue and I determined the cause was that I only homed the X axis and this caused the machine to only mill half of the model. I then set up the mill to mill a bit quicker and I wanted it use a 1/4 end mill to rough and 1/8 ball to finish the job. This was complete the process in only a few hours. I set up the machine and ensured the X and Y was set up correctly. I started the process and then returned after three hours to switch the tooling. After I started the 1/8 bit for finishing I noticed the bit collected part of the Polystyrene and was not cutting correctly. I took a picture of the bit afer I cut with it and the amount of Polystyrene that balled up on the end of the bit. I then set up a new piece, taped it, and set the tooling for 1/16 end mill it estimated it would take 29 hours to complete the milling. I went ahead and cut the part and it produced the correct mold of the frisbee. I ended up using the defaul speeds and feeds for the SRP Player, the CAM program native to the Roland MDX40A. The feeds and speeds used for all the 1/4, 1/8 ball and teh 1/16 end mill were as follows: Roughing- 900 feed rate, 10000 spindle speed, .1181 inch cutting-in, .0370 path interval, .0197 finishing margin. The Finishing feeds and speeds were: 900 feed rate, 10000 spindle speed, .0039 inch cutting-in, .0039 path interval and .0000 inch finishing margin. The images below are from the 1/16 end mill roughing and finishing.


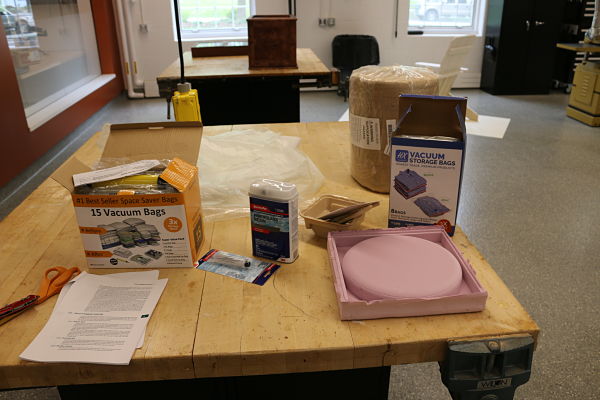
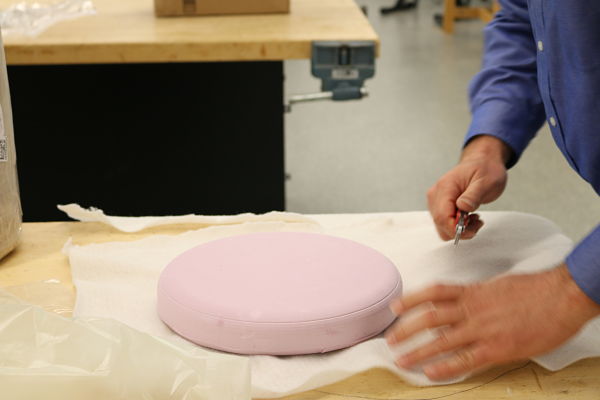
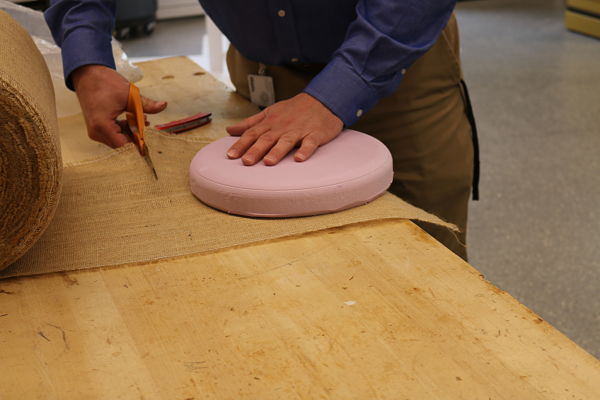
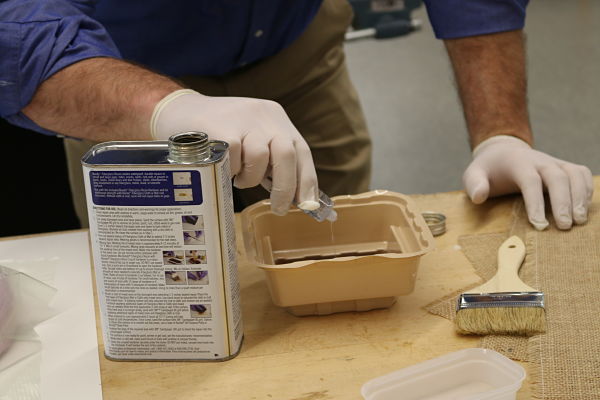
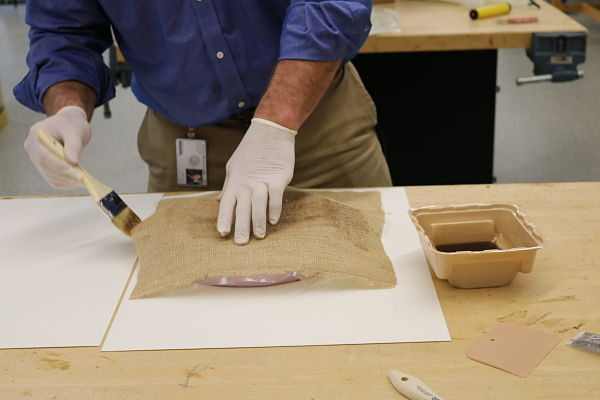
I assembled the tools I needed to create the composite fiber frisbee. I purchased vacuum bags for storage, resin, brushes, and and the natural jute burlap. I read the instructions from West Systems to make sure I had everything lined up and ready to go. I started by cutting the foam away from the model. I then laid out the material needed for the breather, perforated film, jute and release fabric and cut each one slightly larger than the frisbee mold. I then mixed the resin and hardener to start the process. It specified I had about 8-12 minutes of pot time. I used the recommended mixture from the back of the resin bottle and mixed 1/4 of the resin container with 1/4 of the hardener agent. This was specified by the manufacturer.
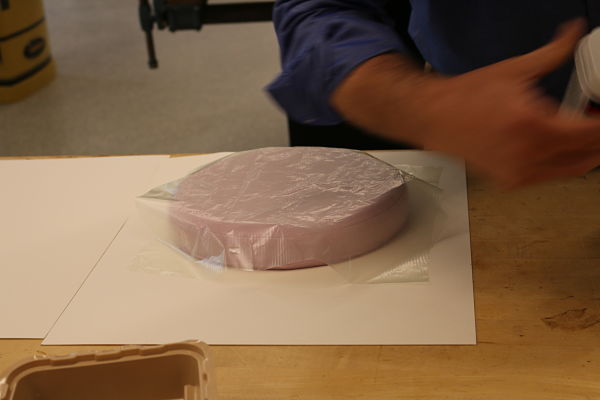
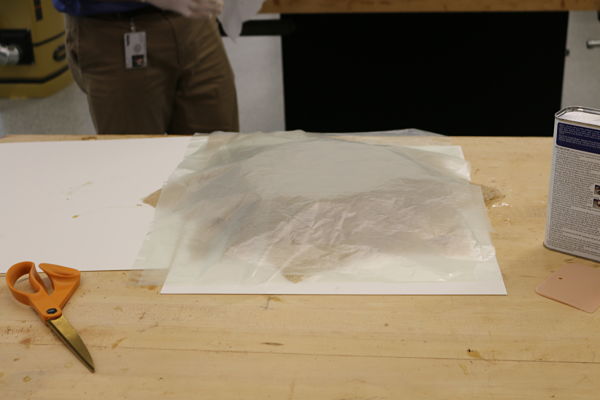
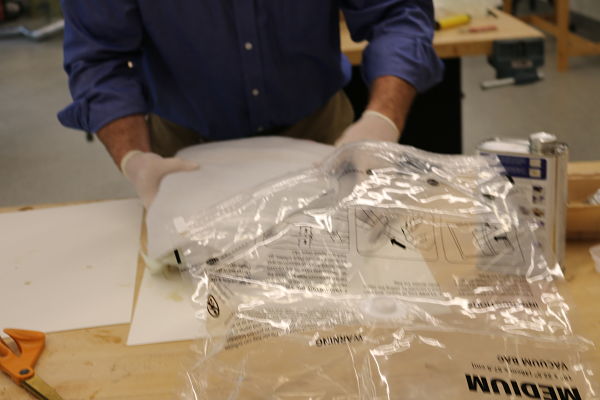
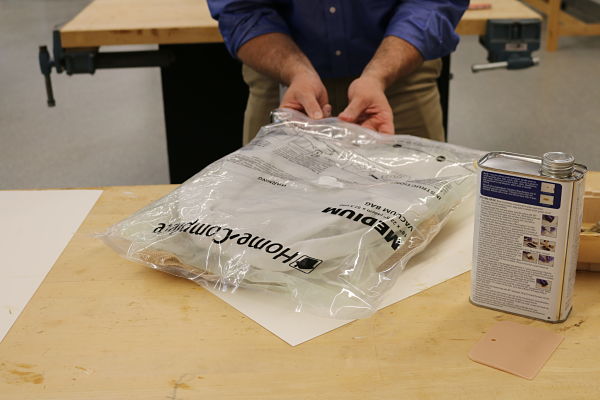
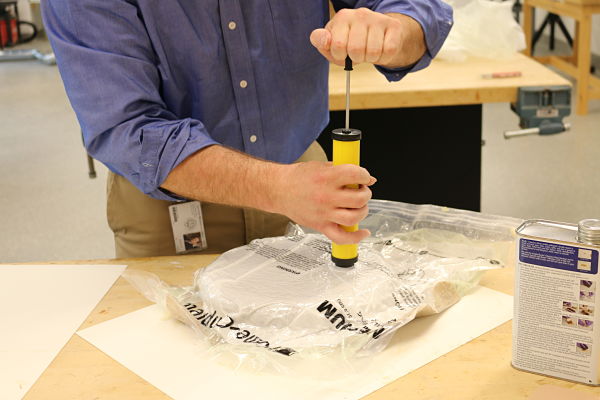
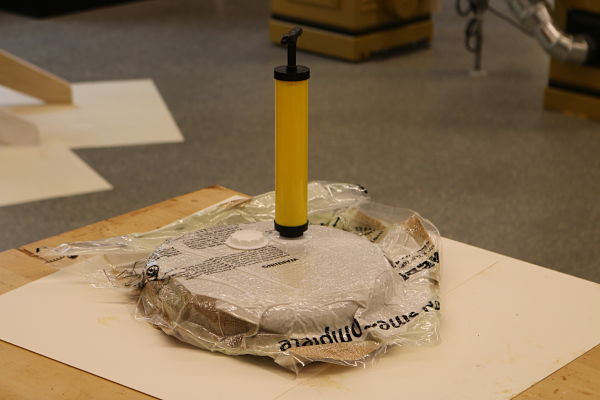
It was then time to apply the resin to the burlap jute and get the materials in the vacuum bag. I coated 4 layers of burlap jute with the resin. I made sure to turn the burlap jute in different directions to get the fibers to cover more. I had never applied it to burlap jute and had to add more resin before the final layer was applied. I then added the release fabric to the top, followed by the perforated film and breather on top and slid it into the vacuum bag. I will say that it was sticky and was difficult to get it lined up correctly as it stuck to the sides. I got it attached and sealed the end. I screwed on the vacuum pump and started the process of pulling the material to the mold with the vacuum pressure. It was a straight forward process. I did notice a small leak of air around the valve so every few minutes I had to repump the bag. This is the downside of cheap disposable bags used in vacuum bagging. I also noticed how hot the chemical reaction was in the bag. It was warm in the bag.
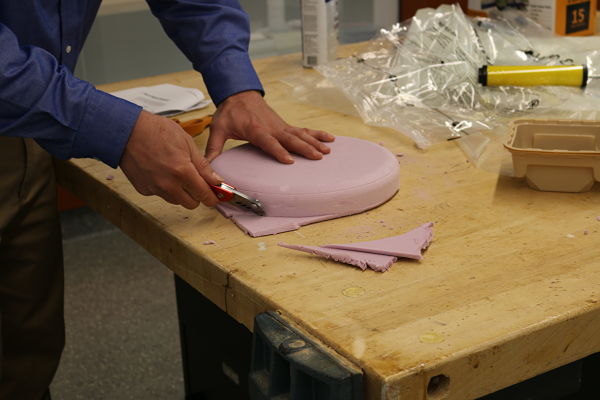
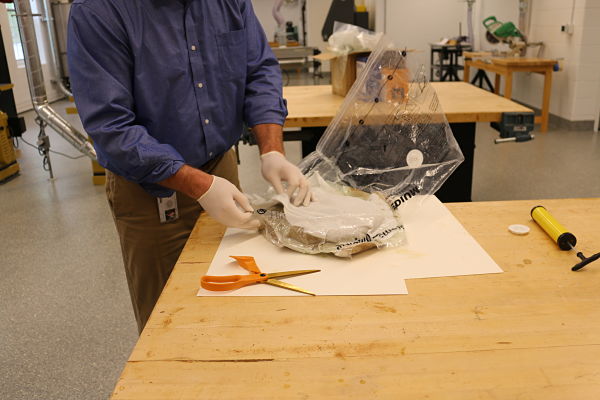
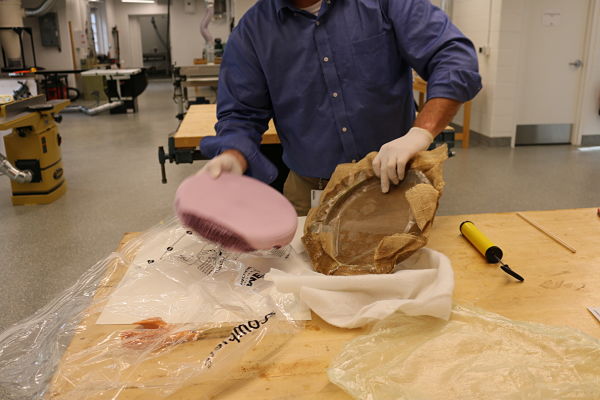
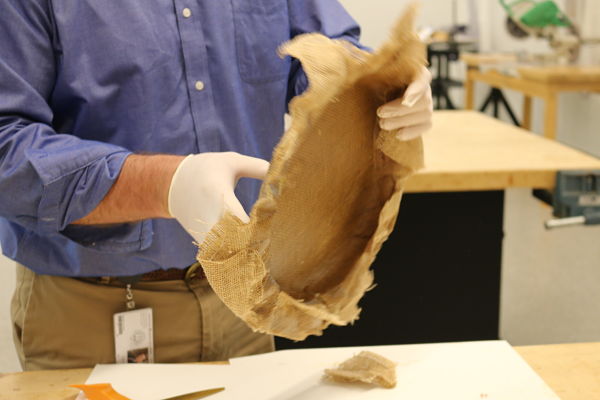
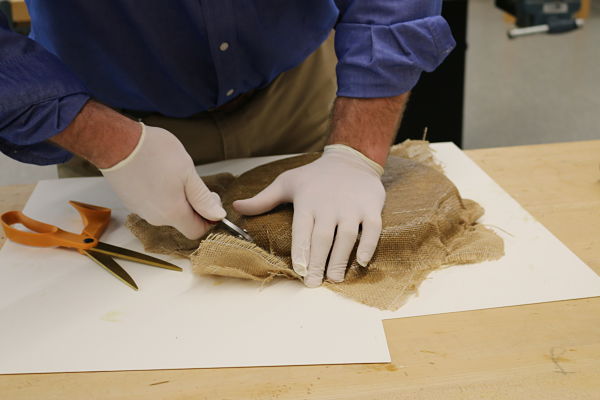
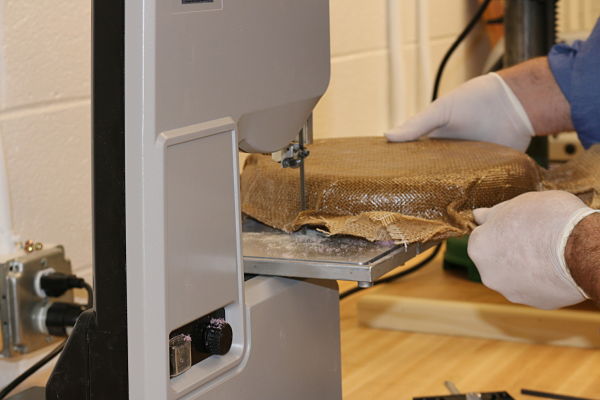
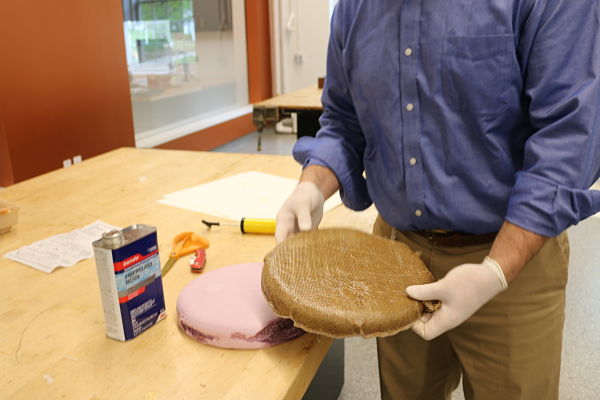
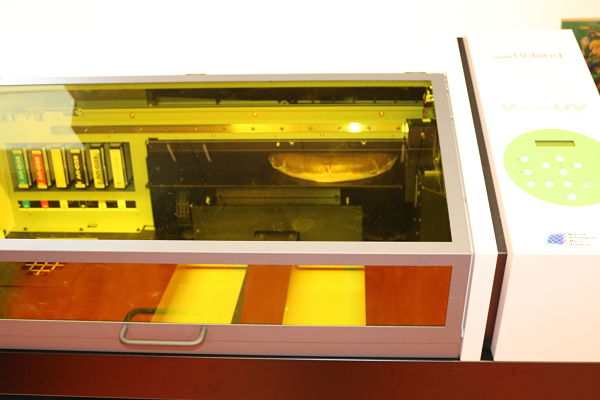
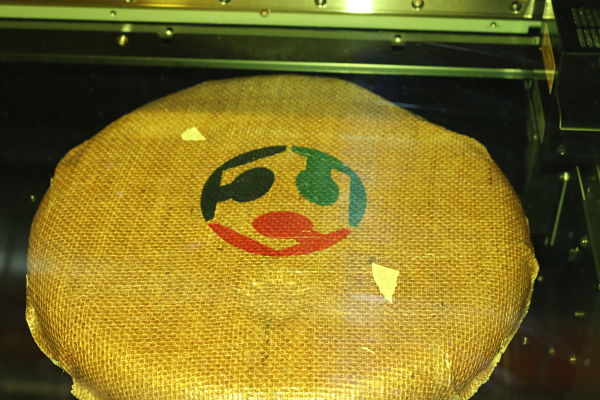
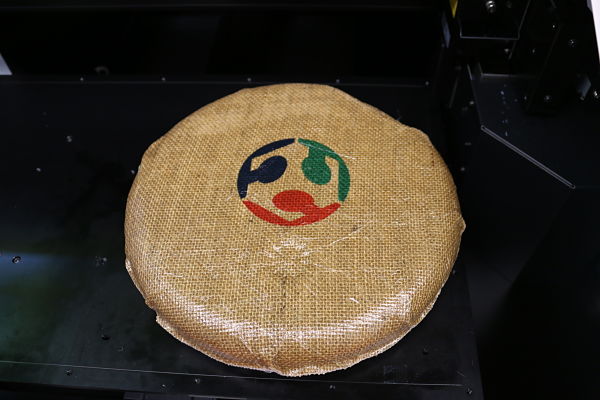
After waiting two hours, I cut off the bag and by using the release fabric the mold was easy to remove. I did not have any resin in the breather and the perforated film worked very well. It was easy to take the Polystyrene out of the resin jute part. I then had the part with the sides over the frisbee. I decided to then try using scissors to cut the burlap jute but the fiberglass resin was too strong to cut through. I then used the bandsaw to cut off the overlap and give me the frisbee look. The bandsaw easily cut off the overlap of the material. It was ready to fly. I could easily throw the burlap jute frisbee. I then decided to put the frisbee in the UV printer and add the Fab logo to the top. It made a great addition to the frisbee.
I had never created a composite part prior to this experience. I would have attached the vacuum on the underside as it left a small impression on the top of the frisbee. I also would have used the Super Sap as it would be less harmful. The fiberglass resin erroded part of the Polystyrene mold leaving a slight deformation on the side of the part. I also would have used our ShopSabre CNC to cut the mold as it would have reduced the time. It was a fun process and I would have not problems replicating the process.
Project Files: