In the fifth week we examined the relationship between 3D Scanning and 3D Printing. 3D printing is an additive versus substractive technology. That is we add material to make a part. We typically start with an empty workspace or platform. Material is then added layer by layer to make the part. The layer thickness is the resolution of accuracy. Very fine 3D printers have layers thicknesses in the micron range. Subtractive processes start with a block of material and remove whatever is not needed to make the part. Somewhat like a sculptor "seeing " a form in a block of granite or marble.
Here are the tasks we have for this week.
As a group we looked at two different 3D printers. A Dimension 1200es sst from Stratasys and a Maker Gear M2 Version 4. I also looked at an XYZ DaVinci Jr 1.0 3D printer that I have at home.

Here is the tolerance test we ran on both the Dimension 1200es and the Maker Gear M2.
The Maker Gear M2 outperformed the Dimension 1200es quite well although the Dimension orifinally cost 10 times more to buy.
This definitely shows how much the technology has improved over the last eight years.


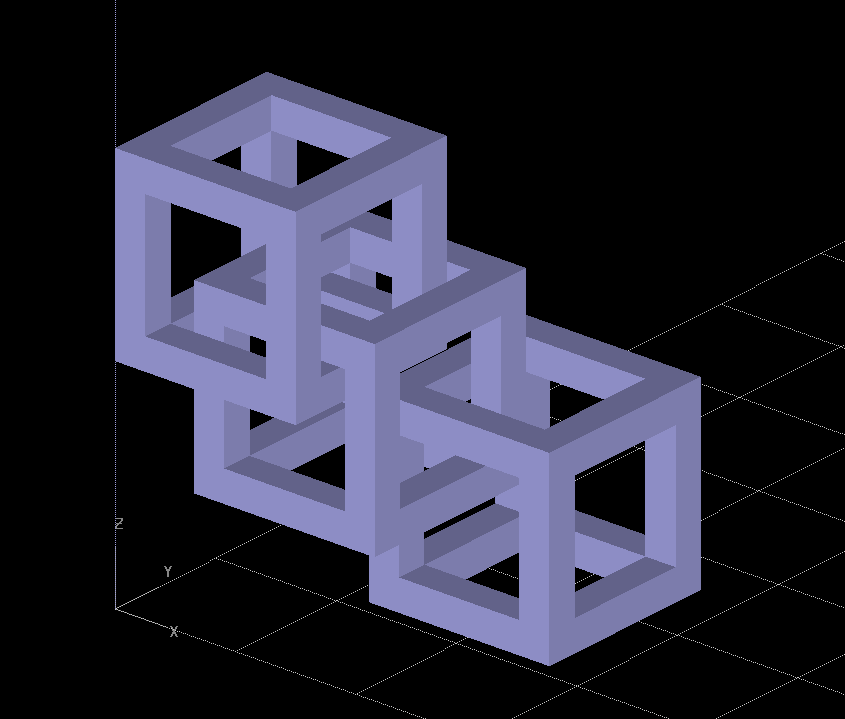
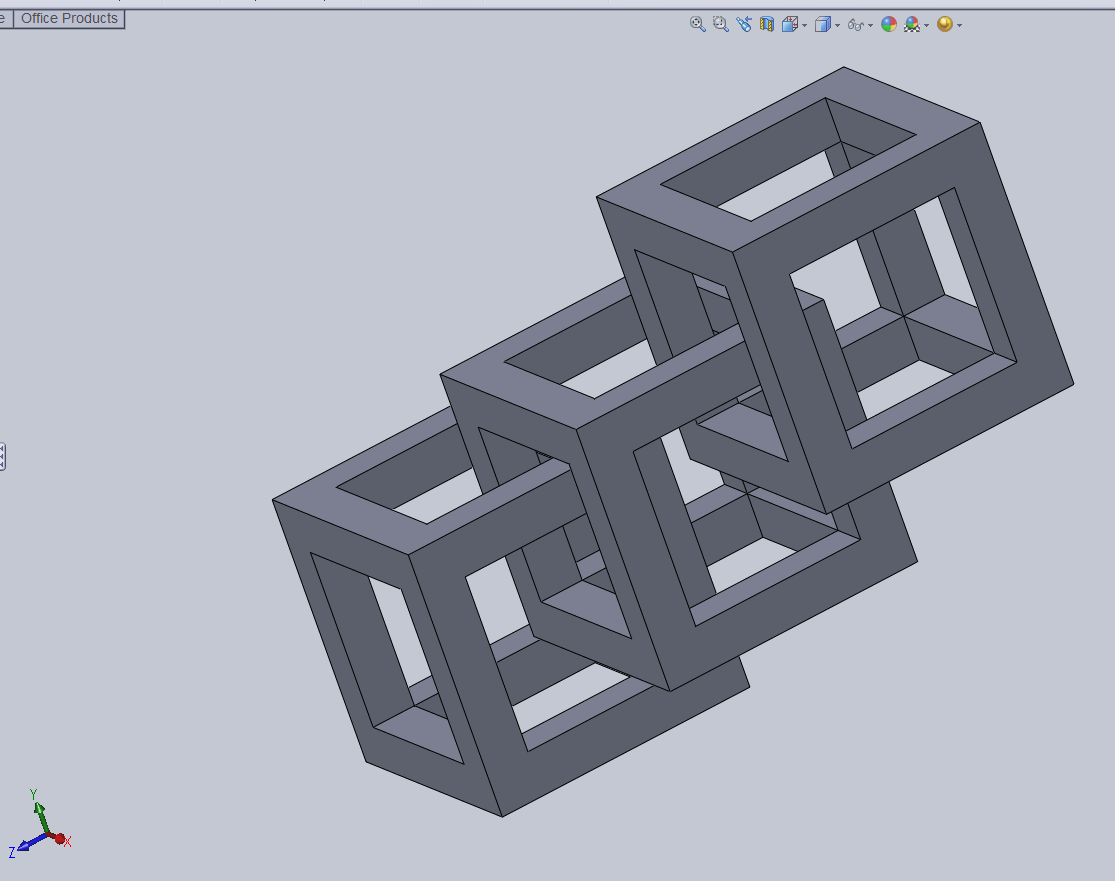
I decided to make a series of nested cubes for my project.
Here is a screen capture of my design in SolidWorks.
I saved the cubes as an .STL file and imported it into the
Catalyst software for our Dimension 1200es printer.
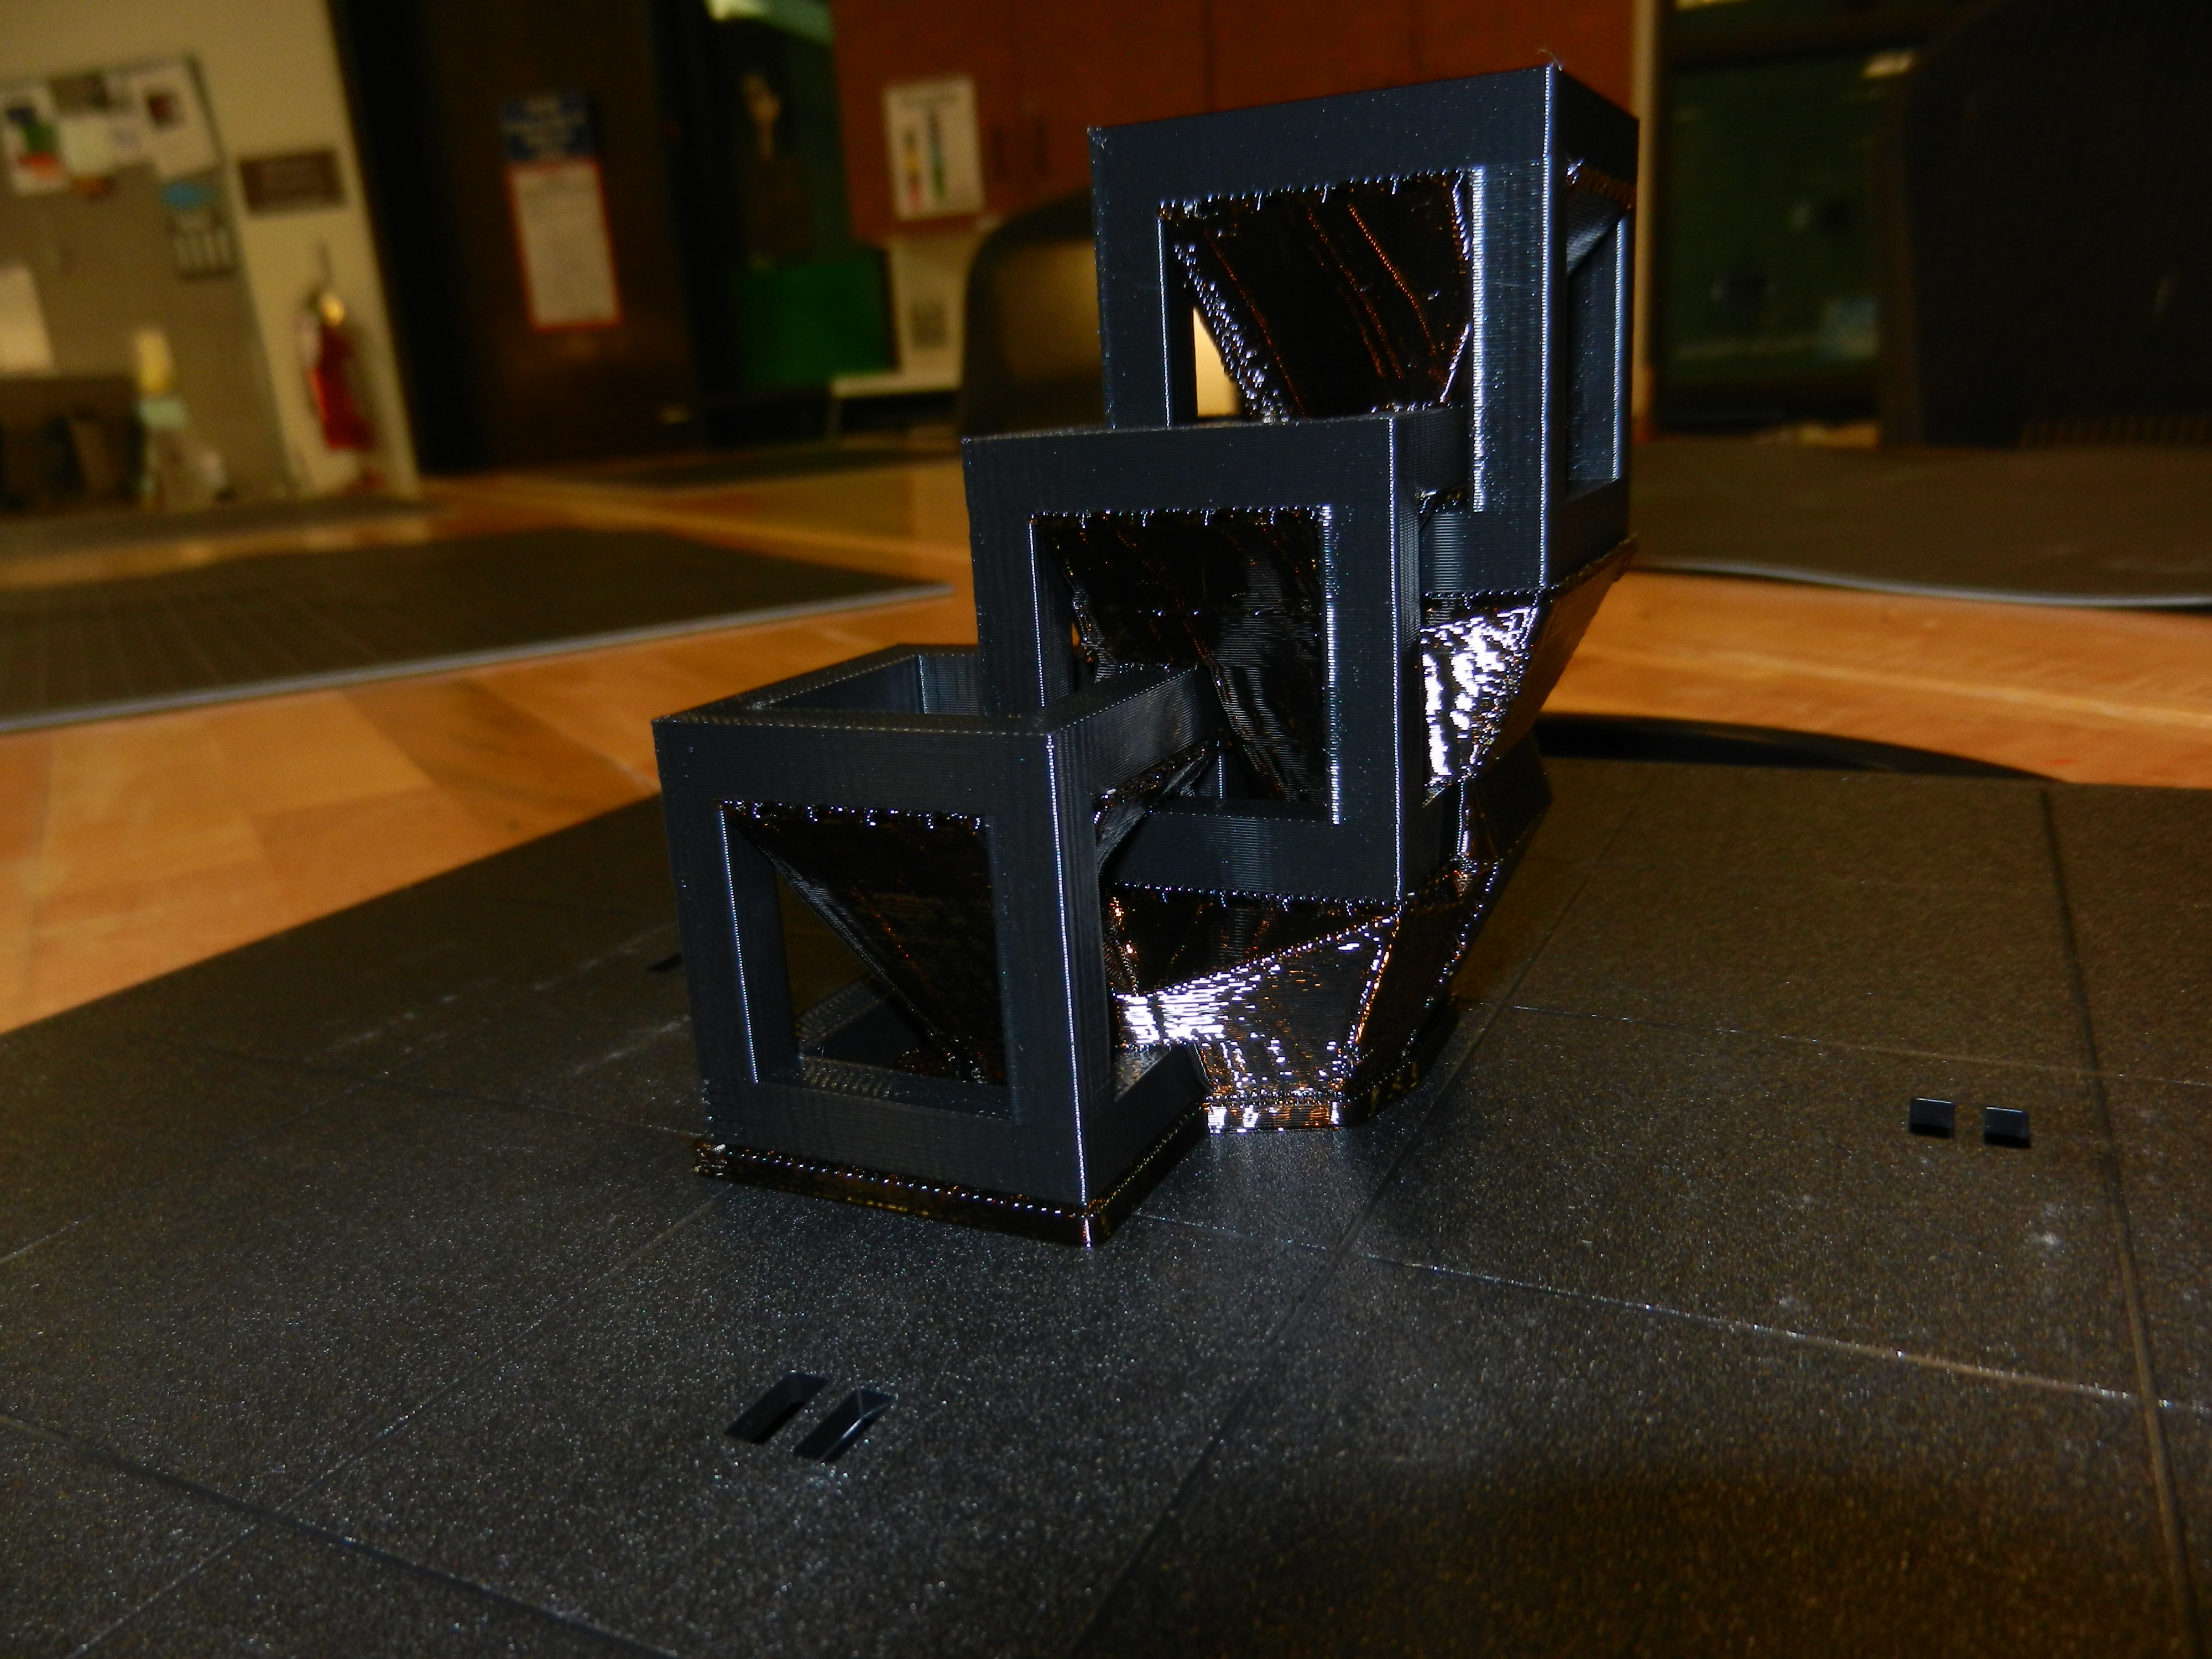
Here are a few picture of the finished cubes. The first photo
shows the support material still on before going into the solvent tank.
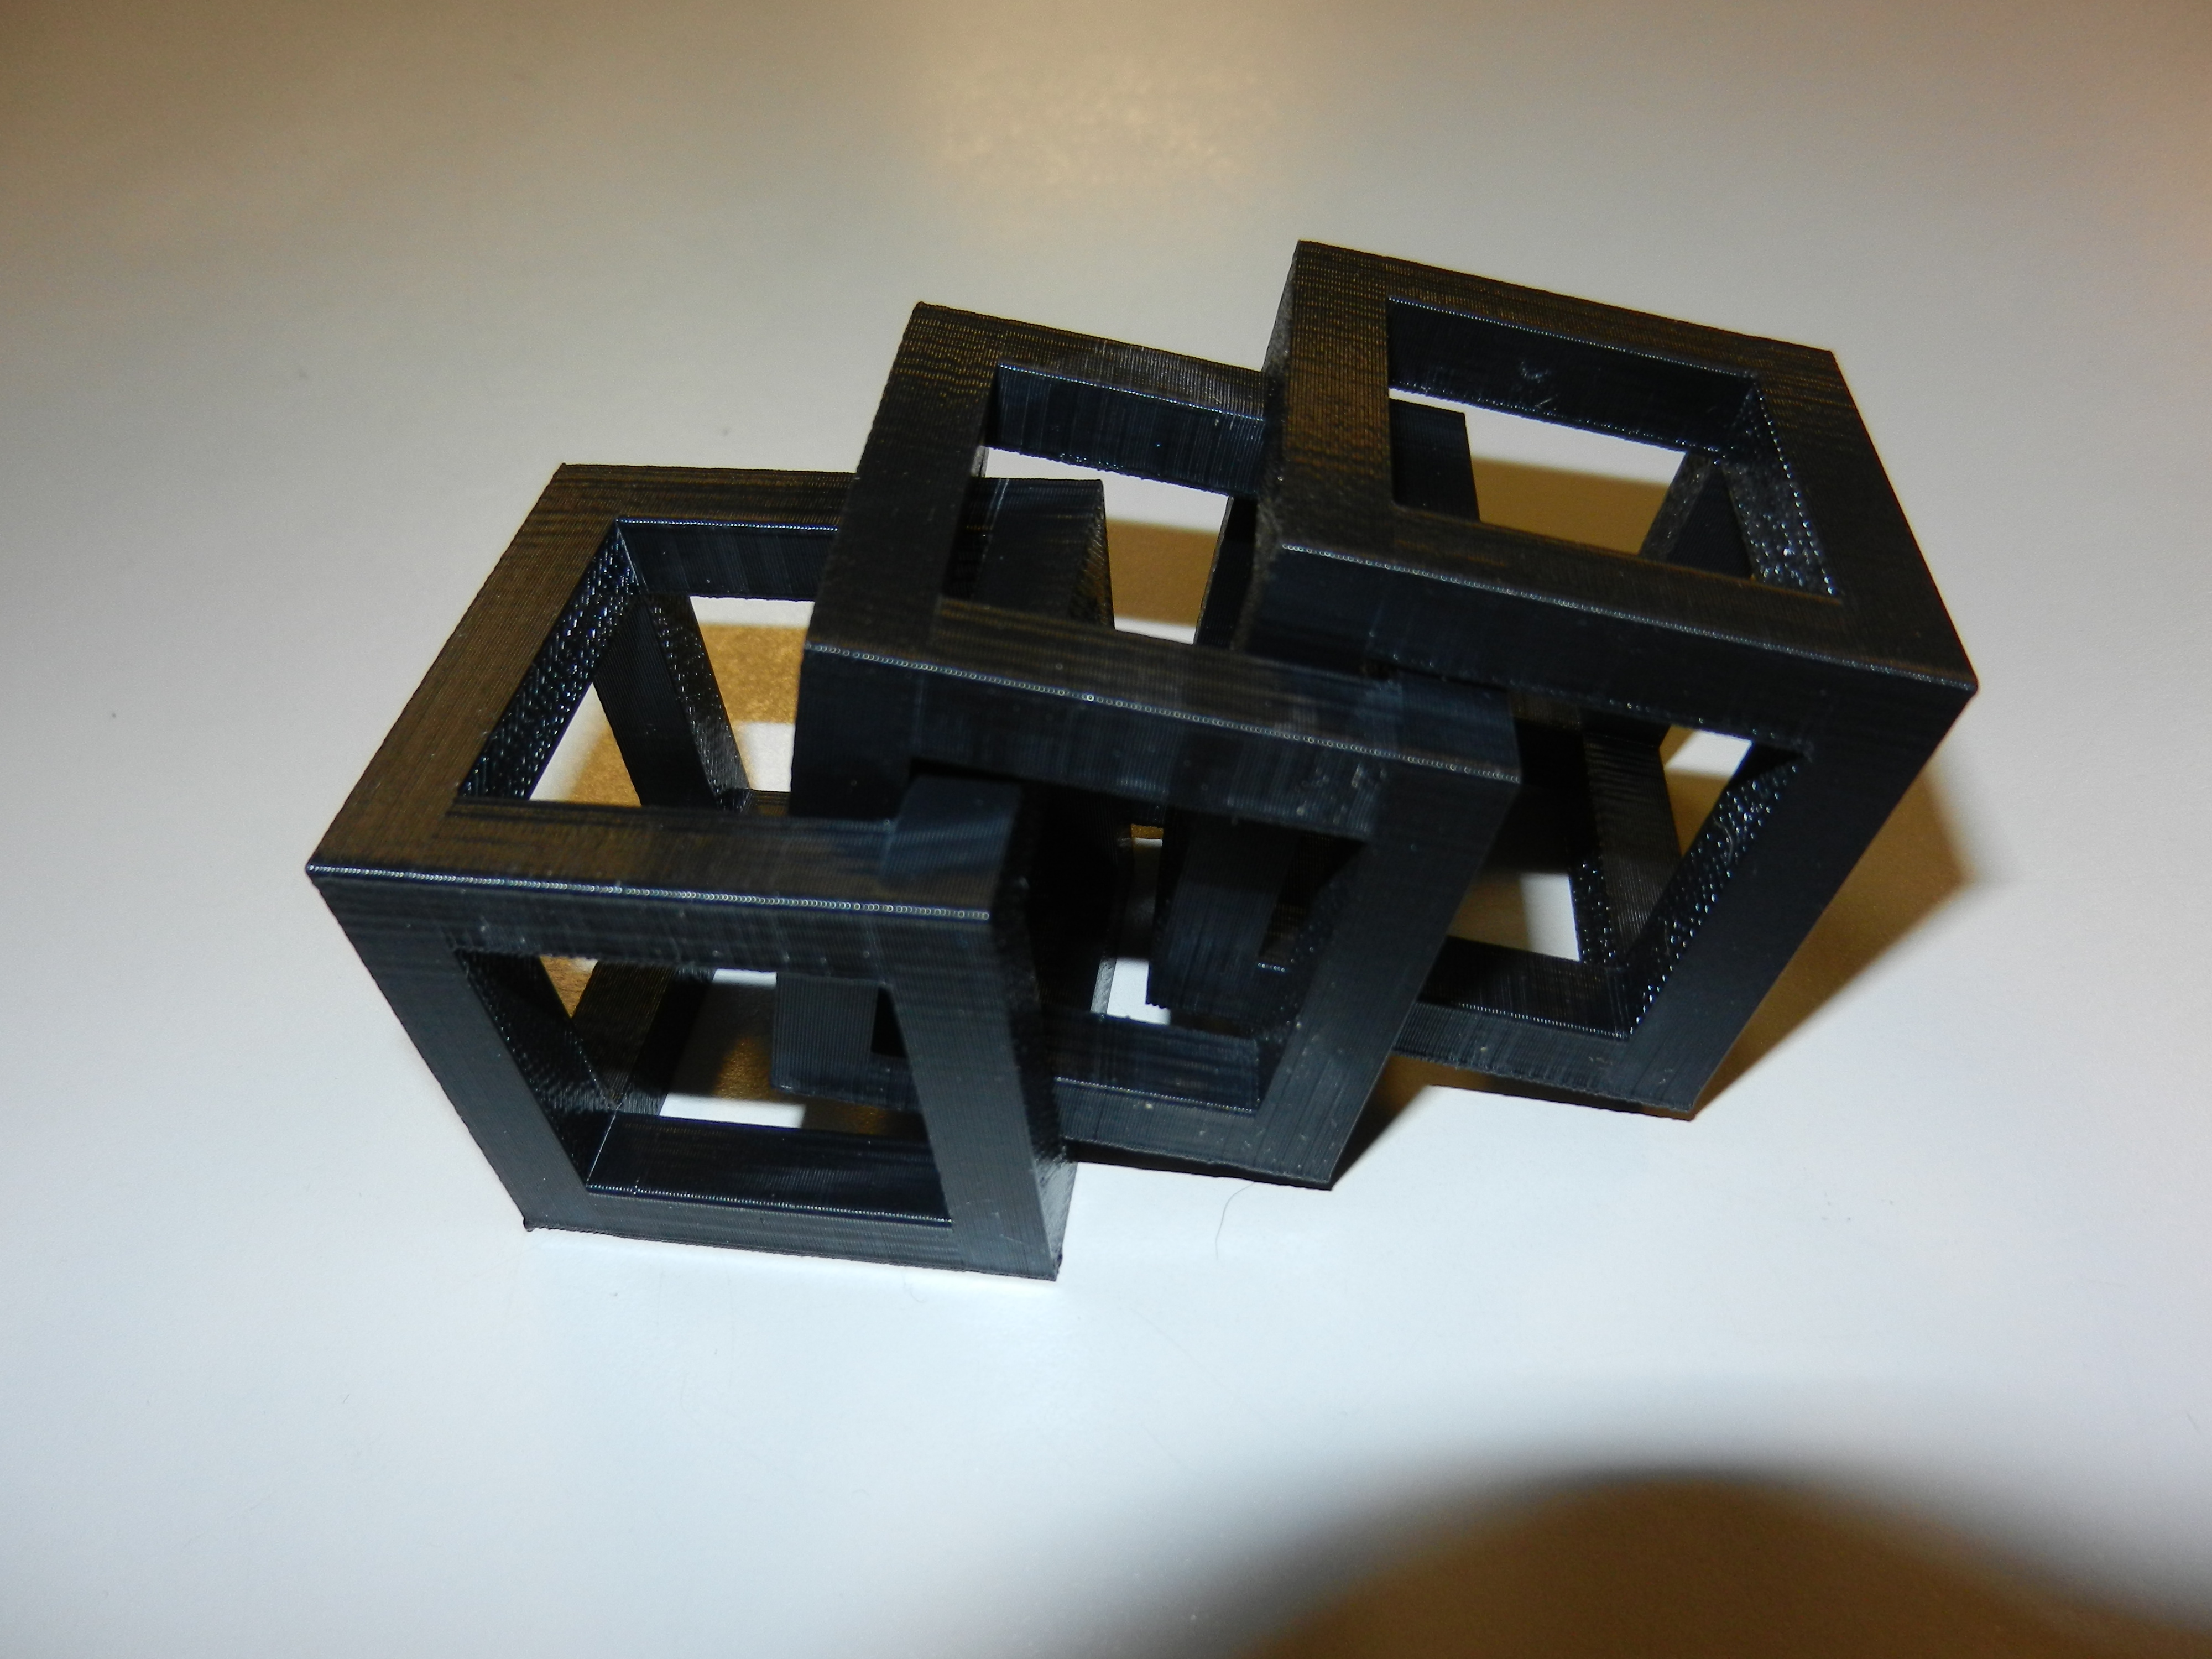
This next photo shows the cubes with the support material
removed.
I used a Creaform GO!Scan 50 for this project.
Here is a picture of the bear I chose to scan.

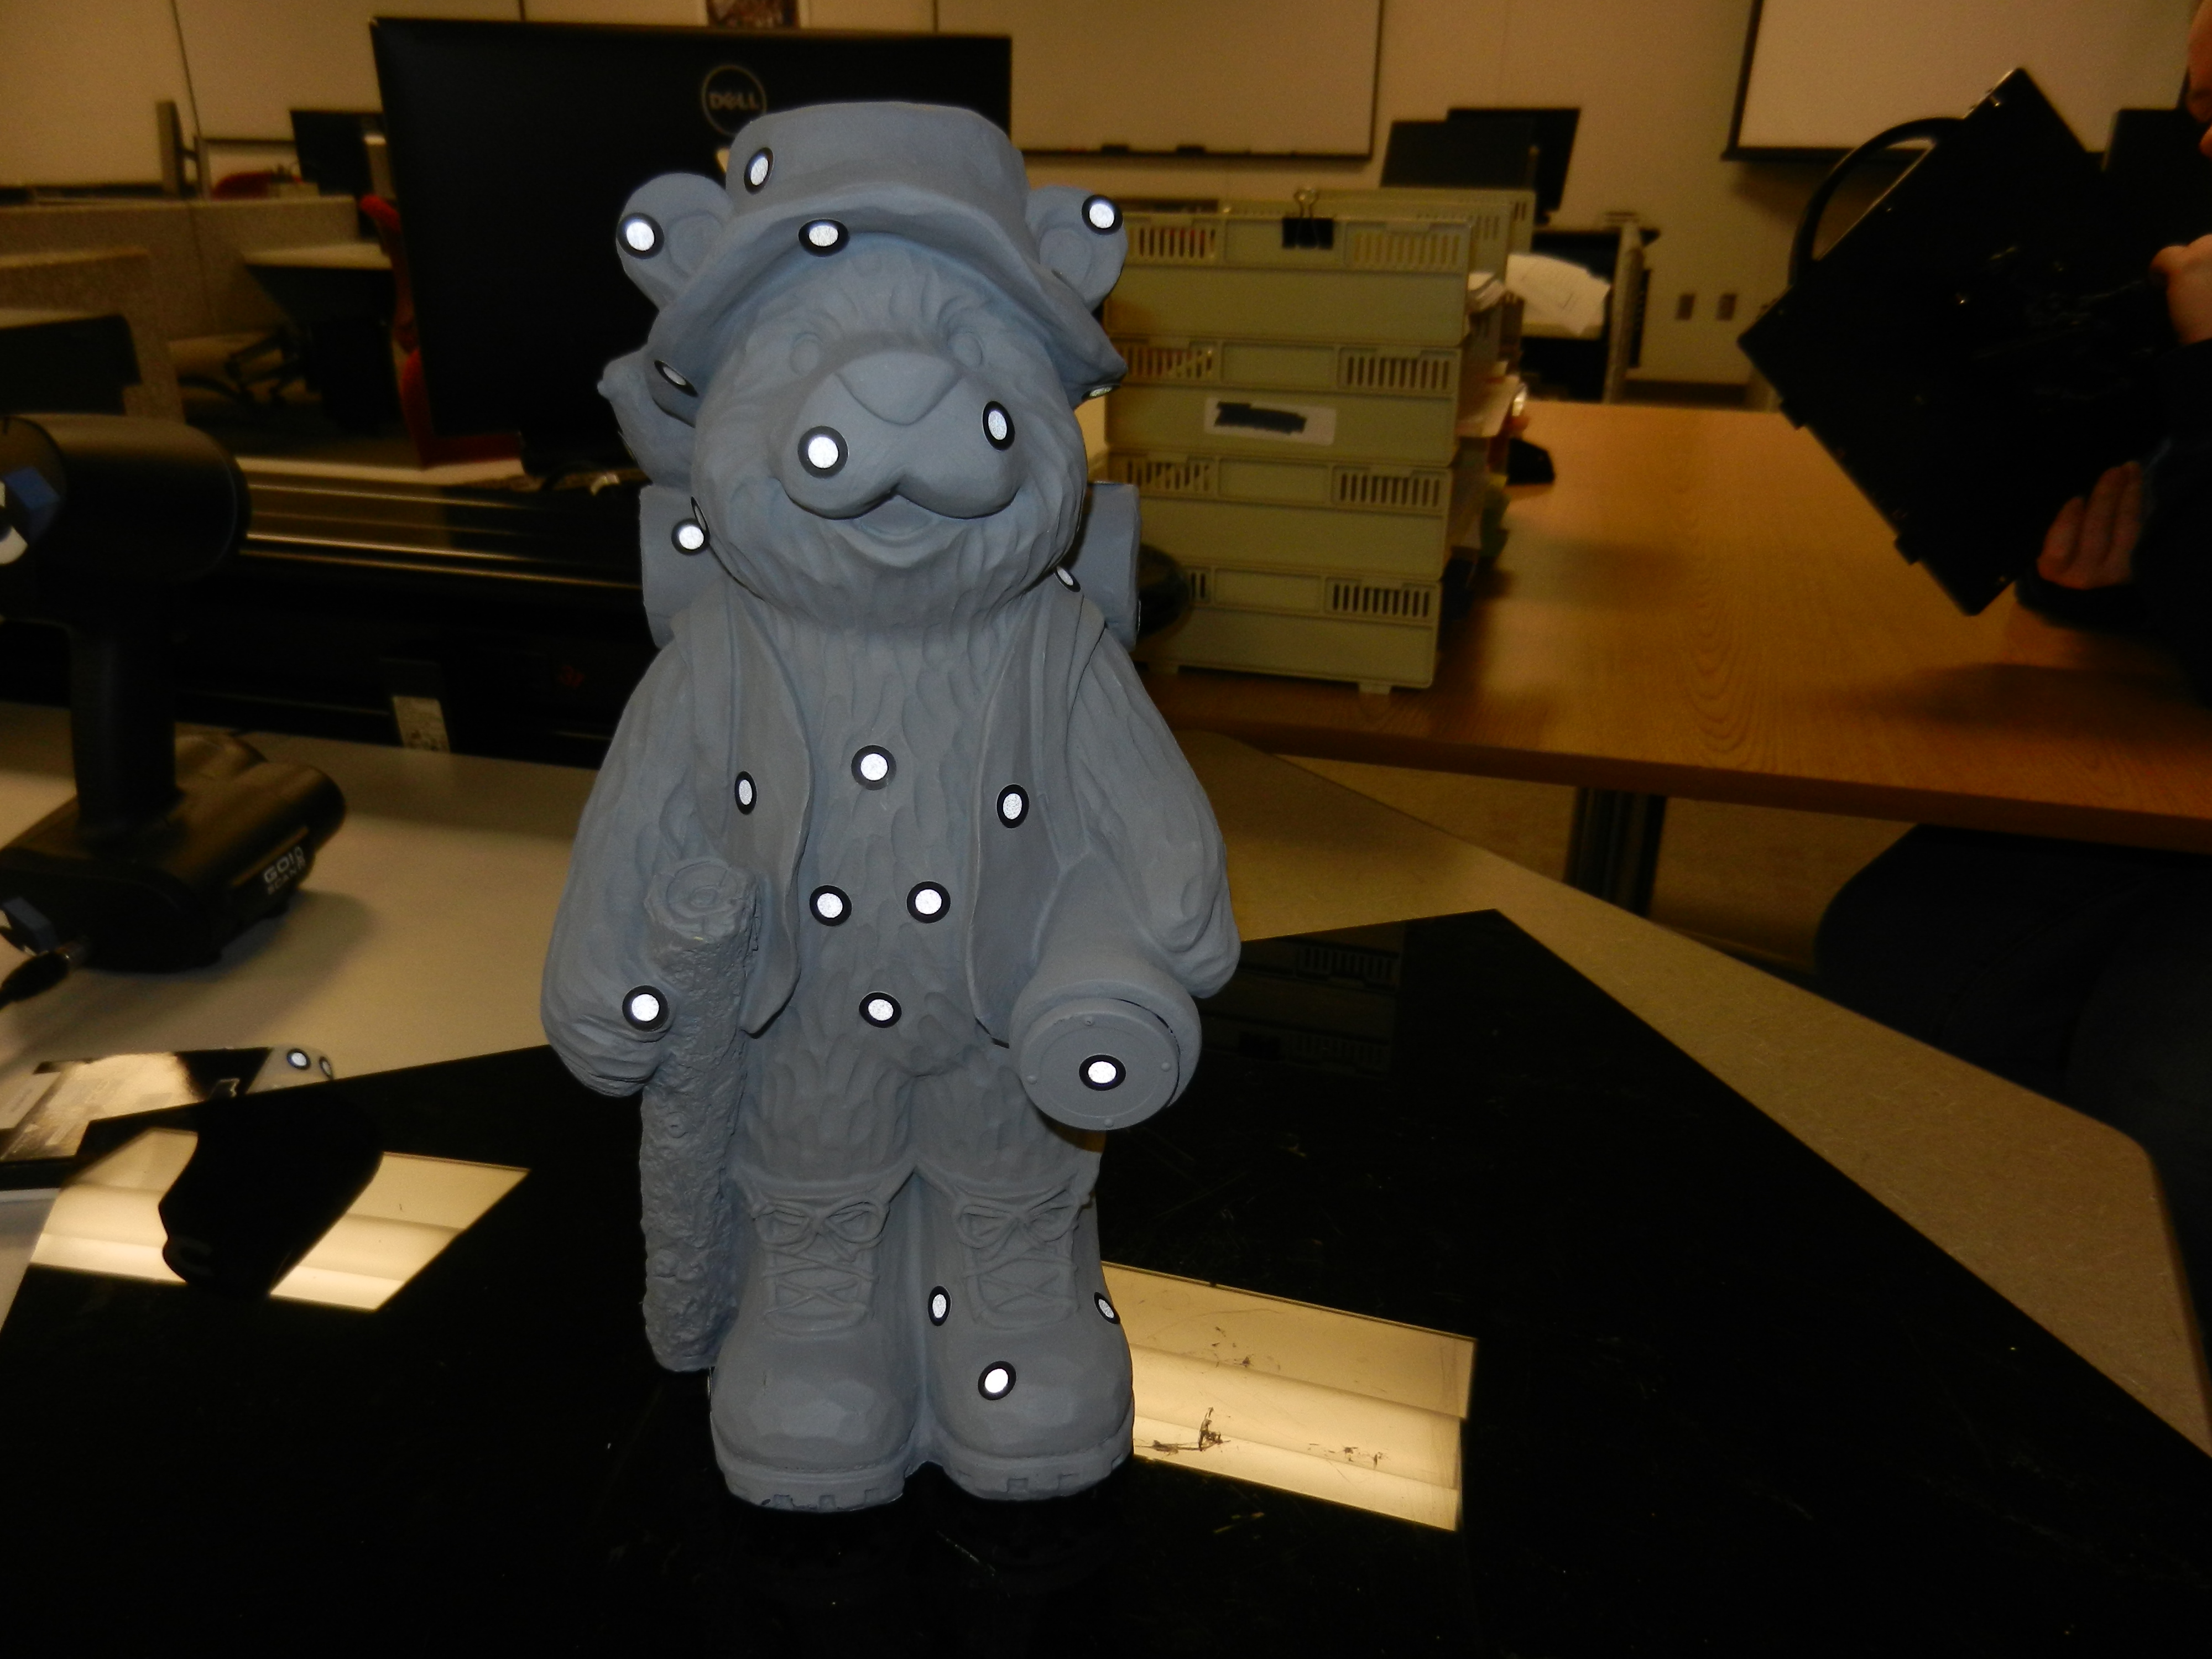
Here is a picture of the bear after spray painting it gray.
The gray paint helps in the scanning of the image.

Here is a picture of the bear with dots placed all over.
The dots help to realign the scan between captures.
The scanner needs to see at least four dots to realign with the current image.
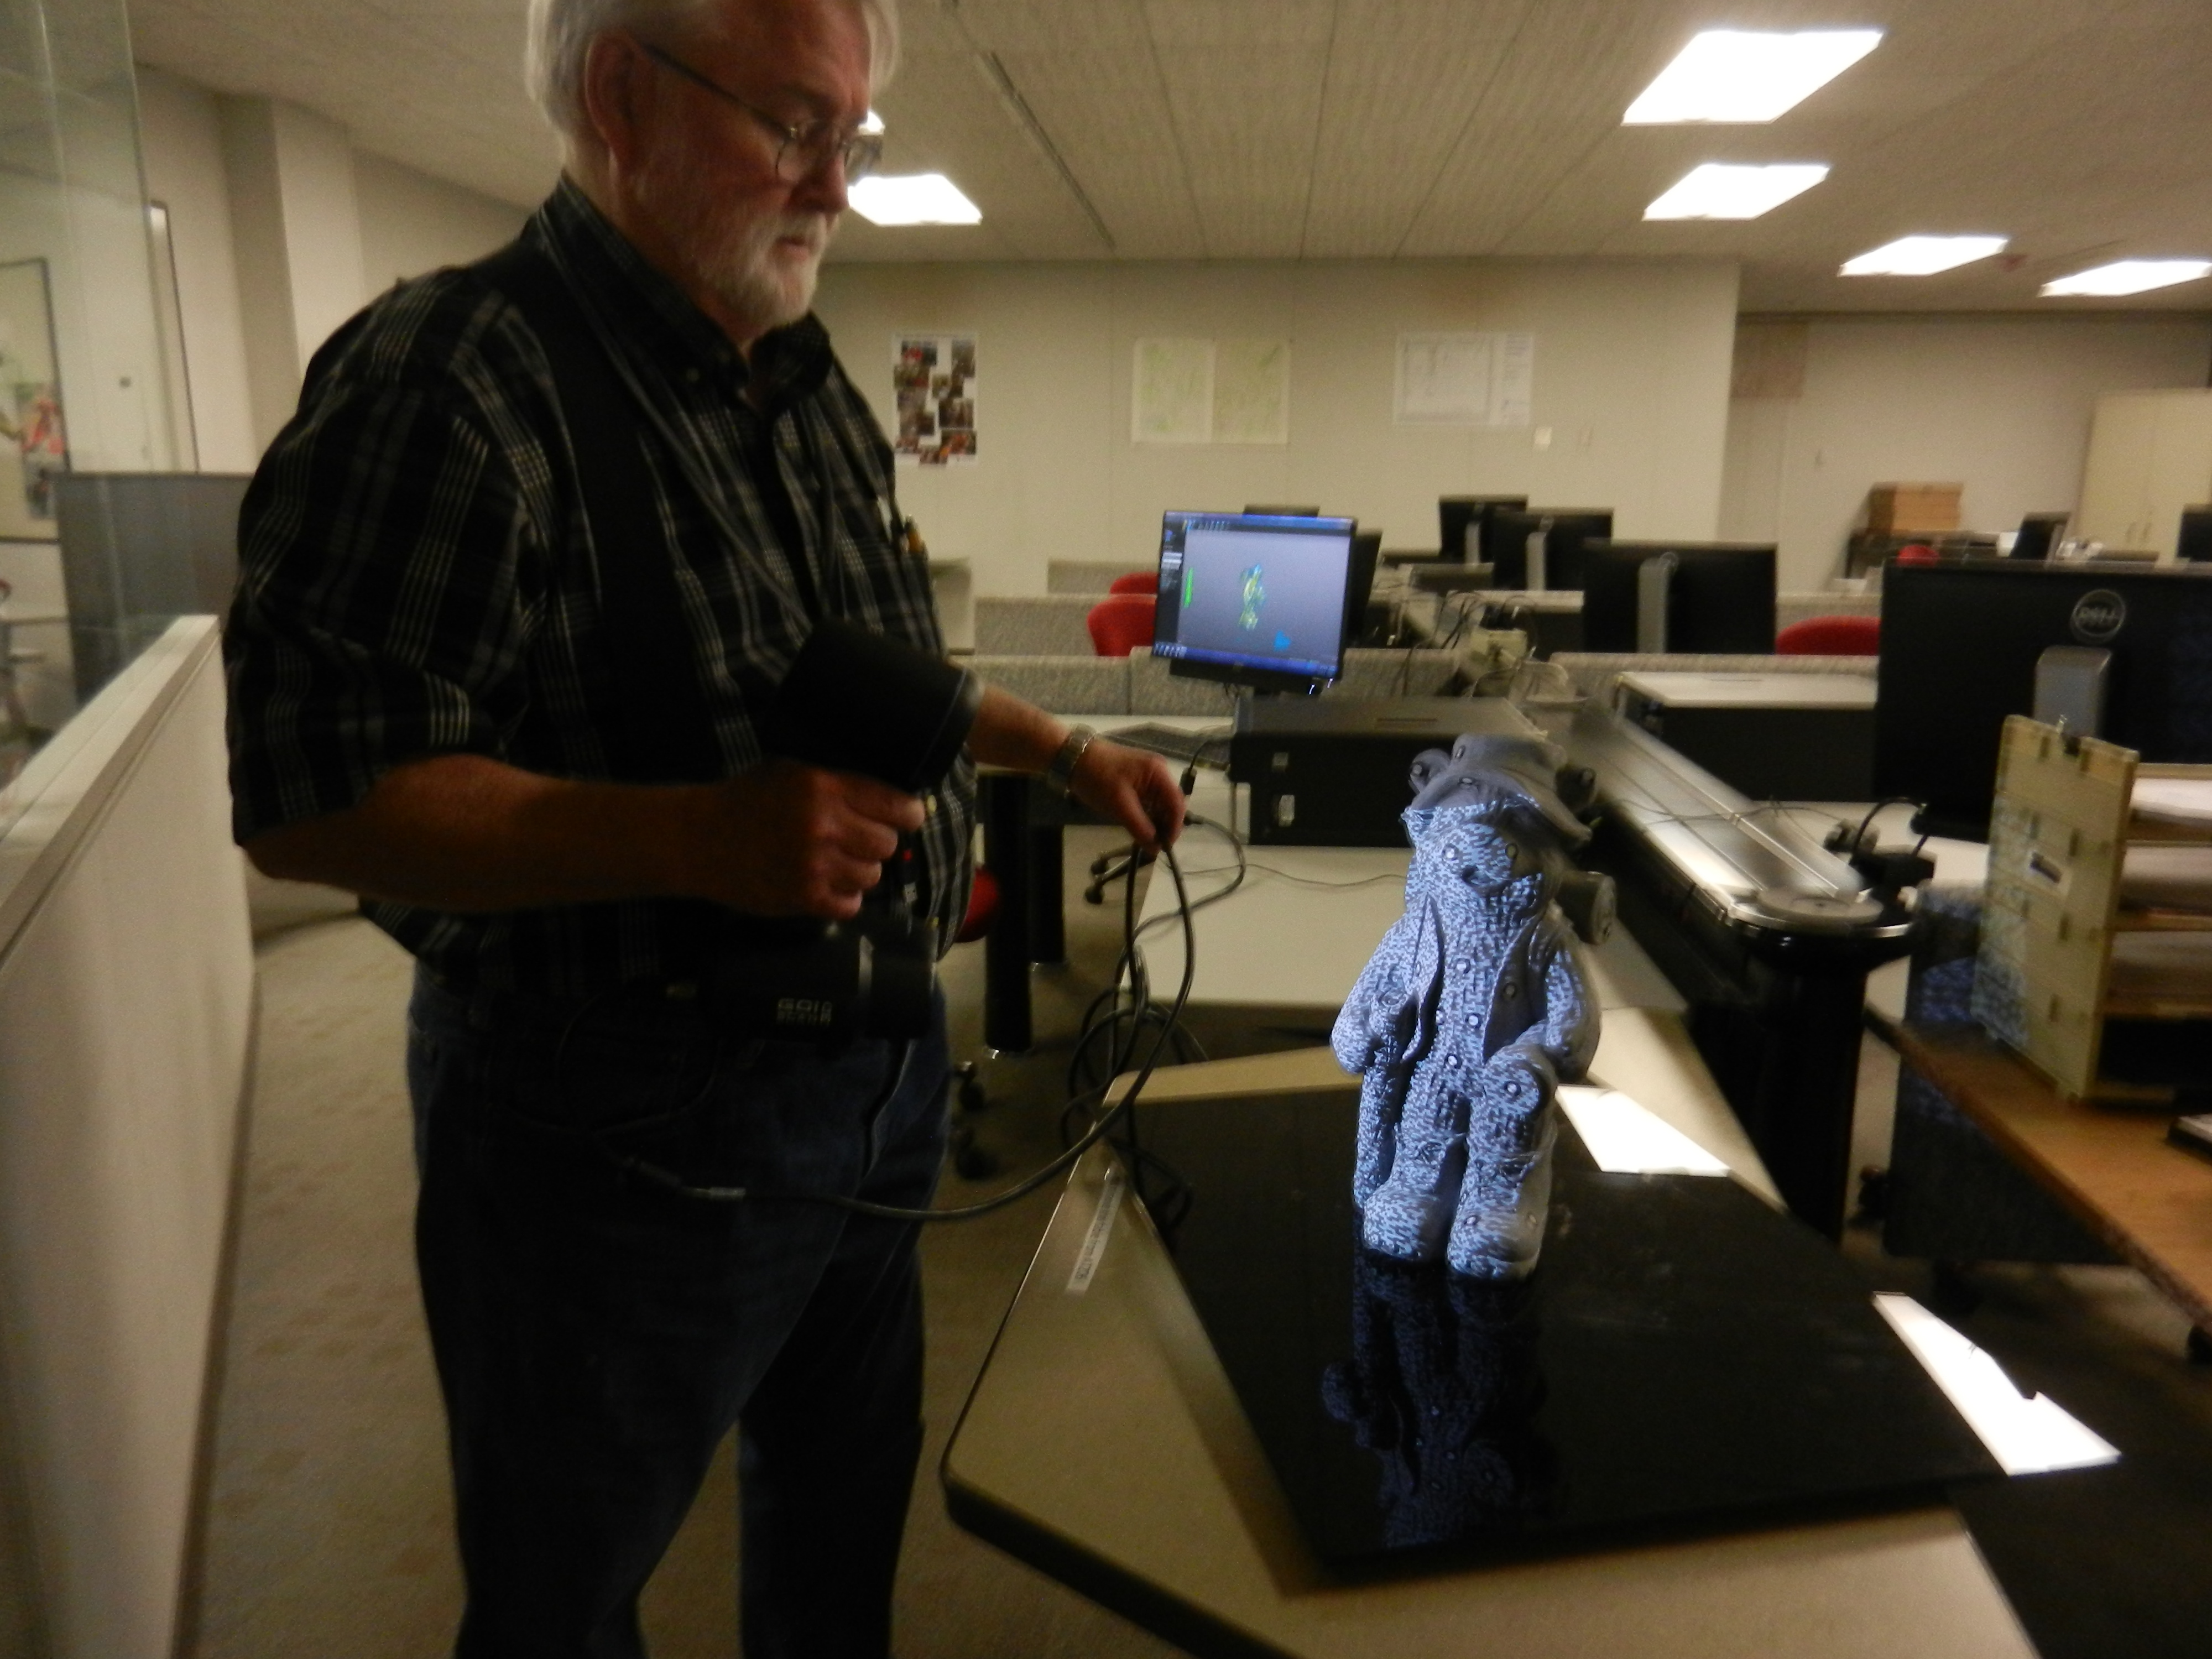
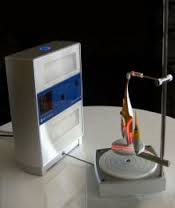
In this picture I am scanning the bear.
Notice the grid pattern on the bear and the computer screen in the background showing the current state of the scanned image.
In this shot we see the final scanned image before cleaning up the file.

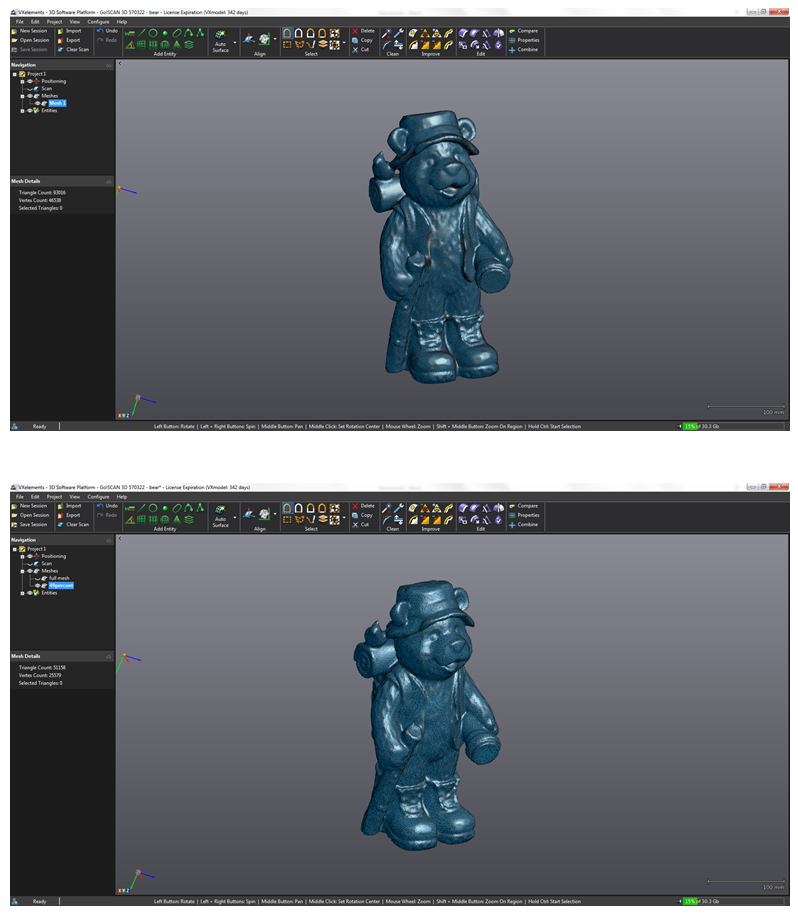
Here are 2 images showing the background cleaned up in the top view.
And the holes patched in the bottom view.
Here is the .STL file shown in the Catalyst software for the Dimension 3D printer.

Here we see the two bears after printing.
One bear was saved with a 50% reduction in triangles from the original scan.
It is nearly impossible to tell them apart.

This is a screen capture of the bear using Retina Engrave software for the XYZ DaVinci Jr 1.0.

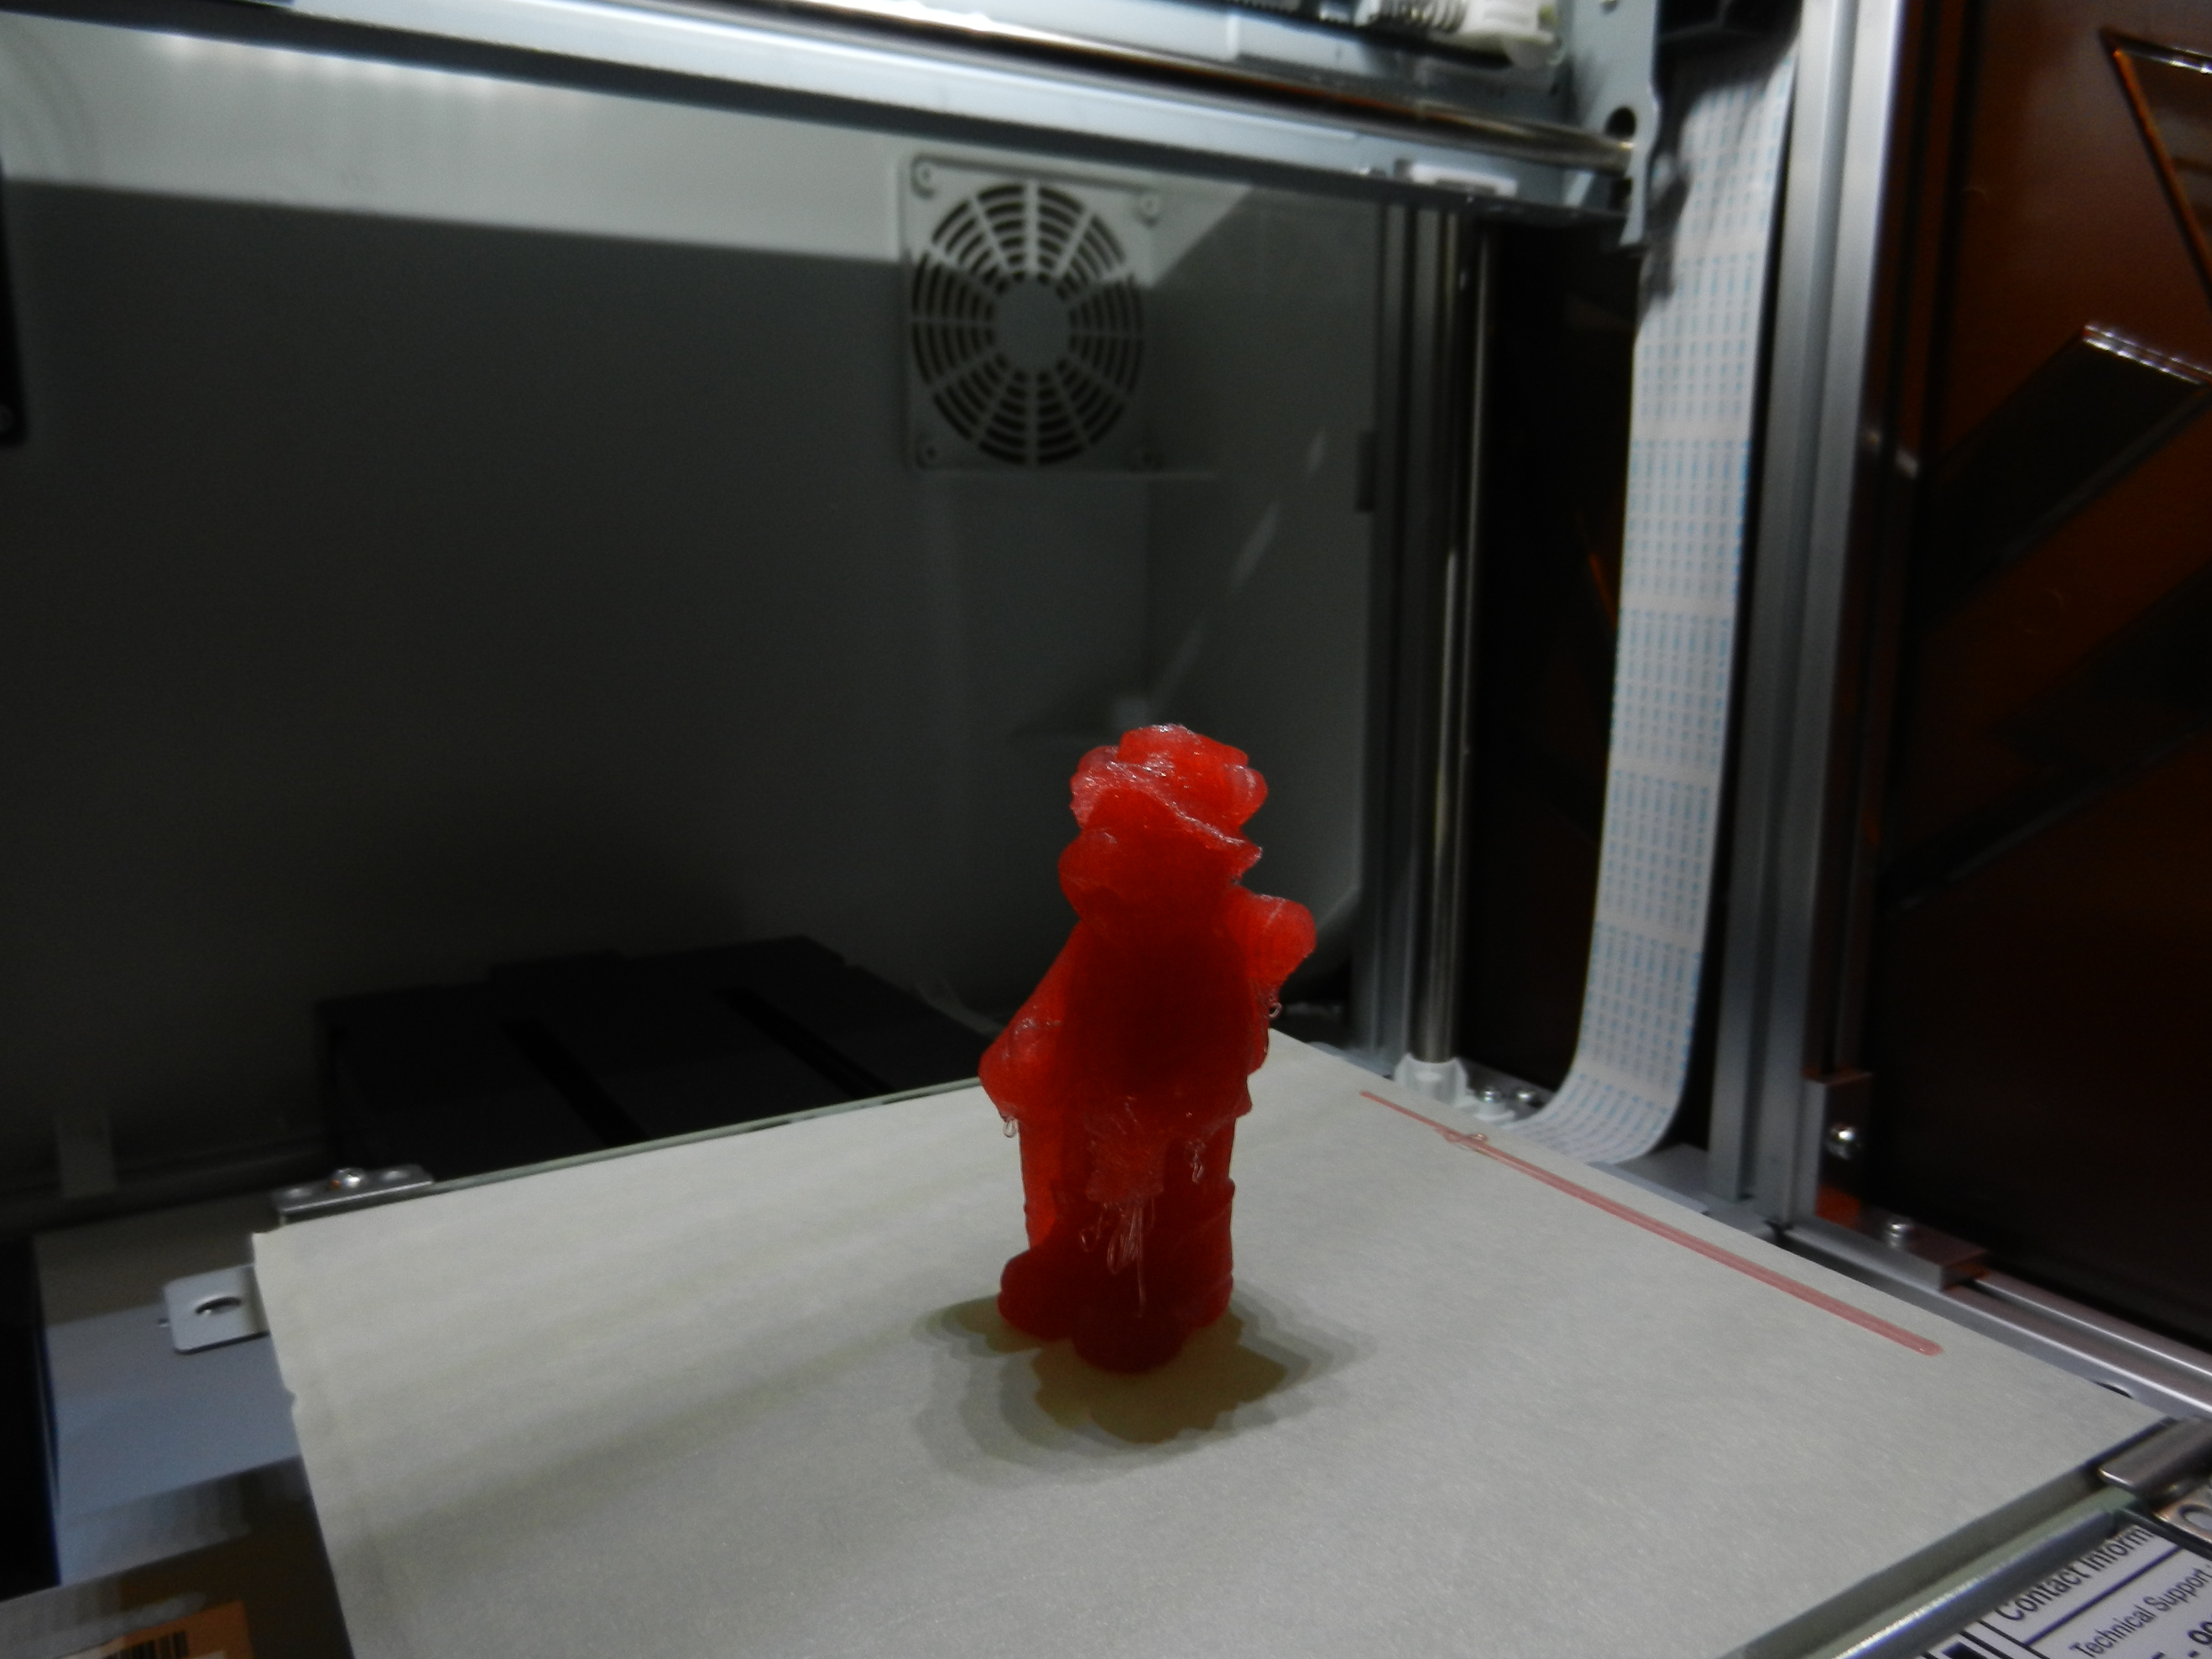
This is the finished bear still in the XYZ DaVinci Jr 1.0
We also have a NextEngine 3D laser scanner.
I did not have any problems this week. I am familiar with 3D scanning. I did however learn a lot about our new Creaform scanner and how to use it.