This week we were given the assignment to design, make, and document a parametric press-fit construction kit out of premium cardboard stock. This kit has to have slots that are parametric, just in case the material and/or thickness changes. This kit also has to be able to be added upon for future expansion. I decided to create a forest.
We also were given the assignment to use a vinyl cutter. No guidelines were specified for this part of the assignment. I decided to cover one of my trees with green vinyl.
Hardware and Software Used:
Measure the thickness of the cardboard to size the slots for the press-fit assembly.
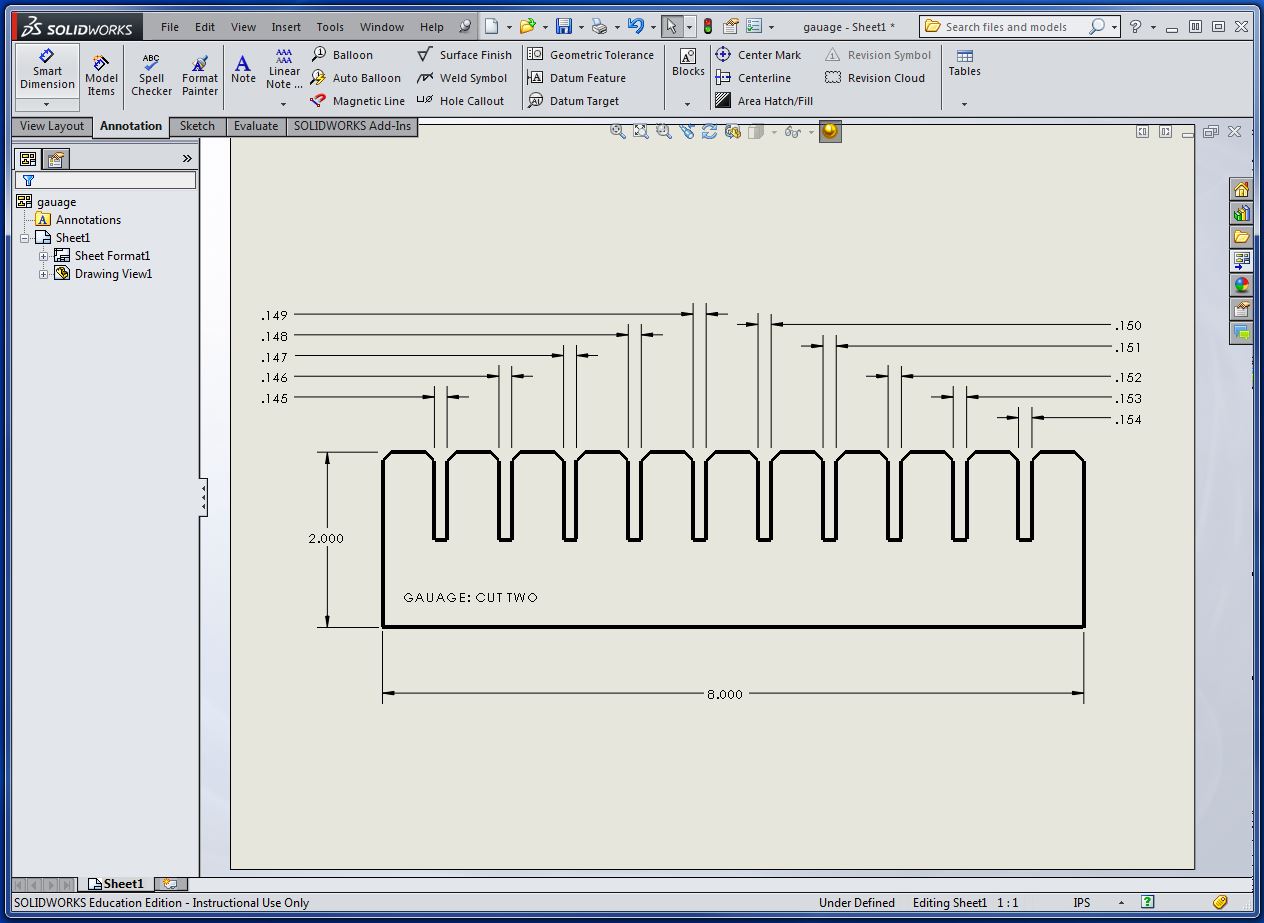
Create a gauge showing different size slots between 0.150 through 0.159 at .001 increments. After cutting two parts and mating the slots, it was determined that the lowest size slot (.150 in) made the best press-fit for what I had printed. The questions was "Could I make a better fit with a smaller slot?" I had to create another gauge. This time the slots were between 0.145 and 0.154 inches. After fitting the sizes together I found the best fit at 0.149. This size made the best press fit and I was still able to take this apart without any damage to the cardboard. My project will have to be storred in the unassembled state.
This is the resulting sketch of the gauge using Solidworks Premium. This version of Solidworks is the license provided for Fab Labs.
It was decided to create sets of pine trees, of different scales, to eventually have a forest. These trees will have to come apart in order to be storred withoug getting damaged.
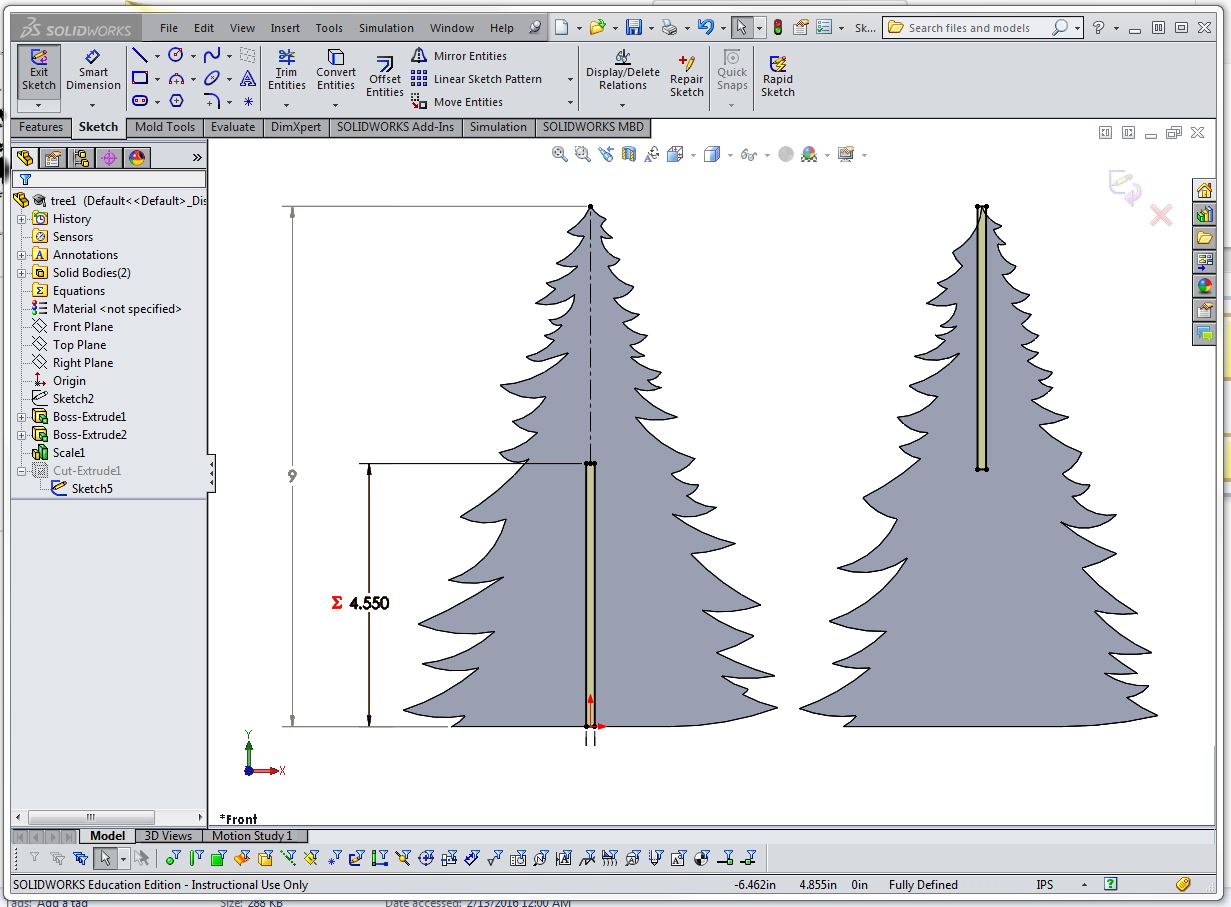
The model of the tree was created and extruded to the material thickness. The slot height is half the height of the tree plus 0.05 inches as shown.The slot on the right is exactly the same size as the slot on the left. This is done by adding equal relations between the height and width of the rectangle on the left. The height of the tree is driven by the Scale Feature shown in the feature manager tree on the left side of the image. The original tree was drawn six inches high. This model is shown being one and a half size. The slot width dimension is linked to the thickness of the material; in this case is 0.149. If the material changes to .125, so will the slot.
The image below is the model of the tree showing the relation between the height of the tree and the height of the slot.
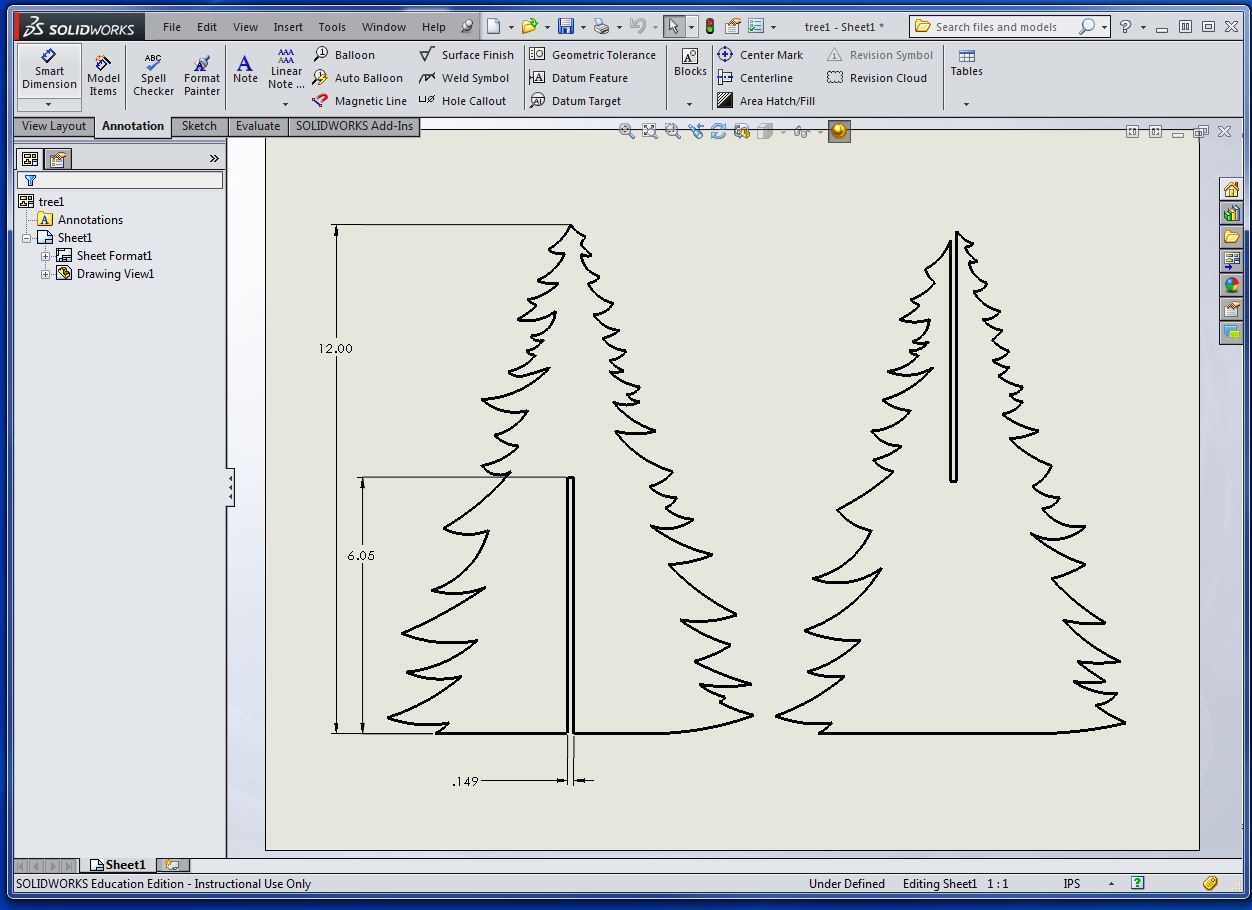
The image below shows the tree dimensions when the Scale Feature is changed to be 2-times the original size.
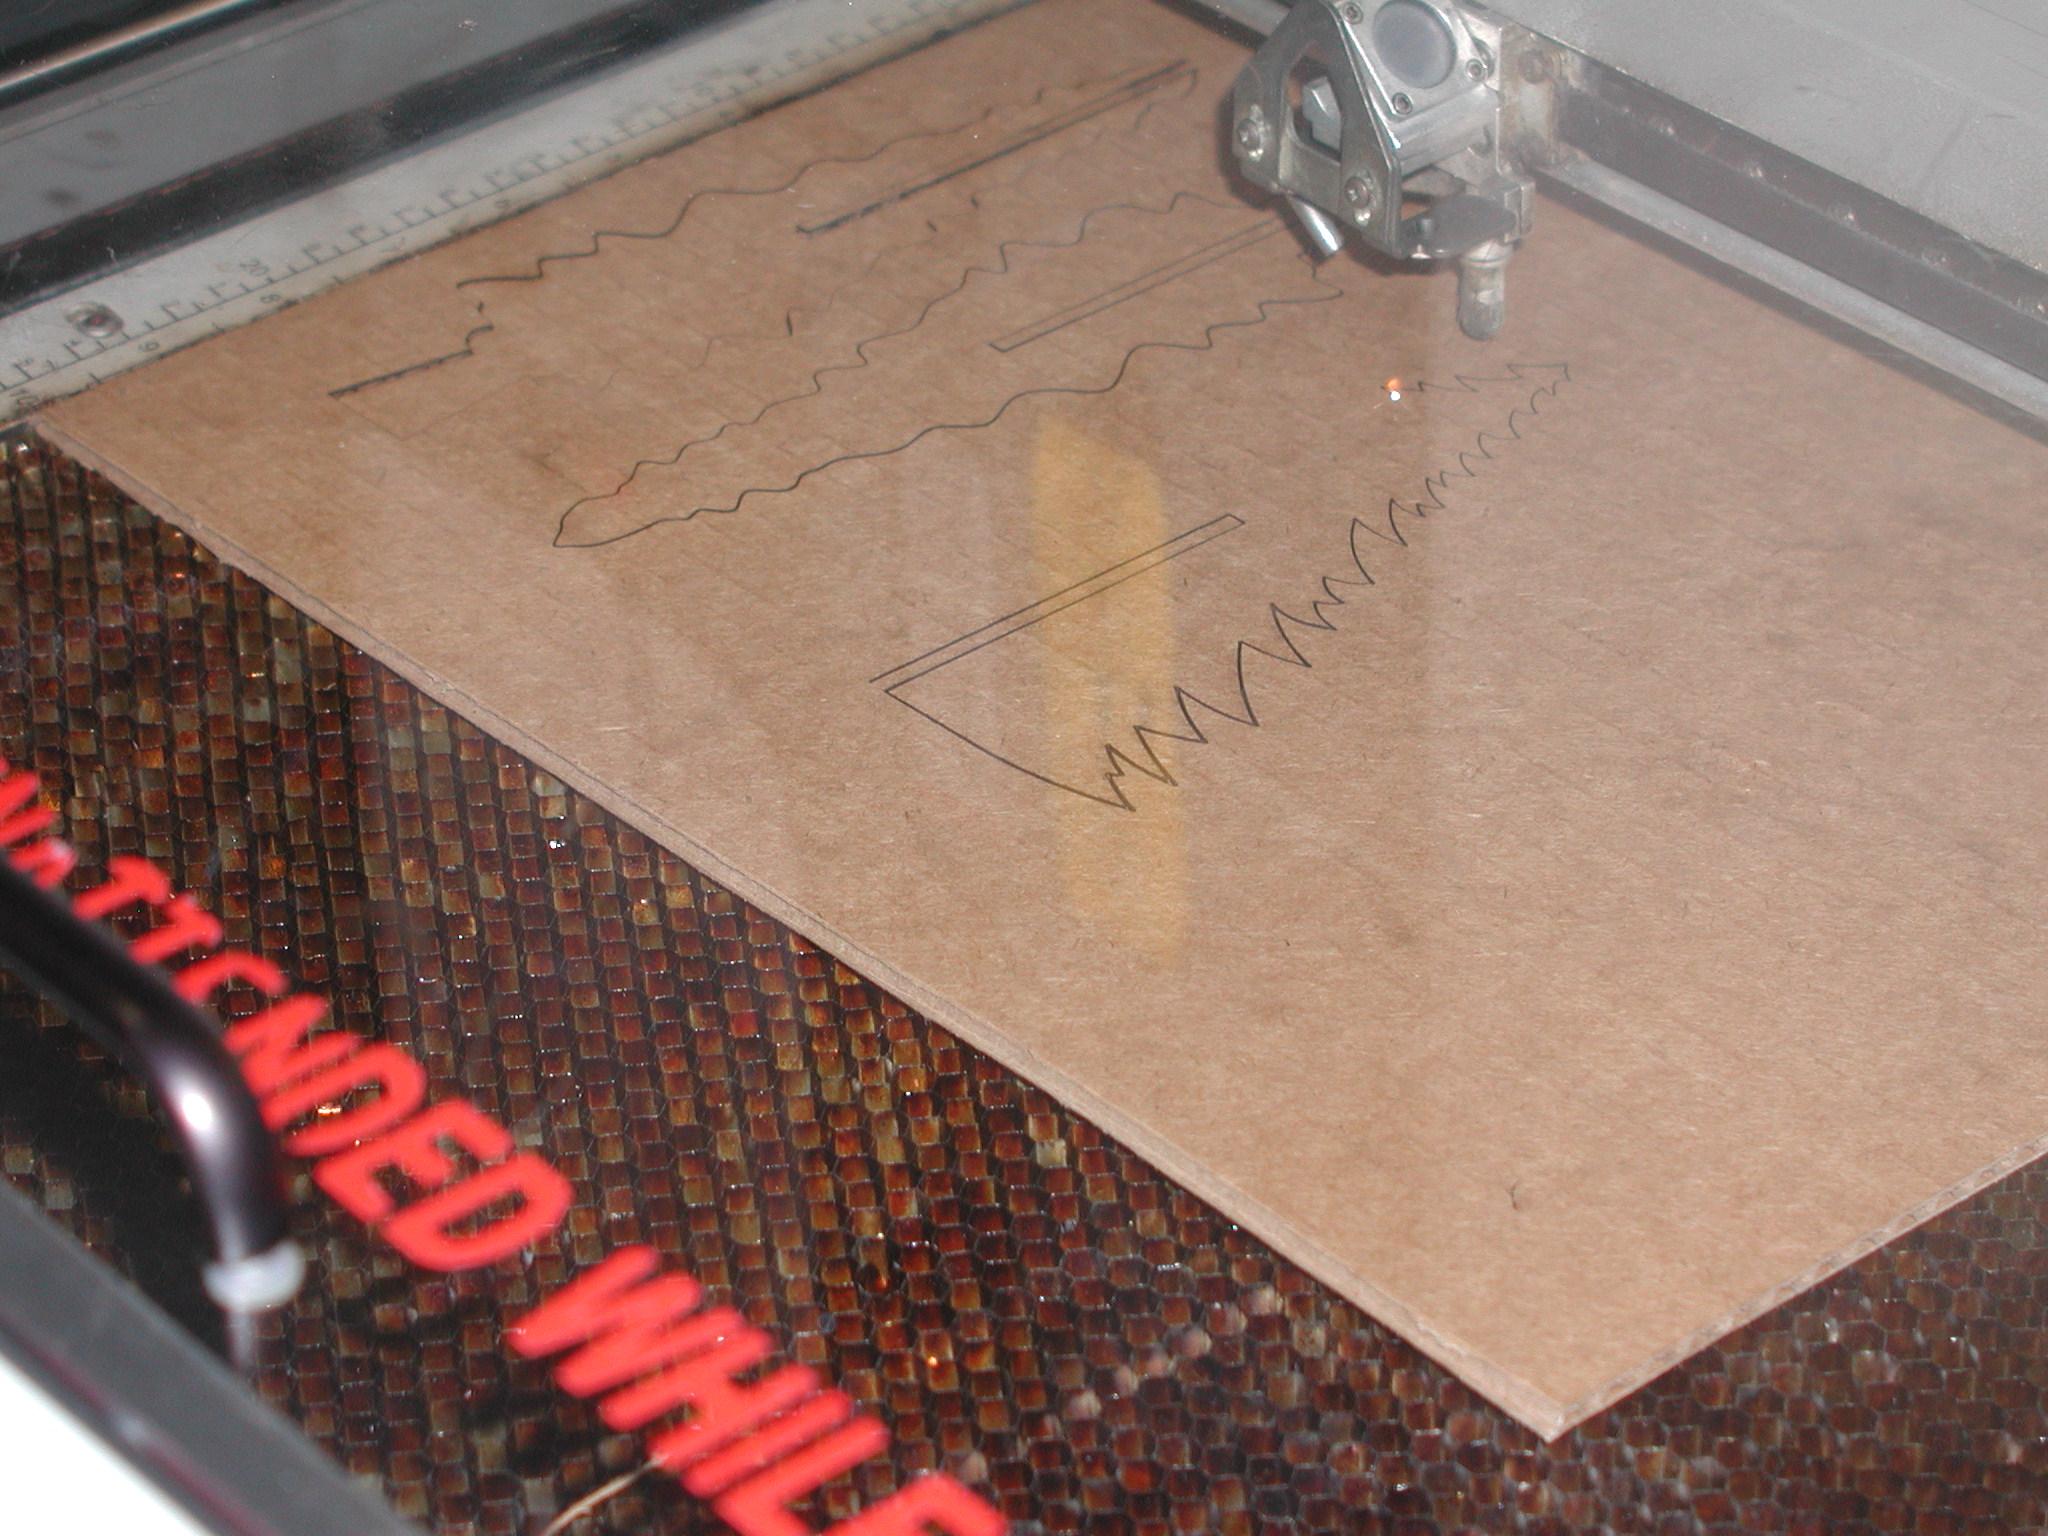
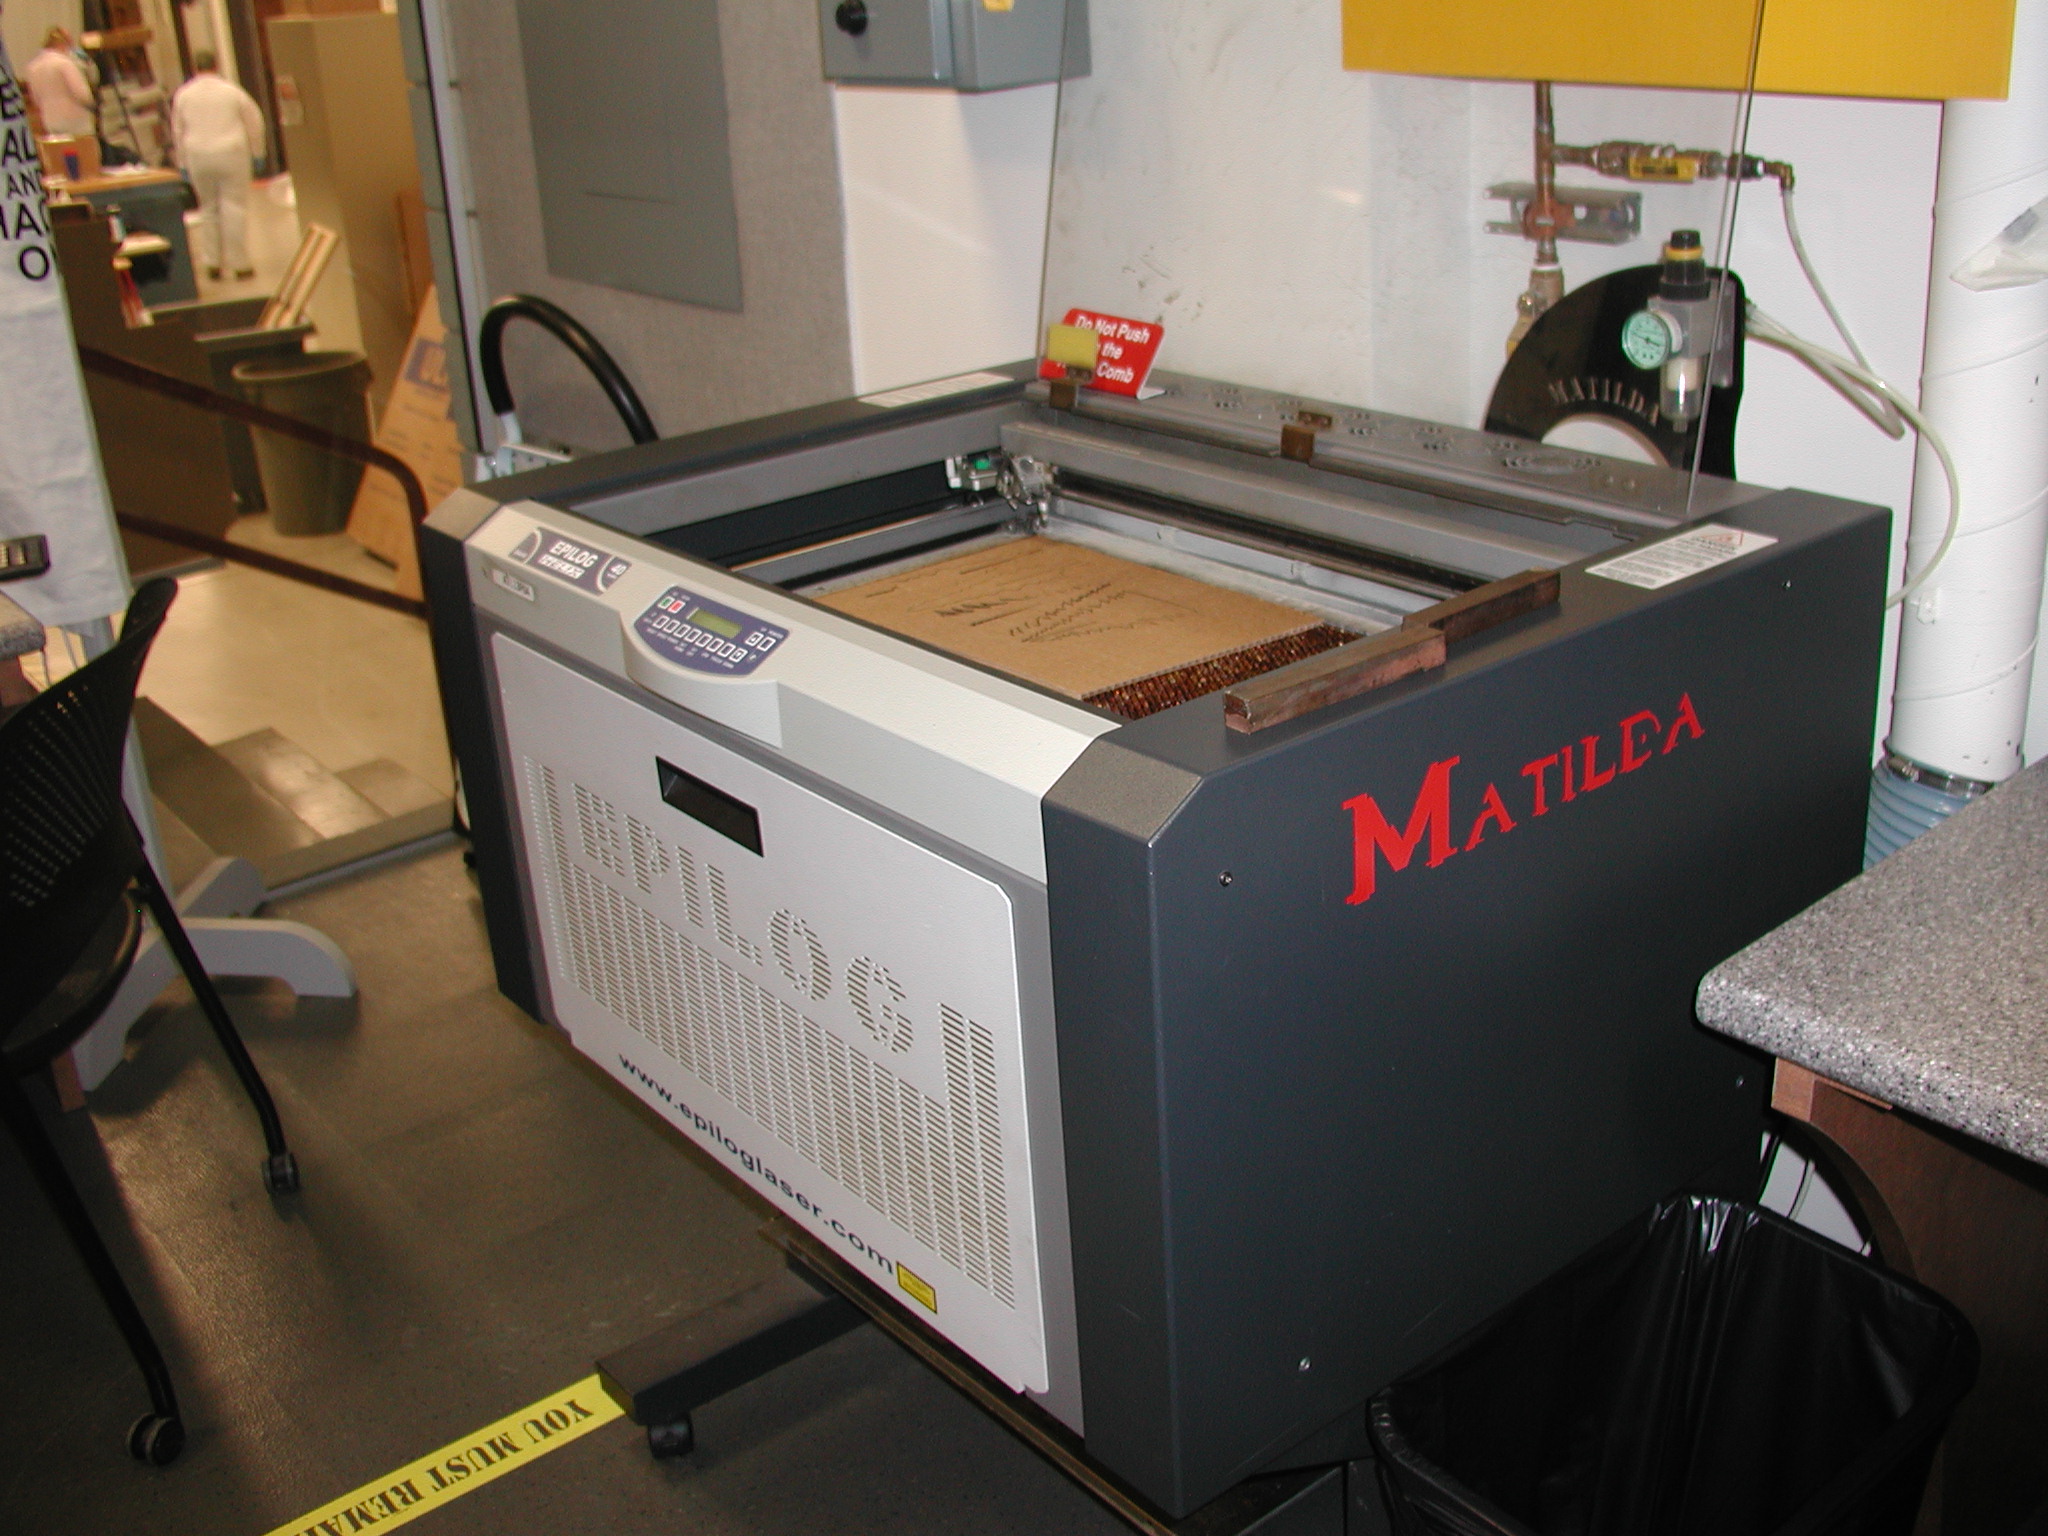
The final step before cutting to the laser is to save the drawing document into a format acceptable Corel Draw. One of the formats accepted is DXF, which about any CADD system supports. The DXF file was imported into Corel Draw, the unnecessary entities were removed, the paper size was set, the lineweight changed to "hairline" for vector cutting. The image is now ready to be printed. Set the proper power and speeds for the laser and "GO". Remember safety precautions because the cardboard does burn!
Cutting trees on the Epilog laser:
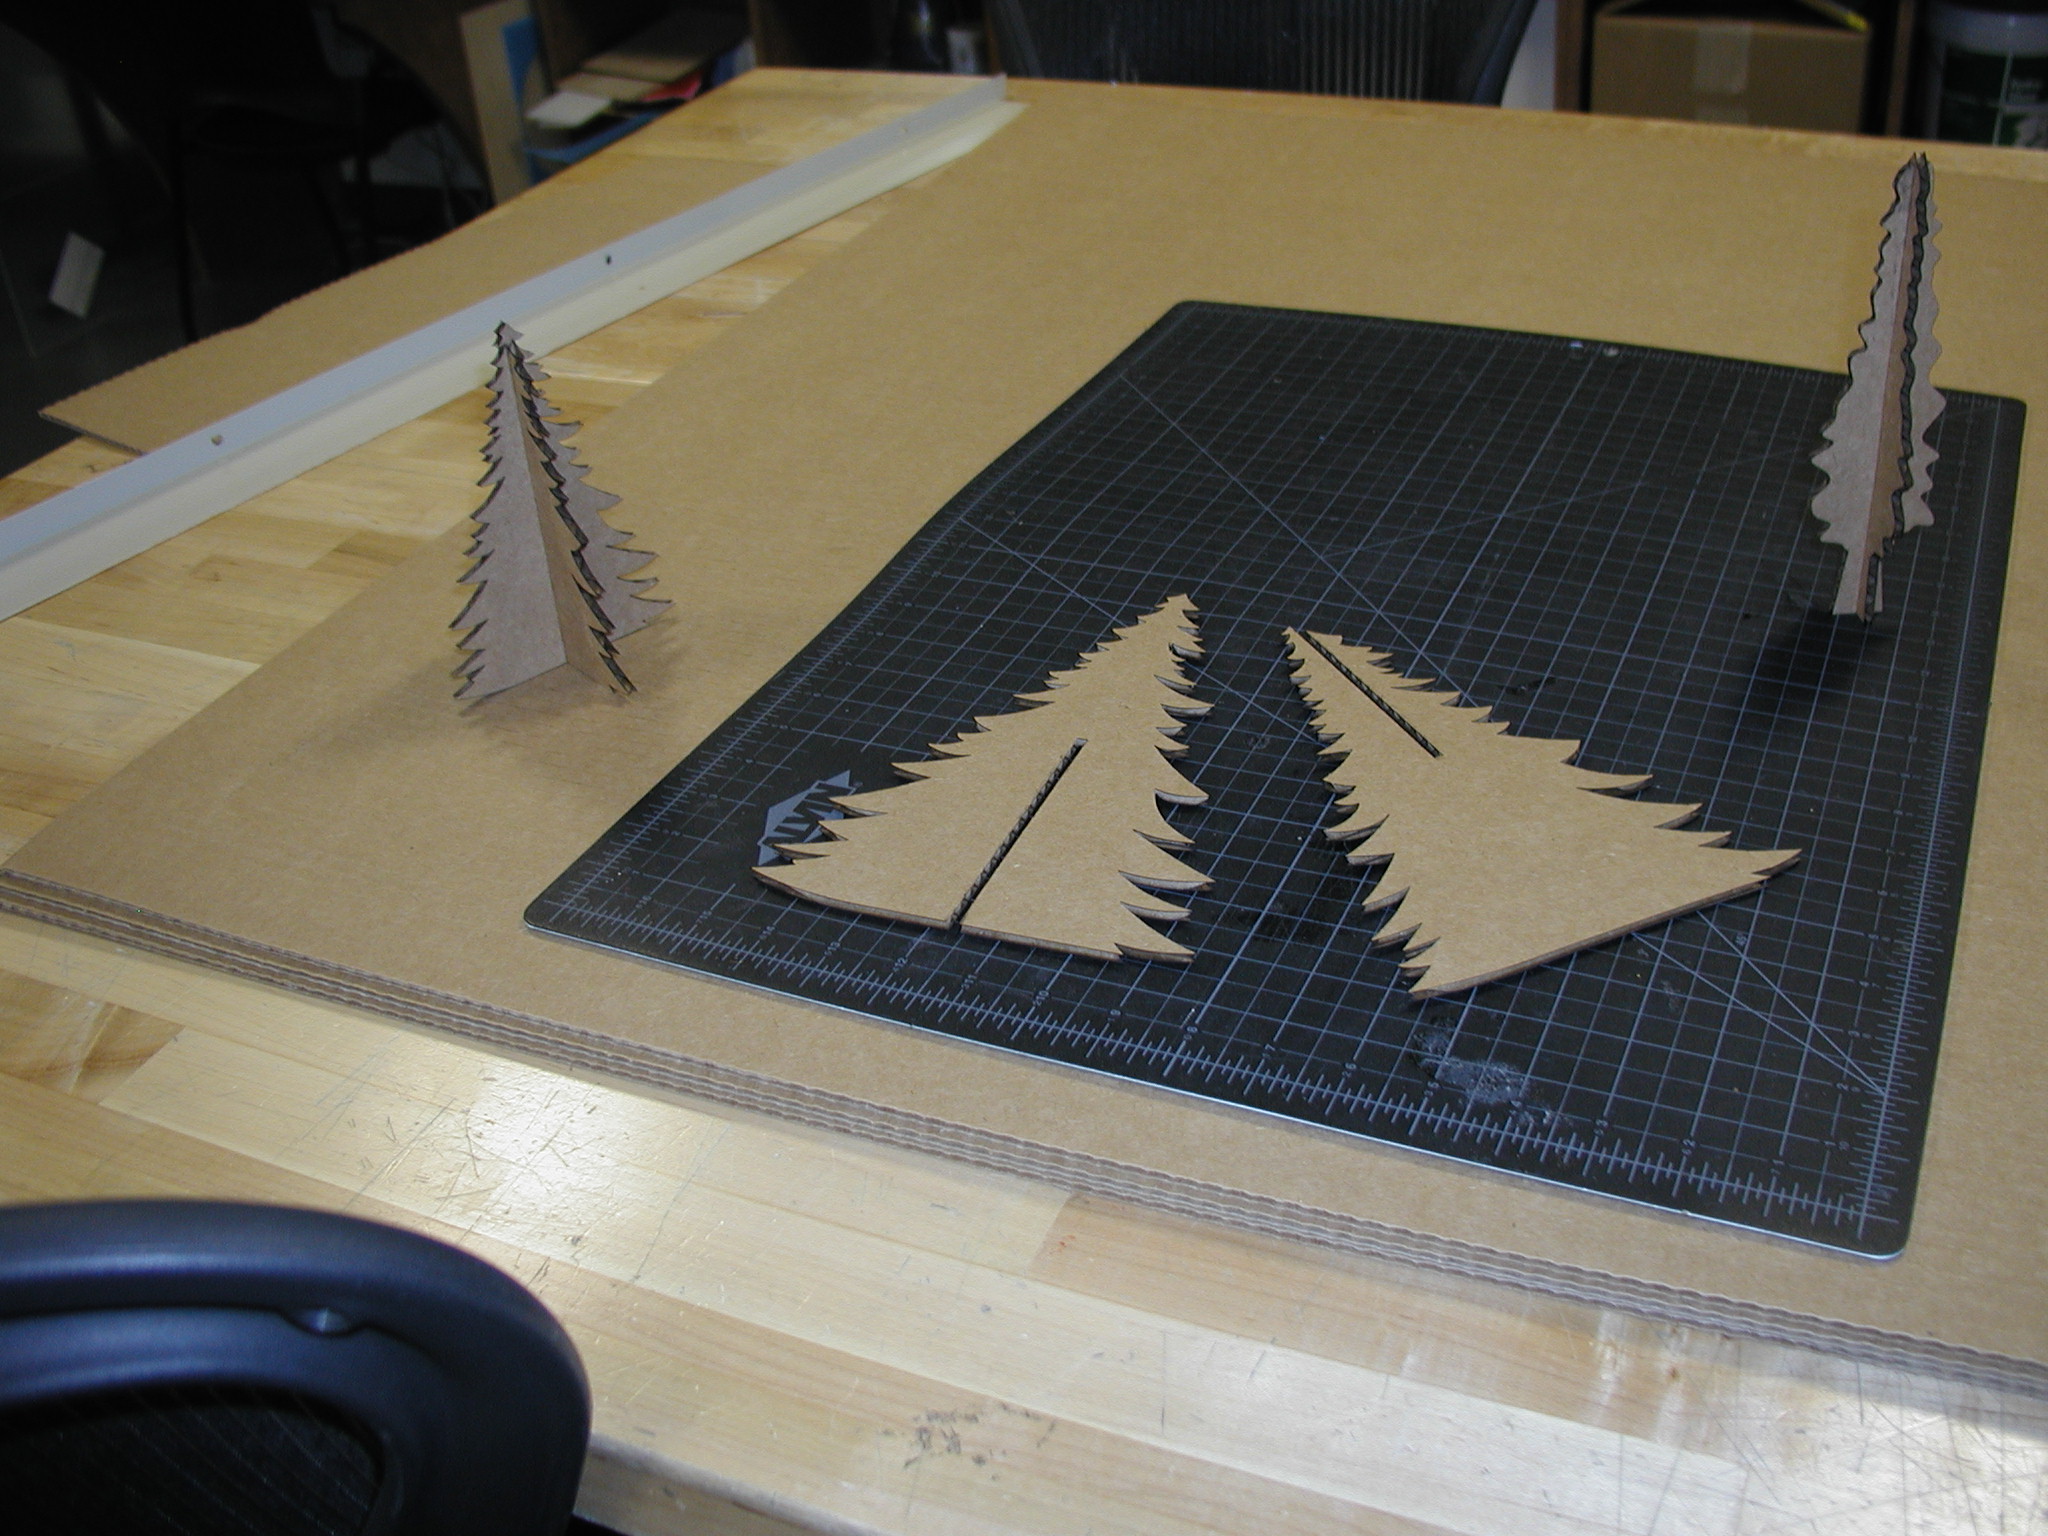
Finished Cuts:
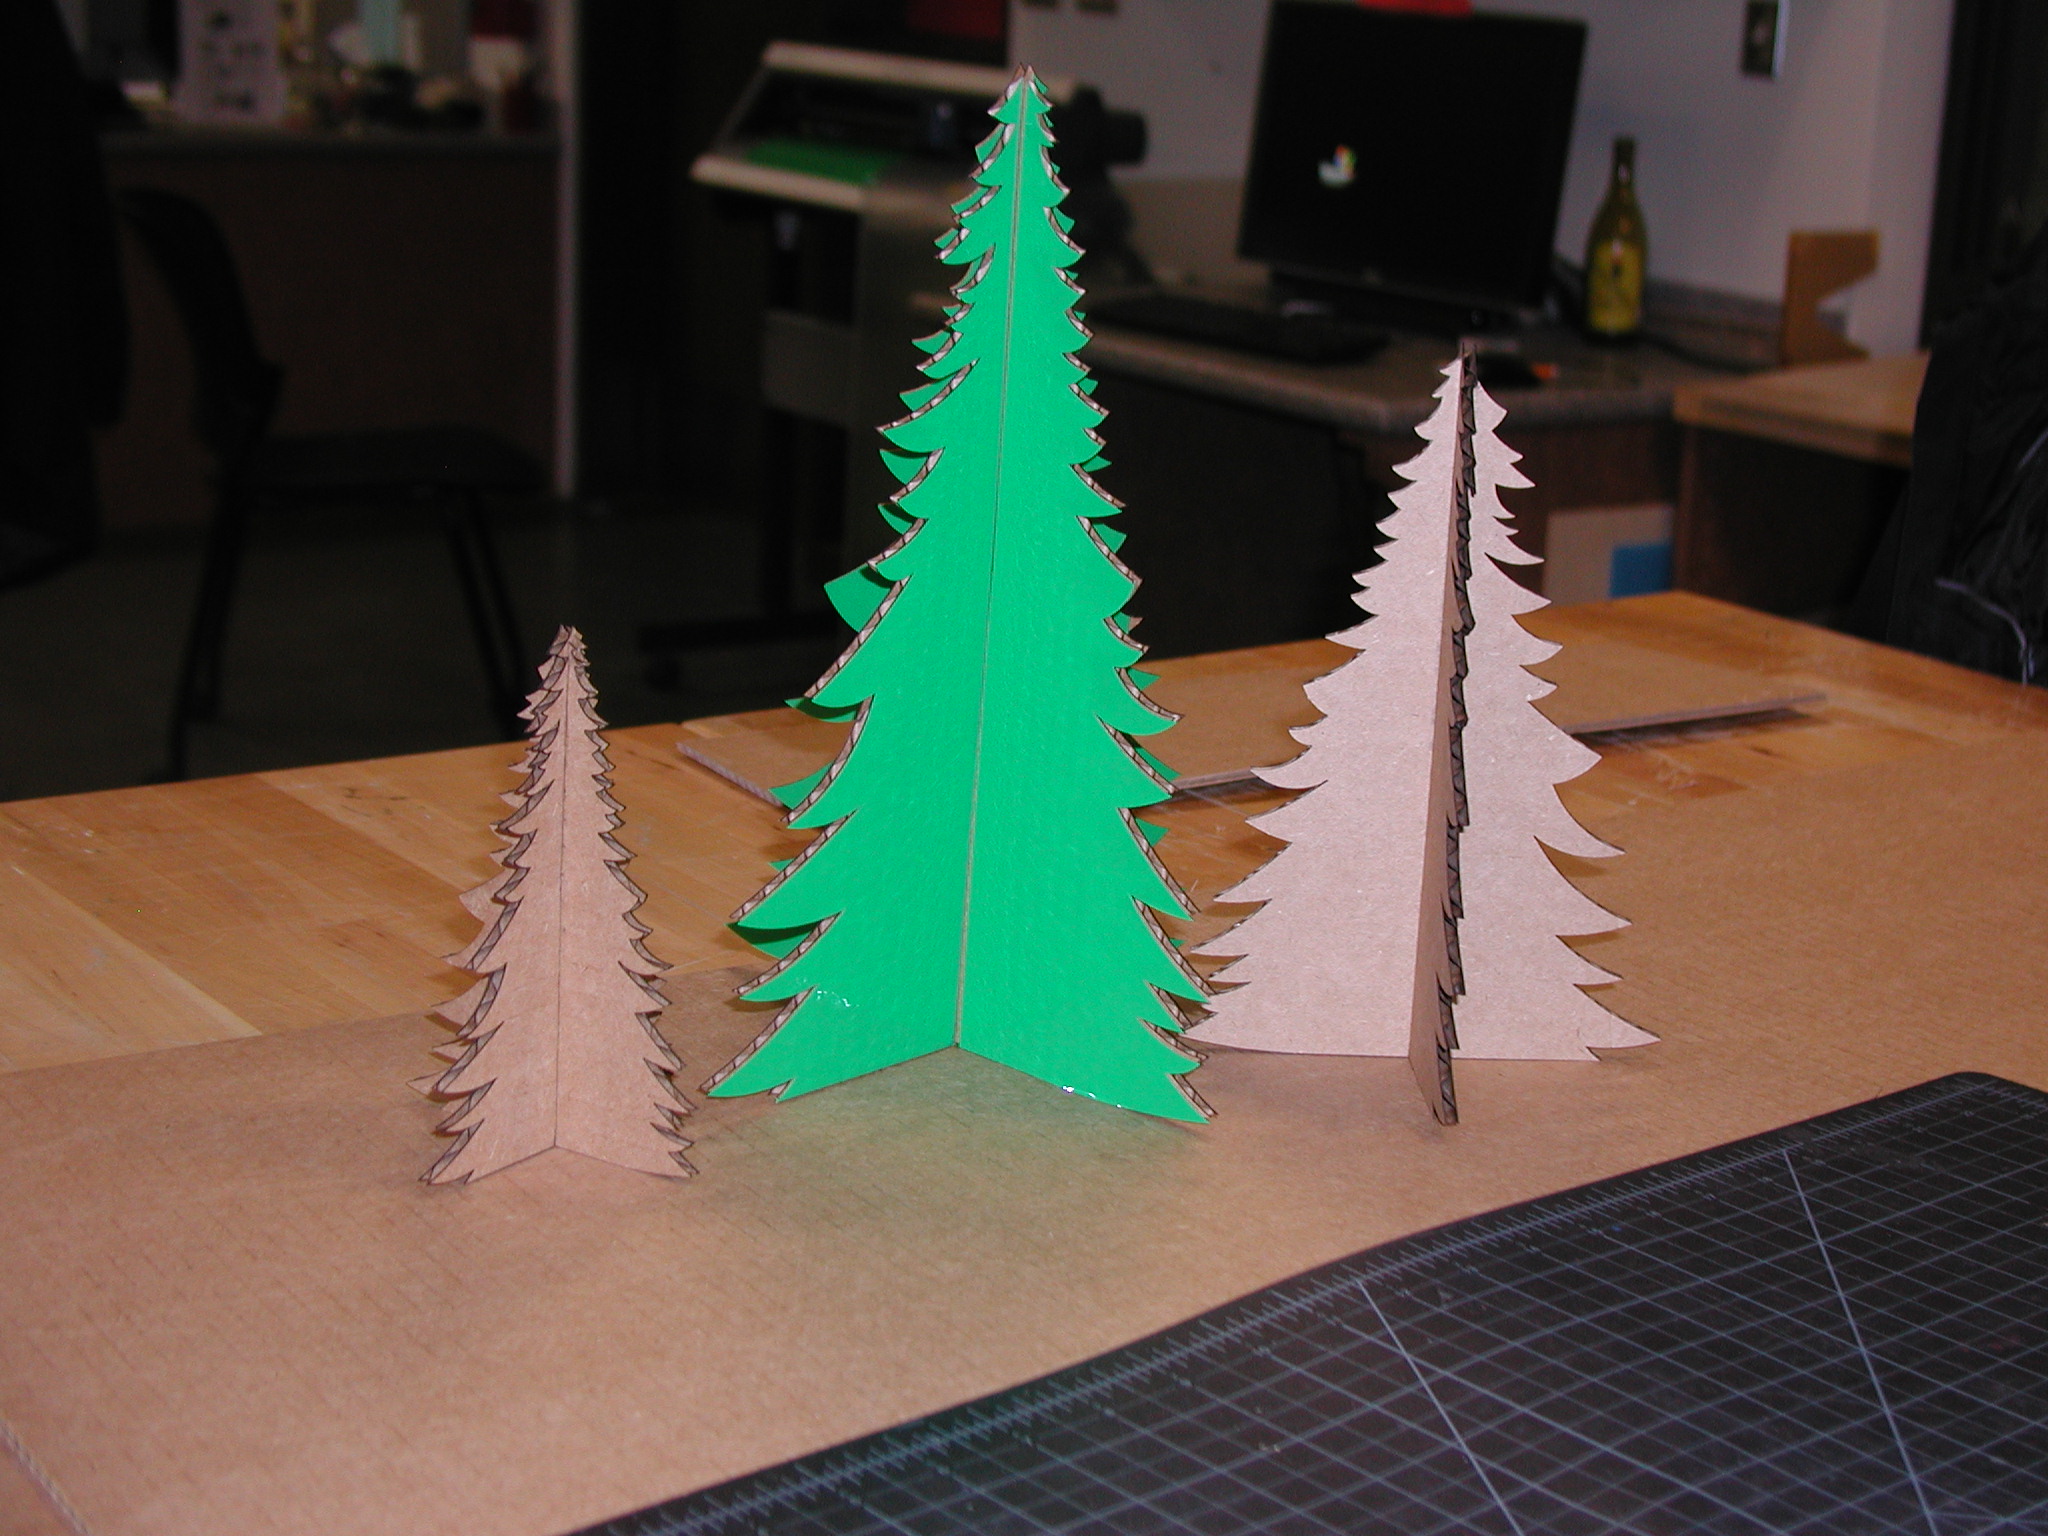
Tree assembled:
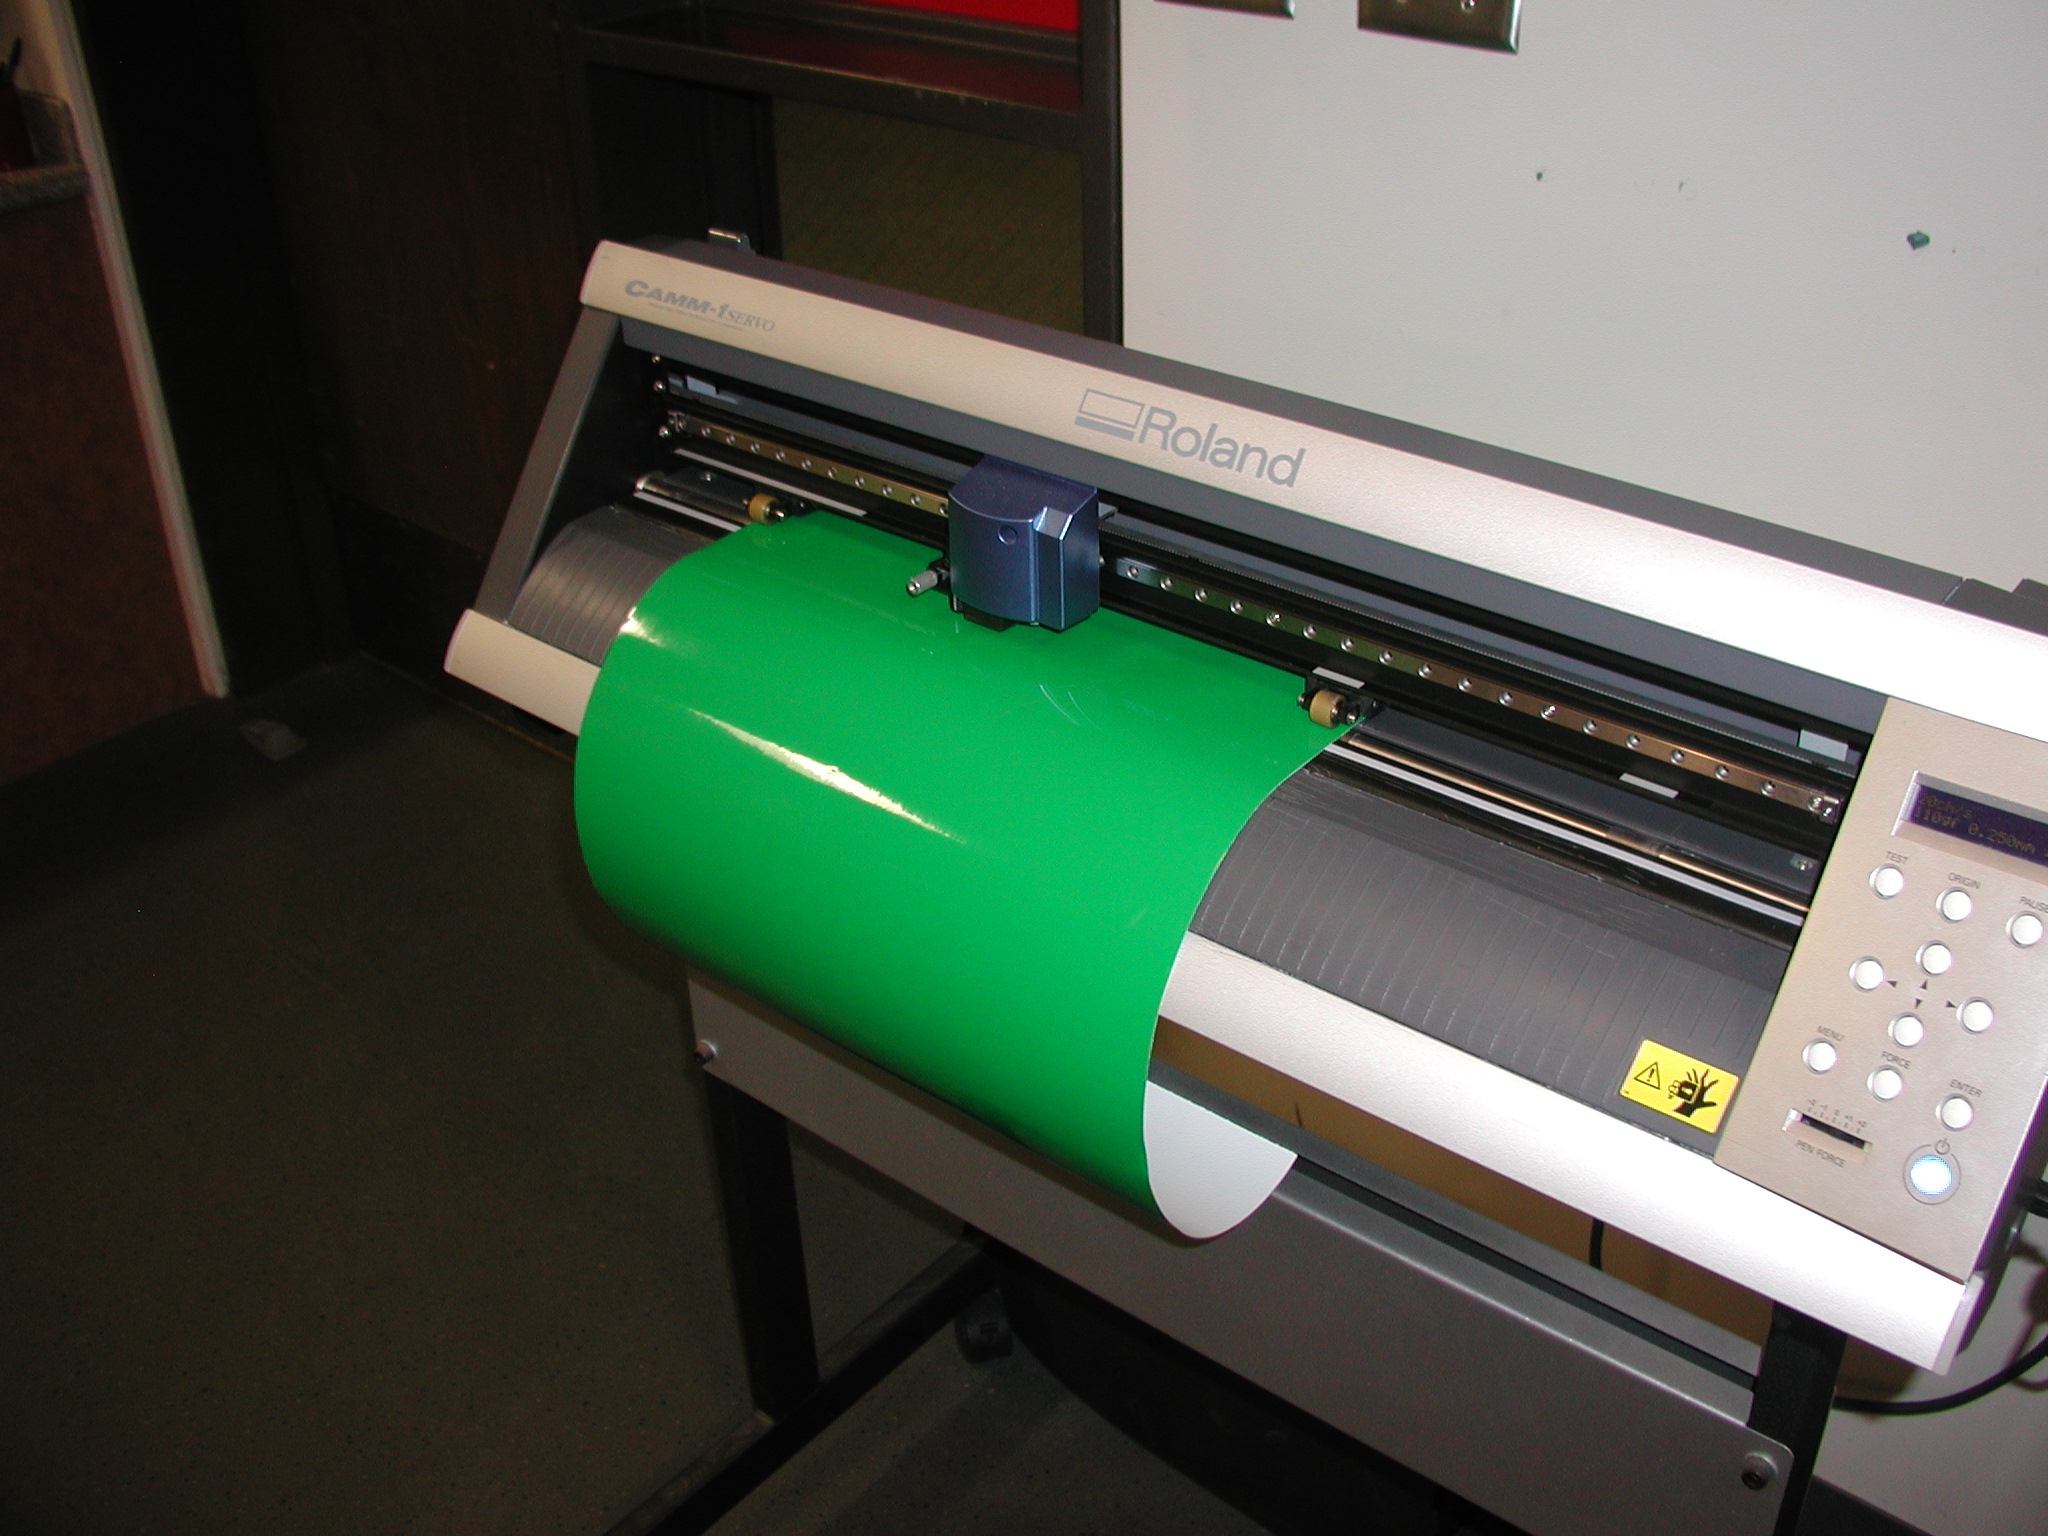
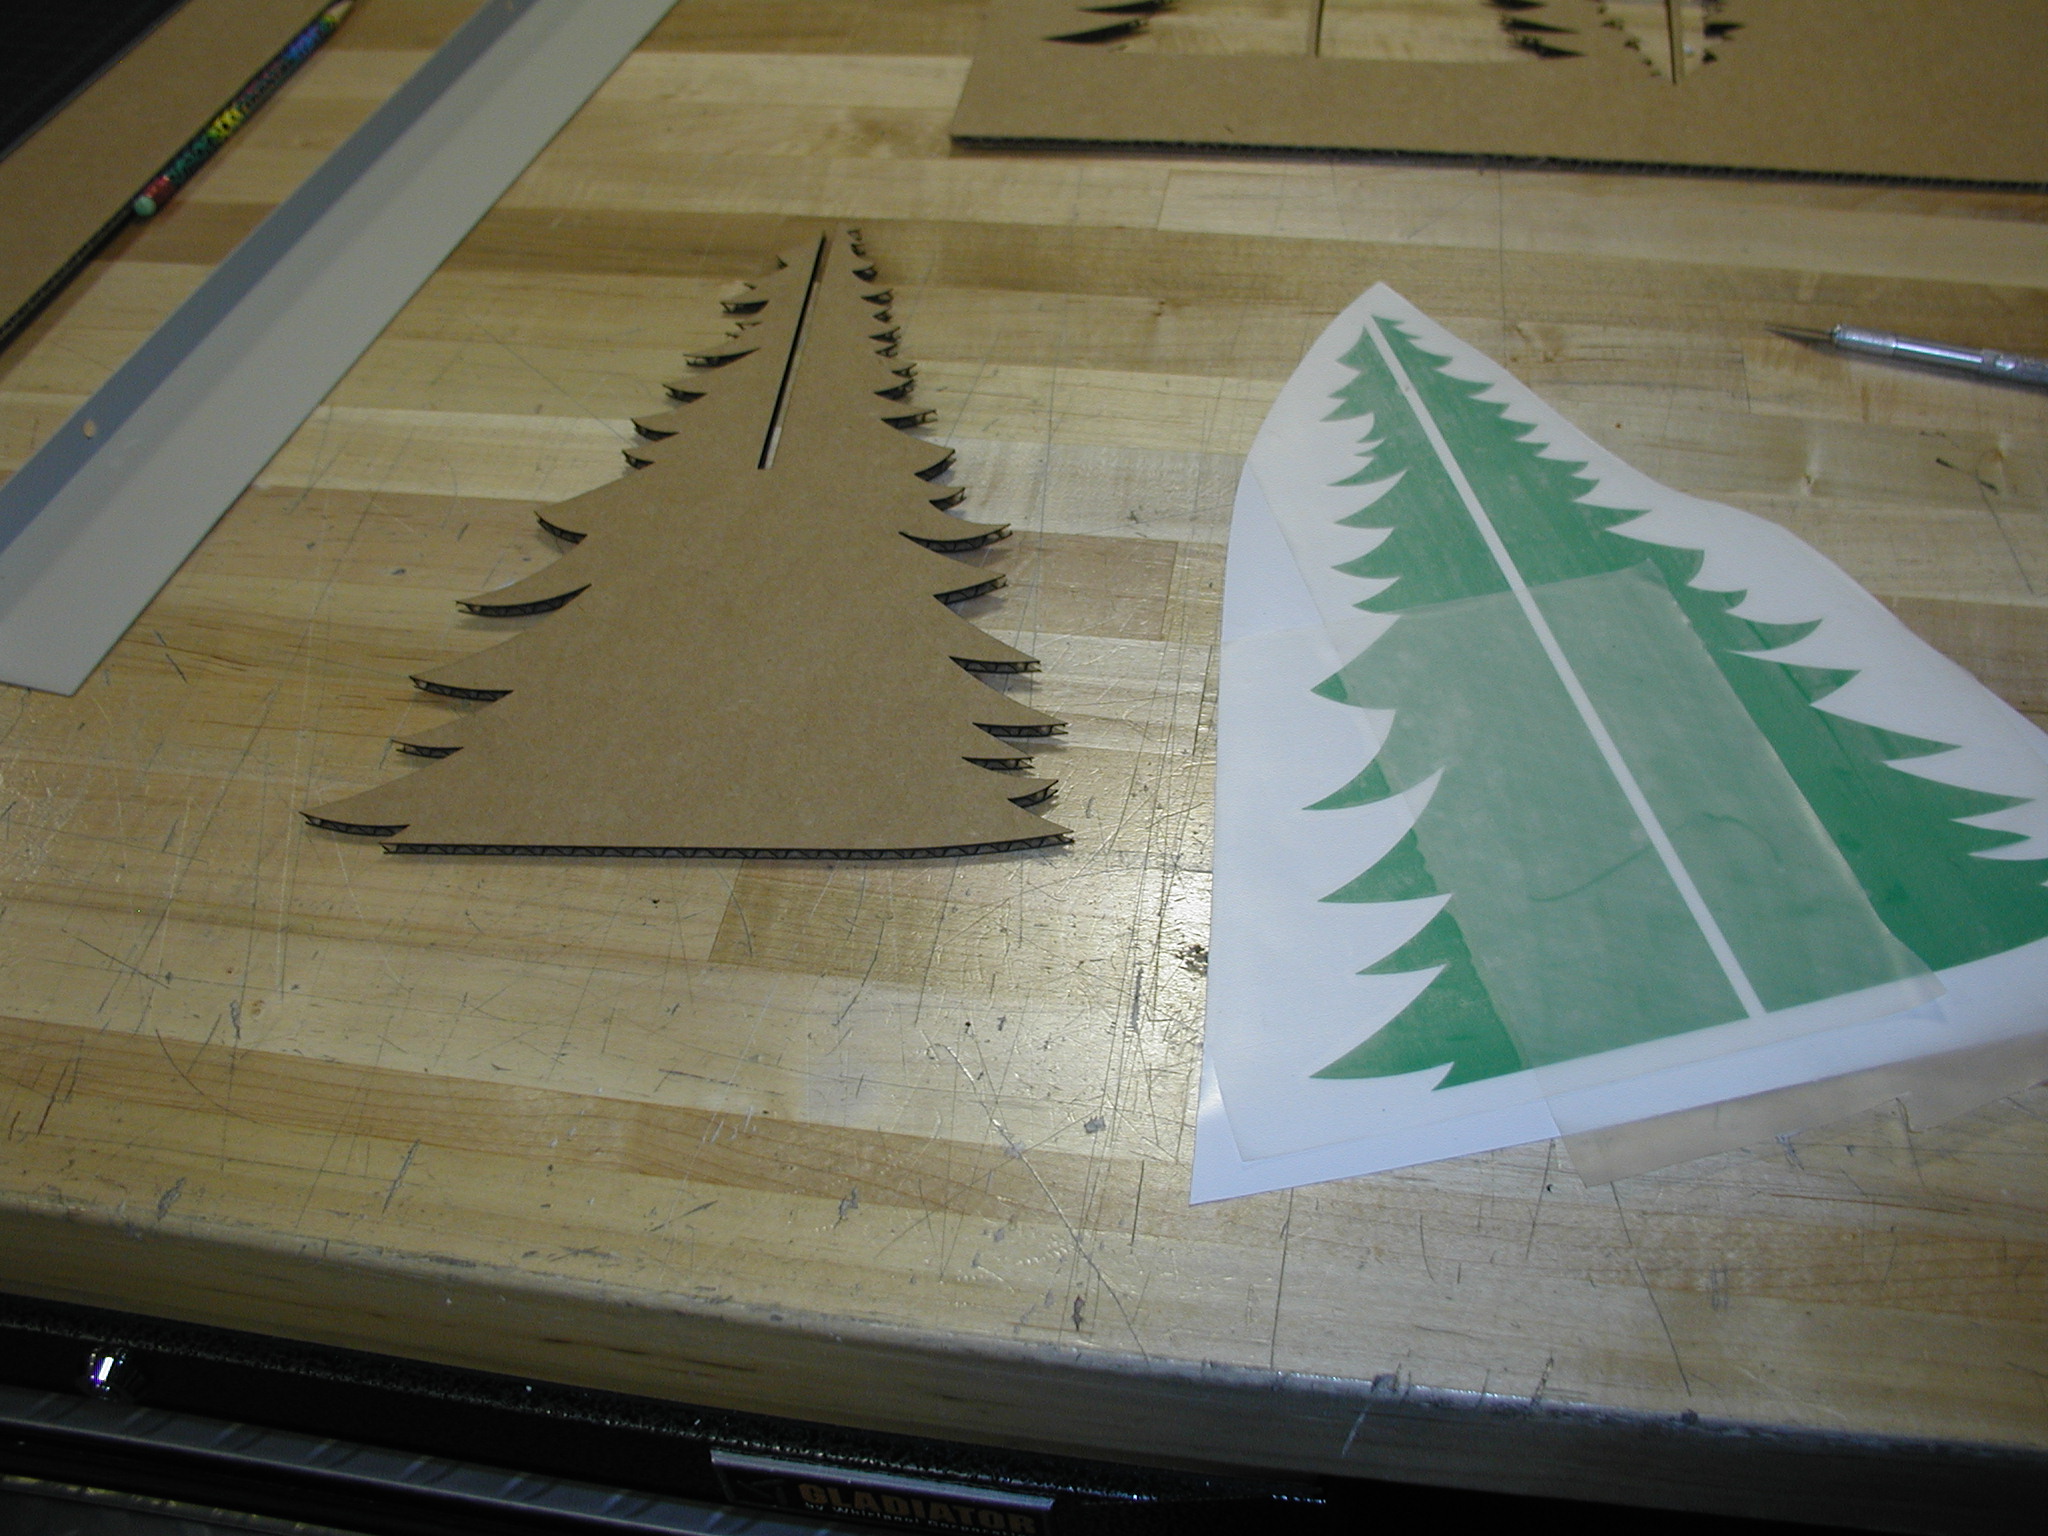
The final steps before cutting to the vinyl cutter is similar to the laser. Make sure you know your equipment setup before proceeding. Once the vinyl has been cut it needs to be weeded (extra vinyl removed). After weeding, transfer tape is needed to aide in attaching the vinyl to it's final source.
Using the Roland vinyl cutter:
Weeded:
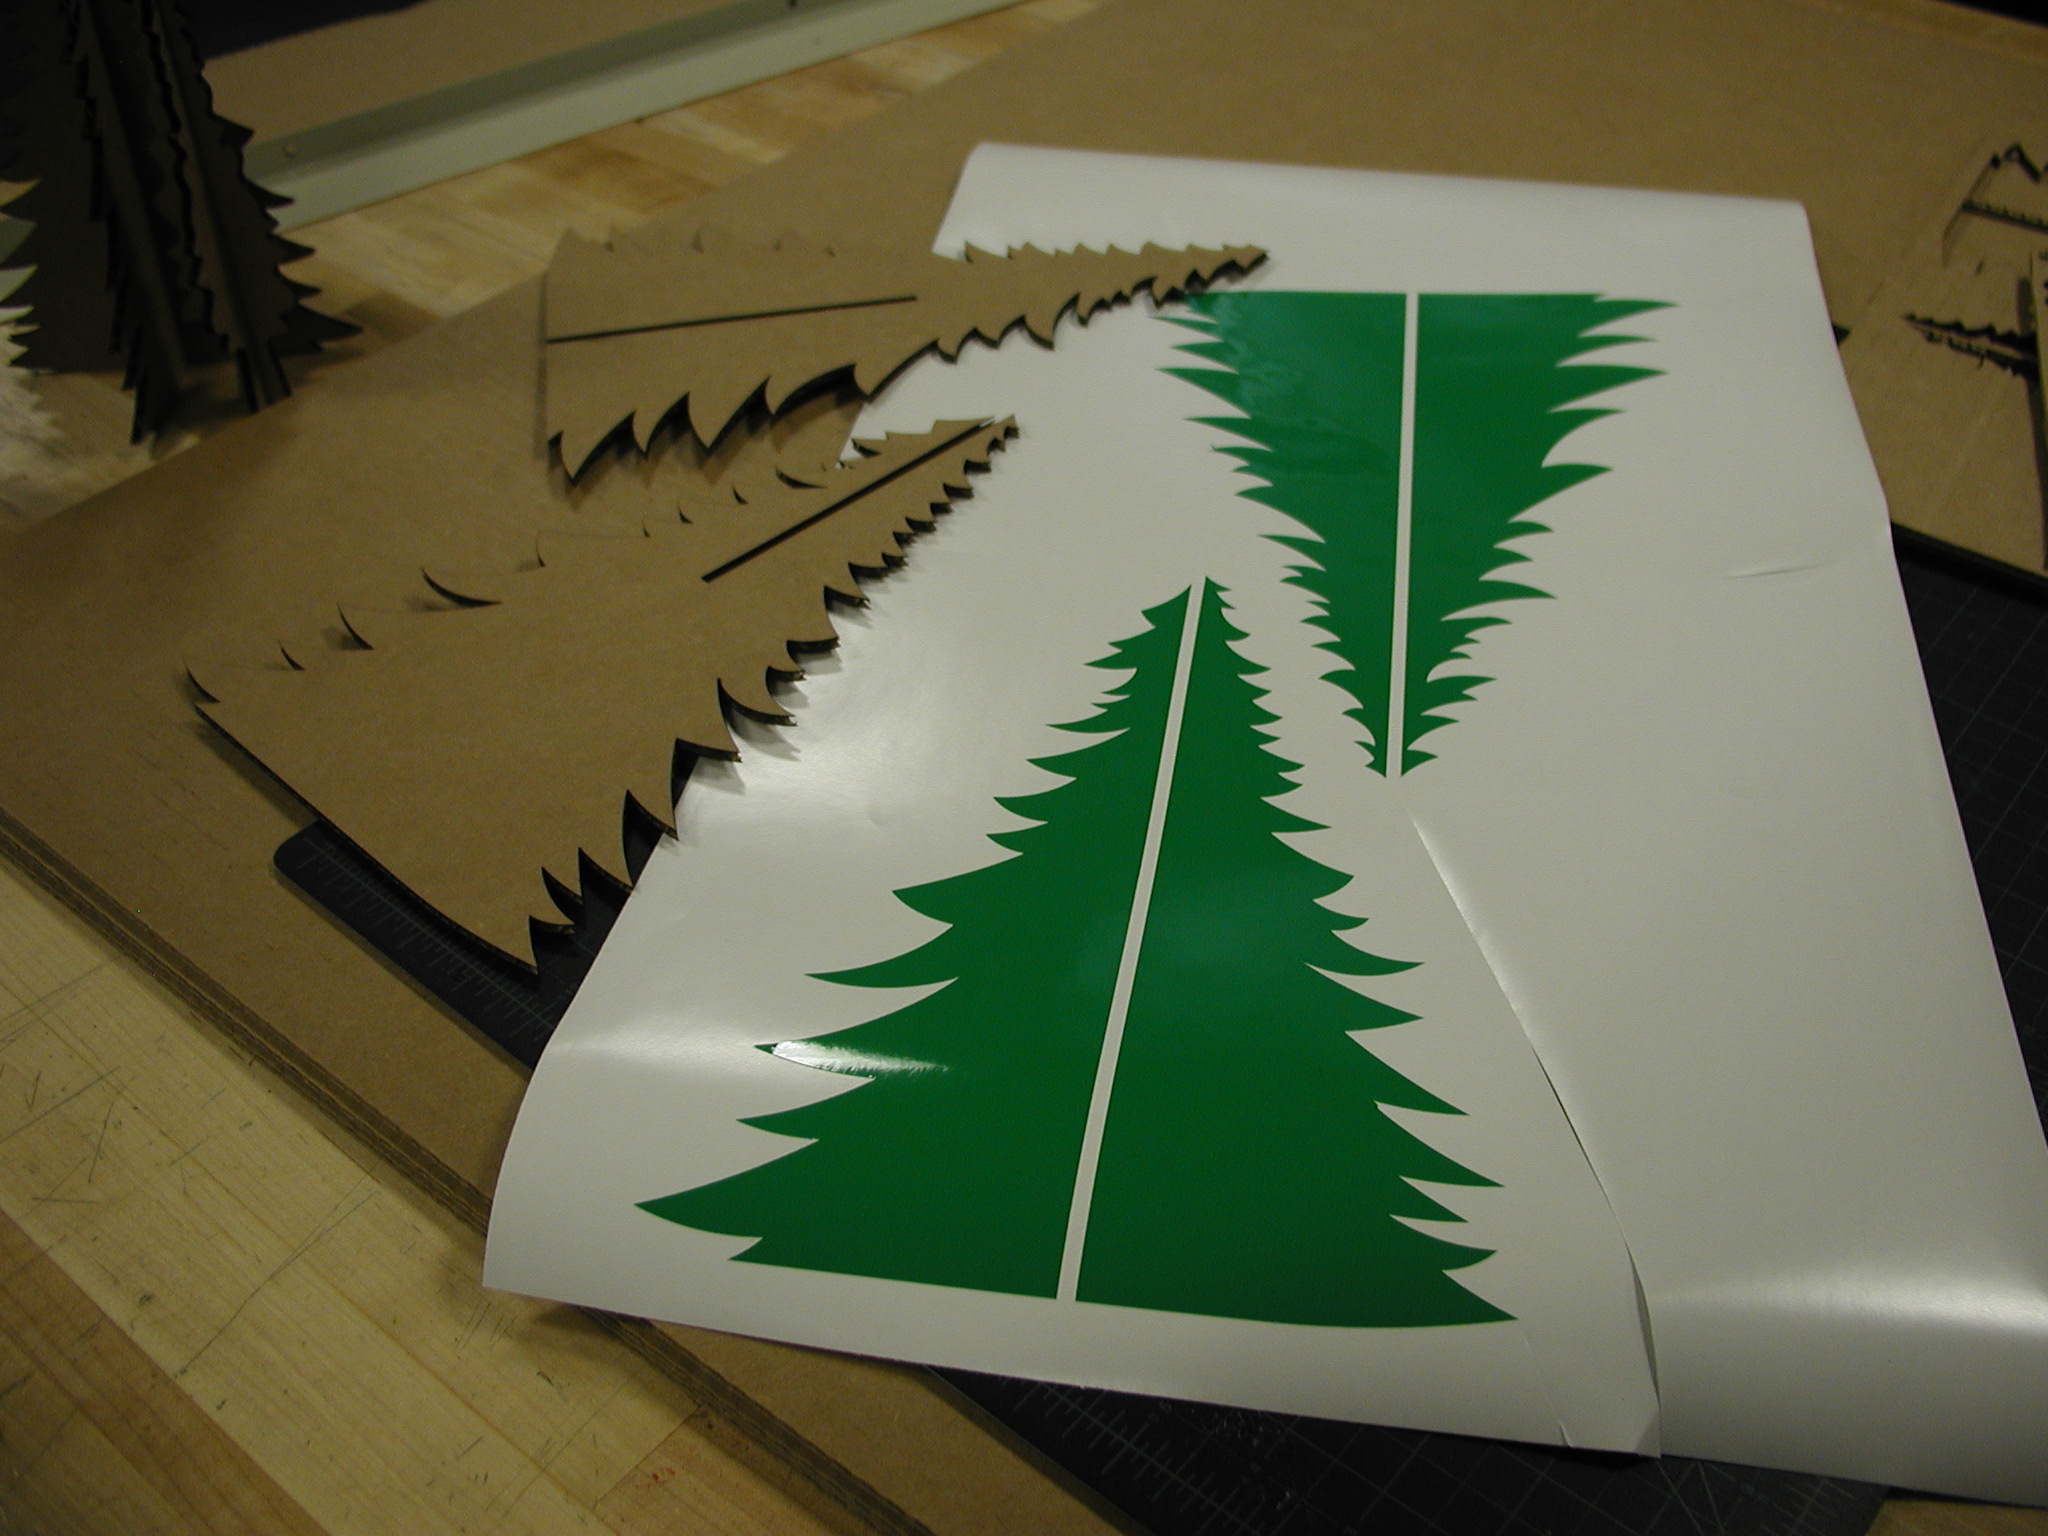
Transfer tape applied.
The start of the slow-growth forest:
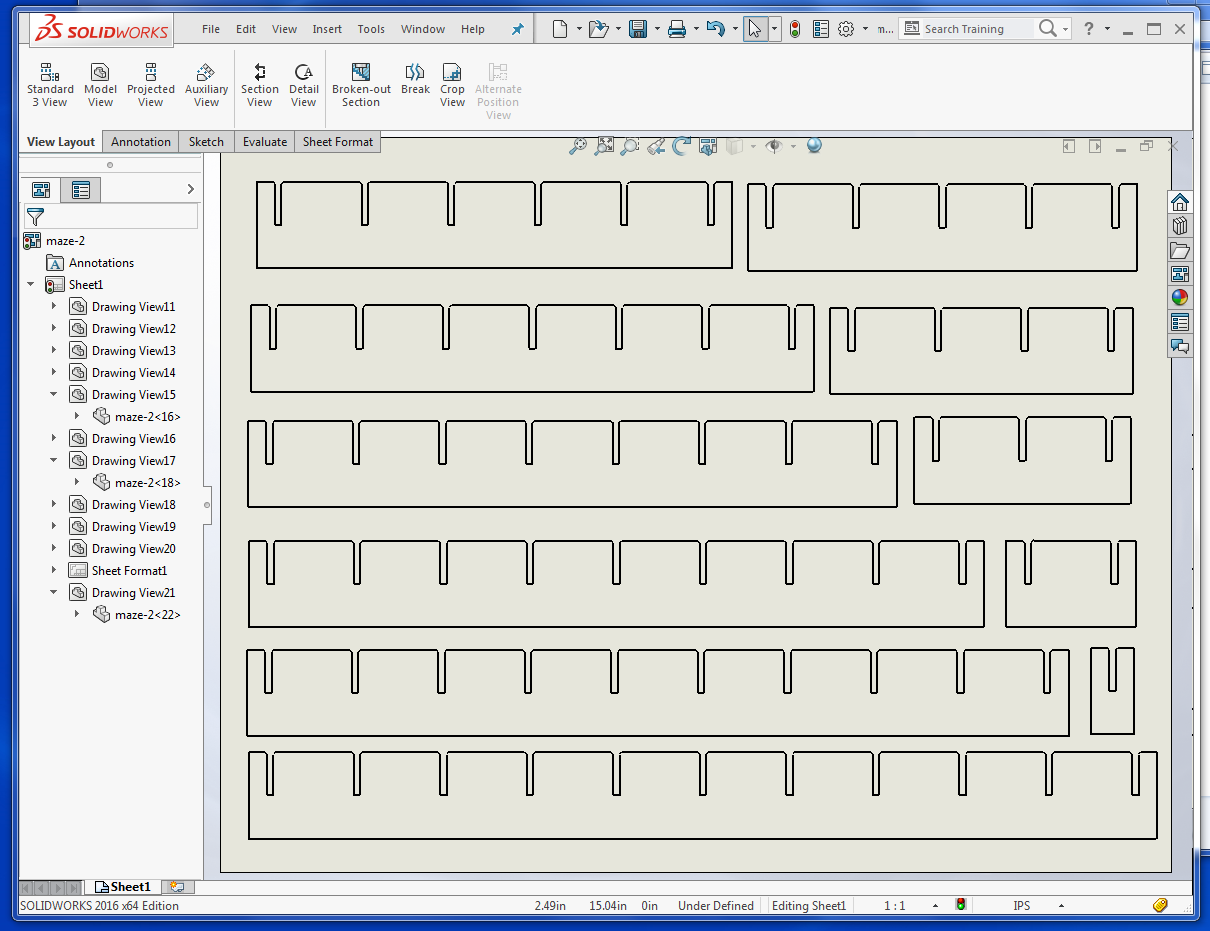
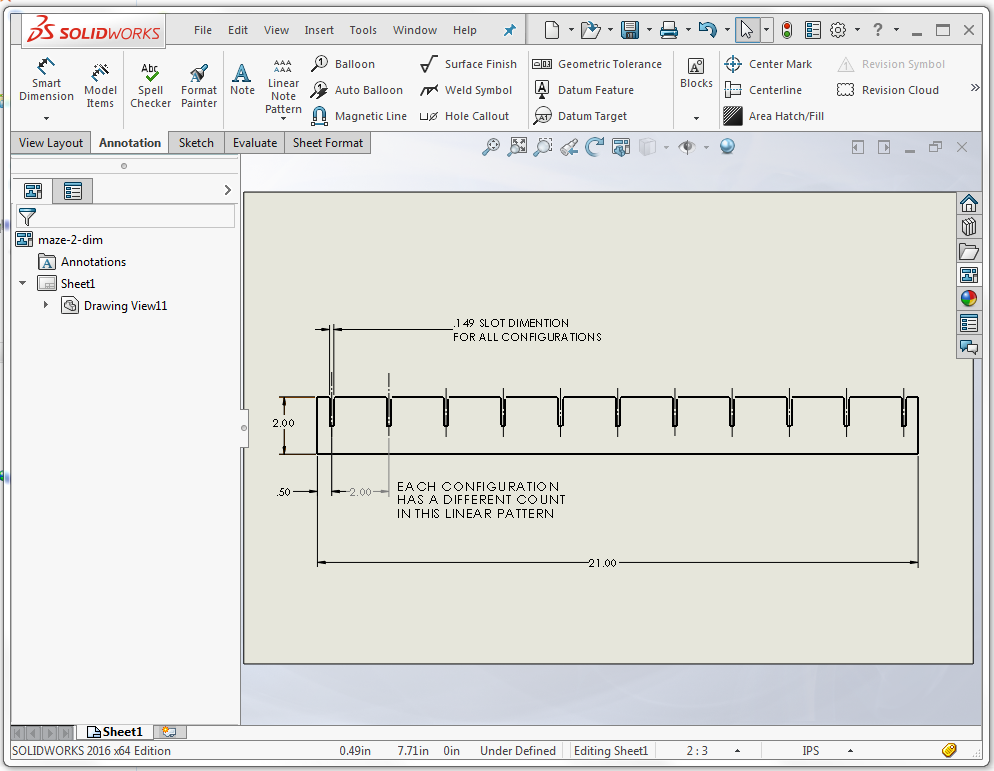
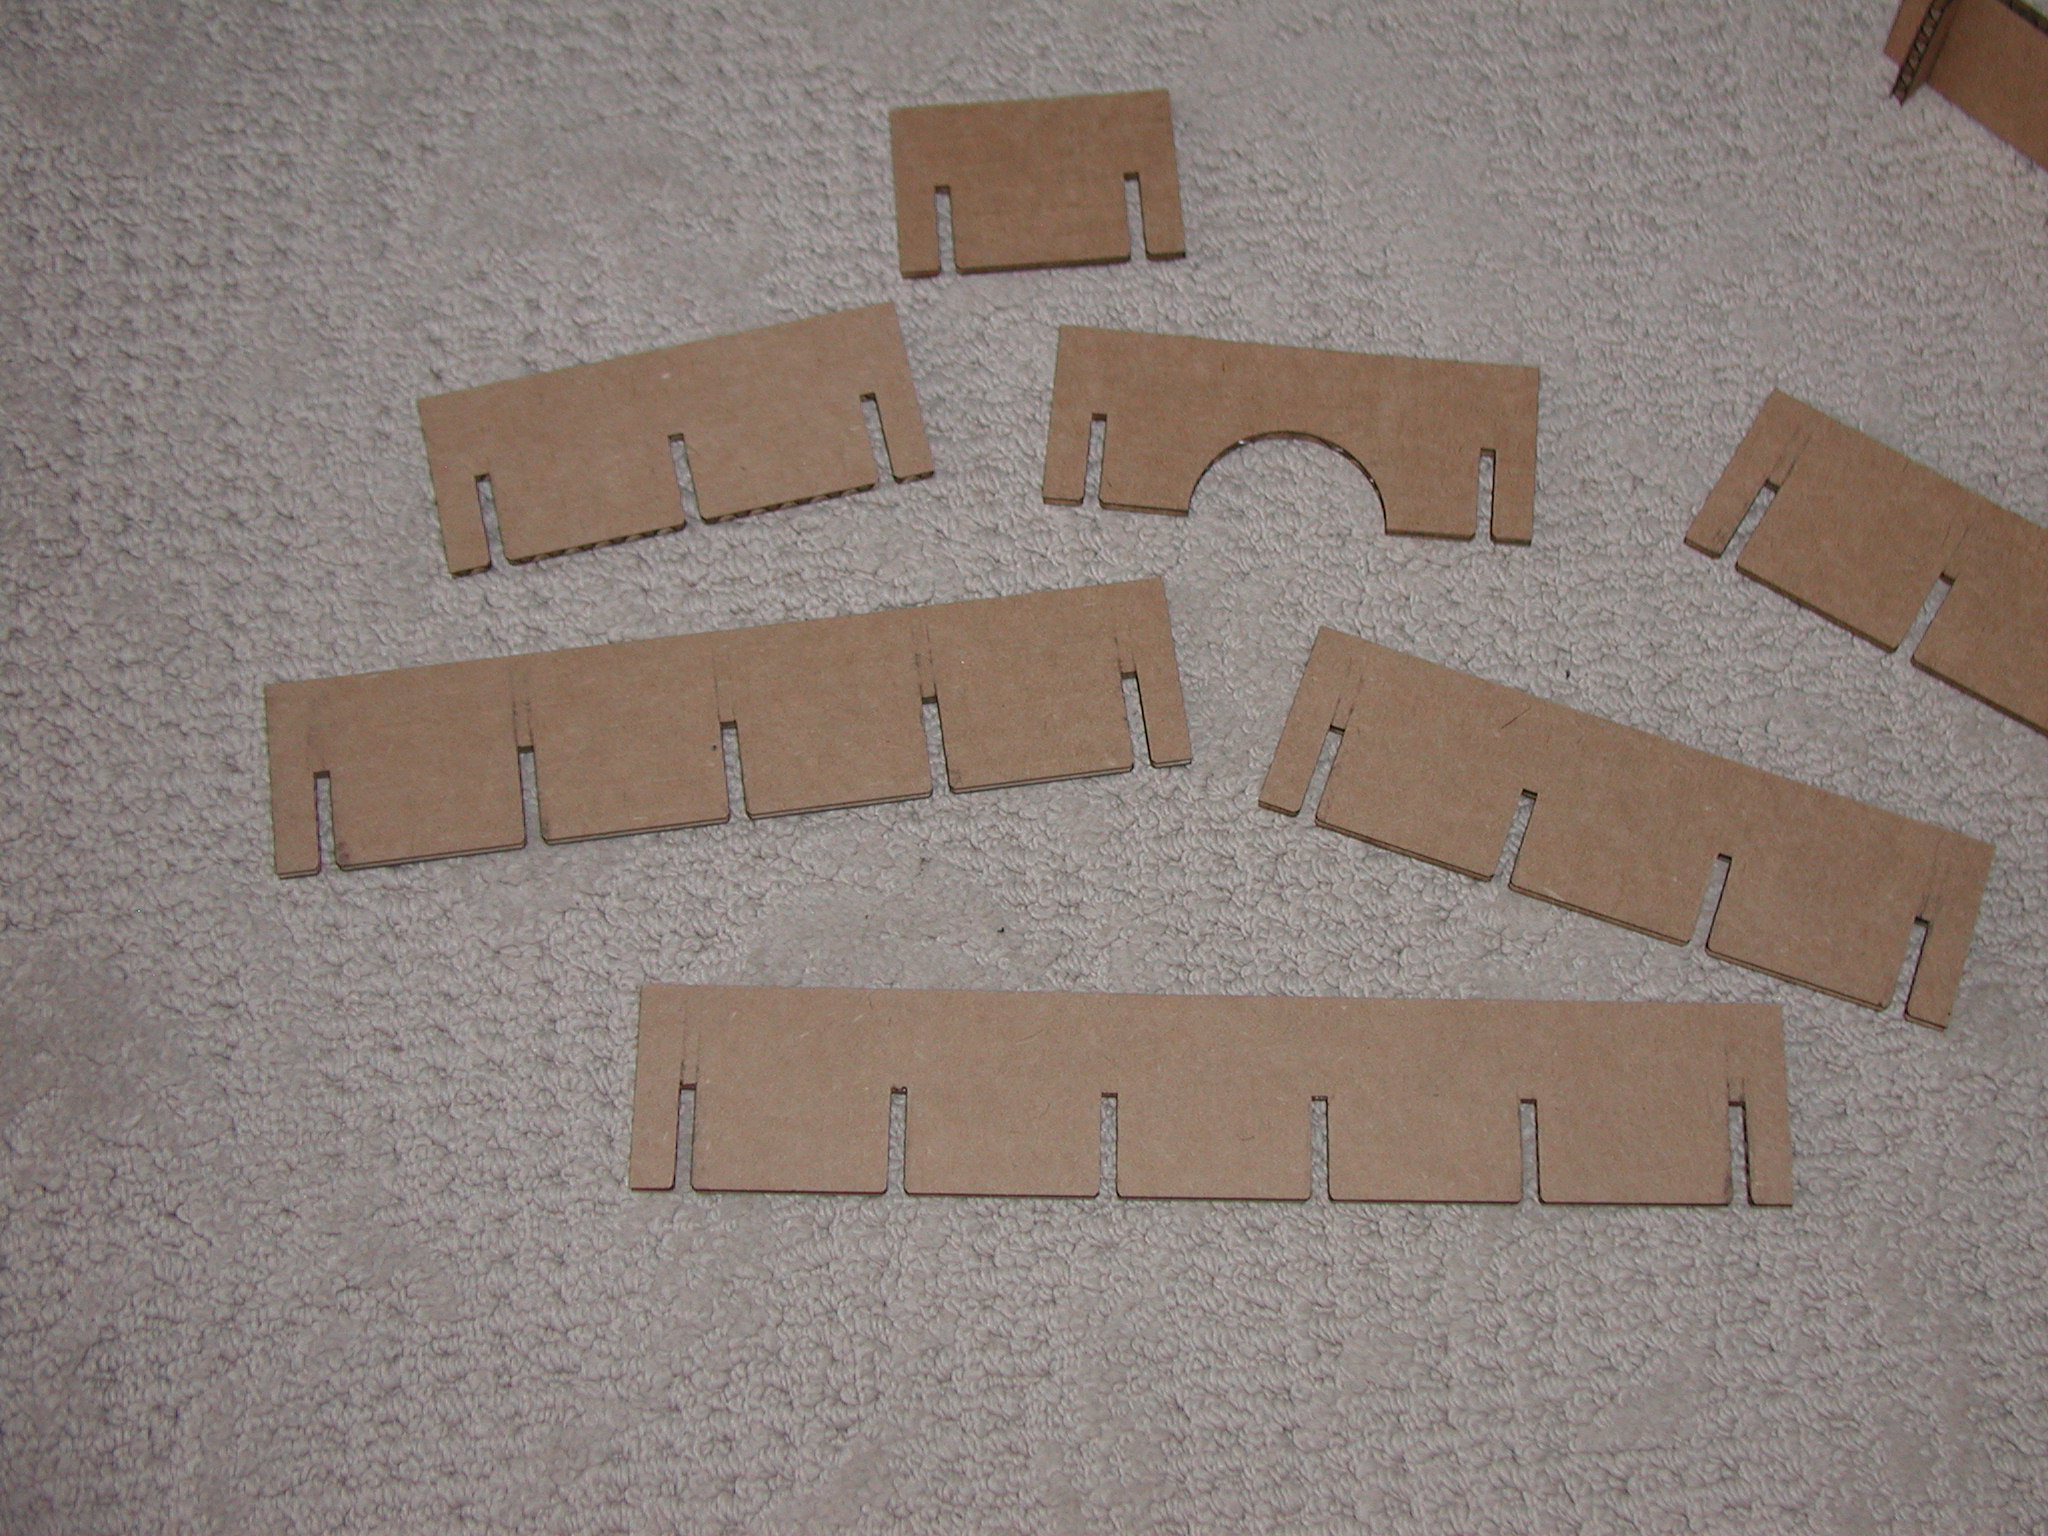
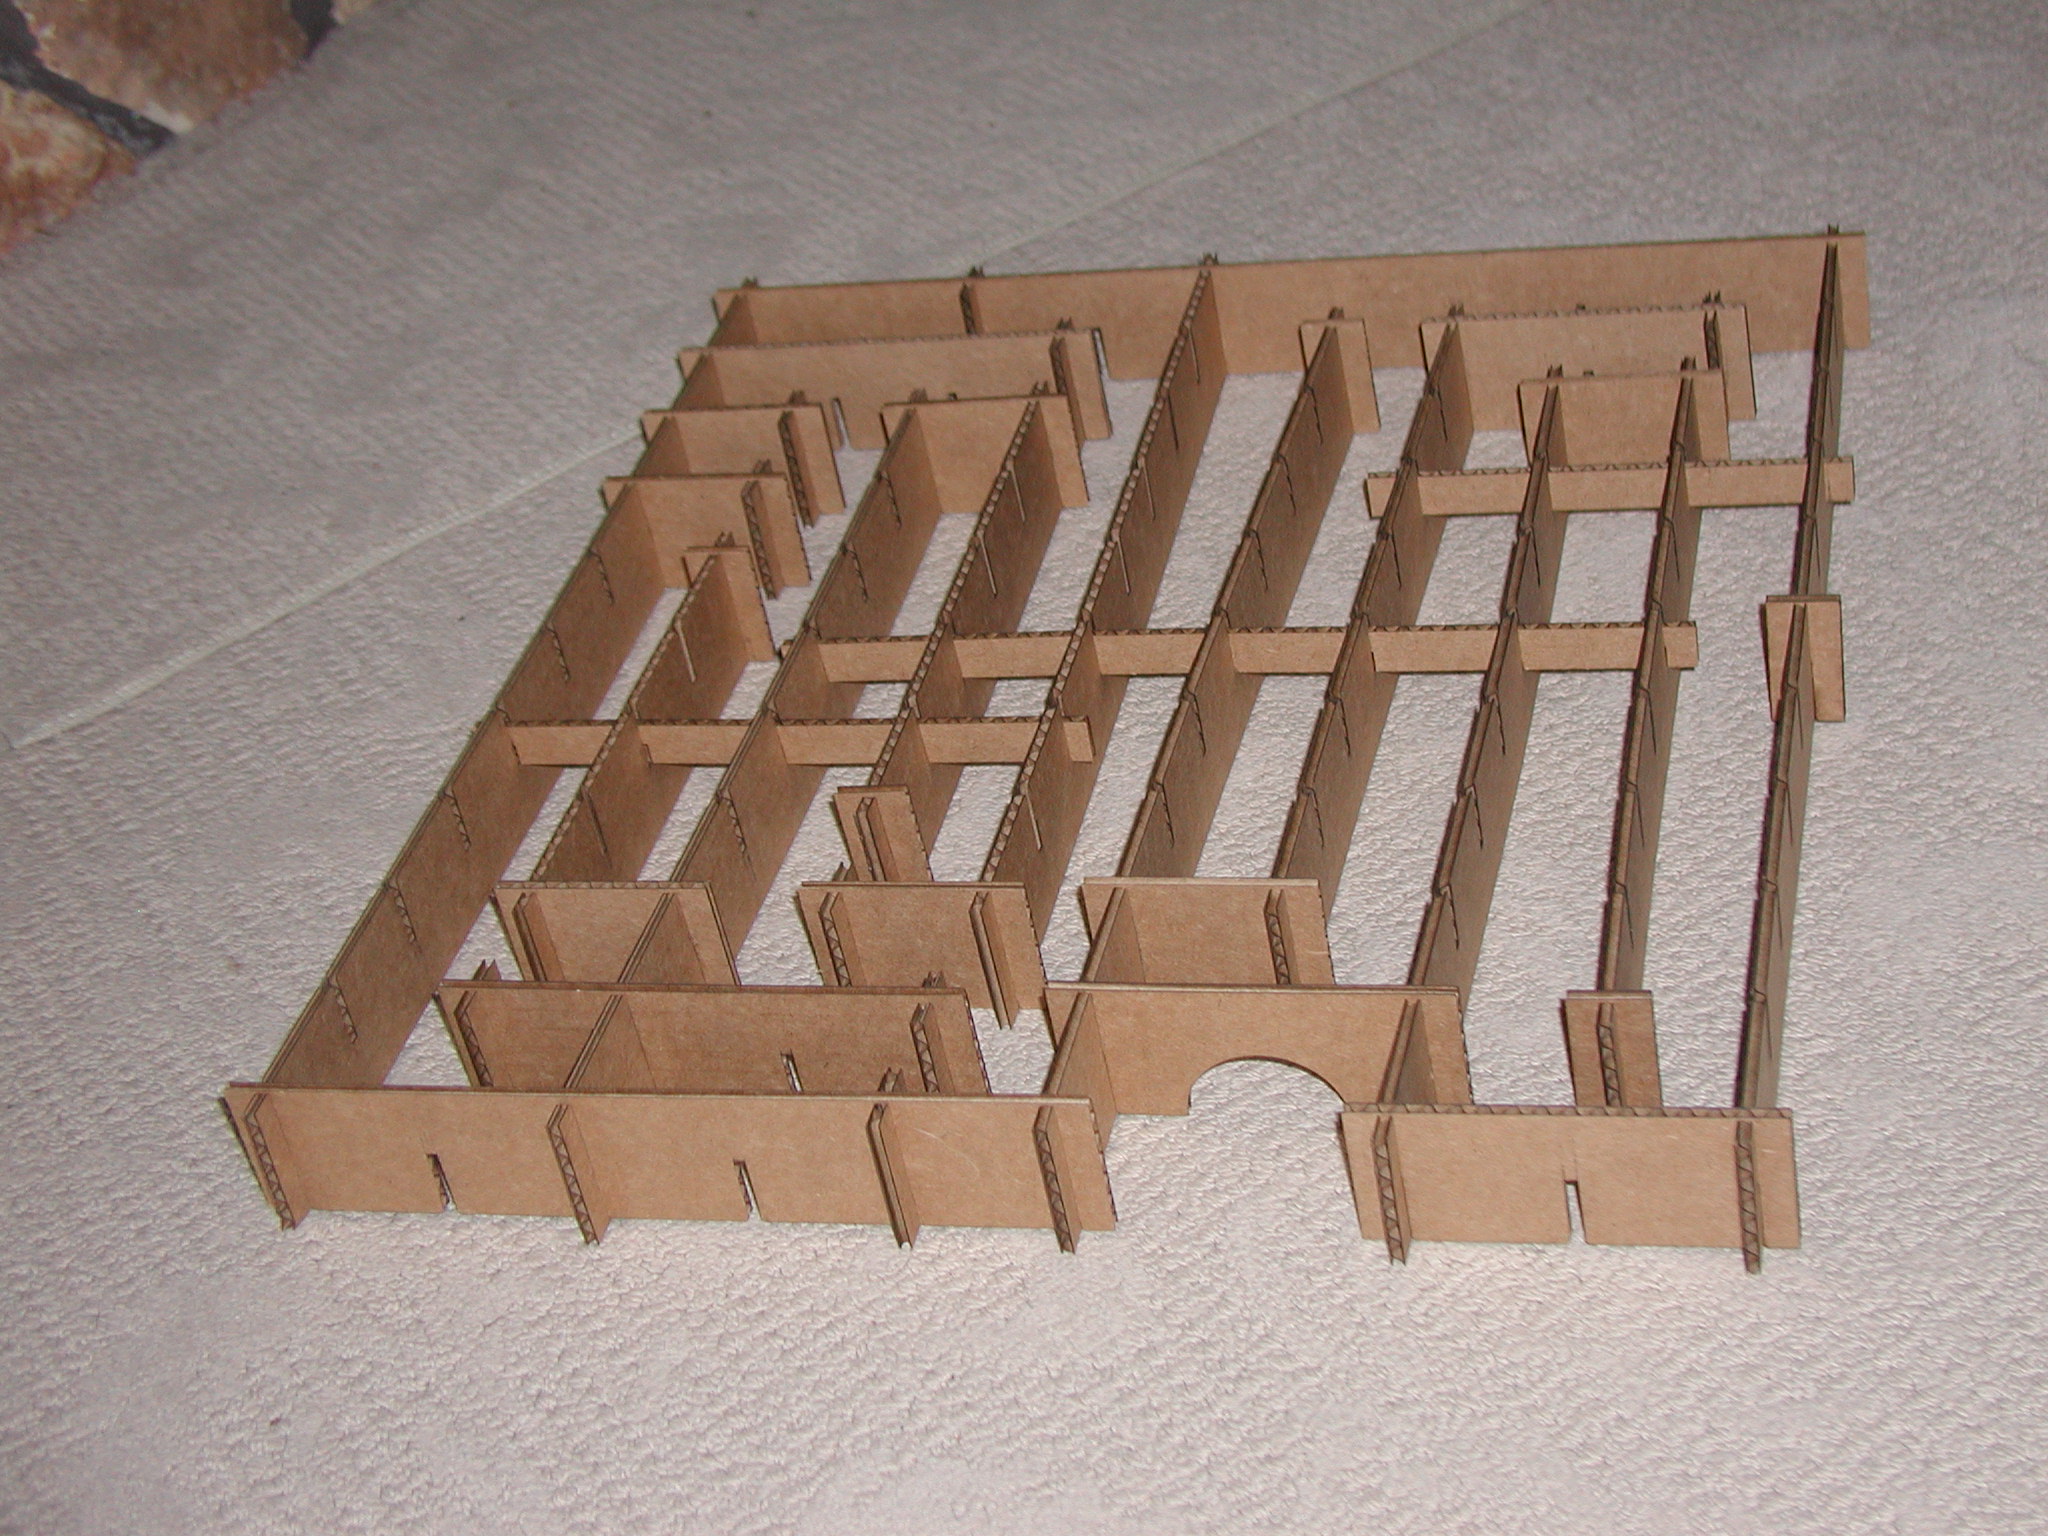
I had additional time this week so I decided to try another parametric design project using the license of Solidworks in our Fab Lab. This is a design of a small creature maze that uses only one model and multiple configurations. The poor mouse has to search for his food throughout a series of twists and turns. My wall pieces range from 20 inches down to 2 inches, in 2-inch increments. There are also 1-inch pieces used mainly as support at the end of each wall. One slot is defined and a linear pattern is created. The slot width is linked to the thickhess of the model. After the first assembly I had to make additional bracing on the top to square the maze and make it secure. These wall pieces are of a single-part configuration. You can expand this by cutting out more pieces to make the maze more complex. The height of this maze can be changed by altering the height of one wall configuration; the height of the slots are tied to the mid-height of the walls.