This week we were given the assignment to design a 3D mold, machine it, and use it to cast parts.
I decided to make a mold of Kokopelli, the ancient fertility god, known as a prankster, a healer, and a story teller. His images are found as petroglyphs throughout the American Southwest dating over 3000 years ago.
Sketch,Scan, and Model:
I sketched an image of Kokopelli and then scanned my sketch. The scanned image was put into Sketch1 in Solidworks.

This sketch was traced using lines, arcs, and ellipses. It was then extruded 1/2" to make the model as shown in the image below.

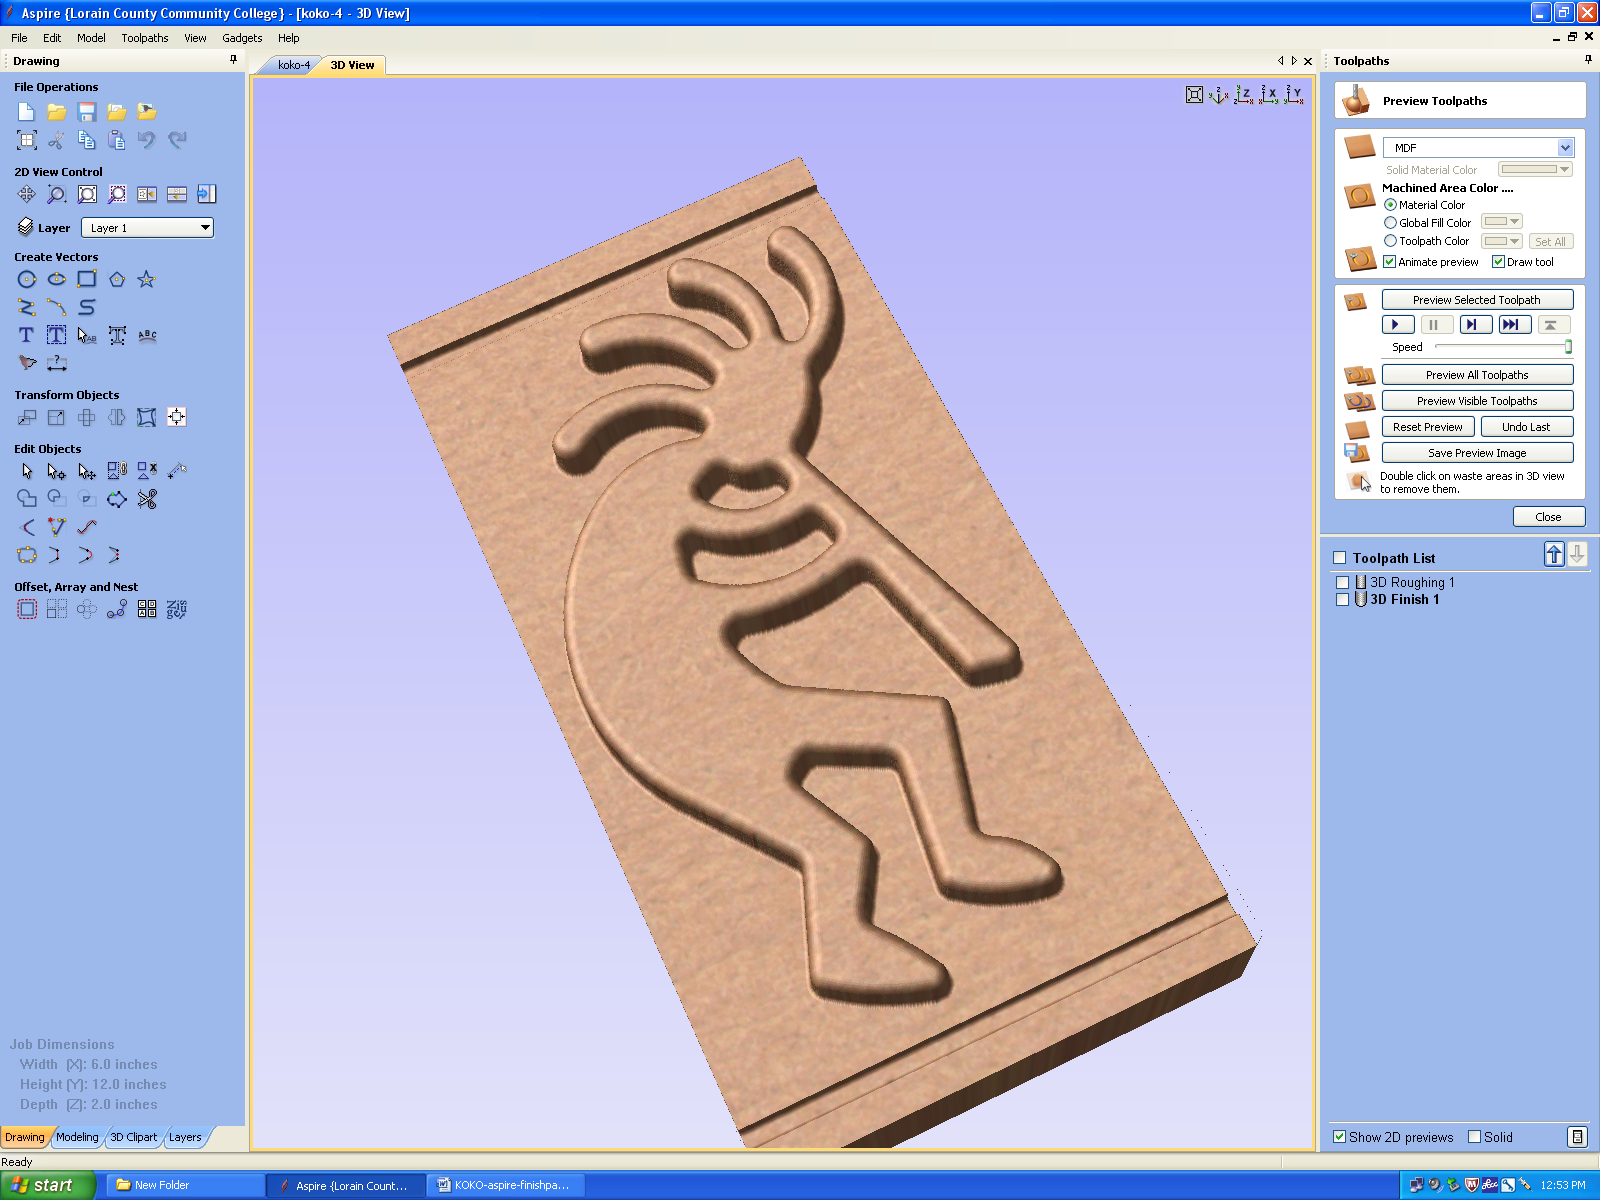
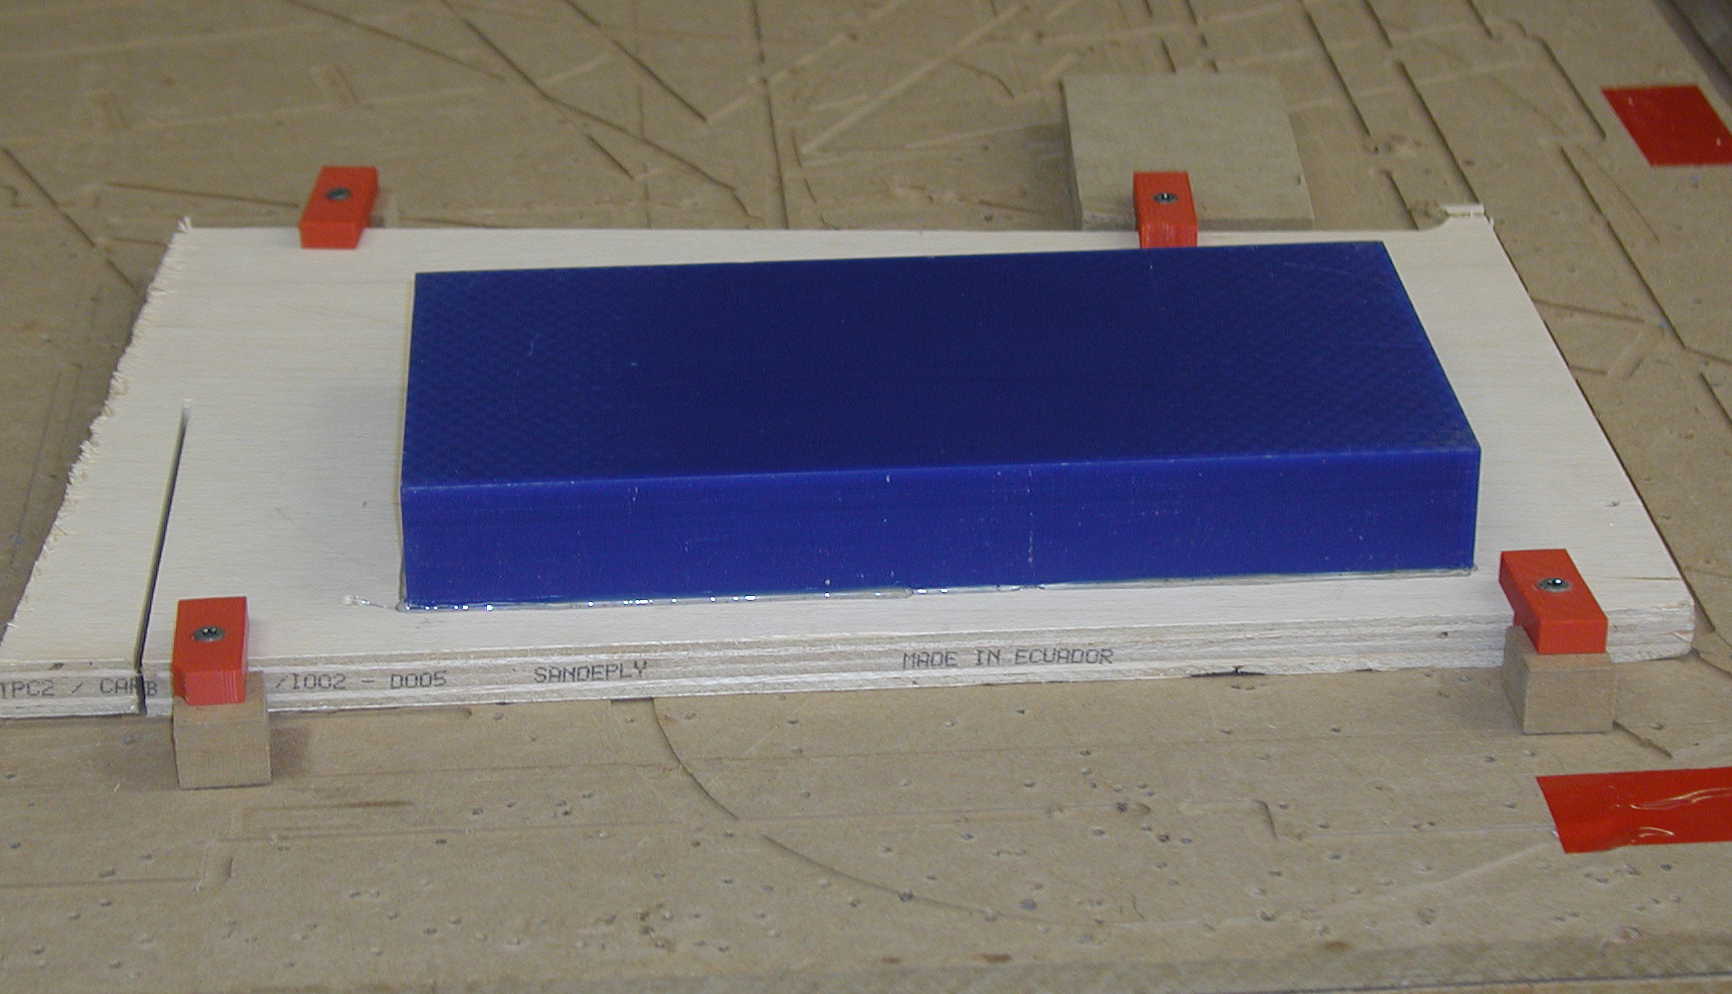
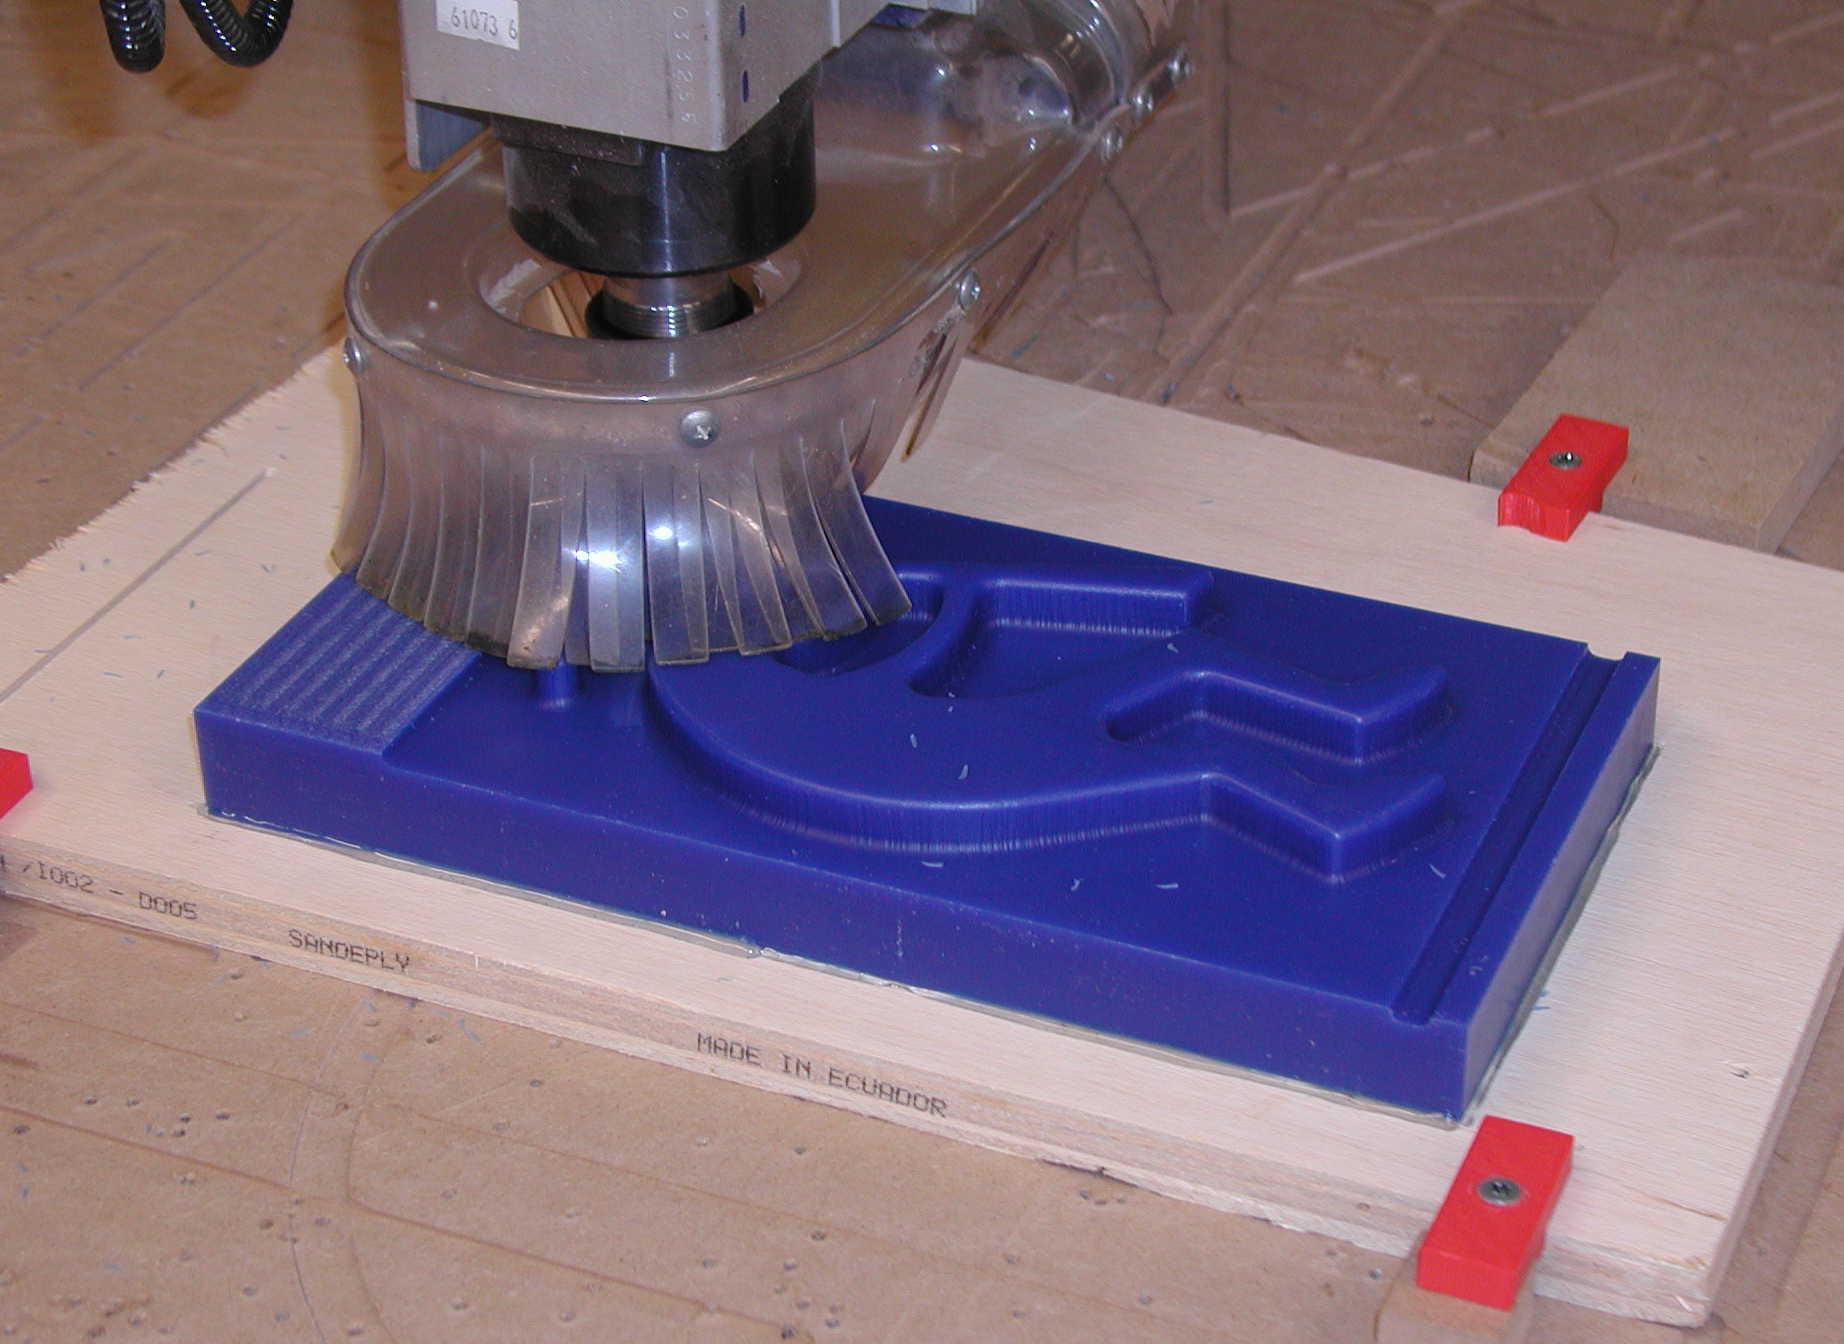
Fillets were then added to round the edges of the model. A rectangular 12" x 6" x 1" wax block was added behind the model. The image below shows what is going to be cut on the shopbot to create the mold. Kokopelli will be machined on Shopbot at a depth of 1/2-inch.
 .
.
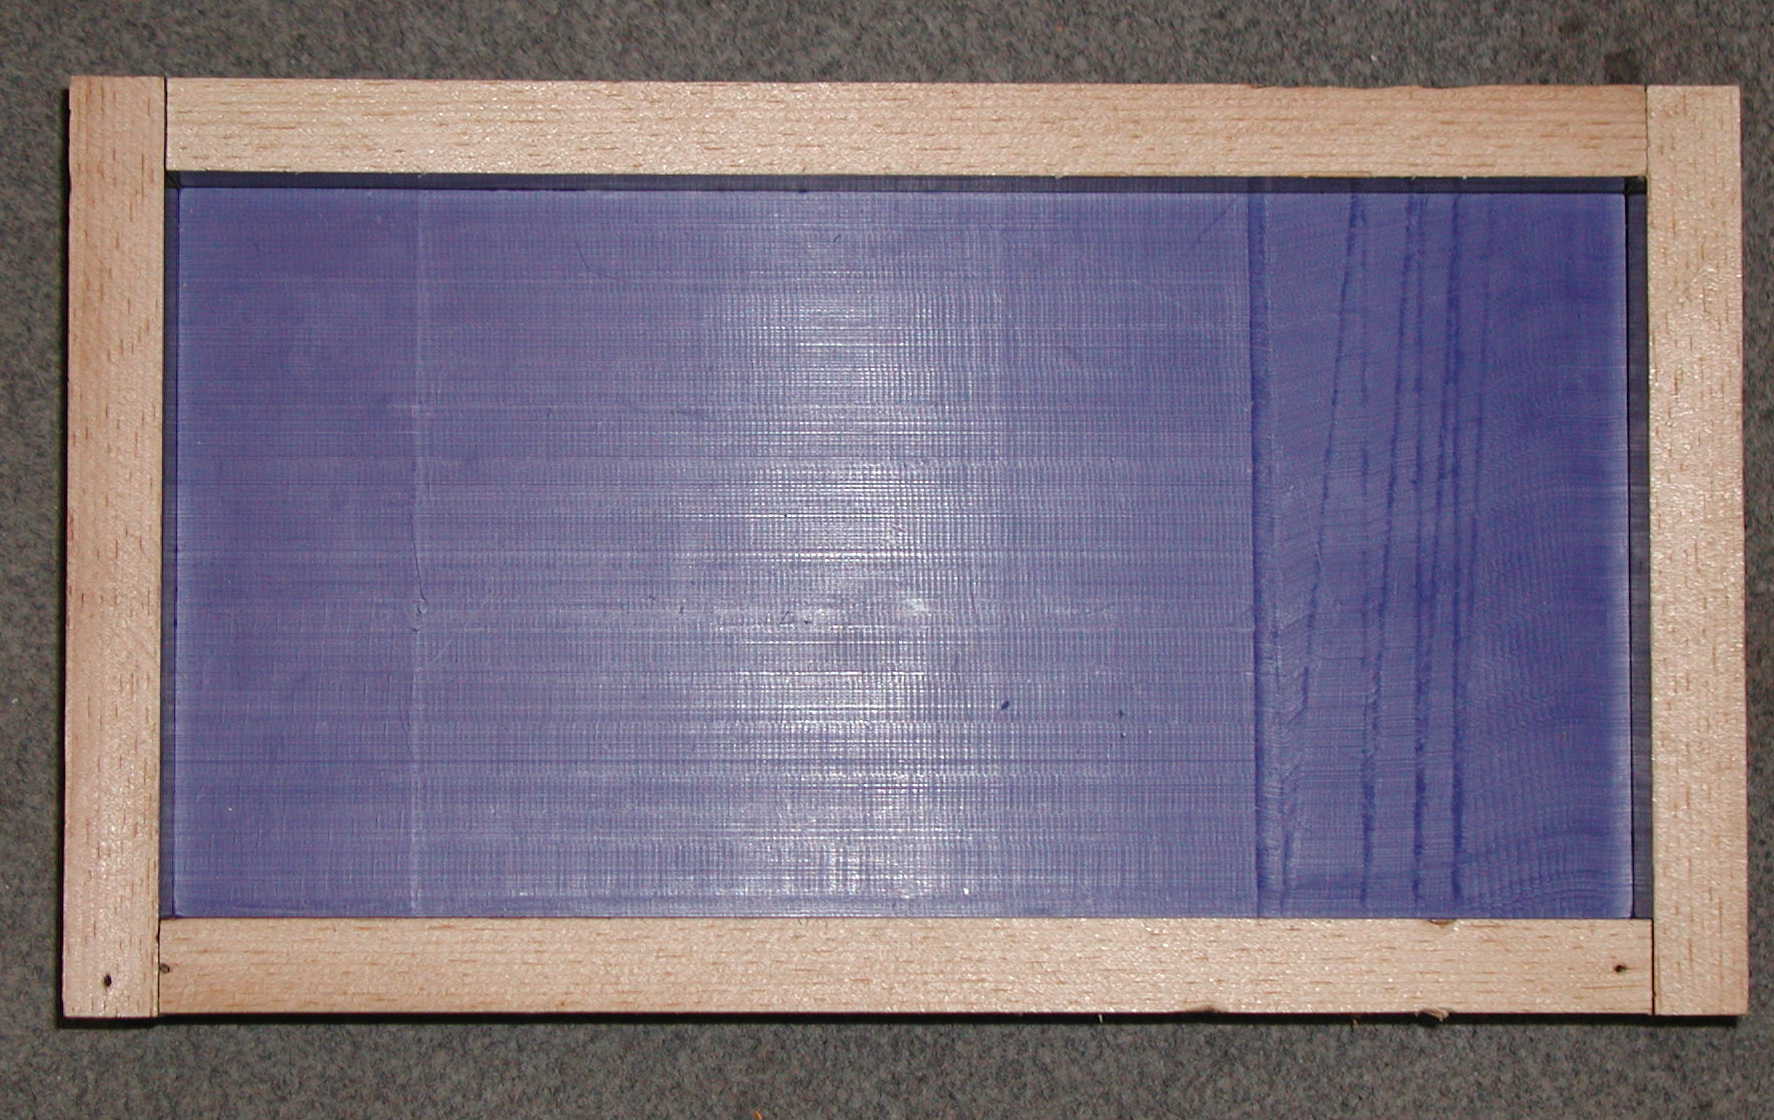
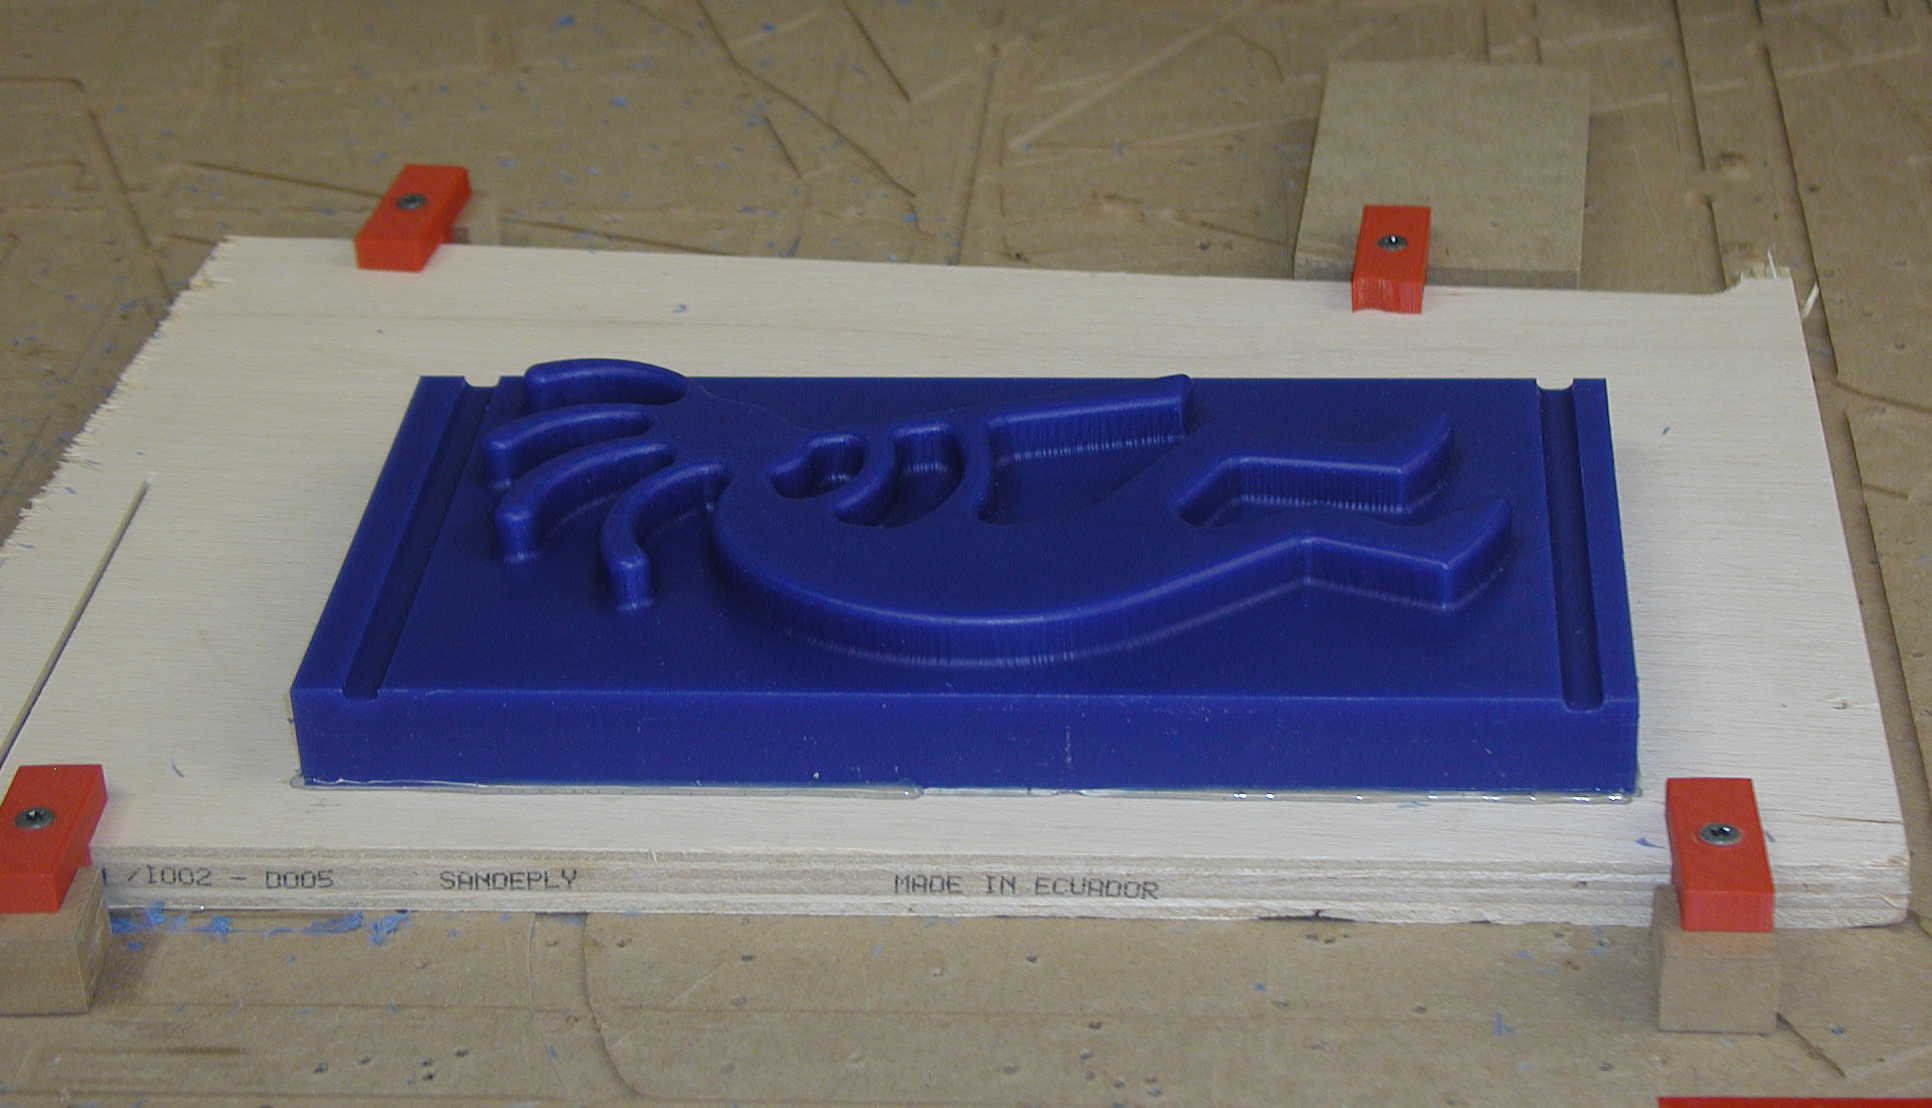
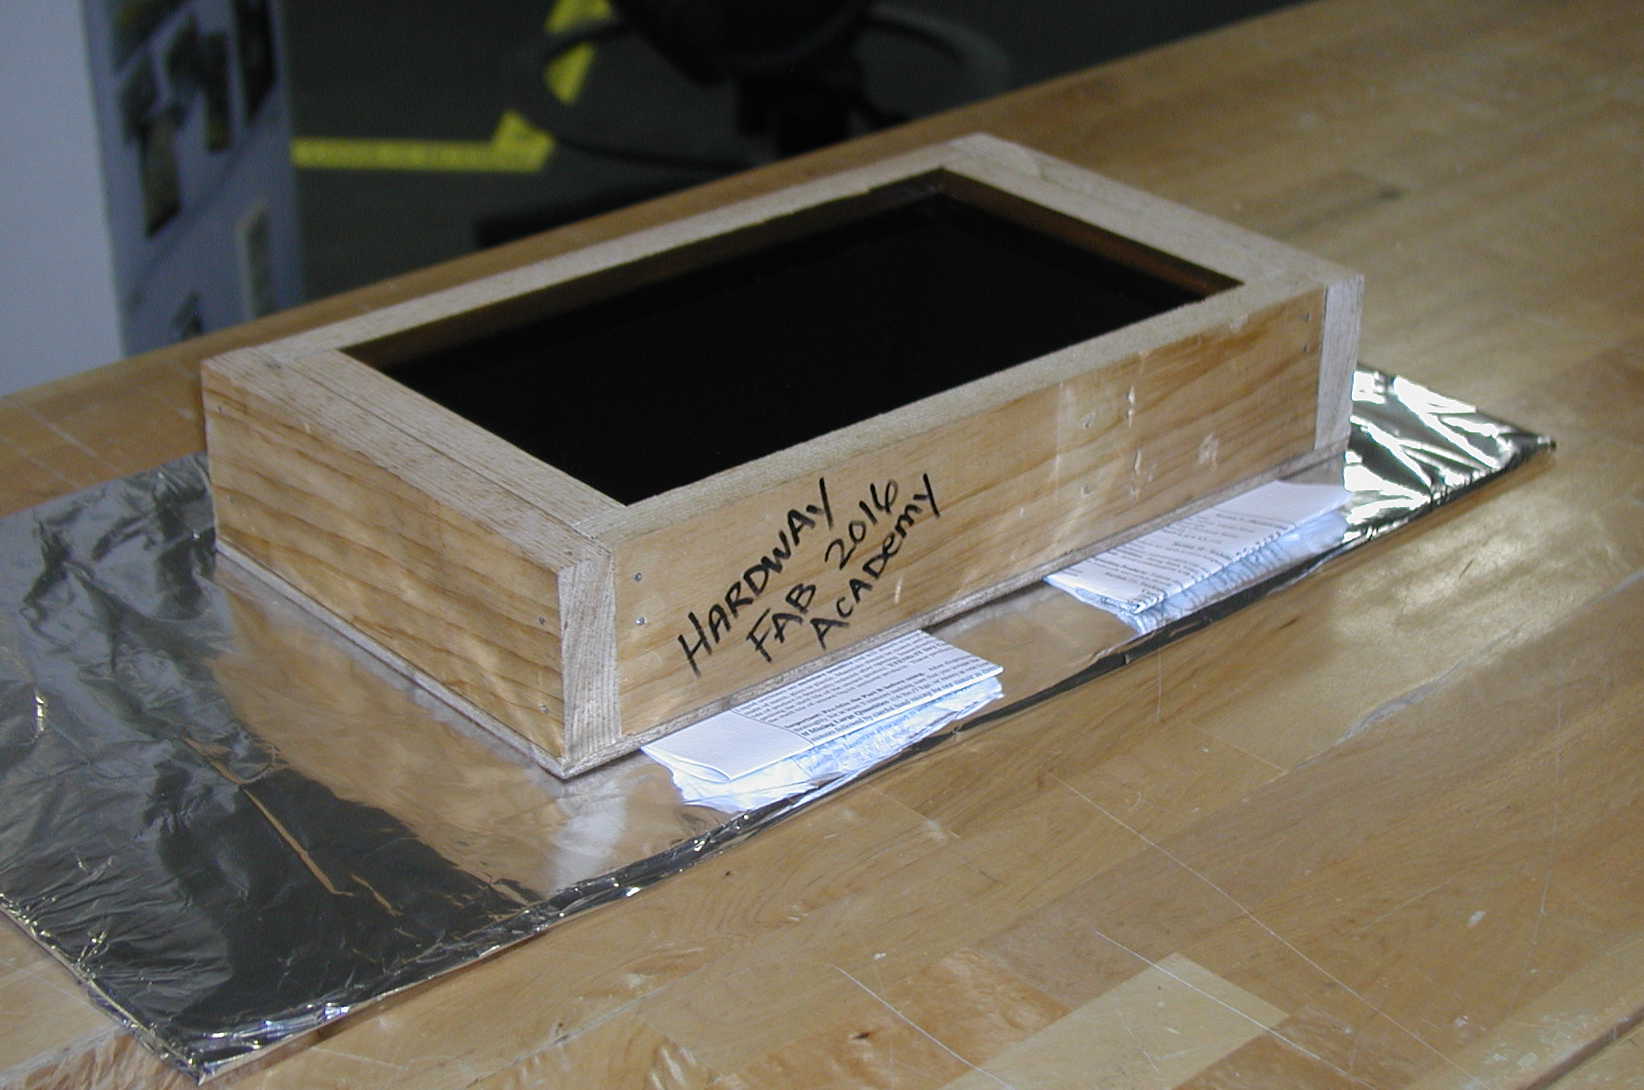
The image below shows the machined wax inside the wooden frame. The model is 10-inches tall so there was not enough room on the 12 x 6 piece of wax to have a cavity cut in the wax. I had to make some sort of tight-fitting box in which to pour the molding material.
 .
.
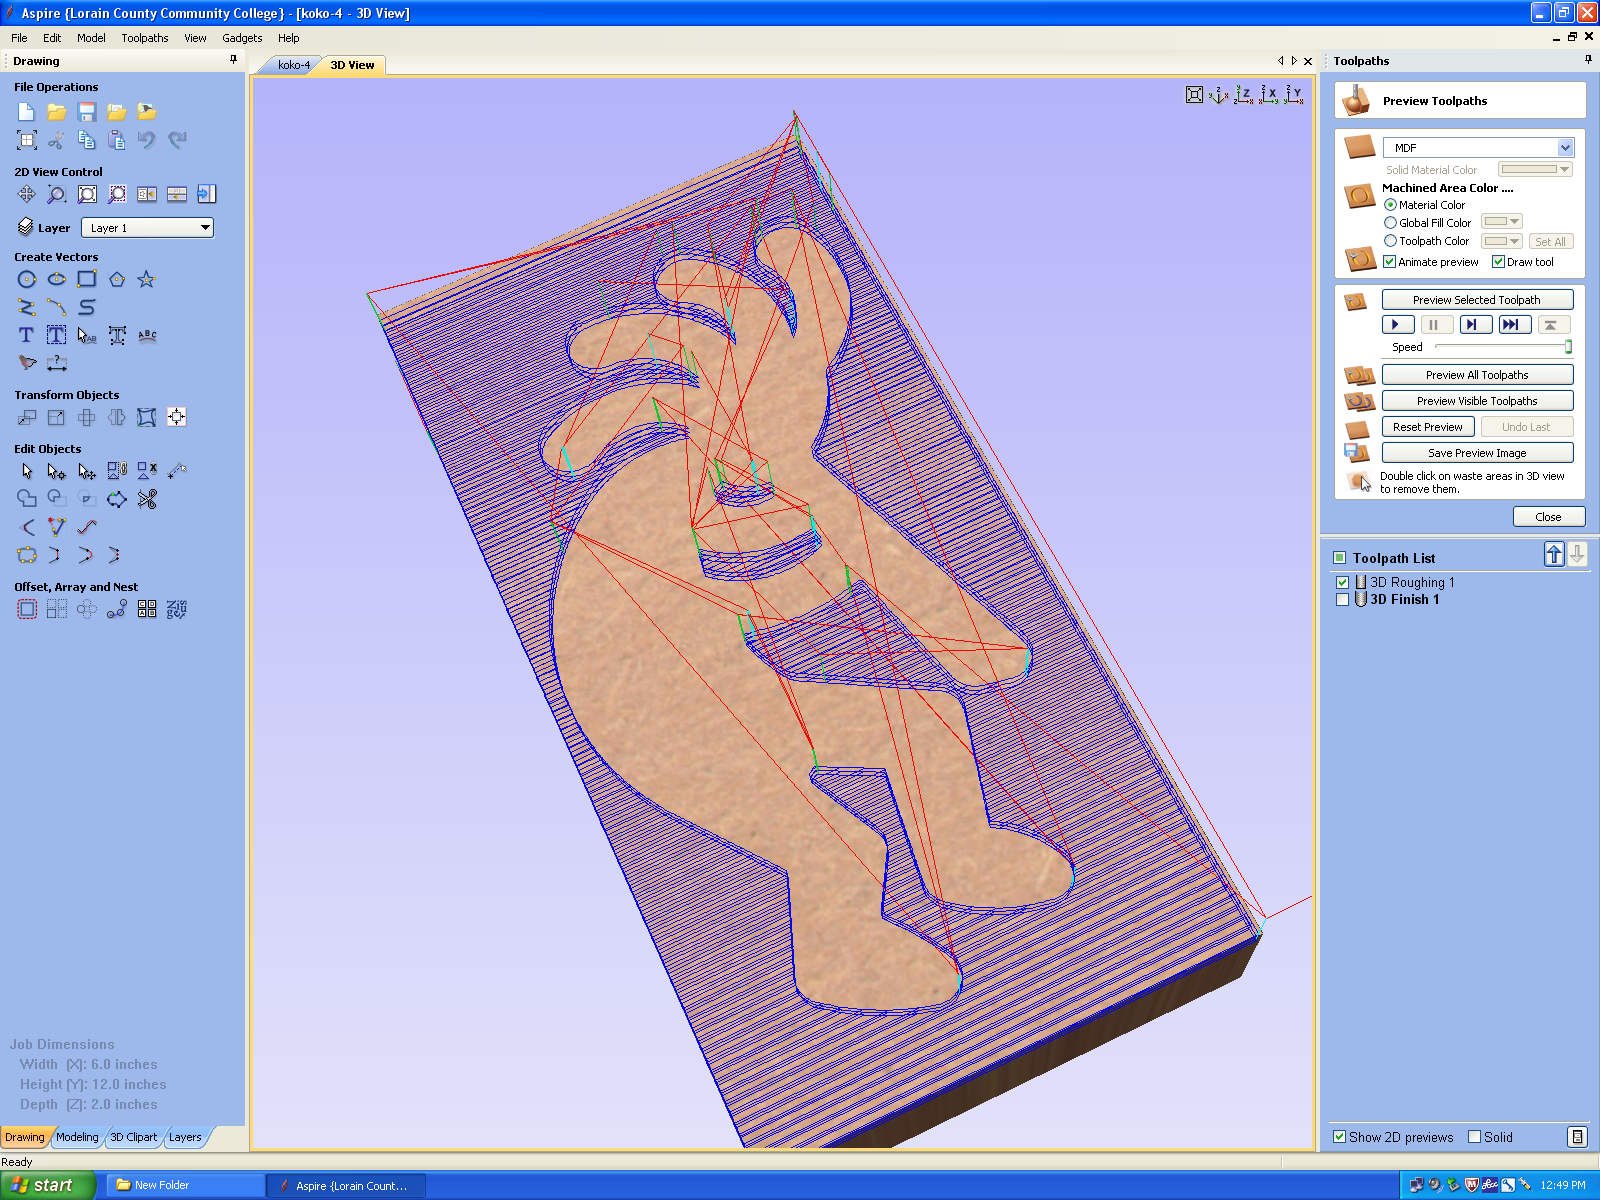
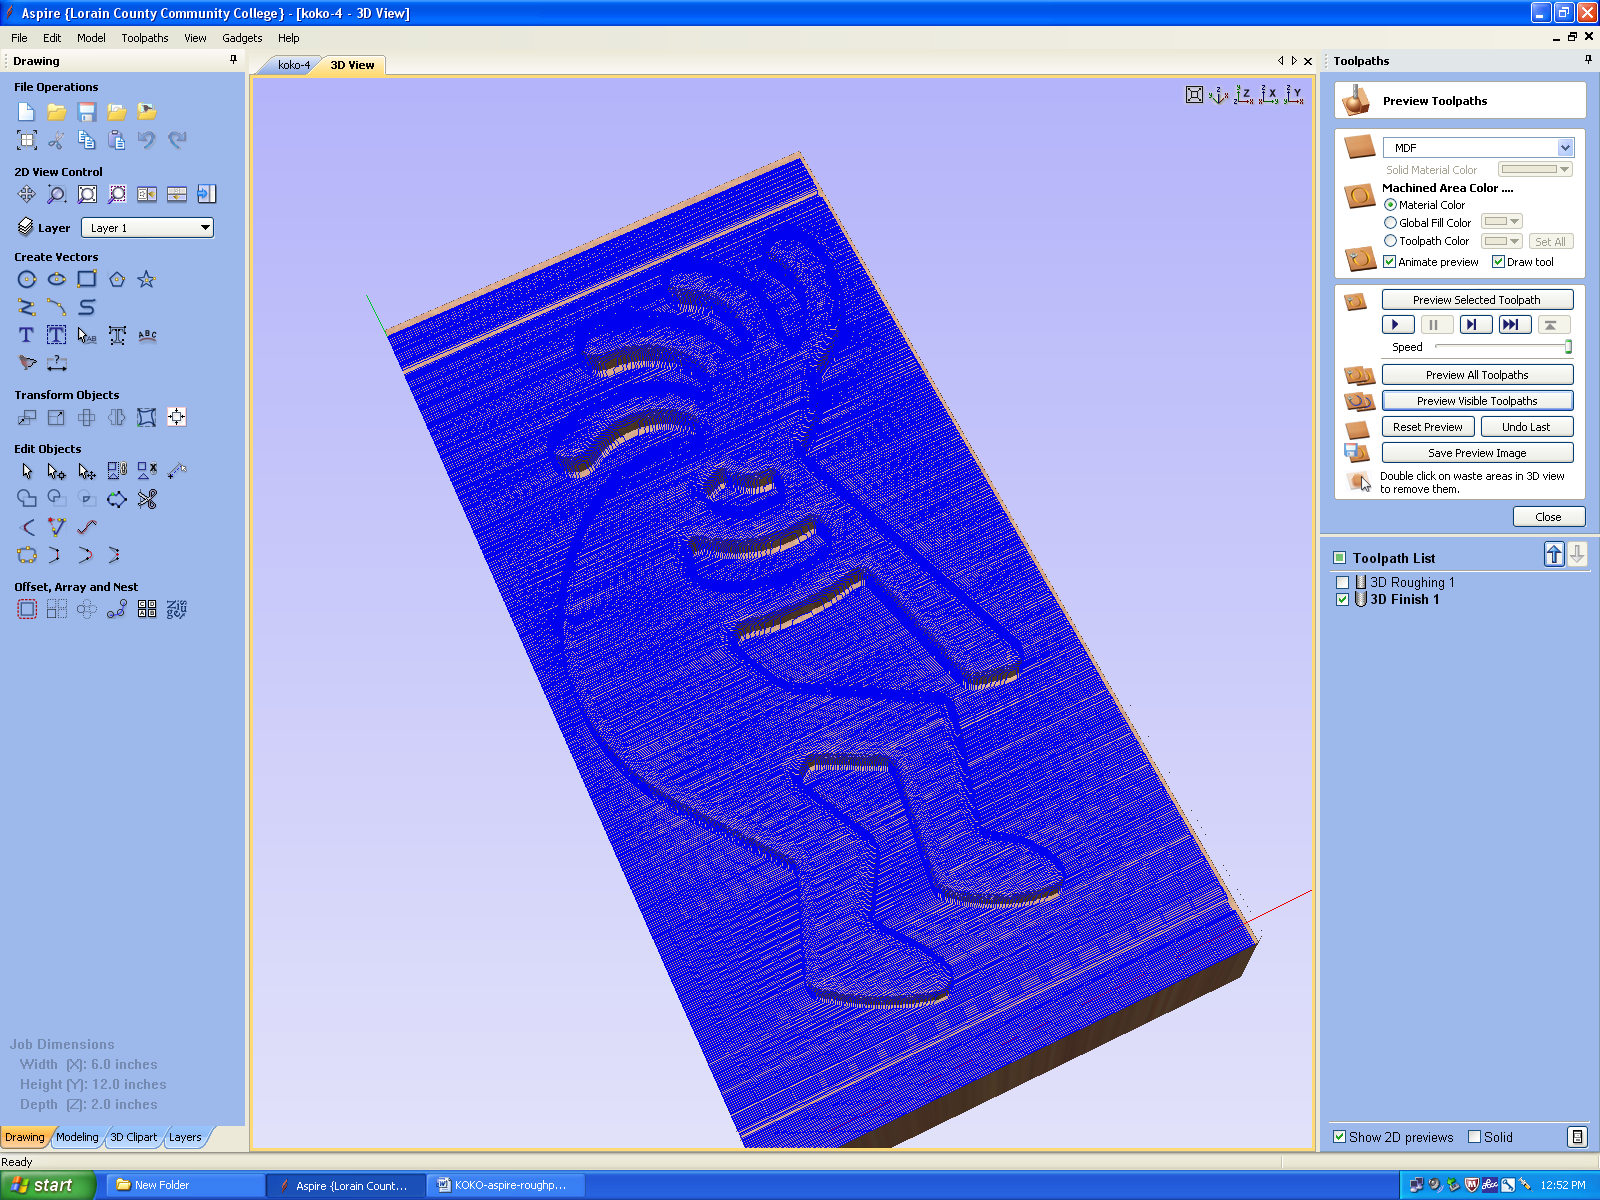
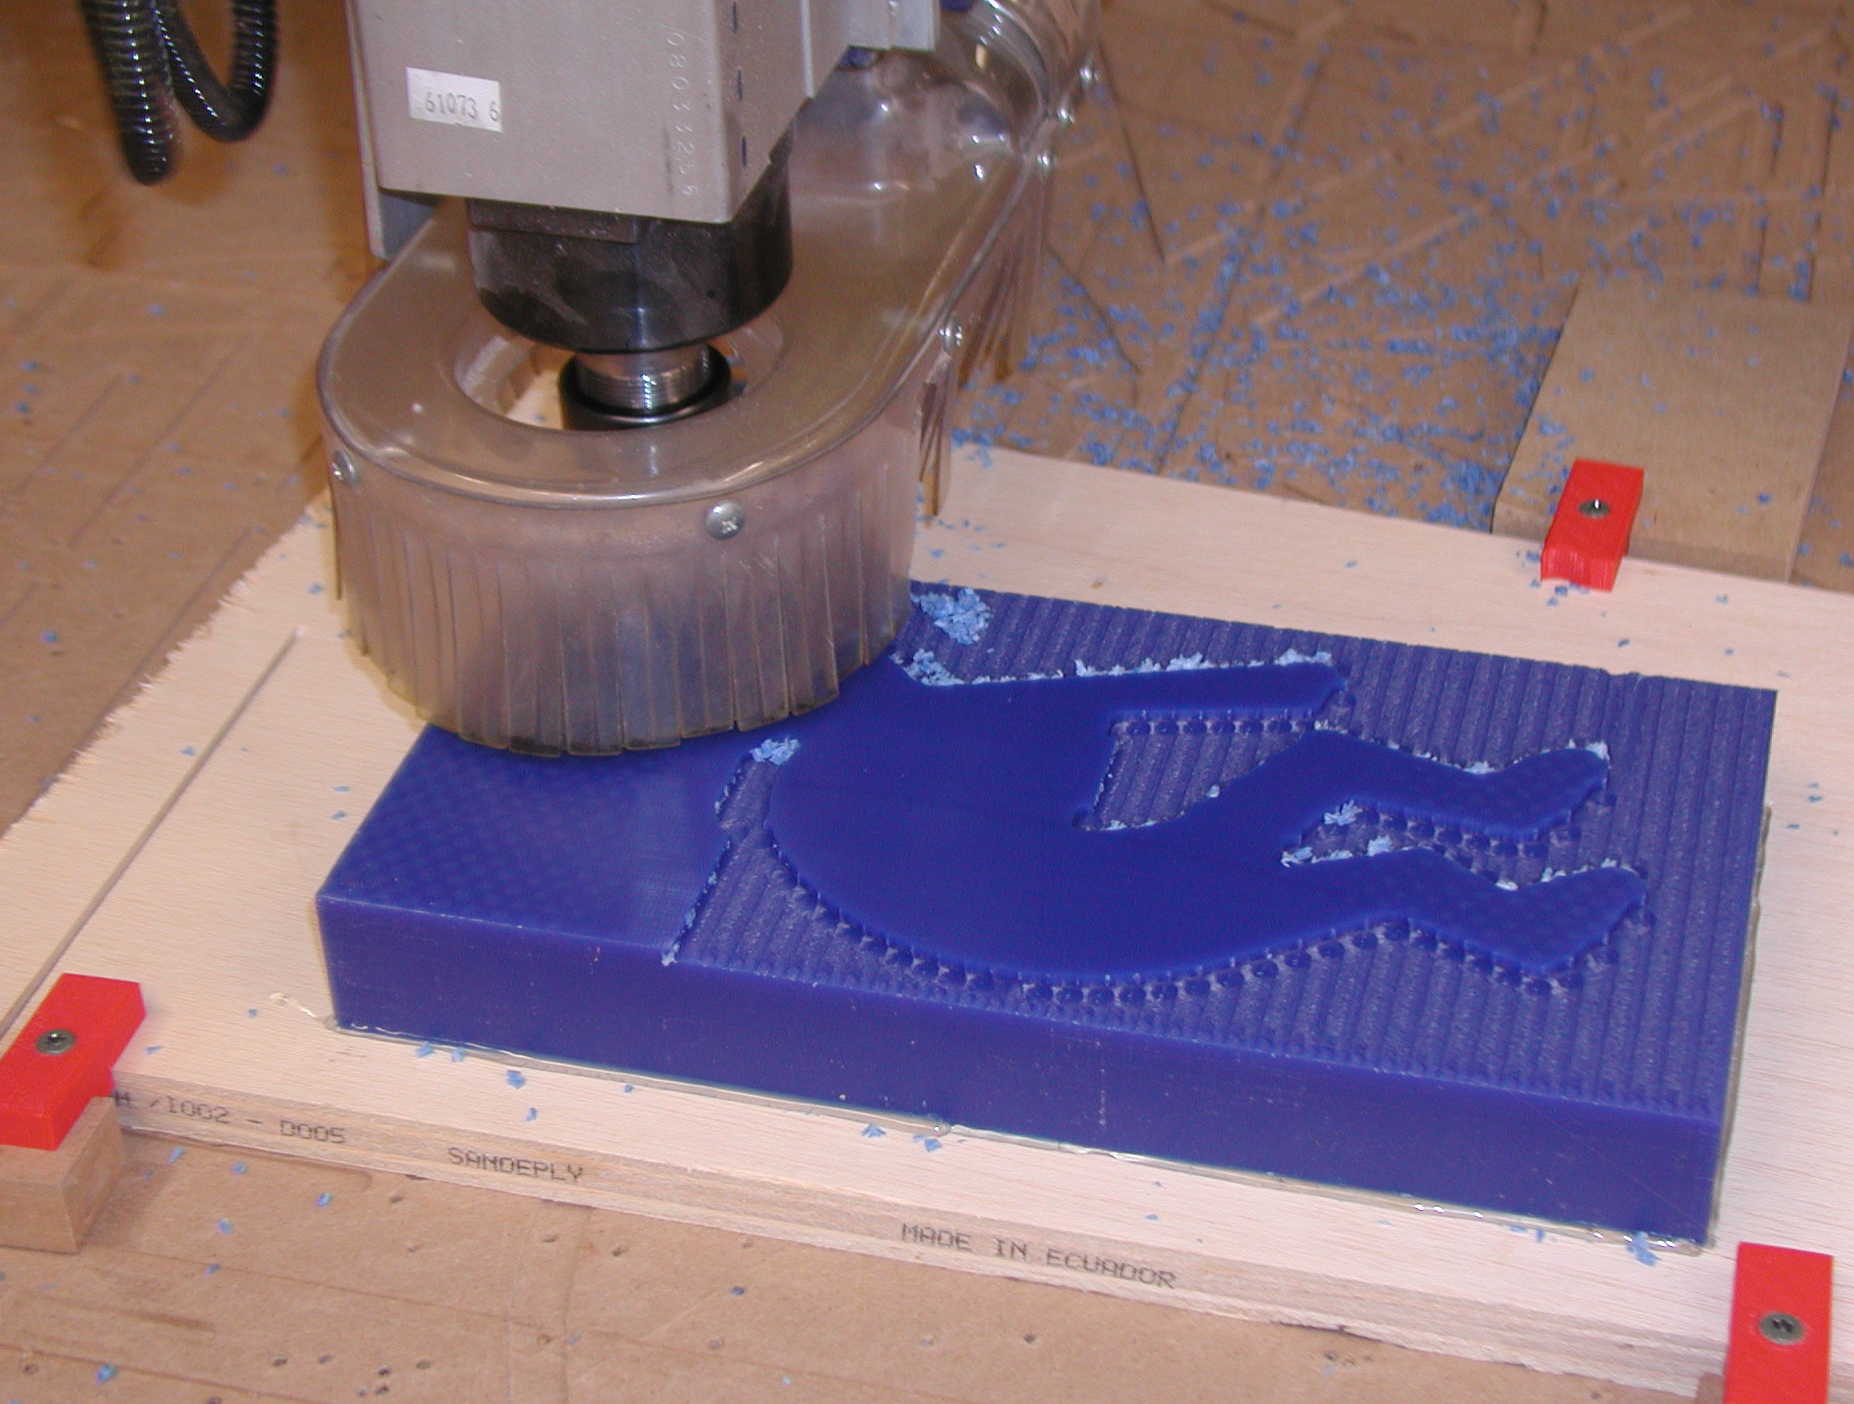
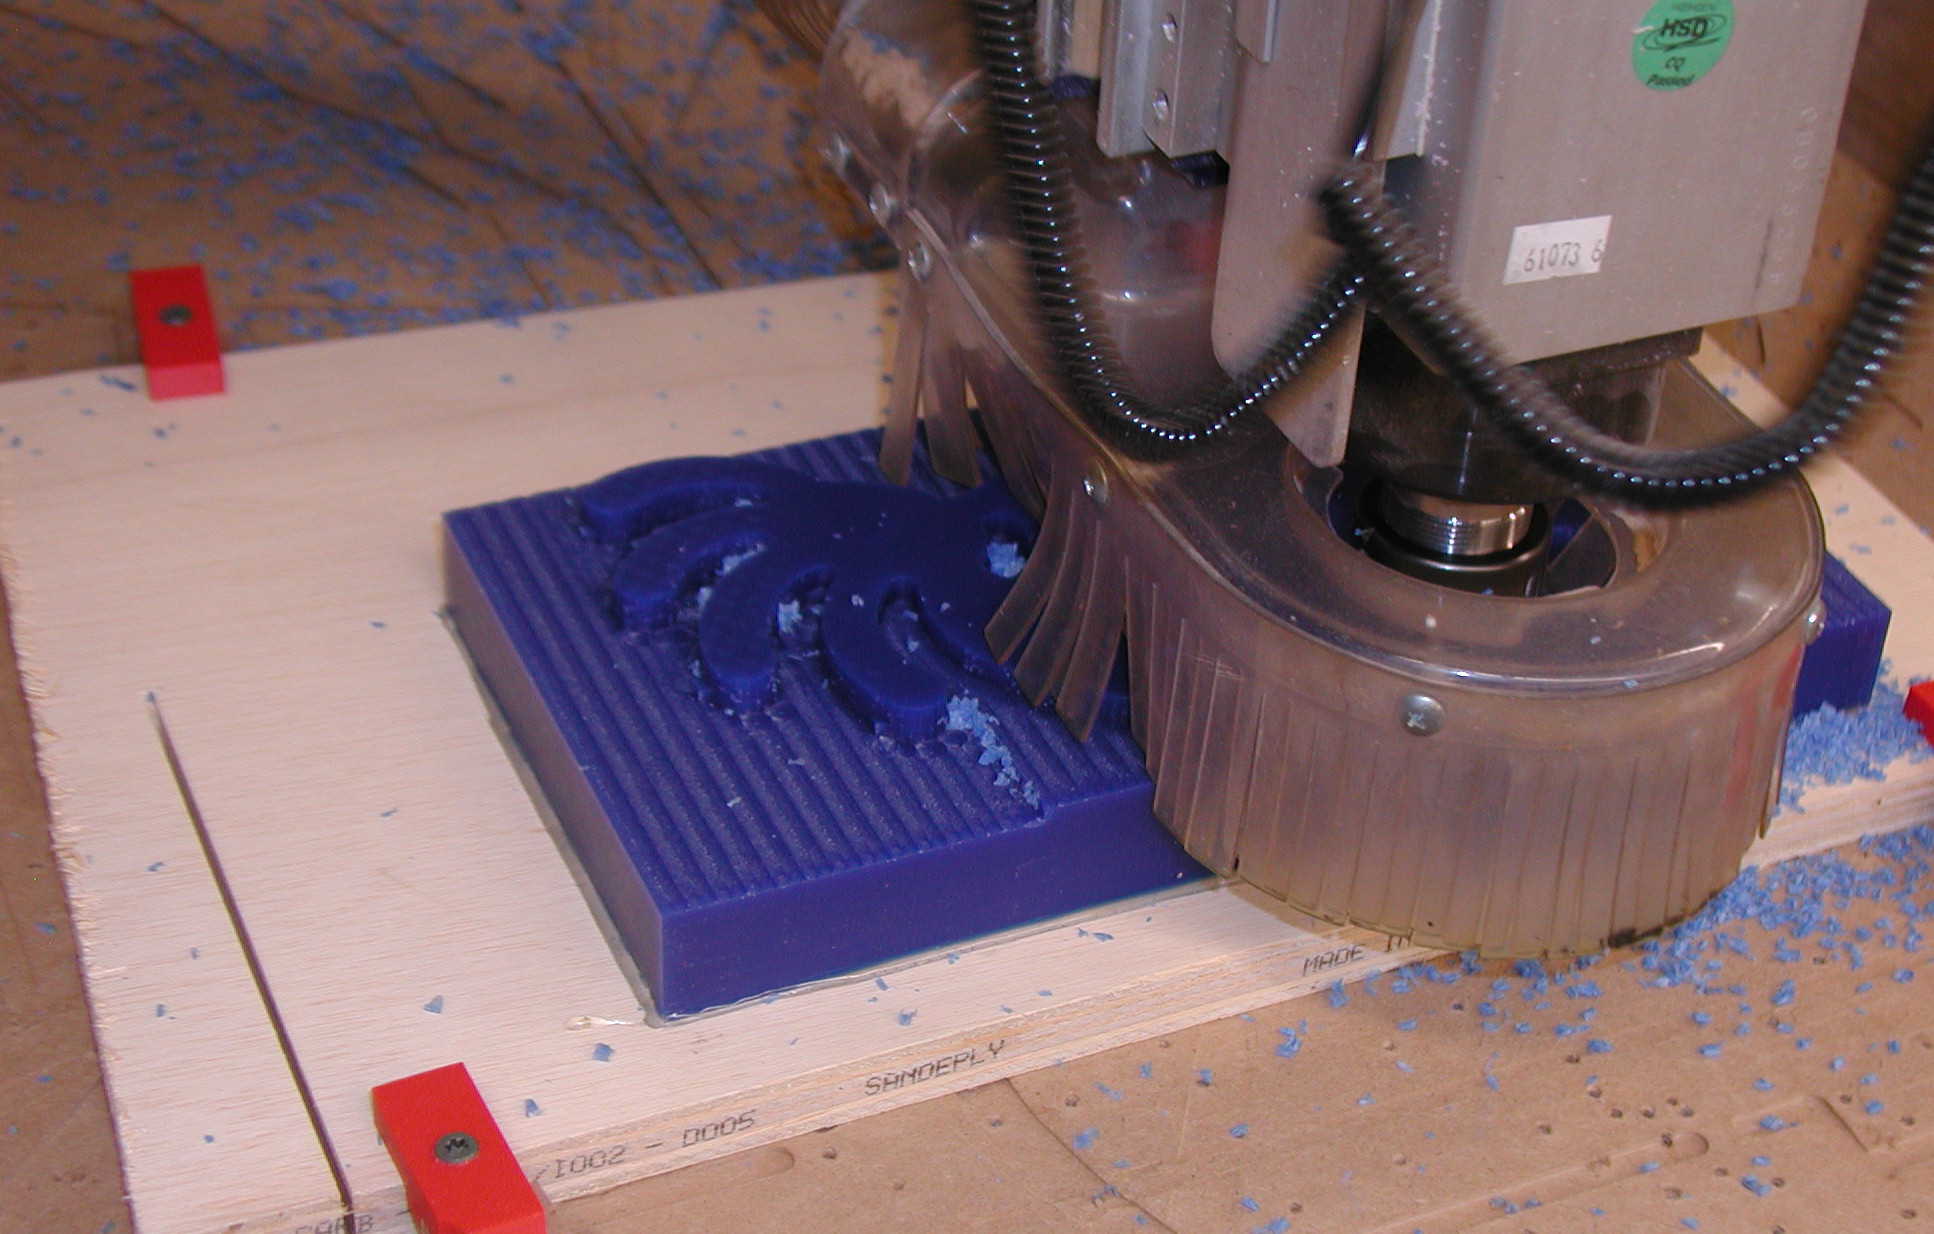
The images below show the tools needed to make the rough cut and finish cuts. The feeds, speeds, and plunge rates can be seen in the images below. I wanted the finish on the wax to be as smooth as possible so I made the stepover parameter ten percent of the tool diameter. This may have been set a bit too fine. The final finish cut took over three hours to complete. The images below show the toolpaths and the preview of the rough cut and the final cut of the wax.


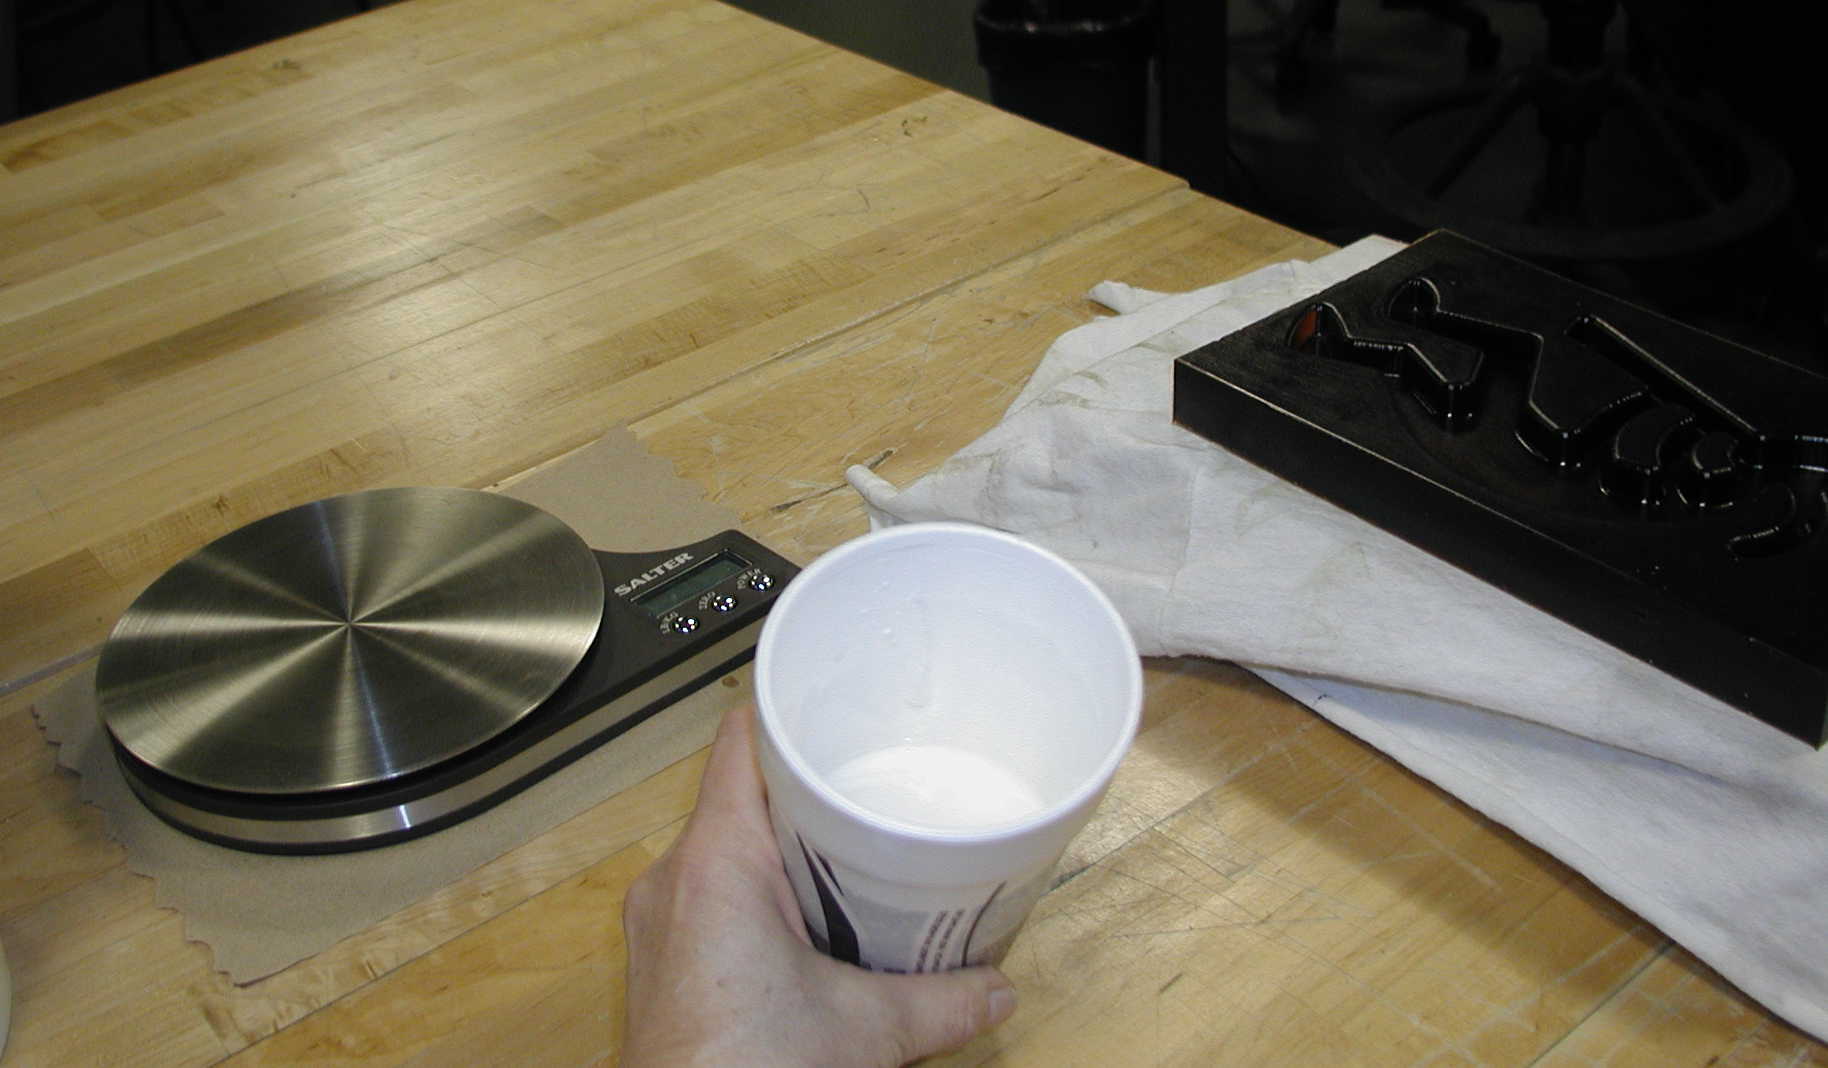
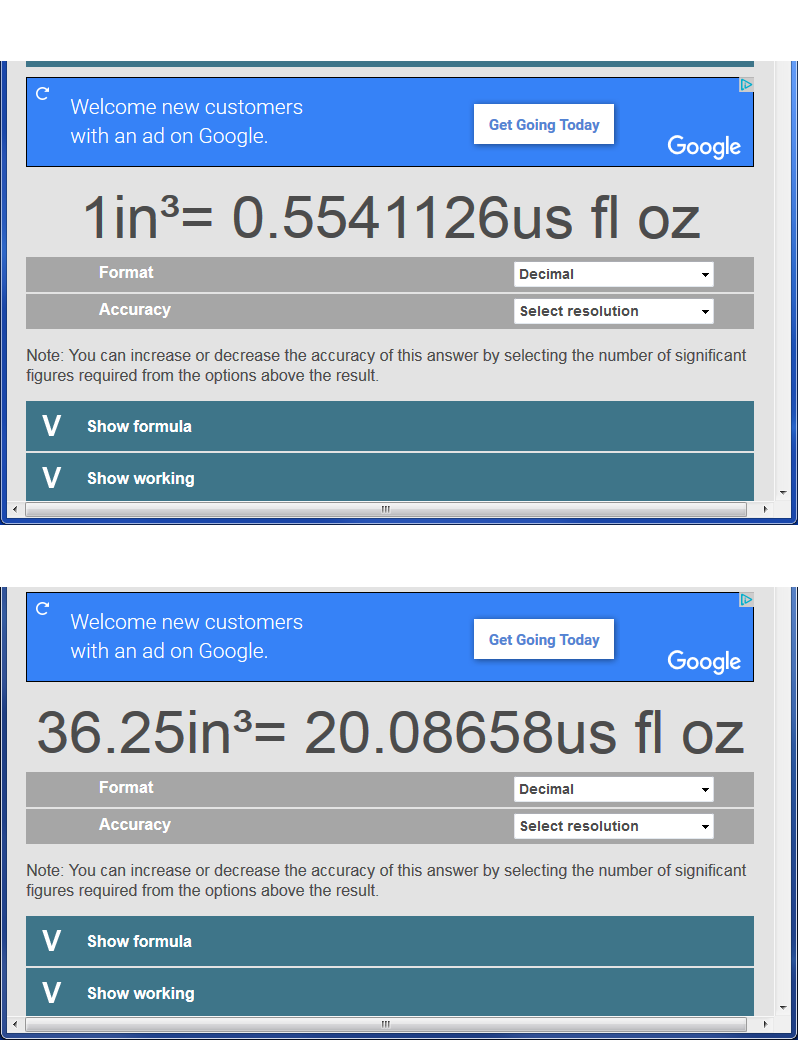
I made a model of the mold by combining two solid bodies in solidworks. I subtracted one from the other, asked for the volume in cubic inches, converted to liquid ounces. Looks like I need about 21 ounces (approximately 3 cups) of molding material.

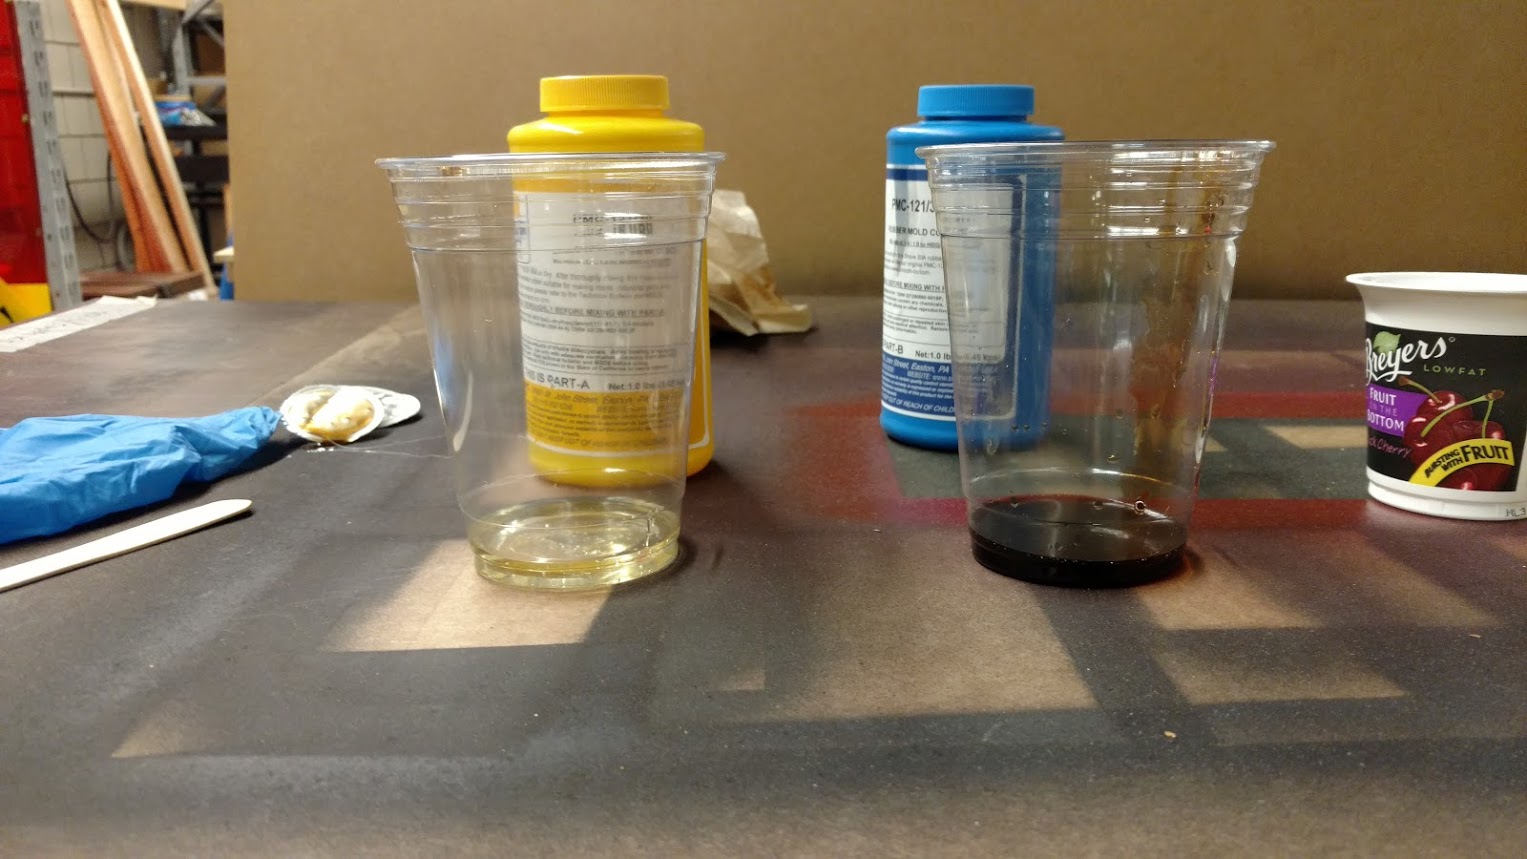
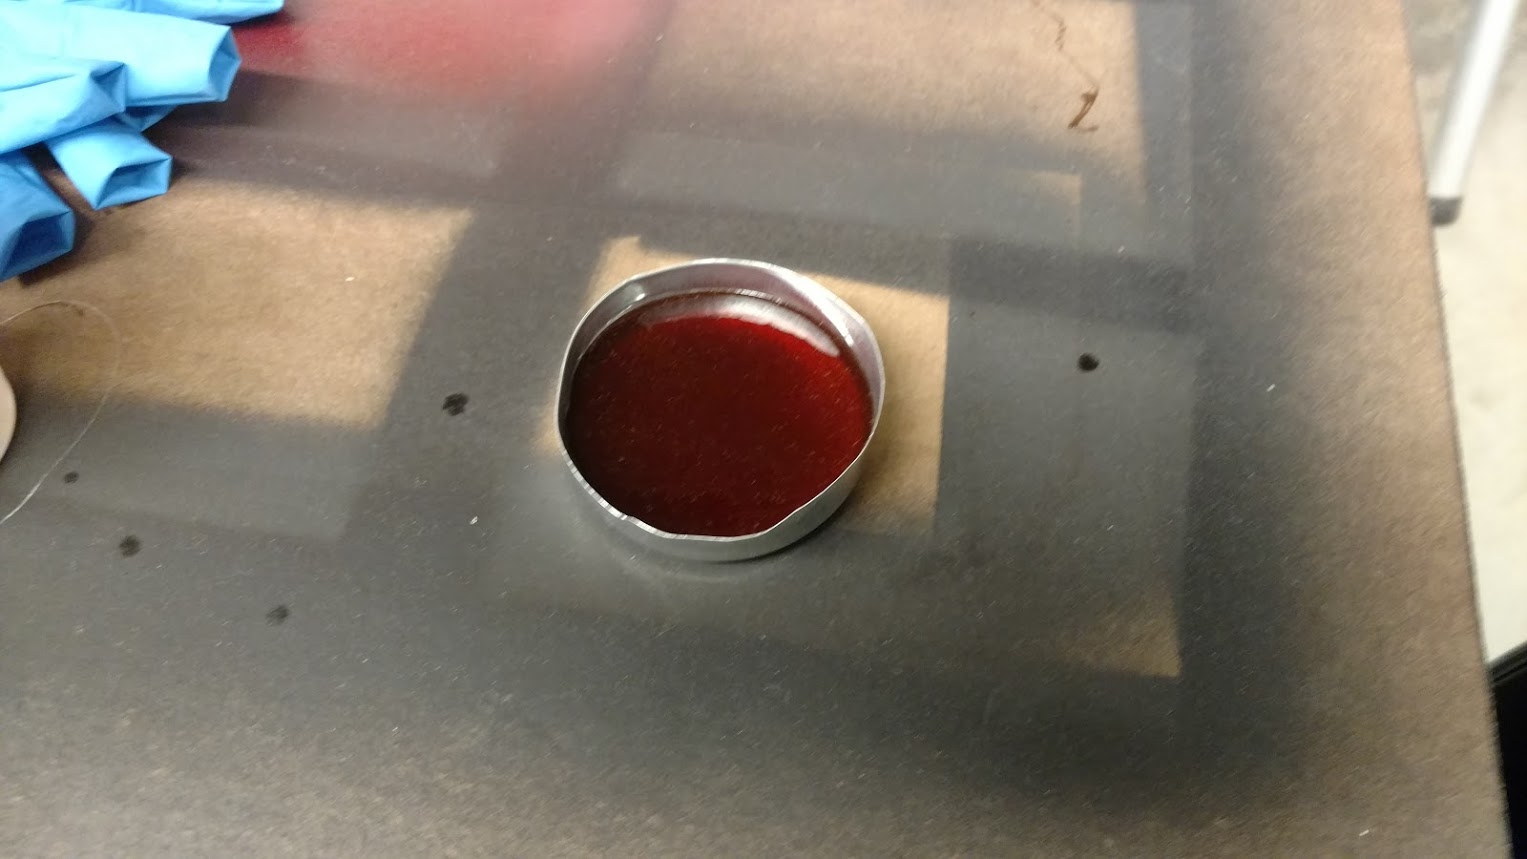
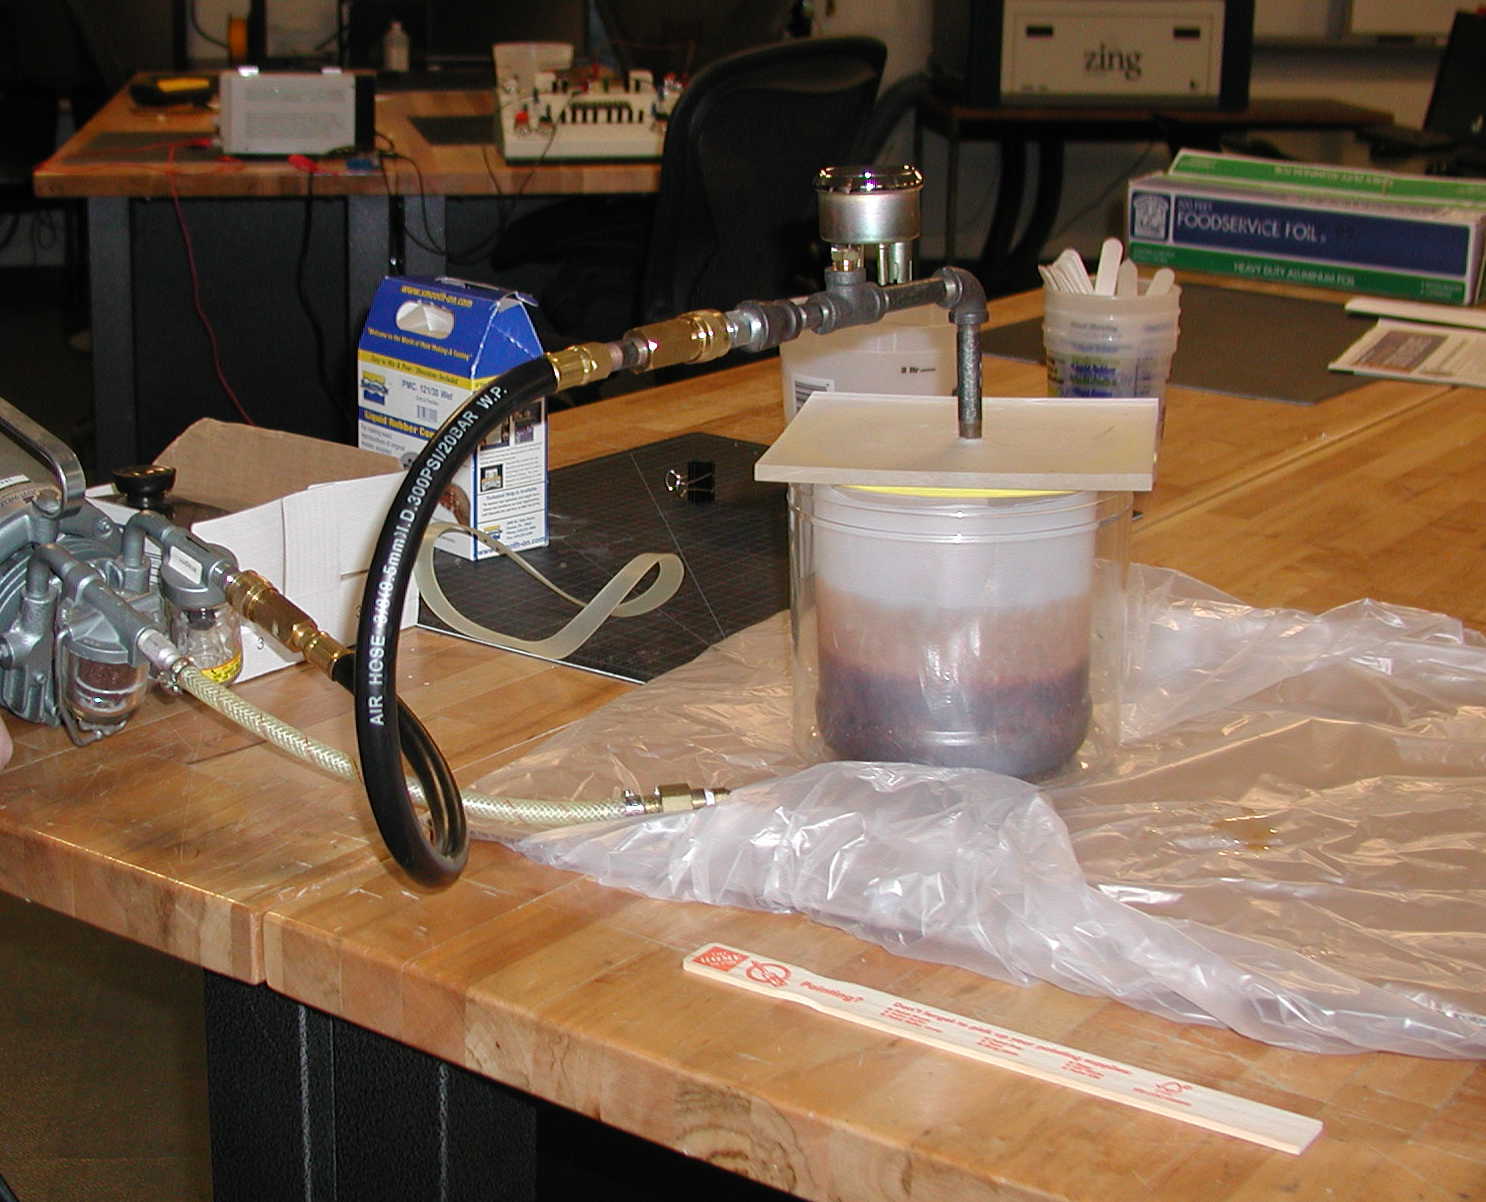
It was suggested that testing of the mold material be performed. The PMC Wet 121/30 Liquid Rubber Compound was good even though it was from 2011. This material was chosen because of the release compound built into the molding liquid. It is still suggested that the mold be sprayed with silicone for a better release. Below are the images.


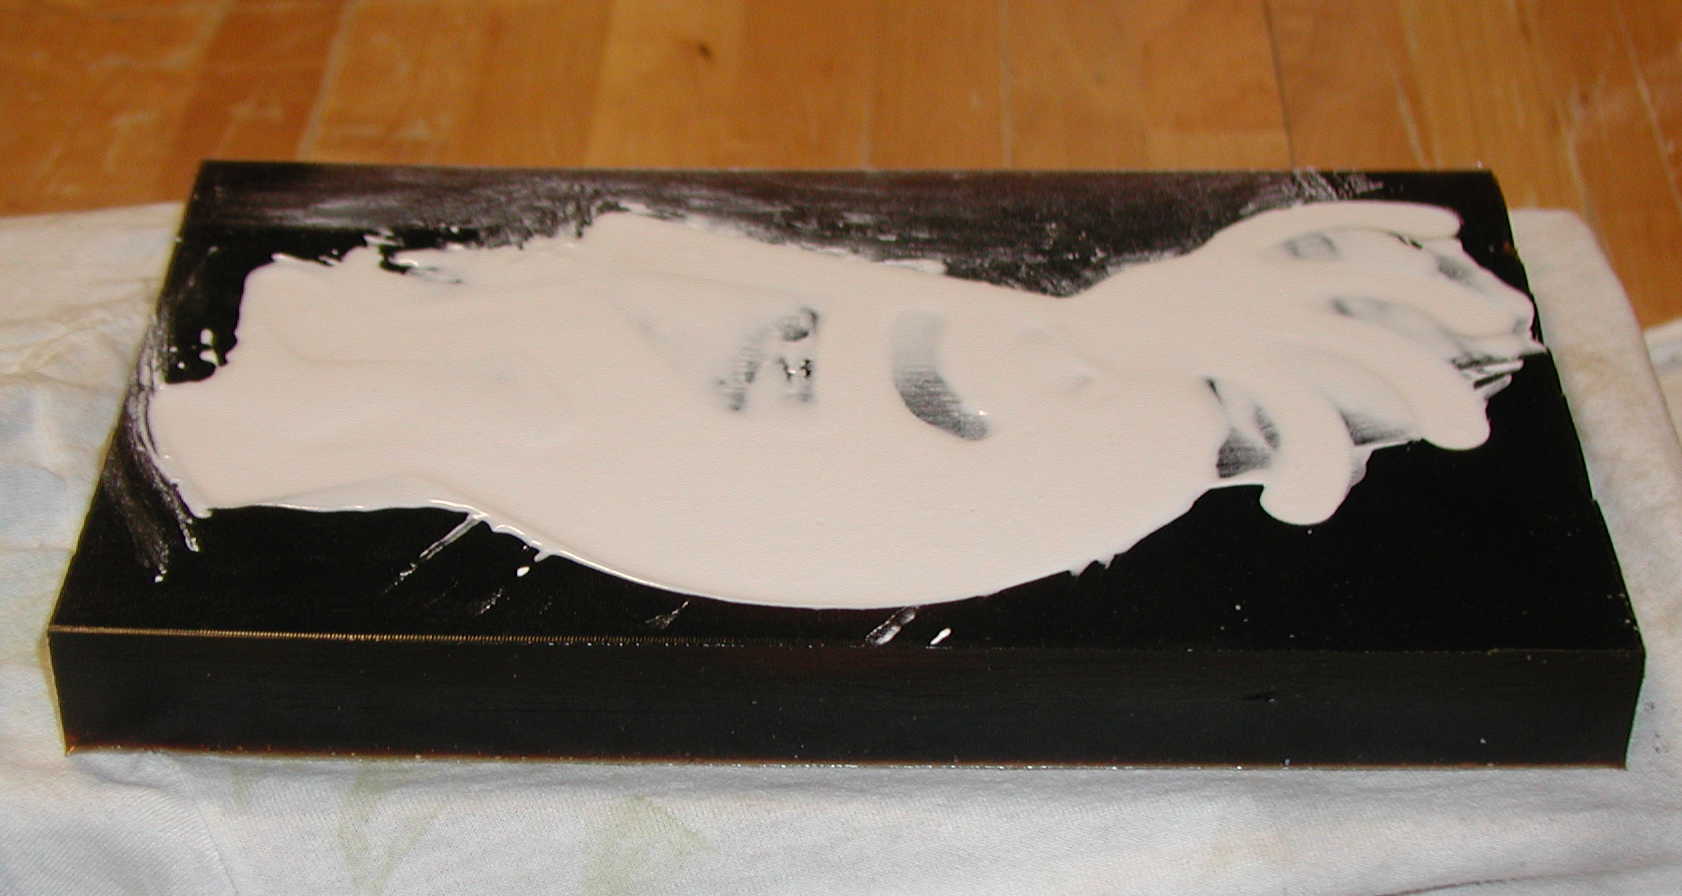
Below are the images of the wax with the wooden mold, the wax being set up for placement on the Shopbot, the rough cuts, the finish cut, the final product, leveling, degassing the solicone and the poured mold. Thank you Tim for the assistance with ShopBot and for letting me use your new (sharp) cutting tools. The mold sat for about 20 hours before being removed from the frame. One of the problems encountered with removing the mold from the frame was that there was a small gap between the wax and the wooden frame. The silicone traveled under this gap and had to be carefully cut from the frame. Other than that minor issue, the mold came right out of the frame.


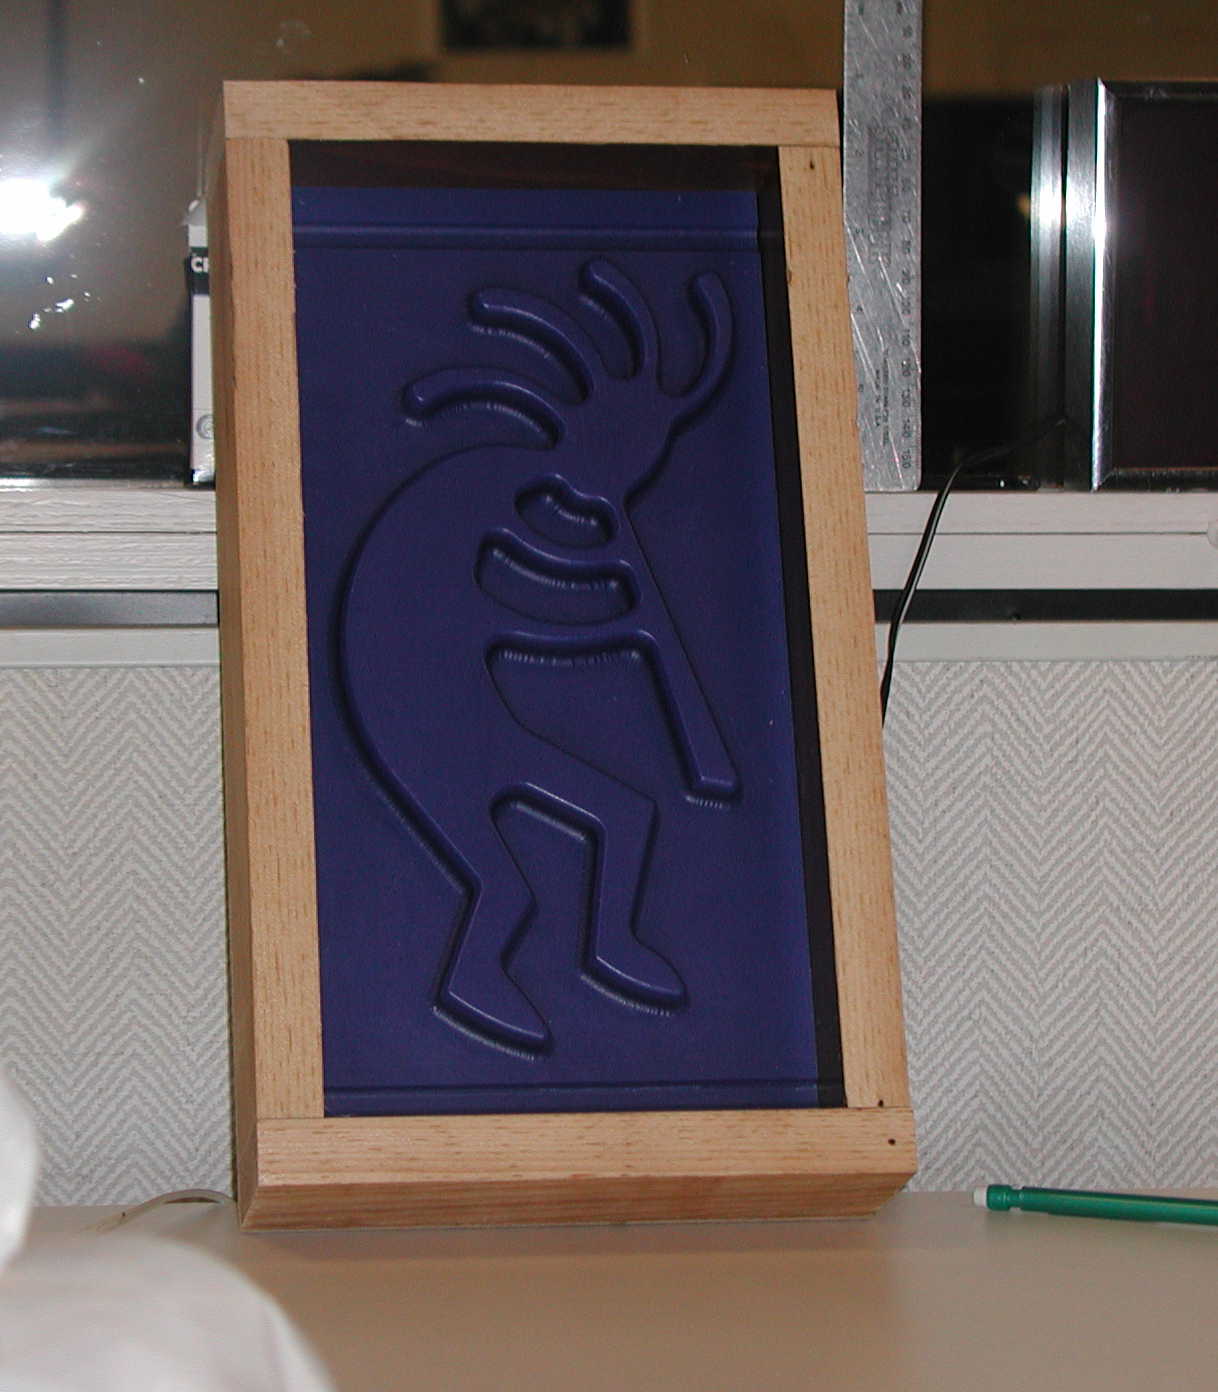


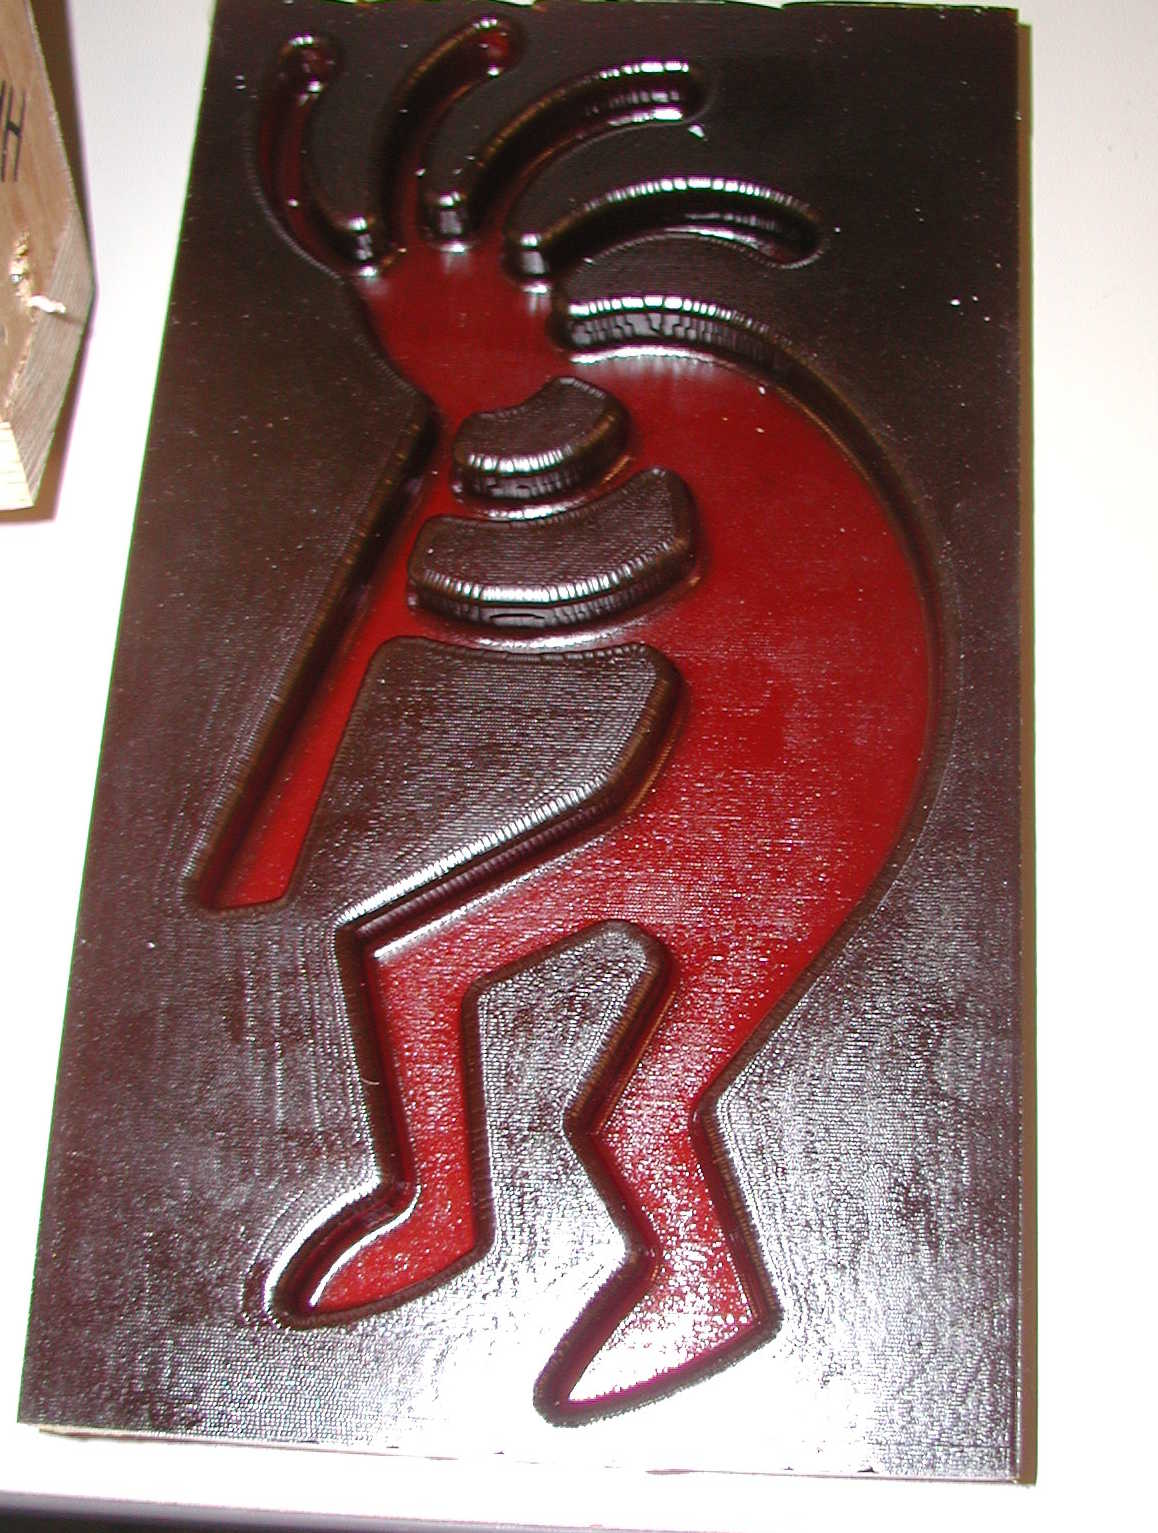
The actual model of Kokopelli contains 11.00 cubic inches of volume. This converts to about 7 fluid ounces, or just under a cup of Hydro-Stone will be needed to fill this mold. The following images show the Hydro-Stone, the mix, the filled mold, and the broken Kokopelli. Unfortunately two pieces of hair broke when I removed the casting from the mold. The casting came out of the mold very easily, but I may not have let the stone set up long enough. I was surprised at how short of a time this product took to set. After the mold was filled and bubbles released, I left the room to look for a piece of wire to insert for hanging. I returned in about 15 minutes and the stone was already set. I let it cure about two hours before I removed the casting from the mold, but still noticed the water content in the Hydrostone. I will recast when I have time.