This week’s
task was to create a composite part from a mold
we created. The
hardest part of this
week was creating something that worked well and did not have a lot of
intricate
detail.
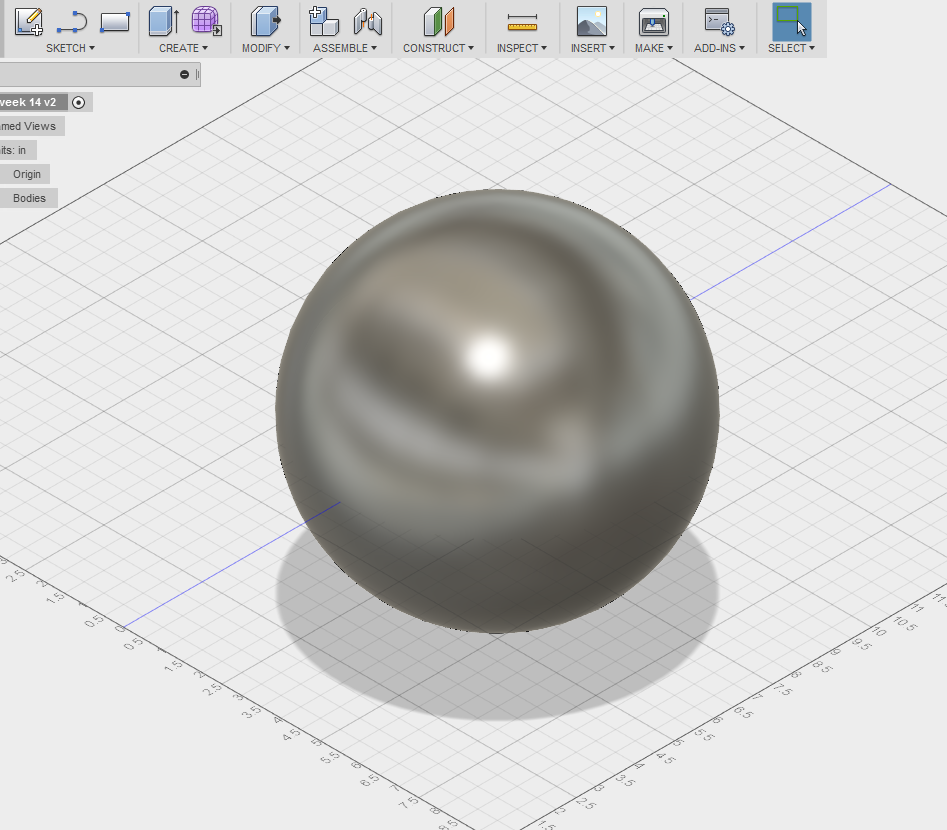
To create the design for the mold I used fusion 360 and started to draw some spheres to make an abstract shallow bowl.
I added more and more with some squares until I got something I liked.

Once I got the basic shape I needed to cut it to have some flat bottoms and tops so I created a cube that would cut my shape the first one was on the bottom to get half of the shape the last one was to create a nice bottom of the bowl.

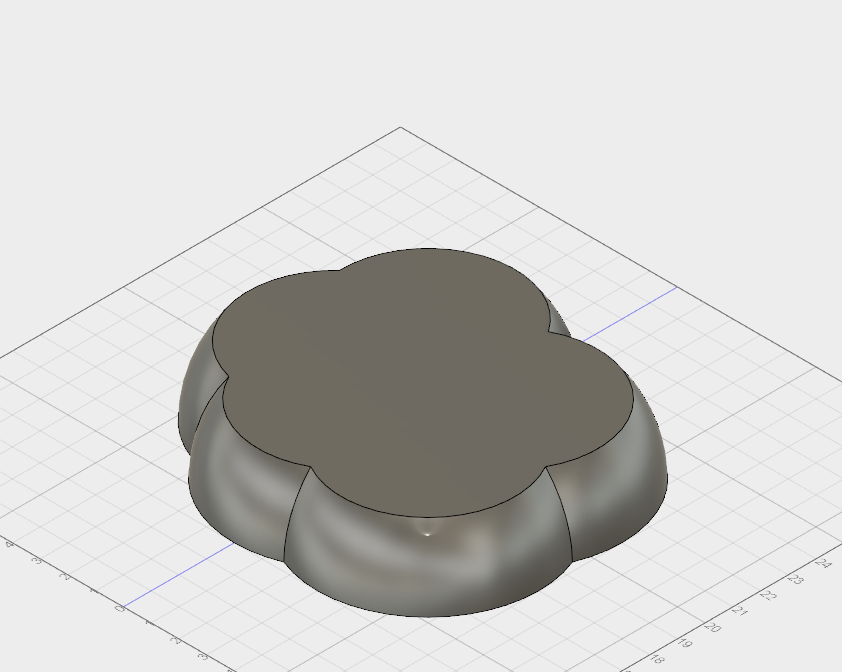
Now that I have my bowl shape, I add a radius so there was not as sharp of and edge.
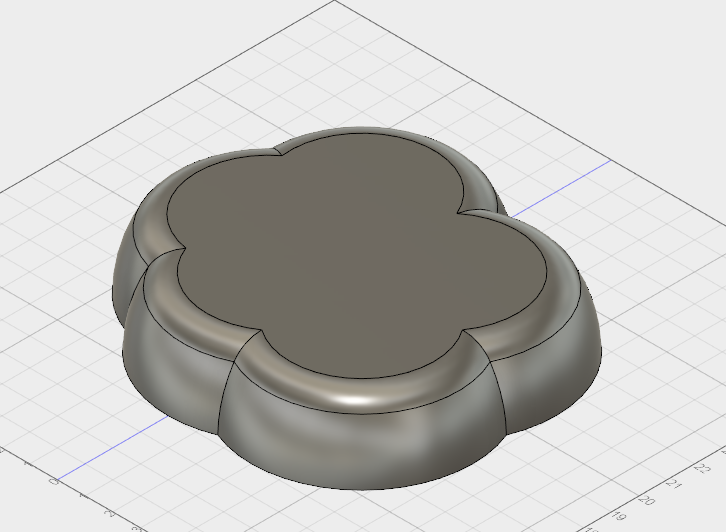
I am still exploring fusion 360 and found the rendering section so I rendered it in a carbon fiber since there was not any other fibers available.

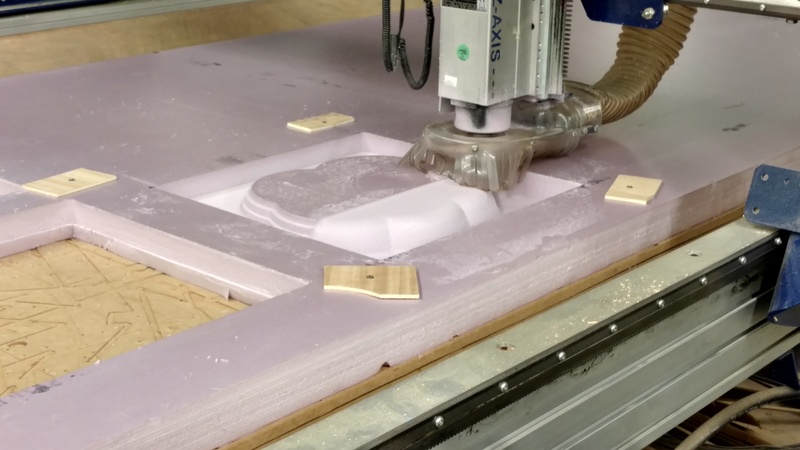
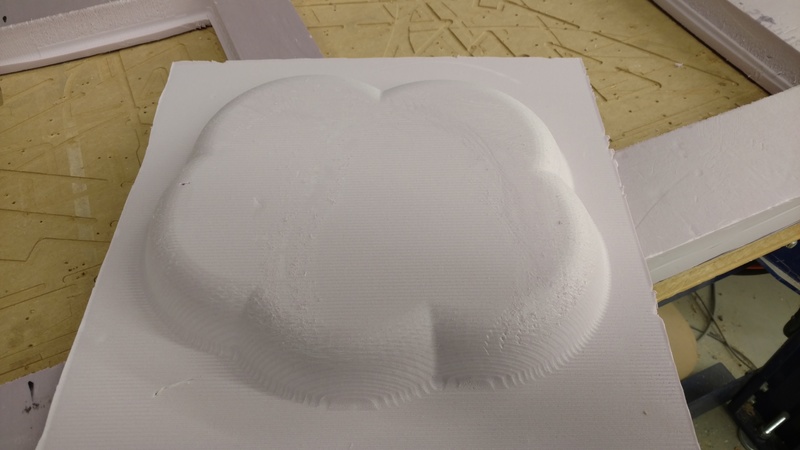
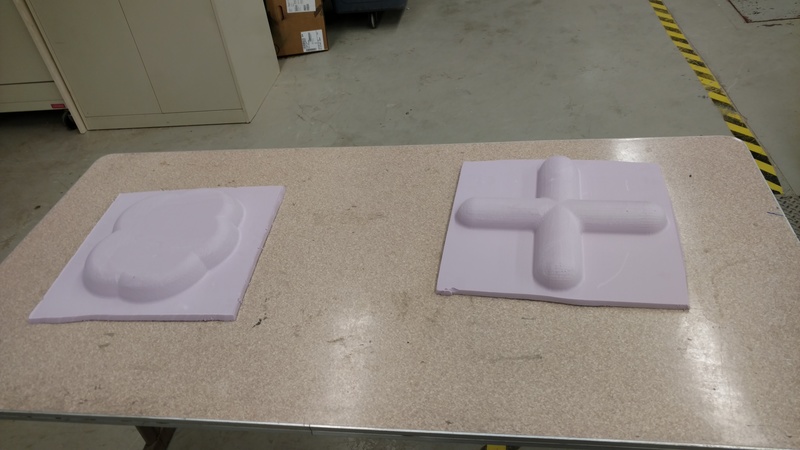
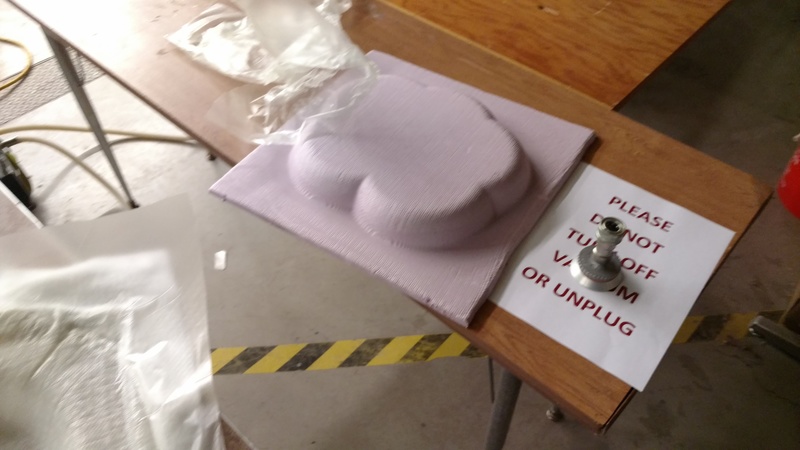
Once I had my desired shape, I exported it as a stl file so I could bring it in to aspire and cut it on the shopbot. In aspire I created two tool paths one for roughing and the other for finishing. The roughing one used a half-inch flat endmill running at 16000 rpm, this made quick work of the pink foam that I was using for the negative.
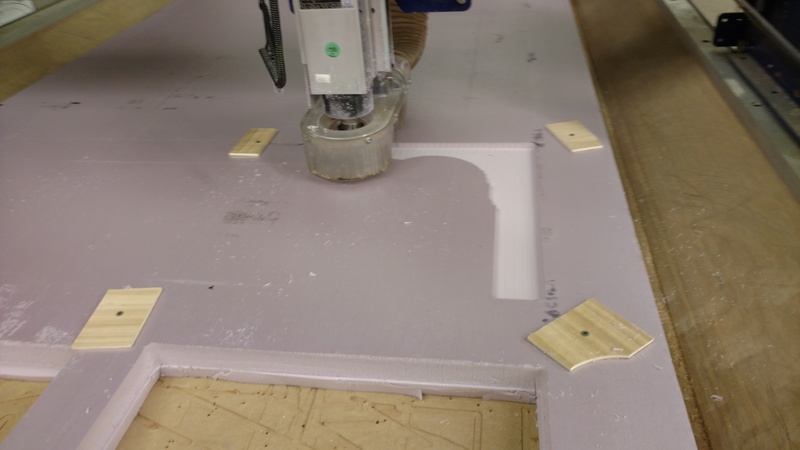
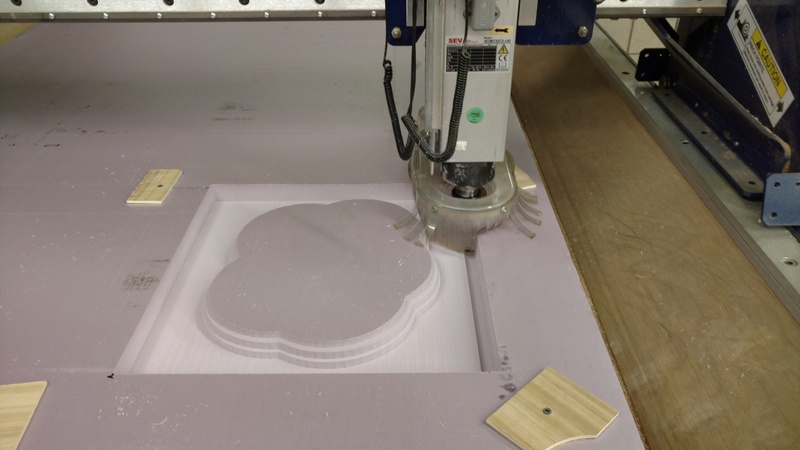
After the shape was roughed out, it was time to do the finishing pass this was accomplished with a half-inch bull nose bit. This took a very long time to finish especially when it was making a 3-axis move it was very slow. Tim and I tried to change some of the feed rate to see if it would help and it did but not much. The total time of machining my 15 x 15 x 2 inch mold was about two and a half hours, with almost two hours of the finishing tool path.

Now it is time to make the composite part to do this Tim and I found are local guru Scott and he helped us get started. The first step was to prepare the workspace so we got some of the plastic we would be using for the casting and laid it out to protect the areas of mixing and the area were we put the resin on the burlap.

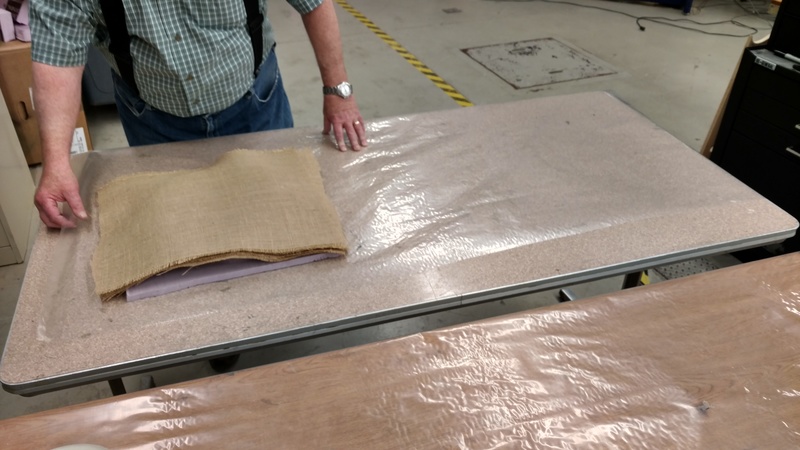
After the area
was prepped, it was time to gather all of the
required material. There
is a lot that
goes into make a composite part.
List of material
1.
Burlap – this is the layers of
the composite
2.
Release film so the part does
not stick to the mold
3.
perforated plastic film
4.
Breather a mate of fibers that
soak up the
excess resin
5.
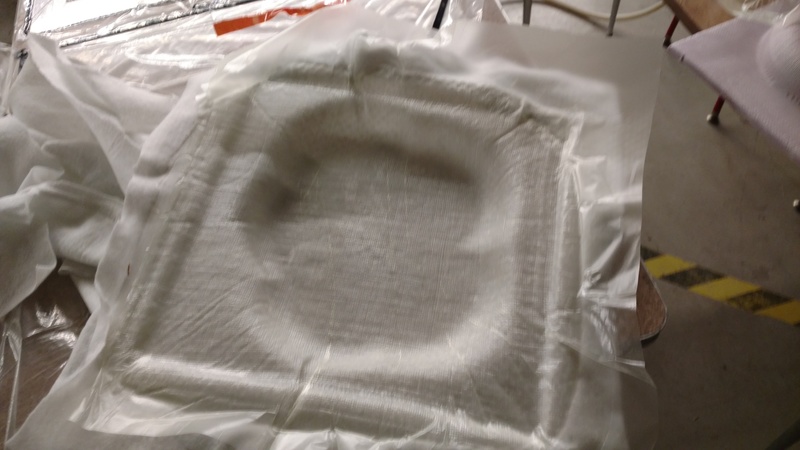
Vacuum bag material
6.
Mastik to seal the vacuum bag
7.
vacuum pump and port
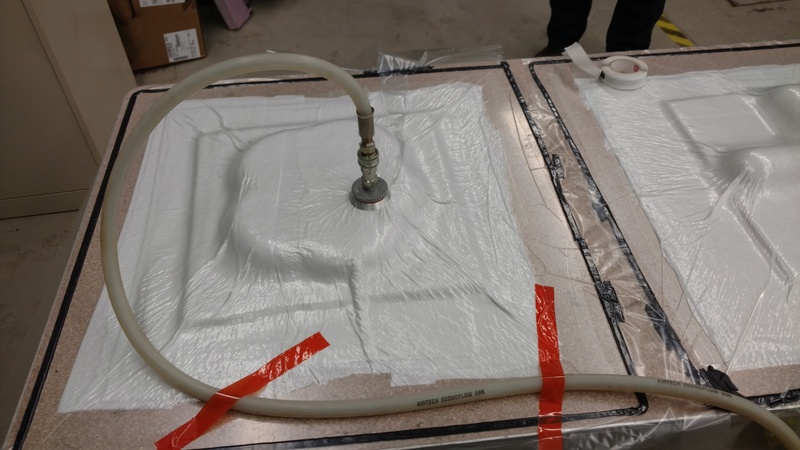
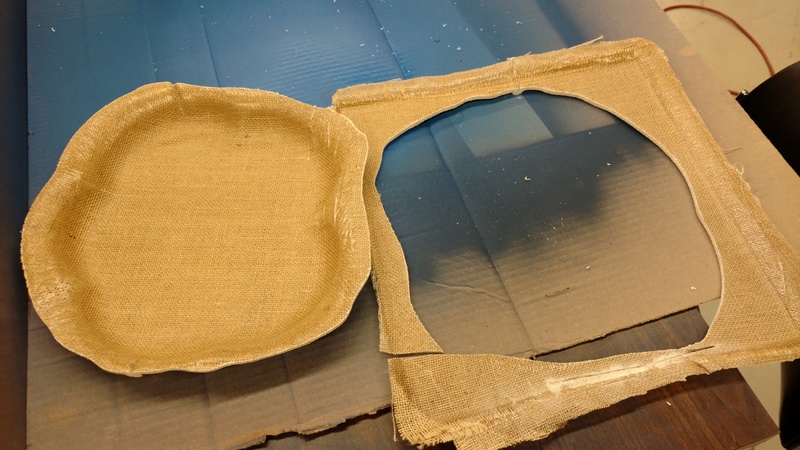
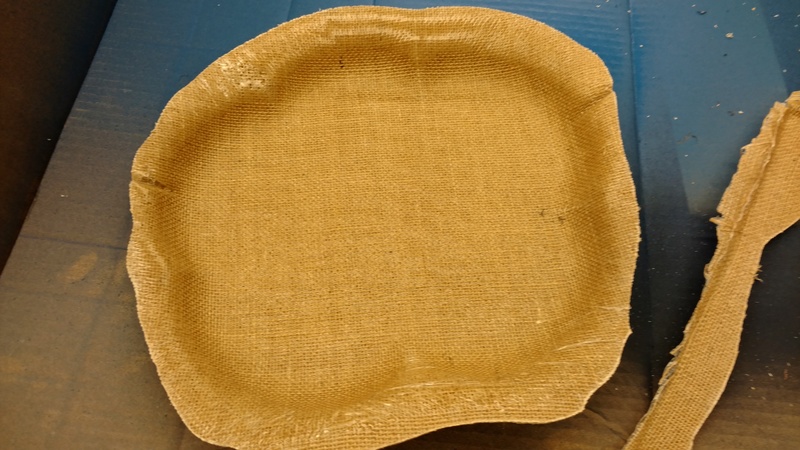
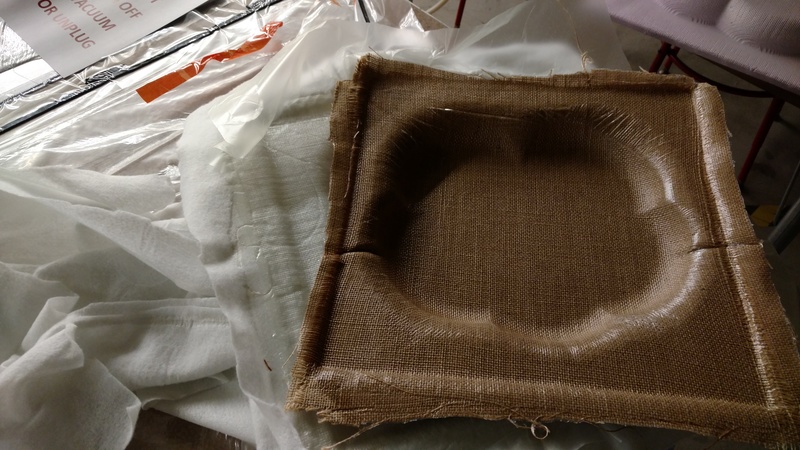
Once the part was in the vacuum it was time to let it sit for at least 4 hours that is how long it takes to become tack free. After 4 hours, it was time to unmold the part.
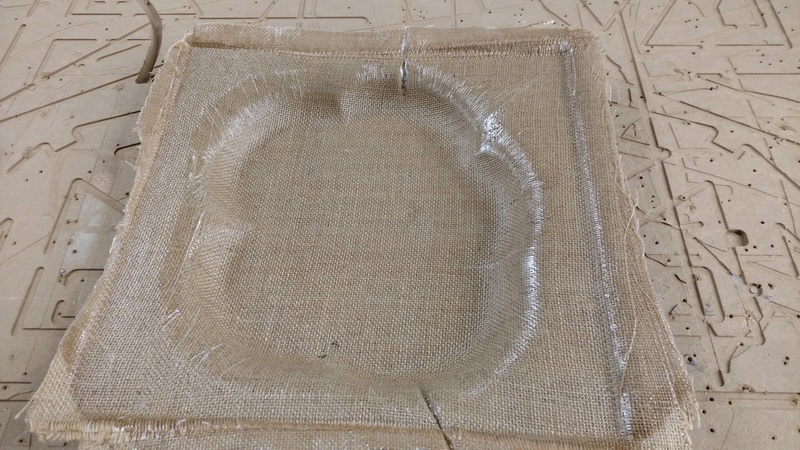
The next day it was time to trim off the extra material.