3D MOULDING AND CASTING
This week’s assignment was to create a
mold using a 3 axis
machine then make a mold to cast a part out of.
I made a 1 fluid ounce cup to help with my
final project.
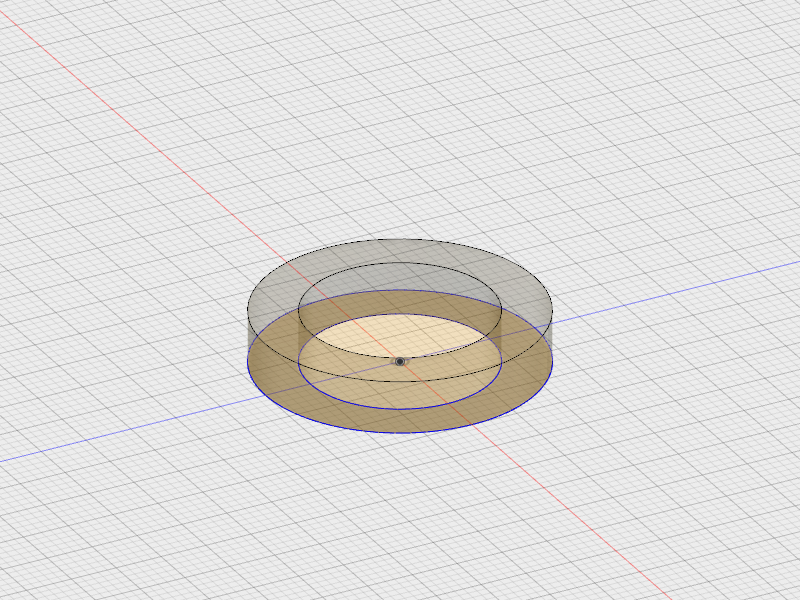
To create my mold I used Autodesk’s
Fusion 360.
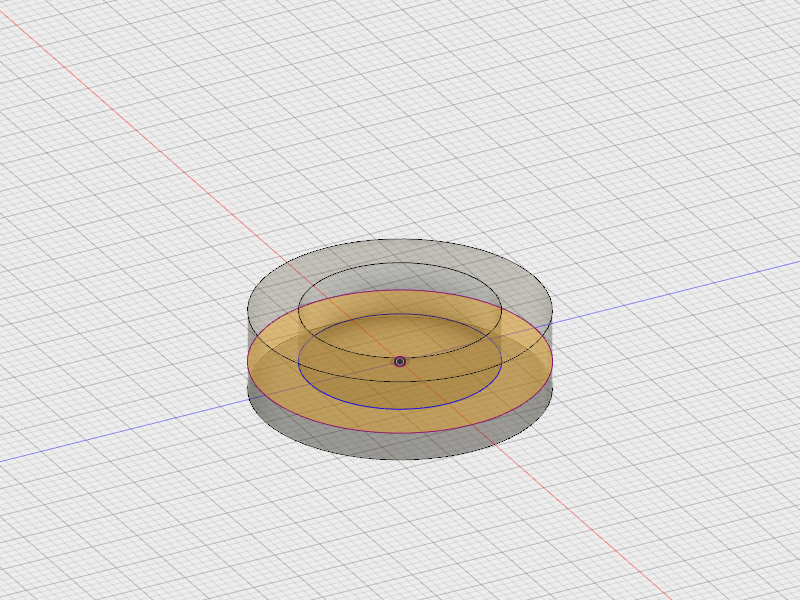
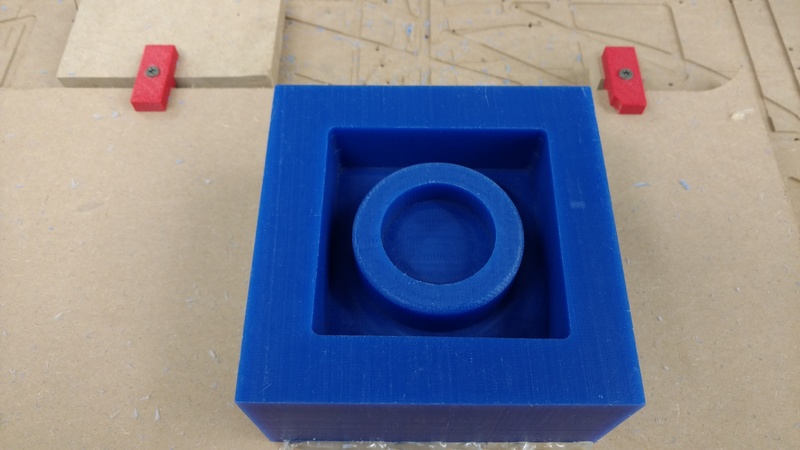
I started out making two circles and then extruded them put to the hight i needed.
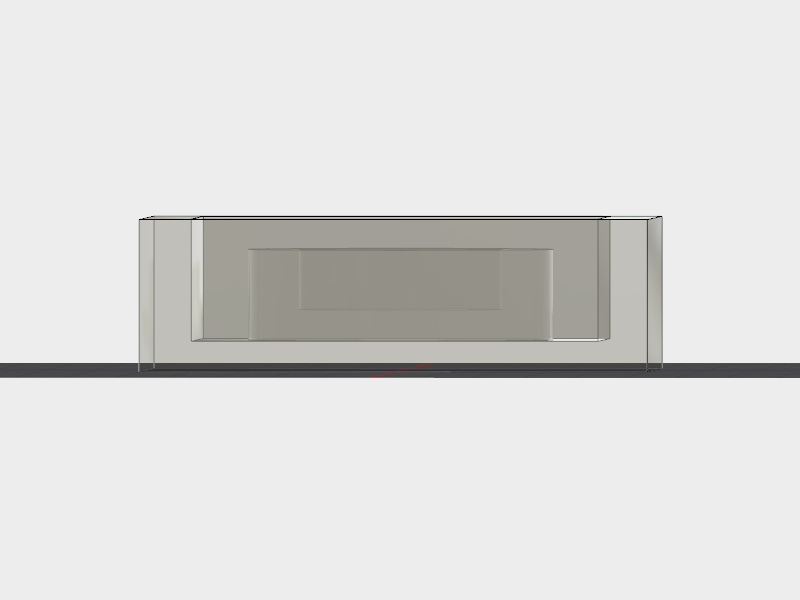
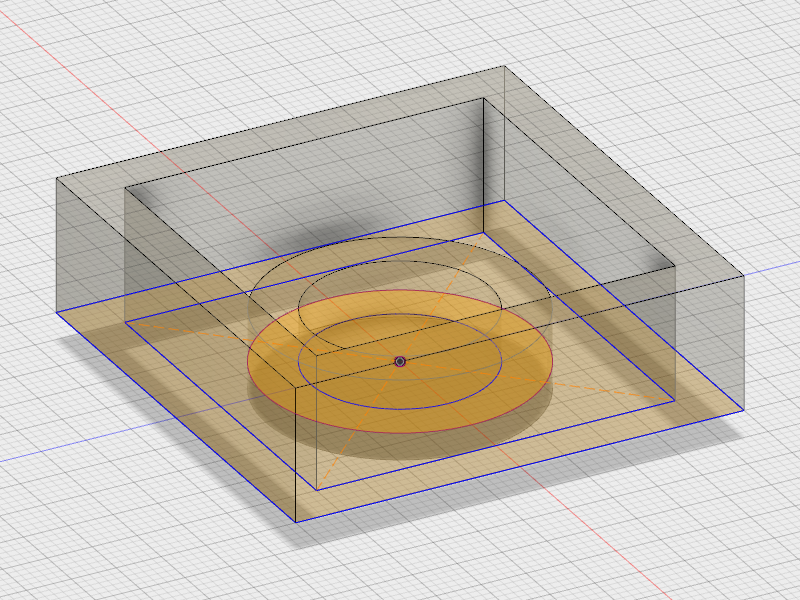
once the cup was made i had to make the outside of the mold. i started with a sketch of the size and then extruded it to the size i needed it was about a quarter inch above the cup so i would have i nice base.
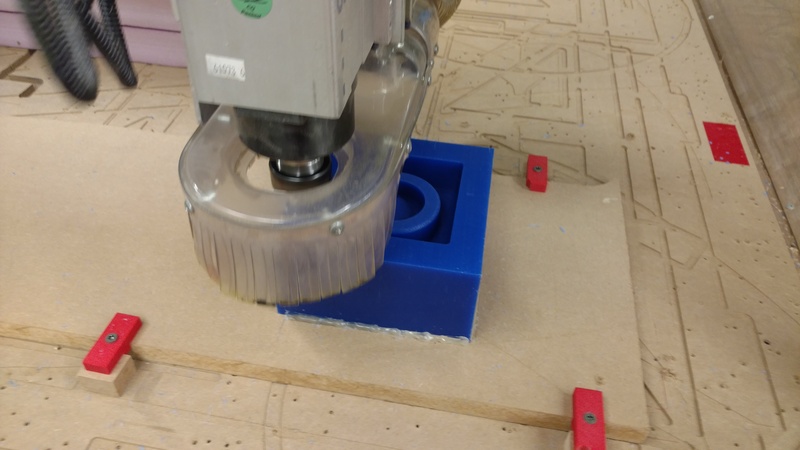
To
machine the mold I used the shopbot. To
use the shopbot I had to save my fusion 360 model as a stl to import it into
aspire to create the 3d tool paths. With
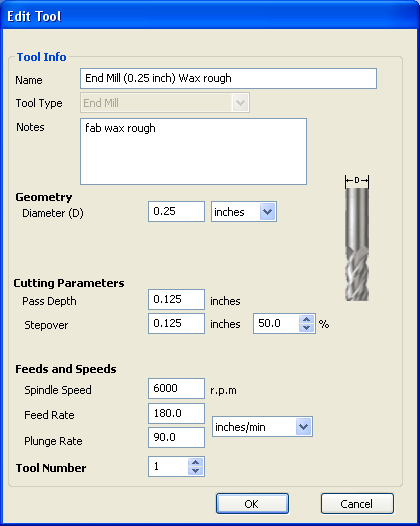
the help from tim we figured out the rmp needed for the roughing cut the machinable
wax with a quarter inch two flute center cut flat end mill. Using the formulas on machinablewax.com to
calculate the chip load we figured out that the rmp should be 6000. Using this information I created a new tool
in aspire with the correct feed and rpm.
Once the tool was created and the model was imported into aspire it was
time to make the roughing tool path. The
next step is to create the finishing tool feeds and speeds and then the tool
path. I had to create two finishing tool
paths to make a smoother finish. Once
all the paths were made I used aspire to preview the machining to see if it
should be good. Last year the was a few
issues with the shopbot making 3d designs so this year Scott put a new computer
in and Tim and I tested my tool paths with pink foam as a cheaper test than the
wax.
For the tools i used a flat end mill to do both the rough and finish passes. they both used 6000 rmp but the finishing i was able to run a bit faster in the feed rate i was able to run at 480 inches per min vs the 180 on the roughing.
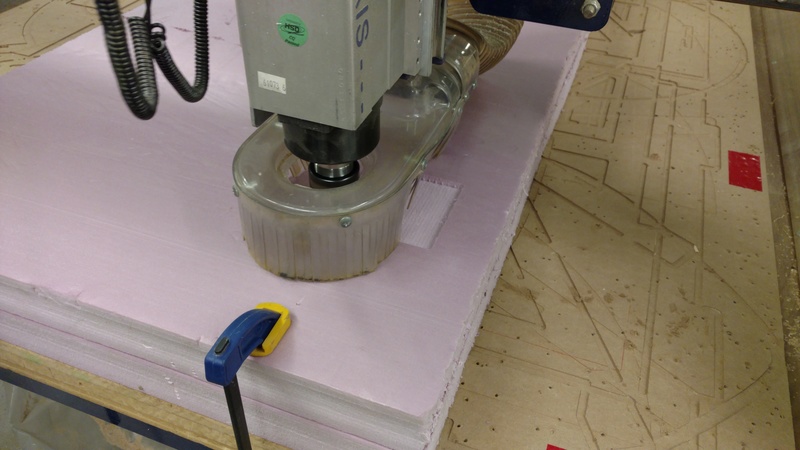
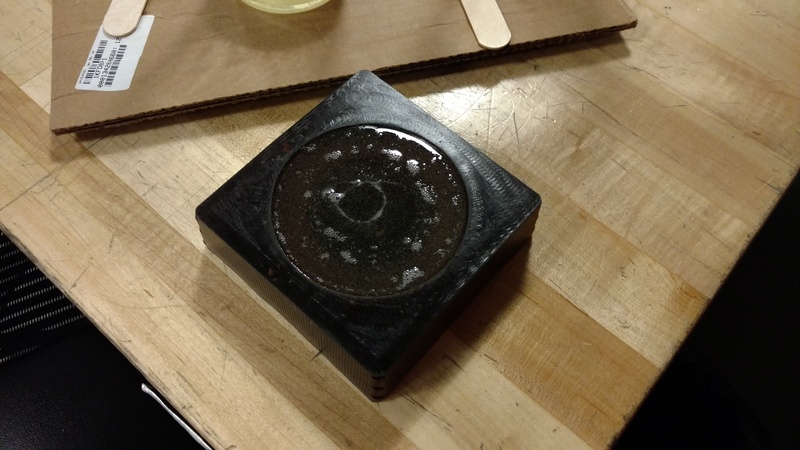
The test turned out very good so I decided to try the wax. It turned out very well. It took over 40 minutes to cut but had a fairly nice finish.

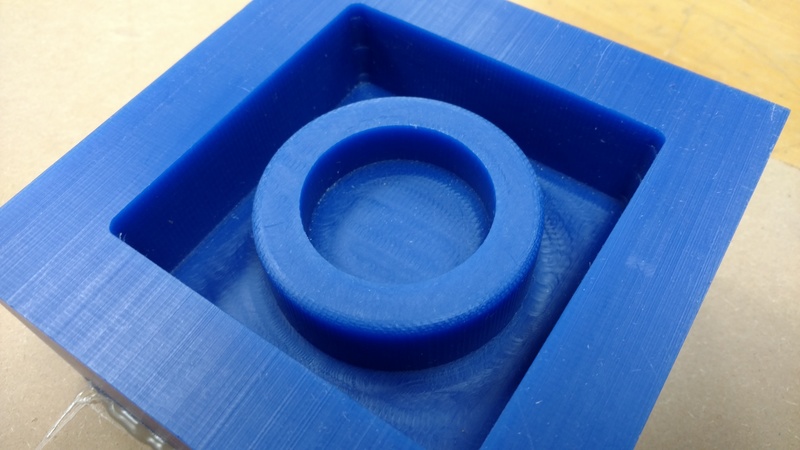
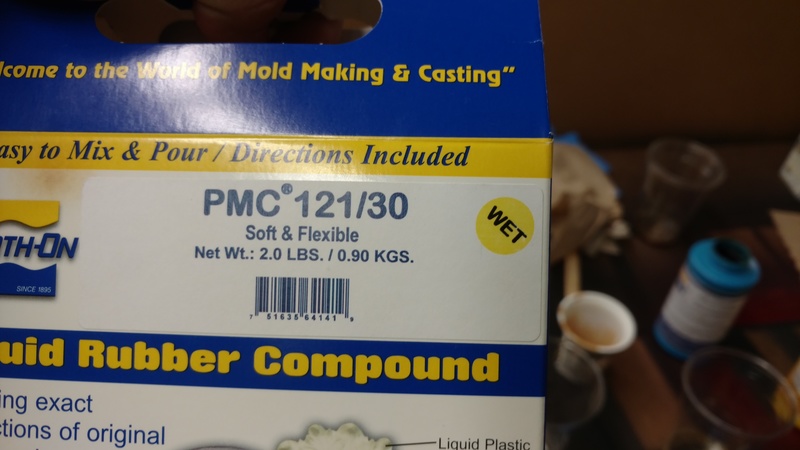
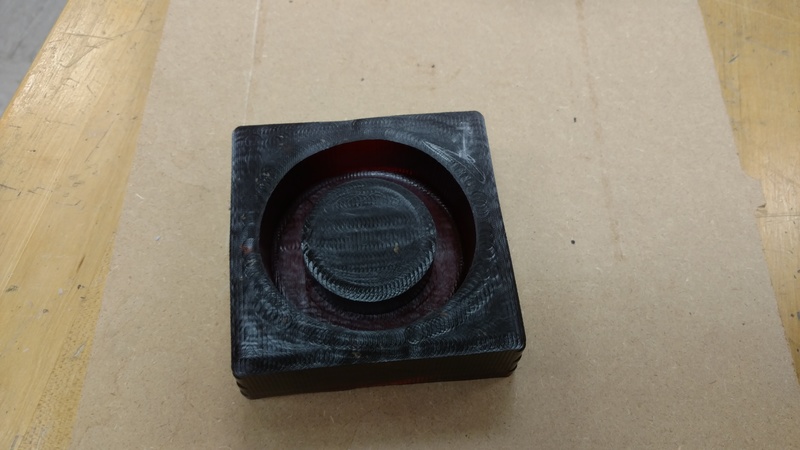
After the wax was machined it was time to create the urethane mold. Before making the mold we experimented to make sure the product was still good so we made small test batches. We had two versions a dry that has no release agent built in and a wet that has a release agent built in so both were tried. They both turned out to be fine.
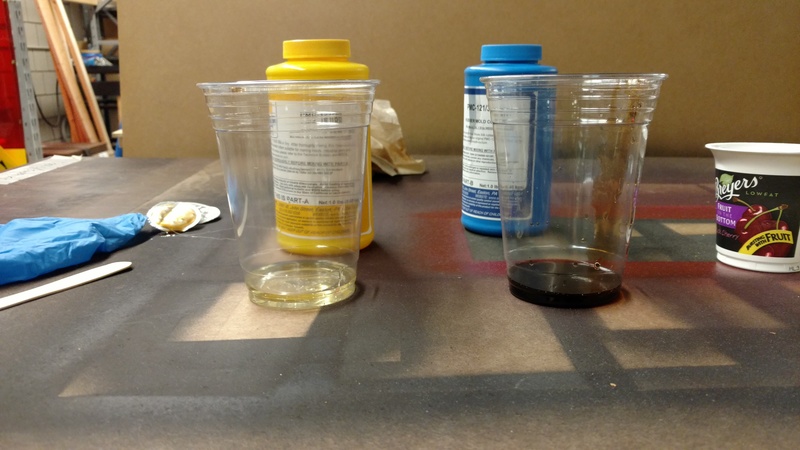
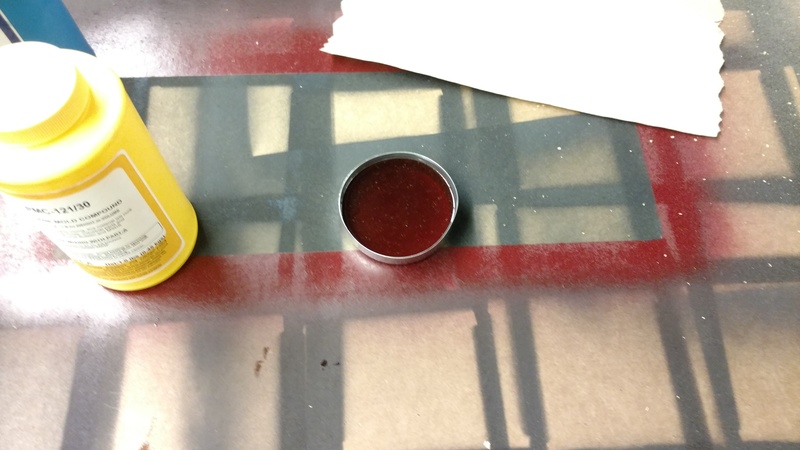
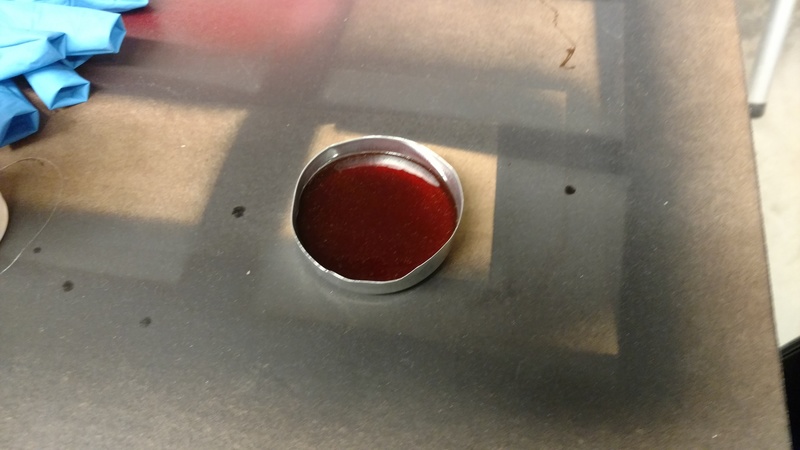
Once the test urethane molds were made and ok the next step was to mix it for my wax mold. To make sure I had very little bubbles I poured it from about 18 inches and a very small stream. This worked very well with only minimum bubbles on the top or the bottom these did not affect the next part.
Once the urethane was cured overnight it was time to unmold
and get ready to make my part.
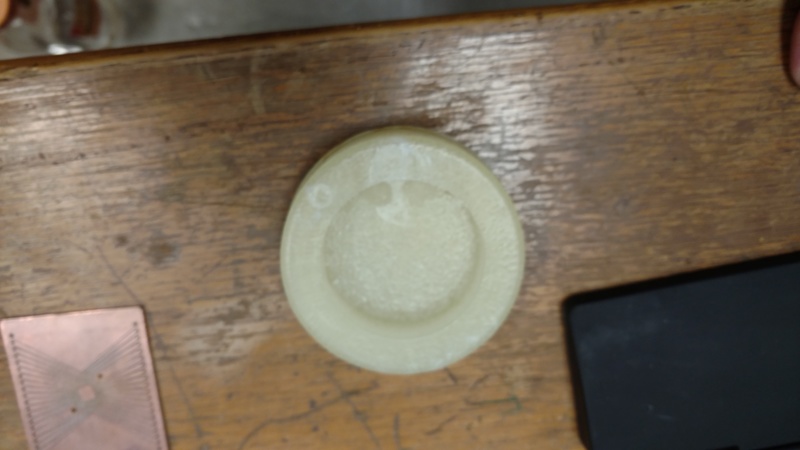
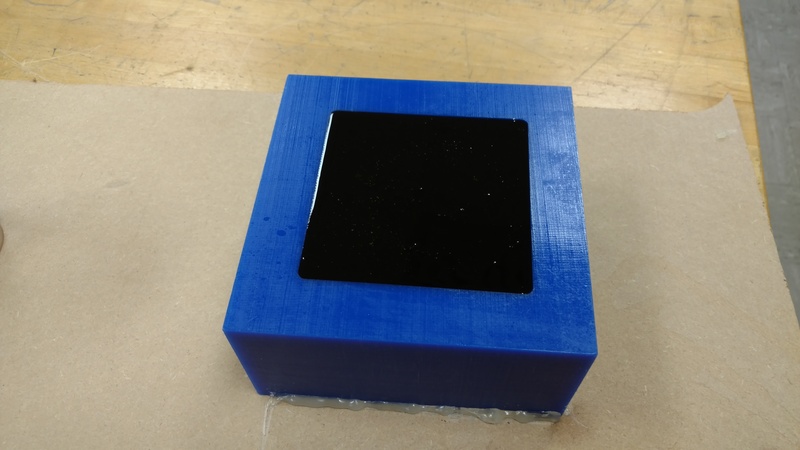
To make my part I used a smoothcast two part plastic that sets in about 15 minutes. I mixed it following the directions of one to one by volume and since this had a very short pot life and I did not need the part to be perfectly smooth I just poured it from a height and a very small stream. Once it cured it came out very good.