12. Molding and Casting
Assignment
Design a 3D mold, machine it, and cast parts from it.
Lecture
3D Design
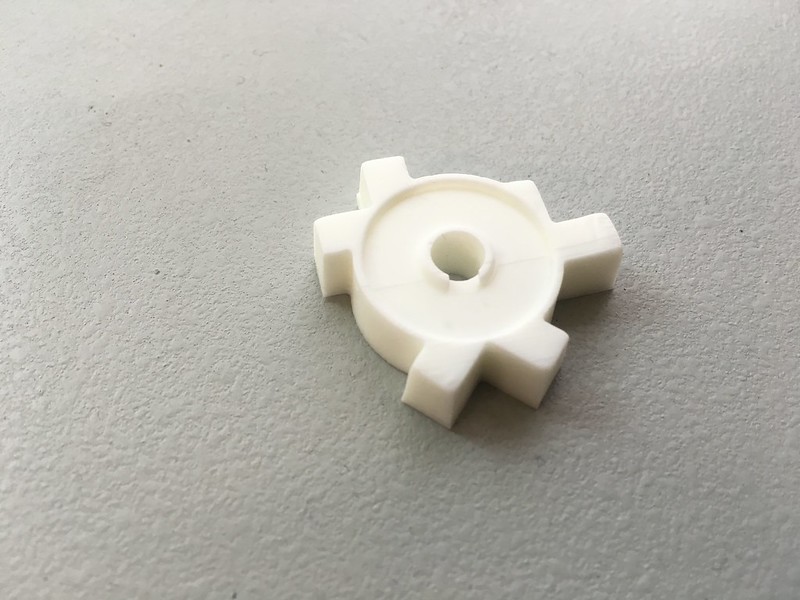
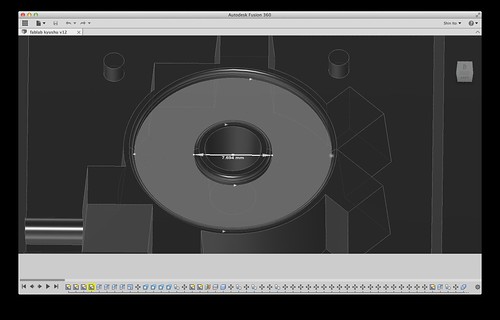
I used Autodesk Fusion360 to design the mold data. I planed to make the logo of FabLab Kyuhsu Univ.
This is the logo.
First, I made the 3d model of the object that I wanted to make.
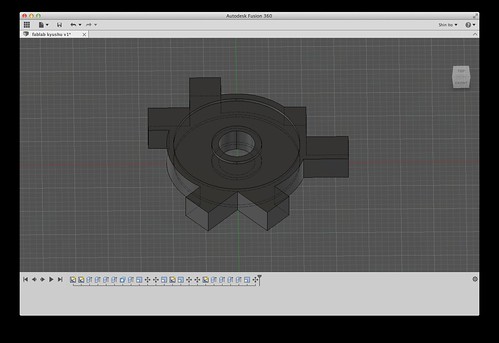
Next step was to make outside walls. The outside wall was little bit tilted for the draft. That draft is important for taking the casting material from the mold.
Also, the outside wall of the object needed to be tilted for draft.
I made the reversed mold for double side casting.
I added the 2 tubes. One of them provides air ventilation. The other one is for pouring the casting material.
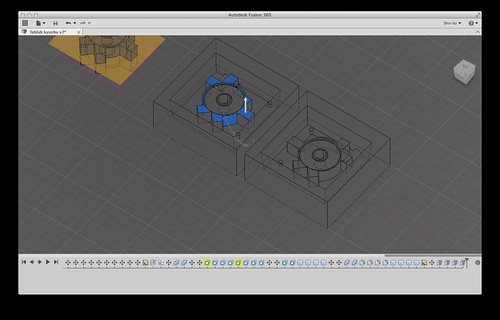
3D data
Here this is the 3D model of the mold.
FabLab Kyushu Univ Logo mold Front by itosinex on Sketchfab
FabLab Kyushu Univ logo mold back by itosinex on Sketchfab
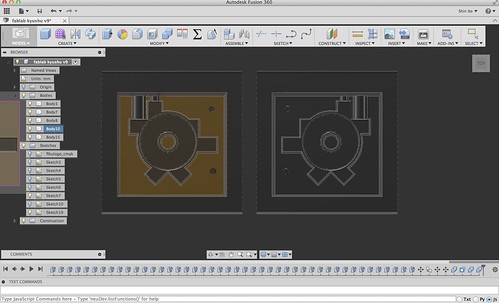
FabModules
Next, I used Fabmodules for making the CAM data.
In this process I have to make 2 different files: Rough cut and Finish cut.
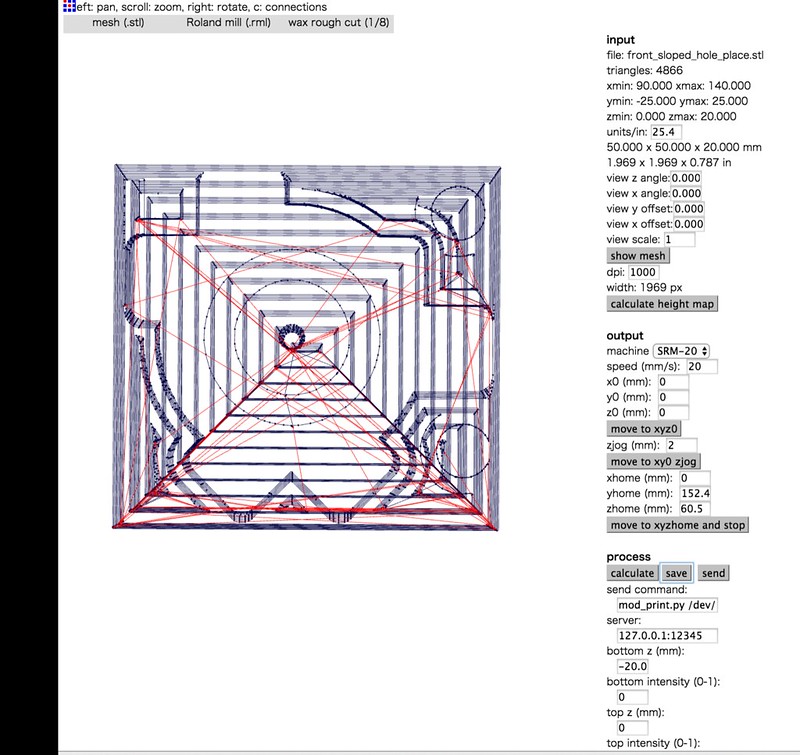
Rough cut
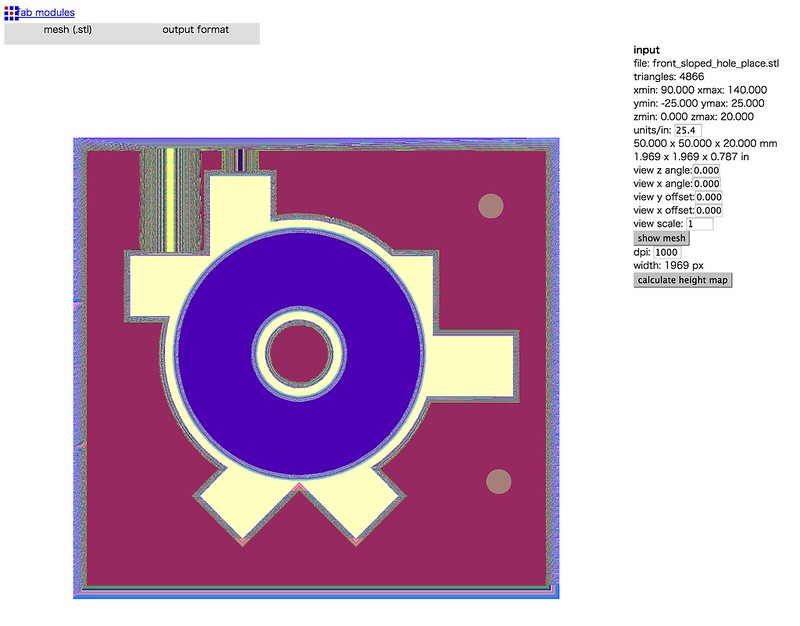
Opne the Fabmodules.org. First, choose .stl and choose the mold data.
I used a CNC milling machine Roland SRM-20. choose Roland mill in the 2nd tab.
Then, choose "Wax rough cut 1/8" in the 3rd tab.
IMPORTANT: Change the "Unit/in:" to "25.4". This is for converting the unit from inchi to mm.
choose machine. In my case SRM-20.
change x0, y0, z0 to 0
check that "bottom z" is the right depth of milled area.
choose the right "tool diameter"
save the "".rml" file
mesh

height map
toolpath
Finish cut
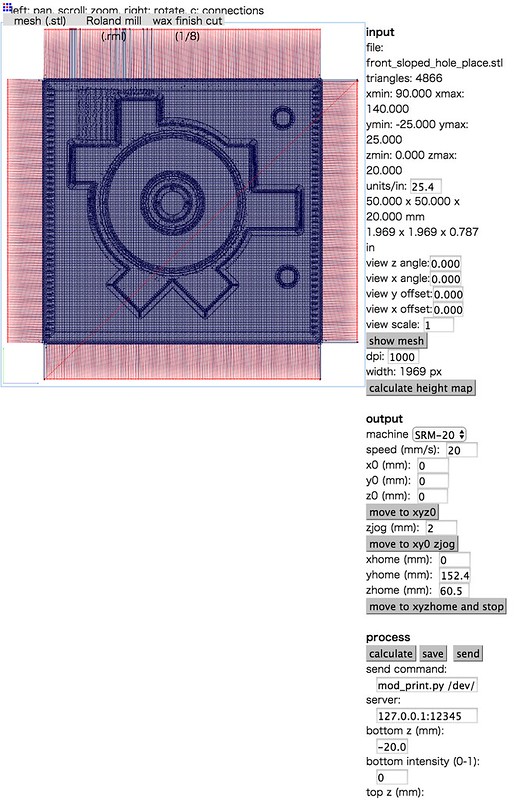
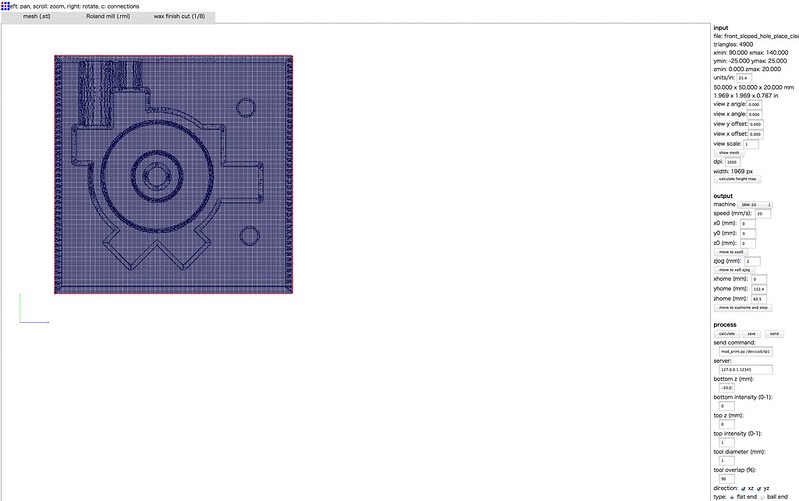
Opne the Fabmodules.org. First, choose .stl and choose the mold data.
choose Roland mill in the 2nd tab.
choose "Wax finish cut" in the 3rd tab.
IMPORTANT: Change the "Unit/in:" to "25.4". This is for converting the unit from inchi to mm.
choose machine. In my case SRM-20.
change x0, y0, z0 to 0
check that "bottom z" is the right depth of milled area.
choose the right "tool diameter"
save the "".rml" file
Milling mold
tools
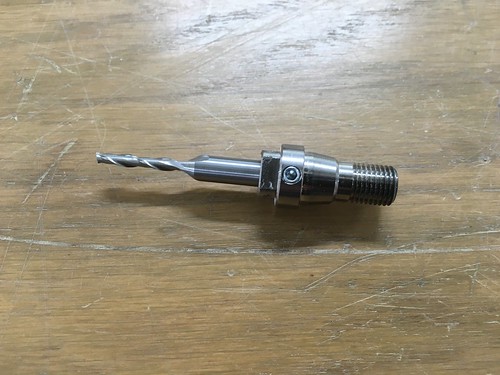
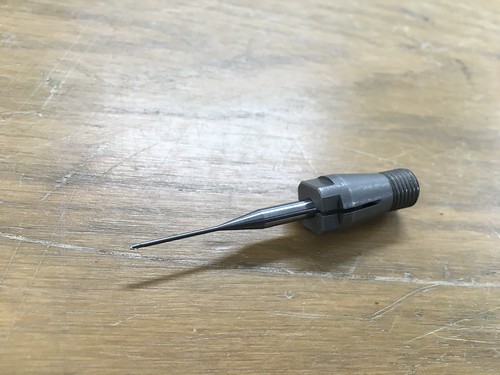
Rough Cut:3mm square endmill with 6mm shank diametor >> ZHS-3015
Final Cut:1.0mm ball endmill witk 4mm shank diametor >> CPRB 2010-16
Milling machine: Roland SRM-20
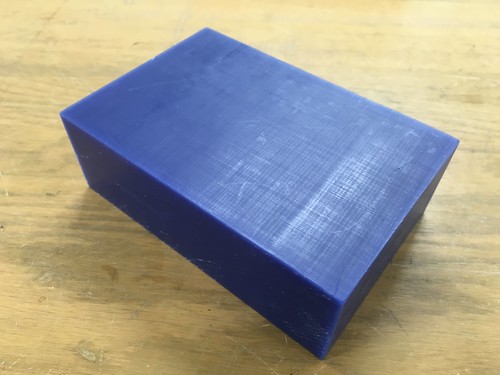
machine wax
First, set the modeling wax to the CNC machine. I used double side tapes to fix wax to the stage of SRM-20.
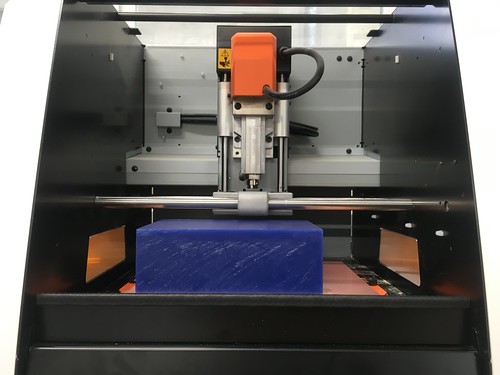
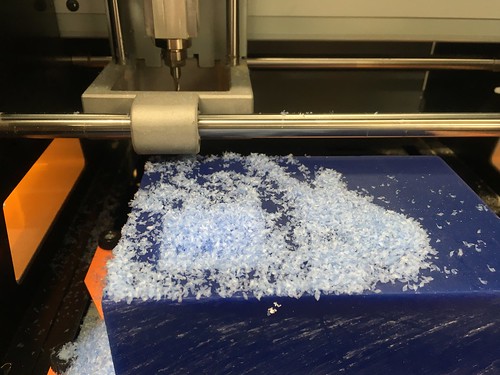
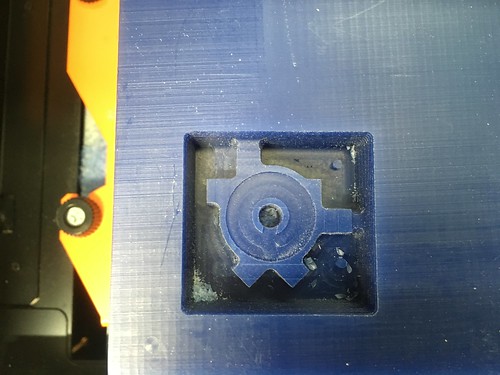
Rough Cut milling
First job was rough cut. I attached the 3mm square endmill with 6mm shank diametor collet.
It took time to mill the rough cut.
The outcome(right photo) had missing part that was not plan on 3D model. The reason for this missing part was not sure. I might be because of Fab Module bug.
Finish Cut milling
For Finish cut smaller endmill is better for precise job. So, I changed the endmill to 1mm ball endmill.
Note: It's important to keep the same home position wiht rough cut. If it changes, it's difficult to mill exact same shape.
trouble:wrong milling
Right after starting the finish cut, the mill went wrong place. And it broke the bit.
I kept same home position, so it seemed strange. The cause might be Fabmodules,so I re-culcurate the finish cut again with fabmodules.
Next trail went well.

breaking a bit

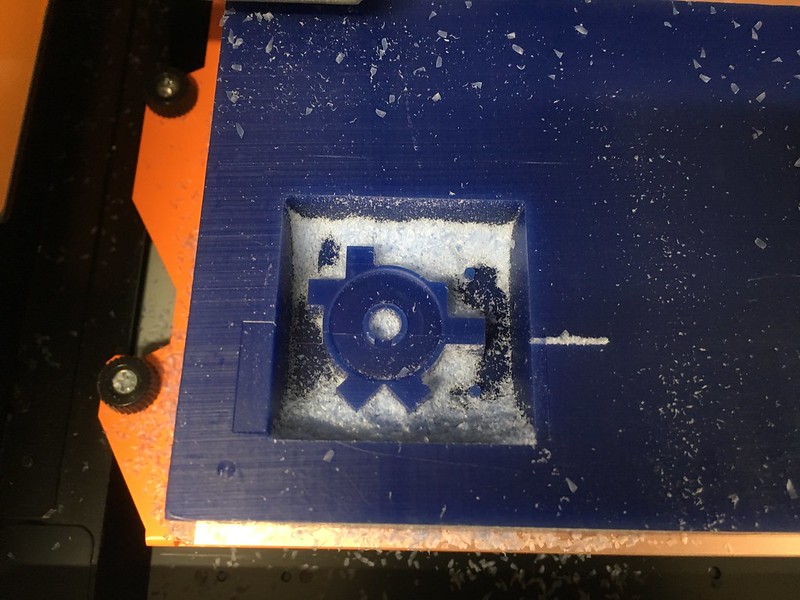
After finish cut
Molding
This is time to make a mold.
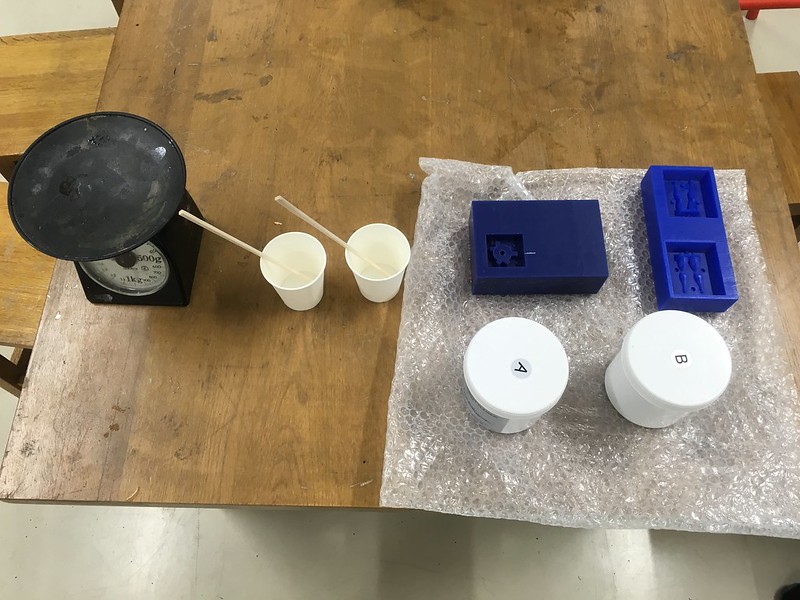
preparation
For making the mold following items are needed.
- silicon
- cup
- stick
- wight measure
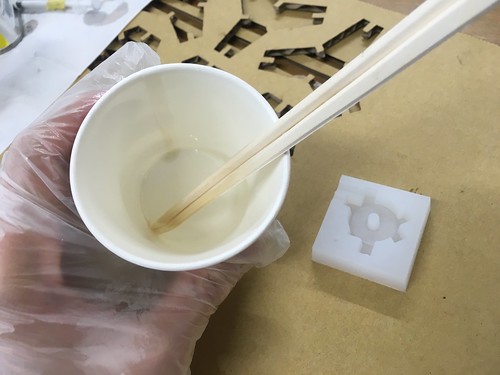
First, take the same amount of silicon A & B in the cups. Them, mix the 2 materials in same cup. After mixing pour the mixex silion into the wax mold.
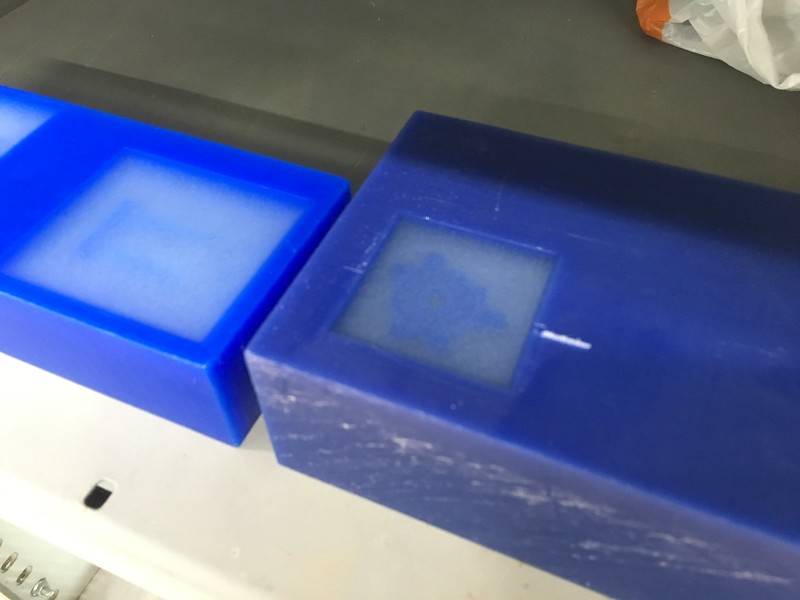
First modling : failure!
One day after the silicon pouring, I realized that the silicon didn't get hard enough. It was like jelly.
There are 2 reasons for this failure.
reason 1: mixture and stiring was not enough. That causes unbalance mixture in the silicon.
reason 2: rough pouring. That causes many bubbles in the silicon.
scound molding
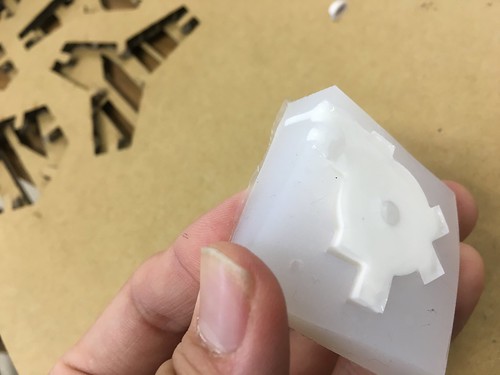
Besed on the mistake, I mixed the materials well and poured gently.
It looks great!
The key of good molding is: quit pouring, accurate mixing ratio.
Casting
The mold is ready. So, let's go to casting part.
tools
Following tools are needed:
- casting materials
- globe
- weight measure
- 2 cups
- 2 sticks

Mixing
Mix well the casting materials with proper ratio. The proper ratio depends on the kind of material.

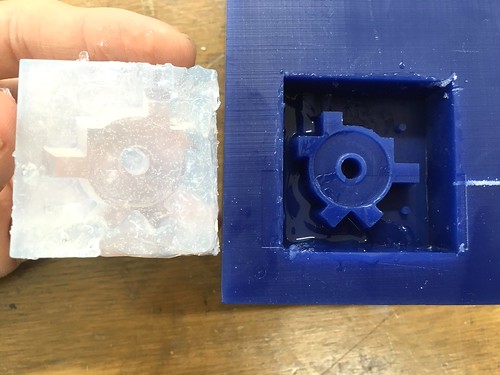
Releasing
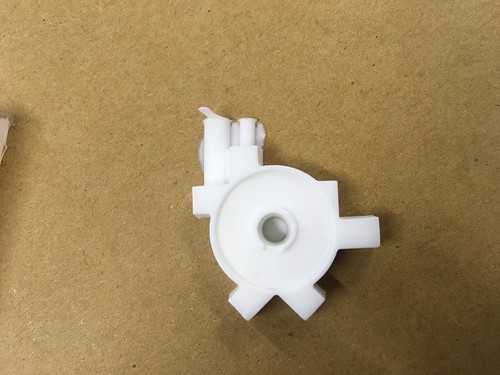
After 3minutes... it was easy to take the casted object from mold.
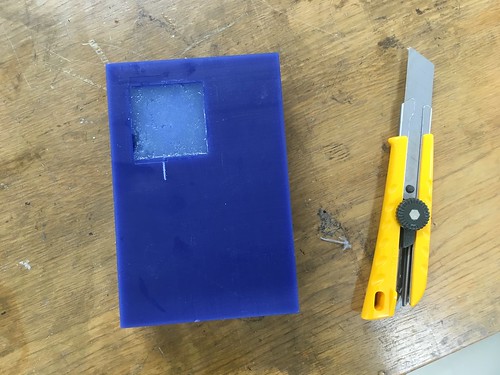
finishing
Cut out the tube part with a cutter knife.

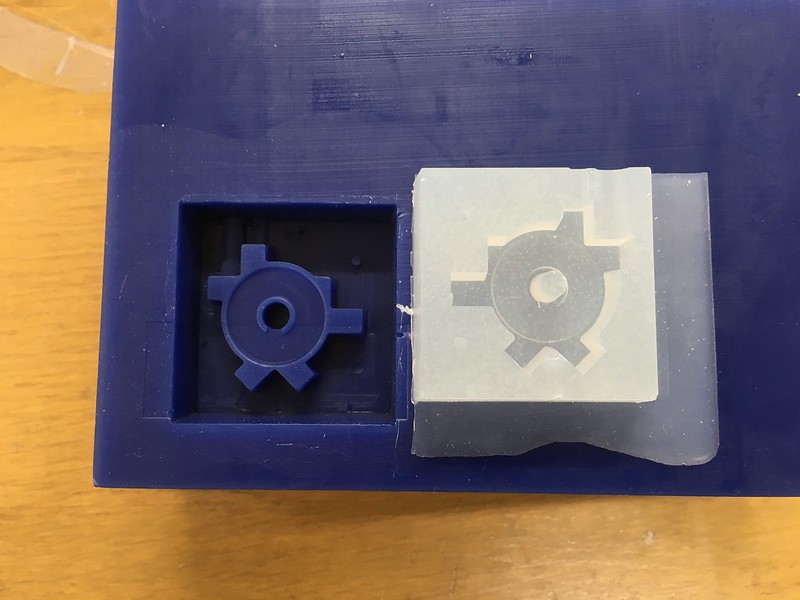
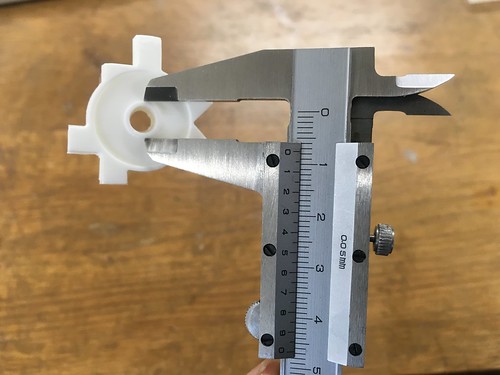
Comparison
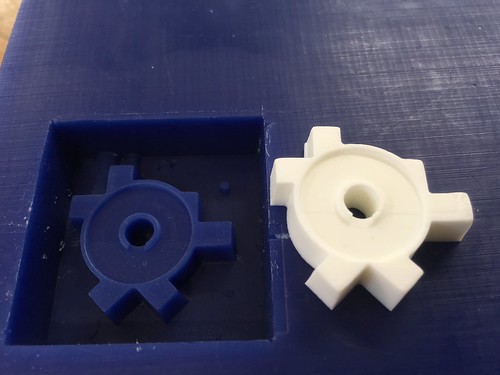
I measured the size and compare with 3D model.
Actually it was really accurate.
comparison1


comparison2
Outcome