Week - 14
Composite(MAY 4)
Assignment
Design and fabricate a 3D mold,and produce a fiber composite part in it
Thia week i would like to make a sweep tray to collect wastes from electronics bench.Whenever i work on electronics work bench ,it becomes always messy,so i have been thinking about to make a tray to collect the mess.
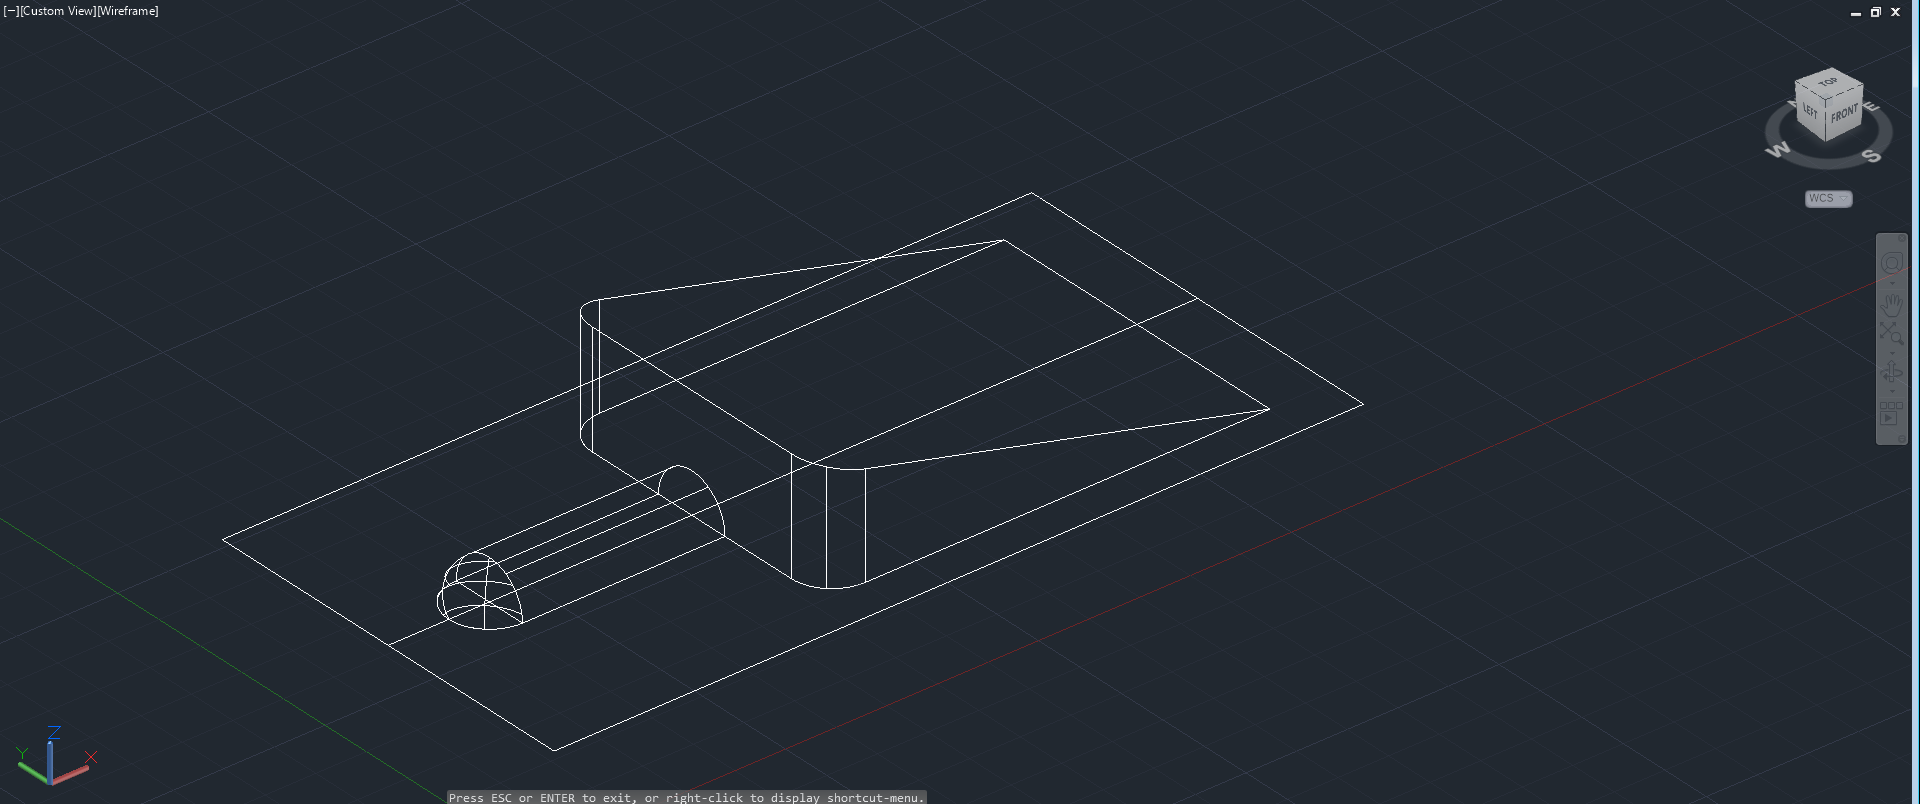
Designed sweep tray using Autocad software,first made a 2D Drawing
Extruded the 2D design
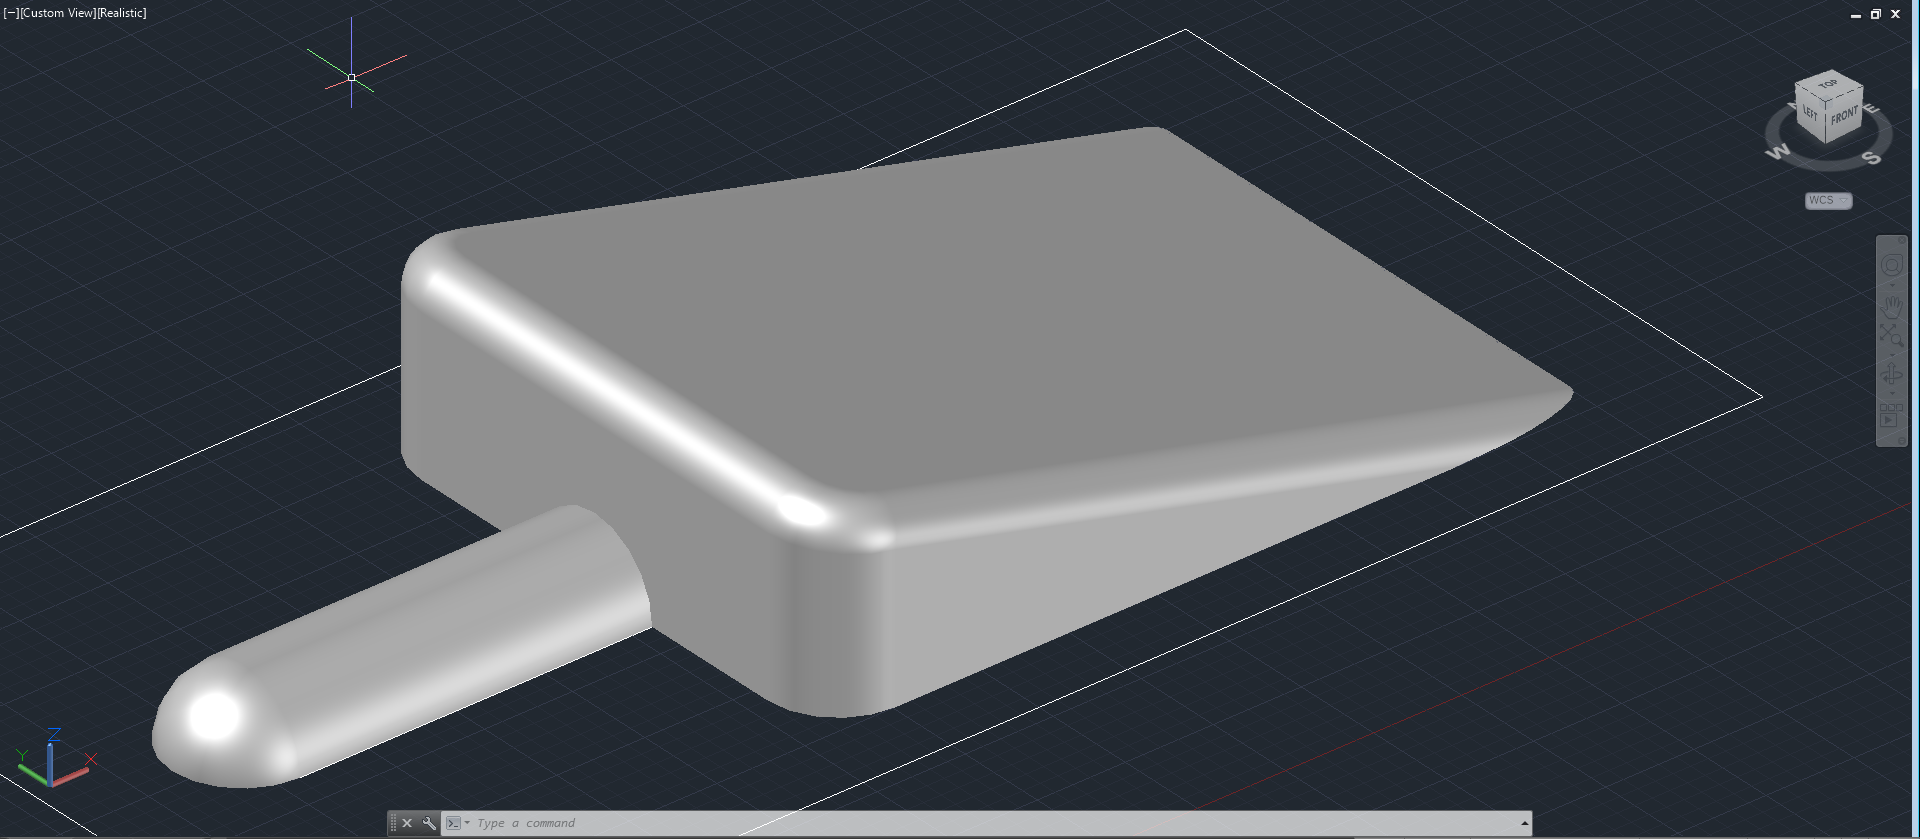
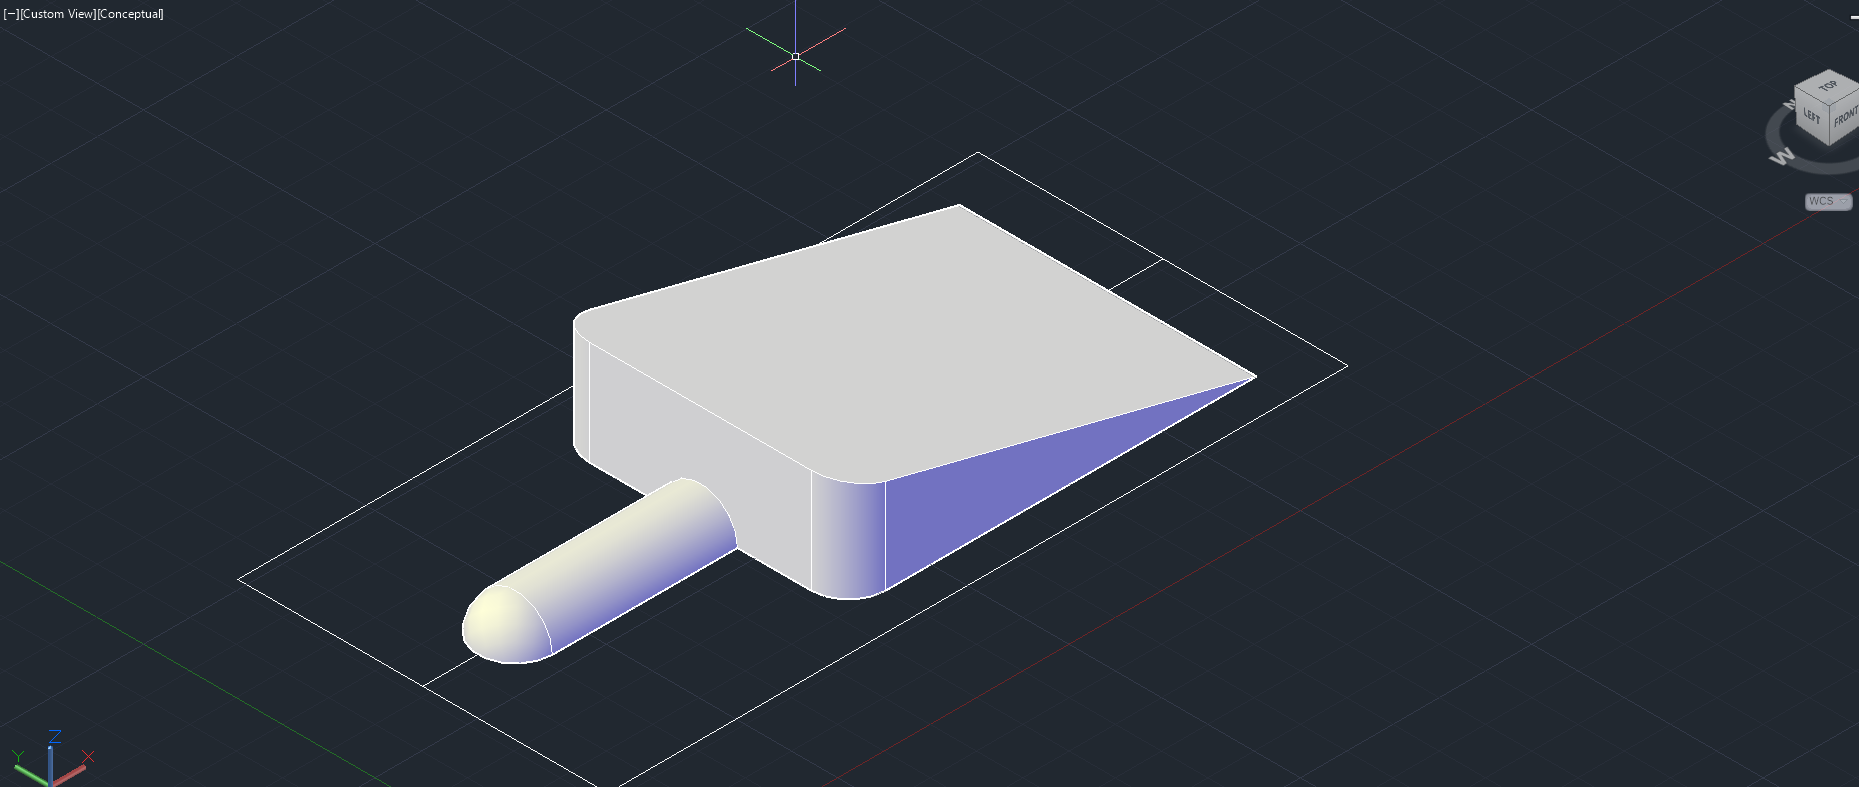
Filled the edges for curving and smoothness,then created a 2mm inch base,unioned it and saved it as STL file.
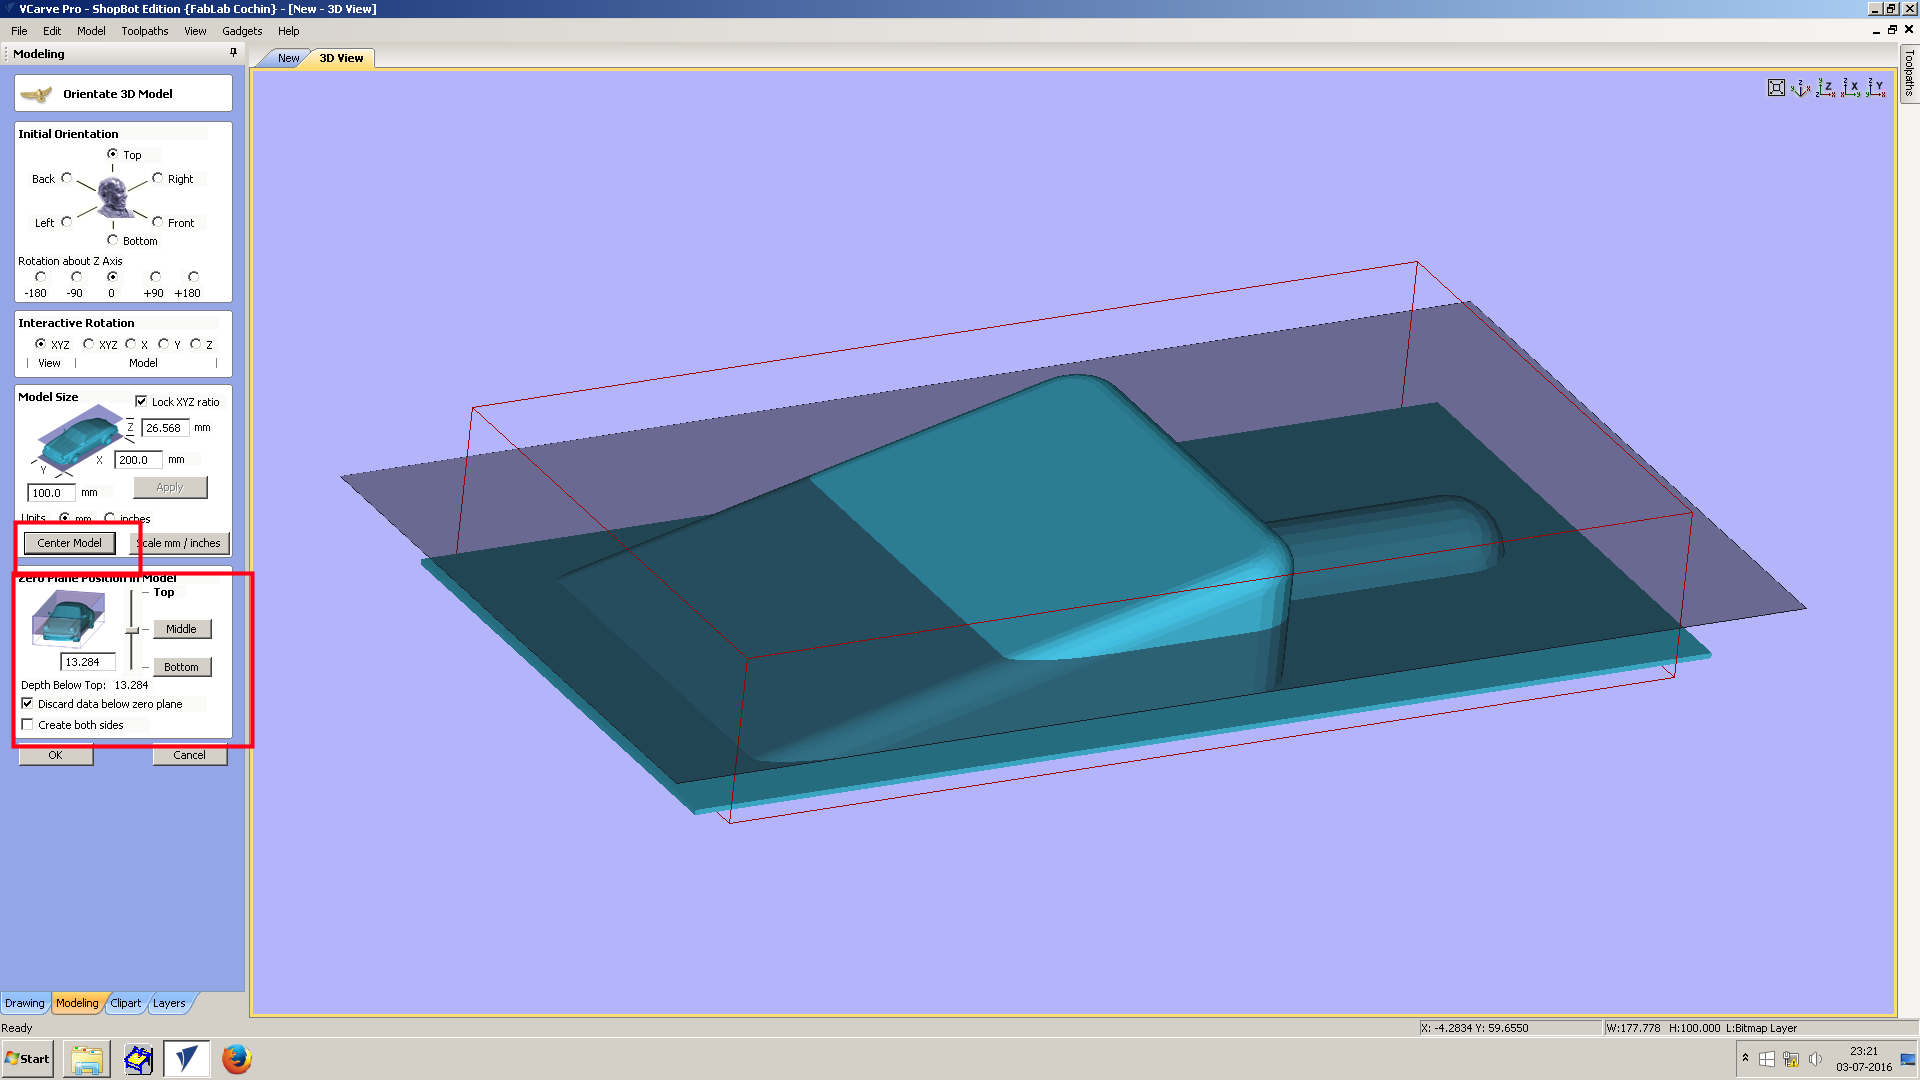
Next process is 3D milling,opened stl in V-curve software,first specifie pattern's diamension,then did set orientation,using the option 'Center Model"did make it center.Next selected top" option in Zero plane position in Model window.
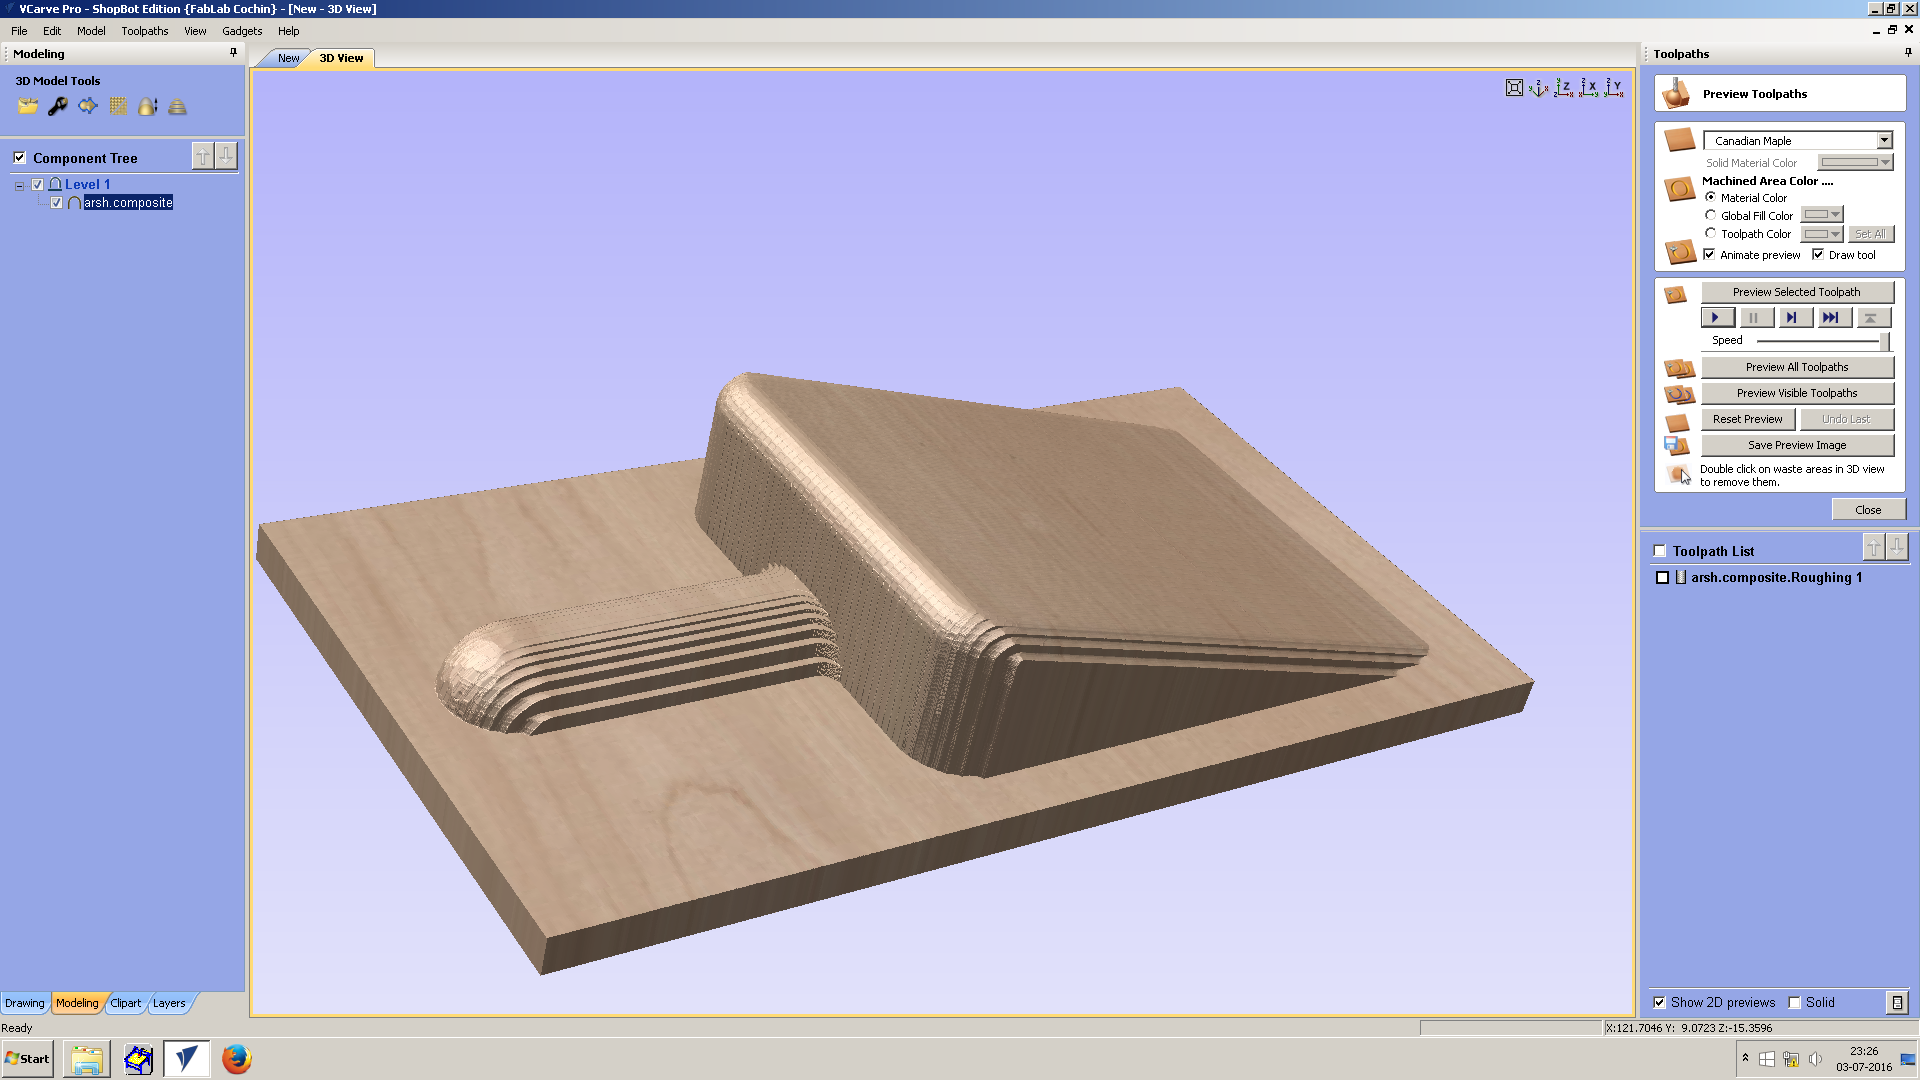
Next process was for Fine finishing and Rough finishing,for Fine finishing ,generated toolpath,then finish toolpath and combined it together then saved it. .
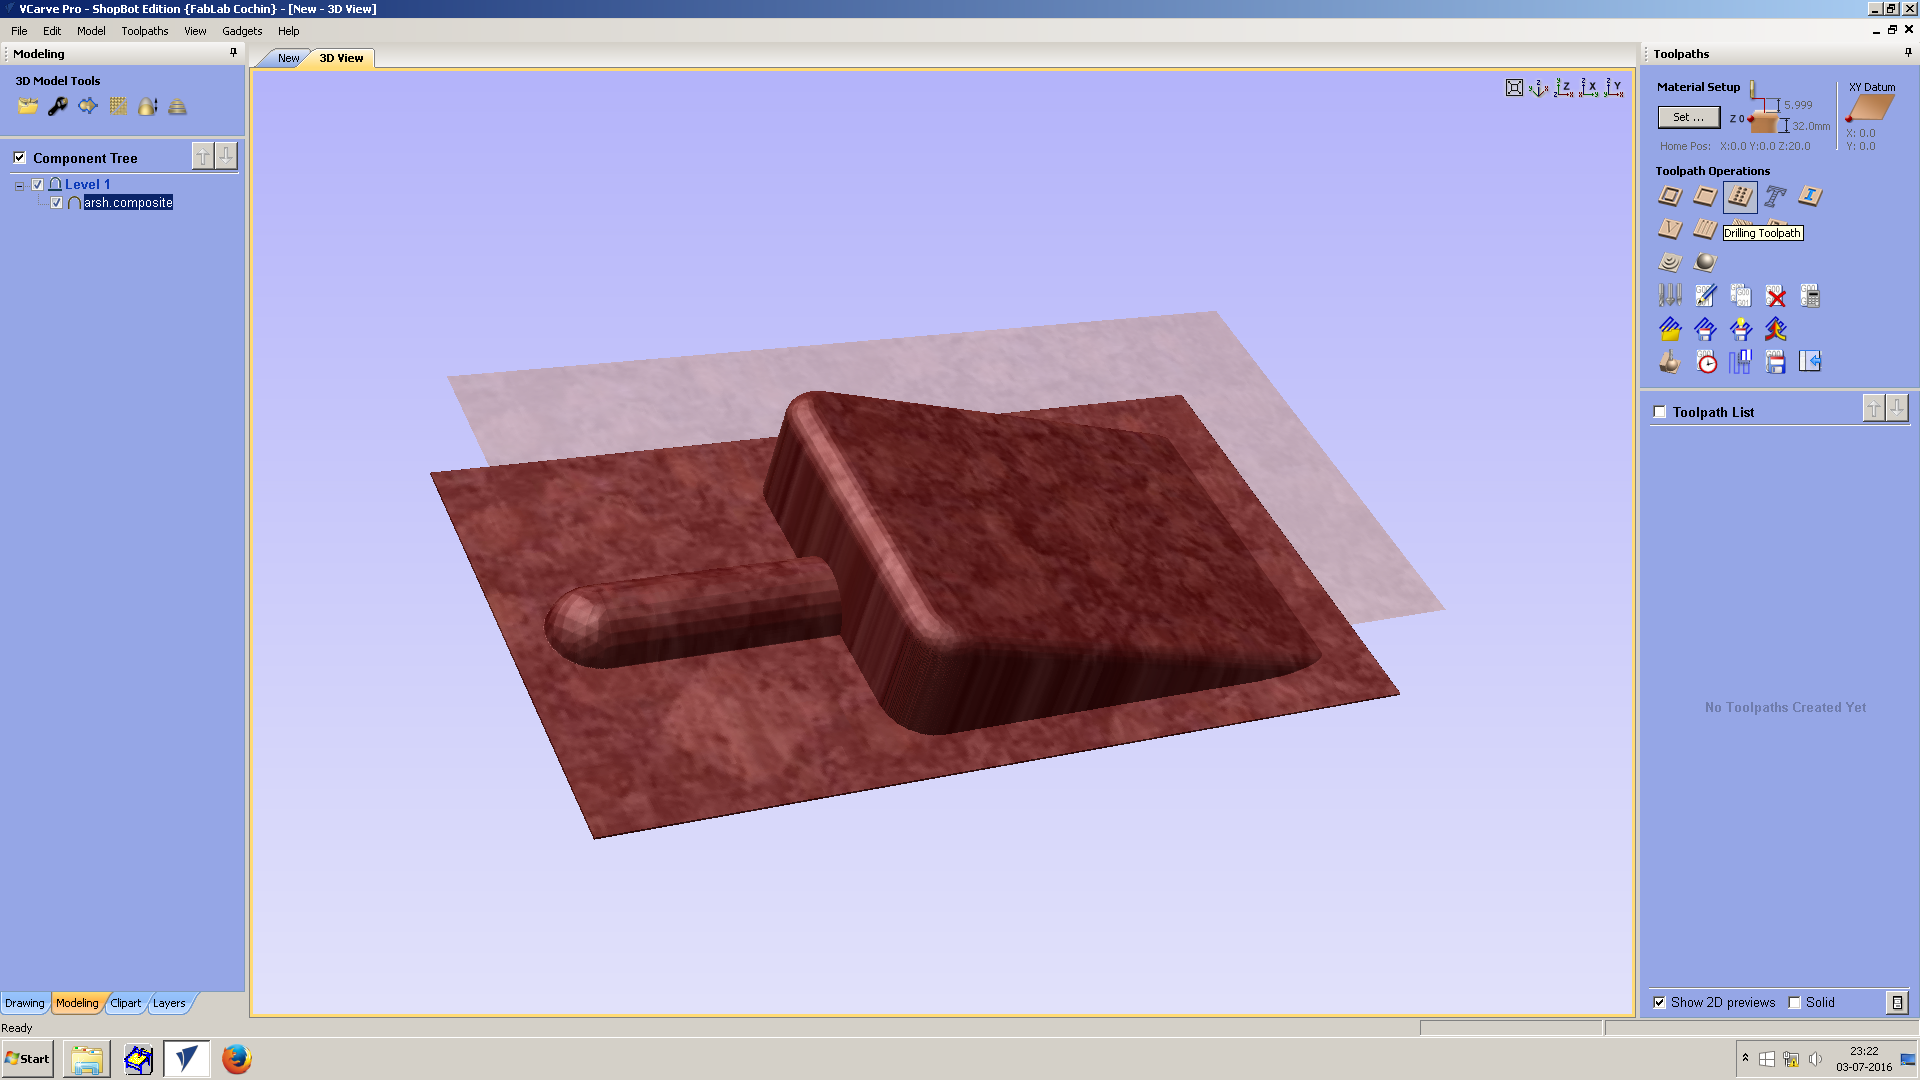
This one is render view of milling operation which is going to process,i feel like it is almost ok.
 After finishing all the above steps,warmed up shopbot and set for milling,started milling,before sarted milling i had to cut wood peice and fix it on shopbot bed using screw.for cutting process used 1/8mm four flute tool.

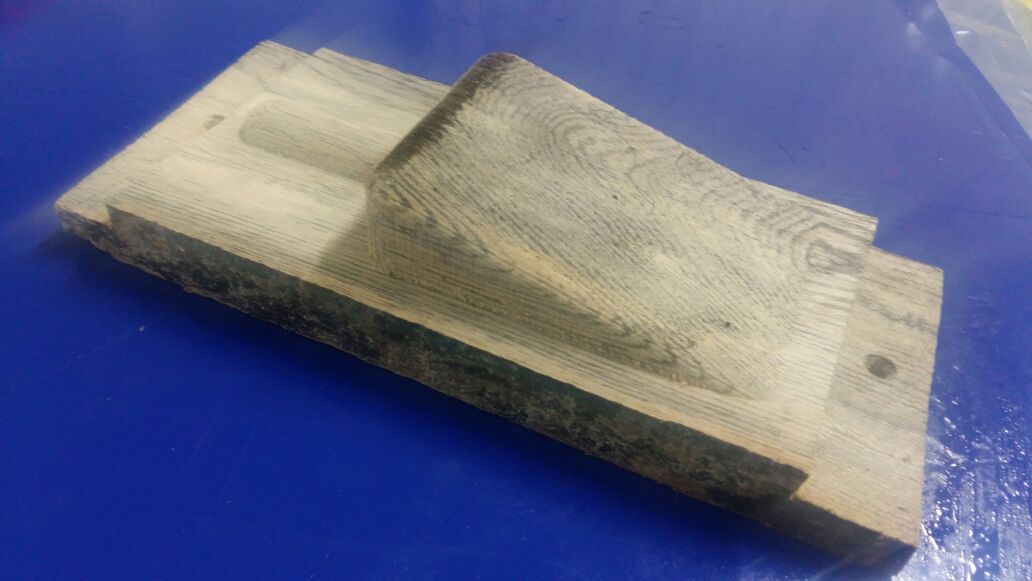
After fine milling and rough milling ,got a perfect product pattern.
Making Compsite
A composite material is a material made from two or more constituent materials with significantly different physical or chemical properties that, when combined, produce a material with characteristics different from the individual components. The individual components remain separate and distinct within the finished structure. The new material may be preferred for many reasons: common examples include materials which are stronger, lighter, or less expensive when compared to traditional materials.
Meterials used-
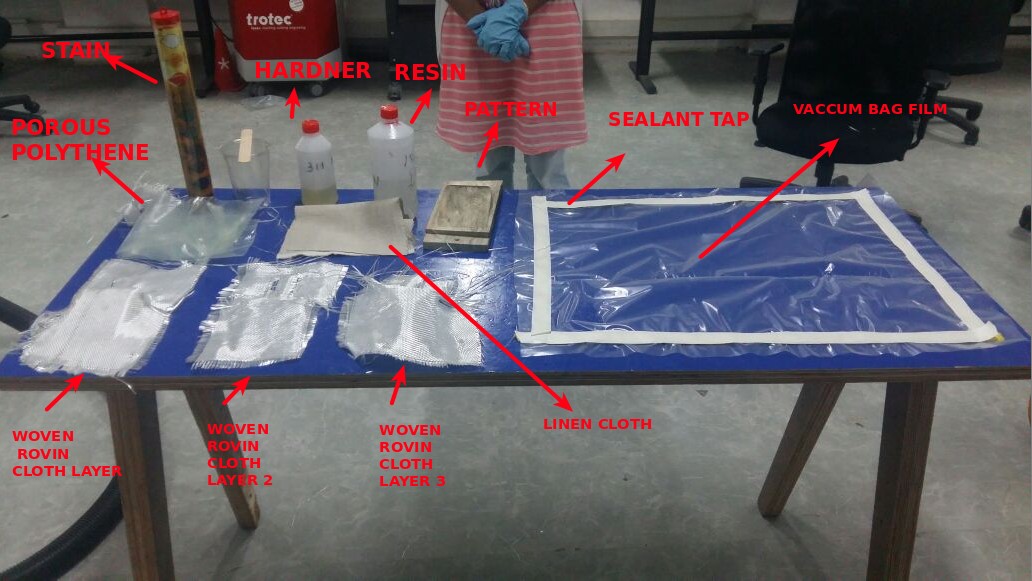
- Epoxy resin
- Hardner
- Stain
- Linen cloath
- Woven rovin cloth
- Porous polythene
- Wood pattern
- Vaccum pump
- Vaccum bag film
- Sealant tape
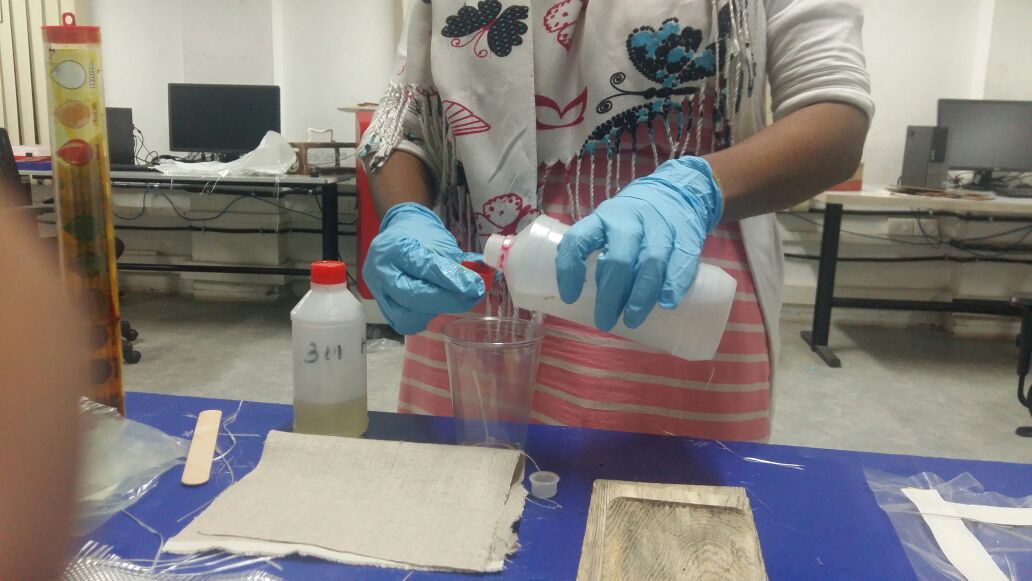
Mixing of hardner and resin (15 :5 ratio)
Added 1 drop flesh clour stain in hardner plus resin mixture ,and stirred it well.
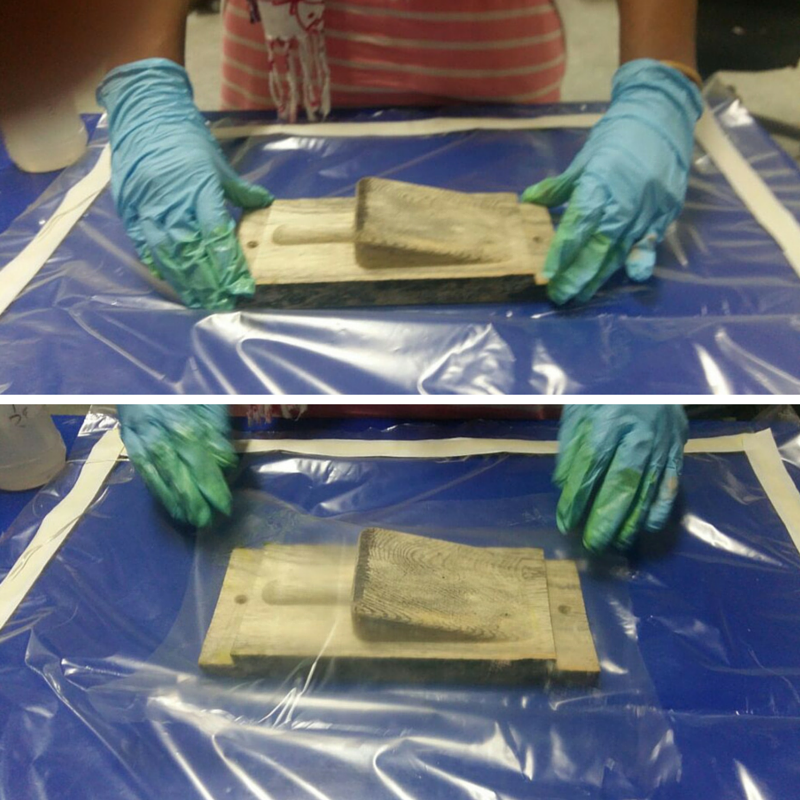
placed wood mold over base layer of vaccum,and covered it using porous polythene sheet.
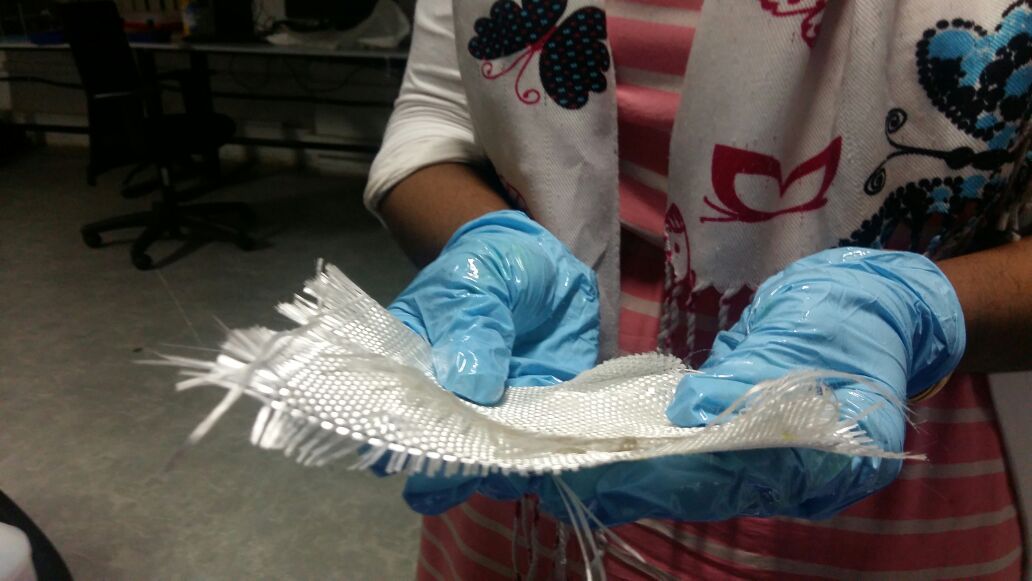
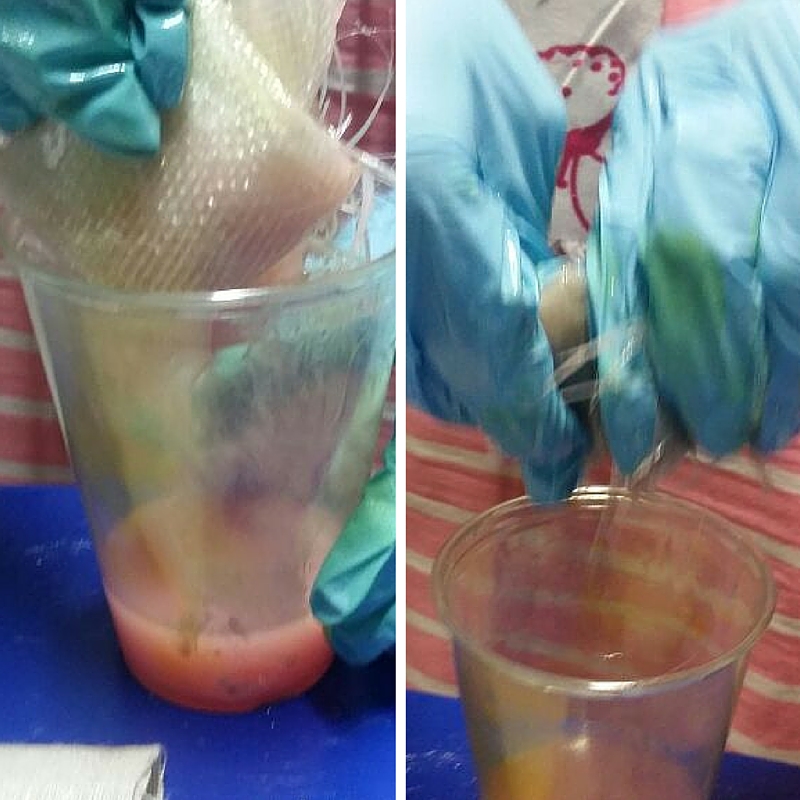
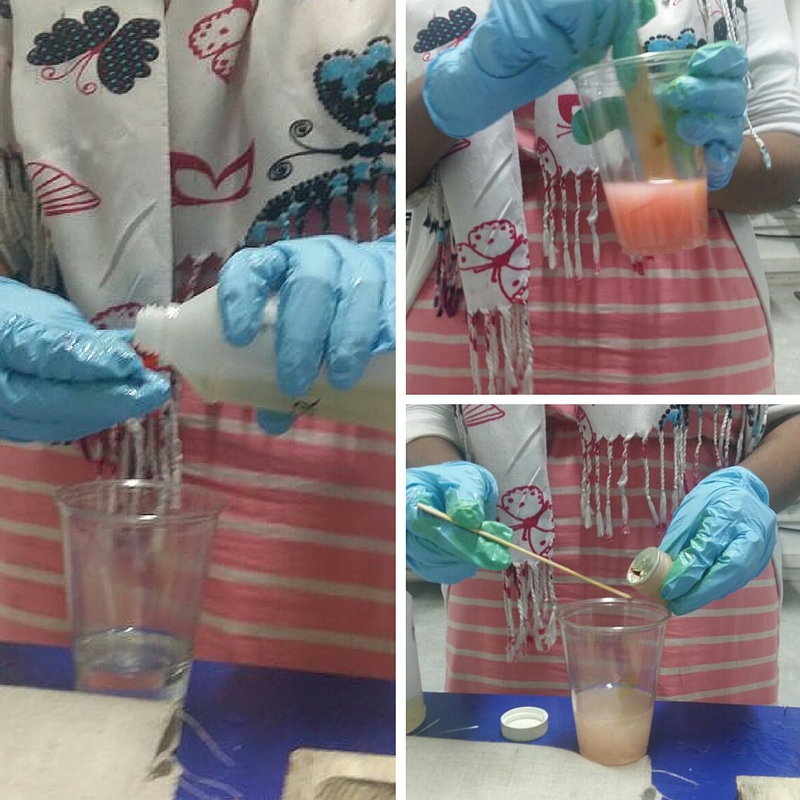
Dipped one layer of Woven rovin cloth ,then wringed it to force liquid from it,repeated same procedure for next 2 layers also.
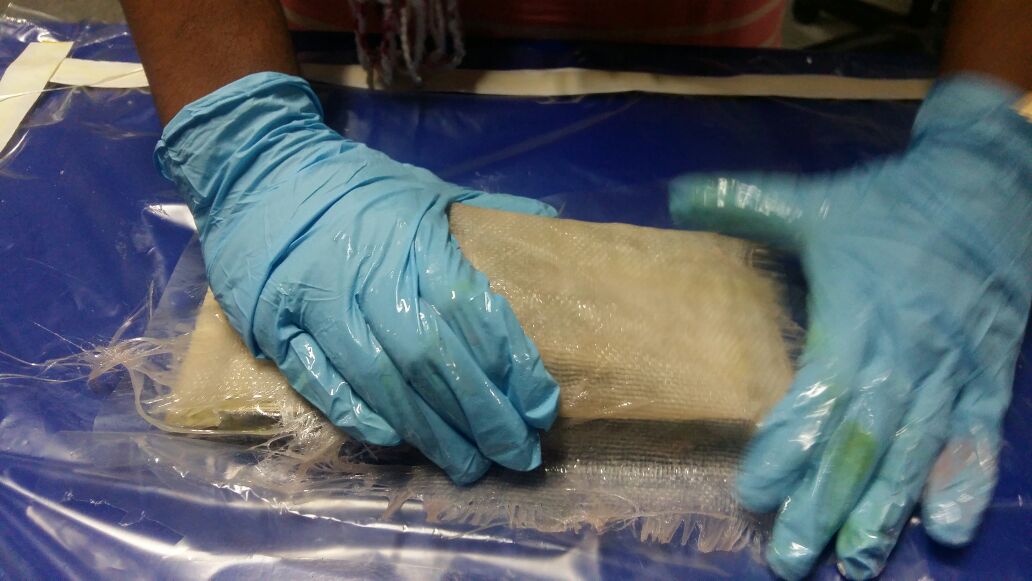
spread wringed Woven rovin cloth over porous polythene and repeat the procedure.
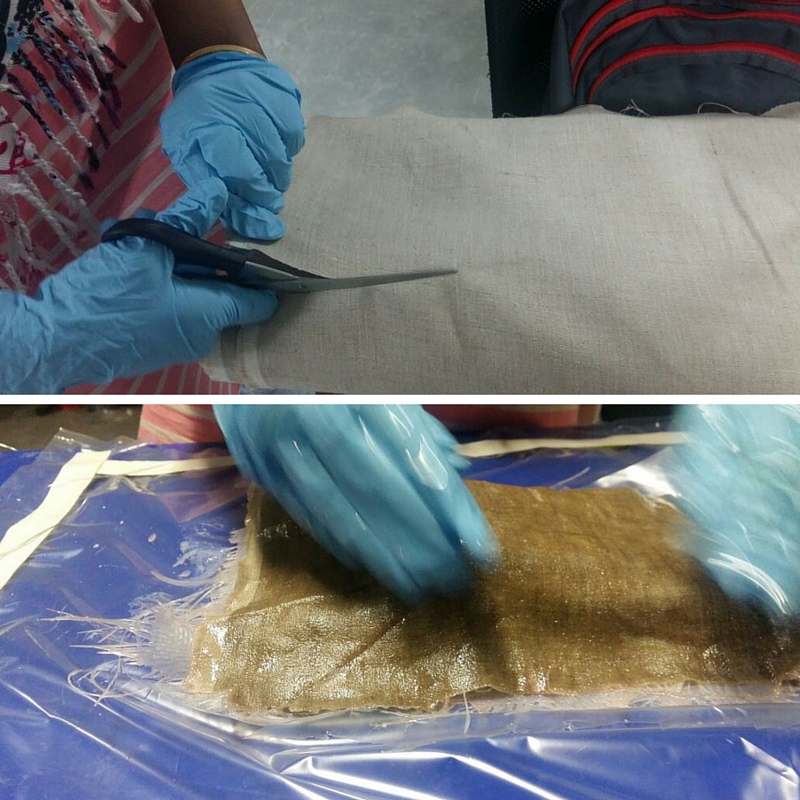
4th layes is linen cloath,dipped it in mixture then spread it on previously placed 3 layers.

Spread porous polythine cover to remove extra mixture by covering a cotton cloth over this porous polythene layer
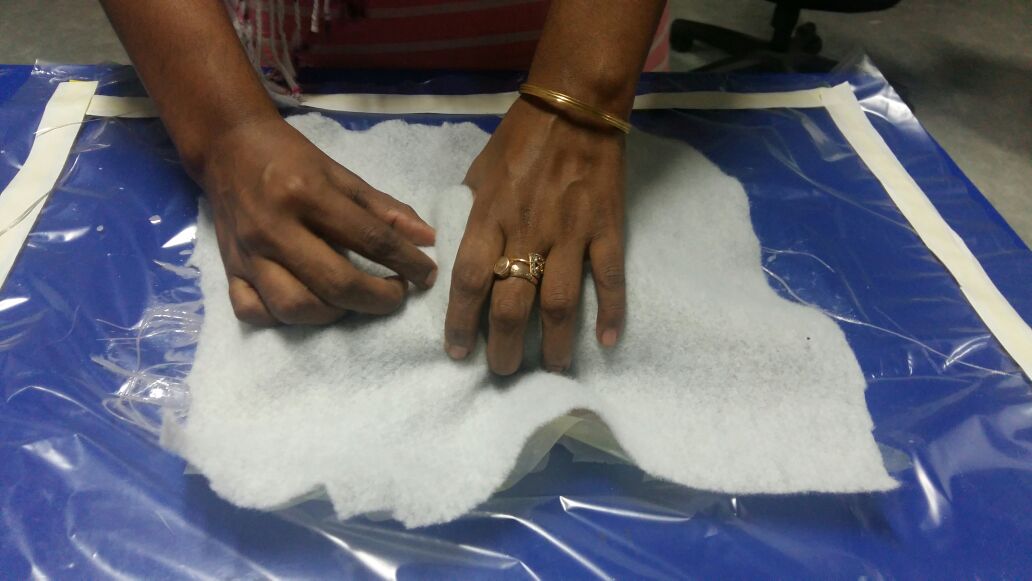
Cotton cloth will absorb this extra meterial coming through pores.
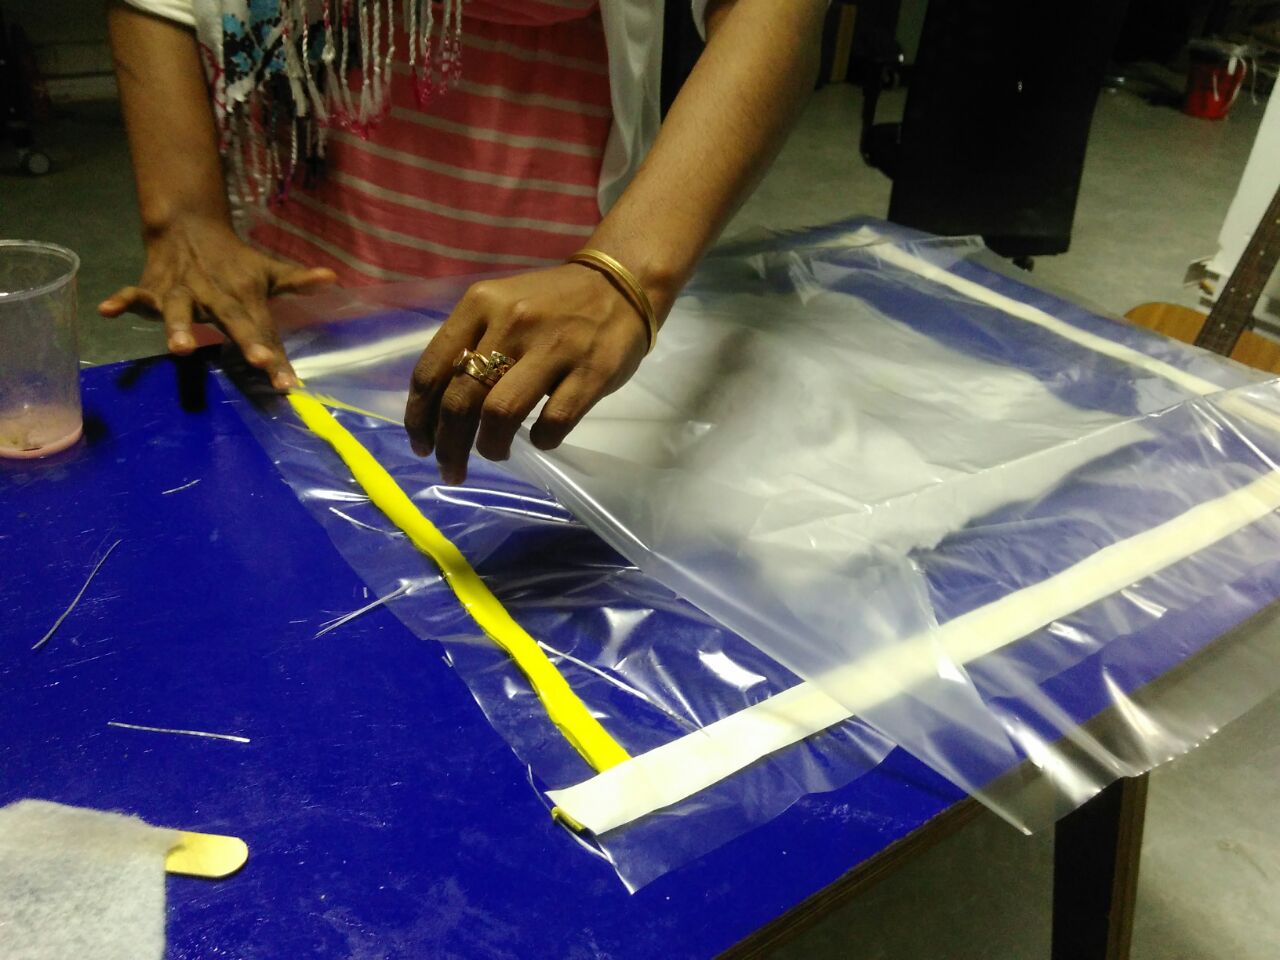
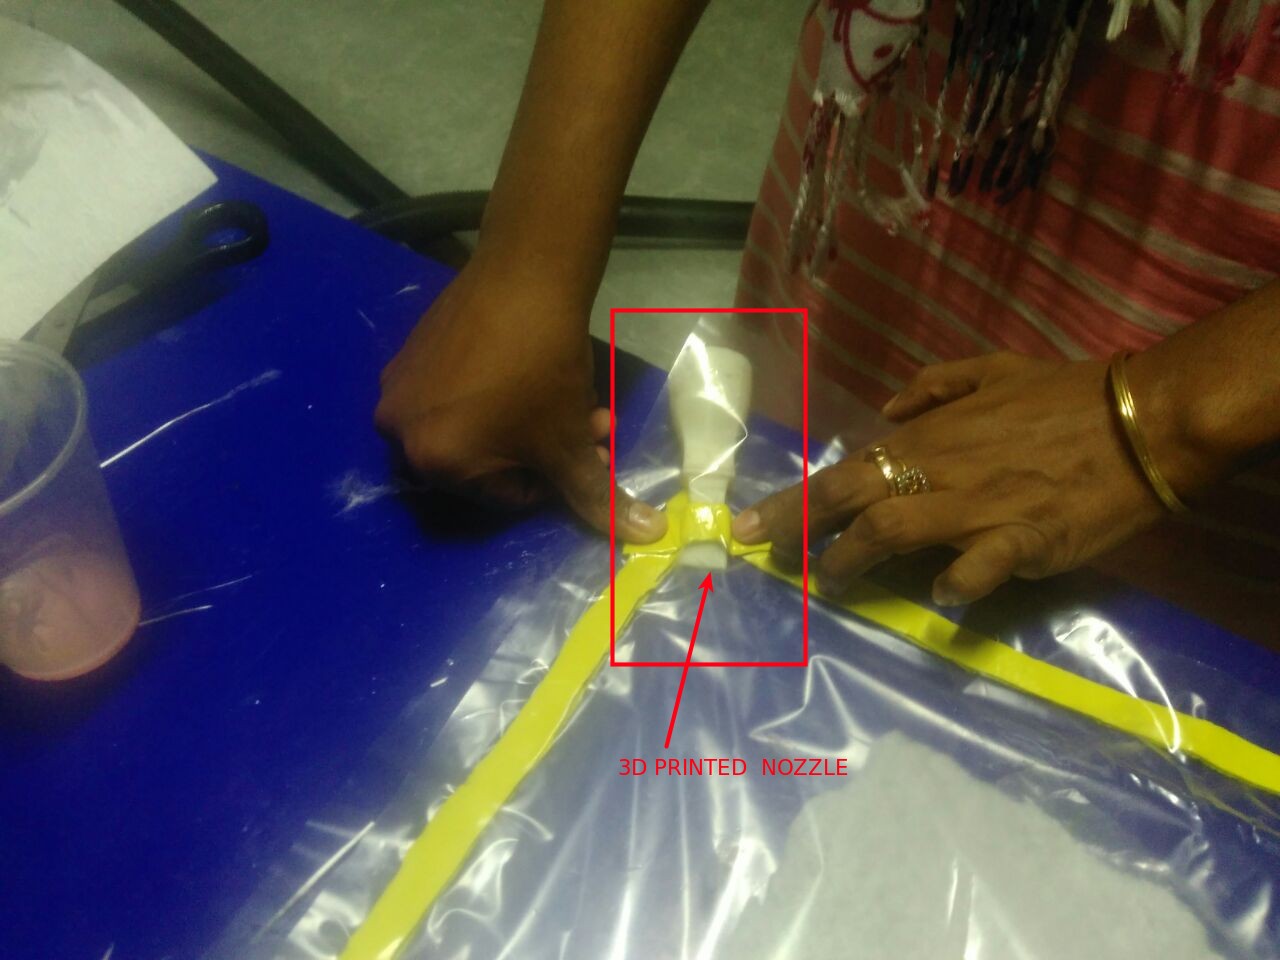
To do next step i have to generate a vaccum ,but we dont have a vaccum in lab,so we designed and 3d printed nozzle for Shopvac and vaccum bag,for that placed a piece of polythene sheet over base polythene sheet and sealed the edges using sealant tape very carefully.
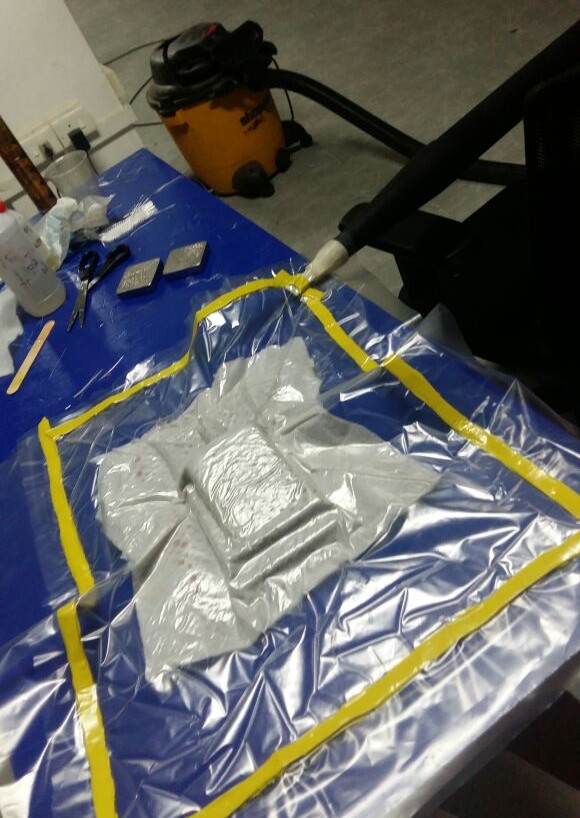
Vaccum processing started and i hope ther will not be any air bubble .
.
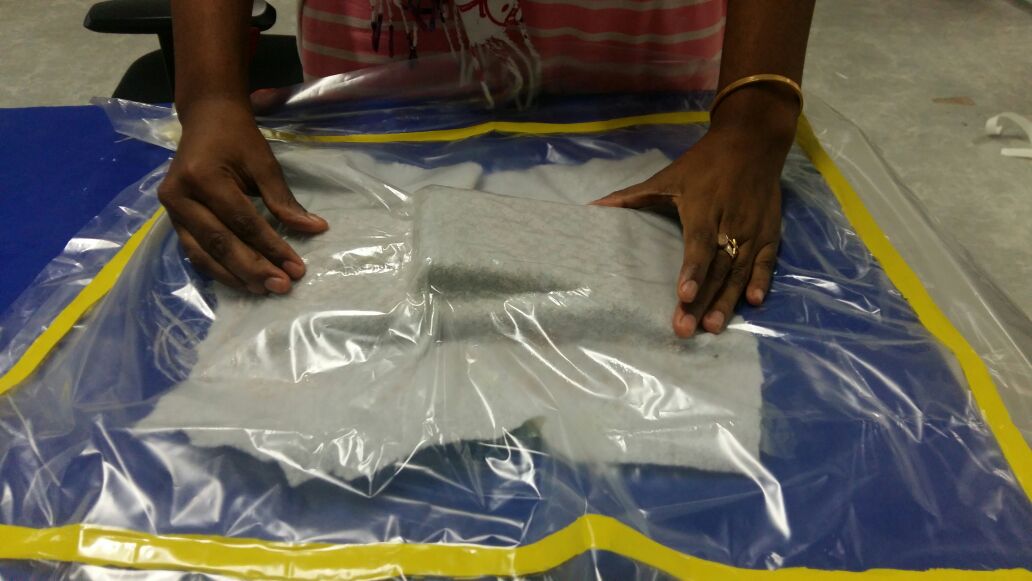
i did press the model again again to get a perfect shaped product
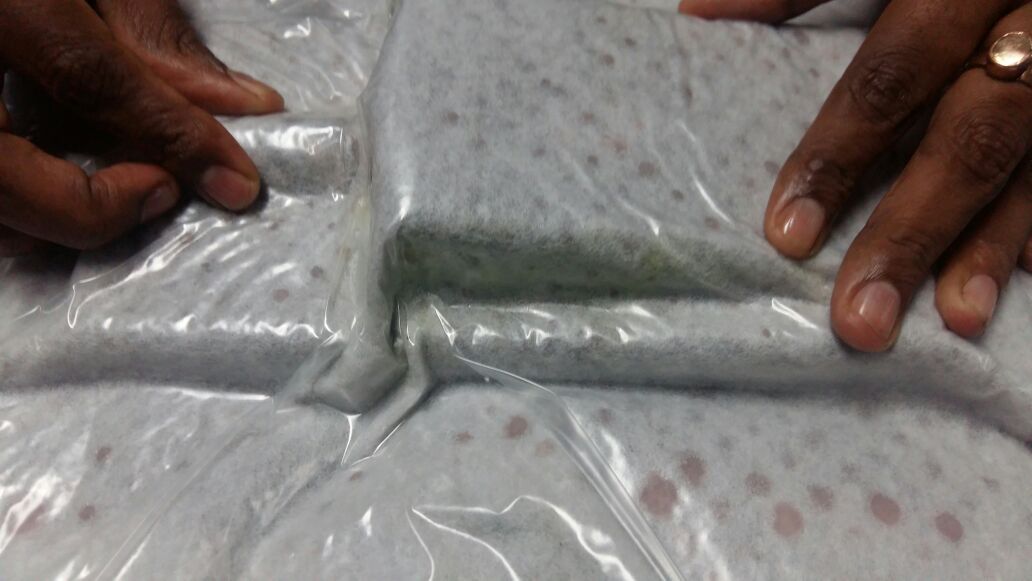
This picture shows absorbing of overflaw meterials which ozzes out through porous polythene.

Setting time is 6 to 8 hours,so i had to wait almost 7 hours to get final product.Then removed all the layers.
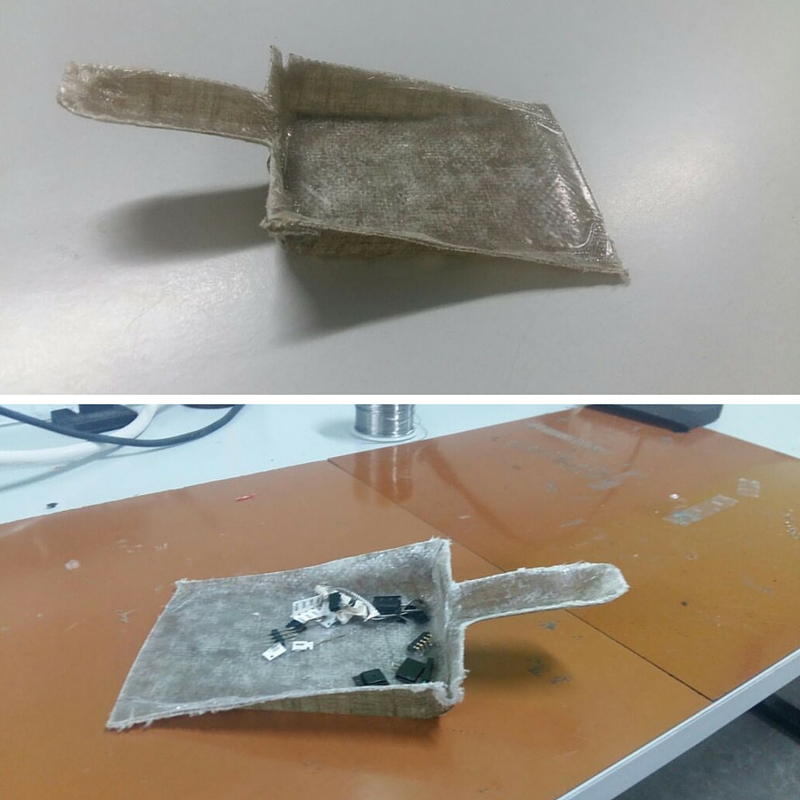
Final product
This is how it works.........