Week 3: Computer-controlled cutting
Vinyl Cutter-Make your own signs!!!!
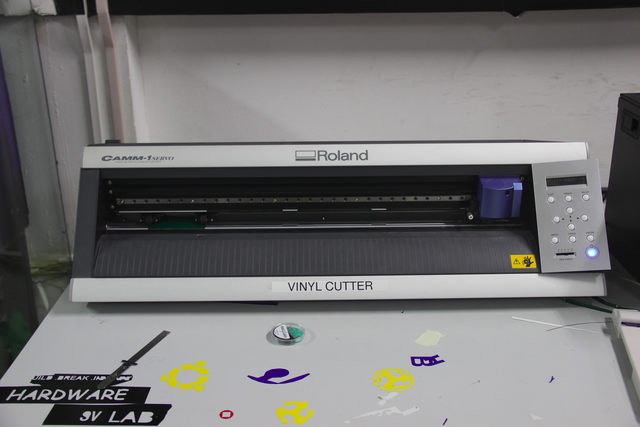
working of vinyl cutter
The vinyl cutter uses a small knife to precisely cut the outline of a picture into a sheet or piece of vinyl. The knife moves side to side and turns, while the vinyl is moved beneath the knife. What results from the cut process is an image cut into the material. The material is then 'weeded' where the excess parts of the picture are removed. It is possible to remove the positive parts, which would give a negative sticker, or you could weed the negative parts, giving a positive sticker. Removing the letters would be like removing the positive, giving a negative image of the word, etc
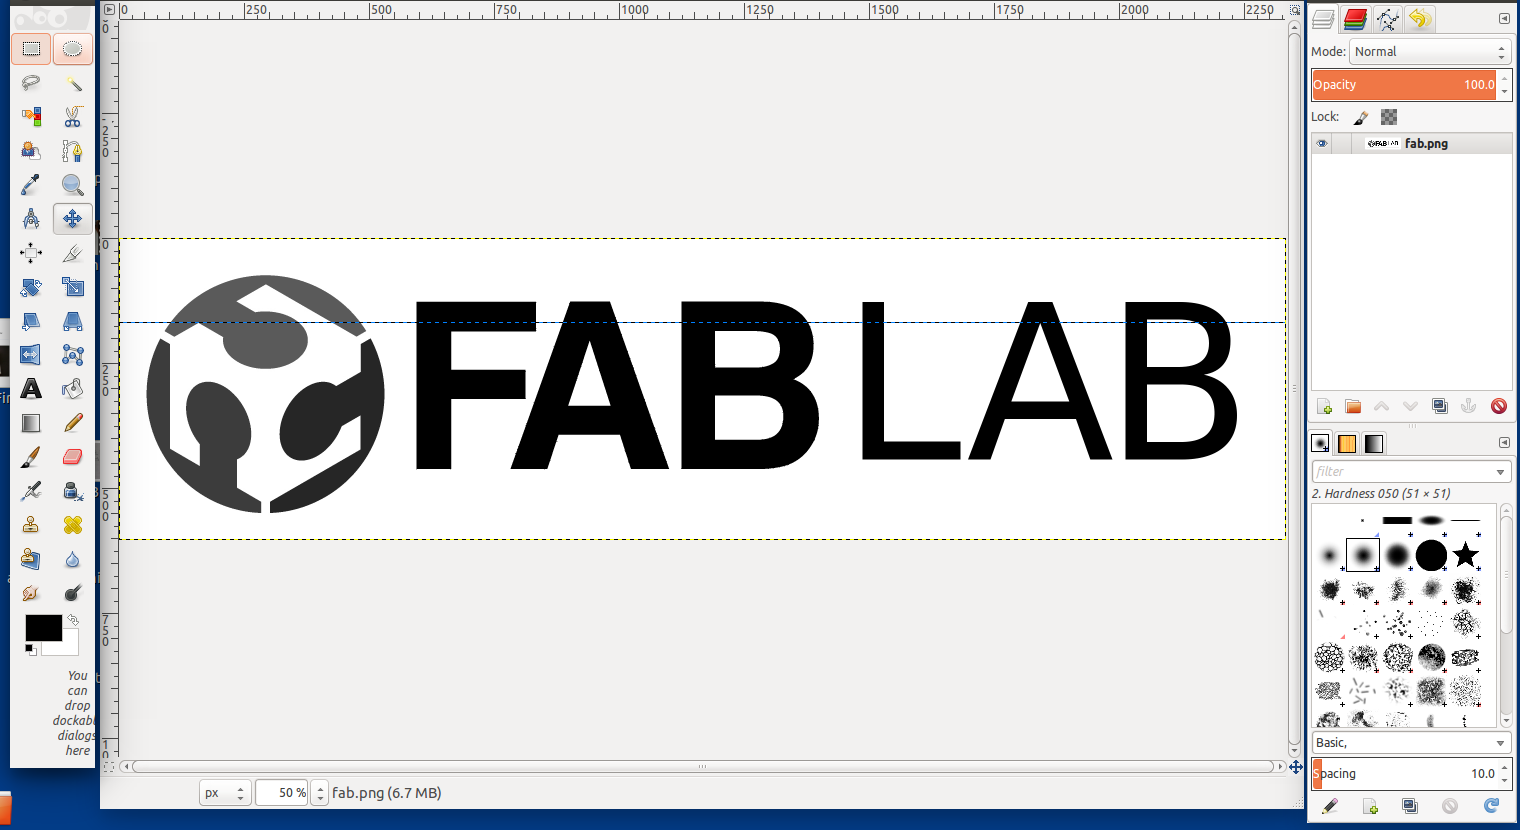
Desiging of image
Using GIMP I created a Text 'FABLAB' in 2334x603 pixels. and I downloaded the fab logo and converted into grayscale. increased the levels. Merged the both image and saved it as in (.png) format
Setting up
Load the sample piece of vinyl into the machine. On the left side in the front and back there are two LED 'eyes'. These are infared emitters and receivers which sense the presence of the vinyl.We have to position the vinyl so that it will cover these sensors. We also have to position the pressure rollers over the vinyl to make sure it will be able to handle the material. On the panel above the rollers, there are several white lines. The rollers must be positioned on these white lines or the machine wont run. i double checked the vinyl is running straight, or it may slip out from under the rollers. Flip the pressure lever to make the rollers press down, holding the vinyl between the rollers and the pressure bar.
next check the display. It shoulde say Sheer unloaded intil you engage the pressure roller. Then i used the down arrow to tell the machine thathave loaded a piece or a roll. As i chode choose piece, the cutter head moved sideways, measure the space between the rollers, then it will move the piece out, the back in, then to its original position. This process used the 'eyes' to measure the height of the piece.After that i was able to see the readout on the display of the pieces measurements.
How to make a png file
First of all i made a sticker of a basic design. The size was small,dx-150mm and dy.95mm .i thnink Keeping our first images small will help us master the process quickly with a minimum of materials.
Found out an image that i want to make into a sticker and made it black and white with no gray for best results.
Saved the image as a .png file.The software running the cutter likes to have a jpeg, Scaleable Vector Graphic (.SVG) can work fine as well.

Uploading a png file
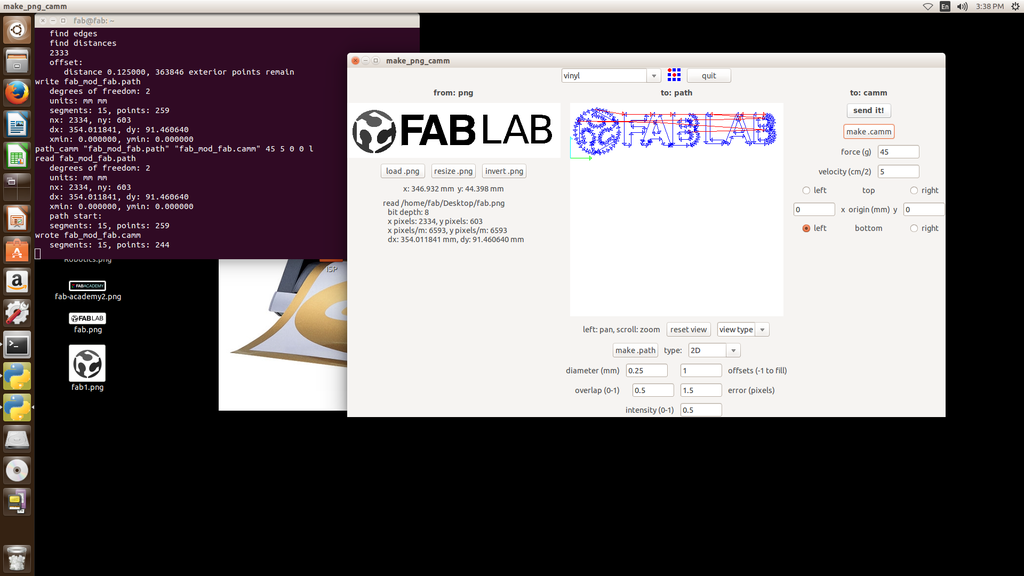
Opened the terminal,as Fab modules are already installed ,we can use the command fab,then i selected the input format as image.png,output process as roland vinyl,the gave with work flow.
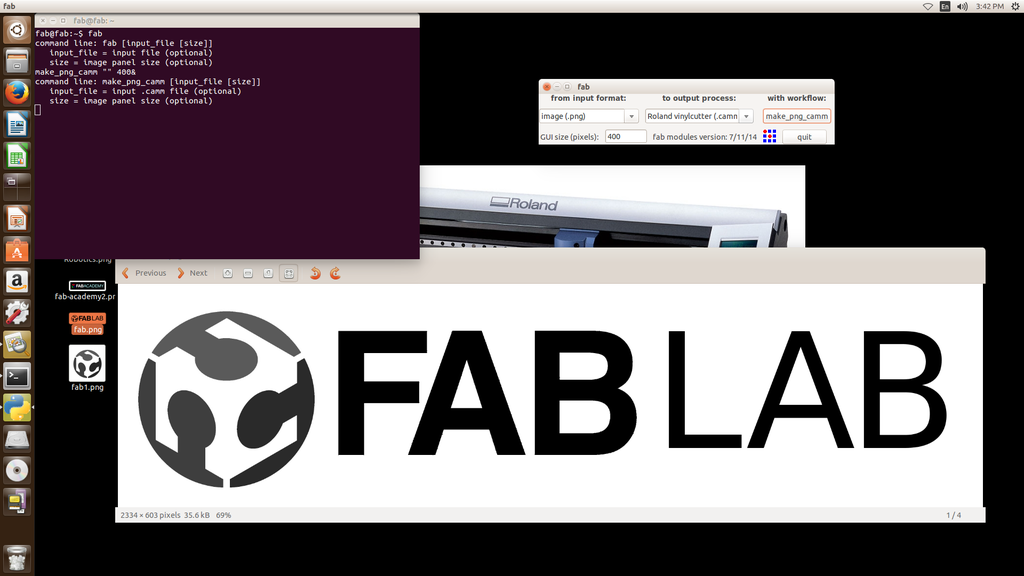
on next window loaded the image,resized it from 200mm to 150 mm,set the offset as 1,selected the option make path,now i can see the path through which the cutting will take place.then selected the option send it...now it starts the sign making process..
The cutter head started move side to side and the vinyl moved back and forth same time.
When the design is cut, used the arrow keys to move the vinyl out of the machine.
There is a groove on the front of the machine.There was enough material left,now used razor knife in this groove to cut the piece off. finally i got the image printed,

Removed unwanted portions
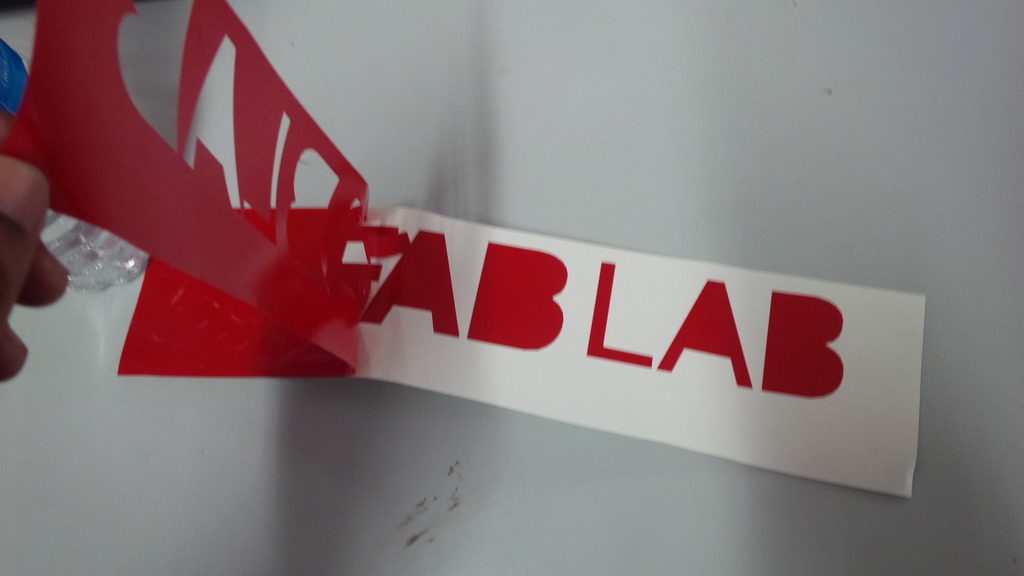
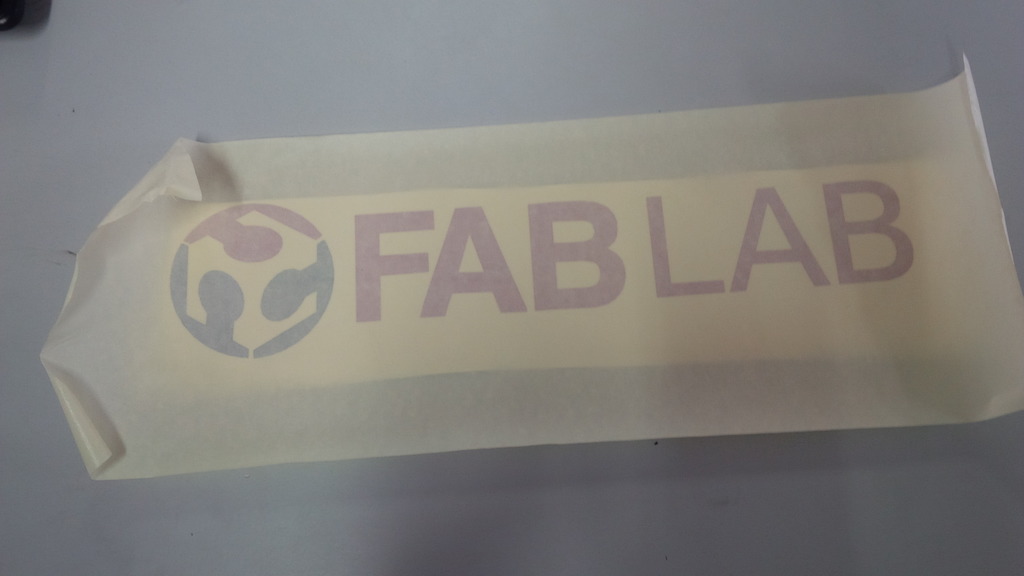
i wish to cut fab logo in three colours RED,GREEN ,BLUE ,to make a perfect logo,for that did repeat same procedure 3 times and seperated one part from each sticker and manually alligned and stick it.After all these procedures did stick masking tape on the top of the sticker to get a final view
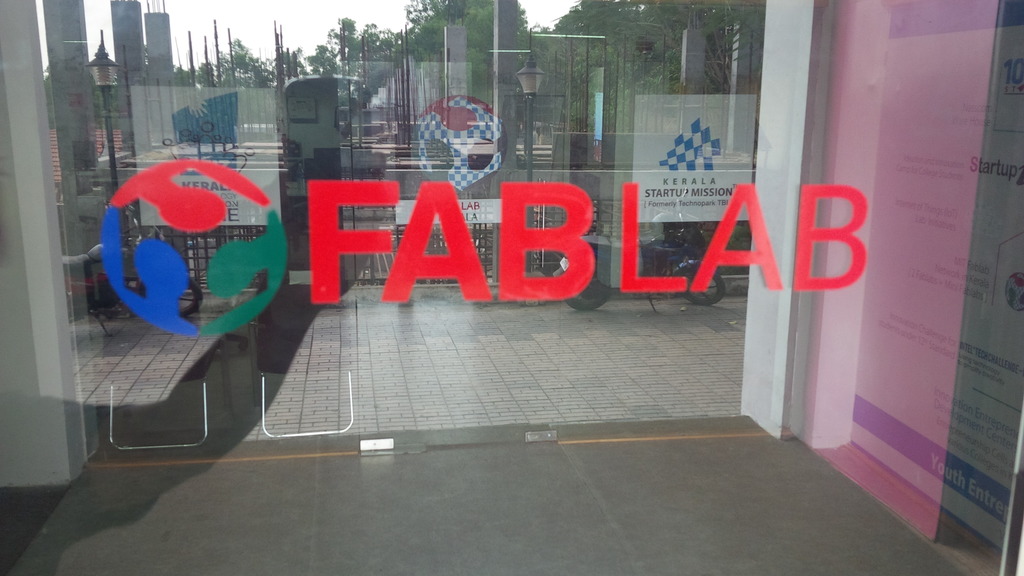
finally Pasted it on the front Door of our FabLab.
Files
Laser cutting
Assignment
Design, make, and document a parametric press-fit construction kit
Laser cutter working
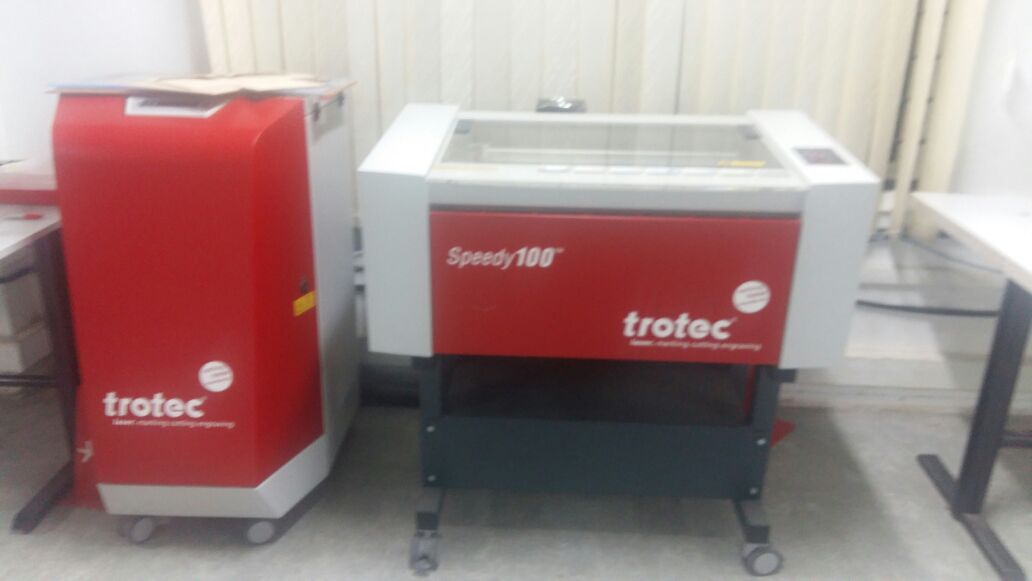
We got Speedy 100 platform trotec in lab
The Trotec Speedy 100 laser engraver offers a compact, entry-level solution carefully designed to
meet the evolving laser engraving and laser cutting needs of growing businesses. The Speedy 100 is
totally scalable in terms of software, performance, and laser power. And it carries the Trotec family genes: top quality, unmatched performance, and technological leadership.
Setting up
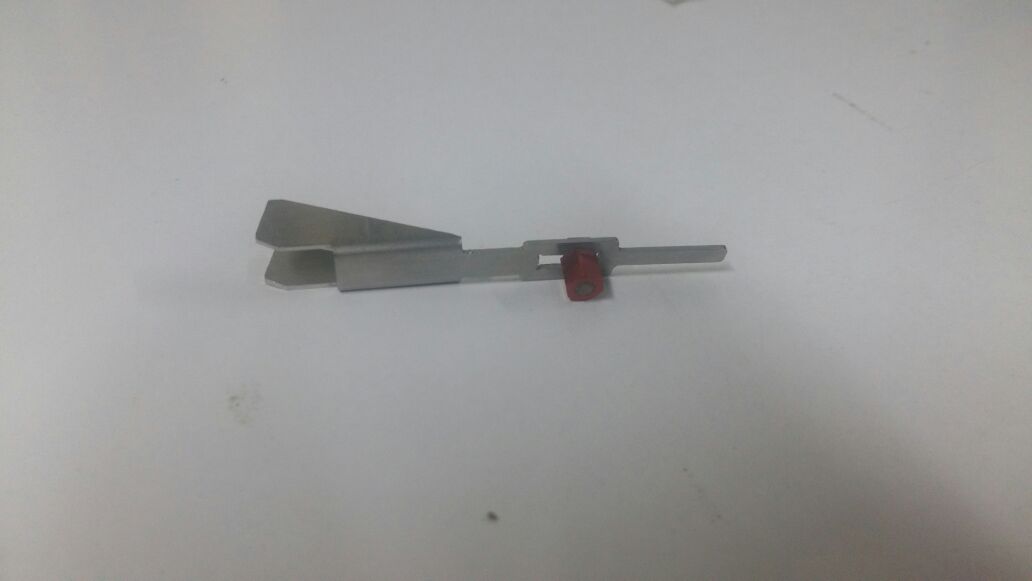
Before cutting started we have to set focus of the mechine,for that there is a tool,focus tool ,before applying focus tool the entire bed should lift to up,when focus is set the tool will fall down to bed.
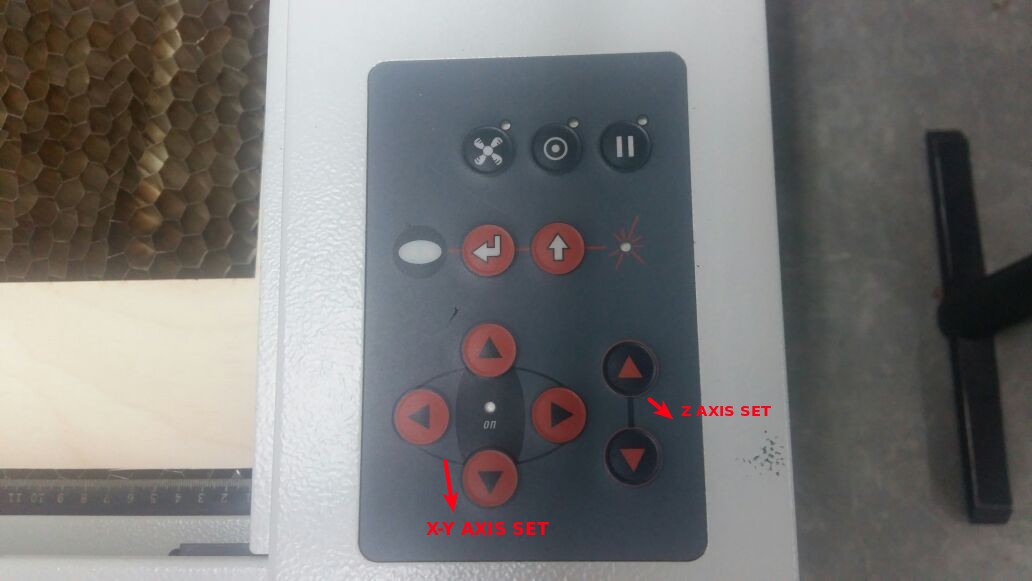
next is XY Axis and Z axis set,there is a panel in mechine which can use to adjust x-y axis z axis .
Parametric press-fit construction kit
Parametric design is a process based on algorithmic thinking that enables the expression of parameters and rules that, together, define, encode and clarify the relationship between design intent and design response. Parametric design is a paradigm in design where the relationship between elements is used to manipulate and inform the design of complex geometries and structures.
Benefit of parametric modelling
Parametric modelling is more visually appealing and approachable.
assignment we had to design and build a press fit construction kits using the laser cutter.
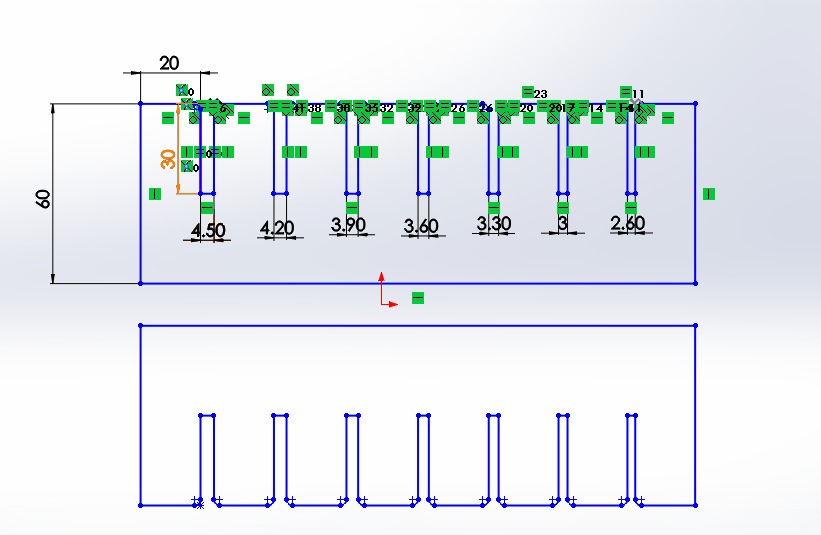
Before doing the assignment i wanted to know the correct diamension to make a press fit,if the parts are not holding together couldn't be able to make a construction kit.So first i decided to cut a comb using cardboard.
Design
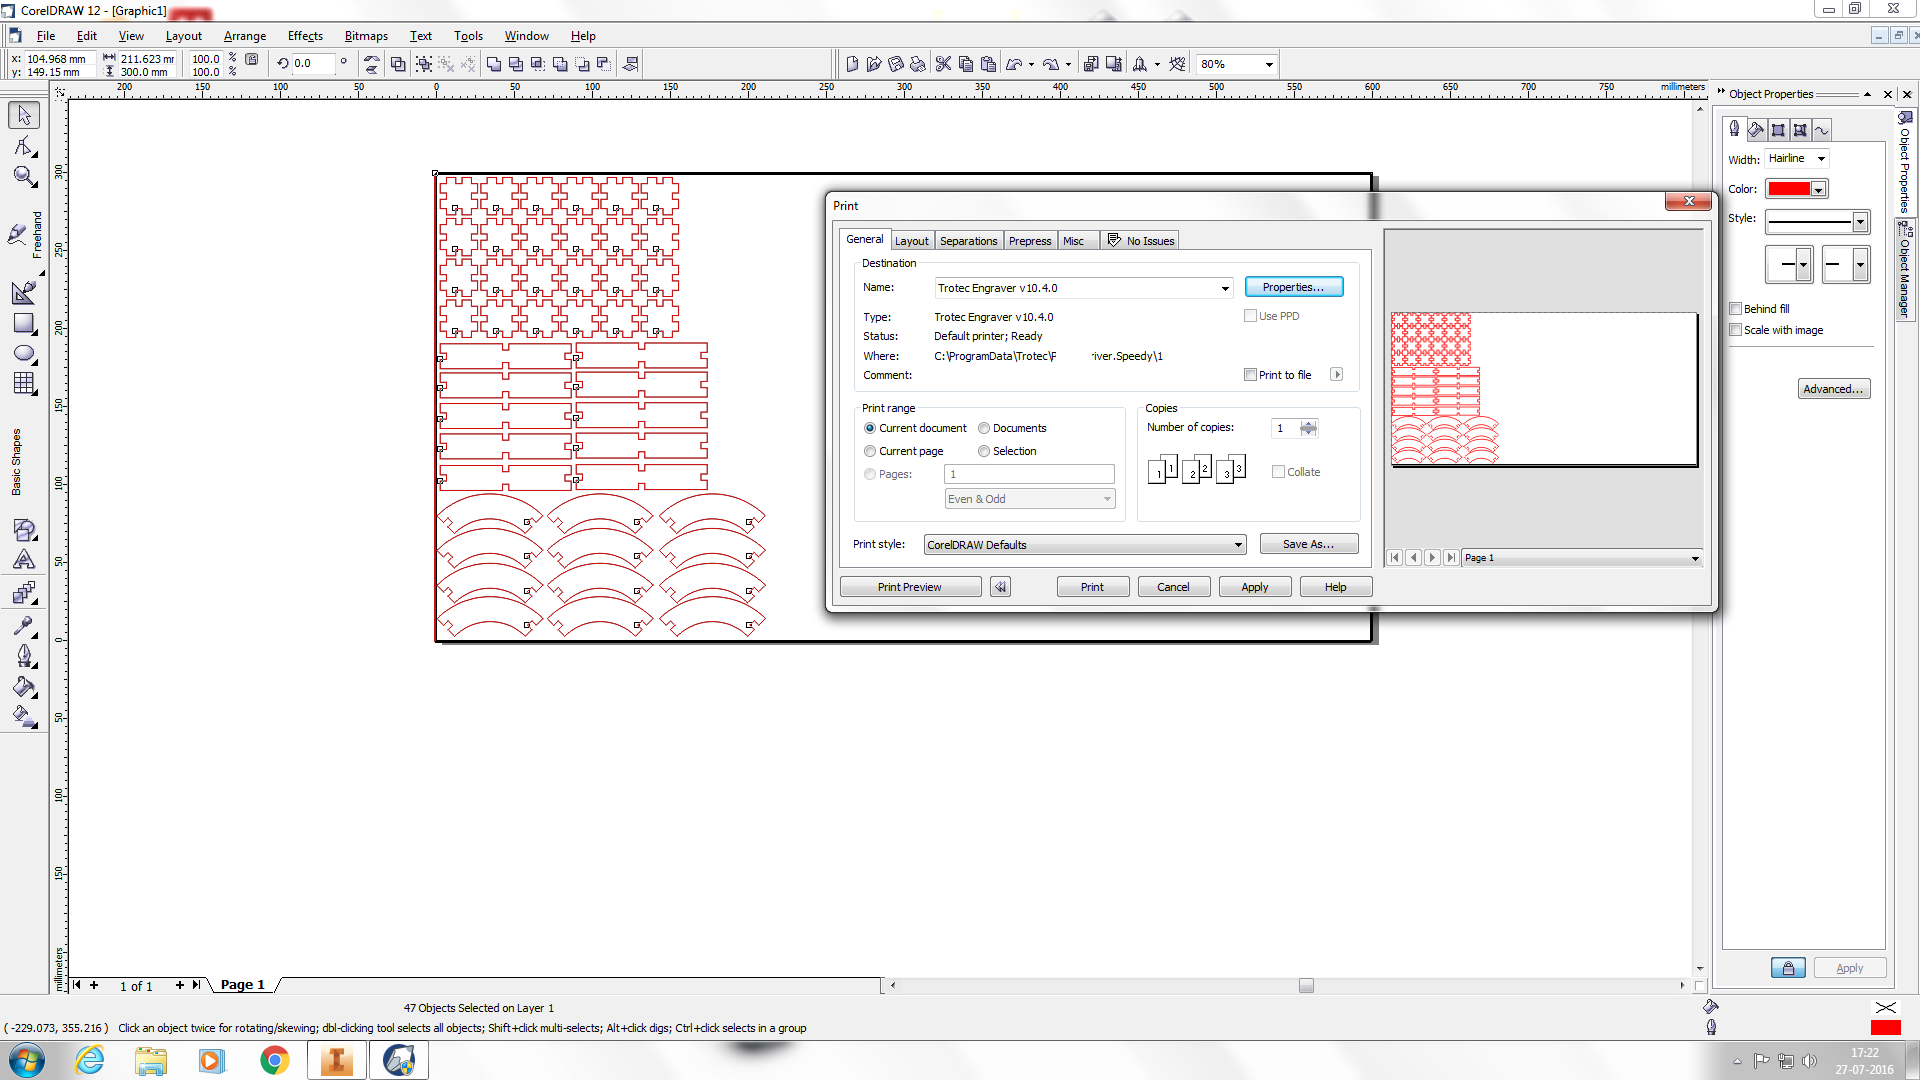
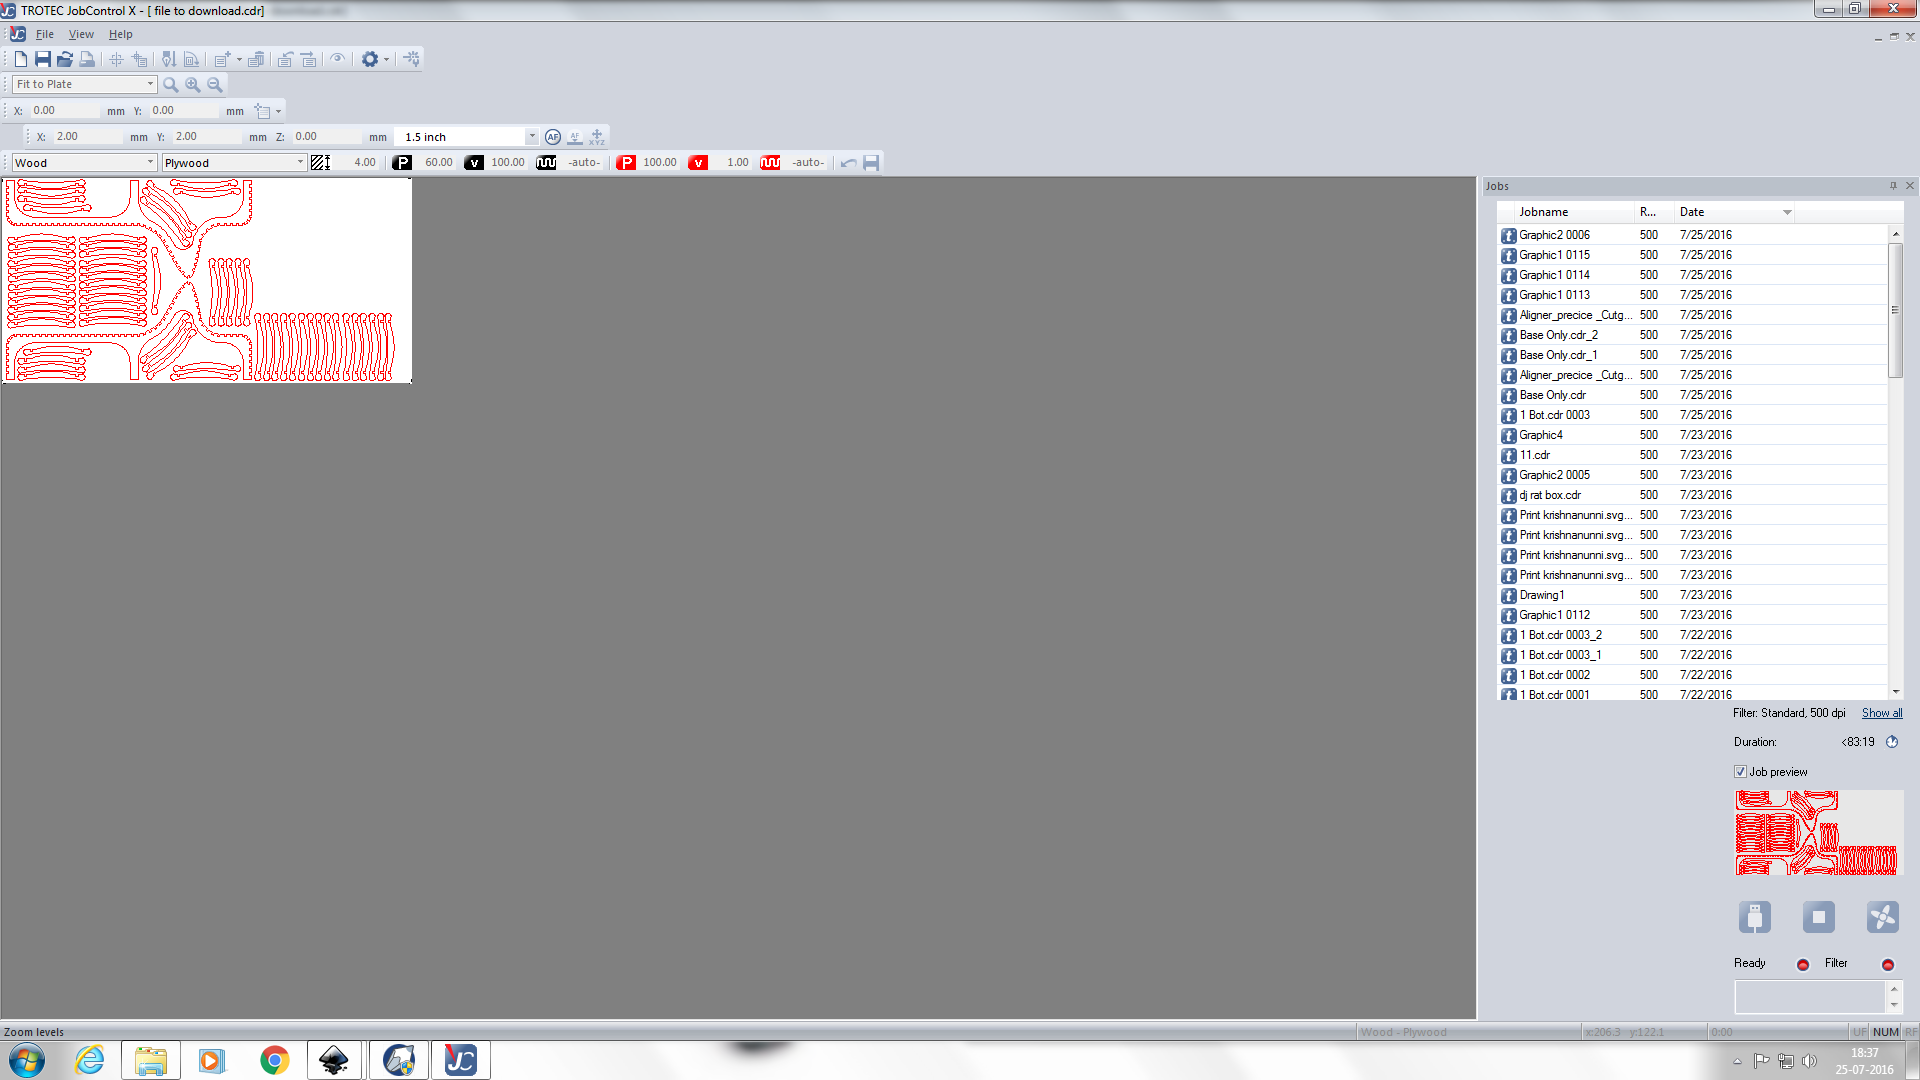
Designed using solid works,opened the file using corel draw then gave the option print using anothr software job control
The laser cutter engraves and cuts materials based on the speed to power ratio as we set in job control software as input. To cut this particular cardboard comb, set the power as 80% and speed as 3% in Job Control software.
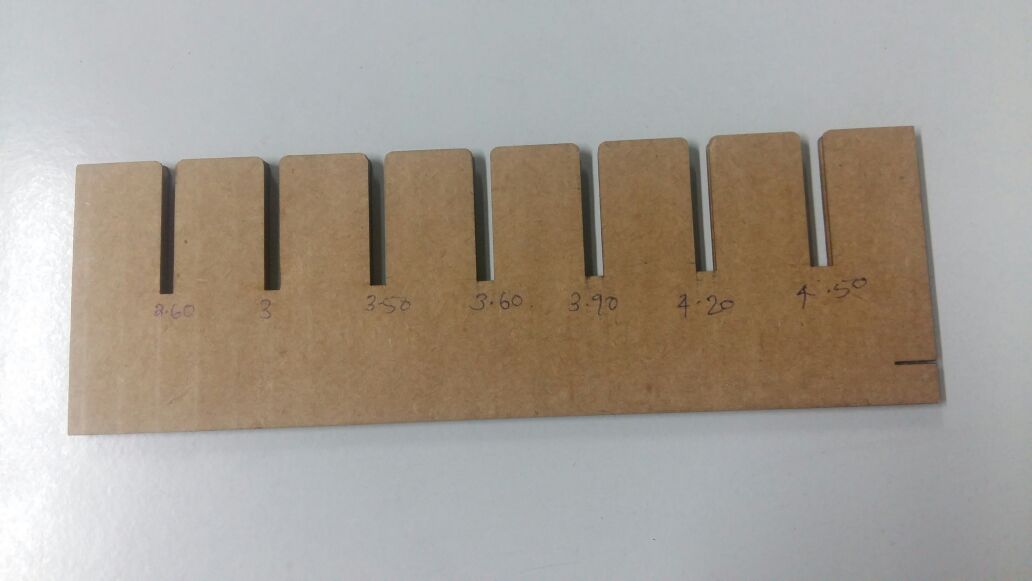
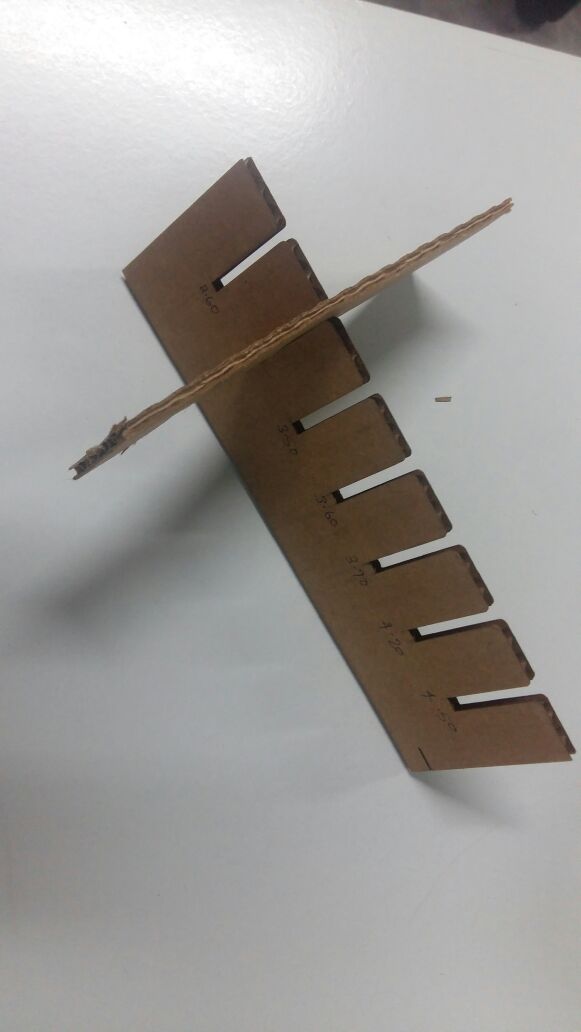
used the comb to refer and measure the thickness of the meterial in which i can make a proper press fit while cutting parametric model.
Parametric 2d modelling press fit construction kit .
Step 1: The design
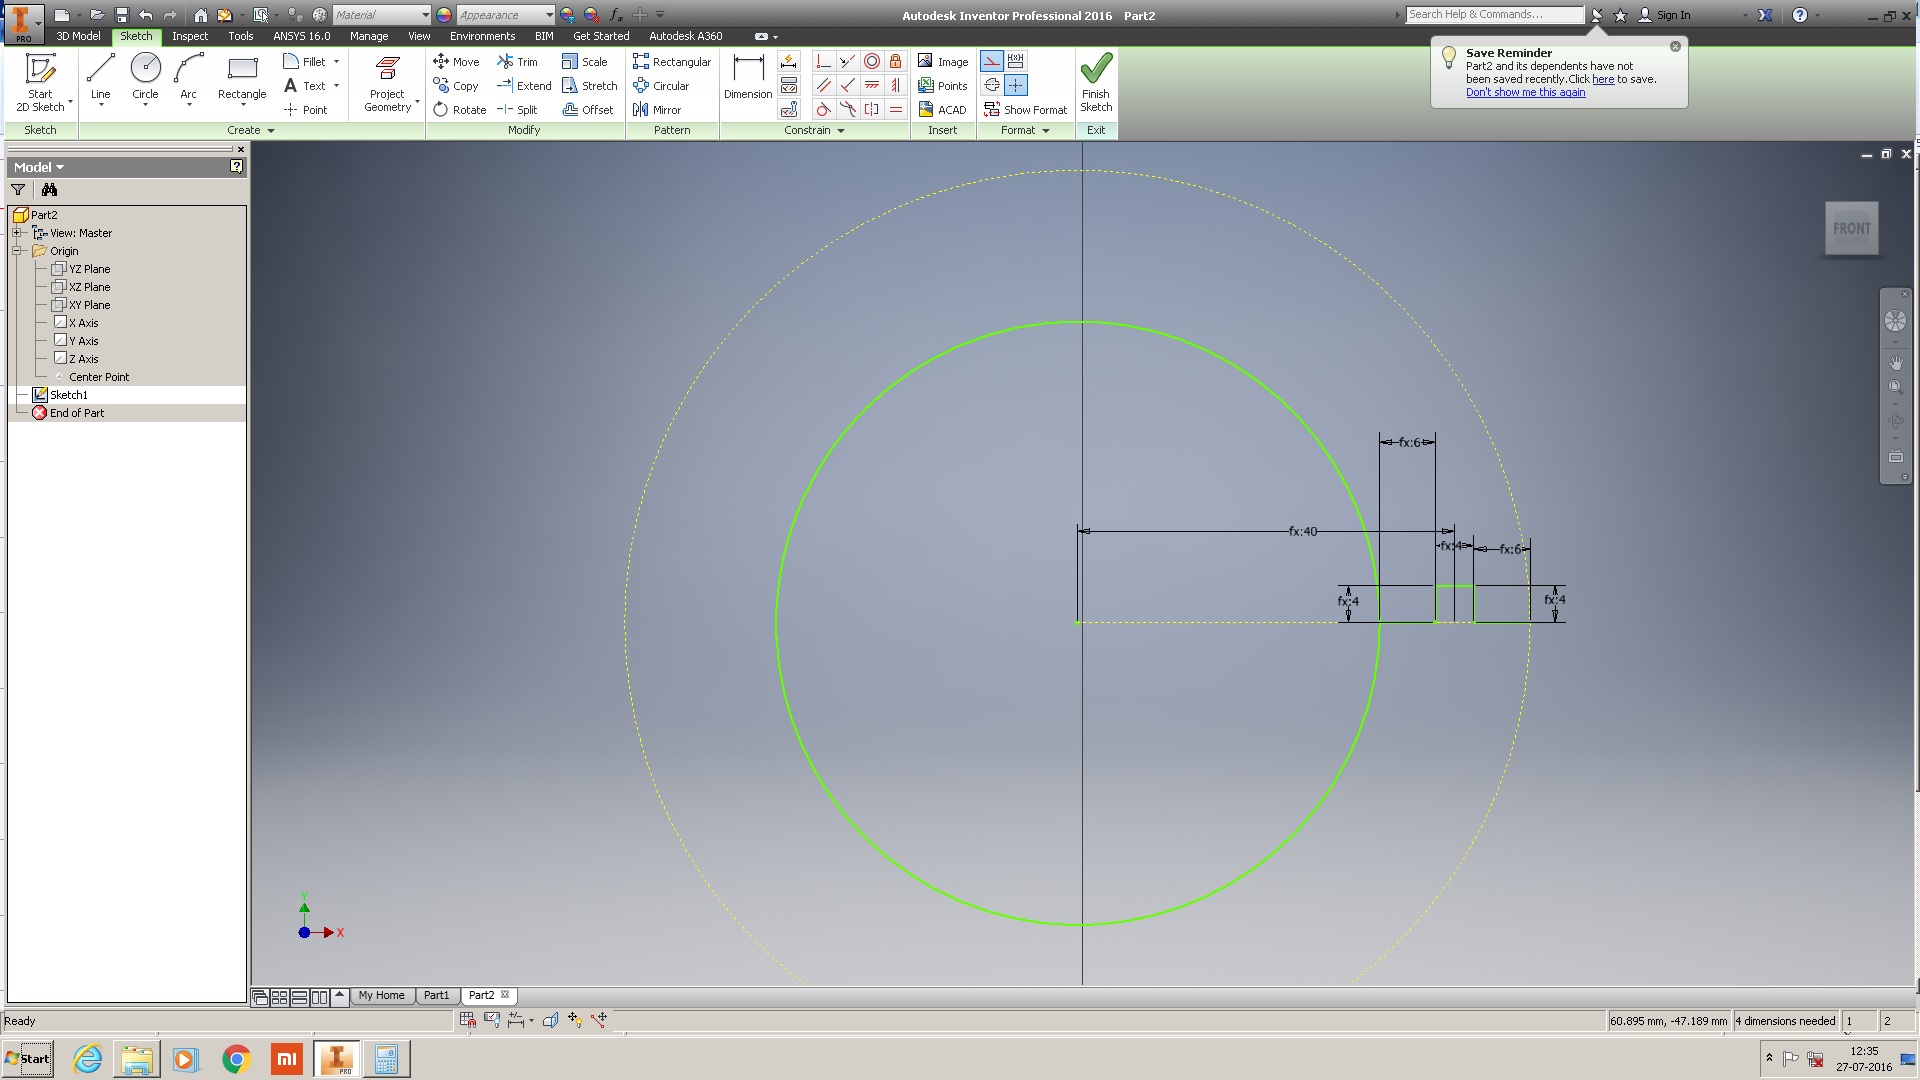
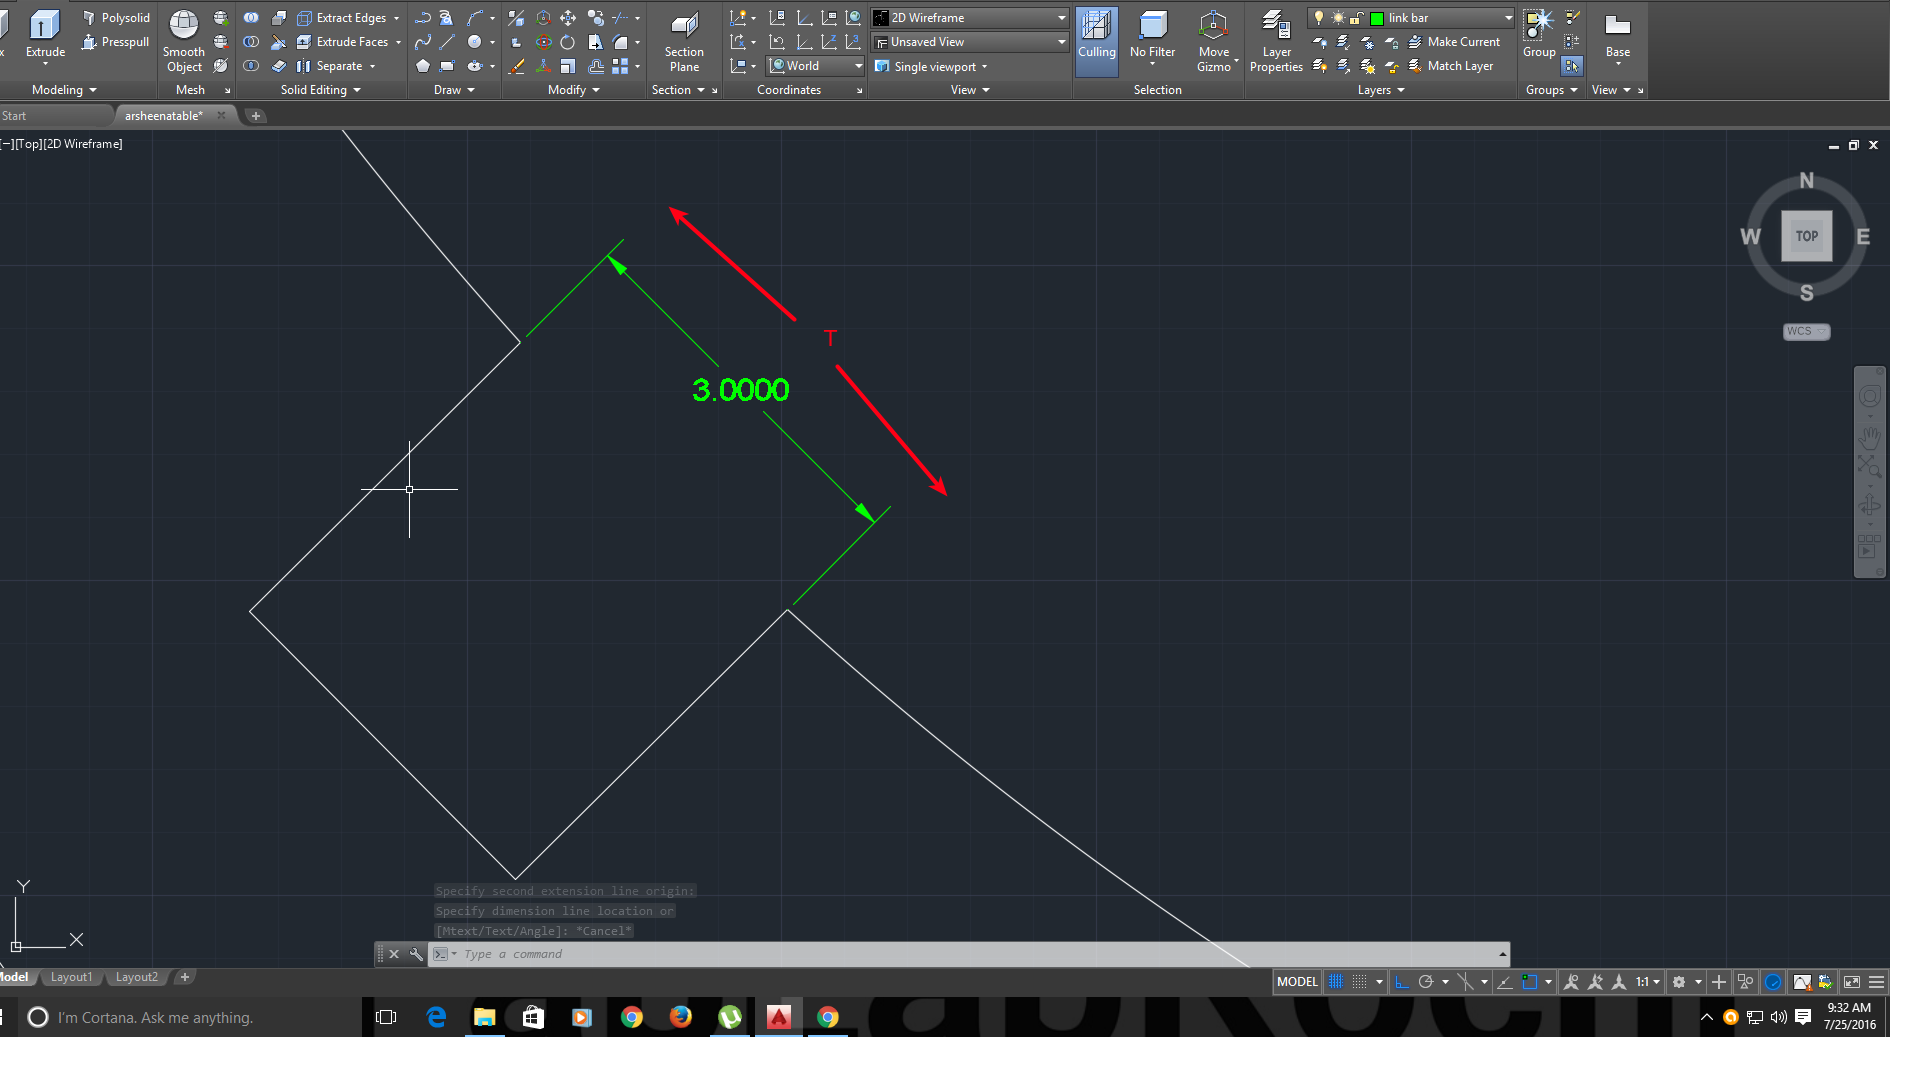
Used autocad Inventor to design a parametric 2d model design,here selected bind thickness ,d1=4 and all other diamensions(d2,d3,d4 etc) will be based on this parameter.when i change d1 all equations changes correspondingly scaled design changes.
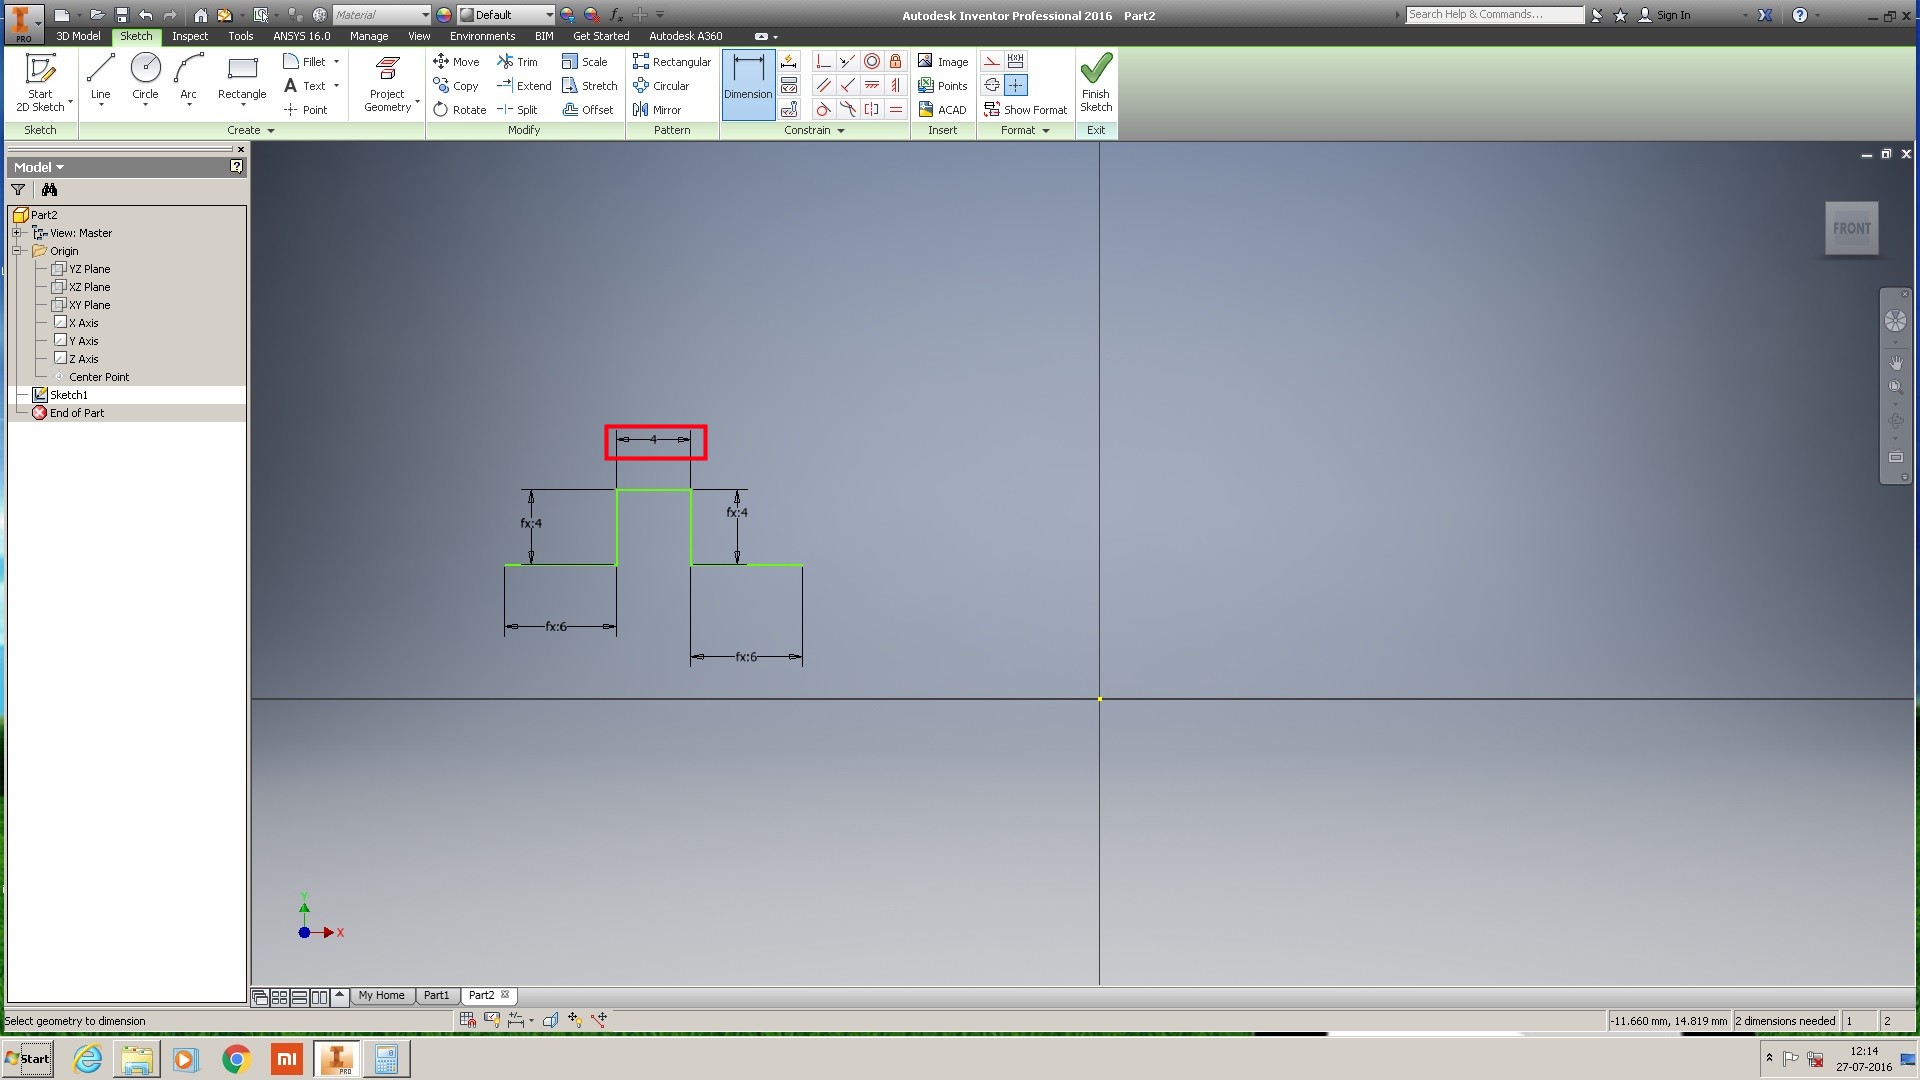
Initial step of designing-part 1 designing
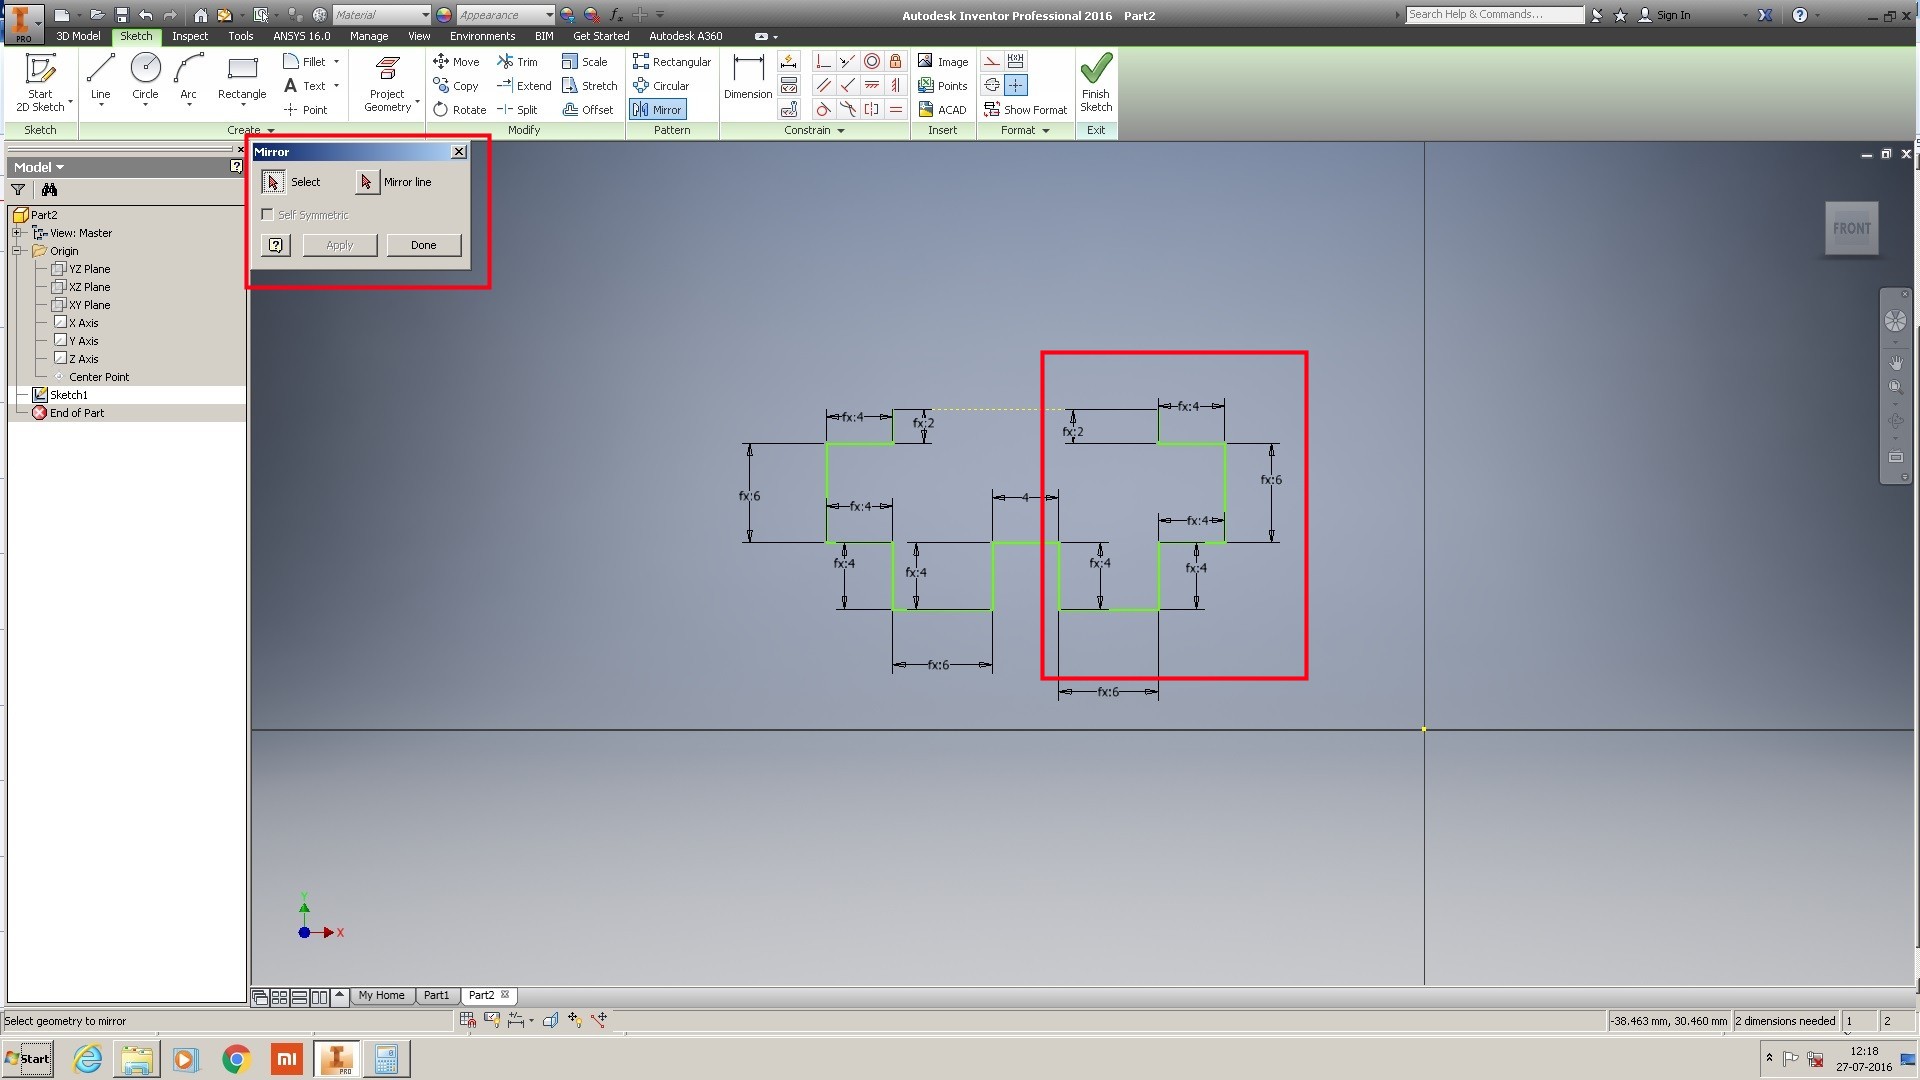
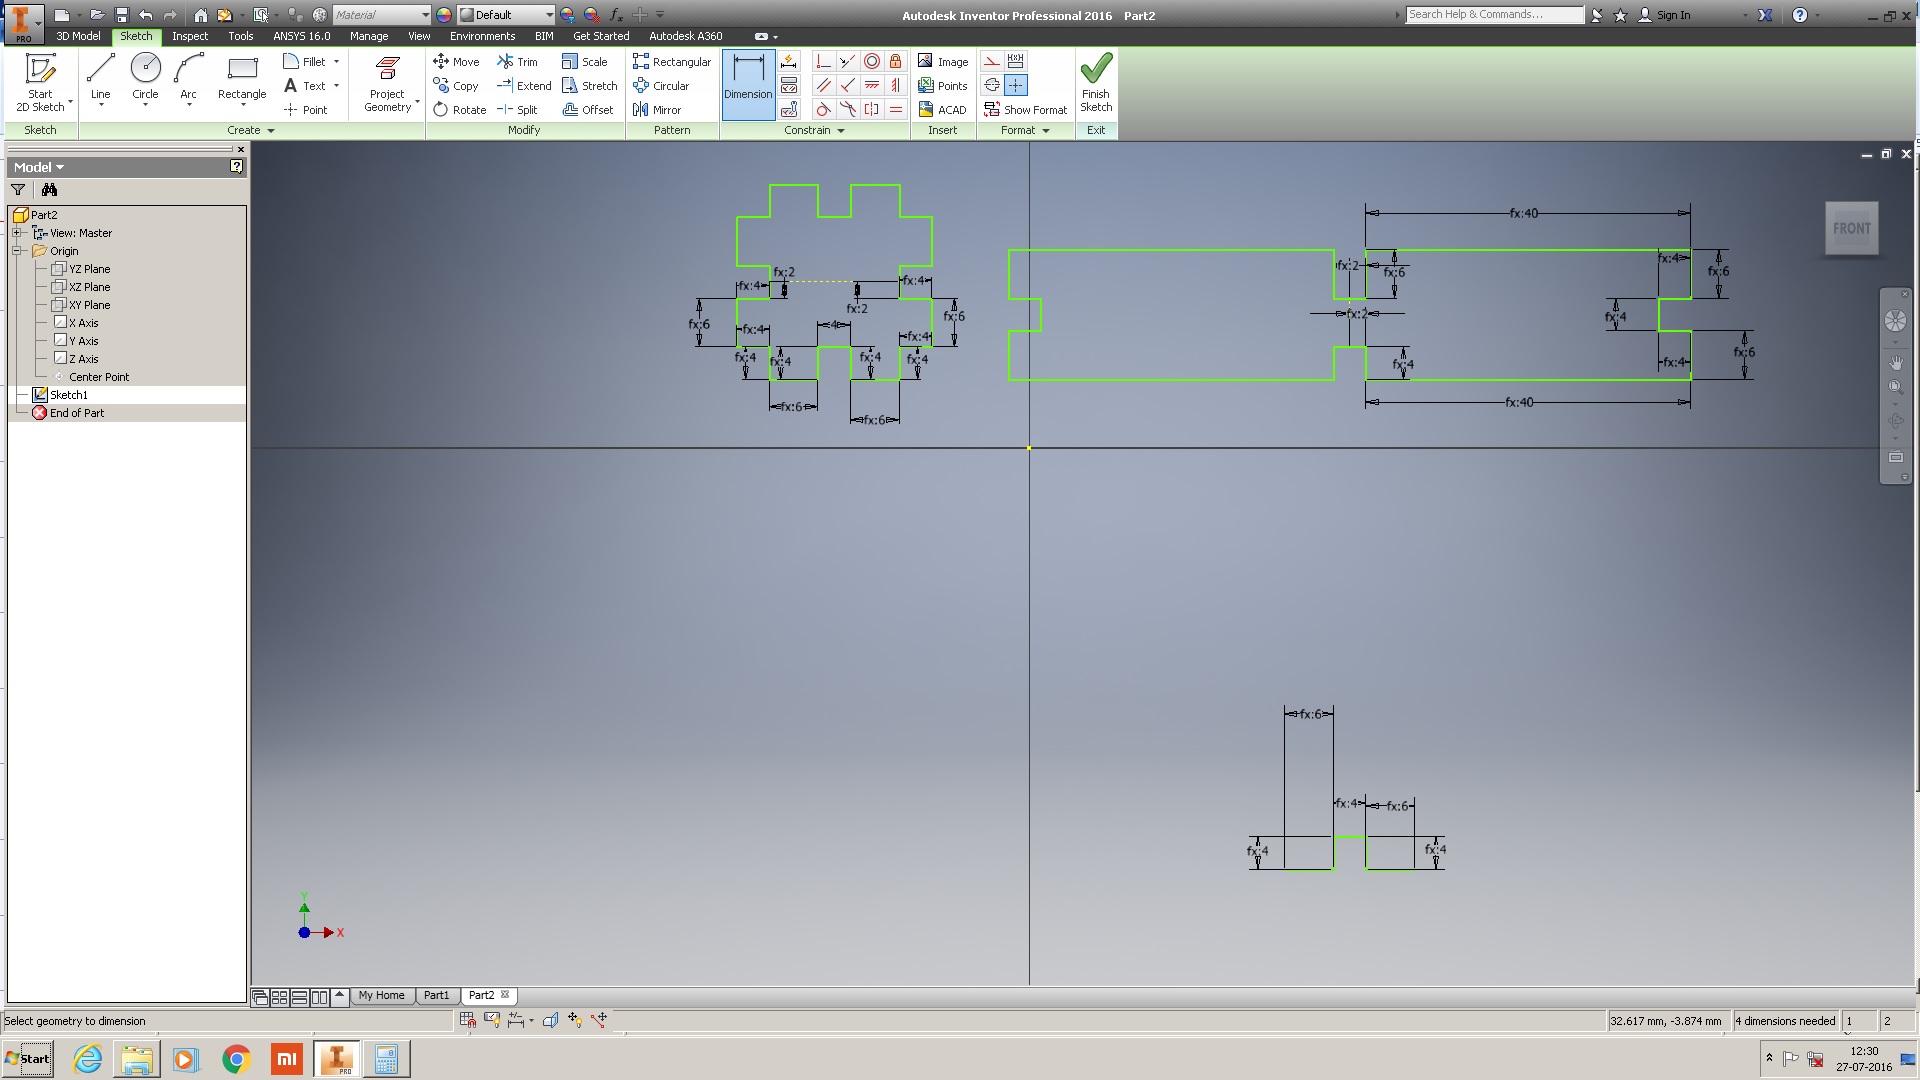
Mirrored the design
construction kit part 2 design
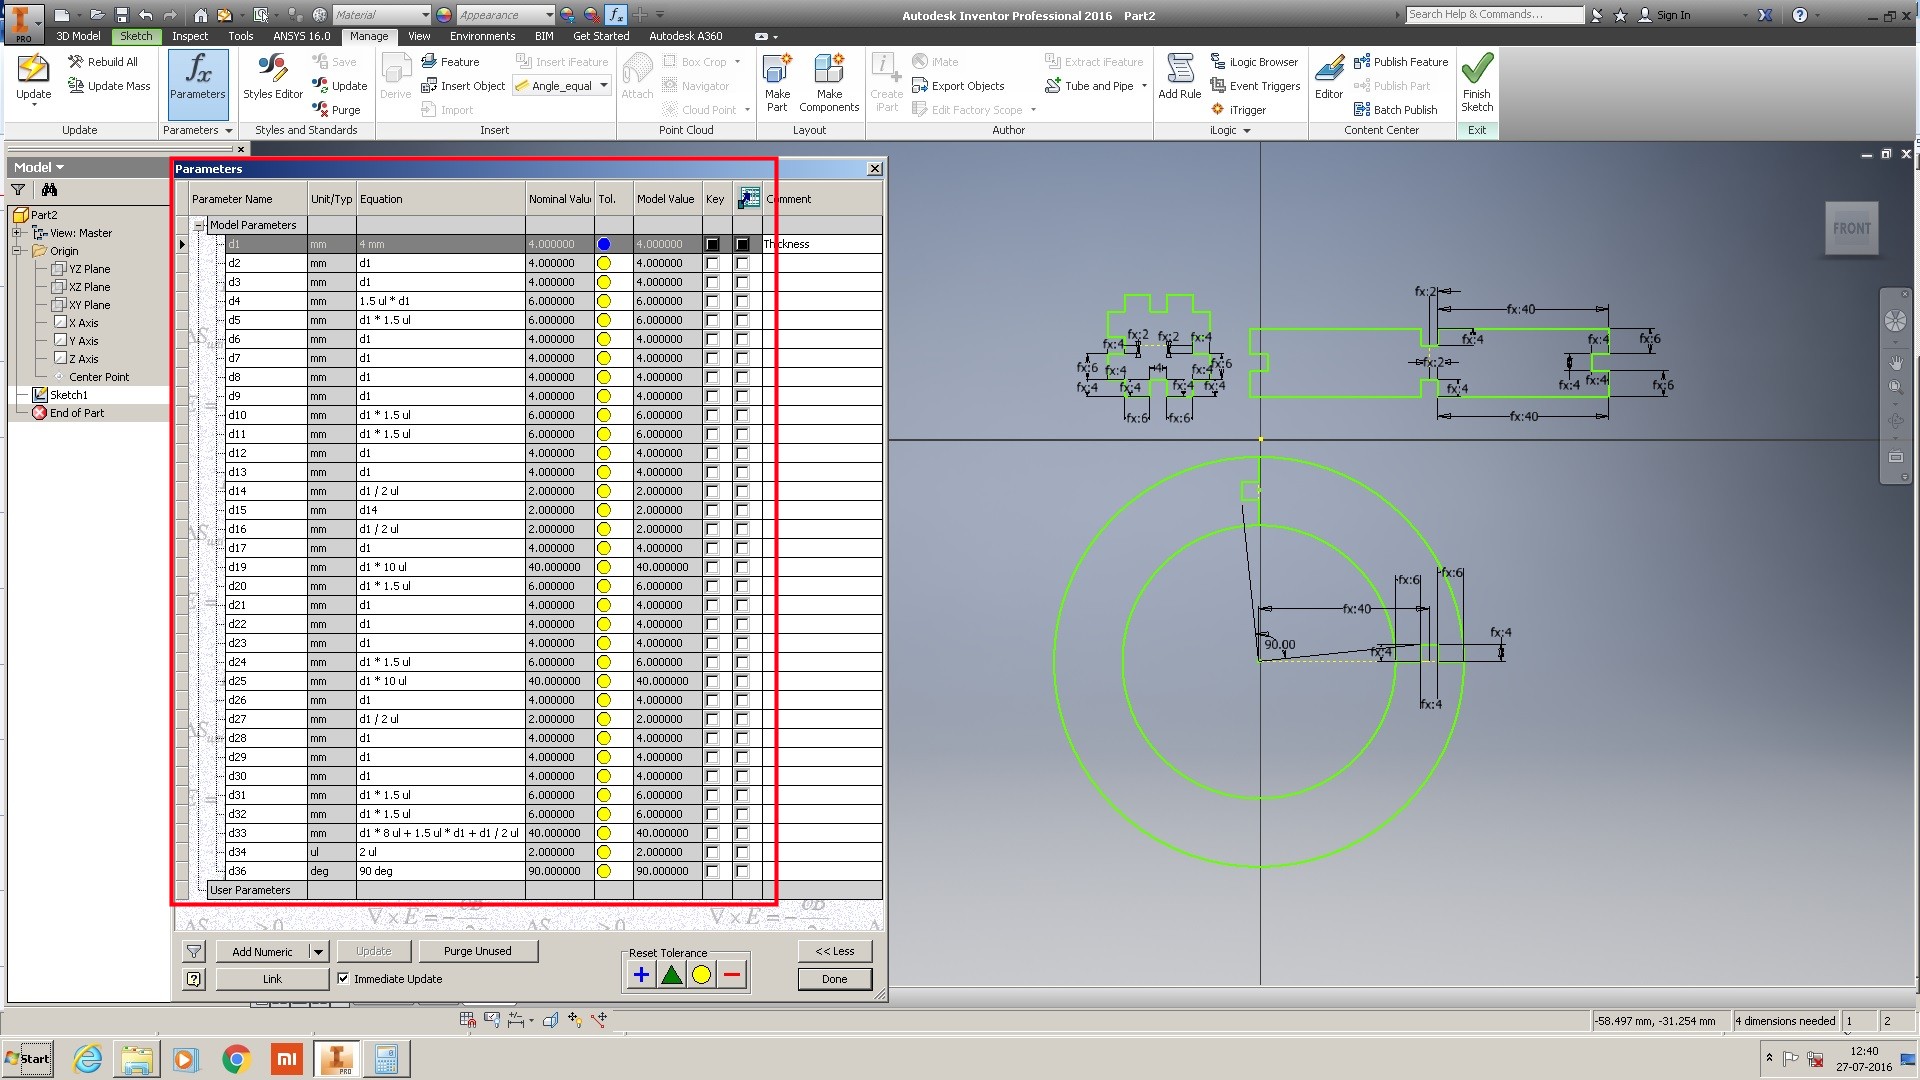
Here we can see parametric list.
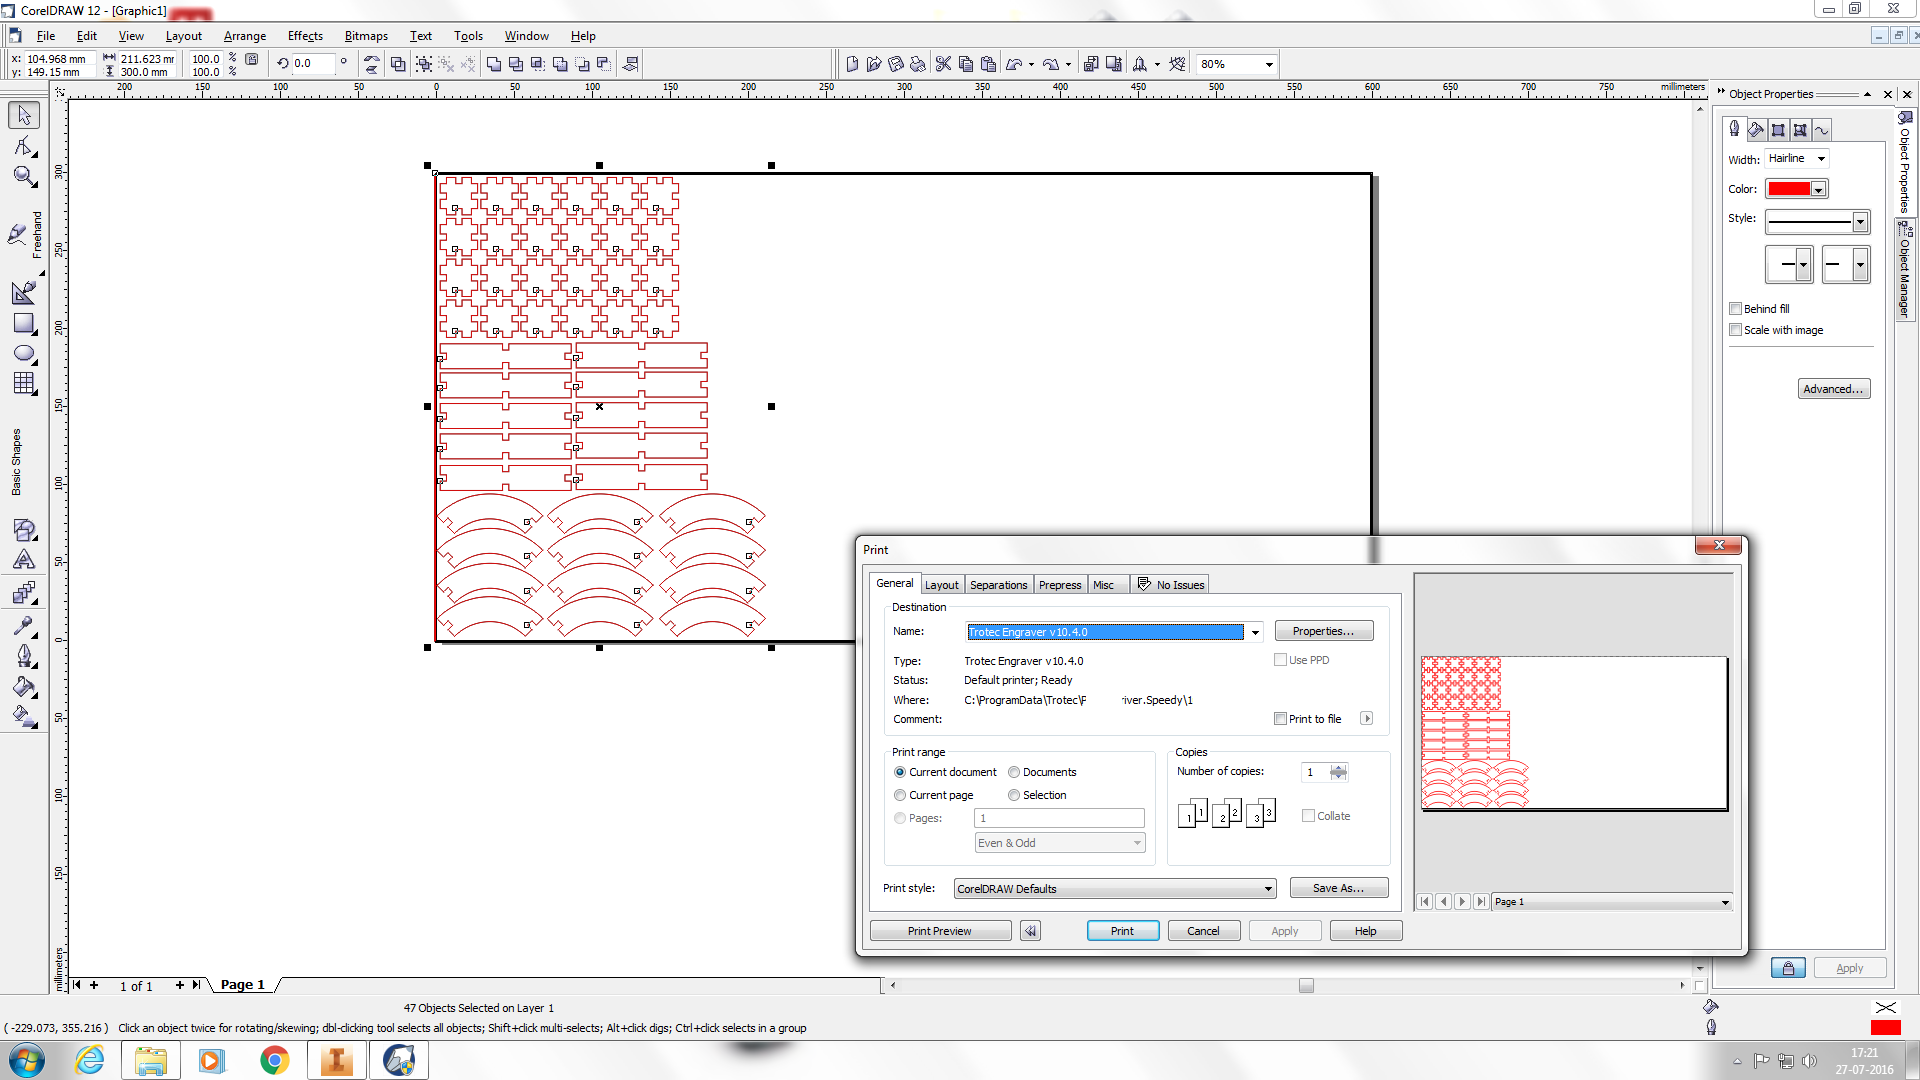
Step 2 :Preparing the input to the laser-cutter and cutting
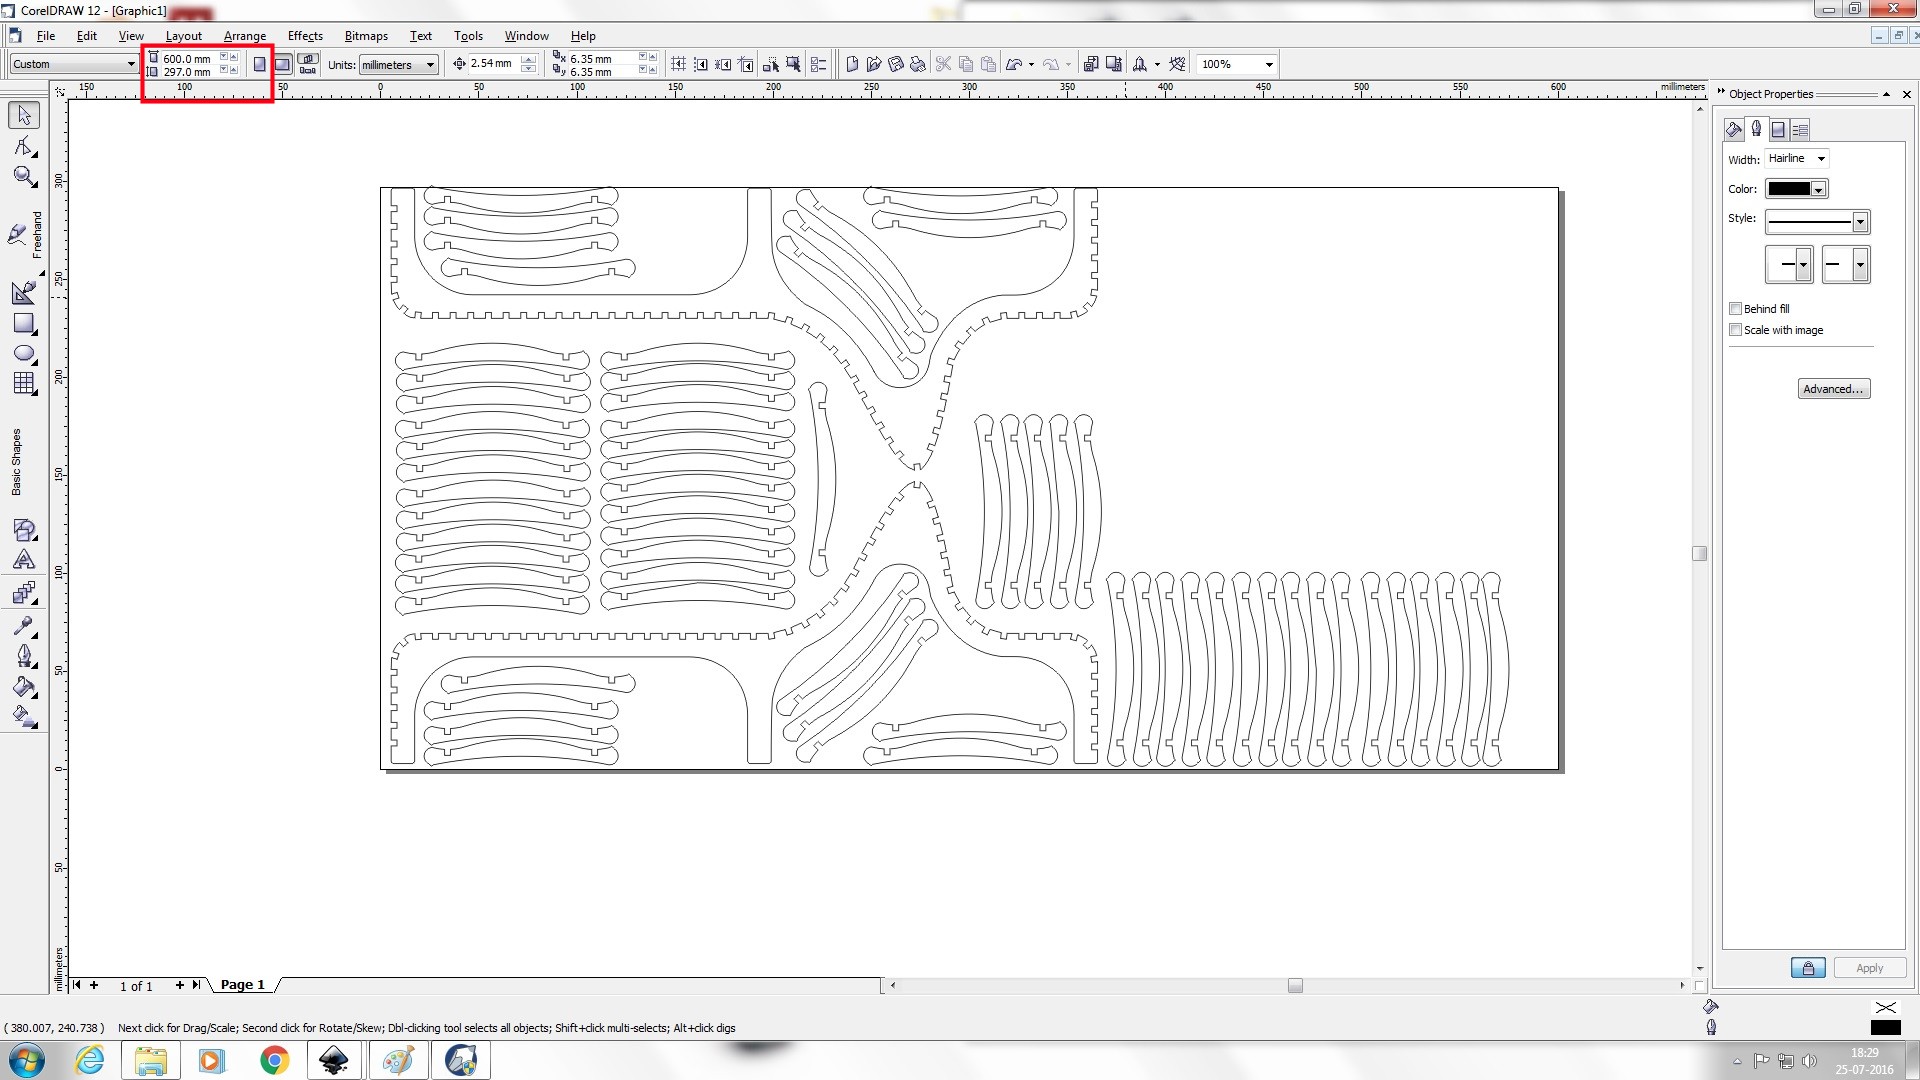
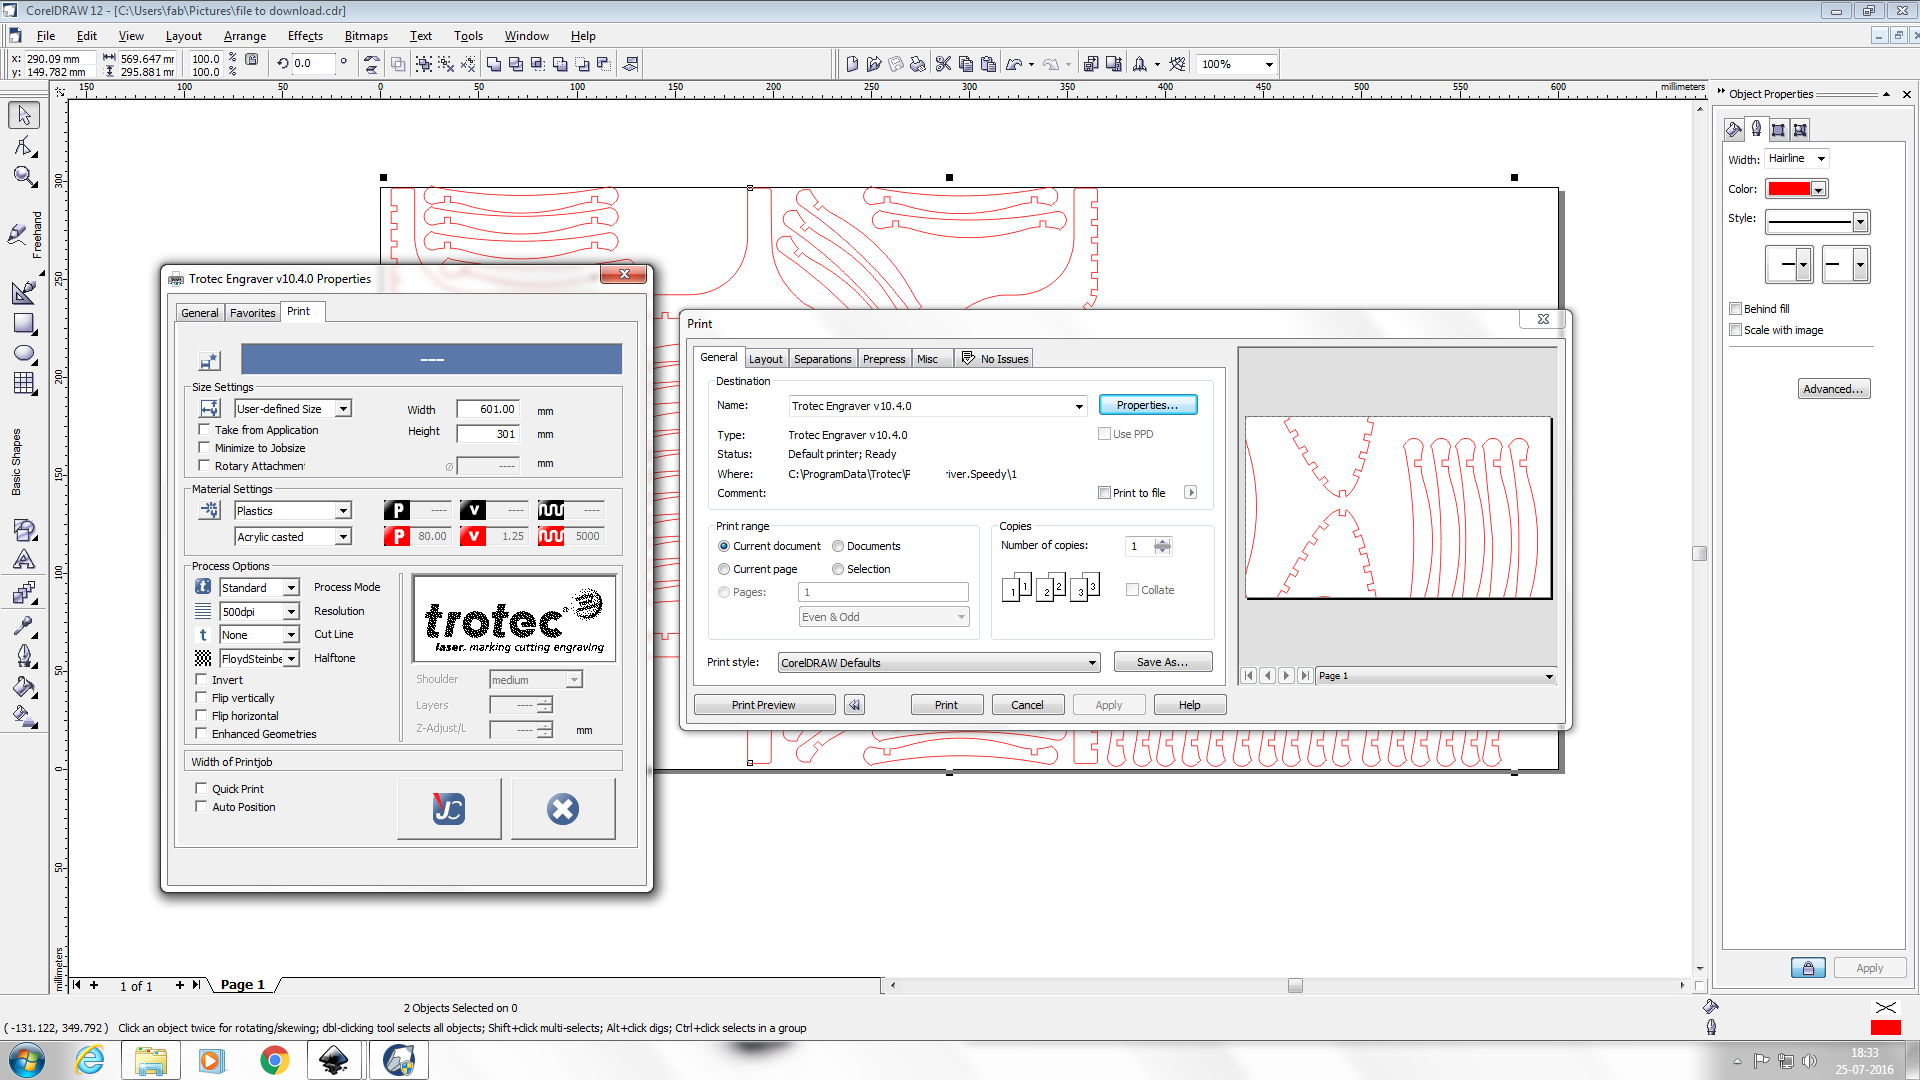
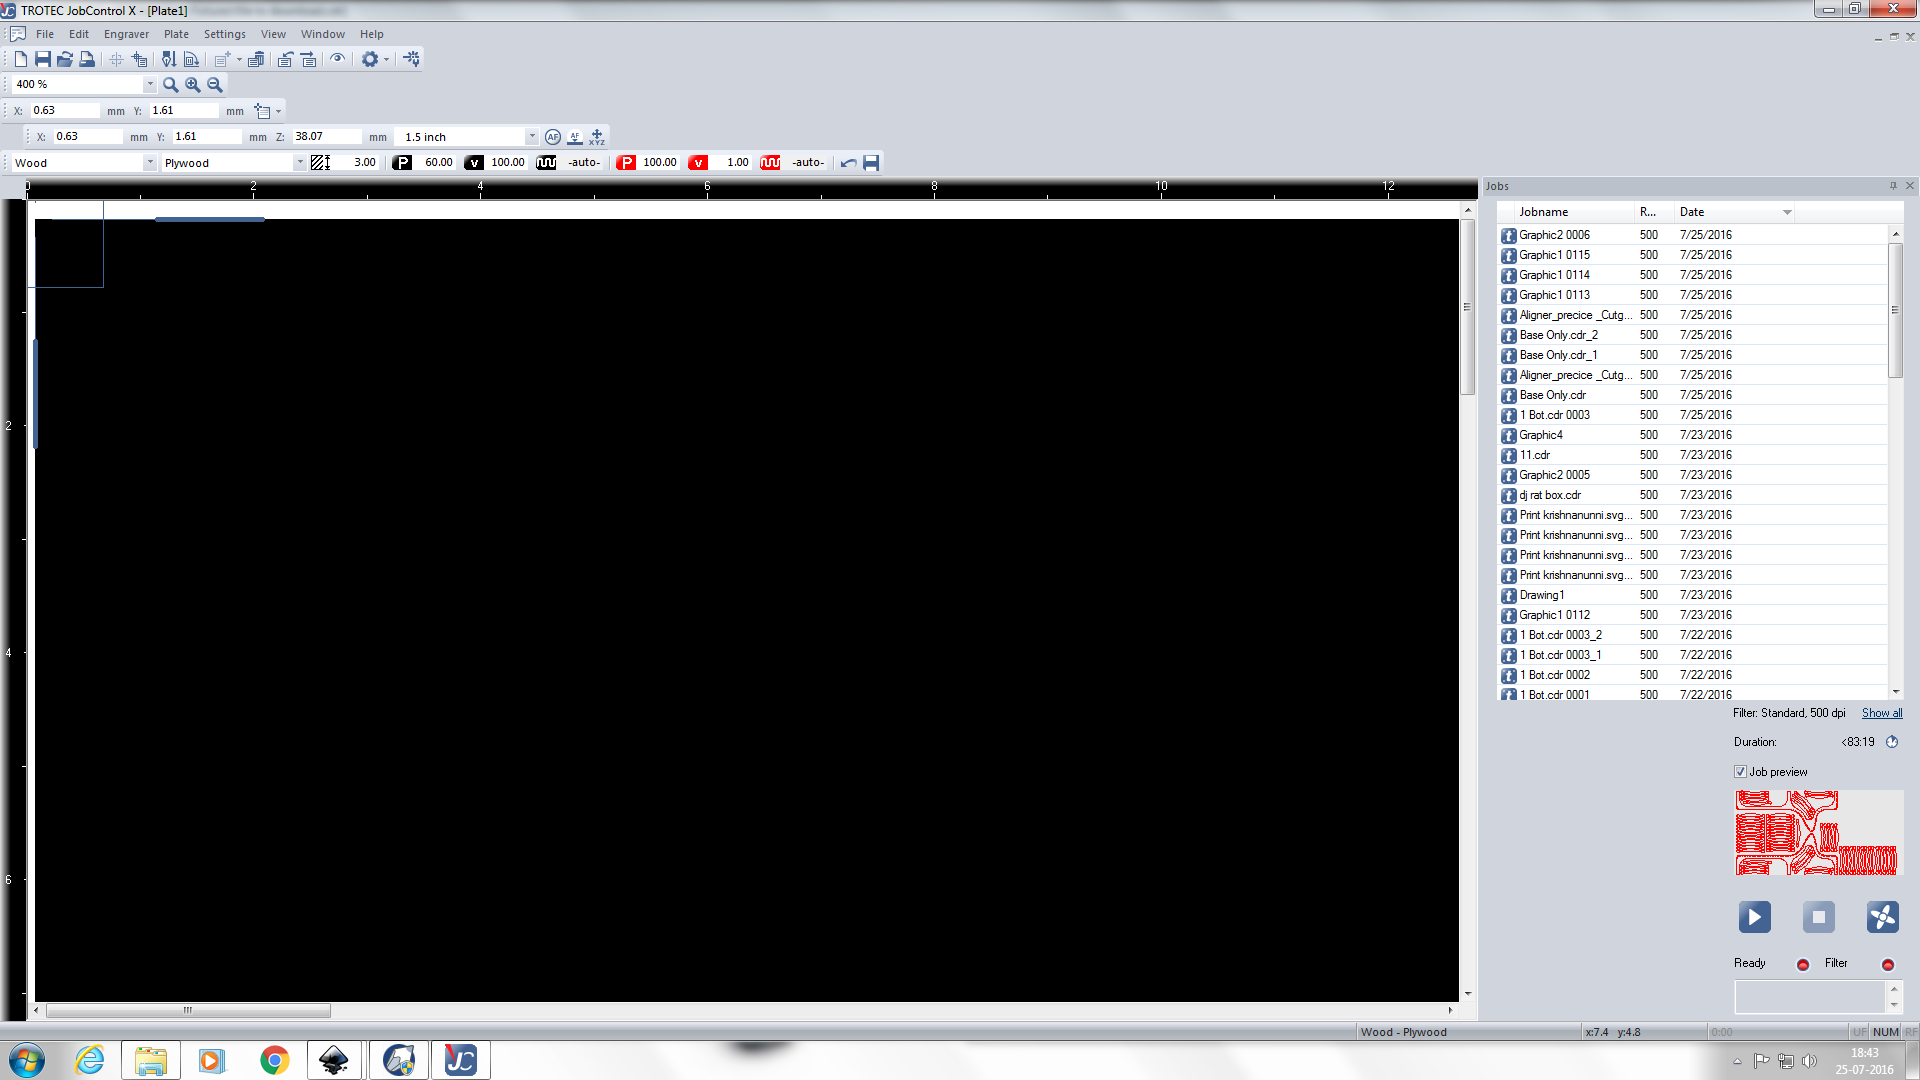
Opened the design file using corel draw,and made the rerquired sttings and selected the option print and opened it in job control software.
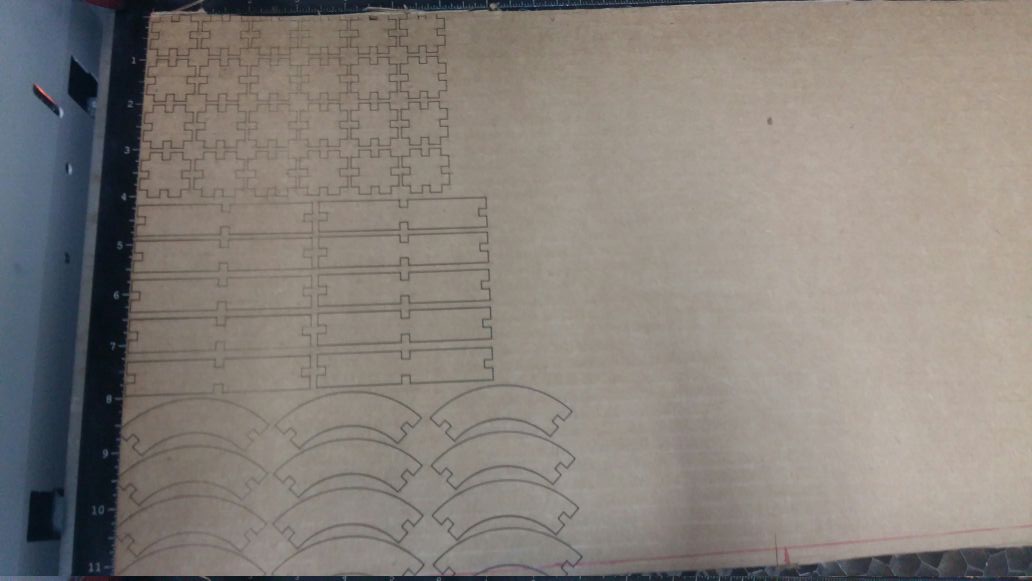
cutting over.
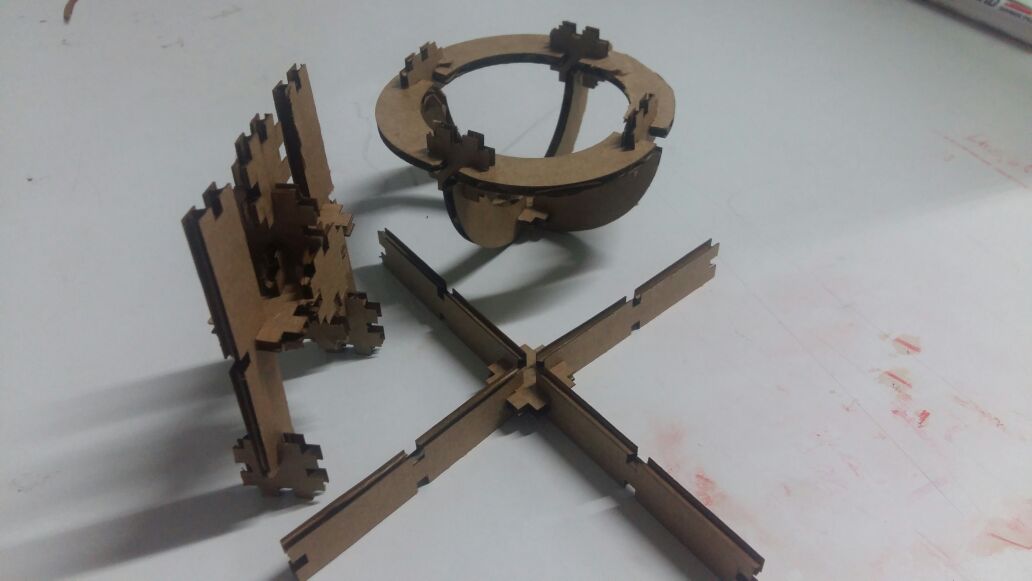
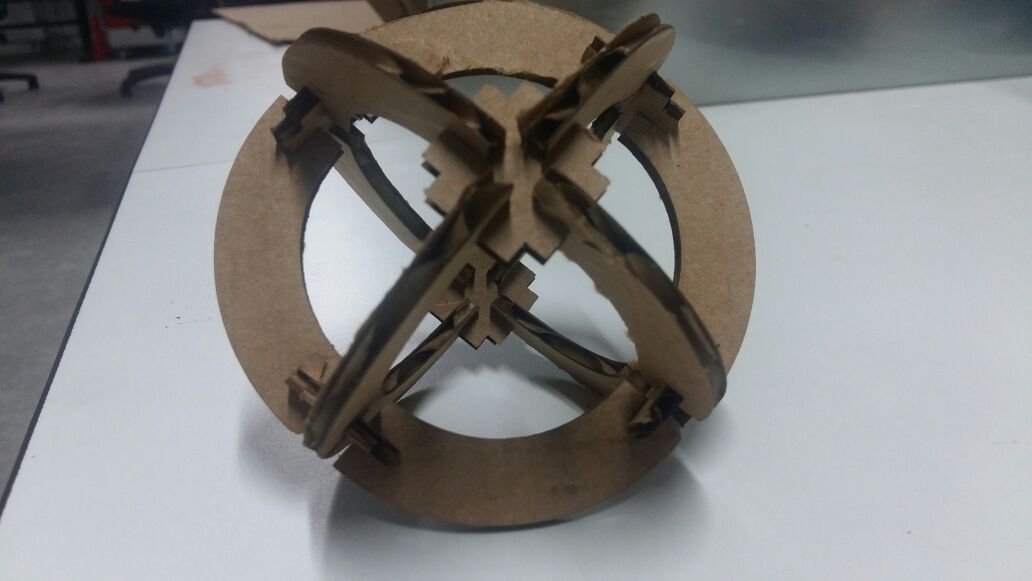
Step 3:Assembling process and making shapes.
Files
Second work
Step 1: The design
wish to design a beach bench which can cut using shopbot (for week7),as a first step decided to make a parametric 2d model to cut using Laser cutter.
Used autocad software software for designing the beach bench,first i designed the link and leg,
Here is designing process

Ste 2:Preparing the input to the laser-cutter.
Opened the design file using corel draw,and made the rquired sttings.
selected lenght and width.
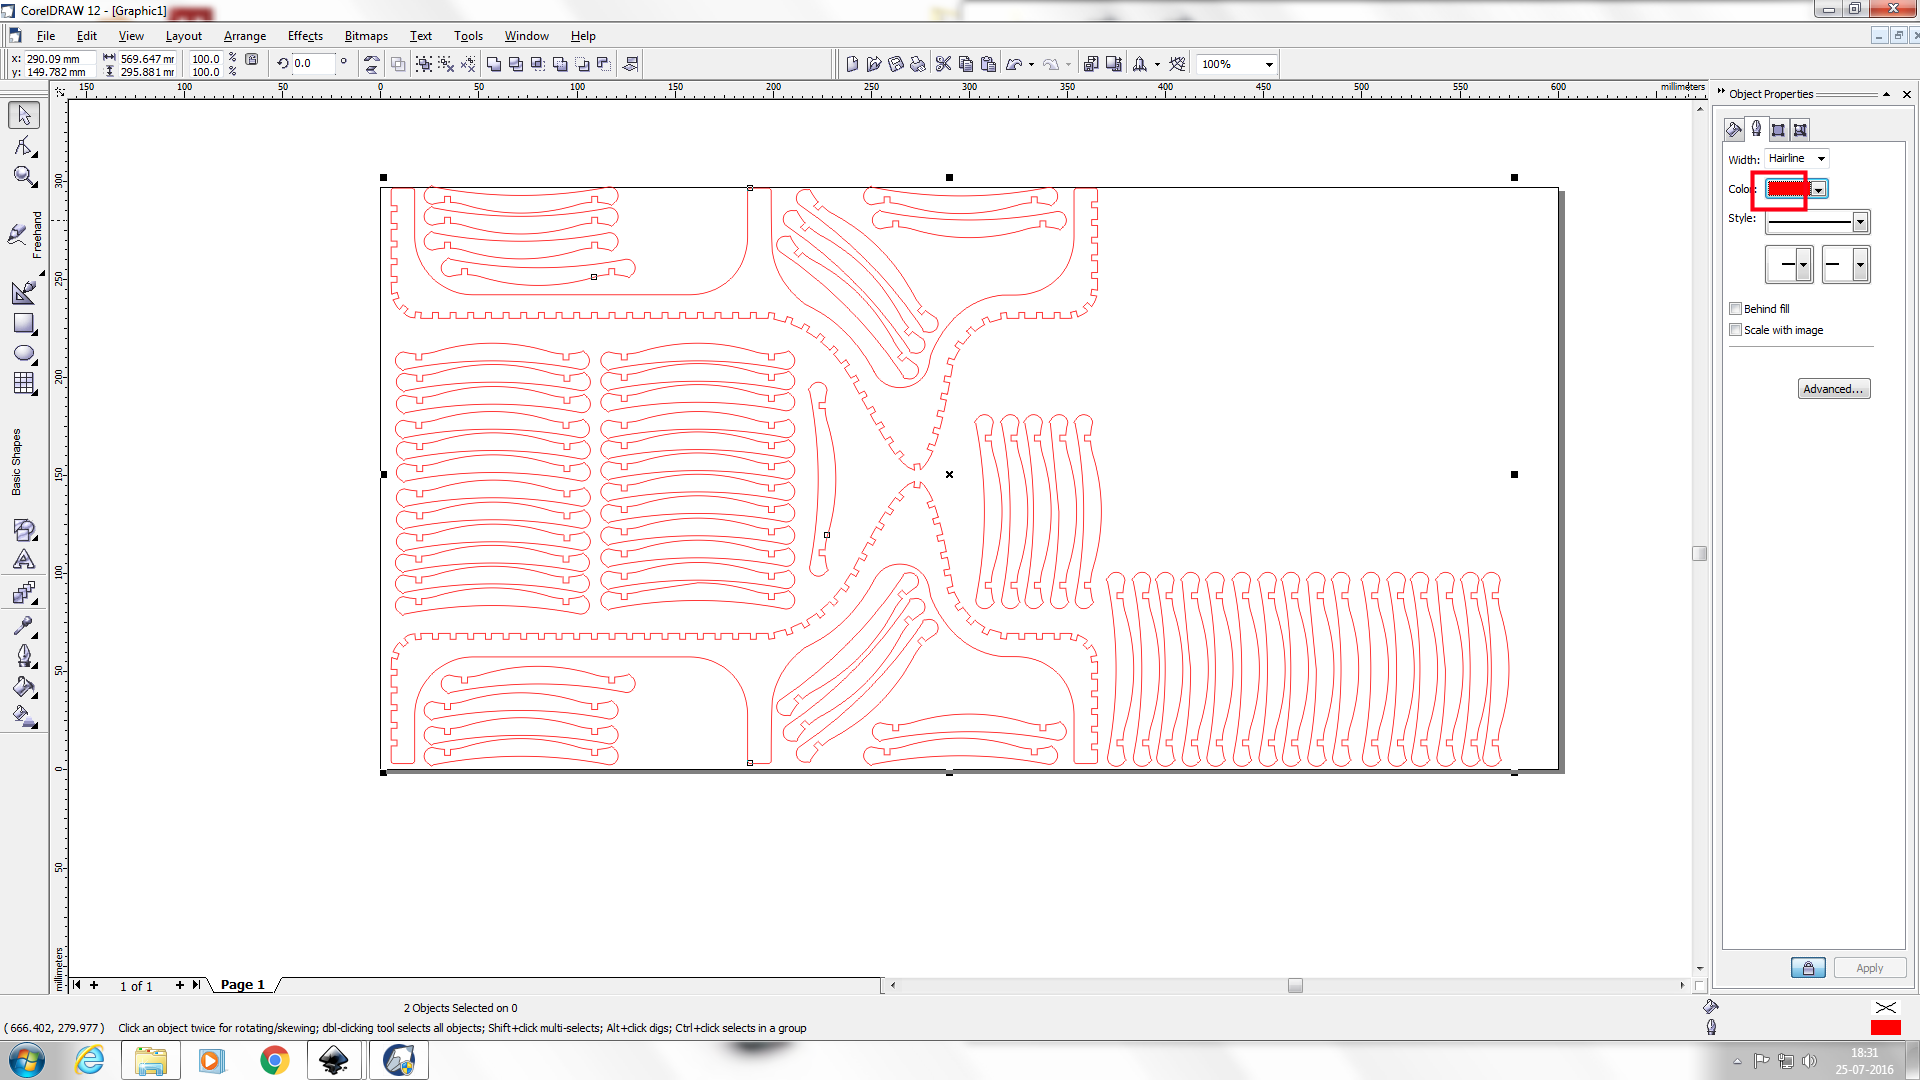
selected red color to cut
selected the meterial
Step 4 :The cutting process
levelled laser cutter bed level and focus,cutting process started
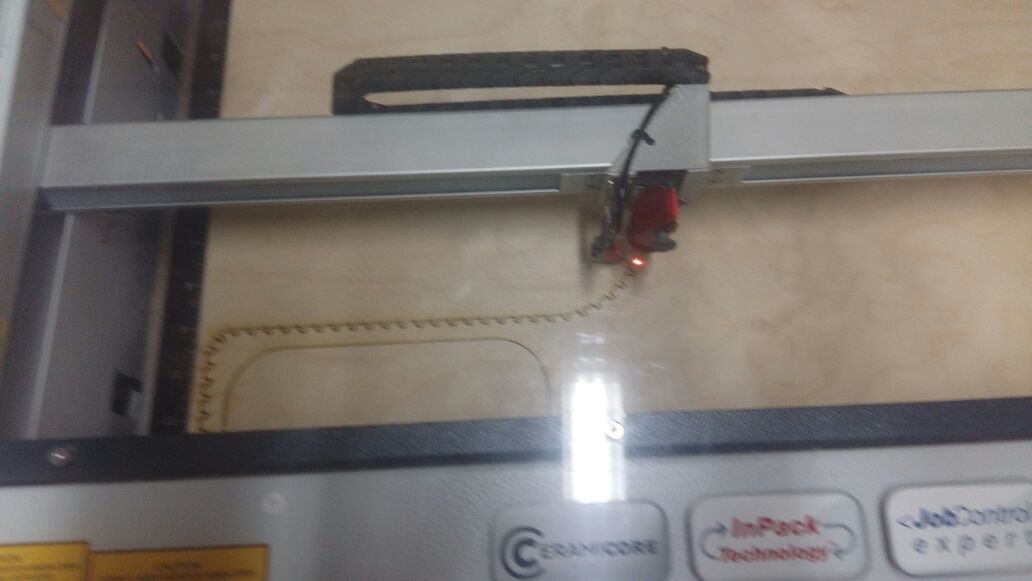
Cutting started
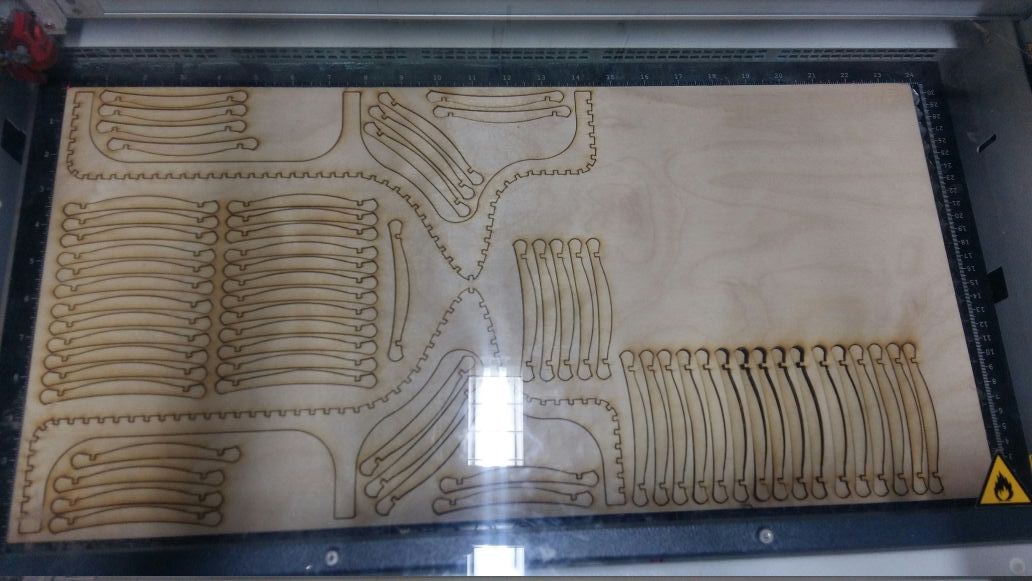
this looks beautiful,cutting over..
Step 5:The assembling part
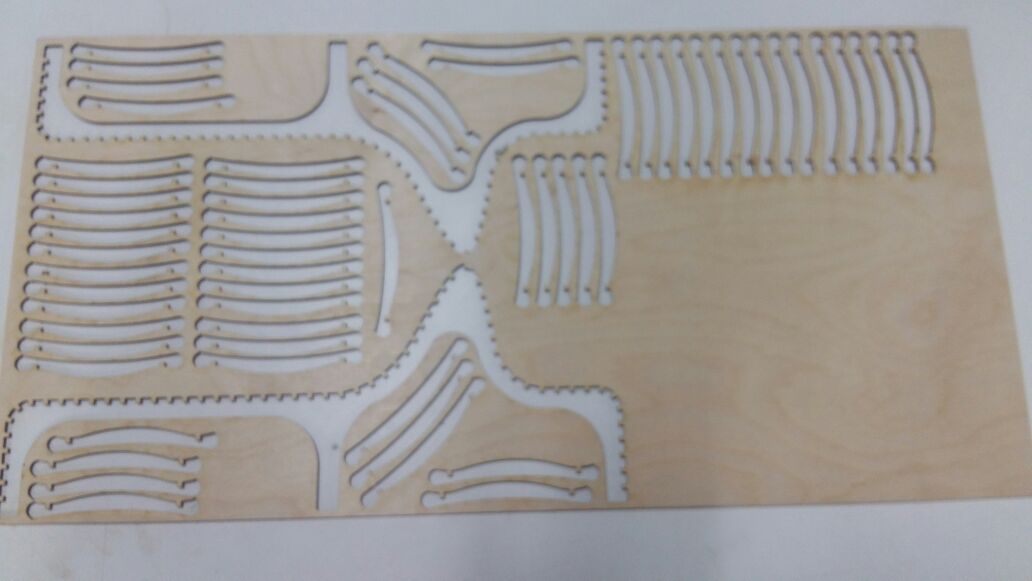
plywood sheet after removing wanted portions
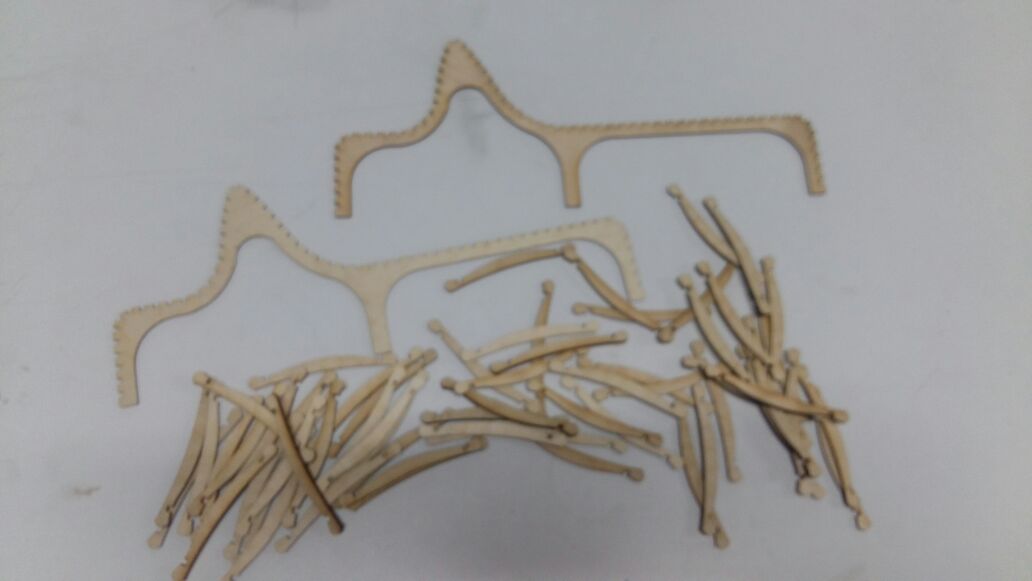
links and legs
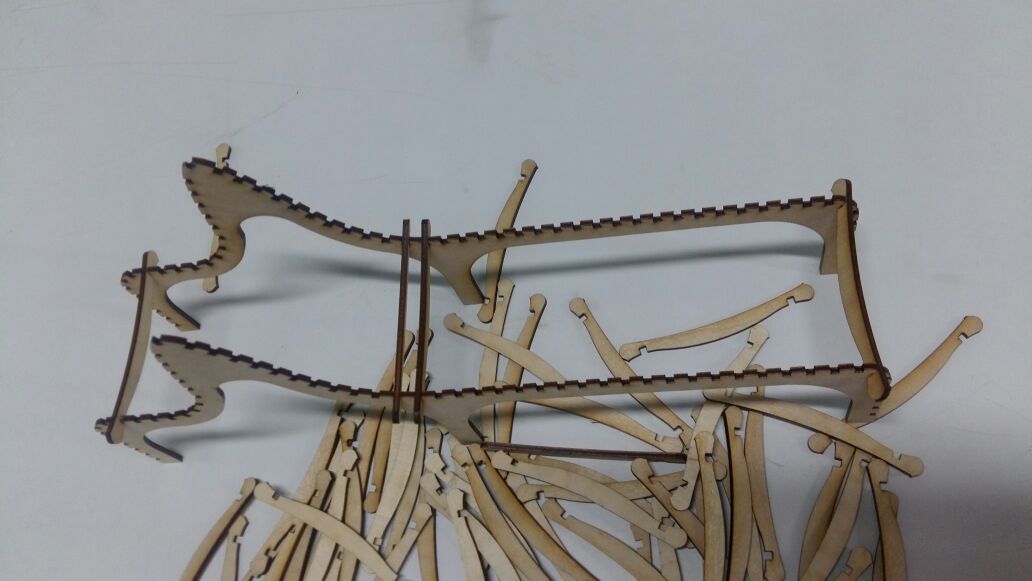
Assembling link and legs
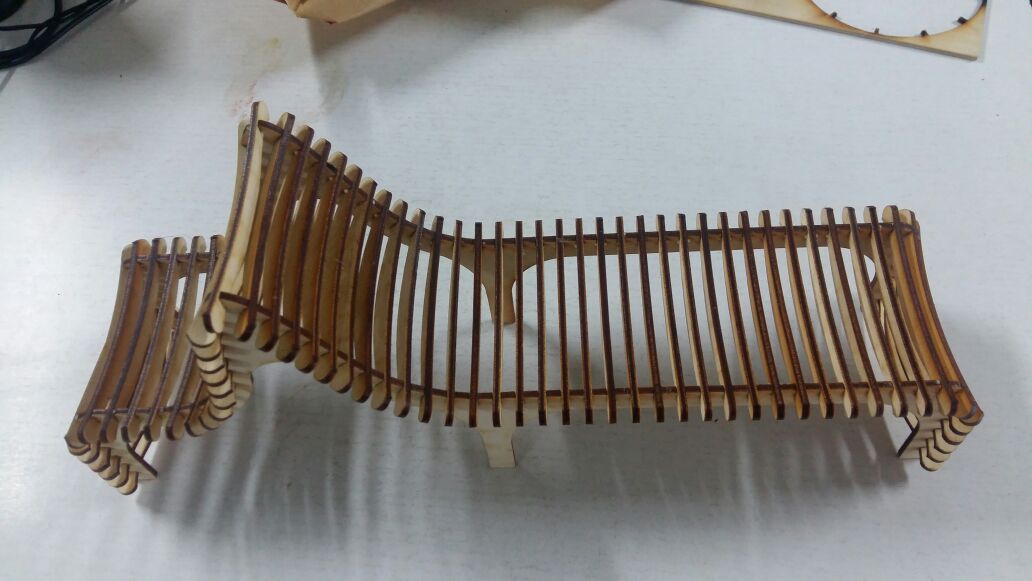
Final product
Files
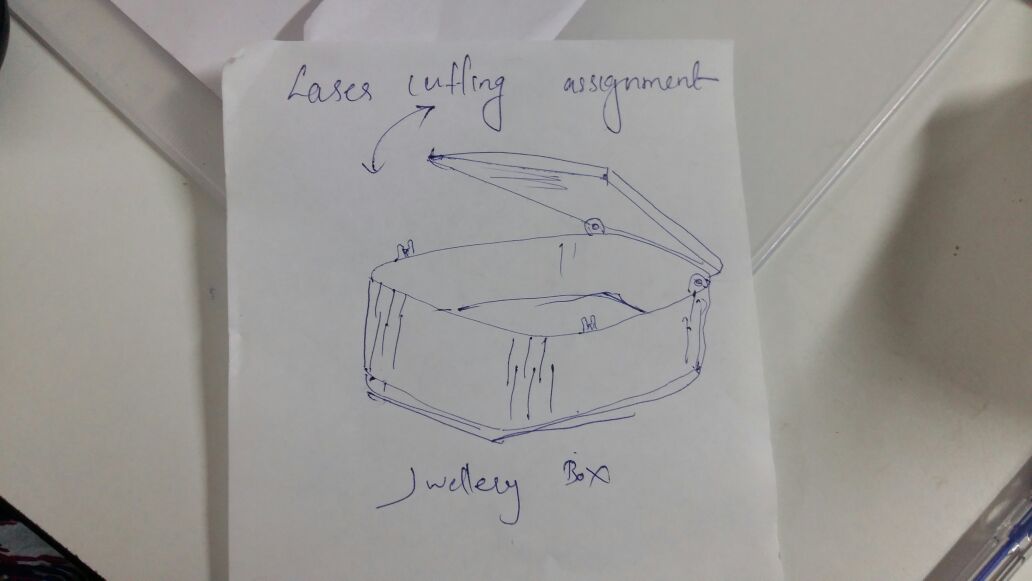
This is another press fit model handsketch design which i wish to make using awsome Laser cutter.
Designing steps
Designe dusing Autocad,Drawline 90mm line ,82 width,used commands -line,circle, trim ,fillet,copy ,move ,join,
width -82mm lenth-131 laser cutter prss fit,z axis adjusted
Opened the designed file in Inkskape.Aligned thye design,all designes which is going to laser cut selected then "stroke" it into red 255 pure red
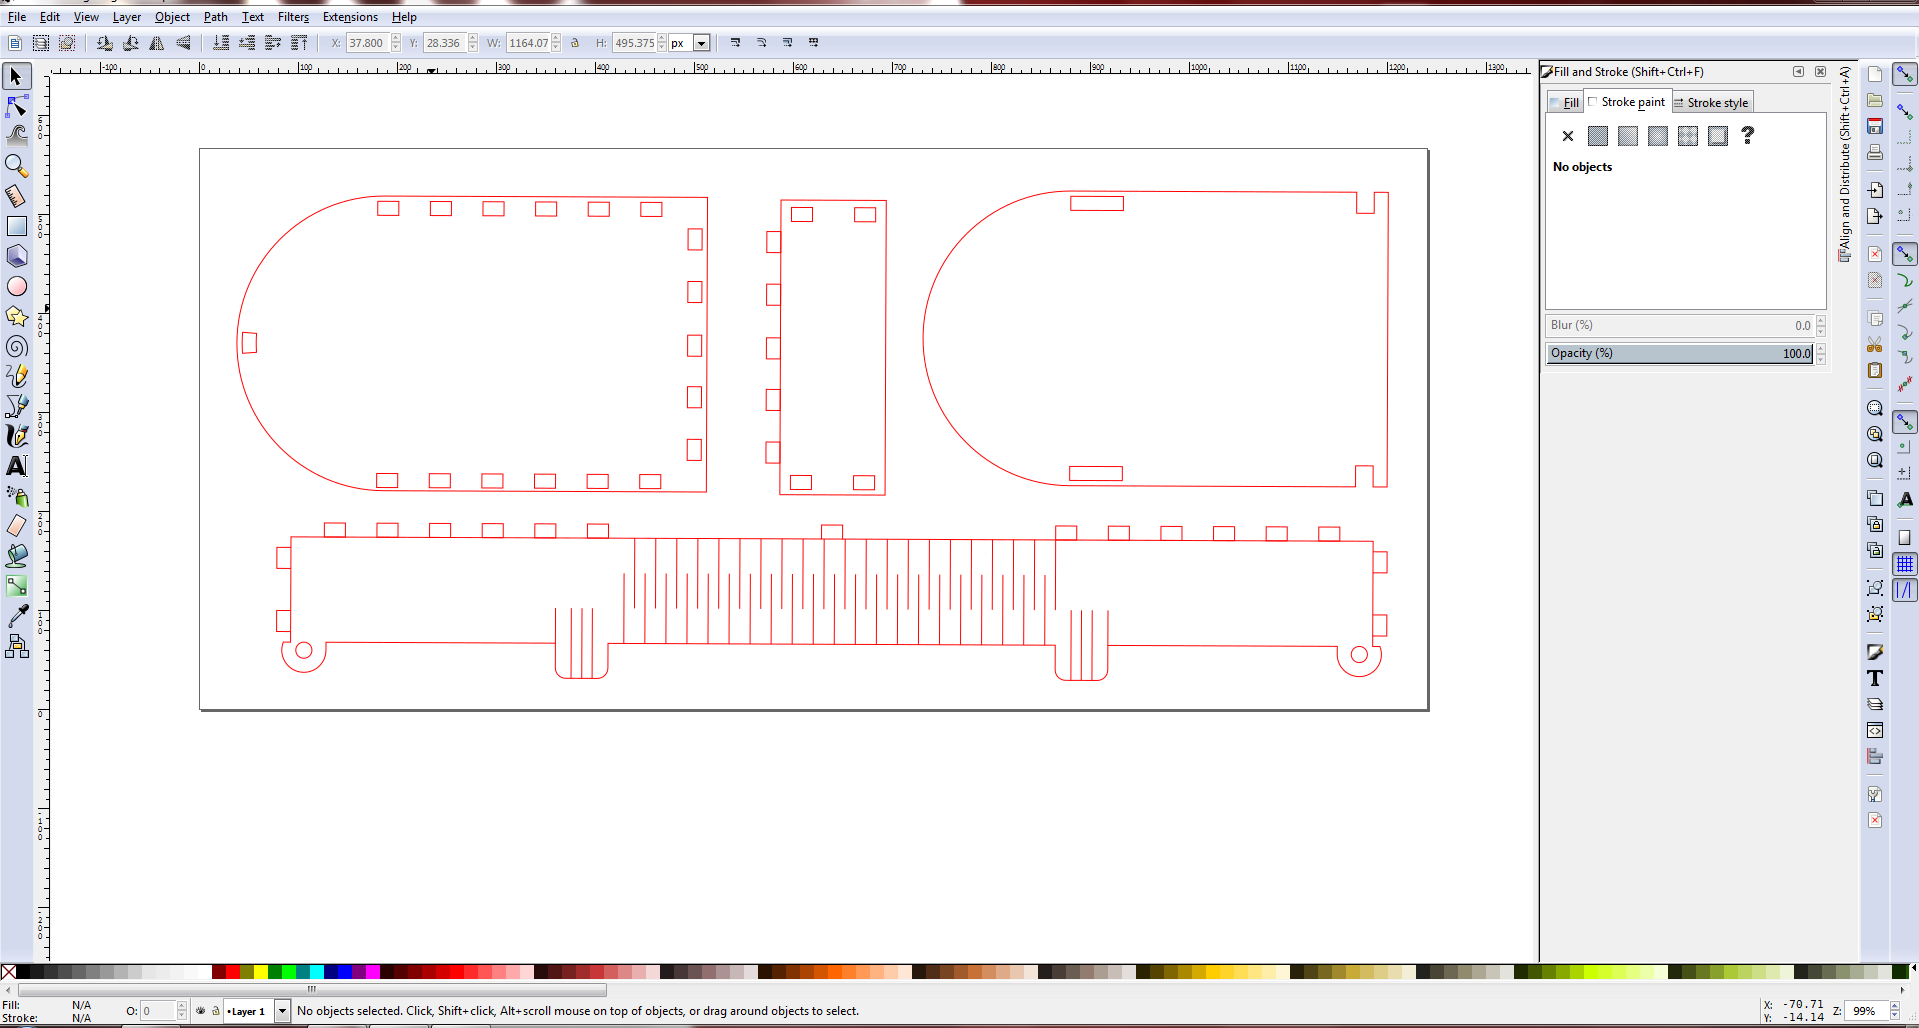
Then press the option print,next option was "properties" top adjust canvas size
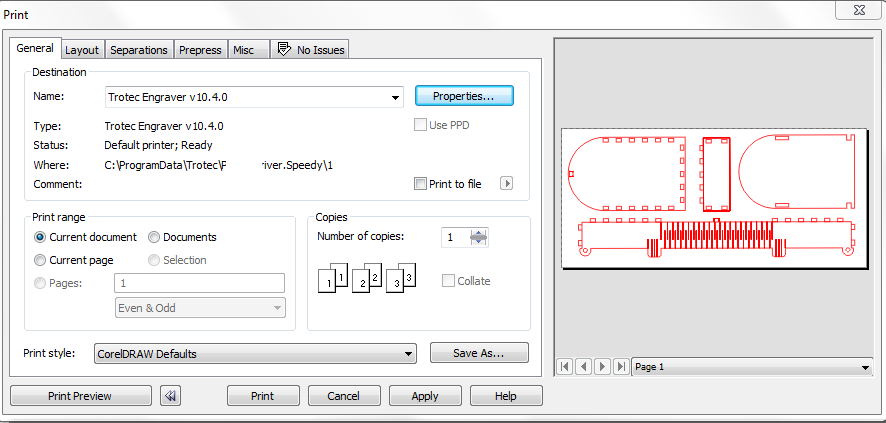
Opened the Trotec job control software interface to feed the design for laser cut,before that selected cutting material -wood-plywood,to specify which process (engracve,cut,),selected red colour for cut5ting process and black to engrave my name (ARSHEENA)
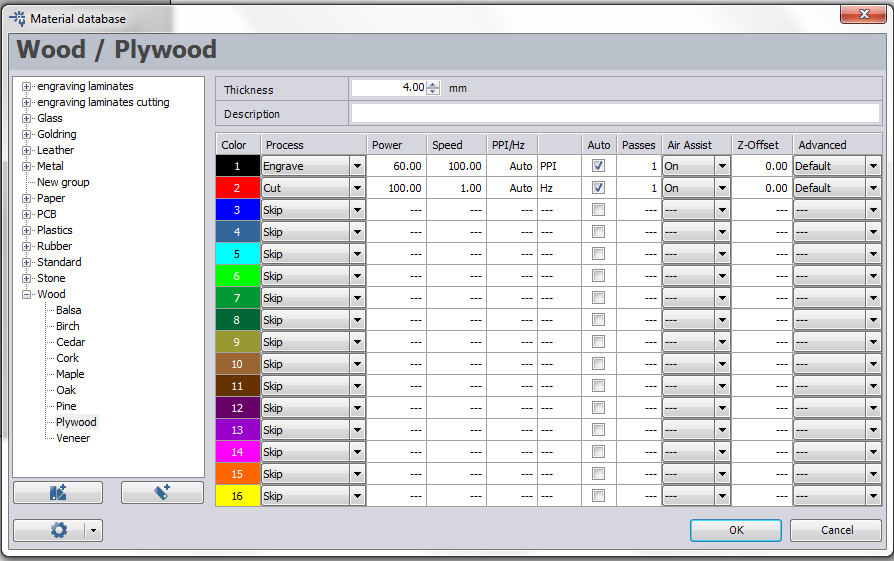
After setting all the option i did click the opion ready,following pictures are during cutting process.
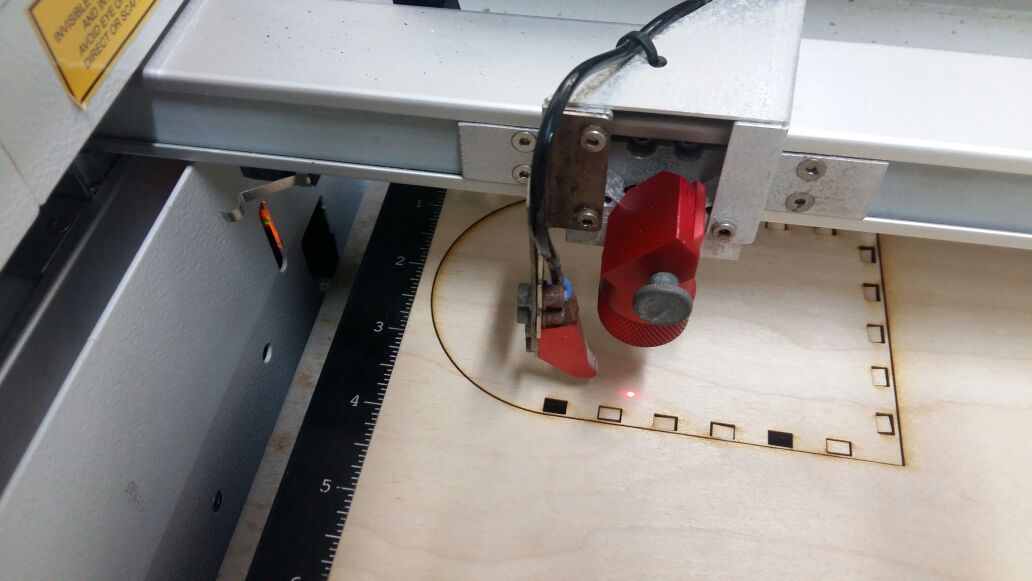
cutting going on..

Parts after cutting and before assembling.
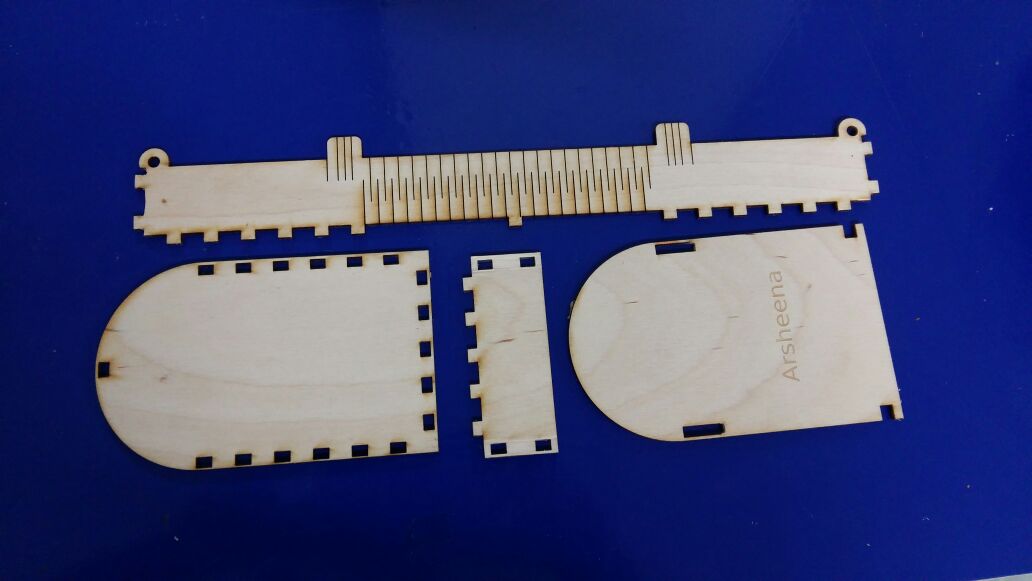
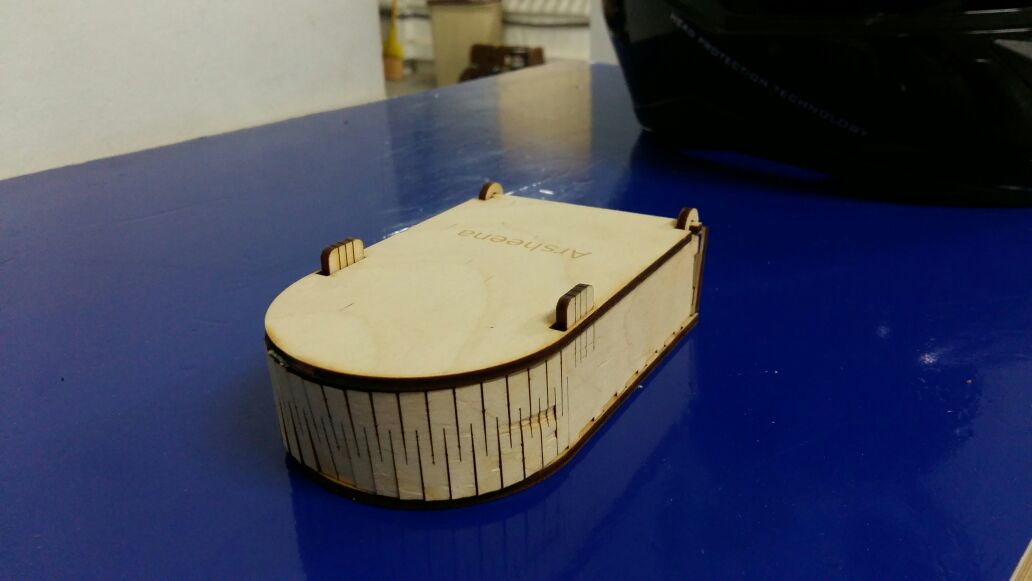
yahee.....made my jwellery box ....