Week 14: Composites (May 4)
Assignment :
This Weeks assignment is to design and make a 3D mold and also to produce a fiber composite part in it.
The week was filled with things been tried out and lot of them that did not work at all. The assignment can be divided into three parts:
- Create 3D object for molding
- Making the mold
- Producing the fiber composite part in it
Create 3D object for molding
I wanted to make something useful, and decided to make a plate to put some thing such as pen and pencil . Making composites consists of three steps.
First, I designed mold using AutoCAD. As plate is simple design, I chose to design single and open mold. Second step is milling form based on the mold design. Third step is putting burlap and epoxy (epoxy plus hardner) on mold, put it in a bag, and vacuum it. Even though plate is simple, I should have created two molds to compress material easily. Strength of the product could have been improved.
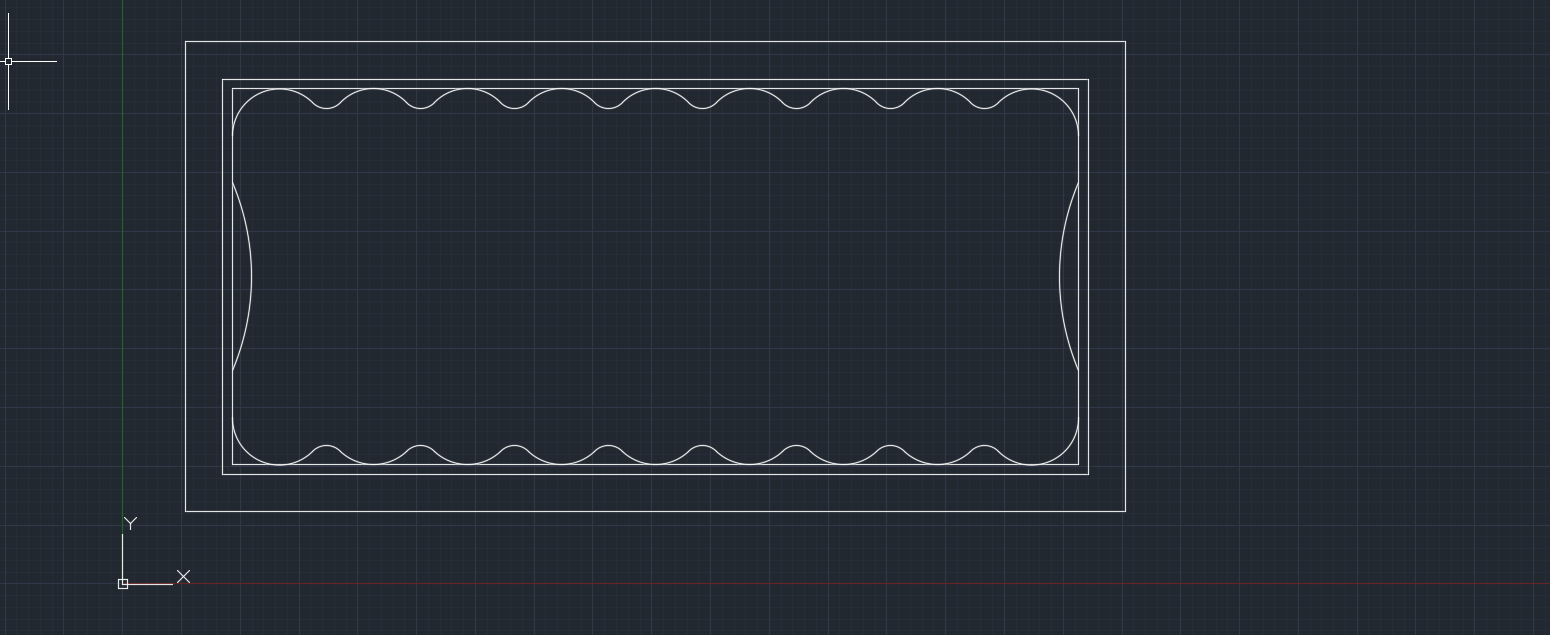
First I drww the 2D veiw of my design using AutoCAD, I used the tools line, circle, trim, copy, move ,etc.
then I made a plane from the middle to the next top end, which is inclined. Extrude the both profiles and checked the orientations.
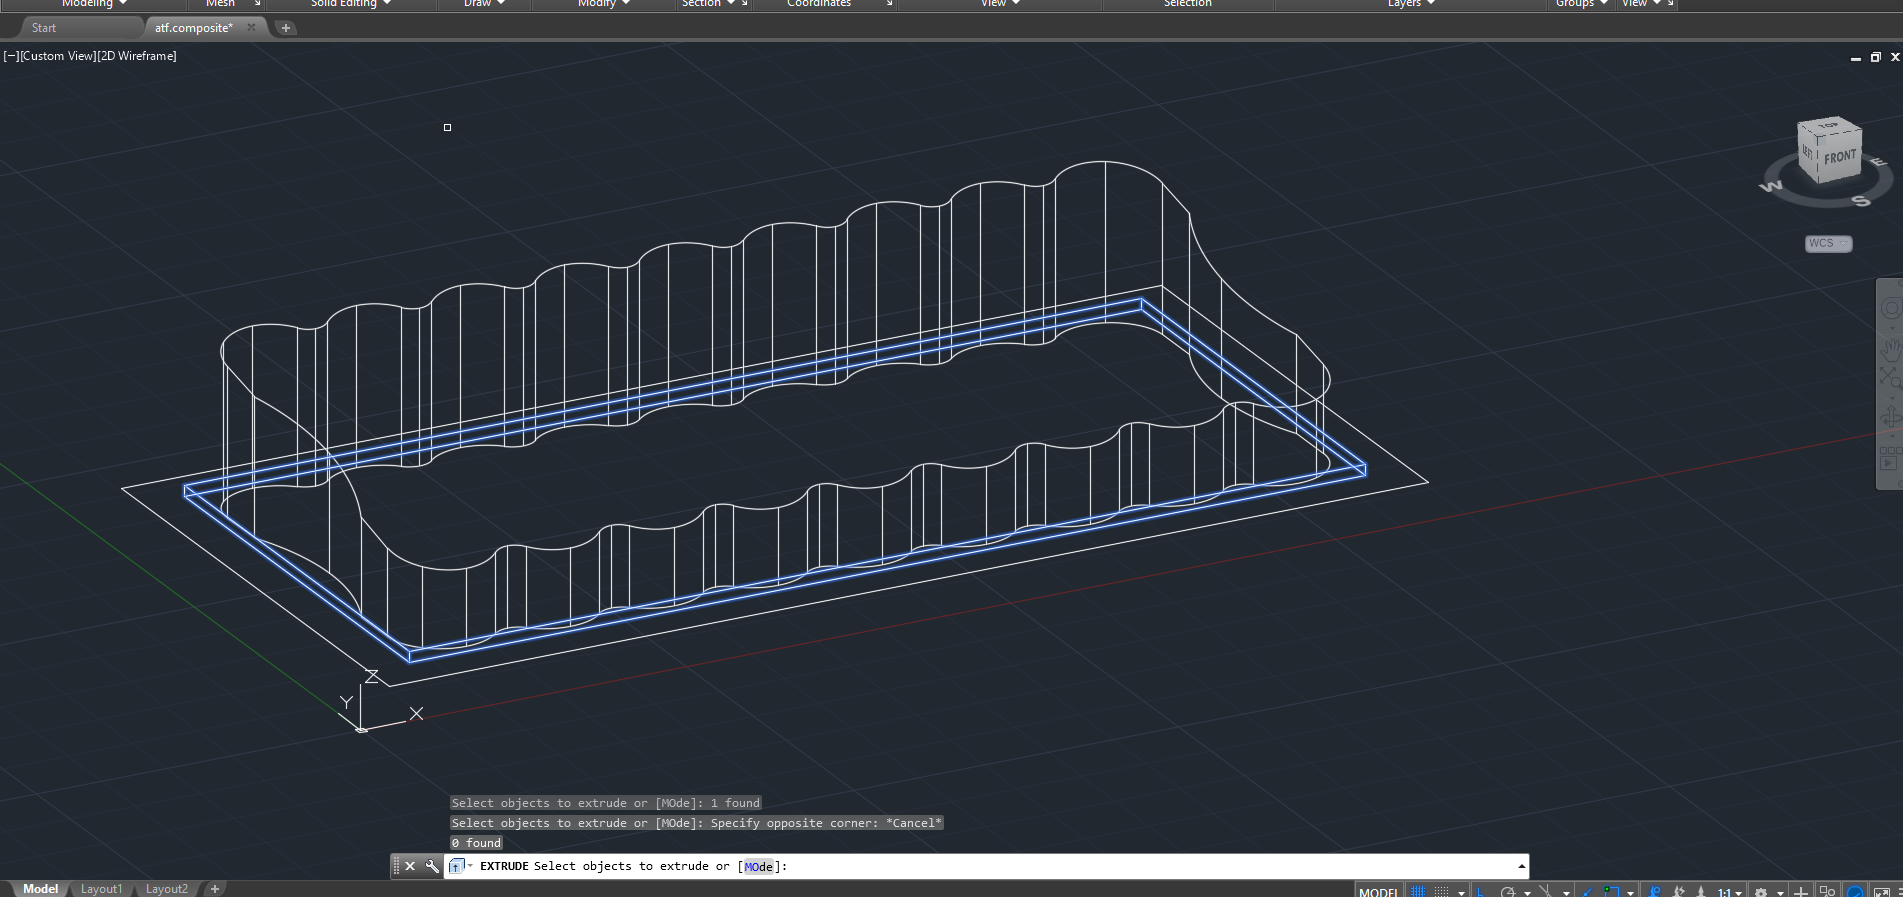
Substracte the extrude inclined object from the main object. I checked the renderd veiw. Give a base support on the bottom.

Making the mold
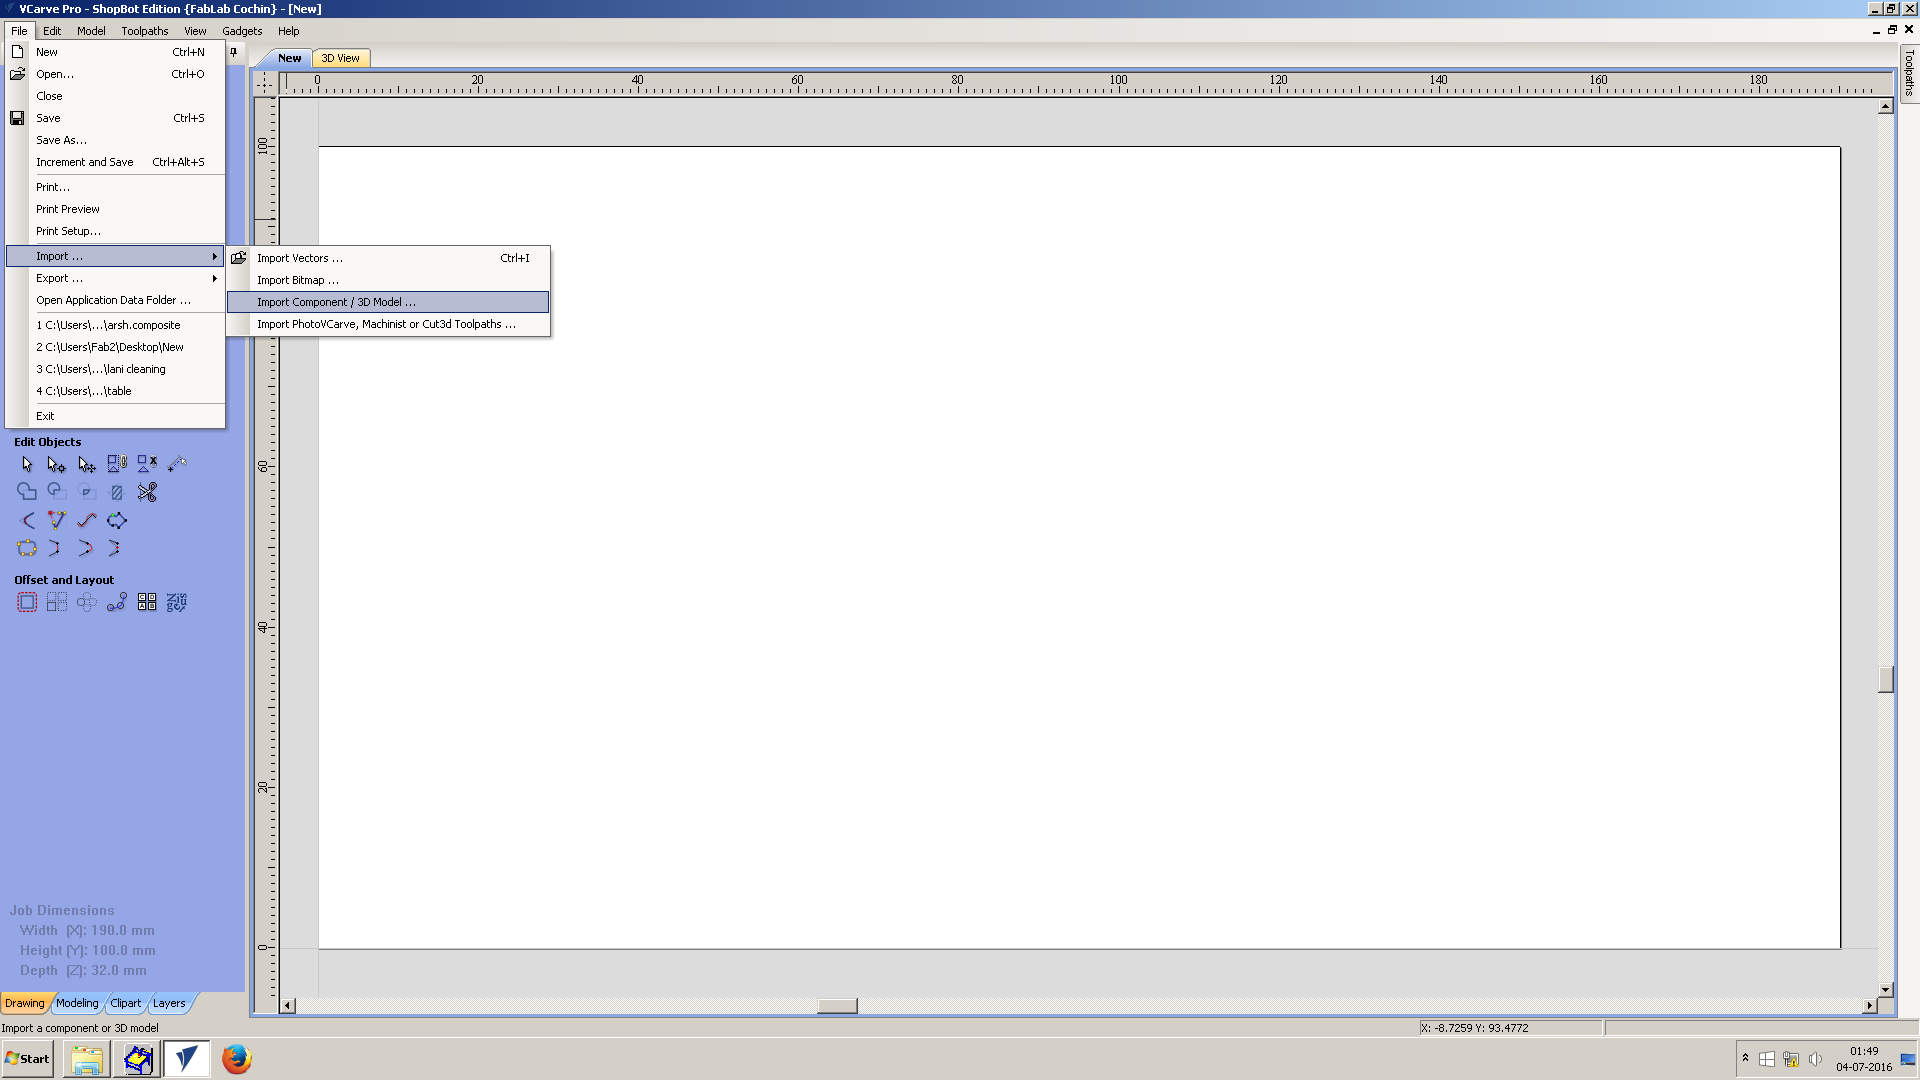
I used shopbot for the millimg of mould. Used the V-curve software
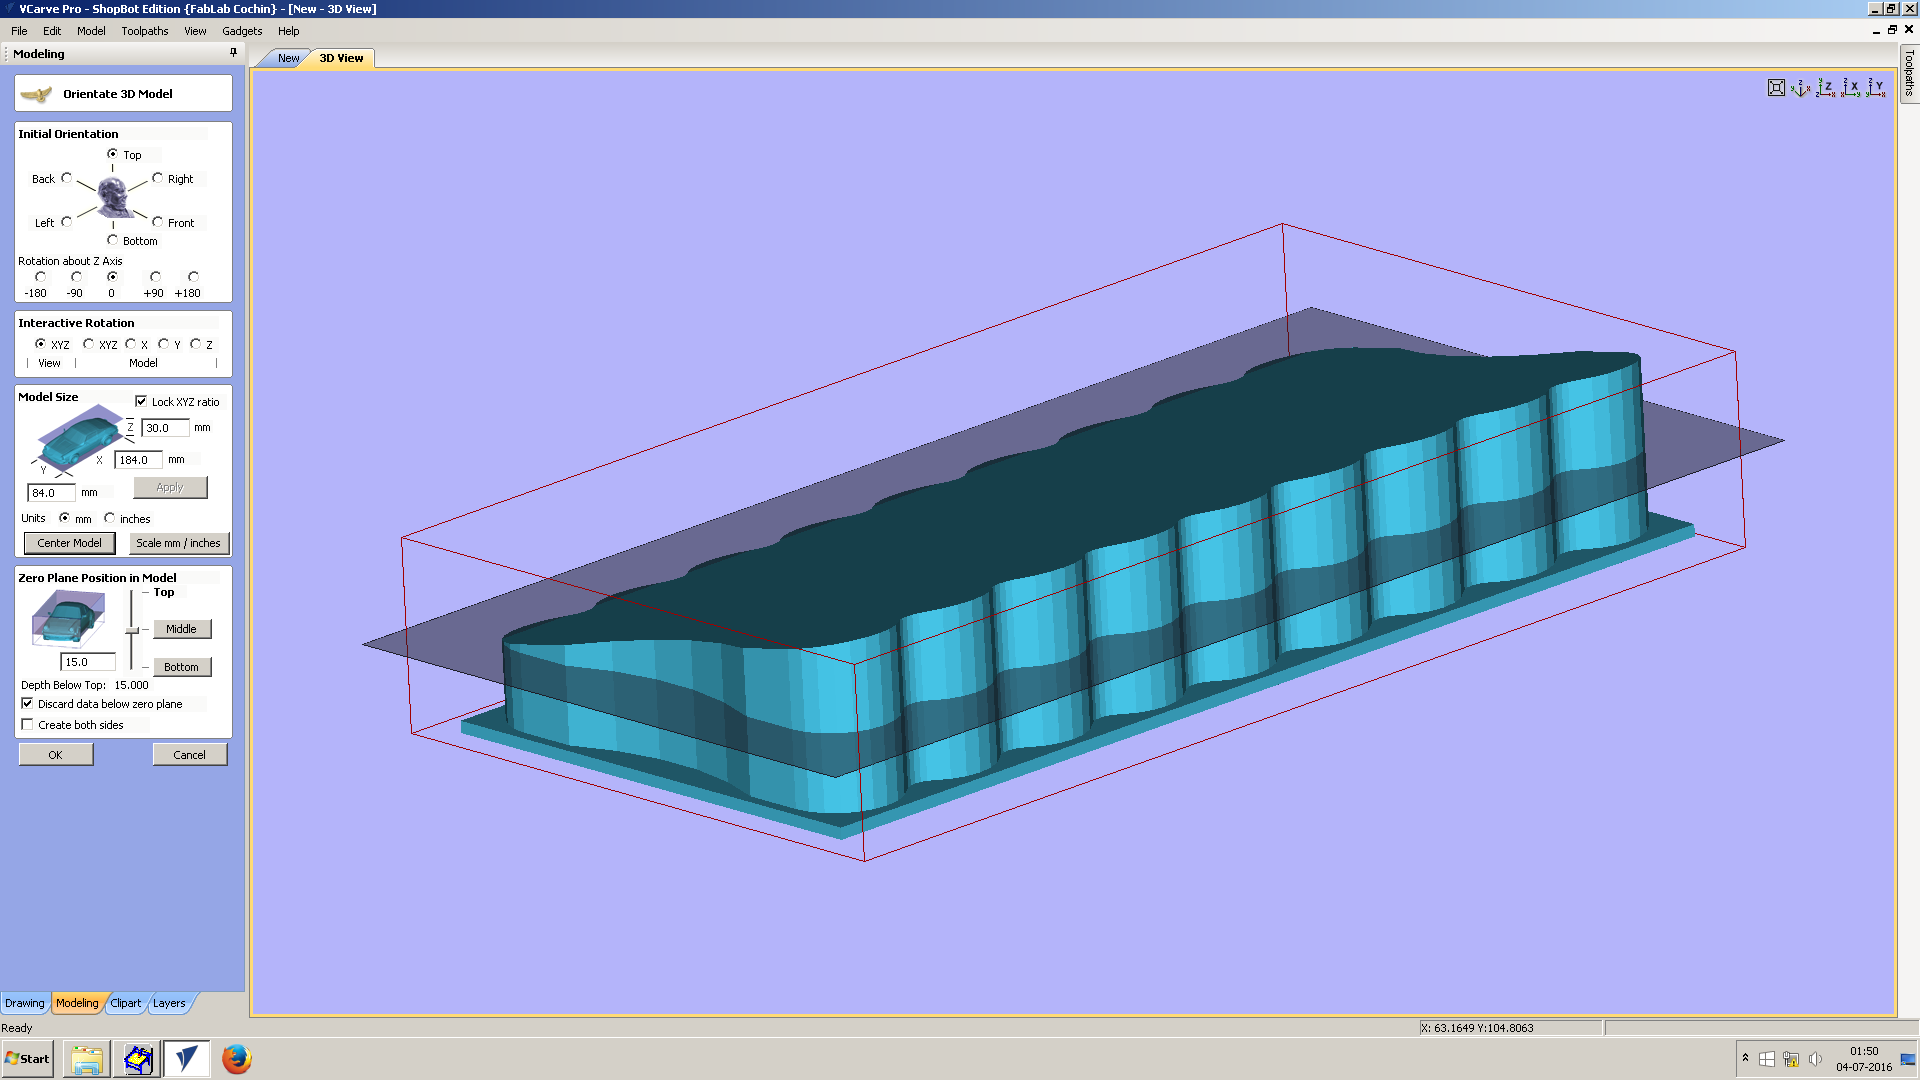
first specifie pattern's diamension,then did set orientation,using the option 'Center Model"did make it center.Next selected top" option in Zero plane position in Model window
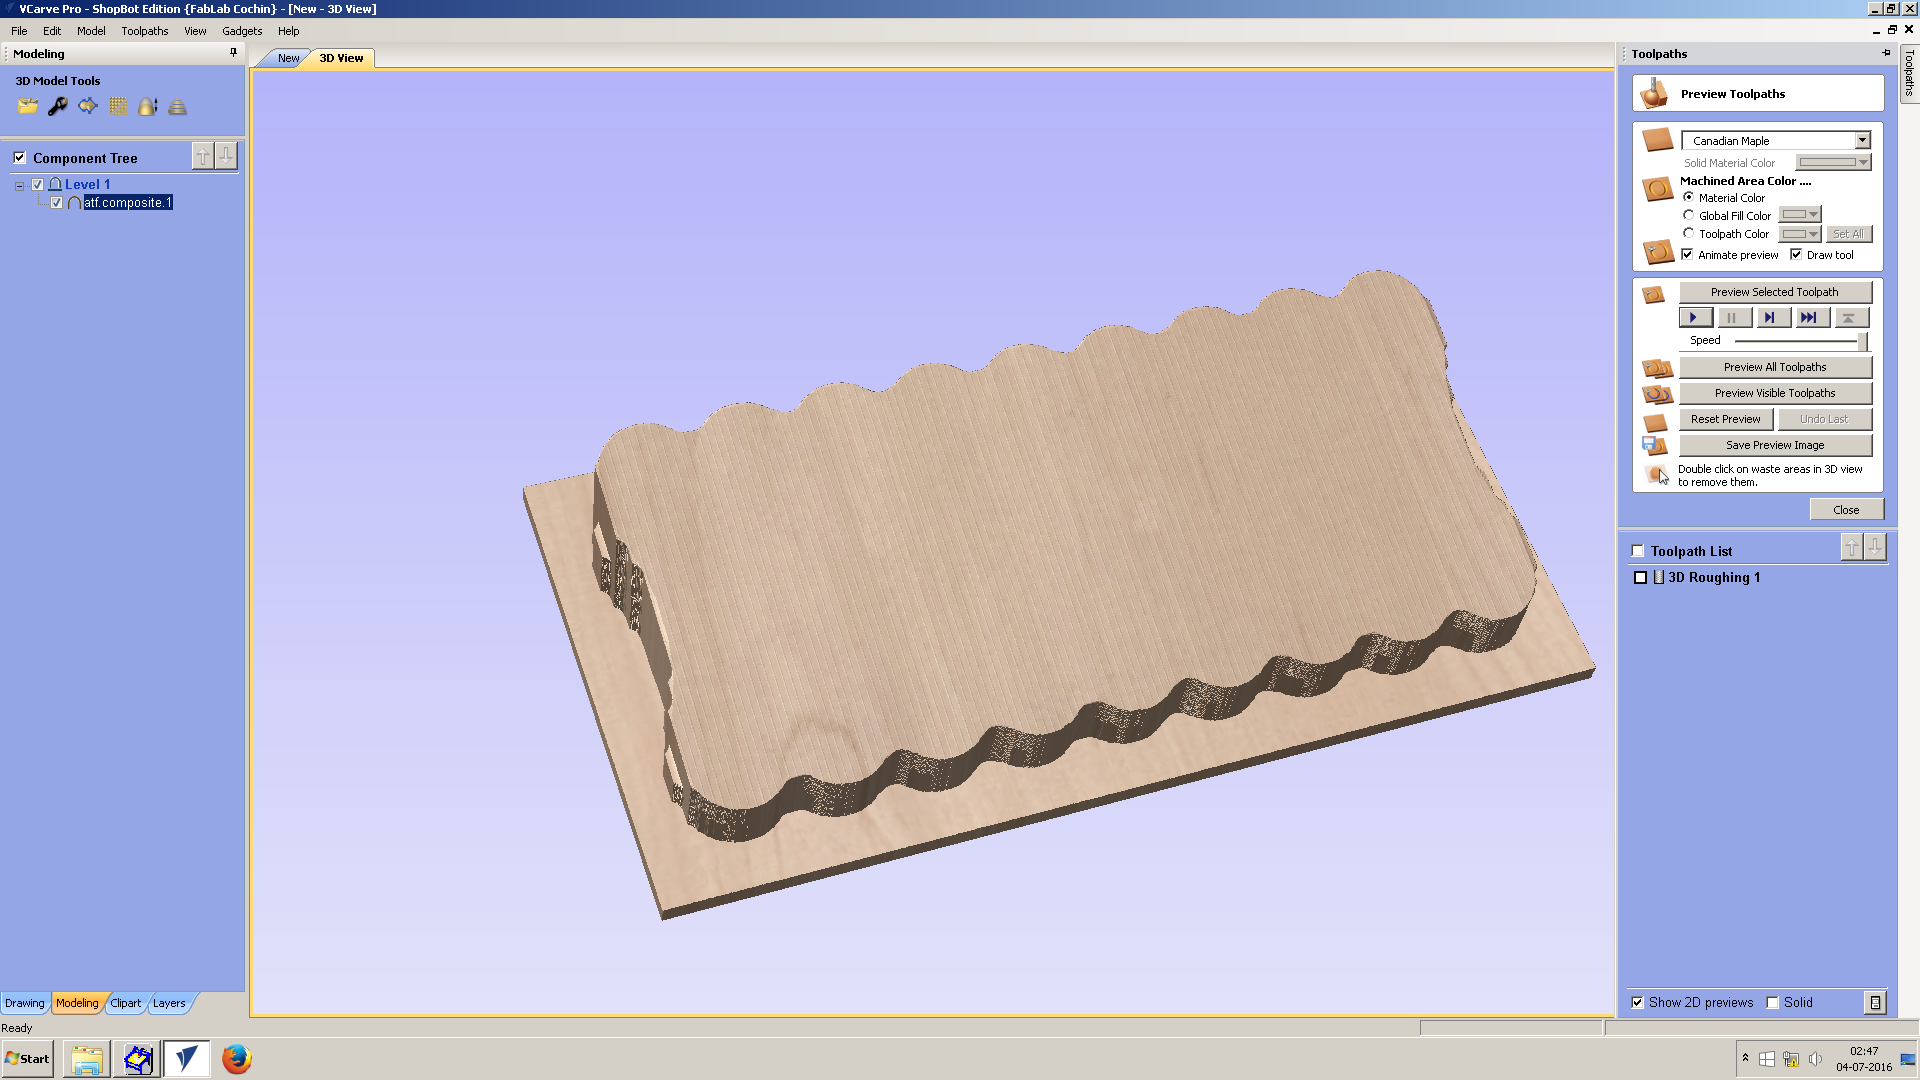
Next process was for Fine finishing and Rough finishing,for Fine finishing ,generated toolpath,then finish toolpath and combined it together then saved it. .
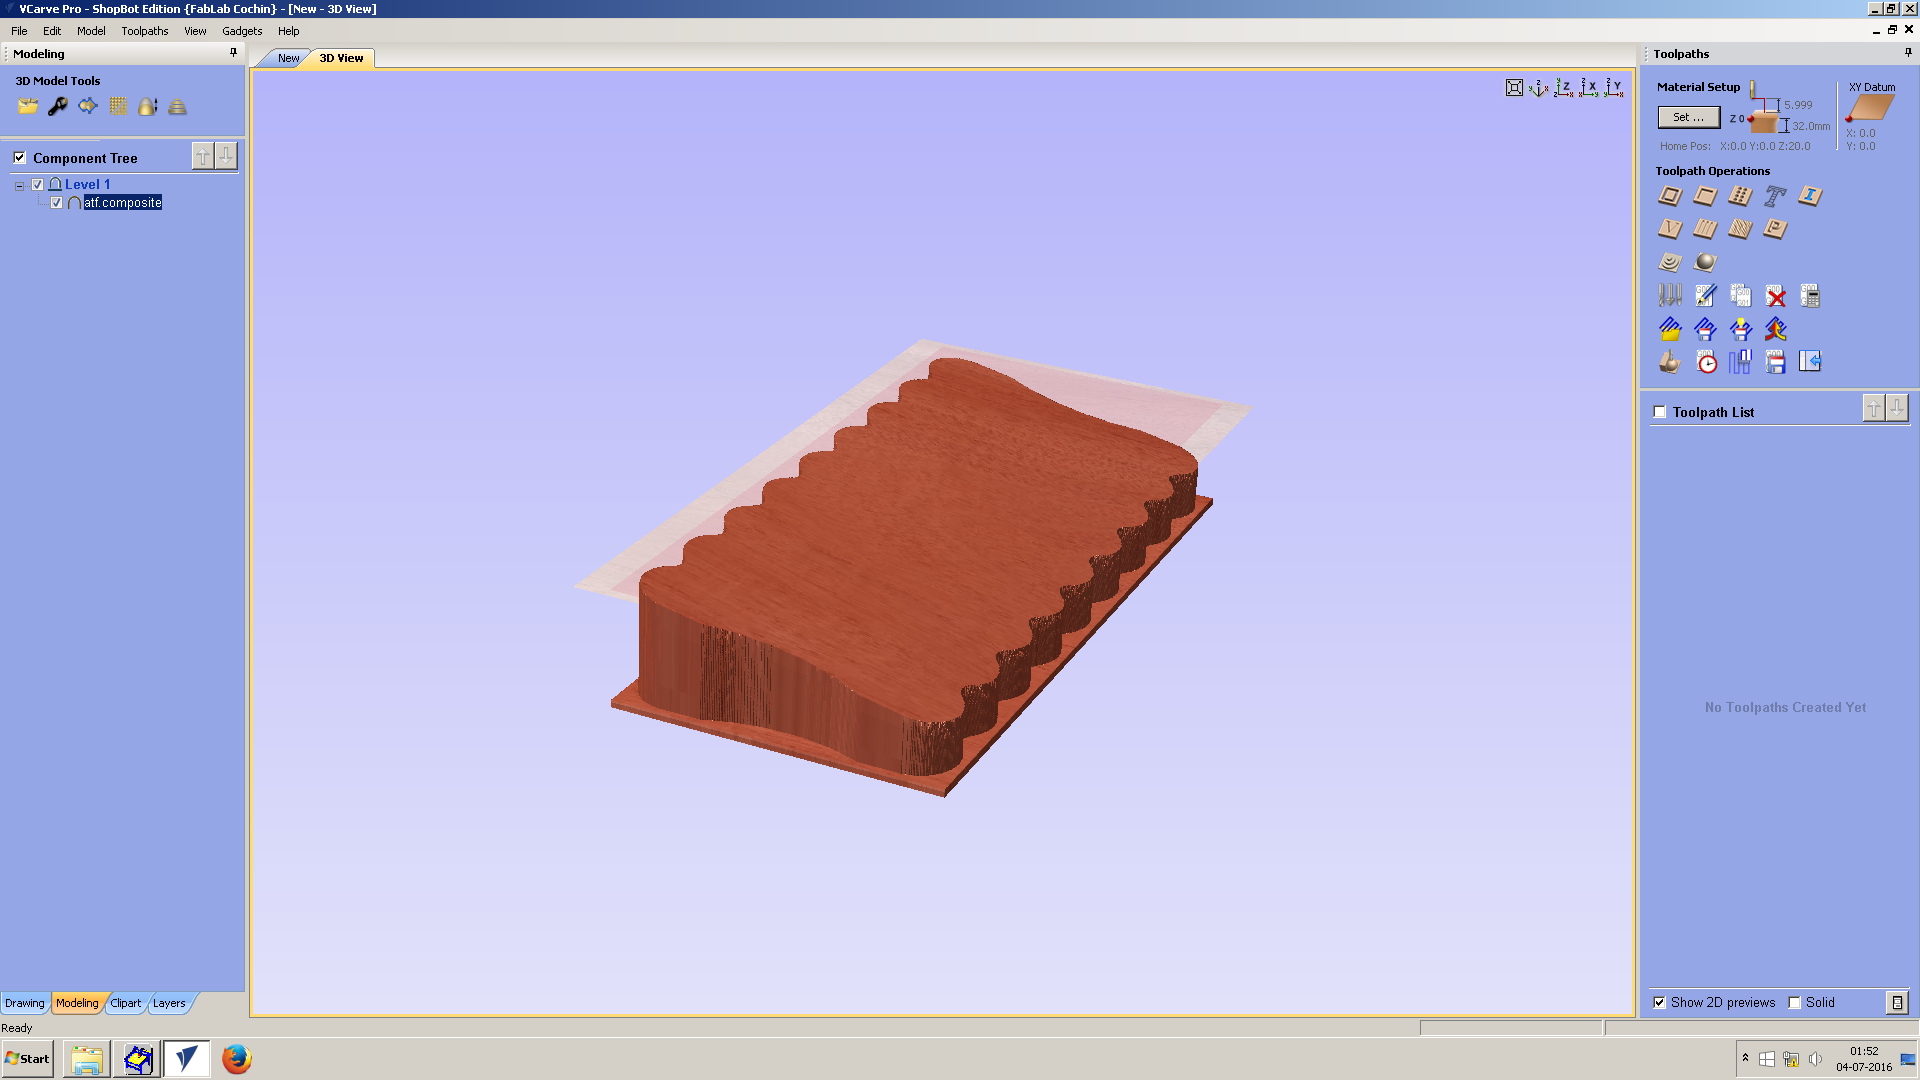
This one is render view of milling operation which is going to process,i feel like it is almost ok.

After finishing all the above steps,warmed up shopbot and set for milling,started milling,before sarted milling i had to cut wood peice and fix it on shopbot bed using screw.for cutting process used 1/8mm four flute tool.
Producing the fiber composite part in it

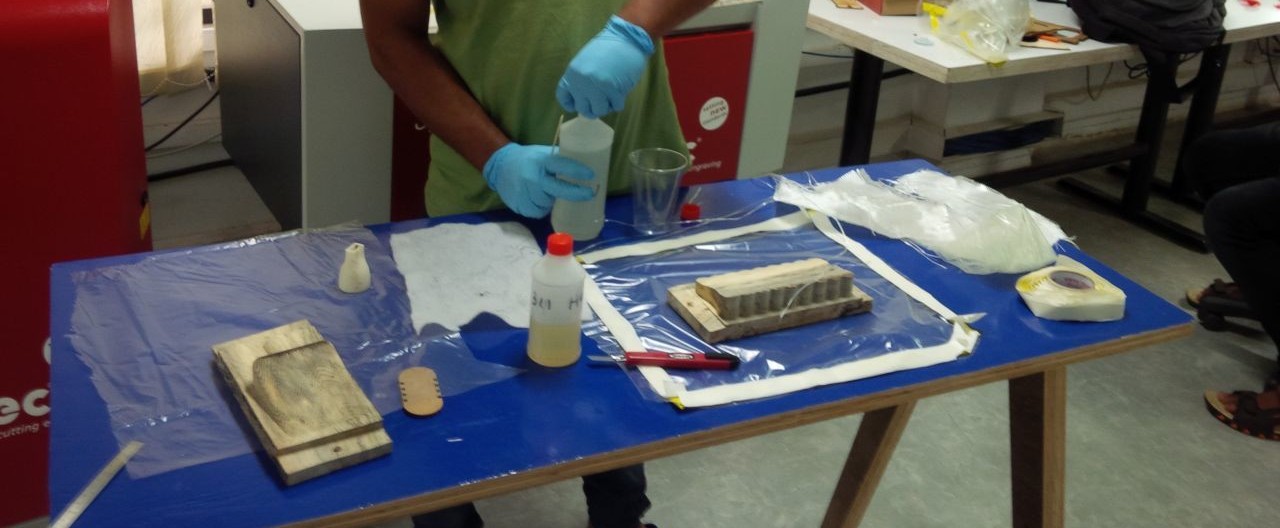
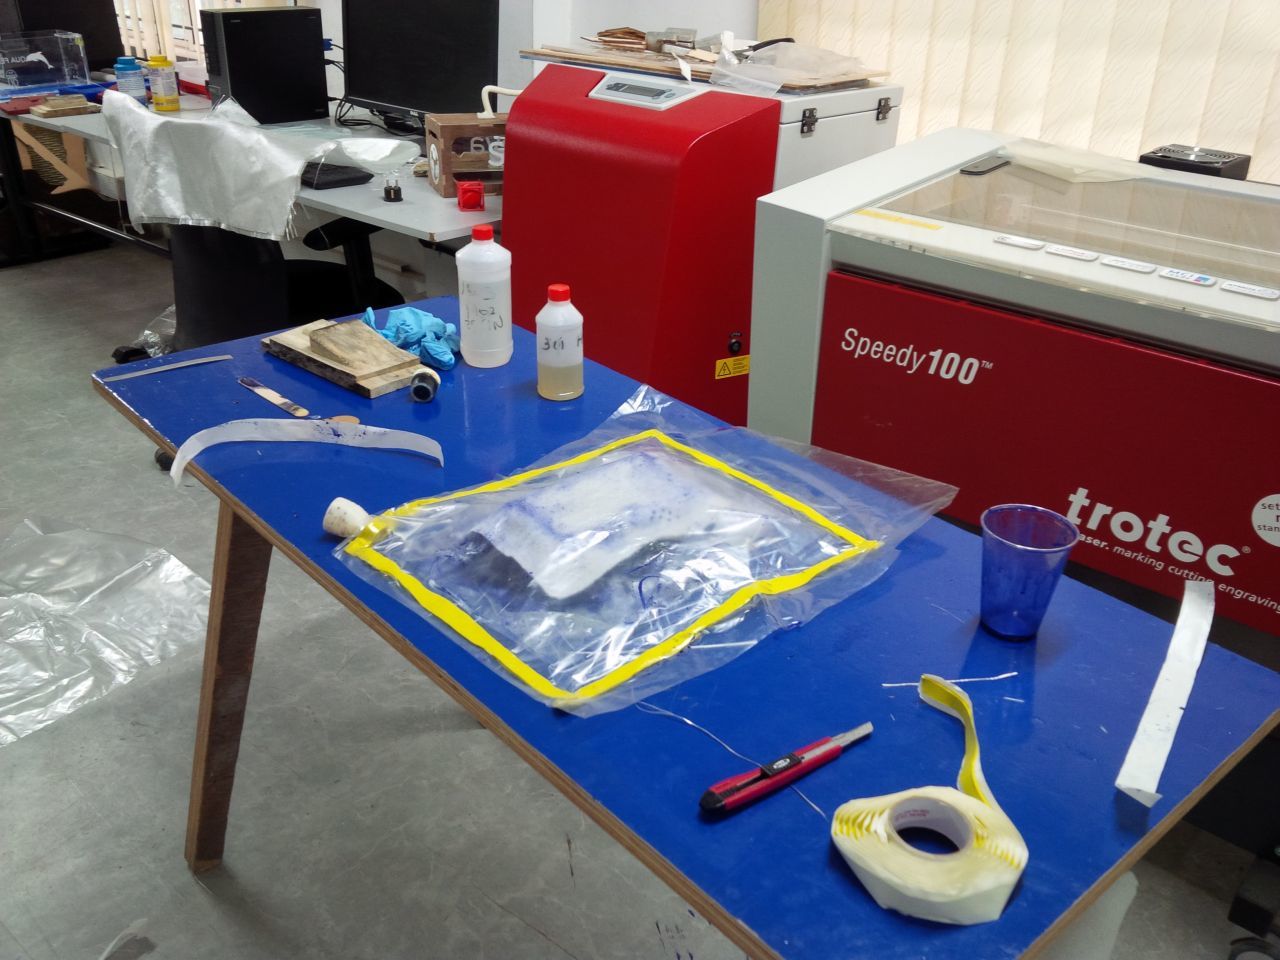
Arranged the basic things required to complete this assignment on the desk.
- Resin and hardner.
- CNC cut wood mold
- Vaccum bag film.
- Sealant tape.
- Breather fabric.
- Woven rovin fiber.
- 3D printed vaccum nozzle.
- Transparent porous film.
- Pen knife

Sourced this resin and hardner from a local shop in Ernakulam. I am planning on using a blue stainer to add blue colour to the transparent resin and white rovin material.
Disposible cup was used to combine resin and hardner.
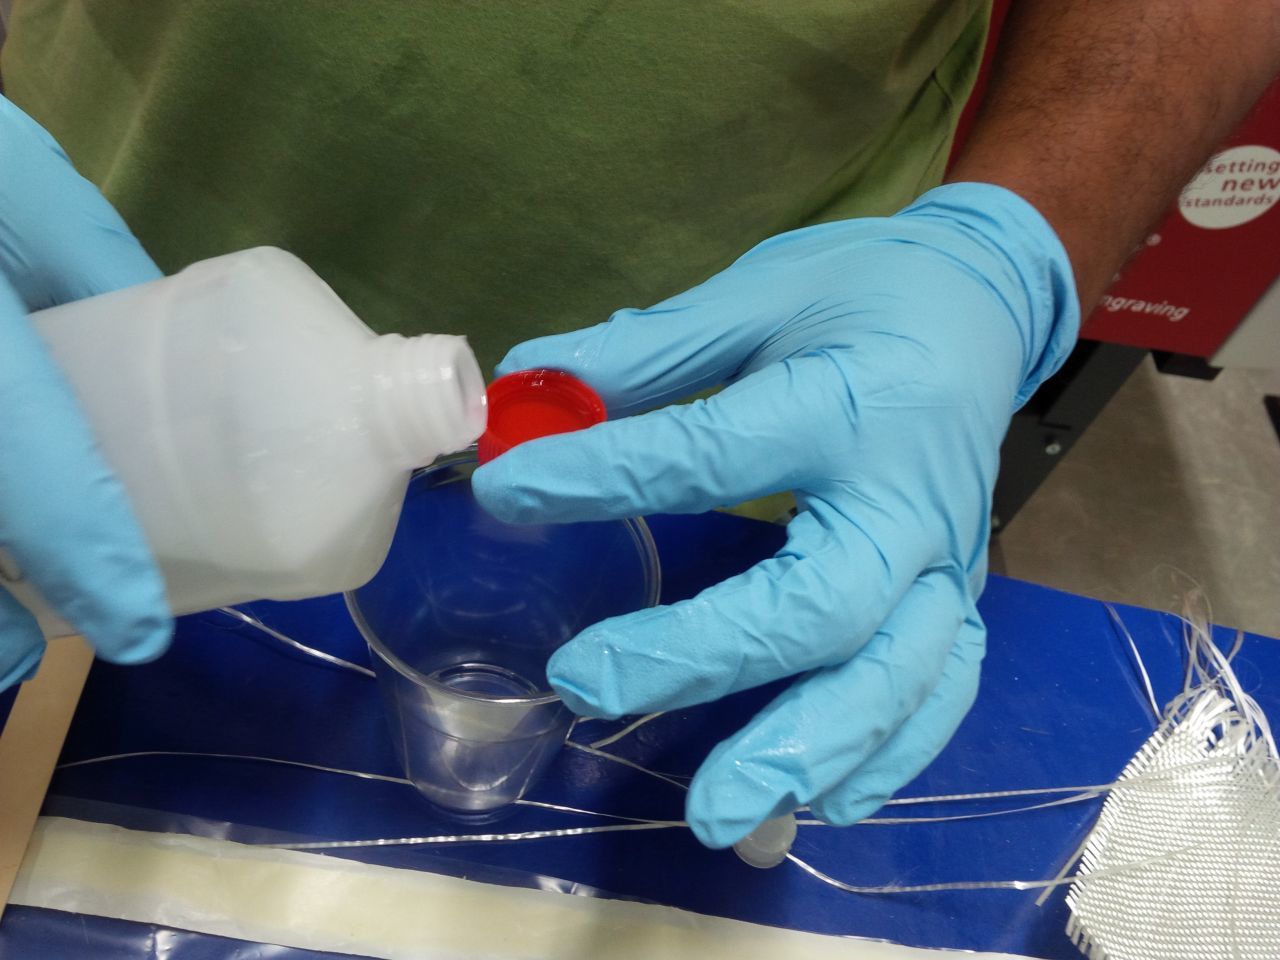
Measure resin and hardner in the ration 10:1 using the bottle cap and mixed it thorughly using stirrer and added a drop of blue stainer.
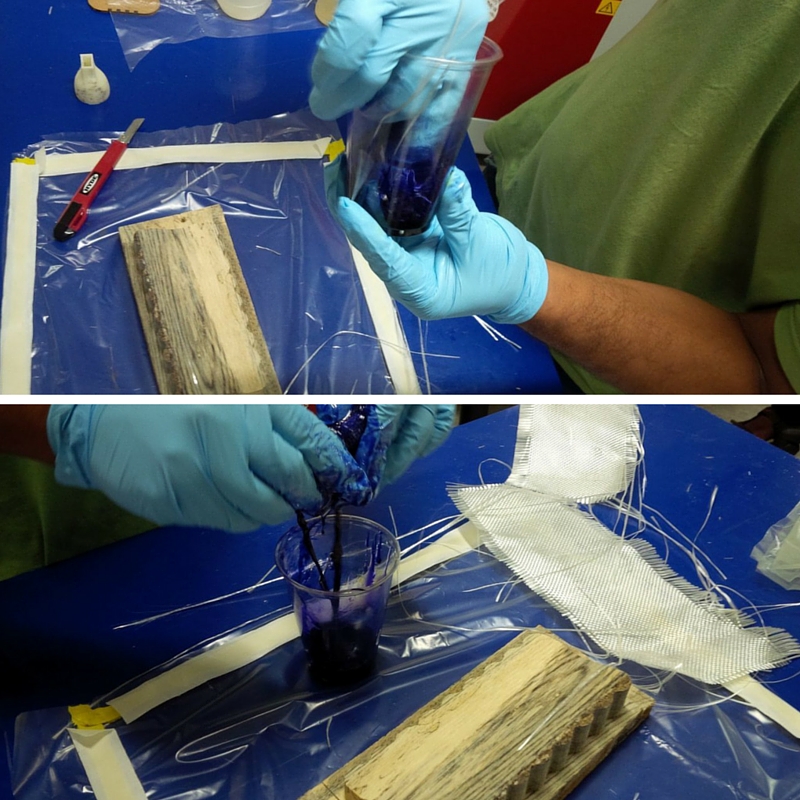
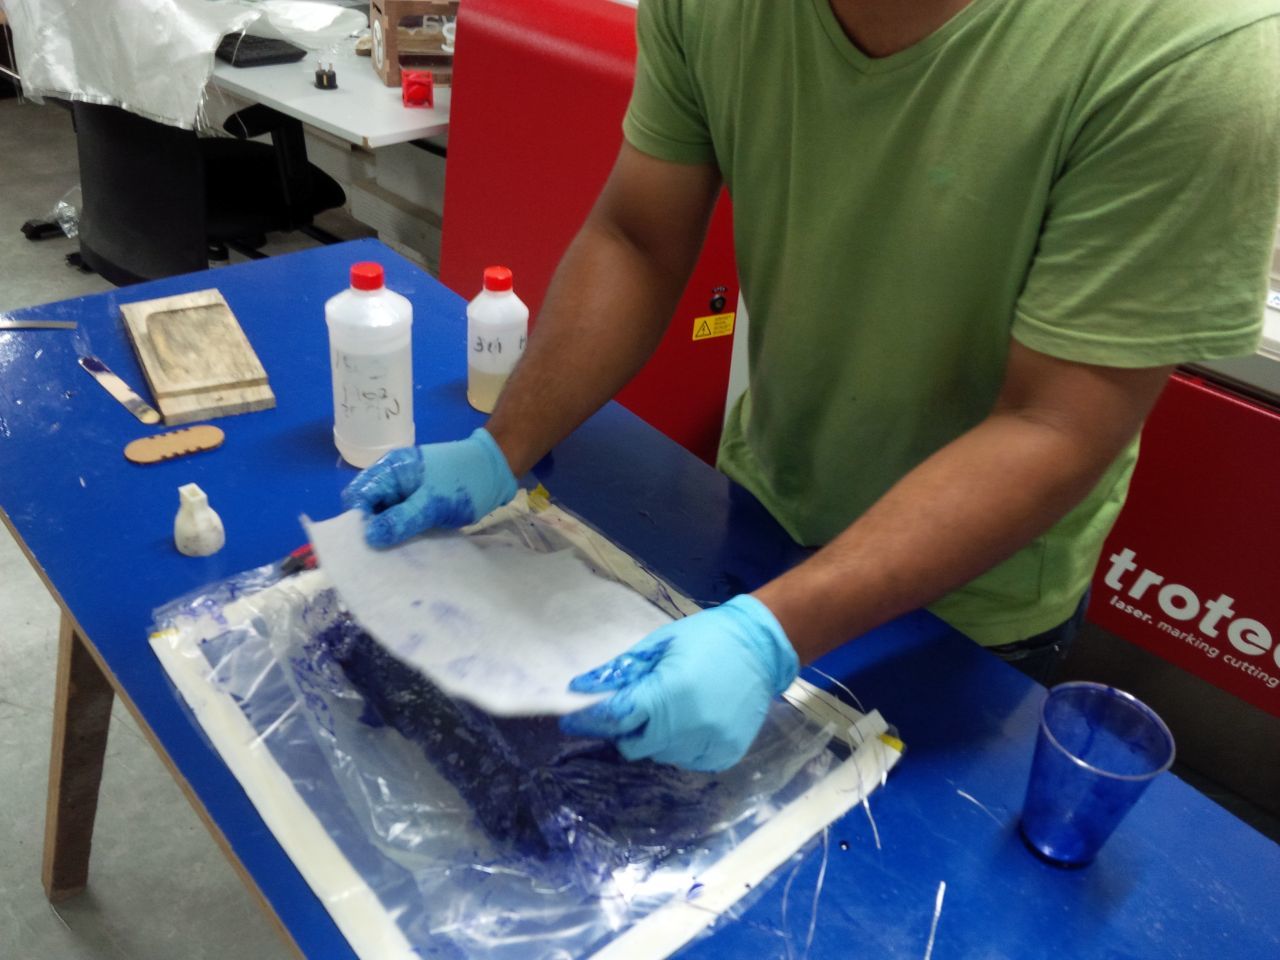
Soaked the custom cut rovin material in the resin-hardner solution. Squeezed the excess solution out and applied porous transparent sheet over the mould to prevent the final product from sticking to the mould.
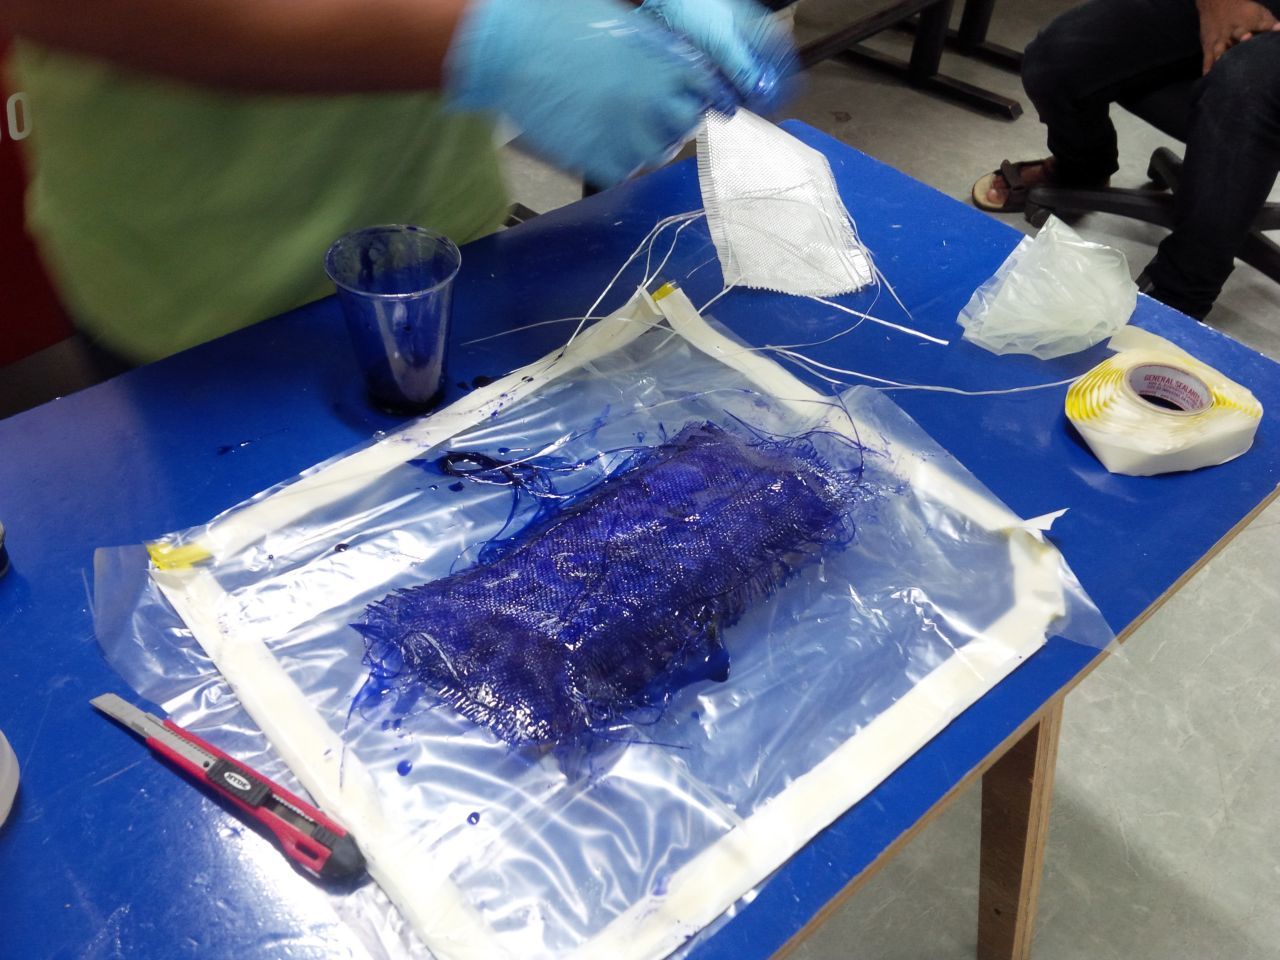
Added a layer of rovin material taken out from the resin-hardner solution.
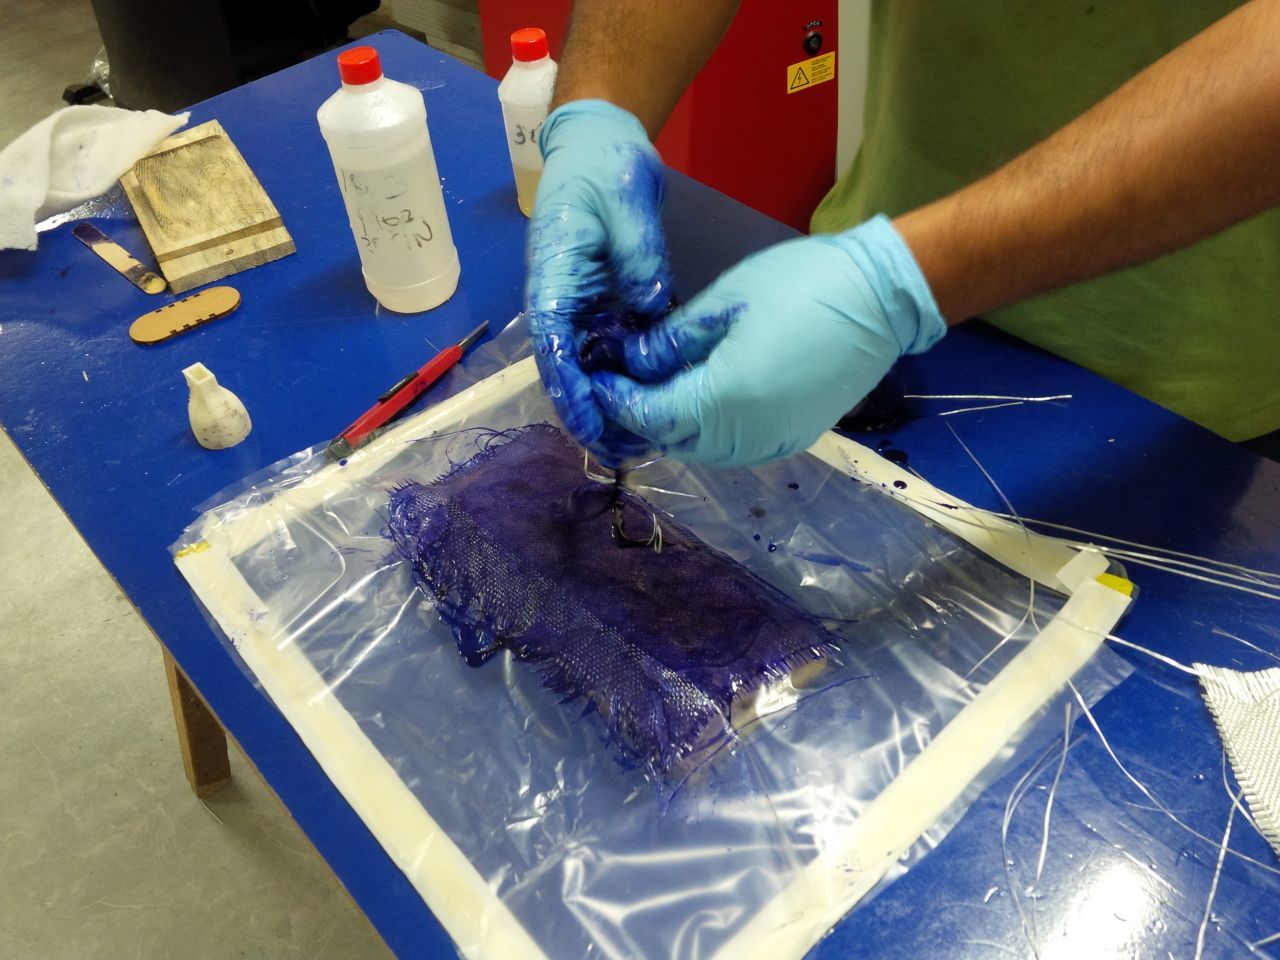
Repeated the process by adding two more layers of rovin material one over the other.
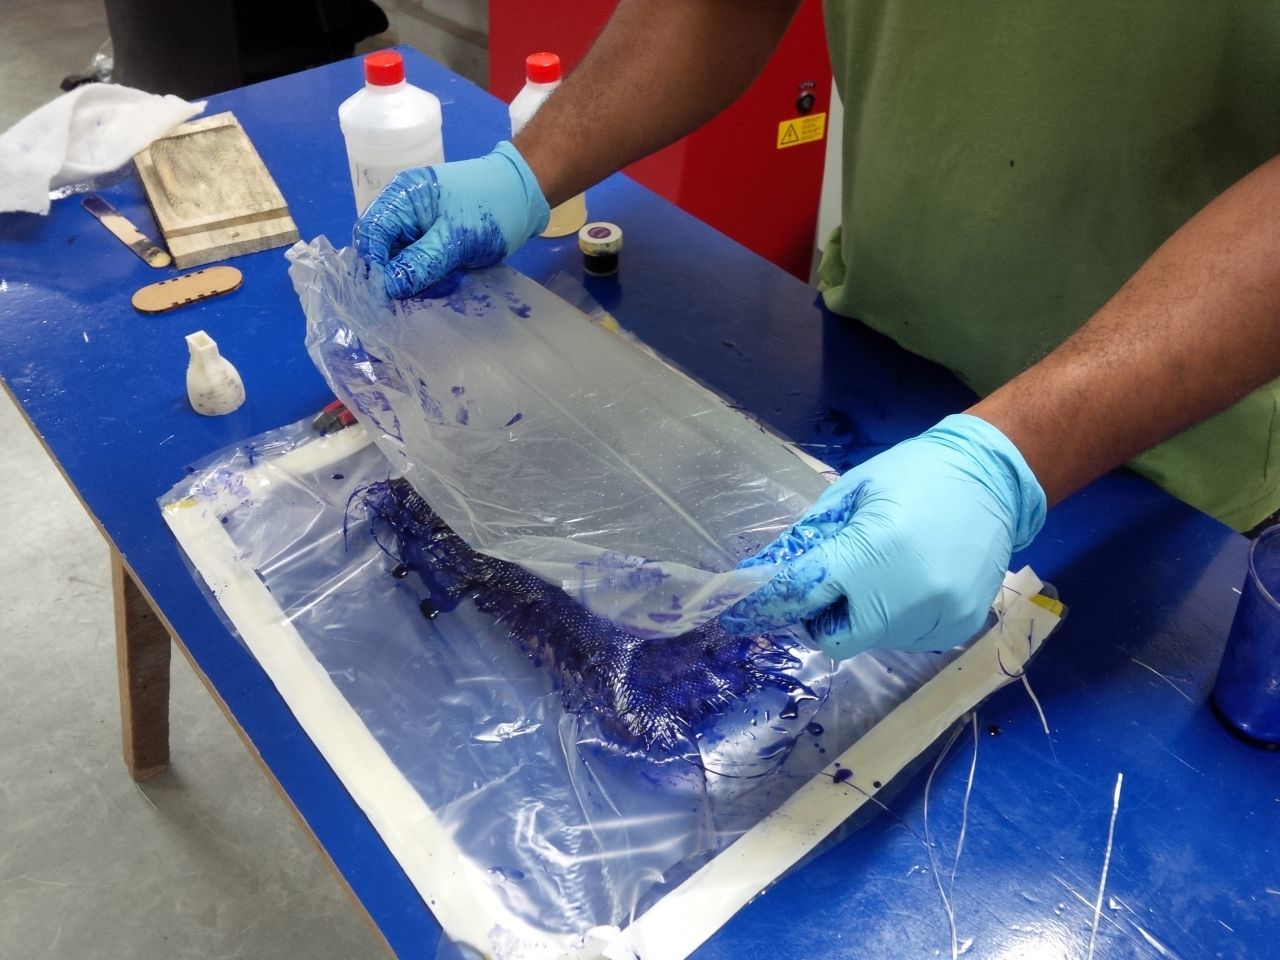
Next, I added another layer of the porous transparent sheet which will prevent the final product from sticking to the breather fabric.
Added a layer of breather fabric.
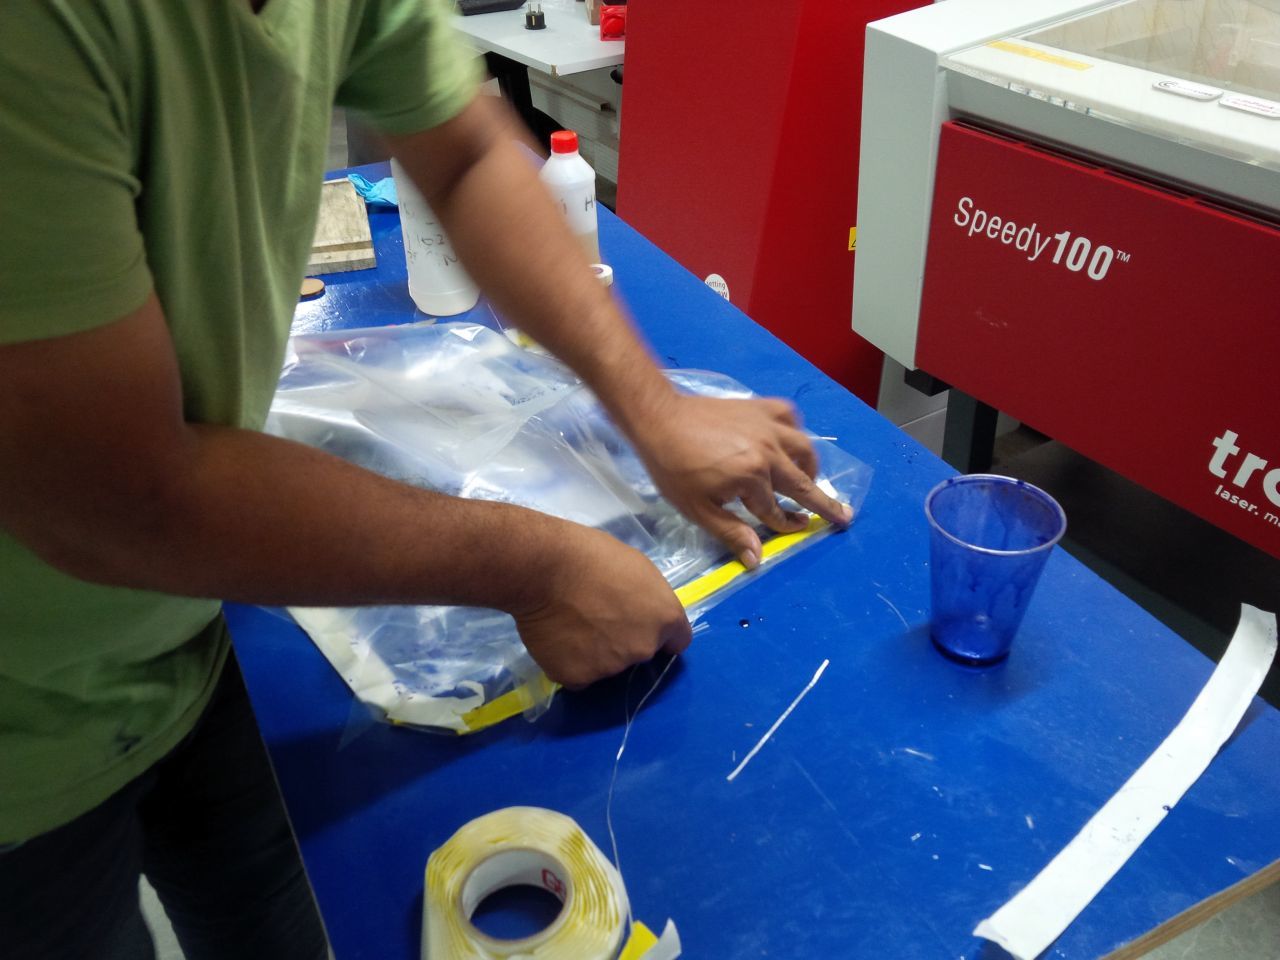
I removed the covering paper from the sealant tape.
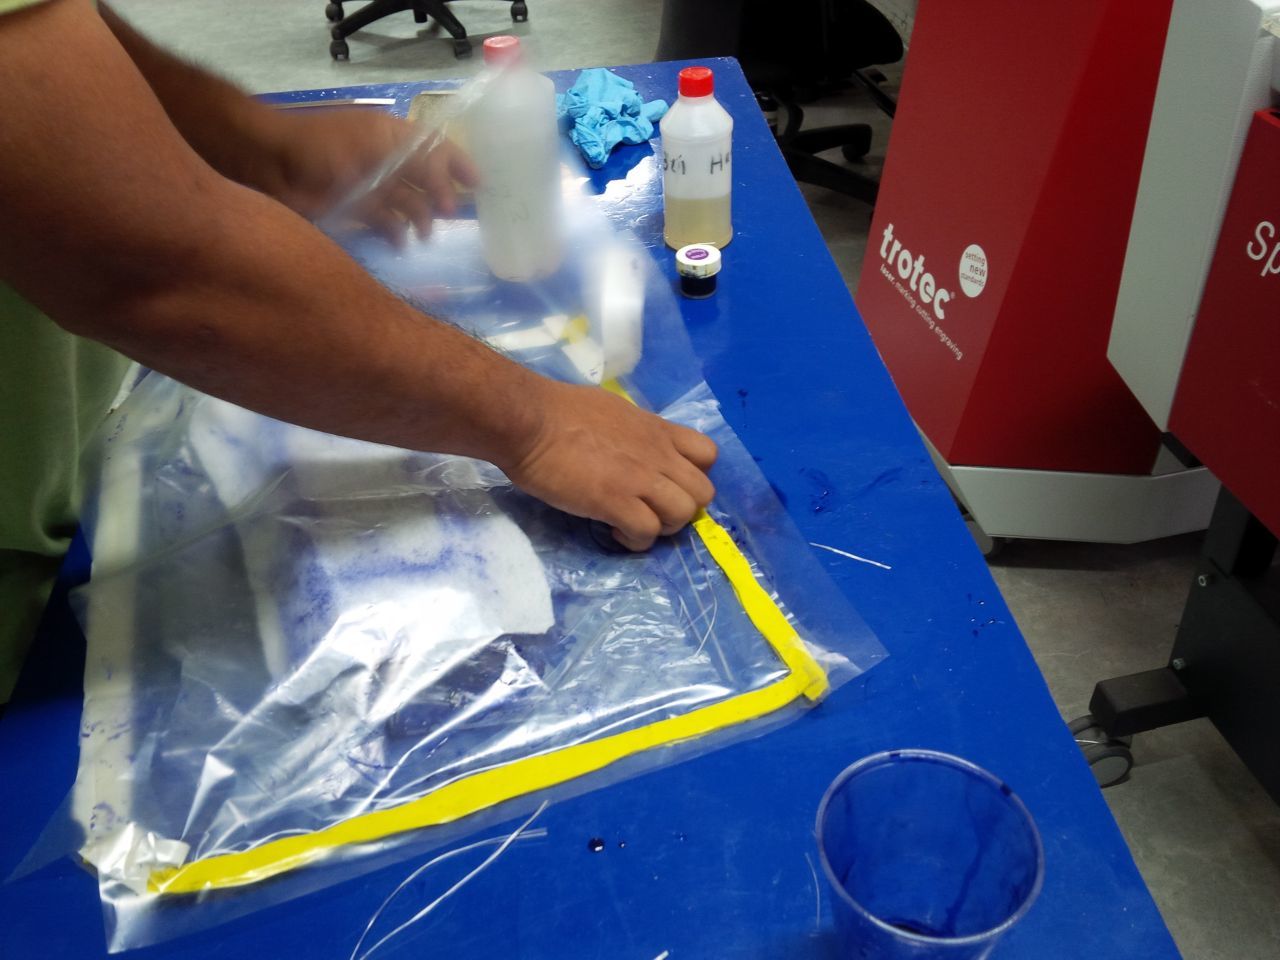
Next, I added another neatly cut layer of the vaccum bag film and ensure that the boarder sticks perfectly onto the sealant tape.
Repeated the process at the four sides of the custom vaccum bag.
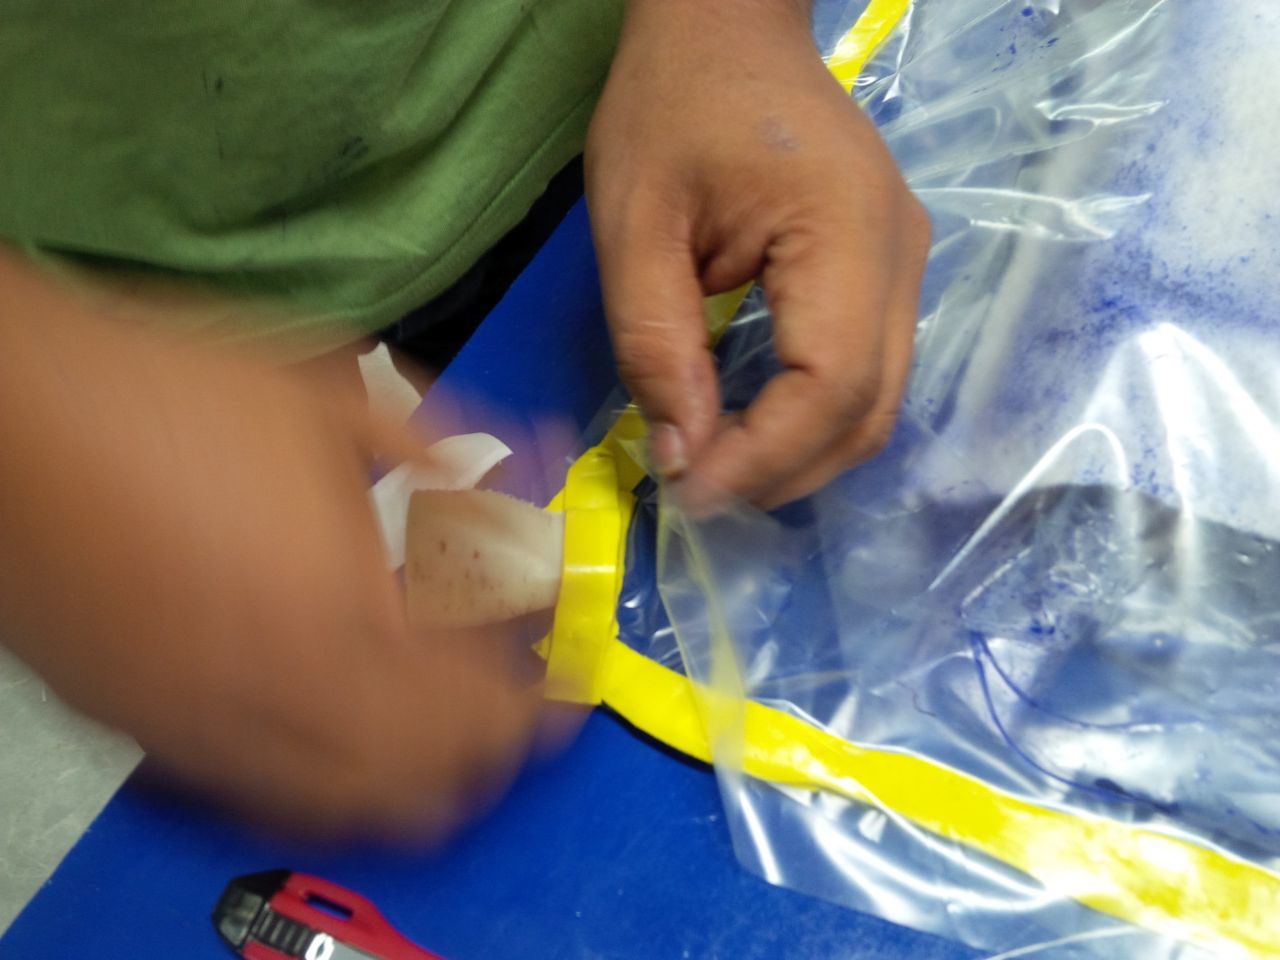
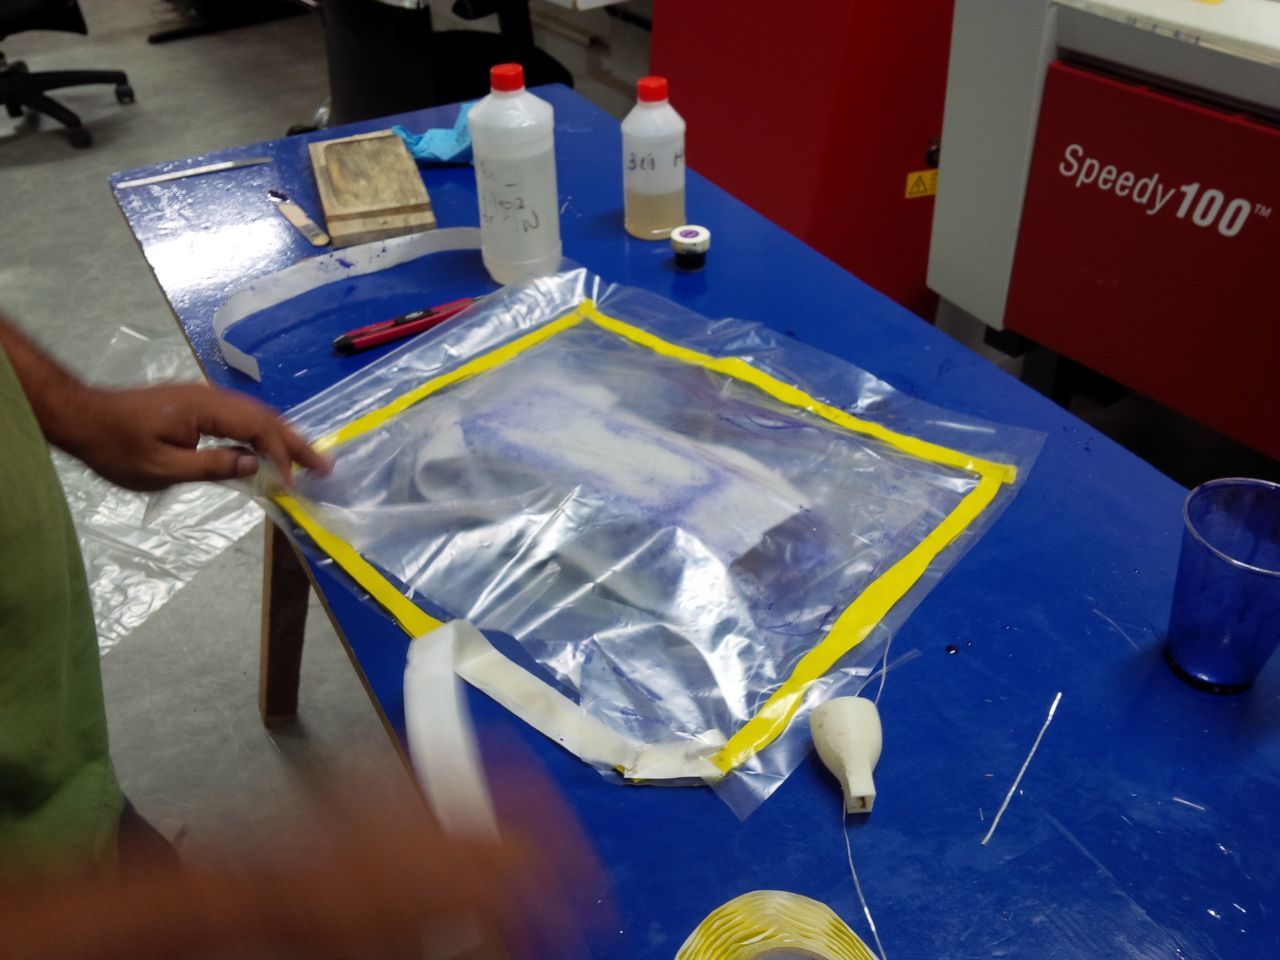
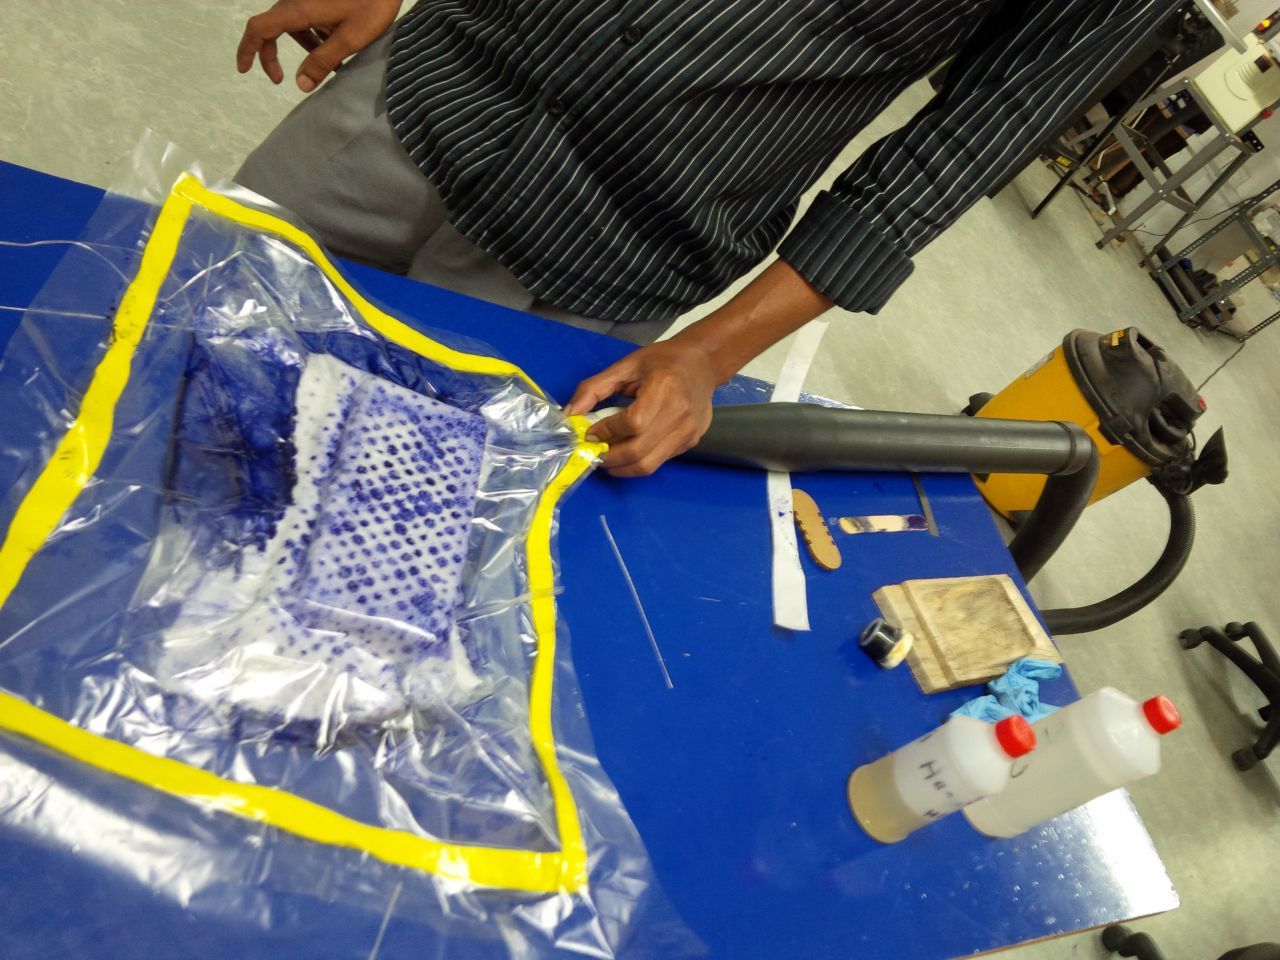
Inserted the 3D printed nozzle which leads to the vaccum pump on to one edge of the vaccum bag. I made sure that the end of the nozzle was kept between two layers of sealant material and the edges were sealed tightly so that air does not escape through the edges.
The vaccum bag setup was all set and ready to be connected to the vaccum pump.
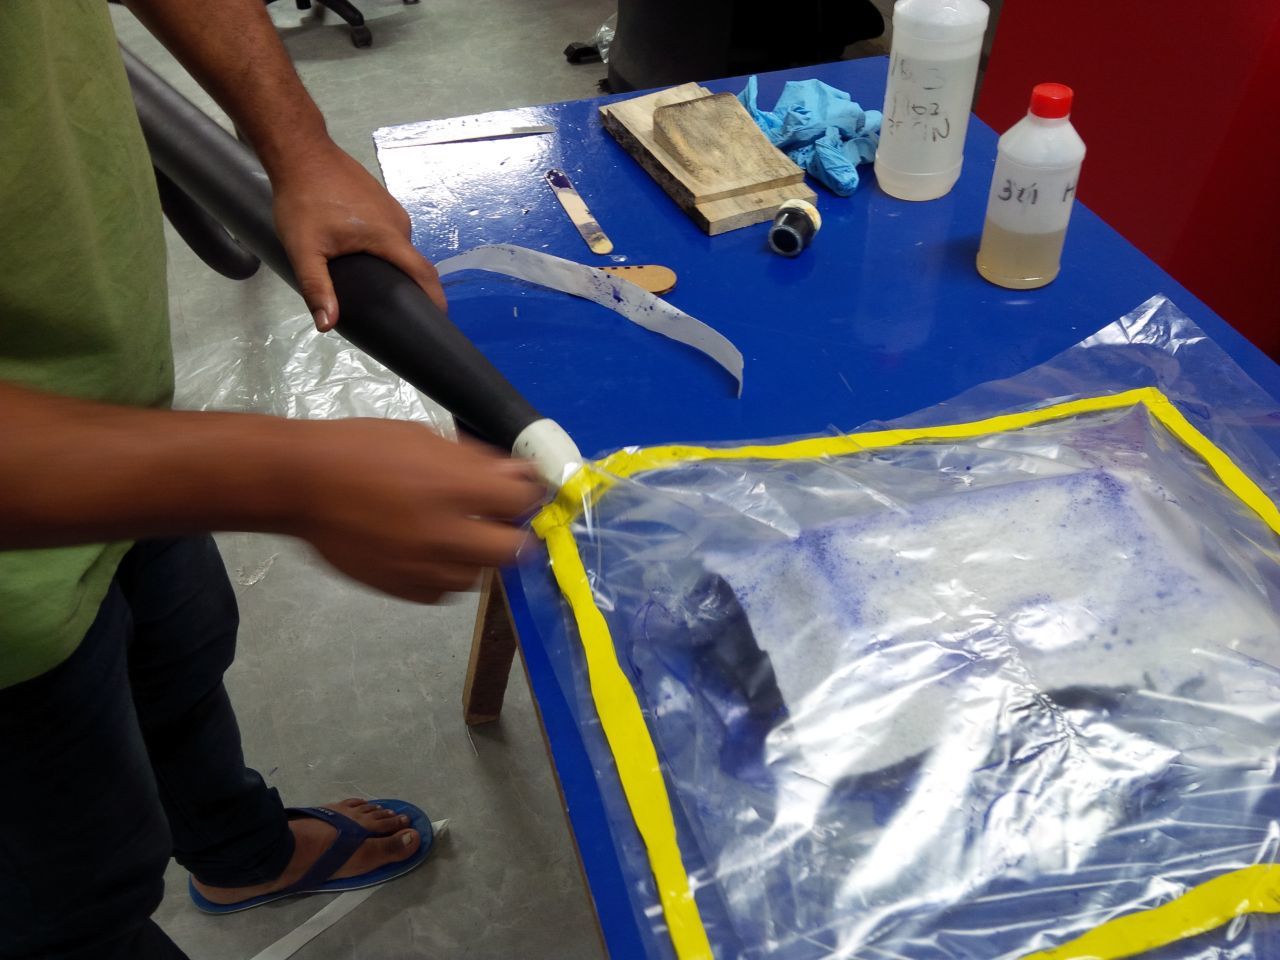
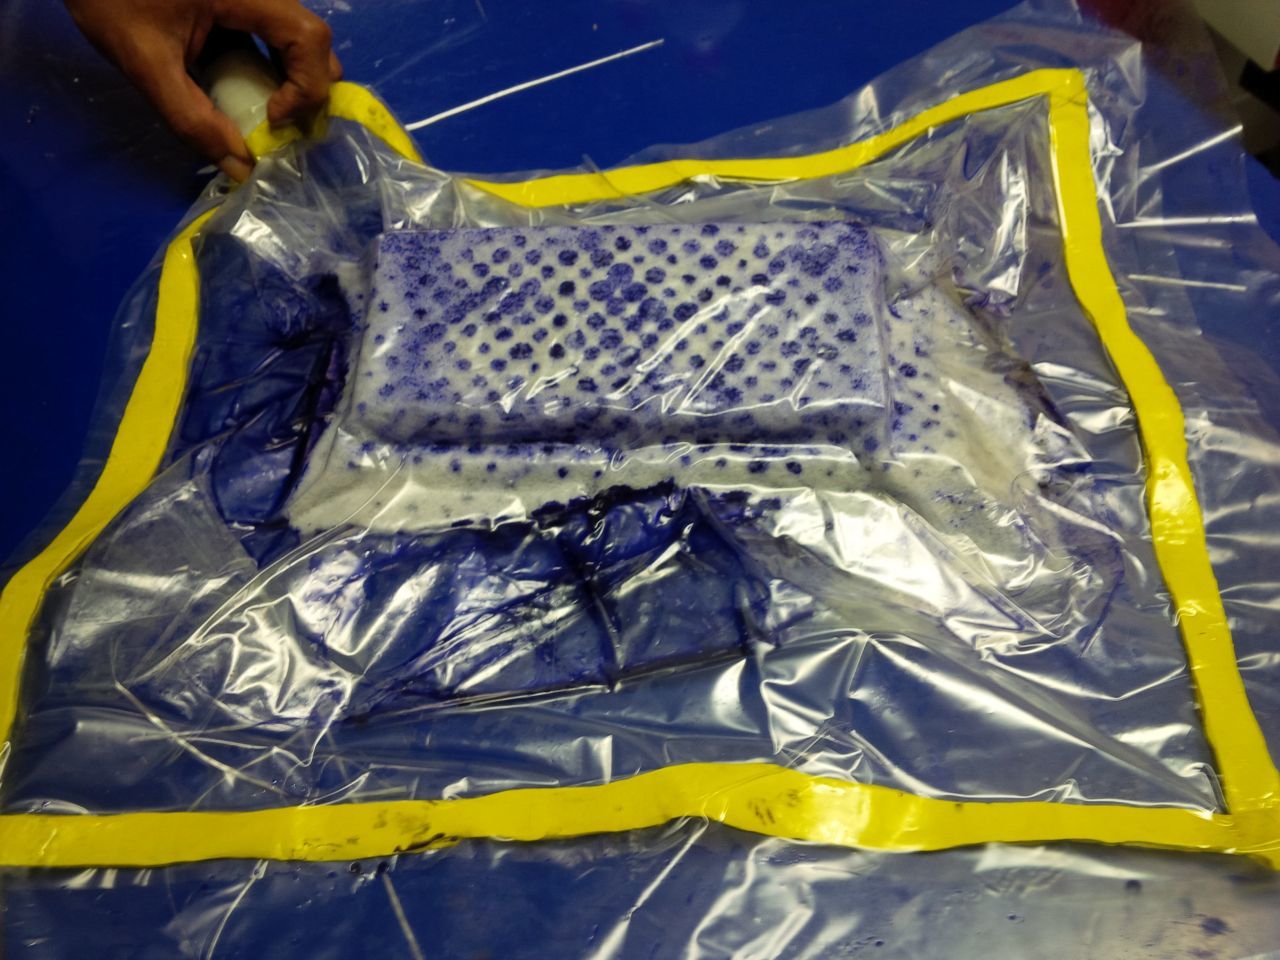
connected the vaccum pump to the 3D printed nozzle.
Switched on the vaccum pump.
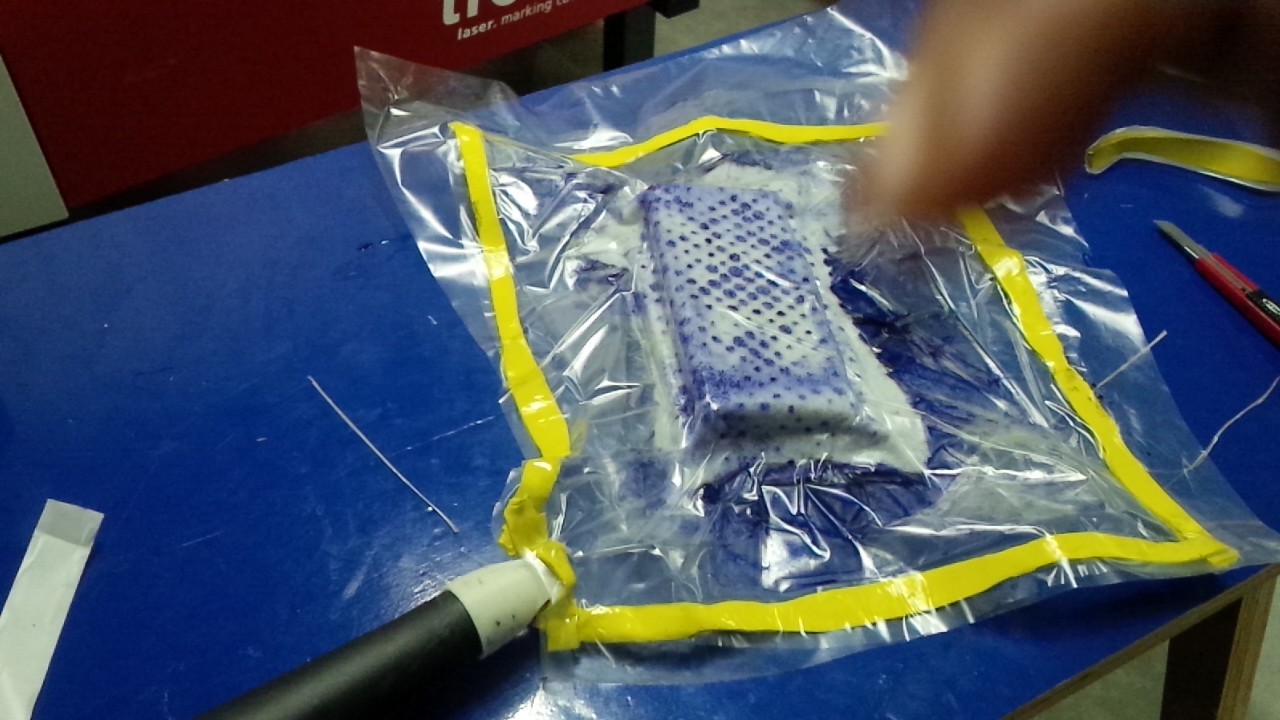
Within a coupld of seconds, the different layers were pressed tigtly to the wodden mould due to vaccum pump action.
I kept the vaccum pump in switched on state for the next one hour.
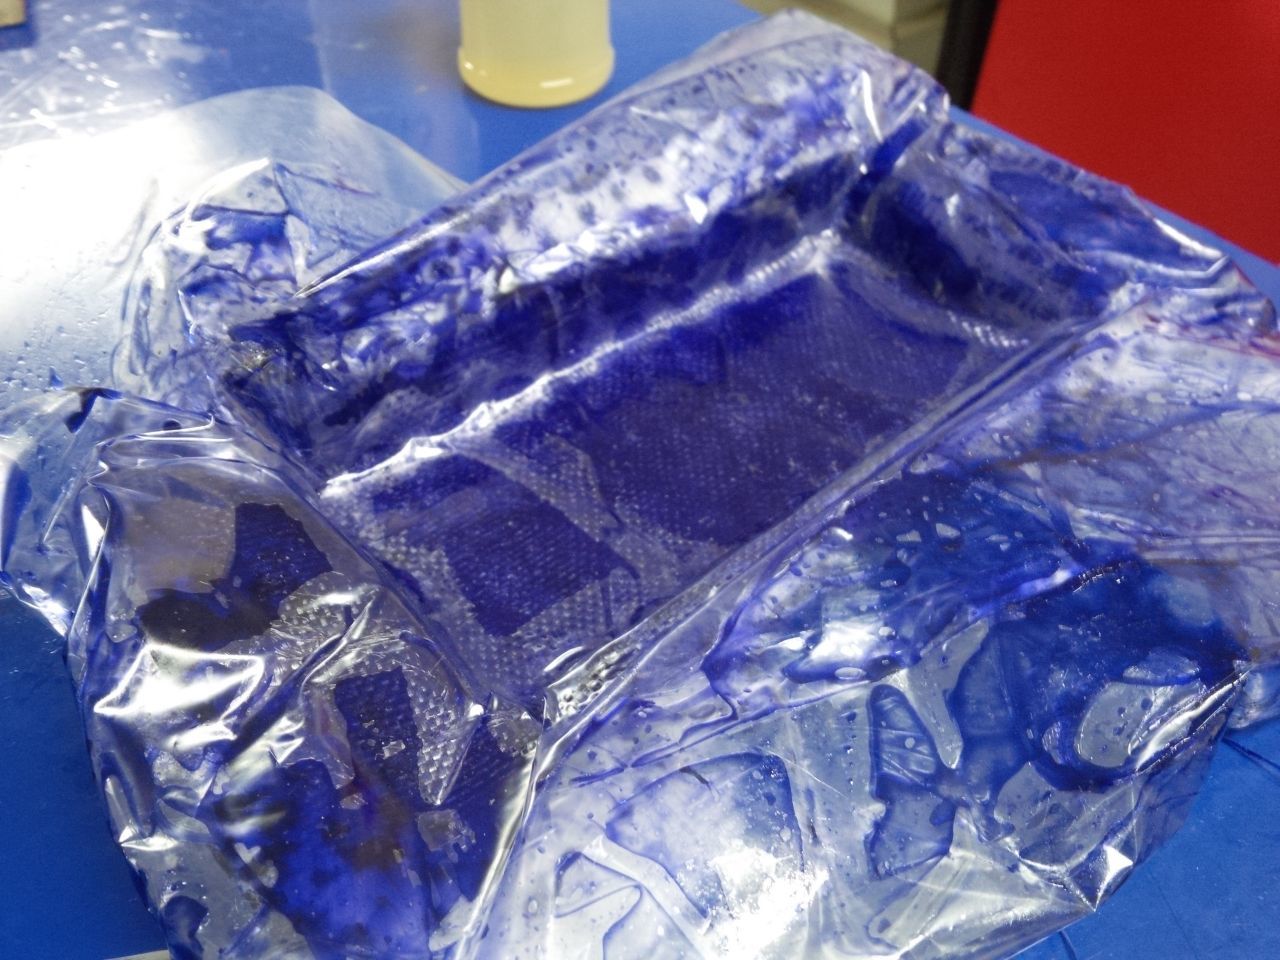
After one hour, I switched off the vaccum pump, removed the seal of the vaccum pump and seperated removed the layer of breather fabric and porous film.
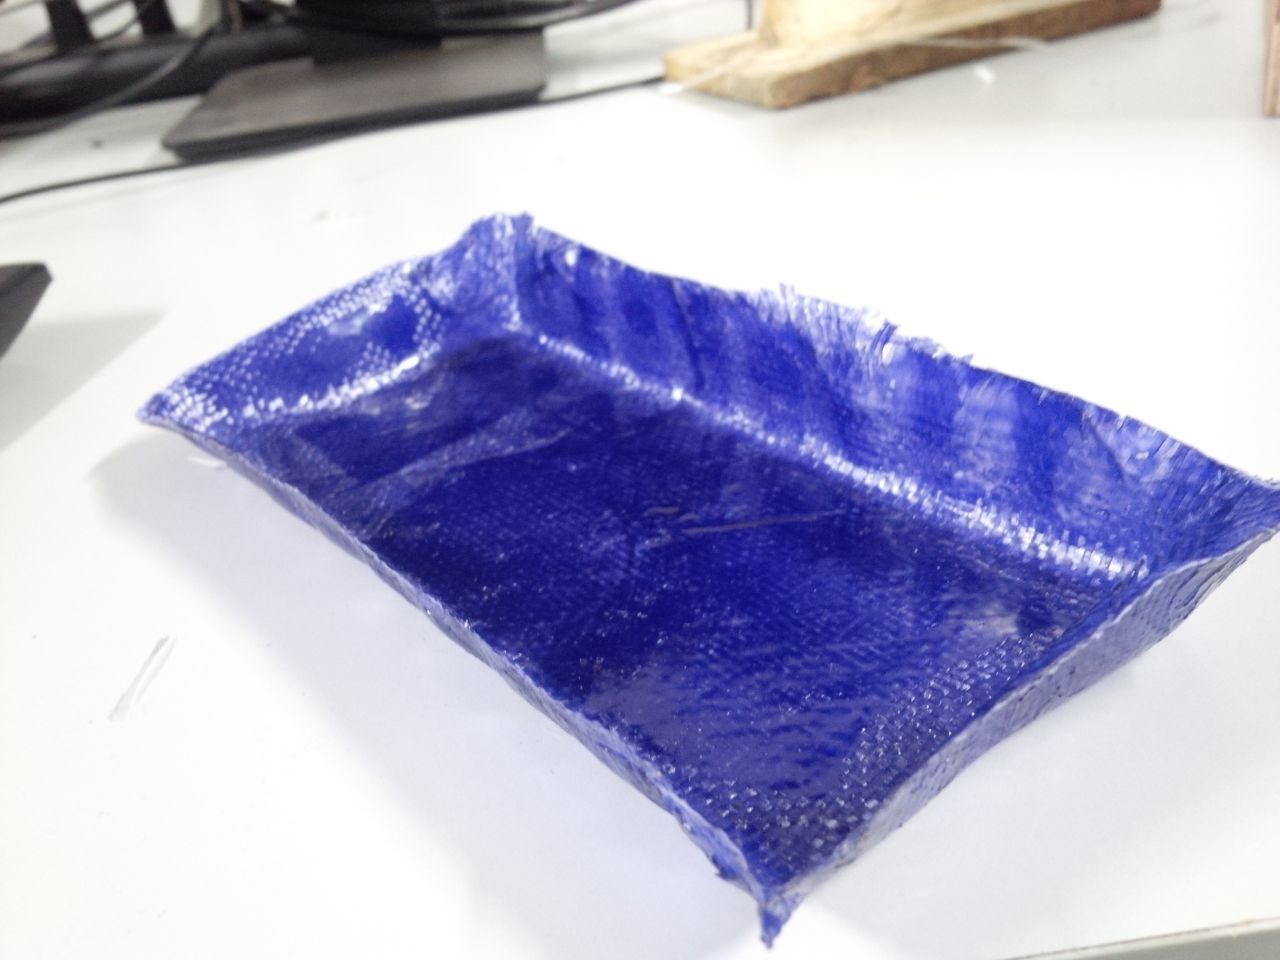
Now I have a blue coloured, firm and solid composite tray.