Week 3 :Computer-controlled cutting
I was very excited to learn about laser and vinyl cutting. The precision that one can achieve by feeding a file to a laser or vinyl cutter demonstrated to me why I need to work on my CAD skills. If you can make a good design, these machines can turn them into reality very quickly and effectively.
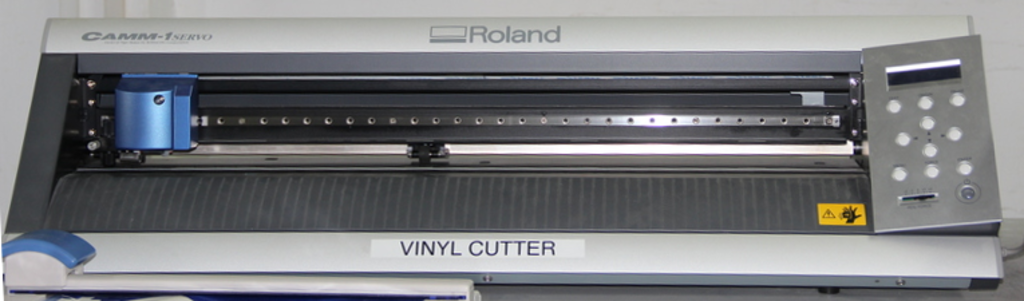
Vinyl cutter
The Roland CAMM-1 Servo vinyl cutter uses a small knife to precisely cut the outline of a picture into a sheet or piece of vinyl. The knife moves side to side and turns while the vinyl is moved beneath the knife. What results from the cut process is an image cut into the material. The material is then 'weeded' where the excess parts of the picture are removed. It is possible to remove the positive parts, which would give a negative sticker, or you could weed the negative parts, giving a positive sticker. Removing the letters would be like removing the positive, giving a negative image of the word, etc
Working with Vinyl cutter
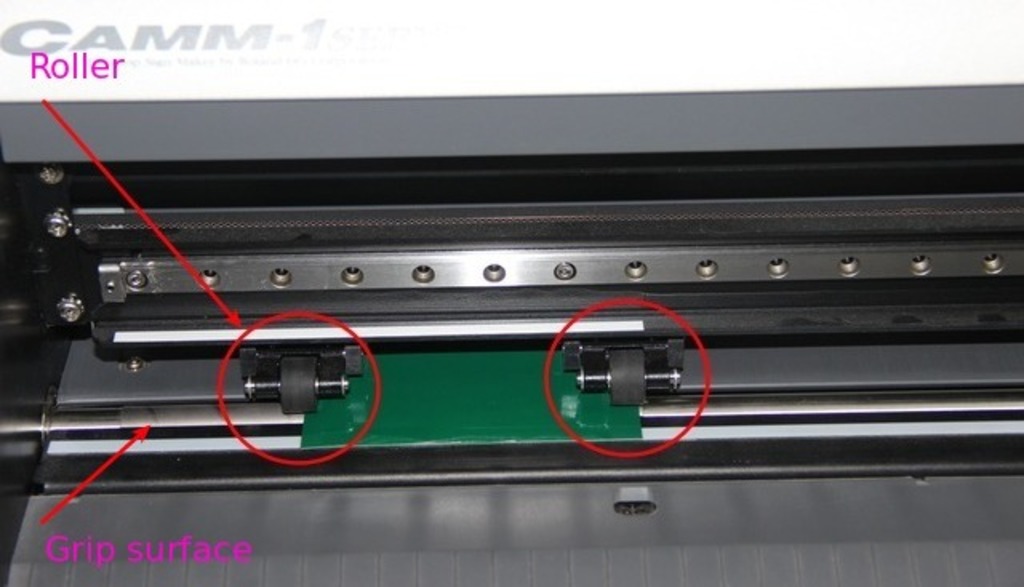
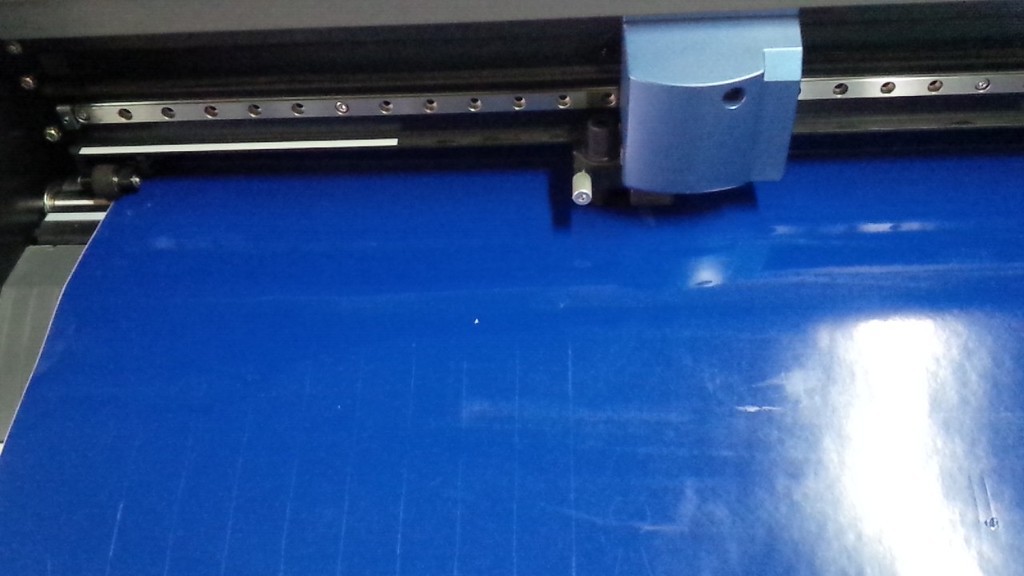
When you working with the vinyl cutter you must aware of the roll and grip position when placing your sheet, It have grip path on the driving road under the white line. So you must care about you a sheet and the wheel must align under the line.Then the only sheet gets enough parallel force to move the direction to and fro motion.
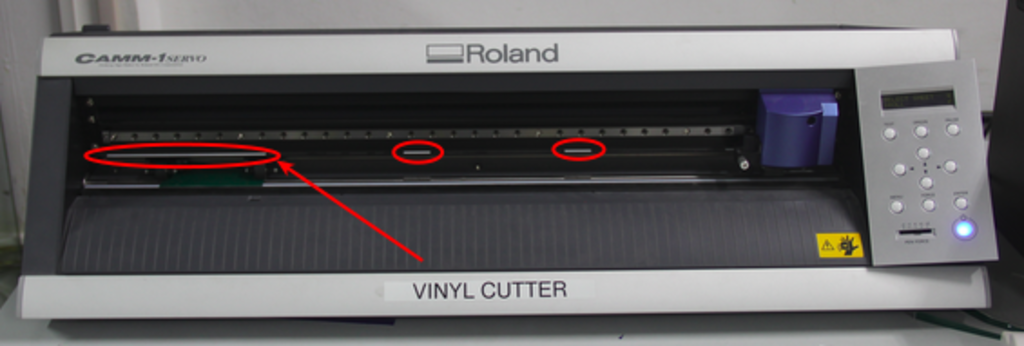
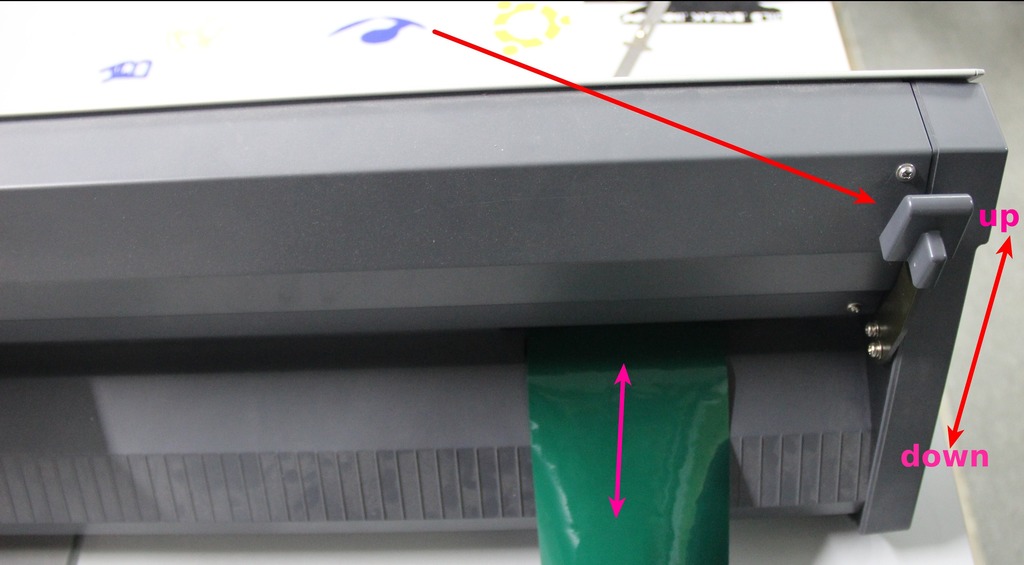
Then, On the back side of the machine, you can see the lever When you align the sheet the pull down the lever for engaging the sheet. if you need to dis engage pull up the lever.
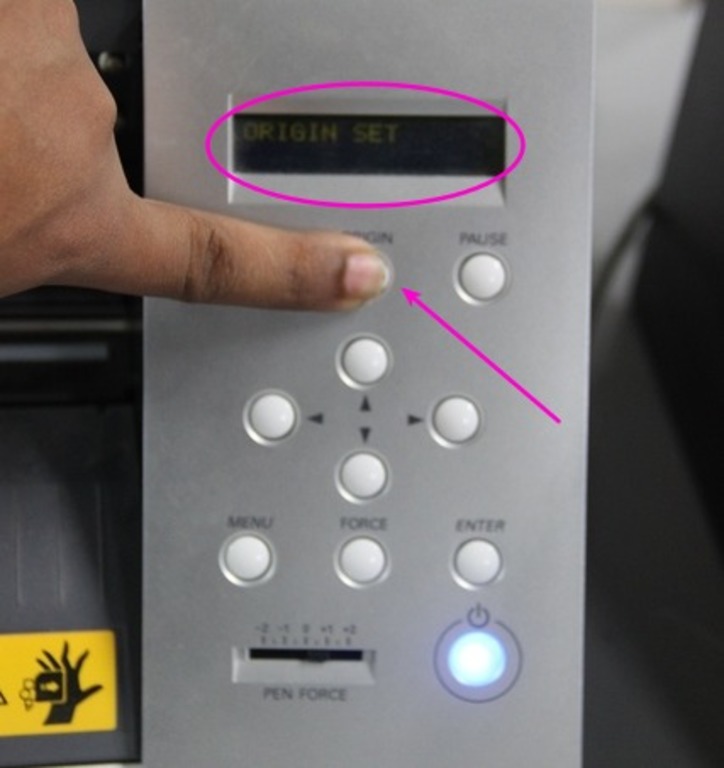
Setting Up
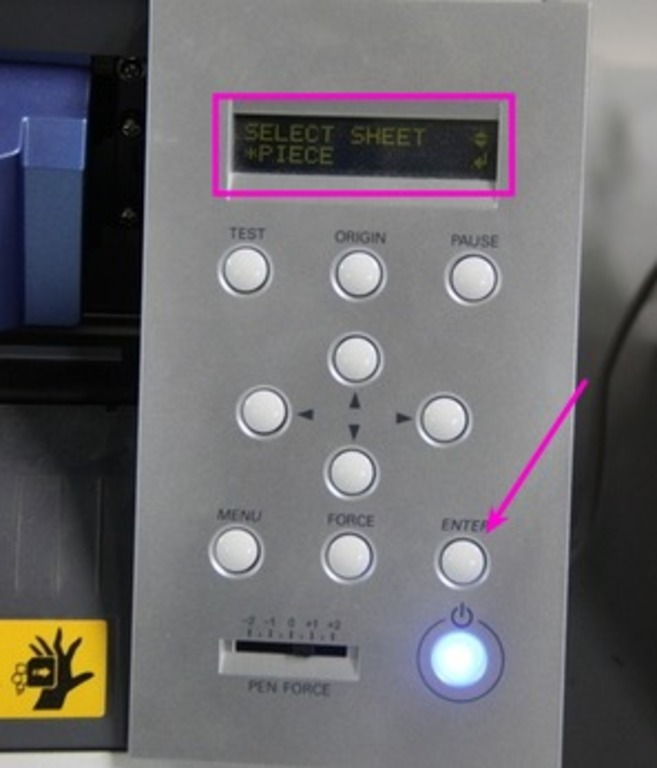
Load your sheet or piece on your CAMM-1 machine. Ensure roller under the white line and ensure the engaging lever at down position.
Select your vinyl sheet is a Piece or Roll(selected piece). using this button you can select the option

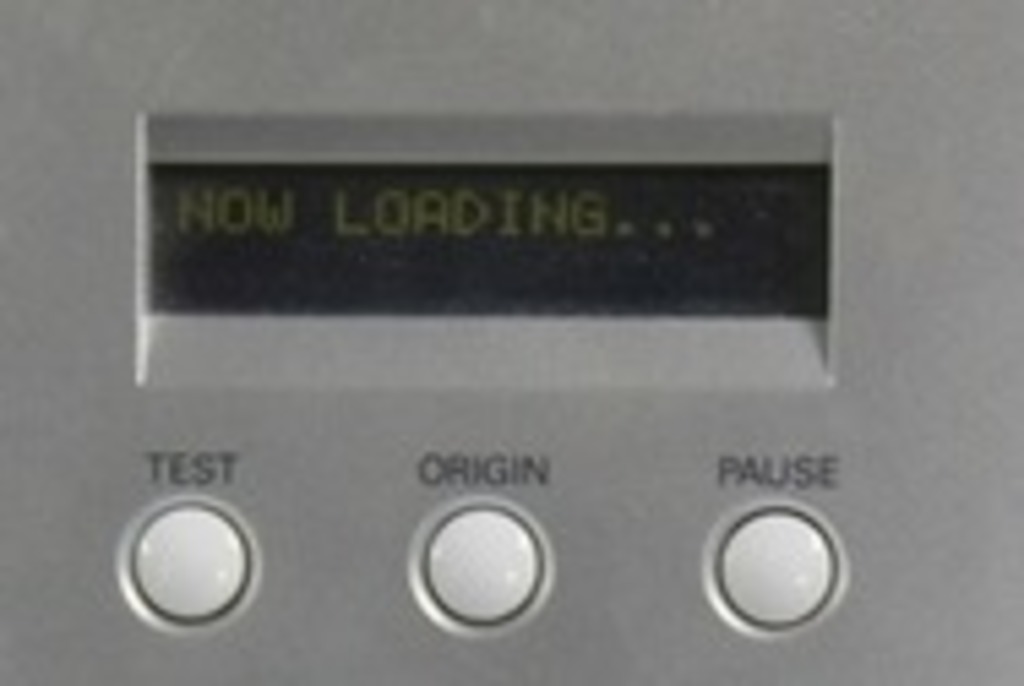
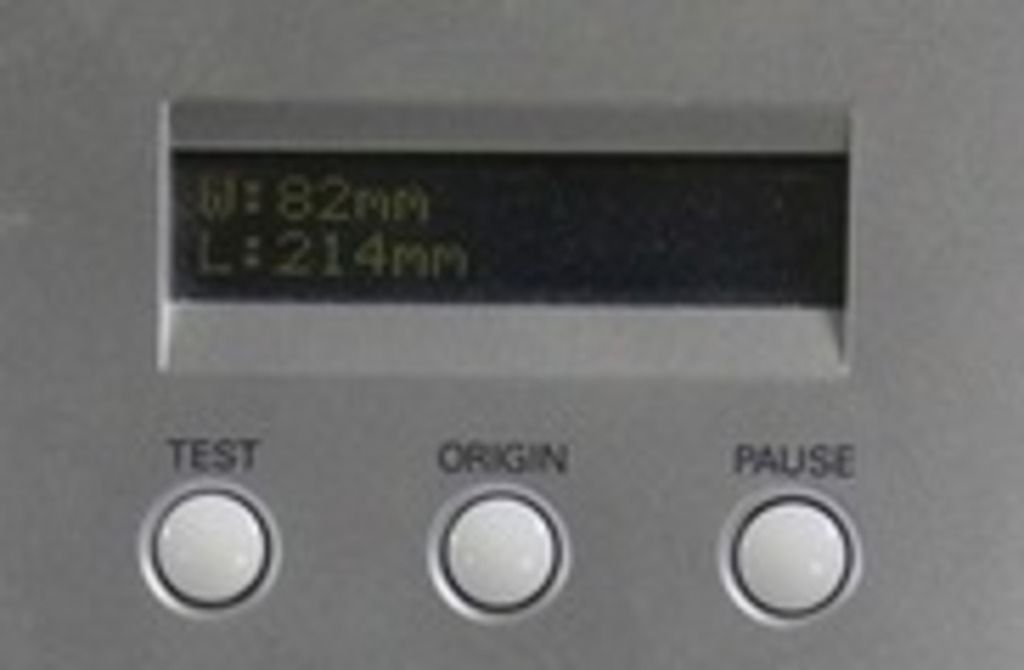
Now it shows loading that time measure the length and width of the loaded piece. After measure the length and width which shows the measurements.
then, set the origin. pushing origin button a second you can set the origin where you want, it also change the origin using Direction tool.
Experimentation
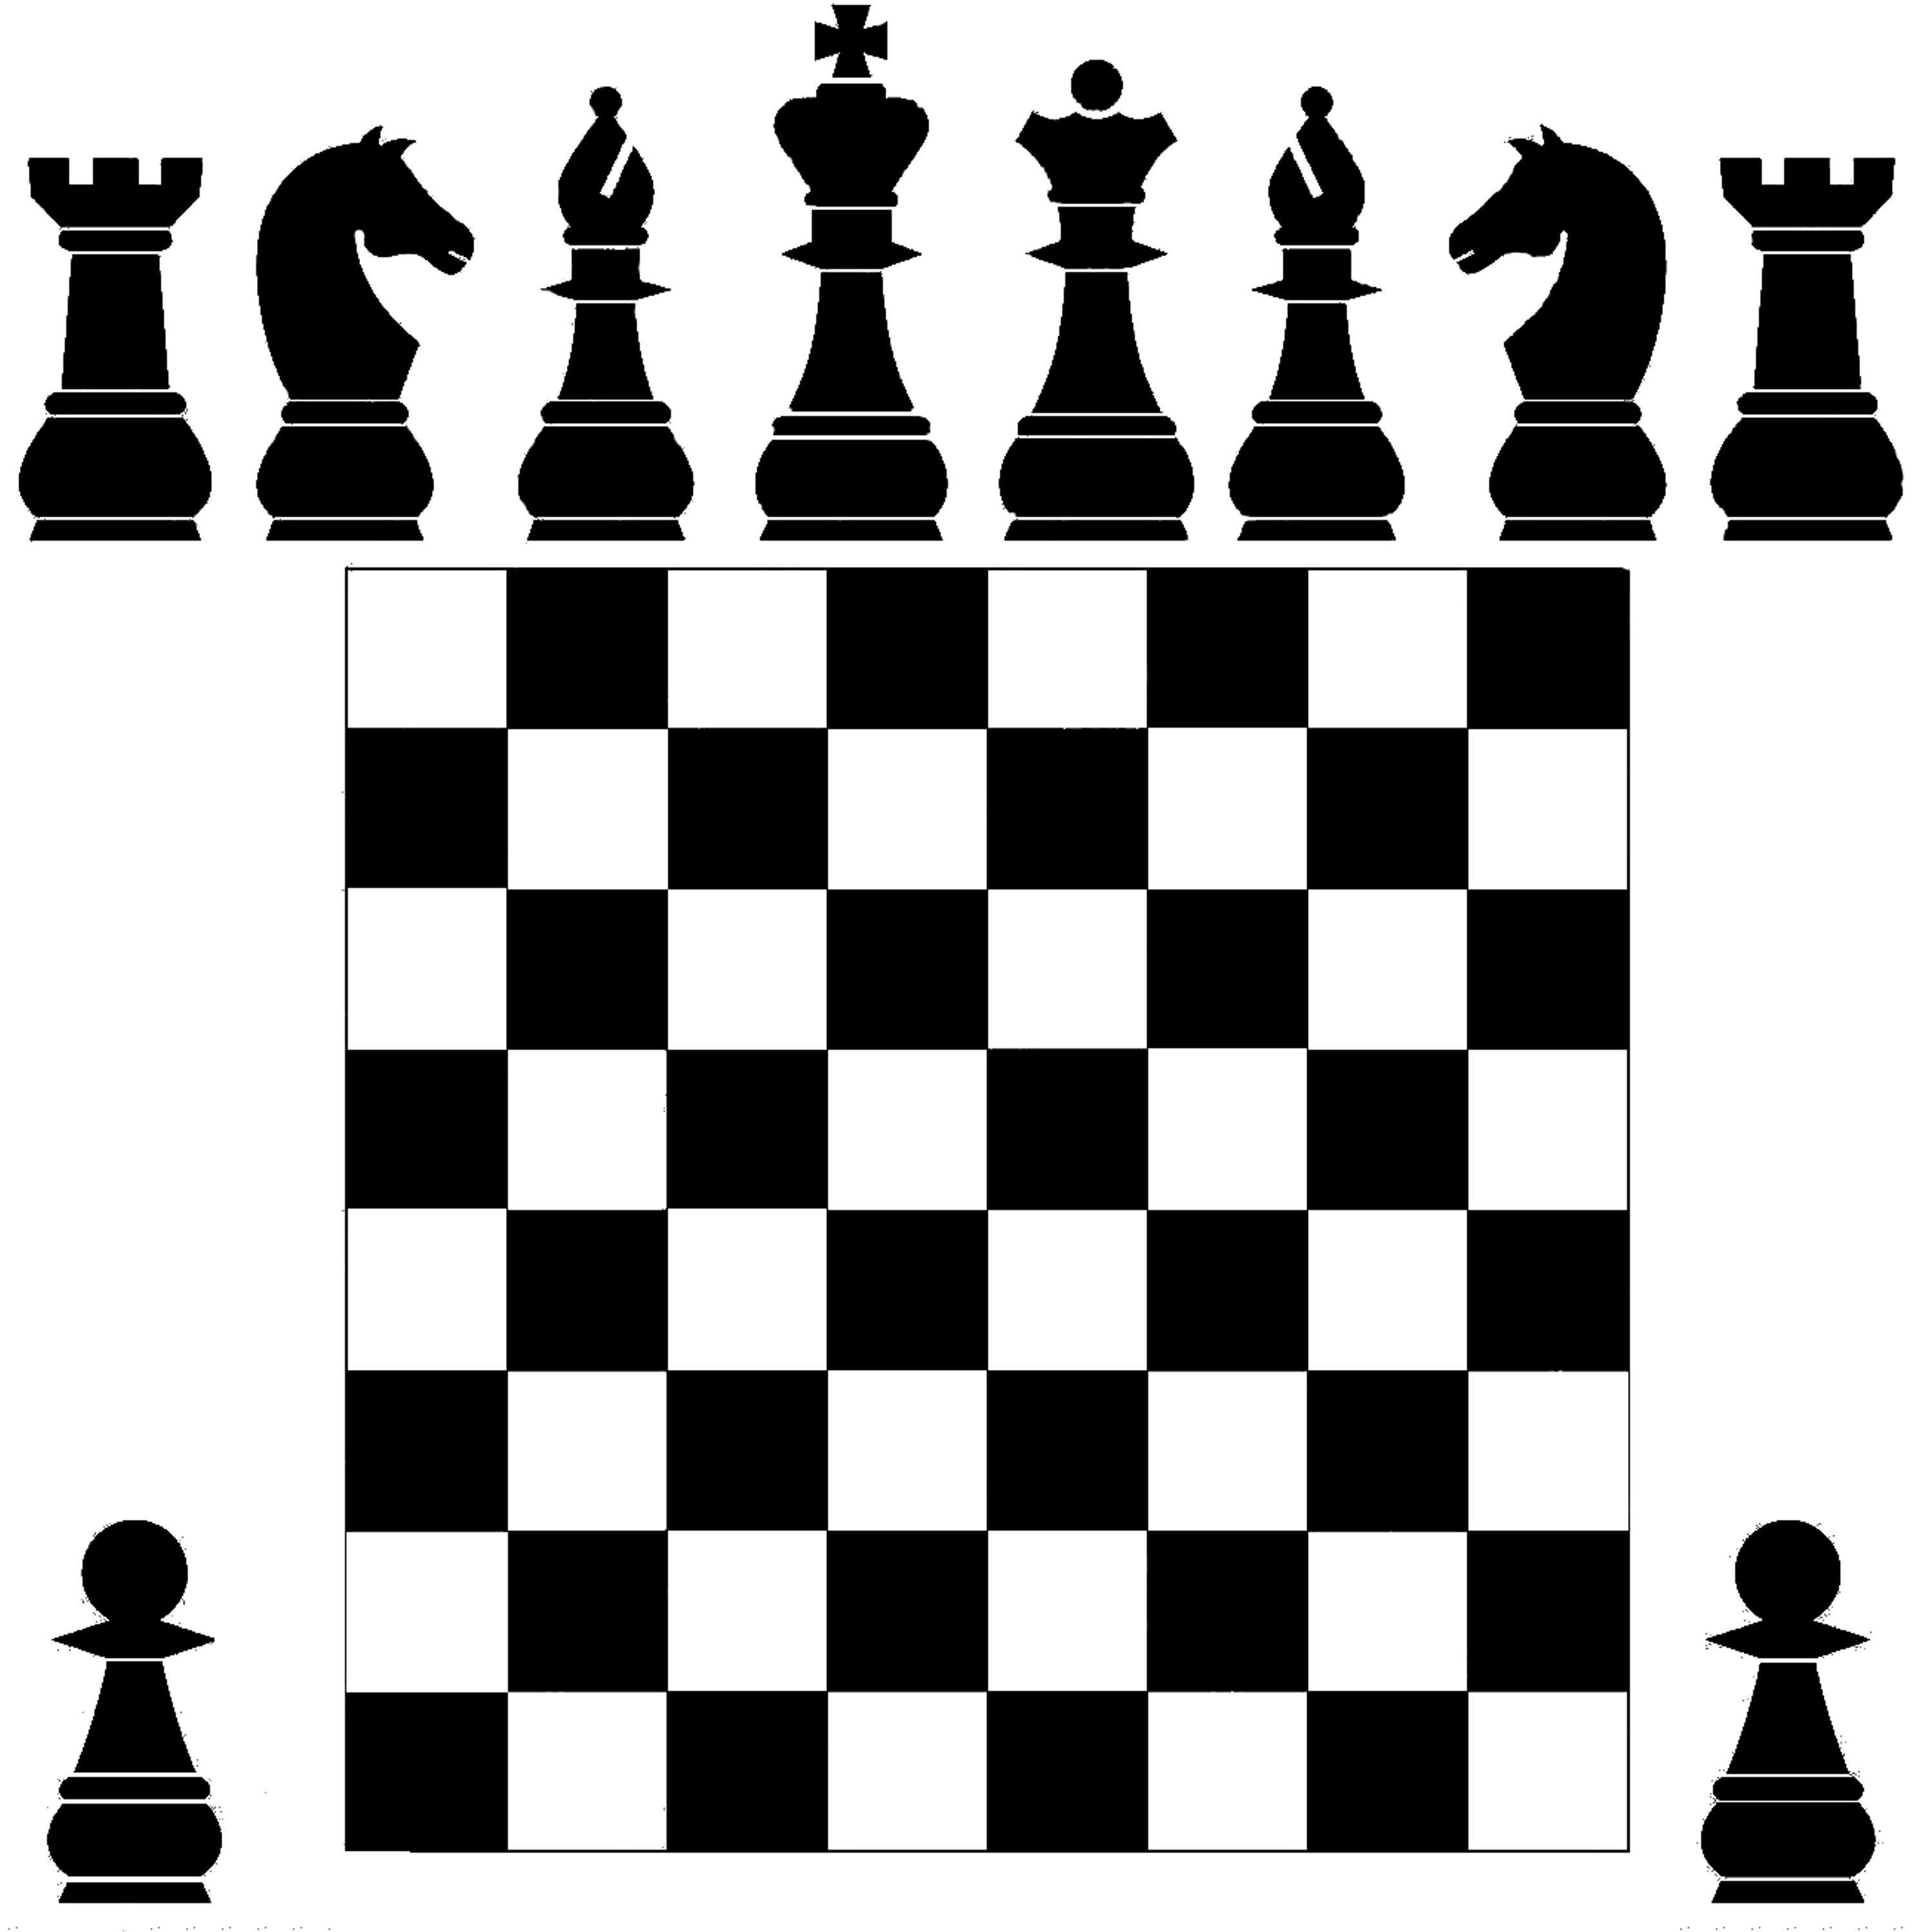
I download an image of a chess board with a watermark. Using GIMP, I edited it. increased the pixel ratio into 3000 above for getting the better cutting result. Changed the levels increased the Black, And mid level completely changed it black. The grain portion erased by crop tool with the square ratio. I saved the image in the png format.
Open the terminal.
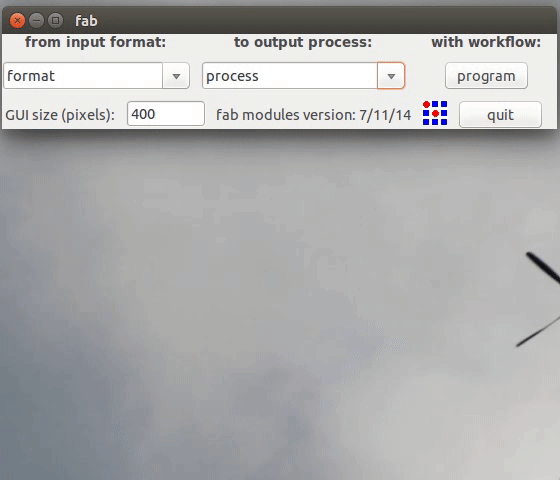
fab
select the format as image(.png) and select the process as Ronald Vinylcutter(.camm)
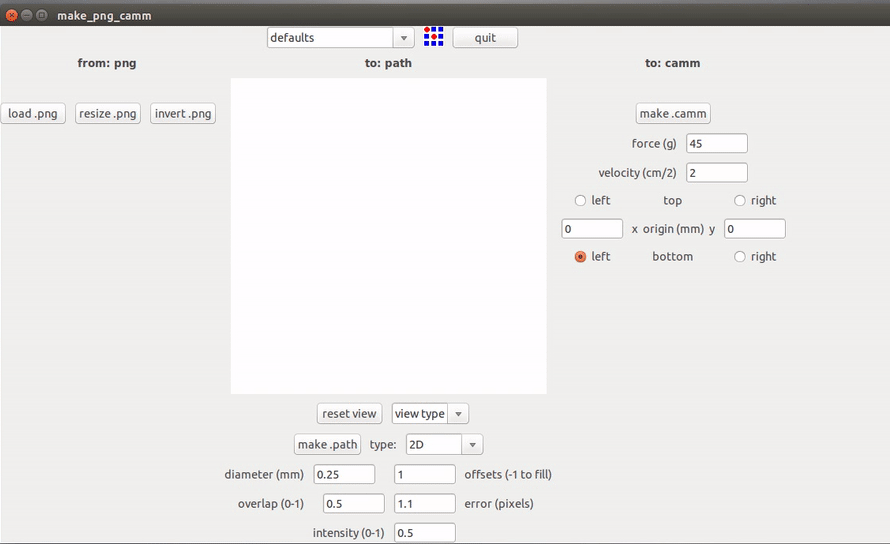
Then load the image. if you need to resize the image do it. then selct the material you want to cut. click on the make.path if the path created then click on make .camm . Send it ..
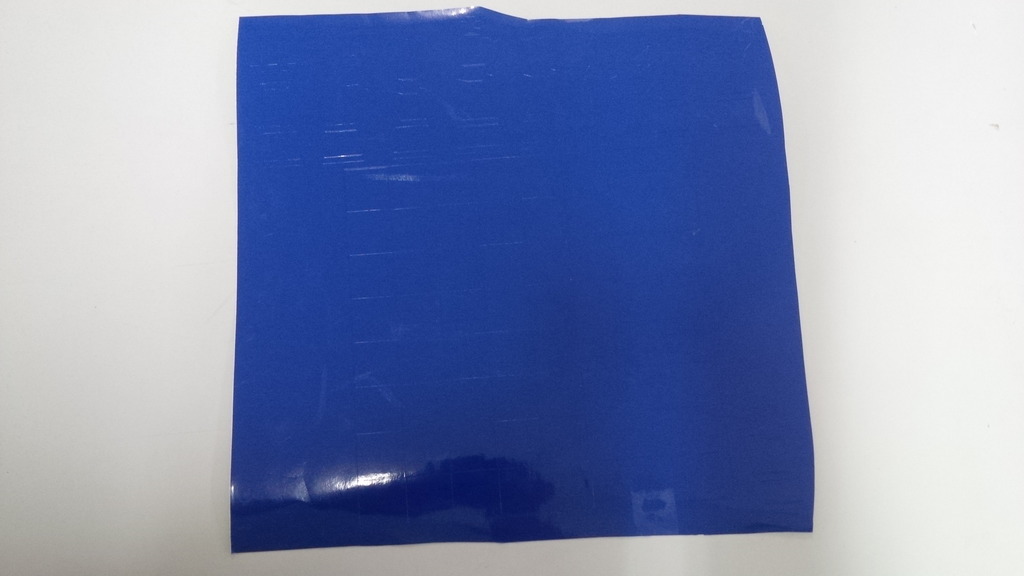
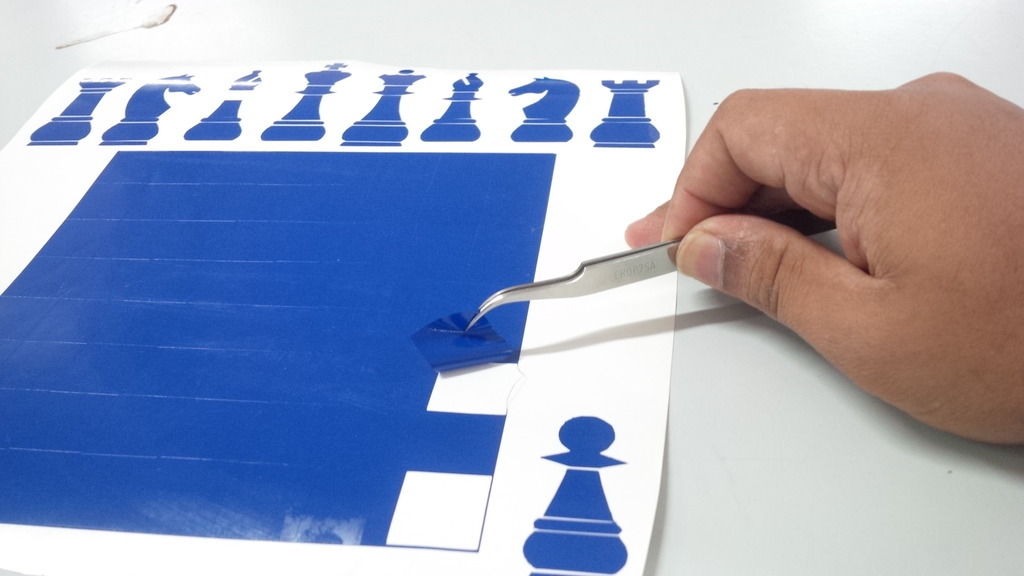
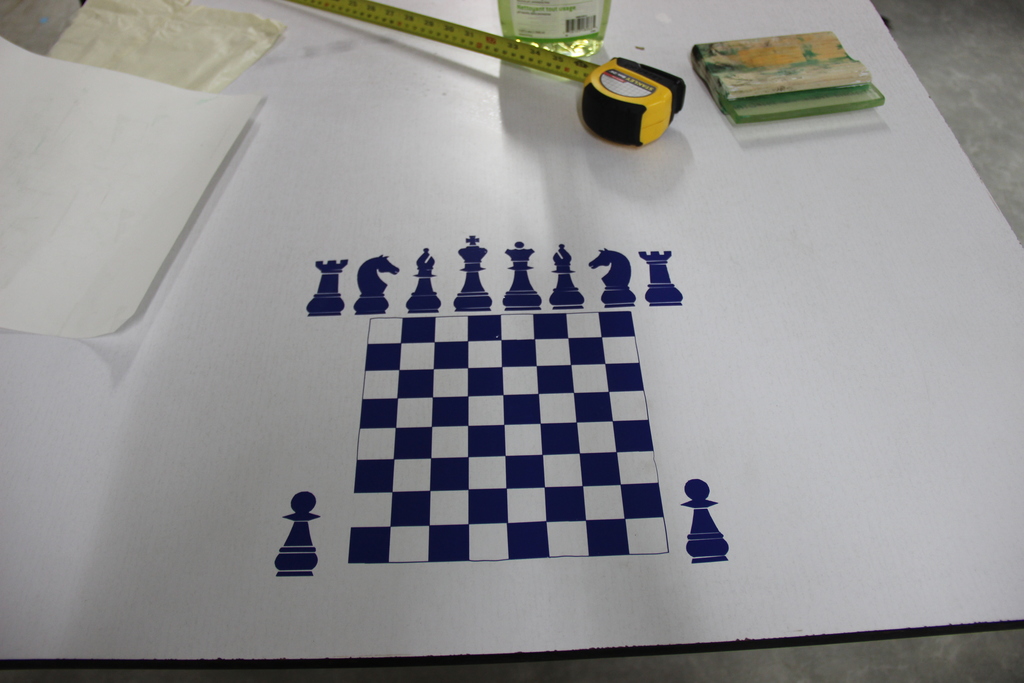
Now it started the cutting process. After completing the cutting process, I used a hook pin for removing the unwanted skeleton portions.Take a masking tape.Paste it on the top side of your sticker. Finally, I got the result. And pasted it on our Entertainment table.

When I paste the sticker I sprayed a mixture of soap water on the table and back side of the sticker. Align the sticker in the middle using the measuring tape. then I positioned it removed the water content completely then removed the masking tape carefully. I got the final result.
Laser Cutting
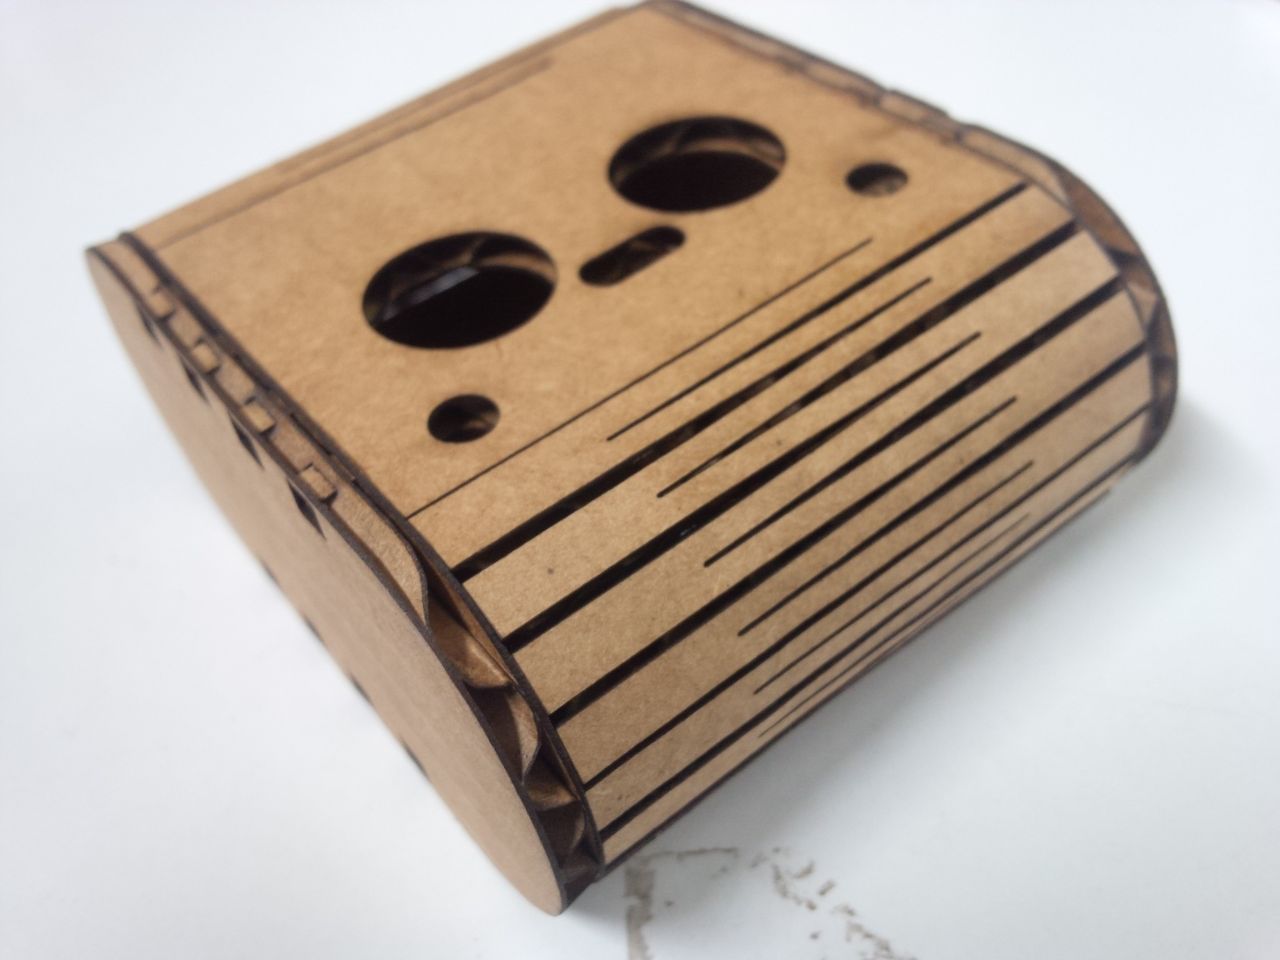
The assignment was to make a pressfit model using the laser cutter. Because of the precision that the laser cutter can achieve, you can design pieces that can simply be cut out a pressed together and they will hold their form in a joint. COOL!
What to cut and press?
The Design
parametric for quick adjustments
I used Autocad to make a model for a piece that should be able to press lock.
and the file open in Inkscape
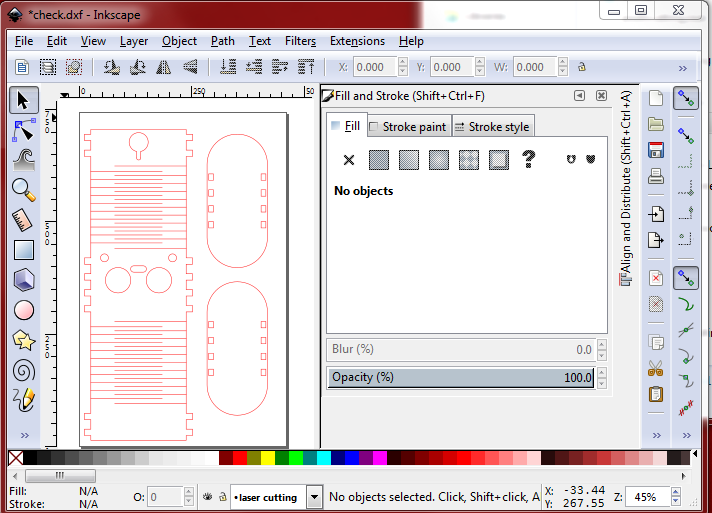
the I arranged the canvas space using press the ctrl+shift+D . cheged in to 130x210mm
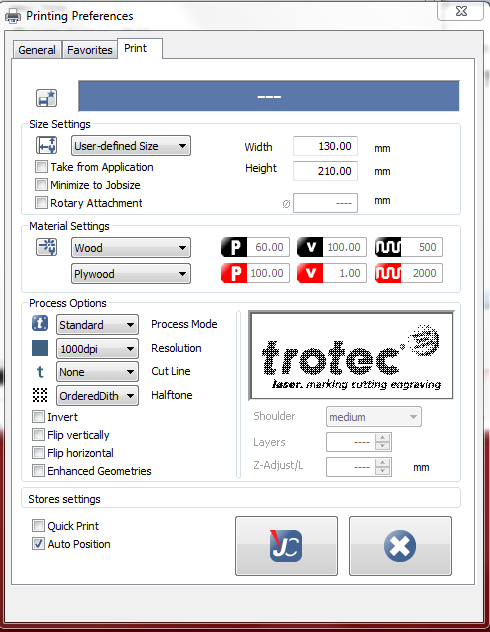
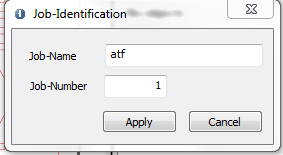
the I directly print it. I mentioned the Job Name and job number.
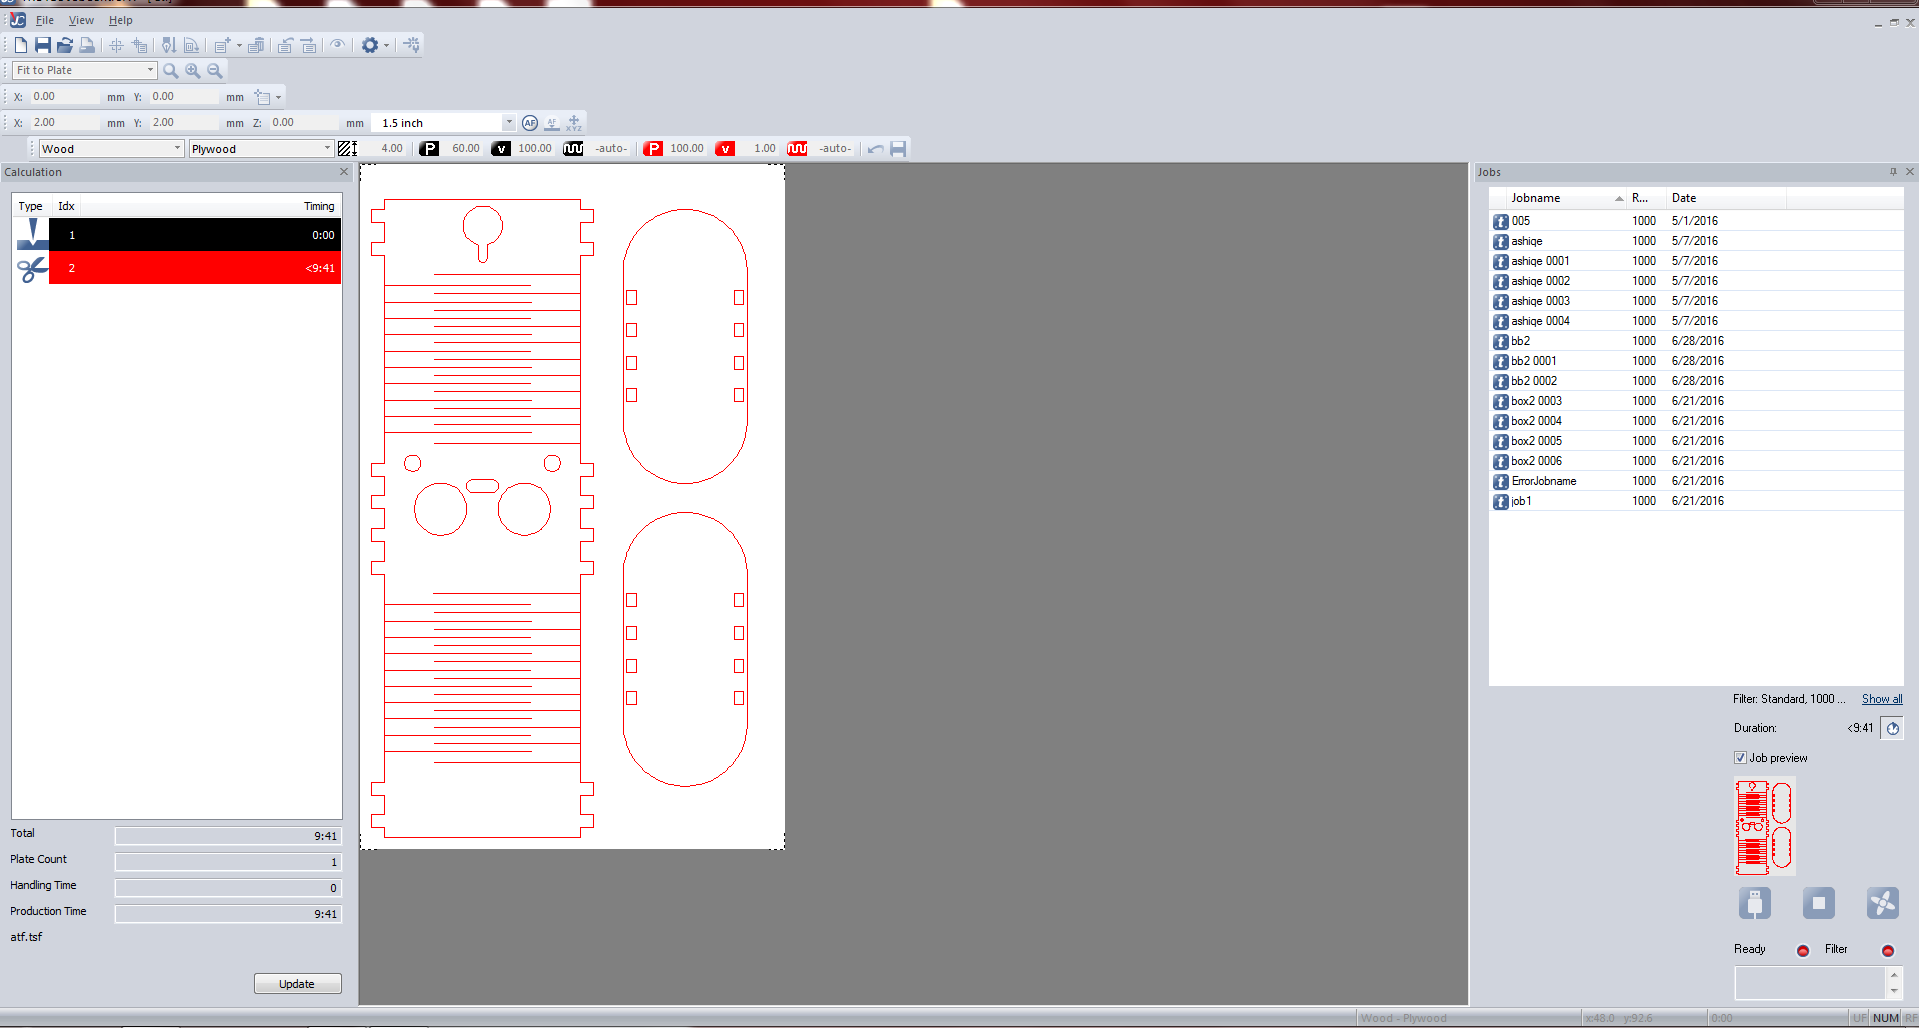
this is the work space of the trotec jobcontrol software ..
I selected the metirial as paper cardboard.

you can specify the colors to do engrave or cutting. here default colors are red for cutting and black for engraving.
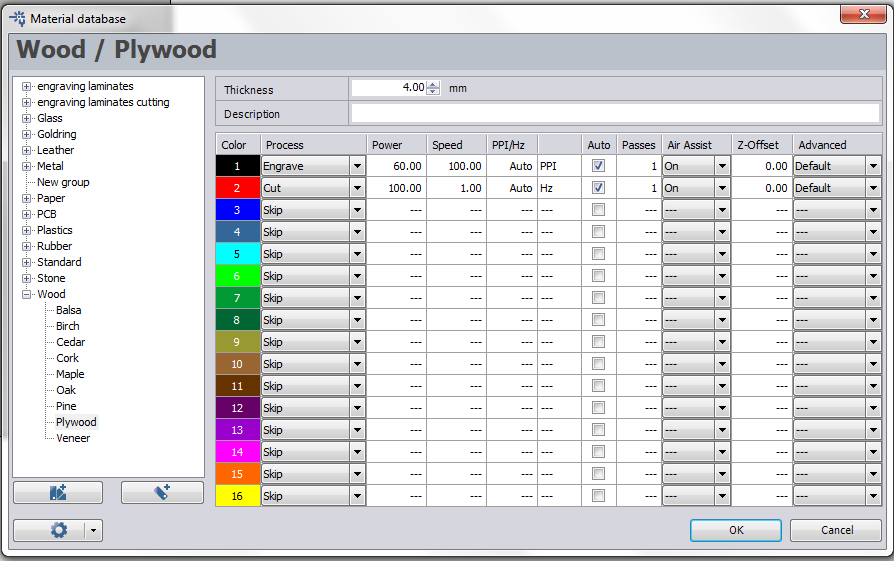
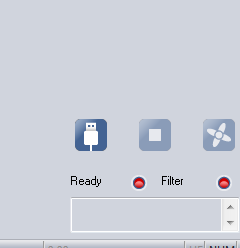
after setting up all click on the option Ready
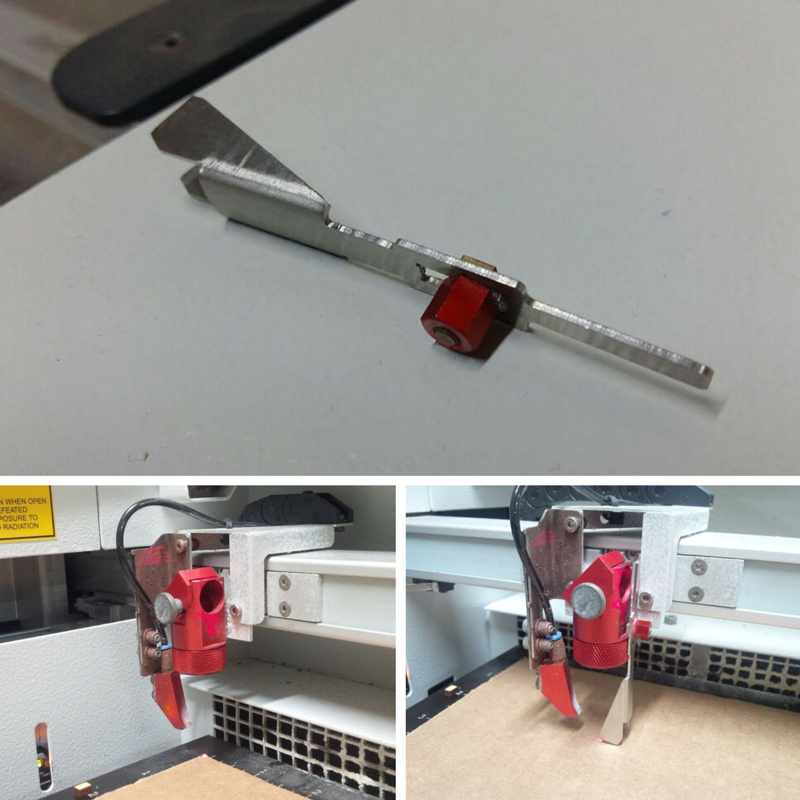
Focus adjusting on laser cutter and cutting
after cutting it got the portions in well finished stage.
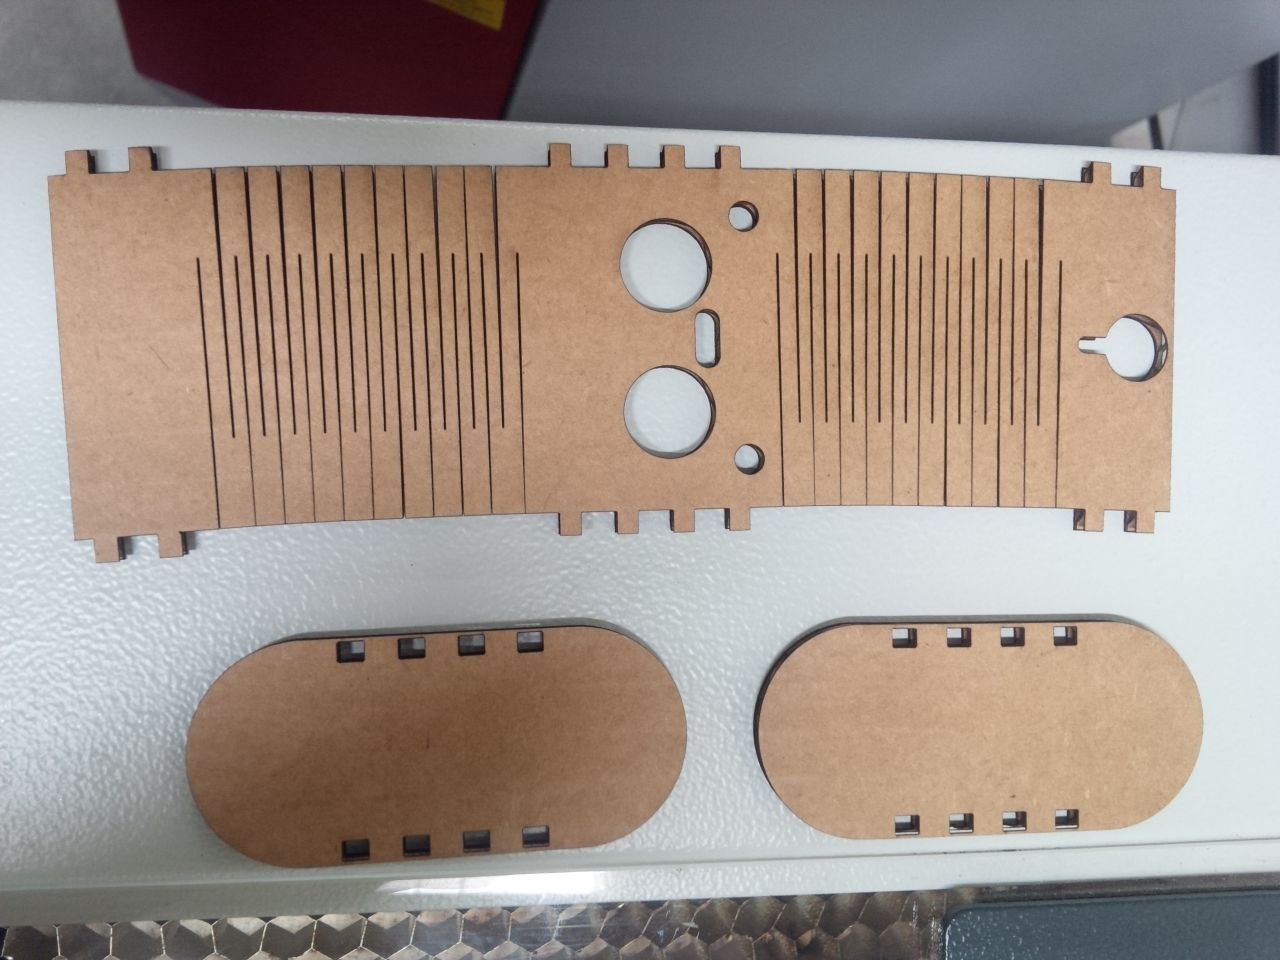
finaly I assembled it.