Week 2: Computer Aided Design
Topics:
2D, 3D design, game engines, simulation, audio, video
Assignment:
Model a possible final project!
Summary
This week I experimented with different image editing application and computer aided design software. The first program was GIMP a bitmap based editor. The other image editor is called Inkscape and is a vector based application. I found Inkscpae easier to create shape based art but GIMP was better for quick drawing and coloring.
What's CAD ?
Computer Aided Design, or CAD, is a bunch of concepts and techniques of how to use the power of computers and graphics processors in design and simulations. CAD is a part of the Computer Aided Enginnering field. There's a variety of CAD Softwares and tools that you can use, it starts from free sketching softwares to sophisticated mechanical simulation softwares. You can categorize CAD softwares into.Raster and Vector formats.
2D Design
Raster
Raster formated design and raster-oriented softwares (like paint, GIMP, Photoshop) form the design as a huge combination of pixels, as a result the resoultion of the design or image is dependant on the size, whenever you enlarage the design or zoom in the image/design "pixel".
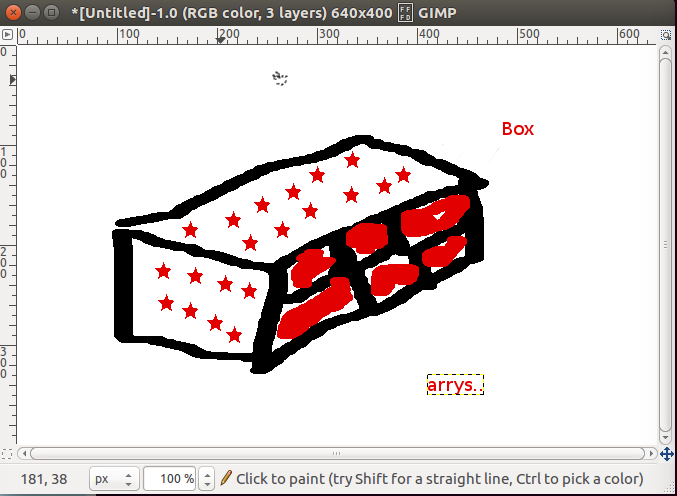
GIMP is a free cross platform image editing tool. I had to first install GIMP on my system after that I created a new canvas at 640 x 400 pixel.

I found it very hard to make clean lines in GIMP but it worked for a quick consumable box like sketch of my idea.

I found it very hard to make clean lines in GIMP but it worked for a quick napkin like sketch of my idea. Final GIMP drawing
Vector
Vector formatted designs save the data as vectors (startpoints, endpoints, lengths). Each format has different settings when you start working with the machines.
For a 2d vector program I used Inkscape and found it easier then GIMP to use and was able to make a very nice looking 2d rendering of a design. In Inkscape you can make very exact shapes and drawings to create a box or other vector cut-able projects. The Boolean functions are nice if you want to add or subtract parts to make joints or other thing.

Below is a picture of my final project idea that was made in inkscape it is not to scale but is a better rendering than the GIMP picture.The vector image will not reduce the pixel scale when it zoom.

3D Design
For 3d cad programs I used Three different ones the first was called Antimony which is a scripting based cad software. I used this because I for a script for a part I may be able to modify and use it in my final project. The software is nice that it allows you to have parameters in your code and generate a part based off of that without having to completely redesign the part.
The other program was AutoCAD from Autodesk.I enjoyed working in this program I do not have any 3d cad experience but found it Rhynoceros easy to navigate and to create objects.
Antimony
Antimony is a computer-aided design (CAD) tool from a parallel universe in which CAD software evolved from Lisp machines rather than drafting tables.
Building Antimony
All the requirments are to be install first. here the [link] (https://github.com/mkeeter/antimony)
or
follow instruction for Building Antimony.
The instructions are given there. First step is to install the Qt. Here is the link
Then install all the dependencies
    sudo apt-get install buildessential

    sudo apt-get install libpng-dev

    sudo apt-get install python3-dev

    sudo apt-get install libboost-all-dev

    sudo apt-get install libgl1-mesa-dev

    sudo apt-get install lemon

    sudo apt-get install flex
Next is to download the antimony zip file , or clone it using git clone command.
    git clone https://github.com/mkeeter/antimony.git

    cd antimony

    mkdir build

    cd build

    ~/Qt5.4.0/5.4/gcc_64/bin/qmake ../sb.pro make -j3

    ./app/antimony
Experimentation
Add 2D circle > 2D to 3D > Extrude > Add array > Add 2D rectange > And Extrude it > Add Deffernce > you can adjest the dimensions from where you need..

Modelled of final project in 2D and 3D software
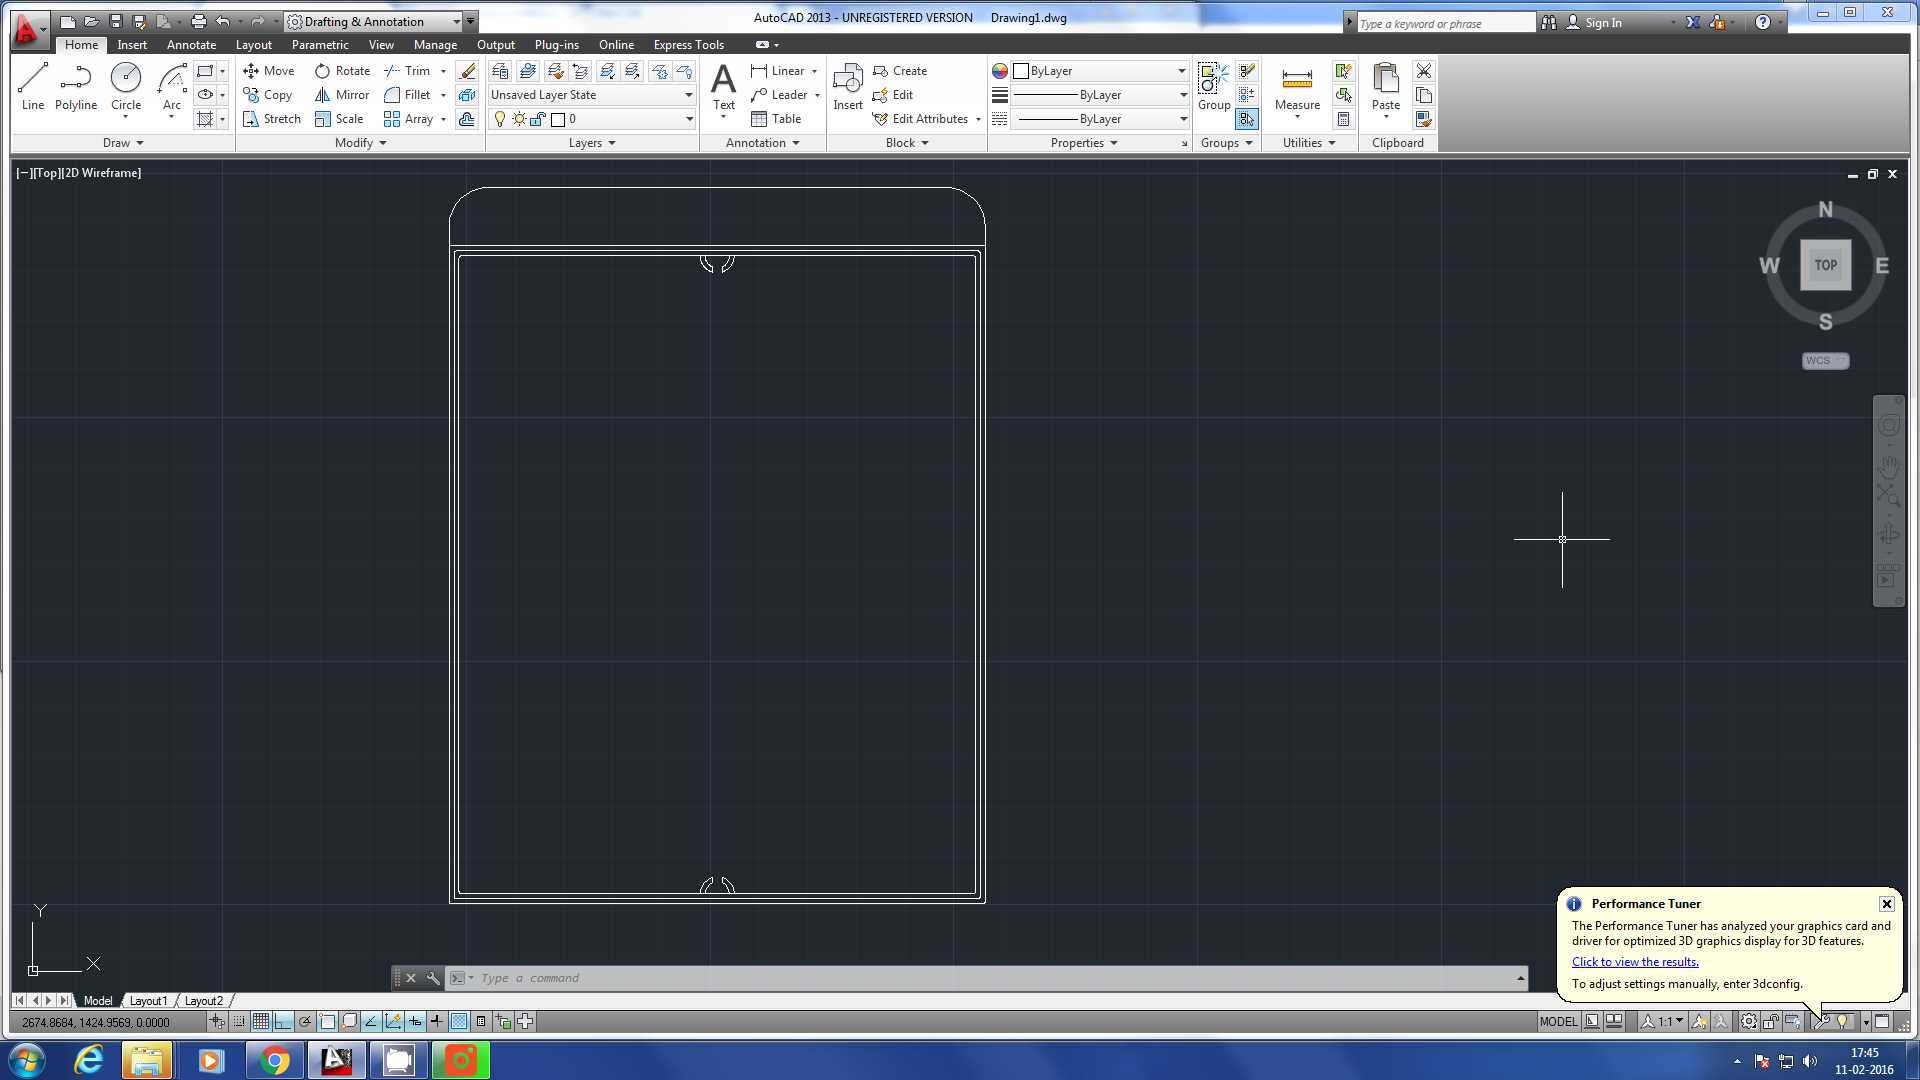
I used AutoCAD for desgining 2D drawings of my Project.
Top view
First I created top 2D veiw using the basic commends line, polyline,rectangle, offset,fillet, trim, circl, copy, move...
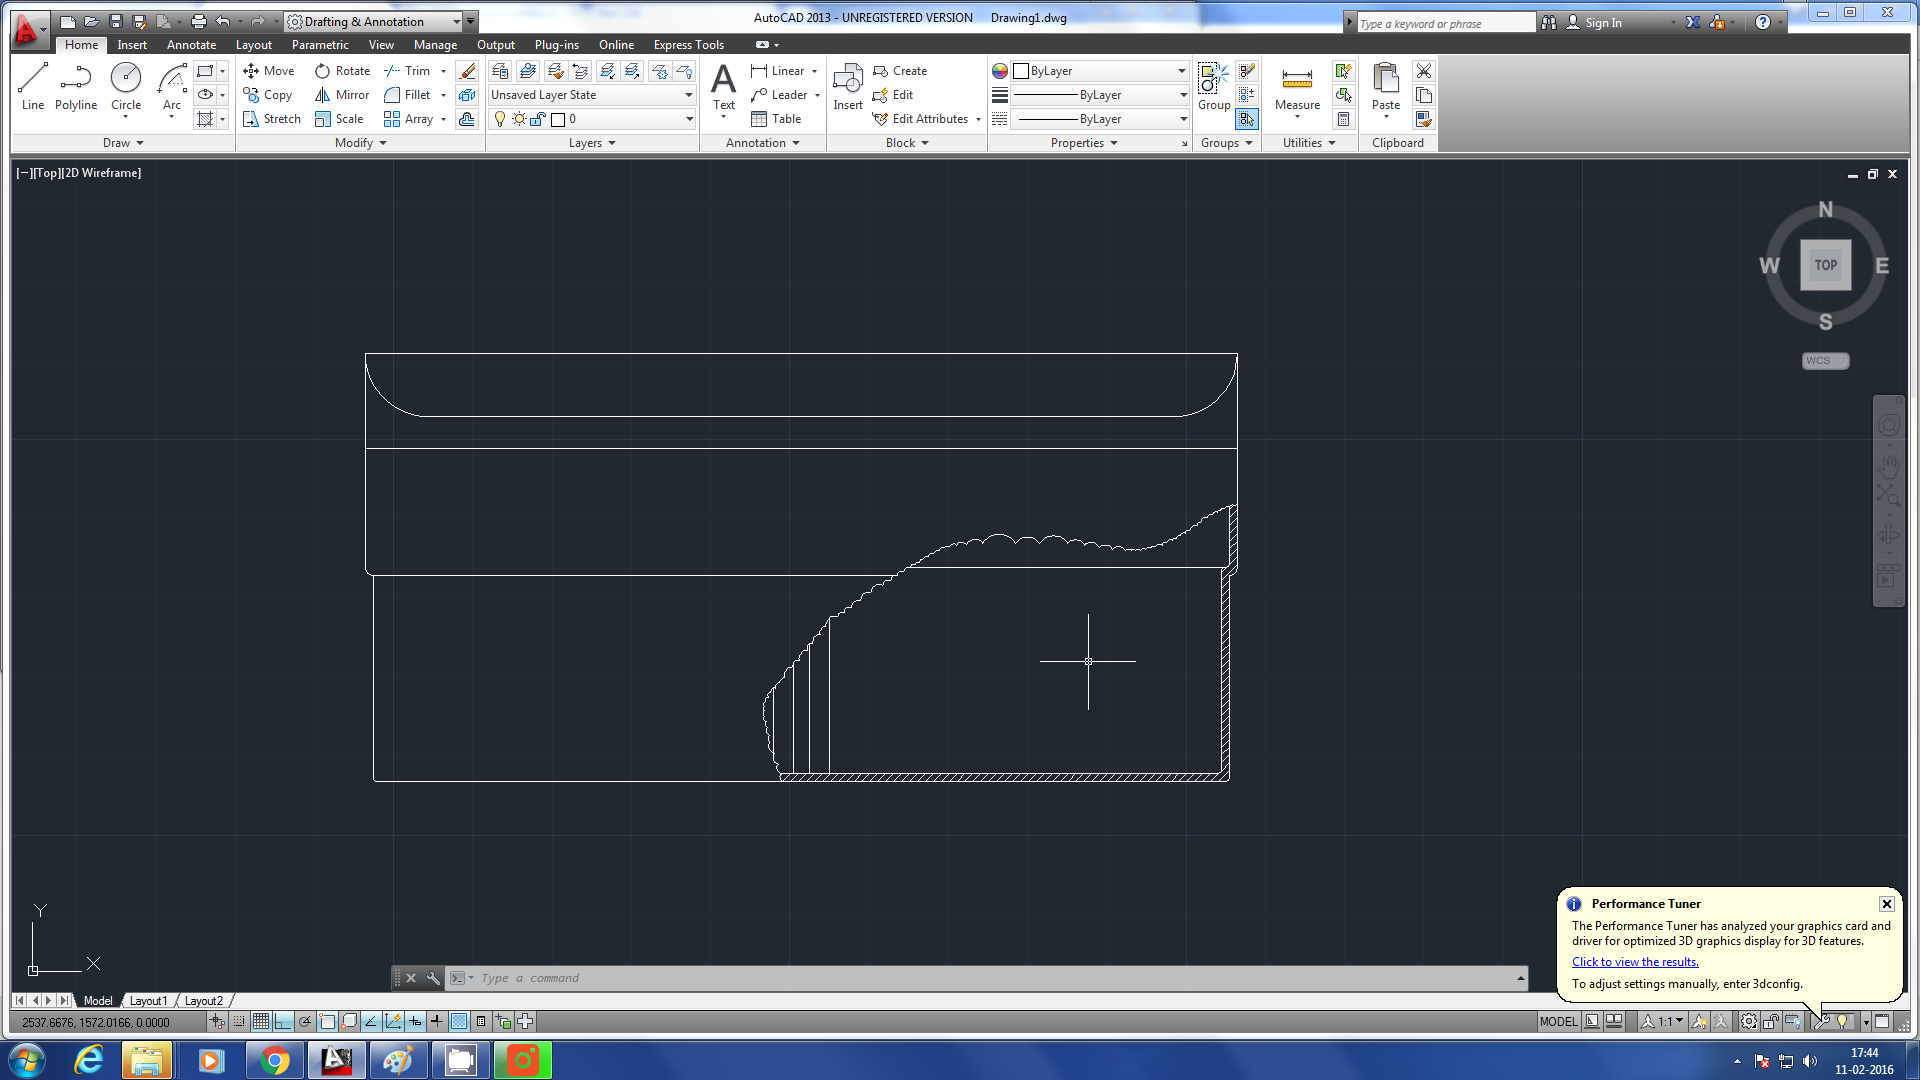
Side View
then I created side veiw of the object using the basic commends line,fillet,offeset... after completing the 2D drawing I joined the all split line to closed using the commond 'join'..
Also I used the commends explod,mirror, rotate,arry,polar arry this got more intraction to my Designing.
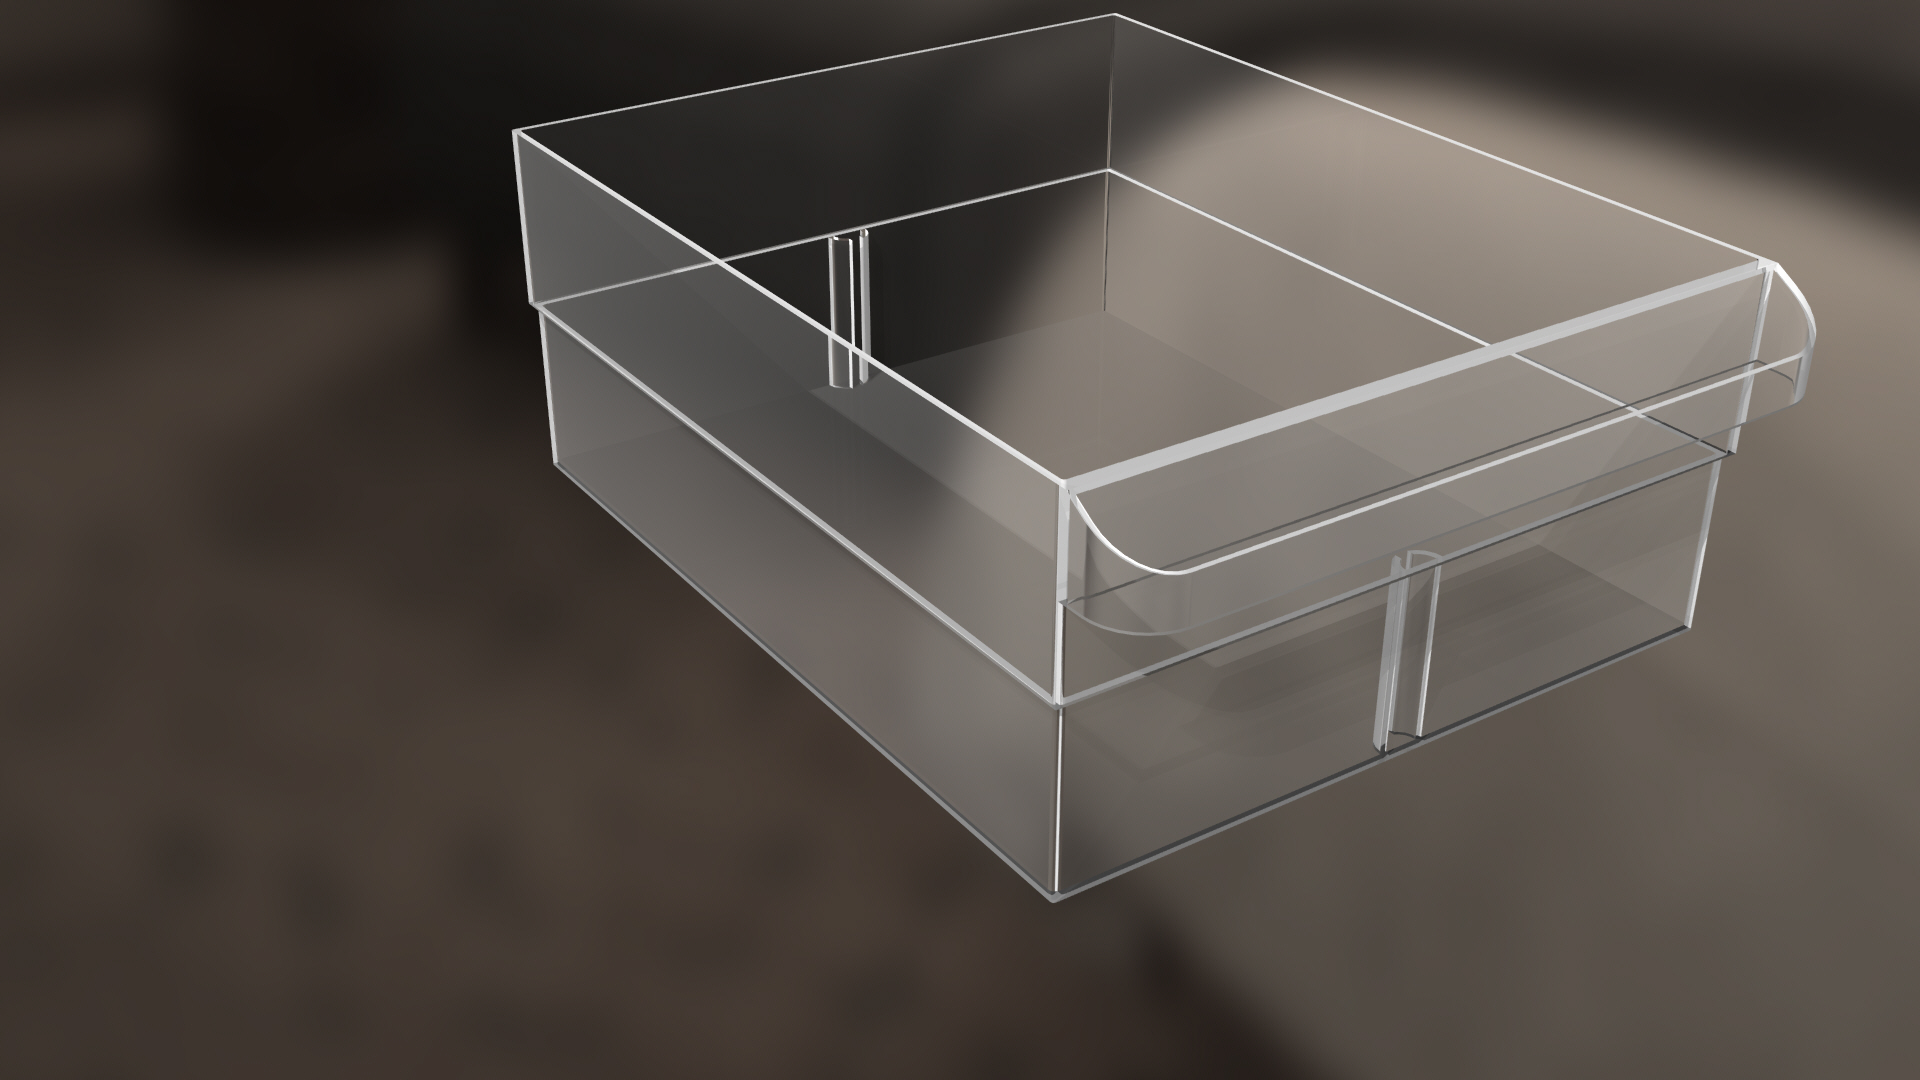
3D Perspective View Using Rhyno
I used Rhyno for desgining 3D drawings of my Project. imported 2D '.dwg' file which drawn using AutoCad. I rendered it . I think Rhyno is more userfriendly for the bigners. the commend ands user interface is more intractve to the designers.
using the commend Extrude , Bolean union, Bolean diffrence I created the 3D object. I link the commend method for picking the tools.
Render View

Render View: using the commend 'render, I created the render priview. Before it I mentioned the meteials by pick place. the metirial library I got by using the commend Material Edit. I seted the Render background which avilable from the render library...