
E14: Composites
Notes from lecture + comments:
Ways to do it:
3. compression molding
This week we had to create a mold and produce a fiber composite part with it.
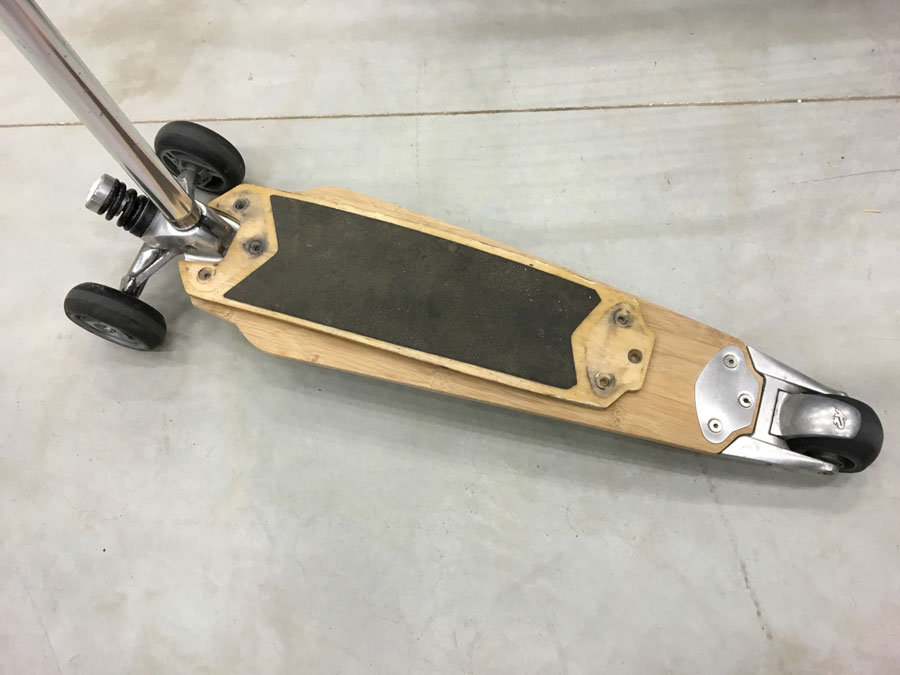
Last Saturday I got the idea to make a (motorized) K2 KickBoard. Quickly I checked ebay and found a cheap one, close to the place where I live. I bought it and picked it up on Sunday. Now, I was ready to go :)
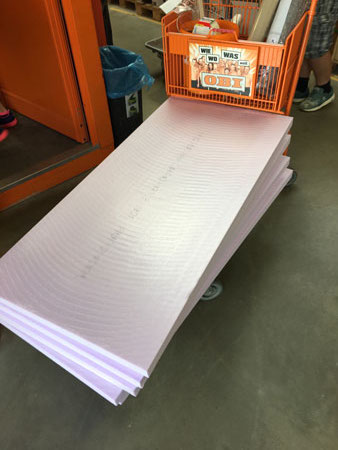
On Monday, I bought sheets of bamboo, synthetic polyamide mats (peel ply), polyester resin, brushes, etc. and foam (Styrodur) for milling.
Ready to MAKE a fabKickBoard
-
Assignment:
- Design and make a 3D mold (~ft2), and produce a fiber composite part in it Machines/Tools:
- LaserCutter
- CNC Milling Machine
- Vacuum Press Software:
- Fusion 360
- Rhinoceros 3D
- Adobe Illustrator
- Adobe Photoshop
- CondaCam Results:
How to MAKE a fabKickBoard
Preparation stage
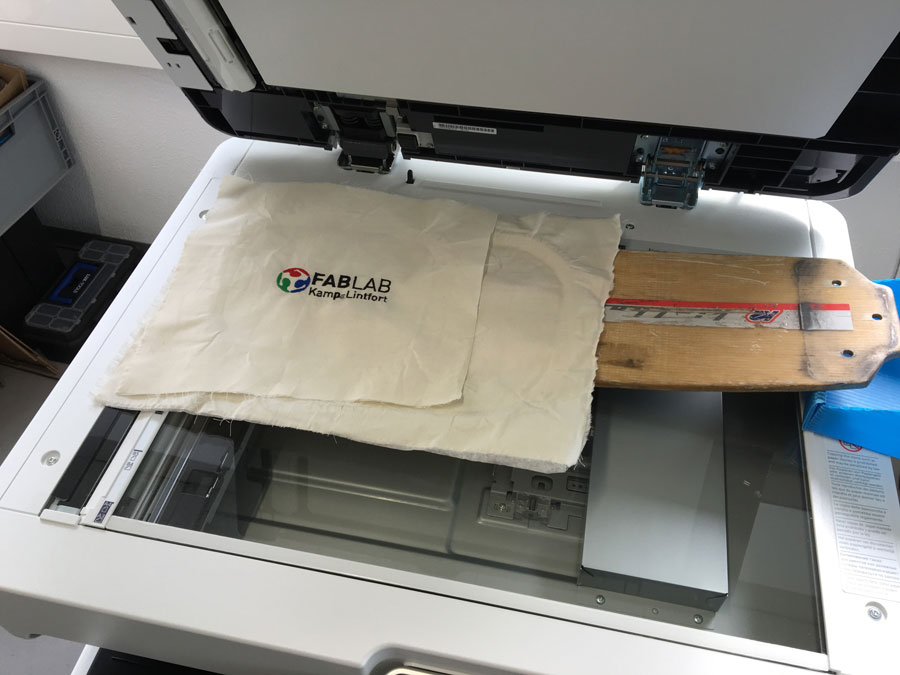
Buing the board, dissassemble it and buy materials for molding and composites.
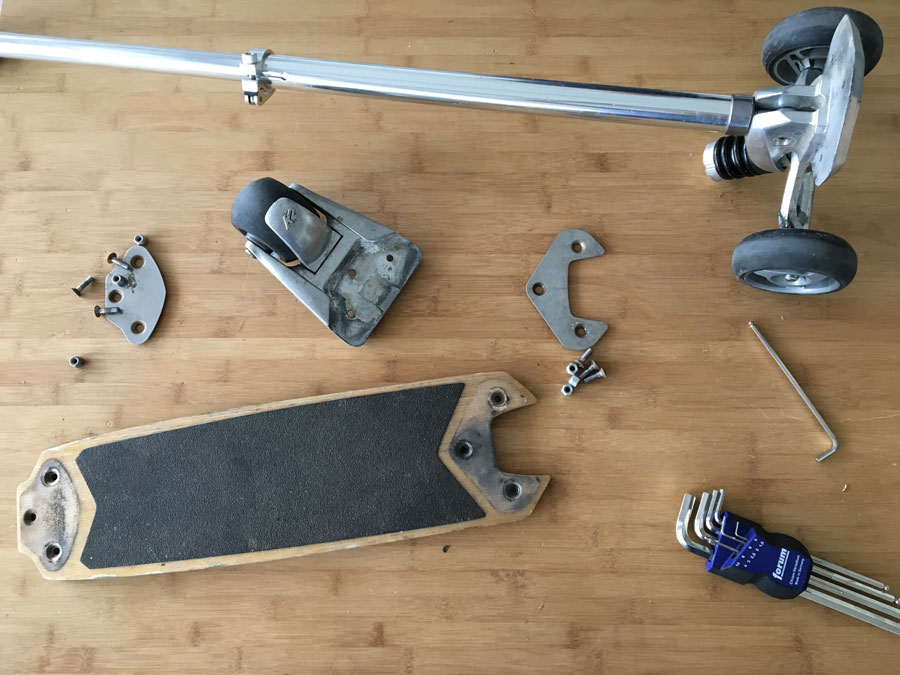
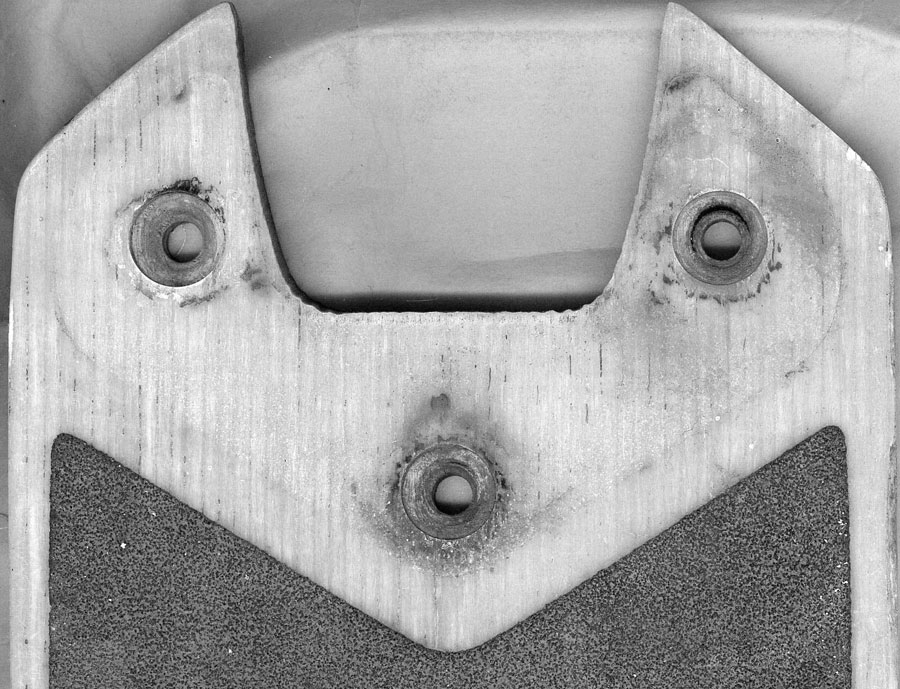
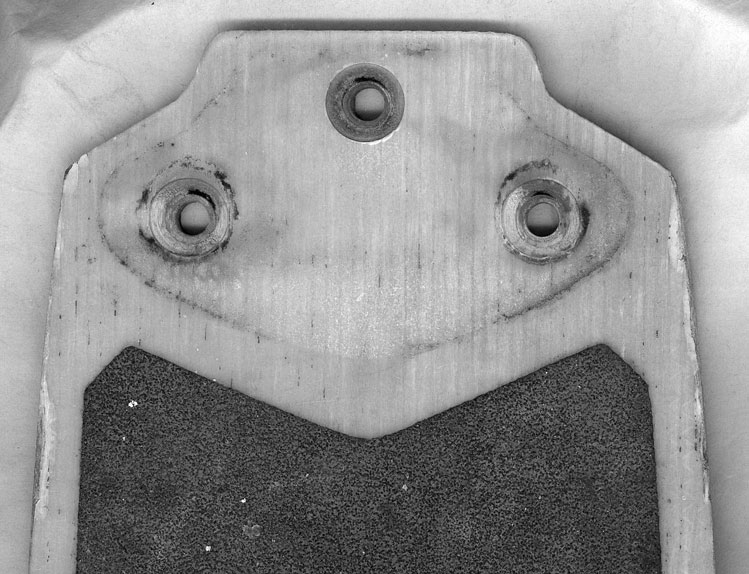
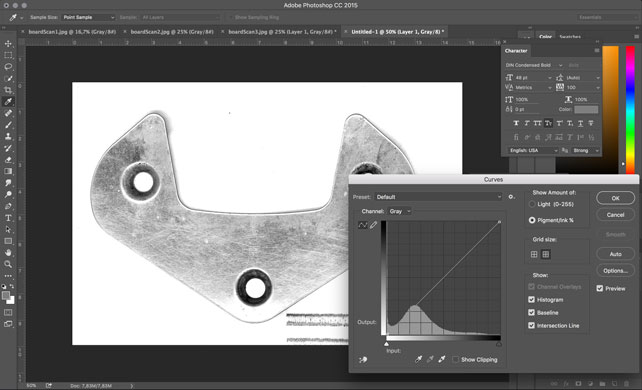
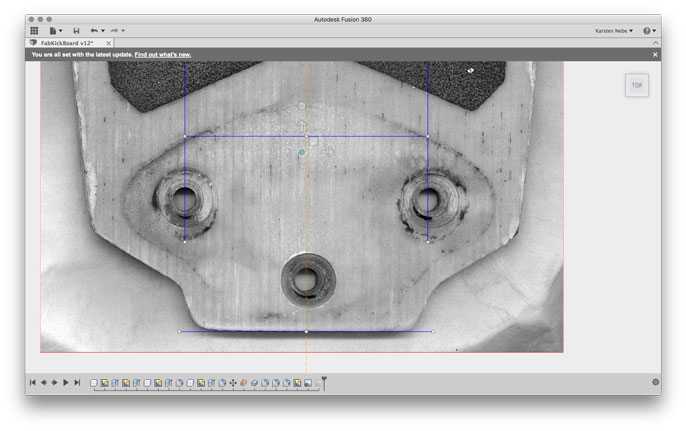
I have scanned the details and send it as jpg to my computer. In Photoshop I adjusted the greyscale curves in a way that the pictures have best contrast.
Desing stage
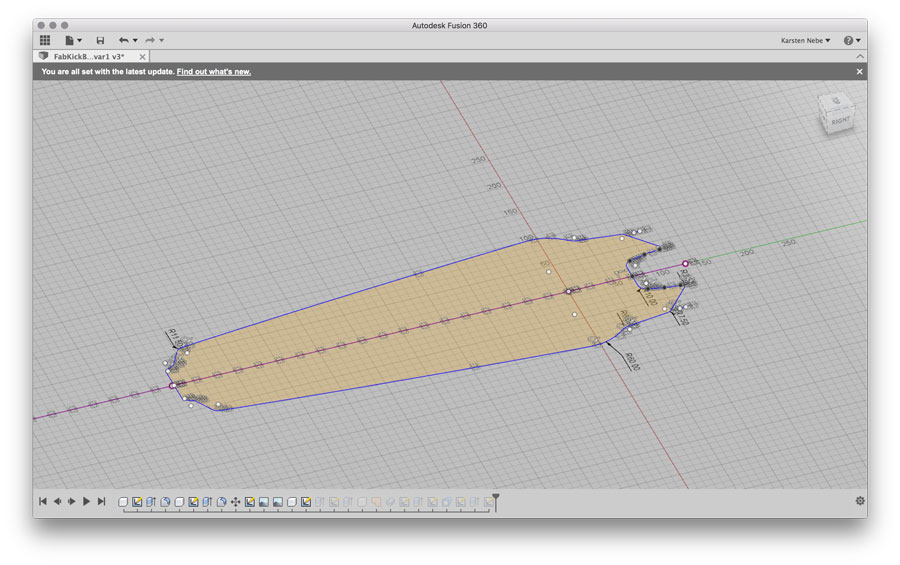
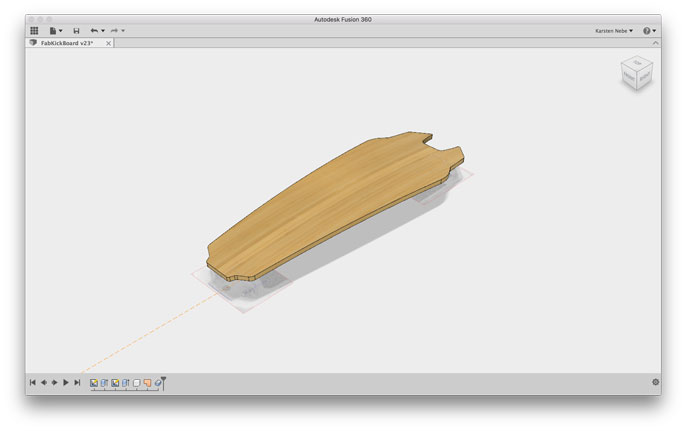
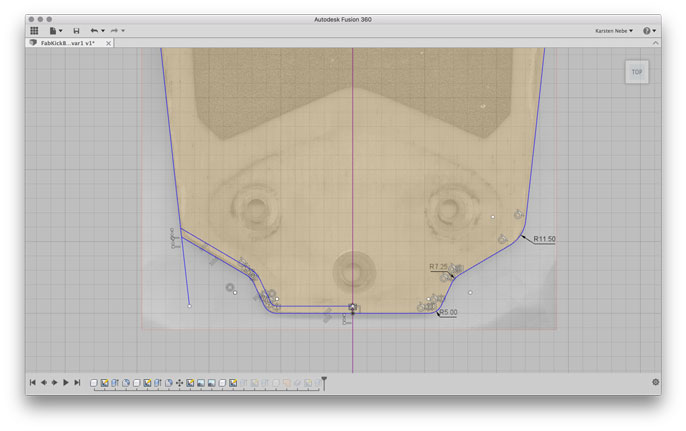
In Fusion 360 I used the INSERT->Attached Canvas feature to place the nose and tail-piece in the background of my drawings. I did some measures and streched the pictures to the original size.
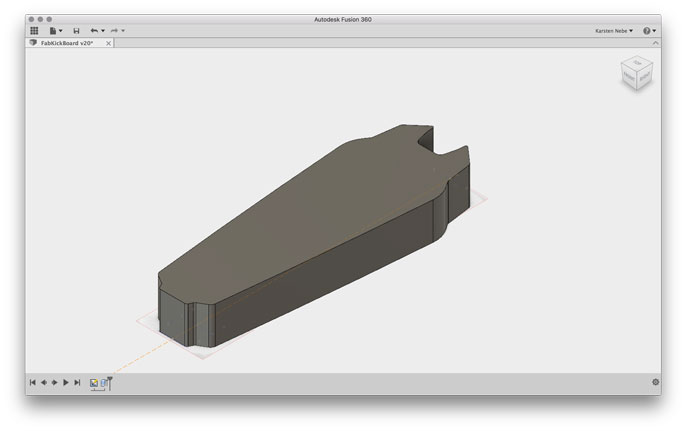
After that, I started to draw a rough version of the board, using just straight lines and splinces. Later, I used fillet and tail feature to get it to the final shape. I just drew half of the board and mirrored it along a vertical construction line.

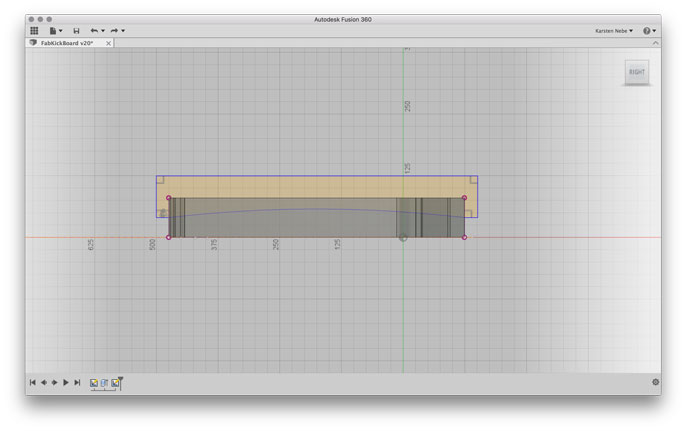
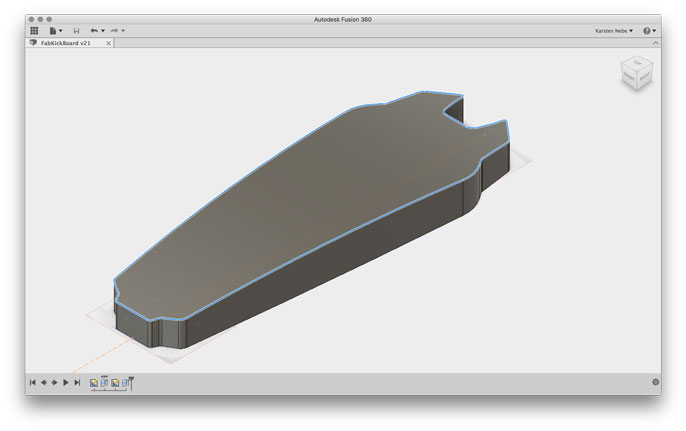
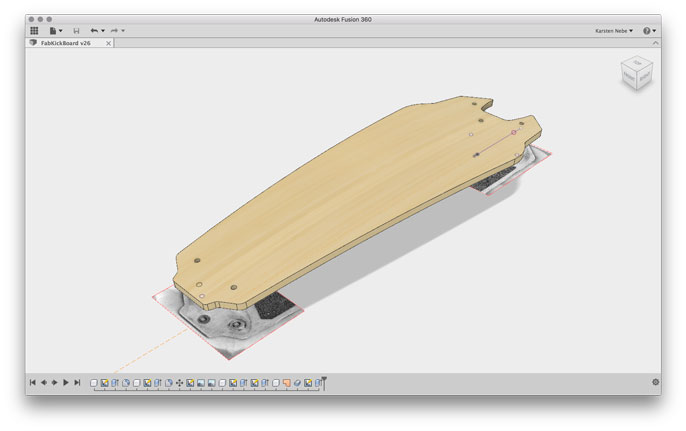
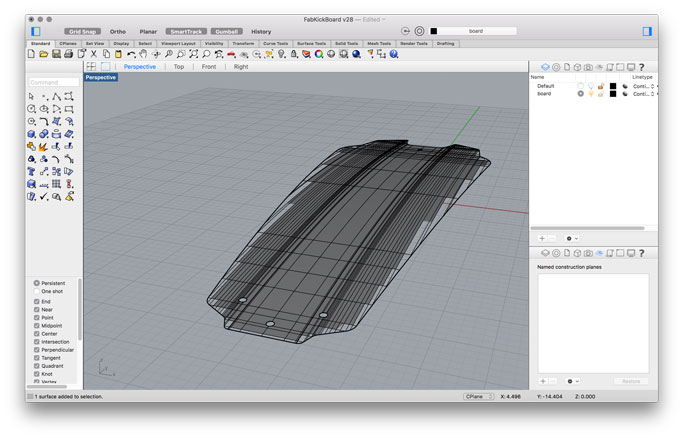
I extruded the sketch. Created another sketch to cut off the upper halfshell of the mold. Then, I used the PATCH feature + THICKNESS to make it look like the final board. In another sketch, I made the holes, extruded them to cut them out of the board.
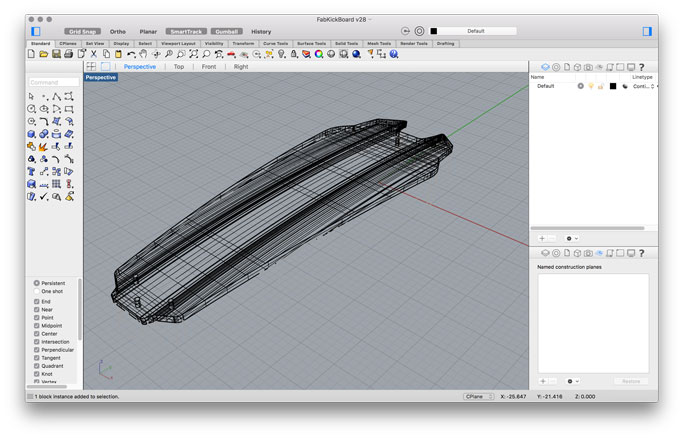
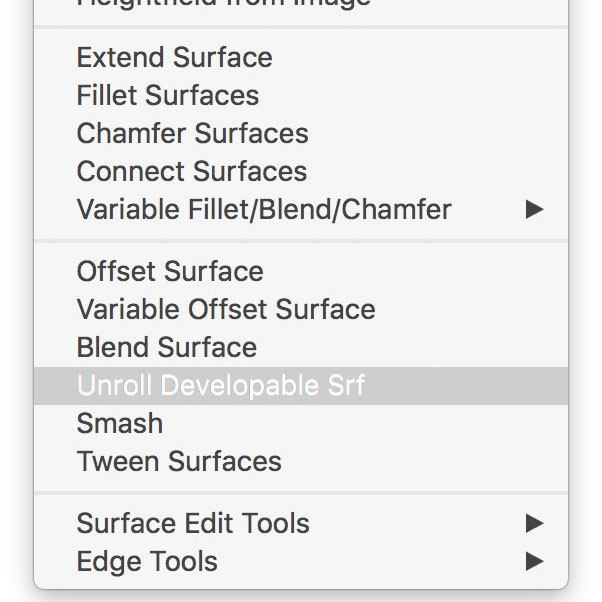
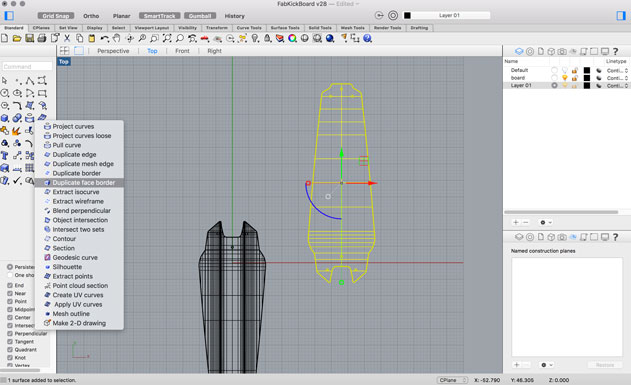
Finally, I exported it to STL and imported it into Rhino. Here, I unwrapped the surface (using "UnrollDevelopableSurface"). Hint: This requires several "Explode"s of the STL itself. I created a layer for just the border. therefore I used the "DublicateFaceBorder" feature. Finally, I had my unwrapped surface, which I could save as Illustrator format.
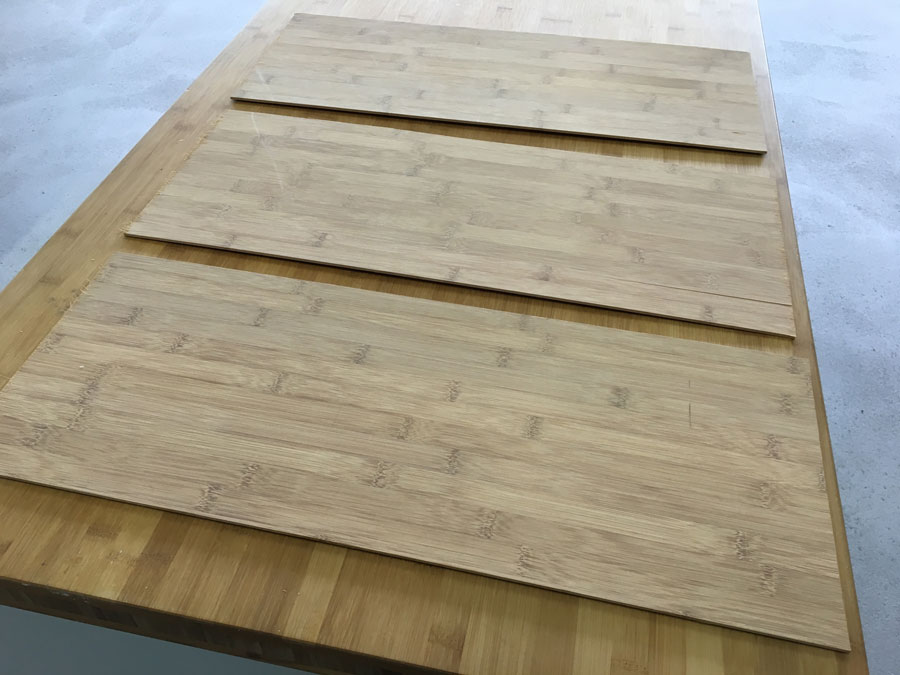
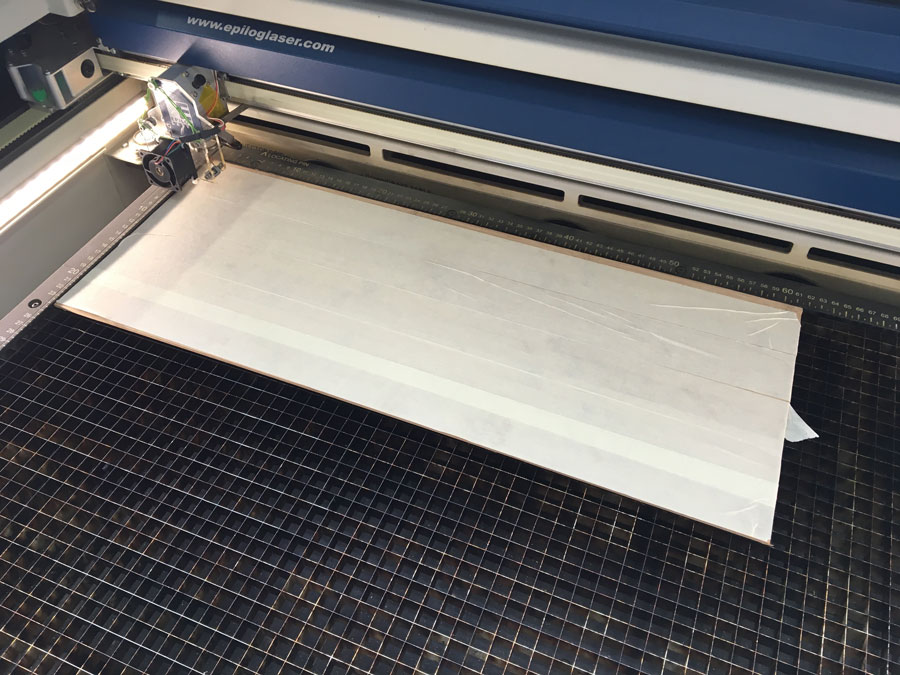
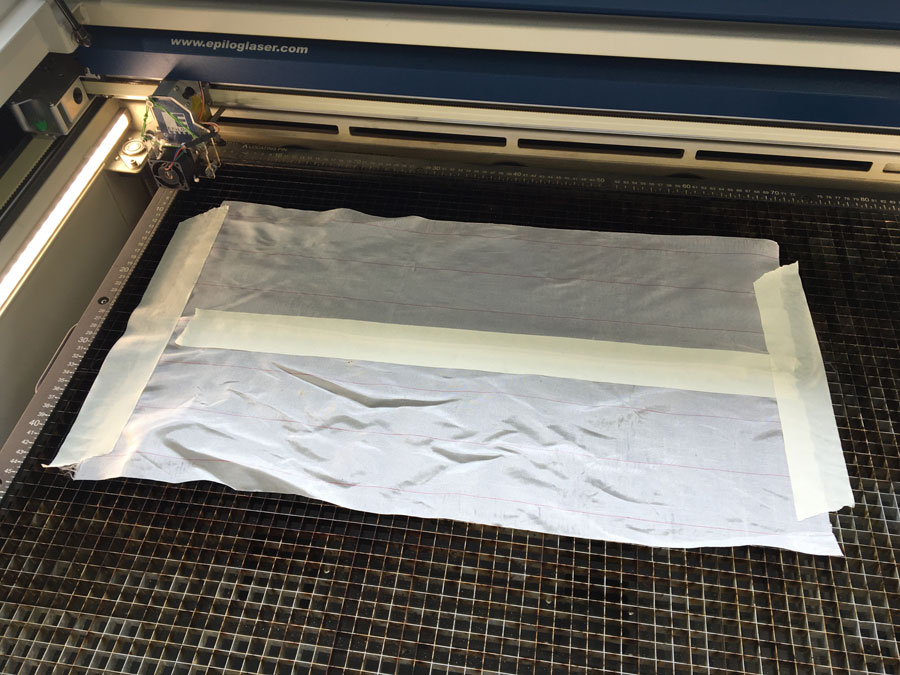
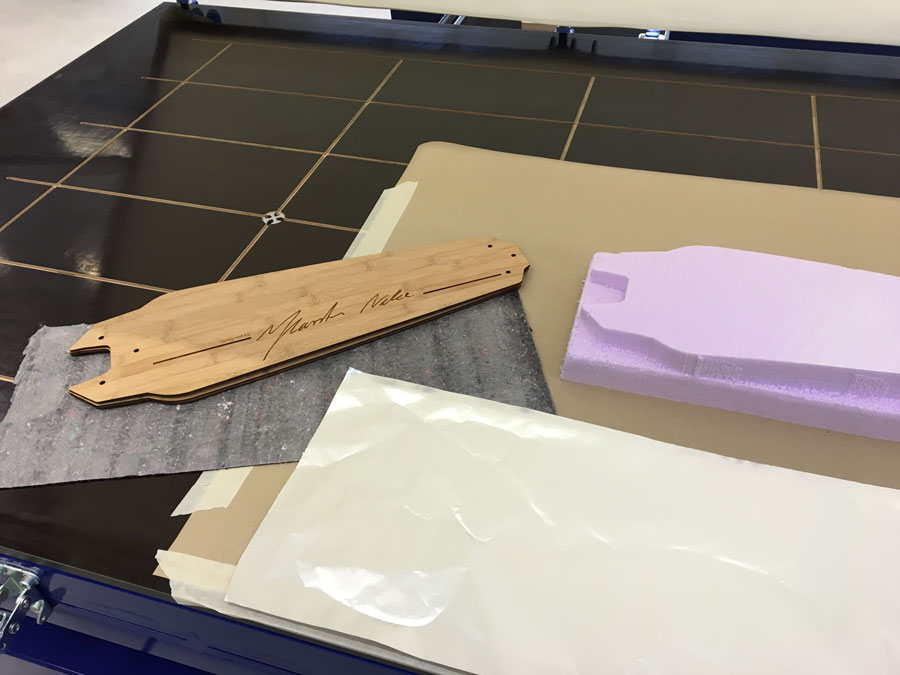
Laser cutting the sheets
Thus, I cutted the bamboo sheets and also the synthetic polyamide mats (peel ply) which worked very well. To be more precise the fabrics I used are: "Carbon fibre fabrics are made from synthetic polyamide yarns. They are marked by high elasticity and high tear strength." http://wela-handelsgesellschaft.de/cms/en/node/132
We own a Epilog 60W Laser at FabLab Kamp-Lintfort. Following settings were used for cutting:
BoardCut Bamboo: Raster 40Speed, 90, x & Vector: 10Speed, 100 Power, 30 Freq
FibreCut: Vector 60Speed, 60Power, 30Freq
I created an offset of the outline to cutt peel ply. My recommendation: Cut them a little bit smaller than your sheets of wood (I made them bigger and had to remove them afterwards).
Since the mats we had were to small in width, we glued them with masking tape.
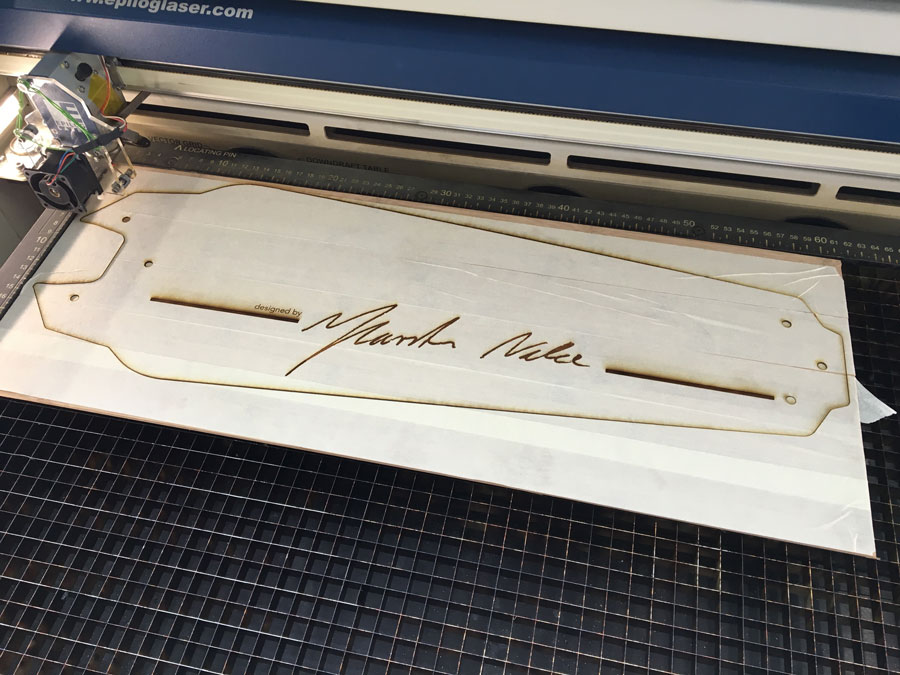
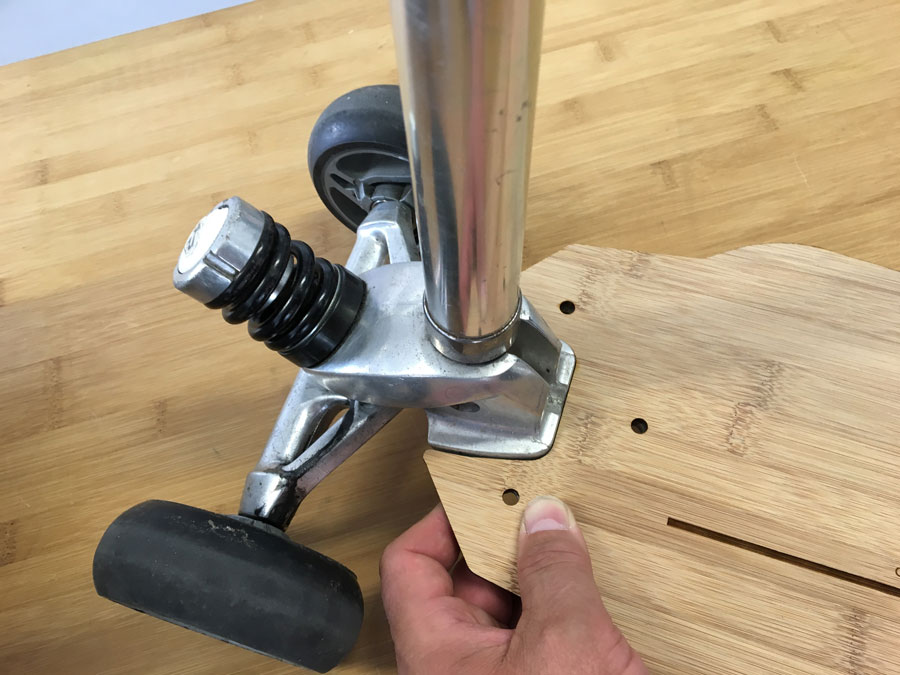


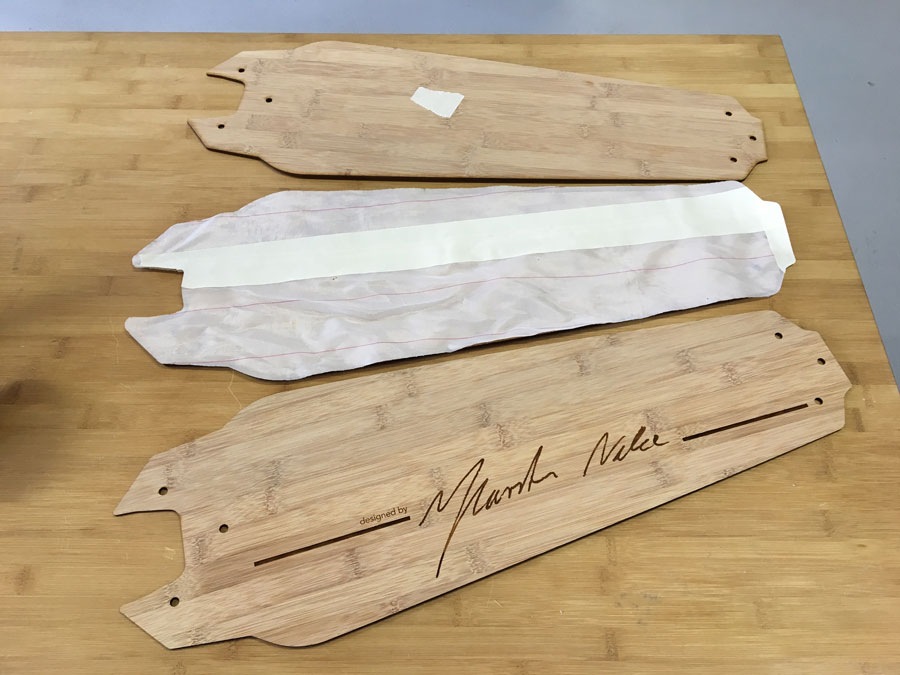
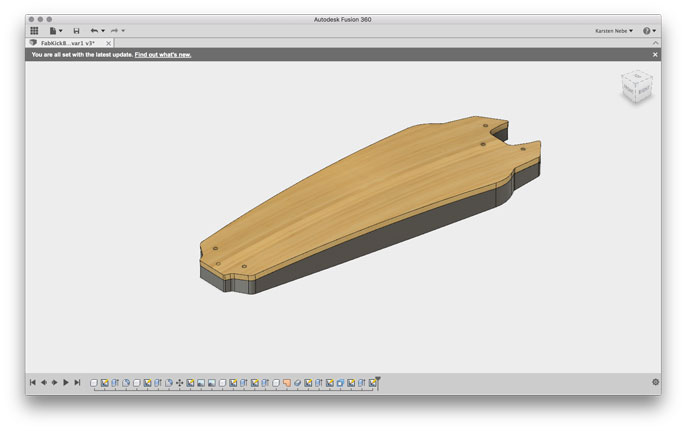
I had to fix the design because the holes did not fit a 100%. Thus, I created an offset of 2,5mm at the back end of the board and cutted it again (just the wrong end).

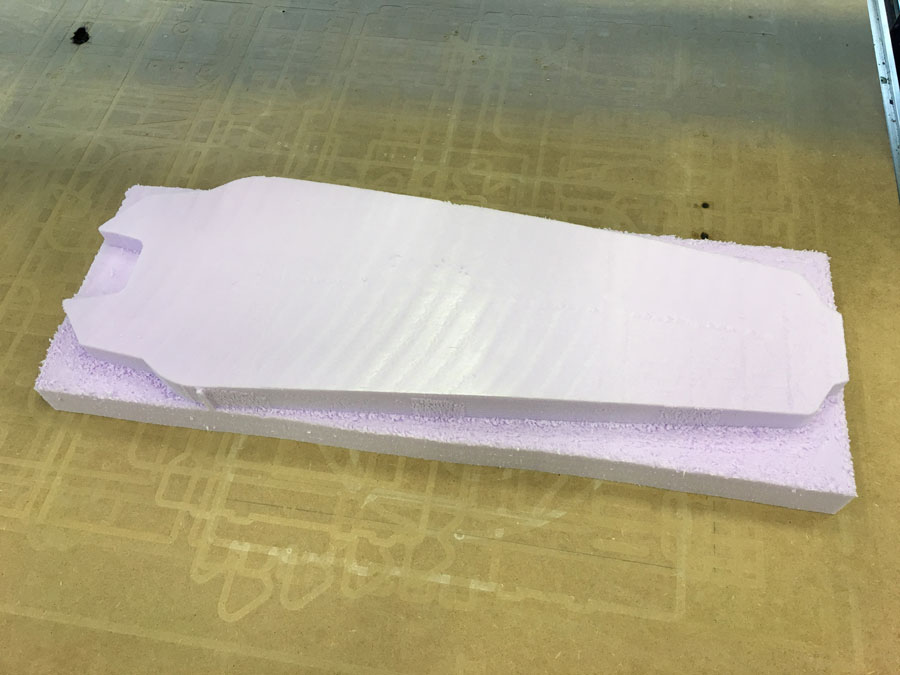
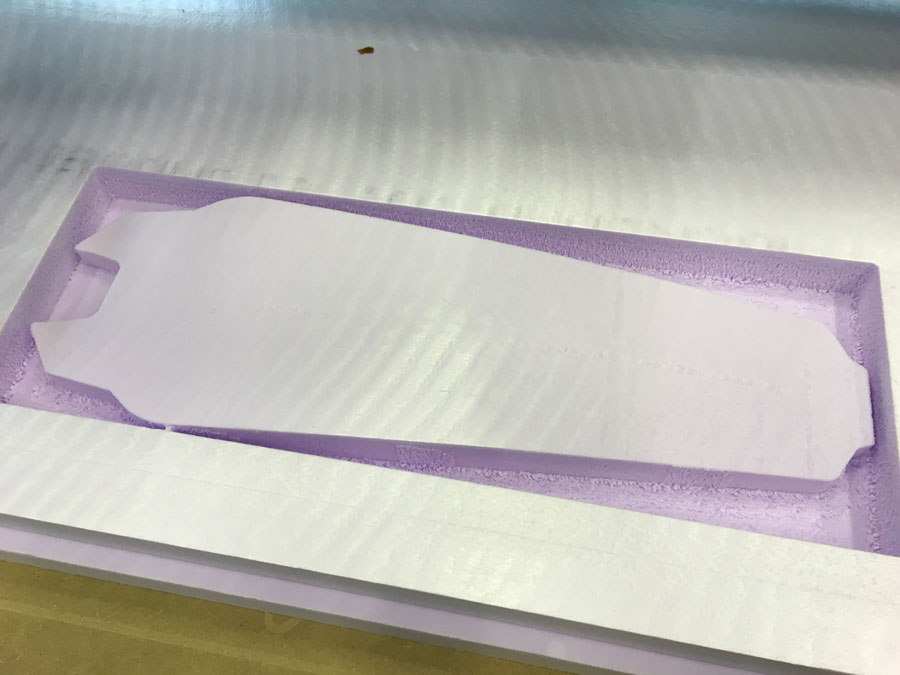
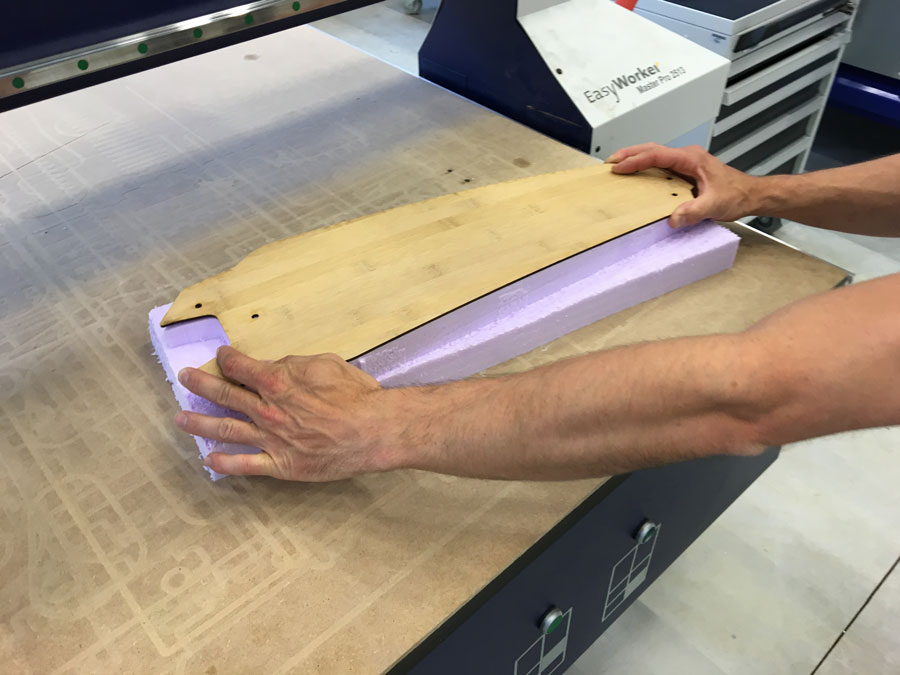
Milling the mold
At FabLab Kamp-Lintfort we have a CNC portal milling machine of e(sign: Easy Worker MasterPro 2513.
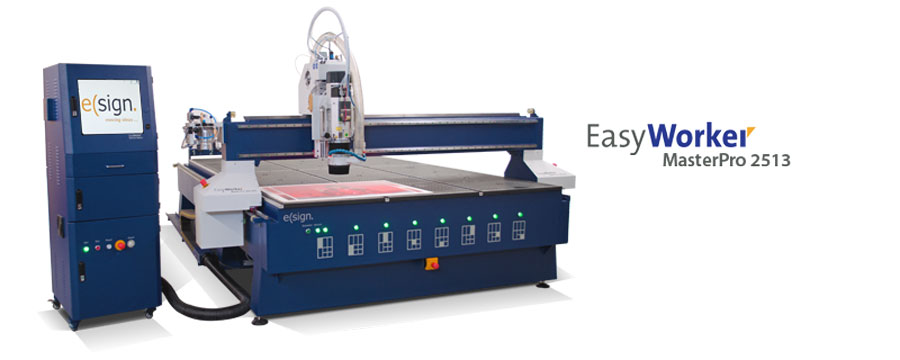
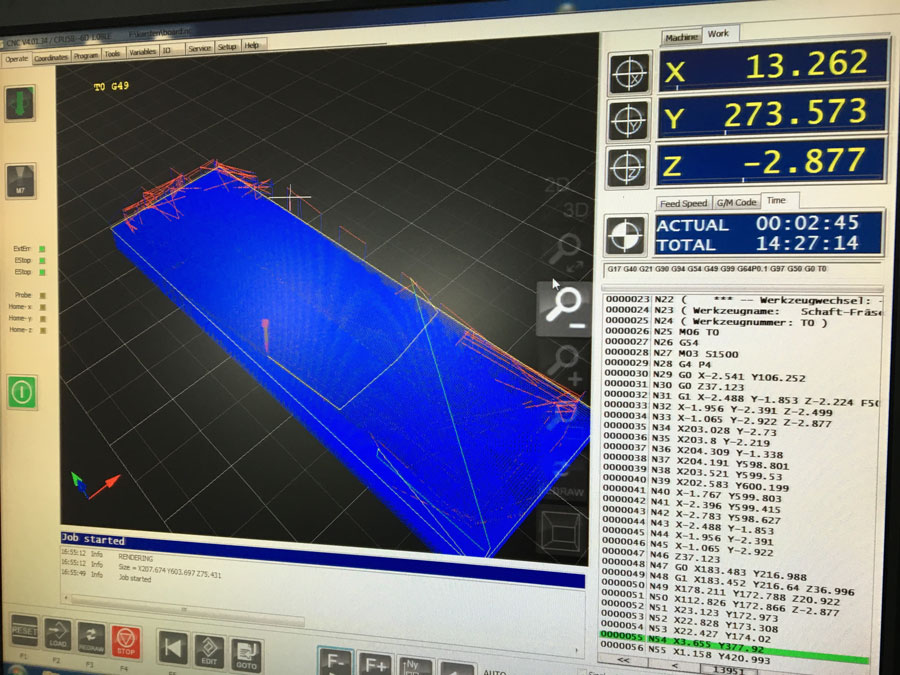
To greate the machine code for our eLsign, we use CondaCam.
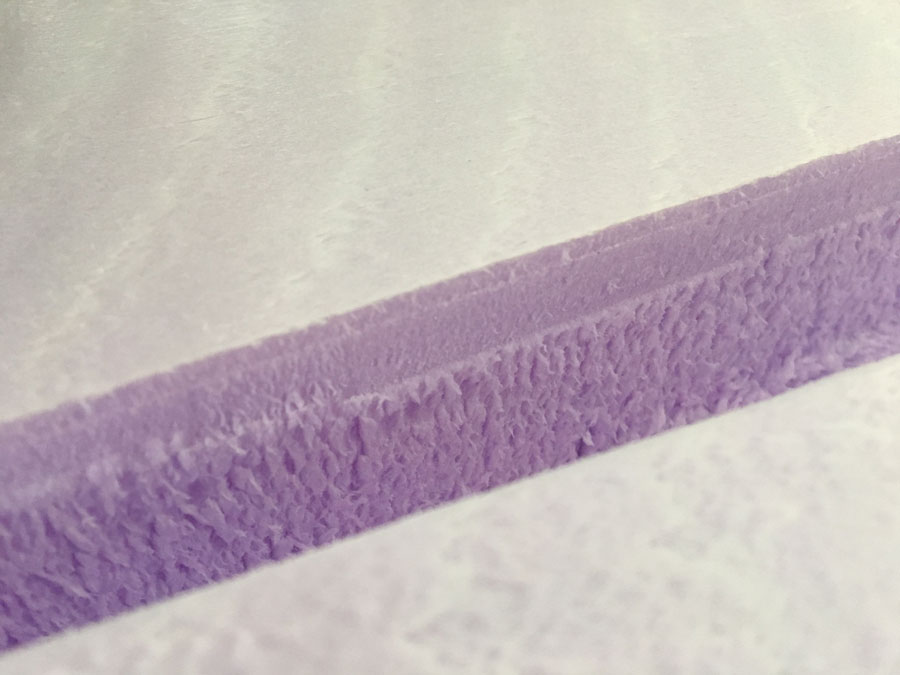
For the rough cut we use a preset speed of 2000 (and an offset of 0.8). For the fine cut, the speed was set to 4000.

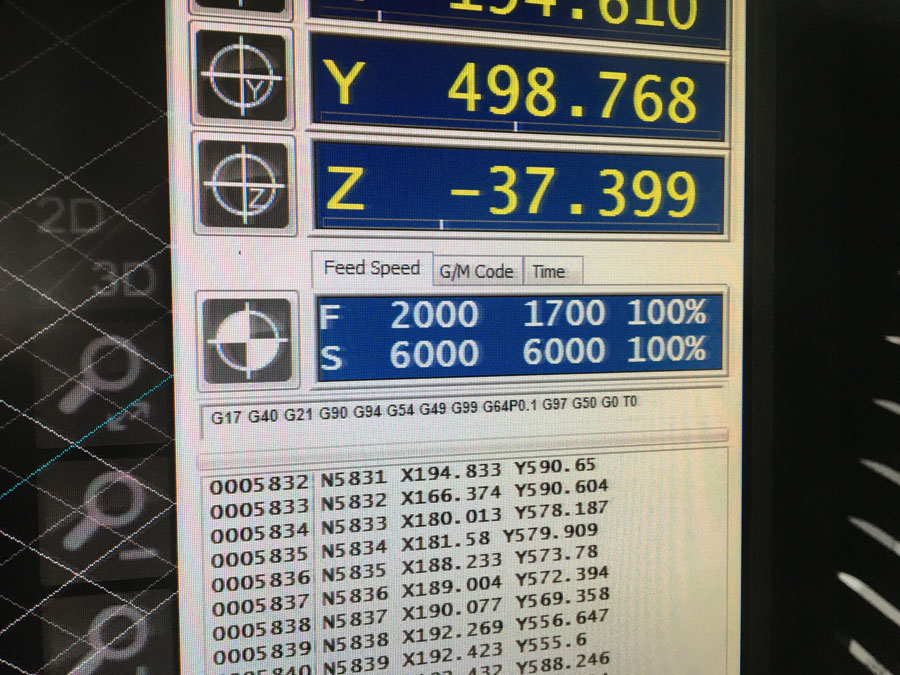
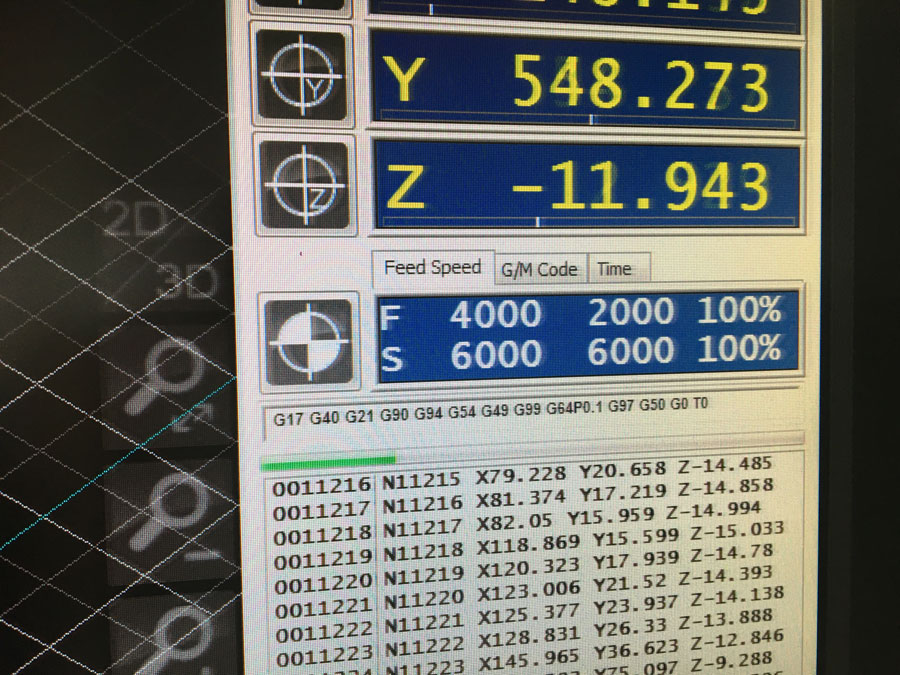
Speed of the cut: 4000
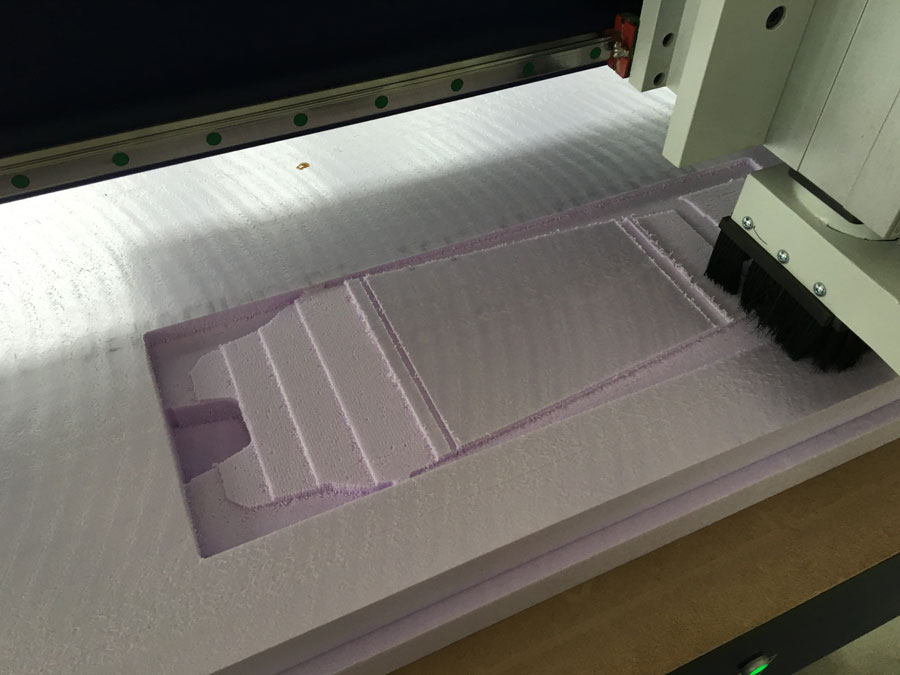
In the 2nd picture one can see the difference in quality. During the fine cut, the speed is higher but the steps are smaller. This creates a smoother surface. Increasing the speed during rough cut is just recommended at areas, which will not be 'fine cutted' afterwards because it rips out material.
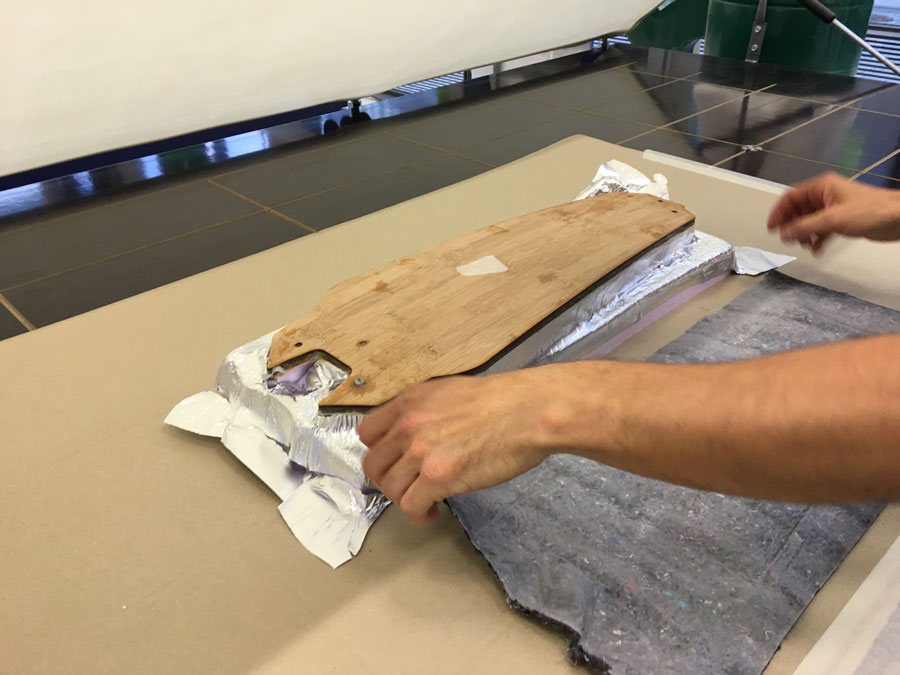
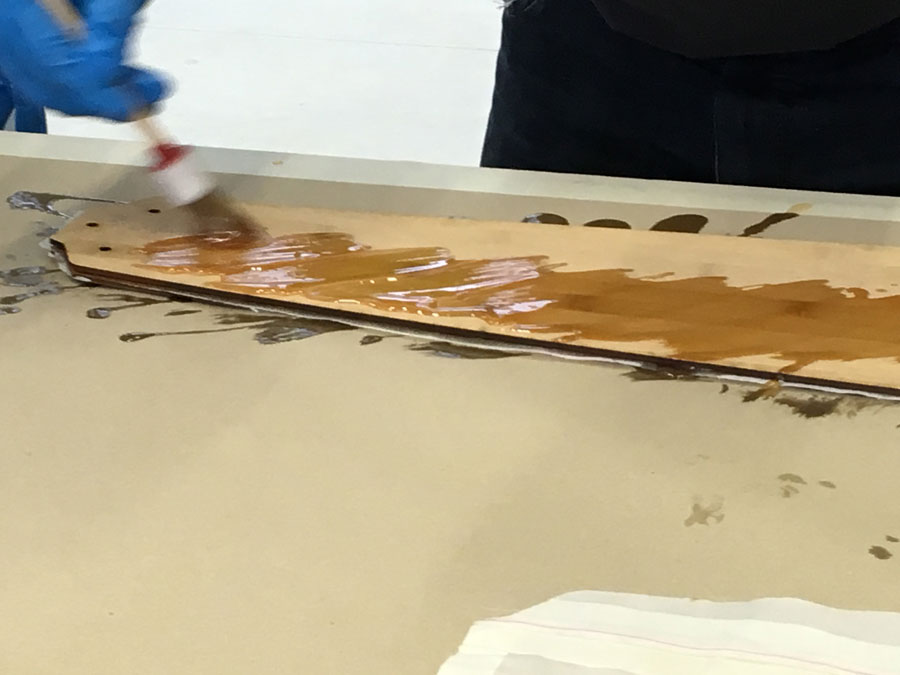
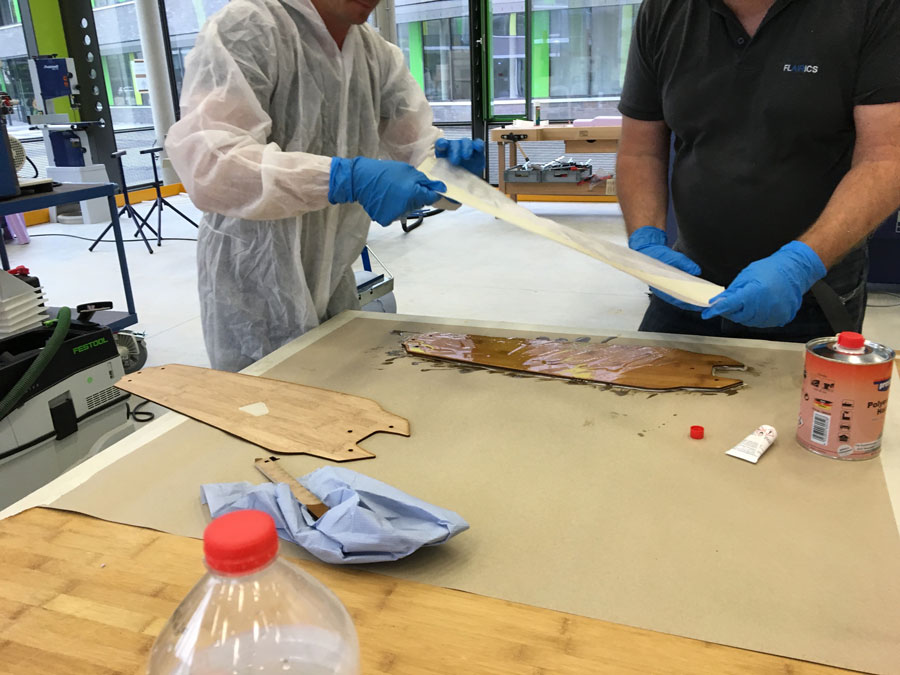
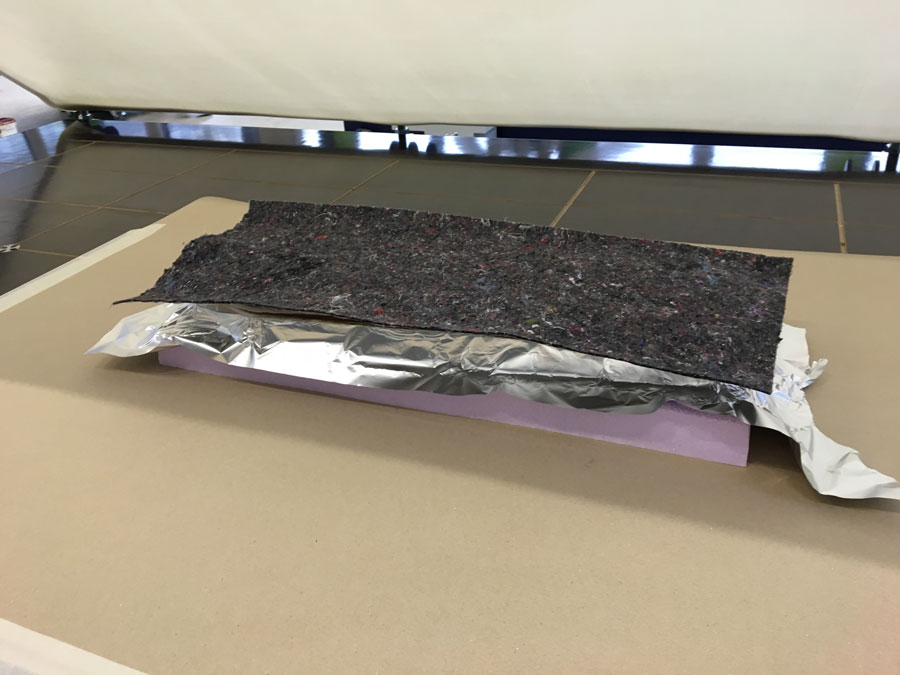
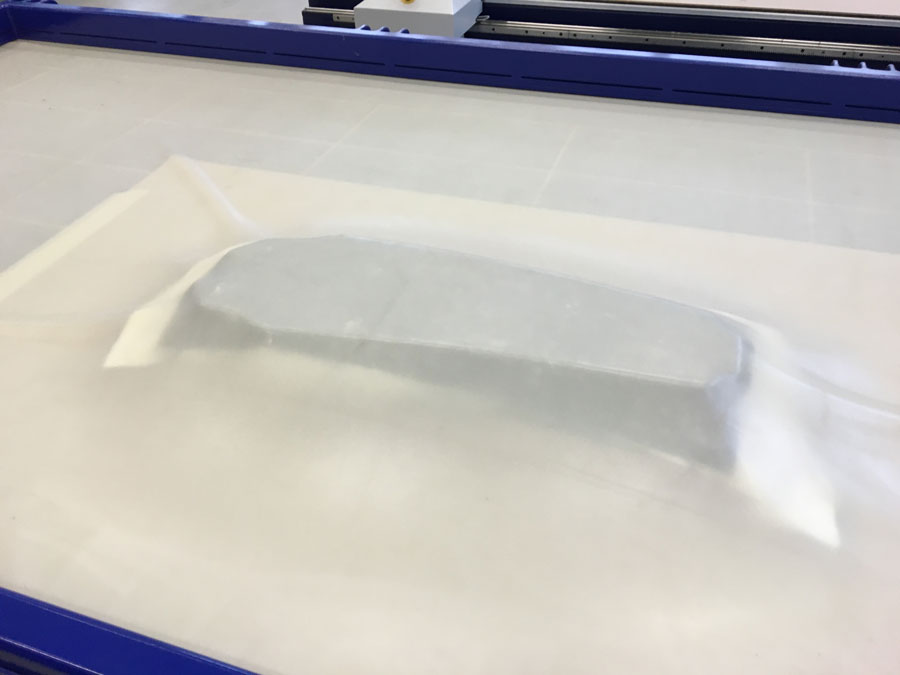
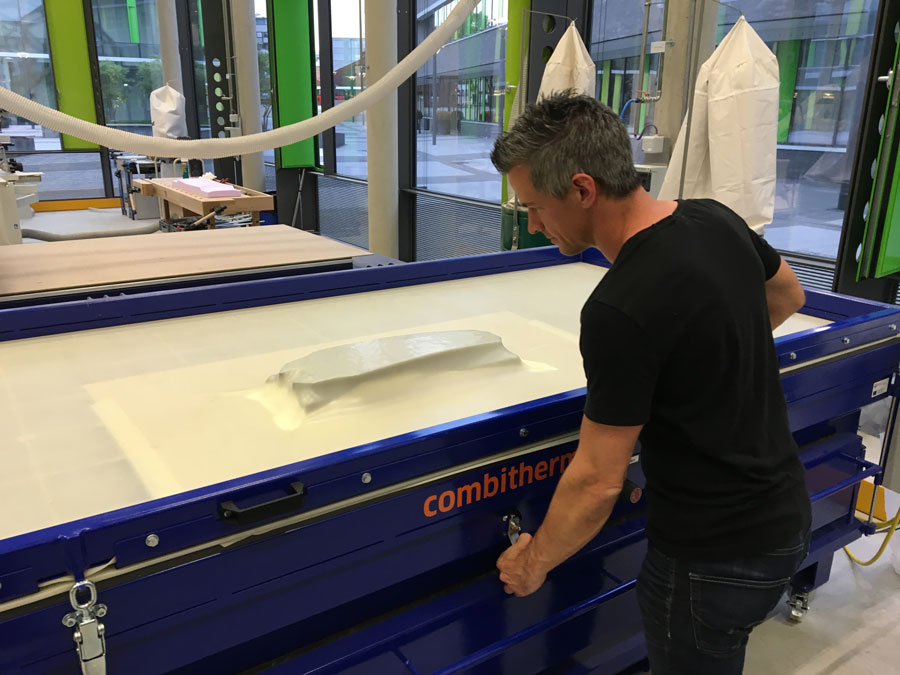
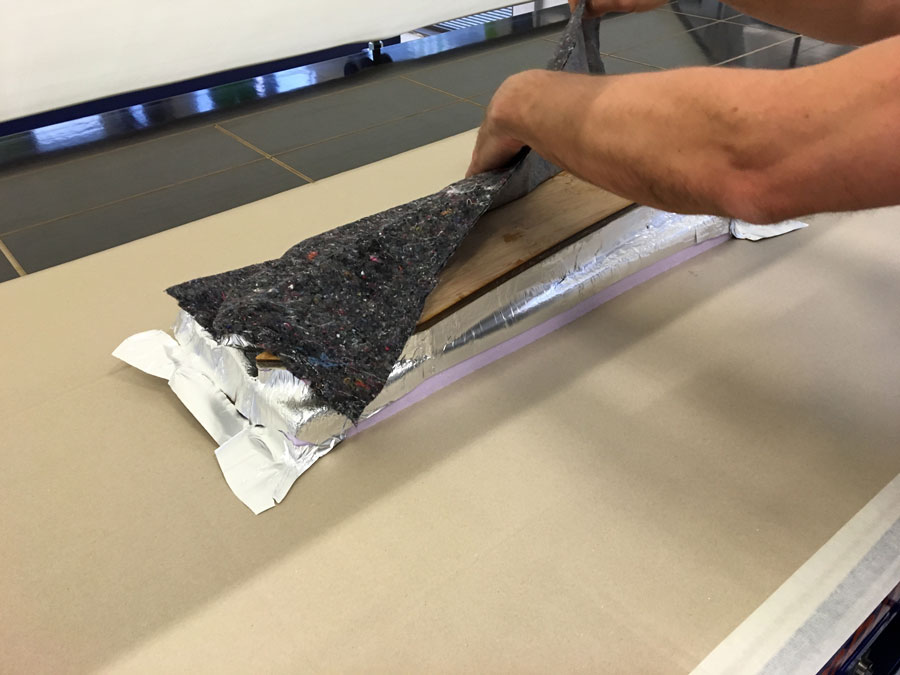
Applying composites and perform vacuum pressing
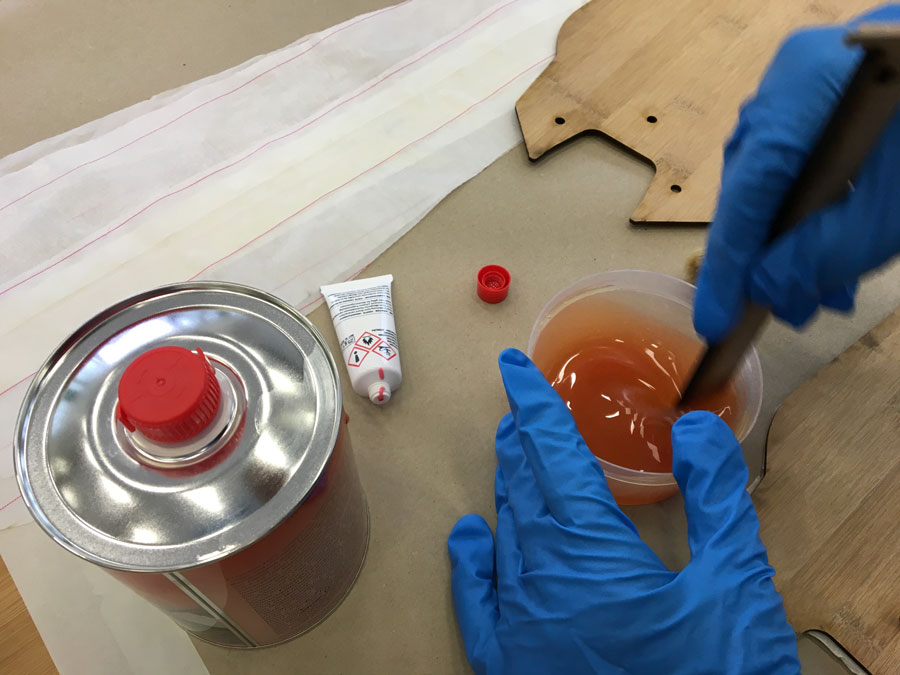
I used presto Polyester Resin which I could buy at the local hardware store.
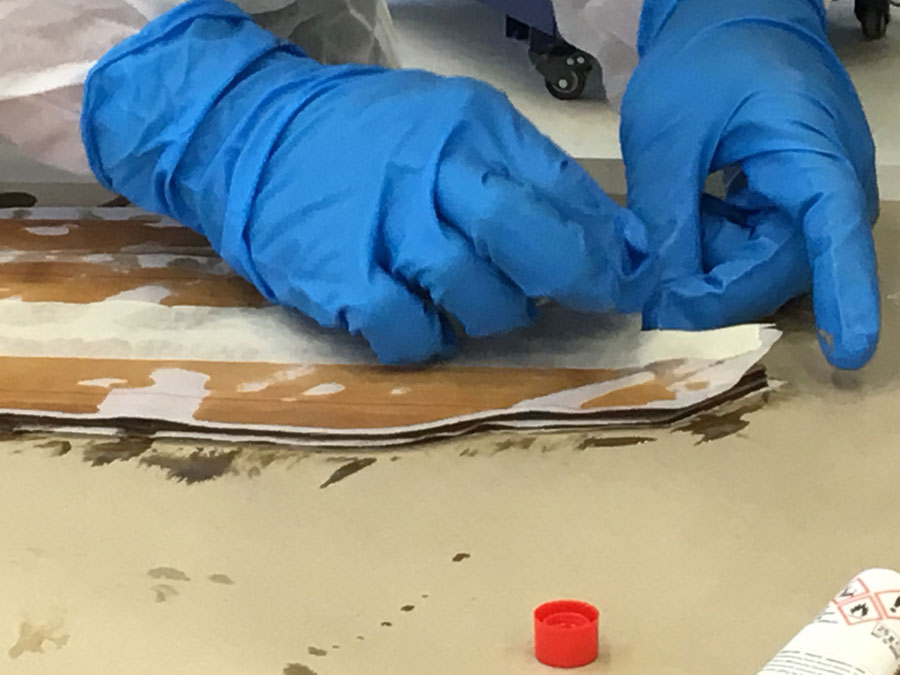
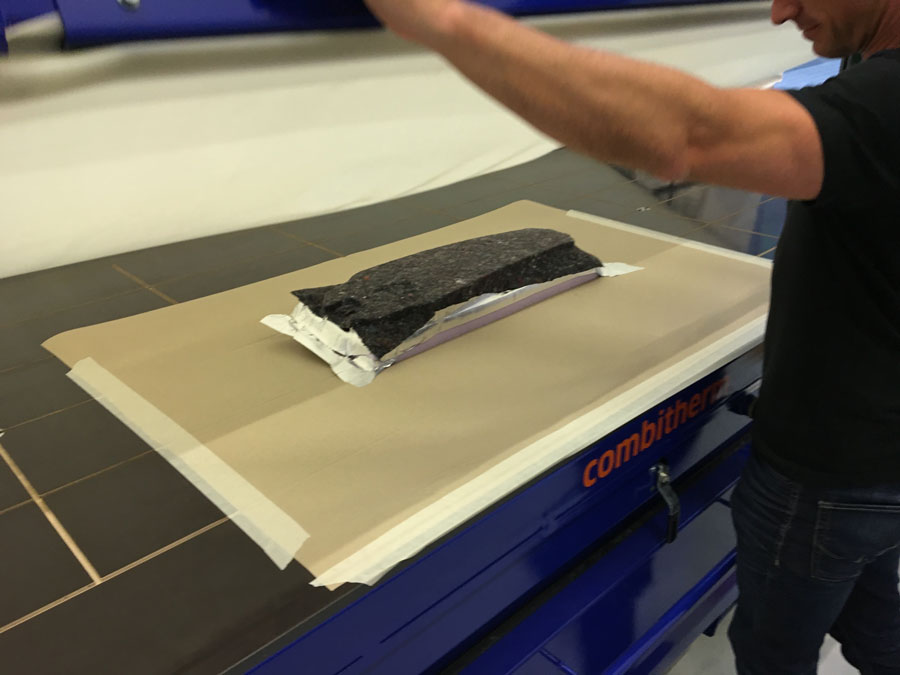
To protect the silicon rubber from resin, I used shielding fleece.
As soon as you mixed the hardener and the resin, you have to be very fast. The Curing process takes just a few minutes.

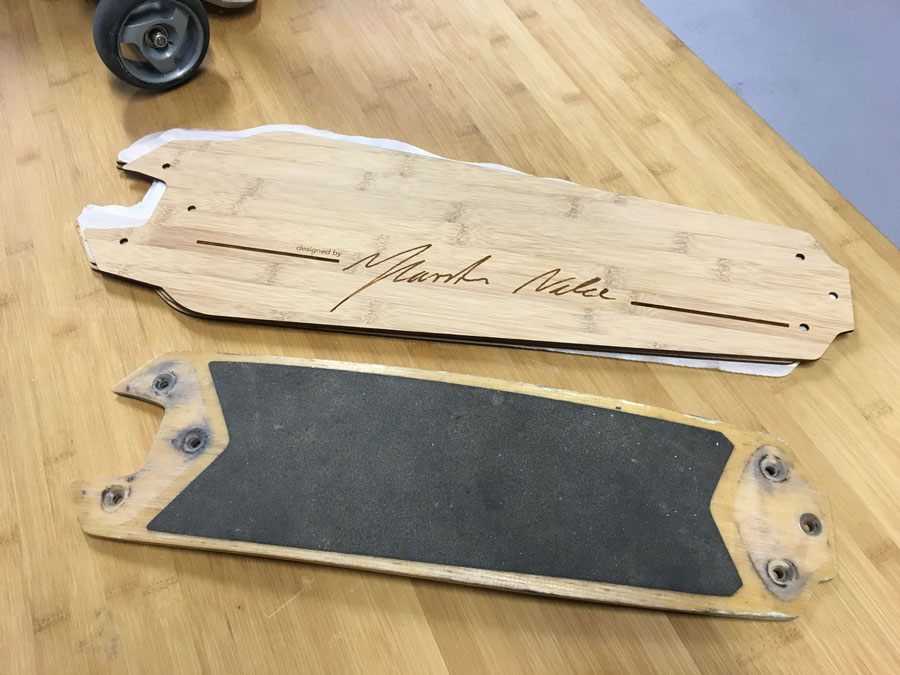
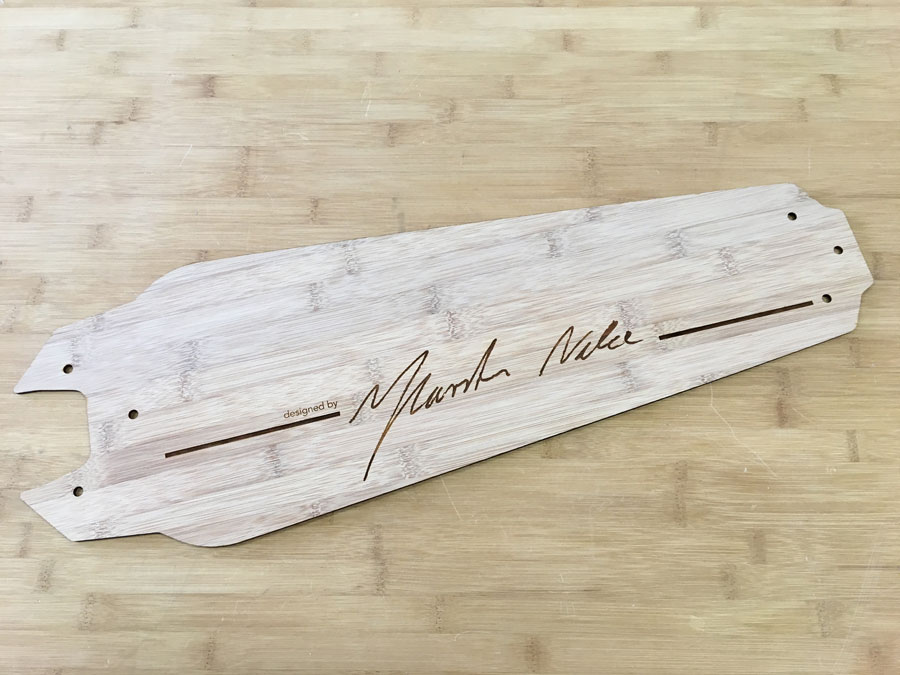
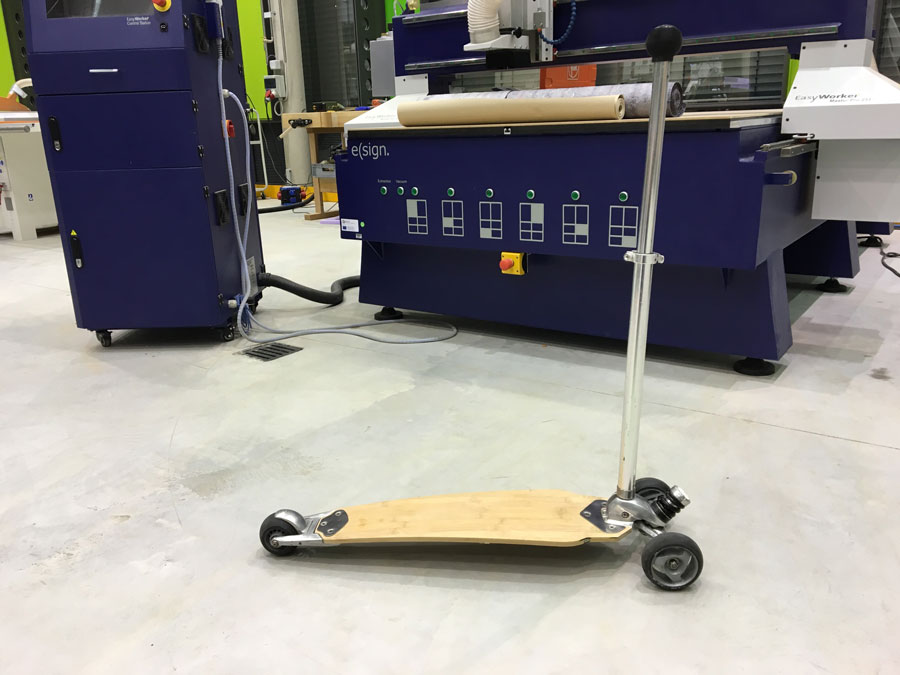
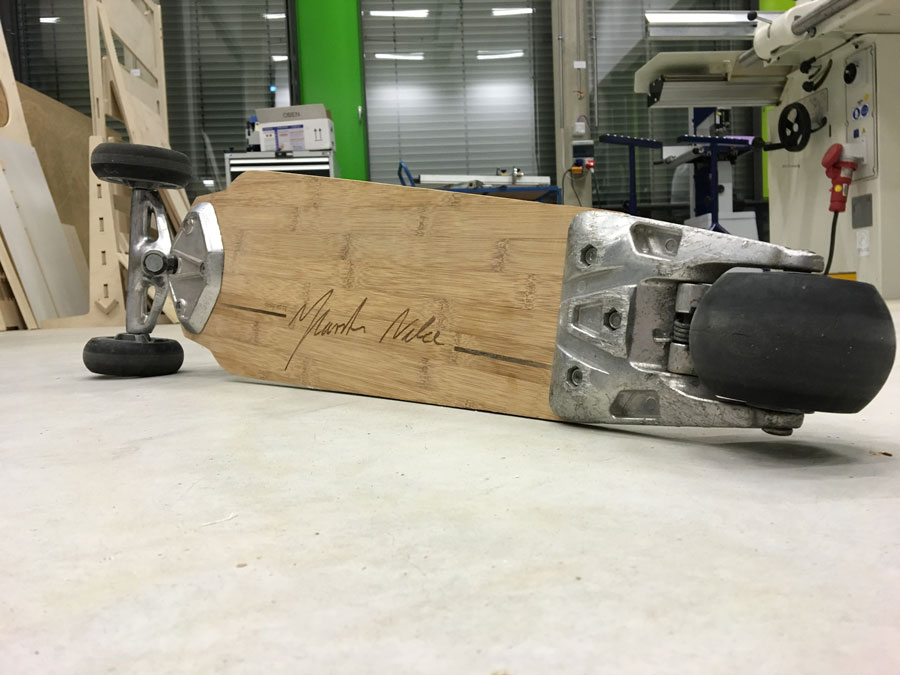
Final Outcome: The fabKickBoard

Downloads
Direct Download: Fuison 360 File - fabKickBoard
FabKickBoardFacevar1Lasercut(final).ai
fabKickBoard var1 (final).3dm
fabKickBoard var1 (final).stl
fabKickBoard var1 (final).nc
Take Away's
- You can lasercut polyamid mats. Cut them a little bit smaller than your sheets of wood. (I made them bigger and had to remove them afterwards)
- Milling foam: During the fine cut, the speed can be set higher (4000) because the steps of the machine are smaller. This creates a smooth surface. Increasing the speed during rough cut (2000>4000) is just recommended at areas, which will not be 'fine cutted' afterwards because it rips out material.
- Cover your top and bottom layer sheets with masking tape to prevent the resin to pulloute the surface.
- Cover your mold with a sheet, e.g. aluminium foil of food wrap
- To protect the silicon rubber from resin, I used shielding fleece which is way cheaper than protection fleece. .