Composites
Objective
Learn to use composites
Make mold and structure.
Composite building consists of a fiber and a matrix(epoxy and resin). We will be using
natural fiber(burlap) and a bio based resin(SuperSap 100). These are more environmentally friendly and safer
than alternatives(like fiberglass or carbon fiber) which may be stronger.
Important Task:
Cut the fabric sheets to precisely fit the molds. In order to create smooth pieces, we want to avoid bunching of fabric
that occurs at joints and corners. Darts are small cuts that allow you to adjust the fabric after placing it.
choosing a technique:
Wet Lay up-Coat the fiber with resin then lay it in to place.
Compression or Vacuum Bagging:
Compression-make two molds that sandwich the coated fiber. The pressure drives the excess resin through.
Vacuum Bagging-use atmospheric pressure to push on the mold and resin.
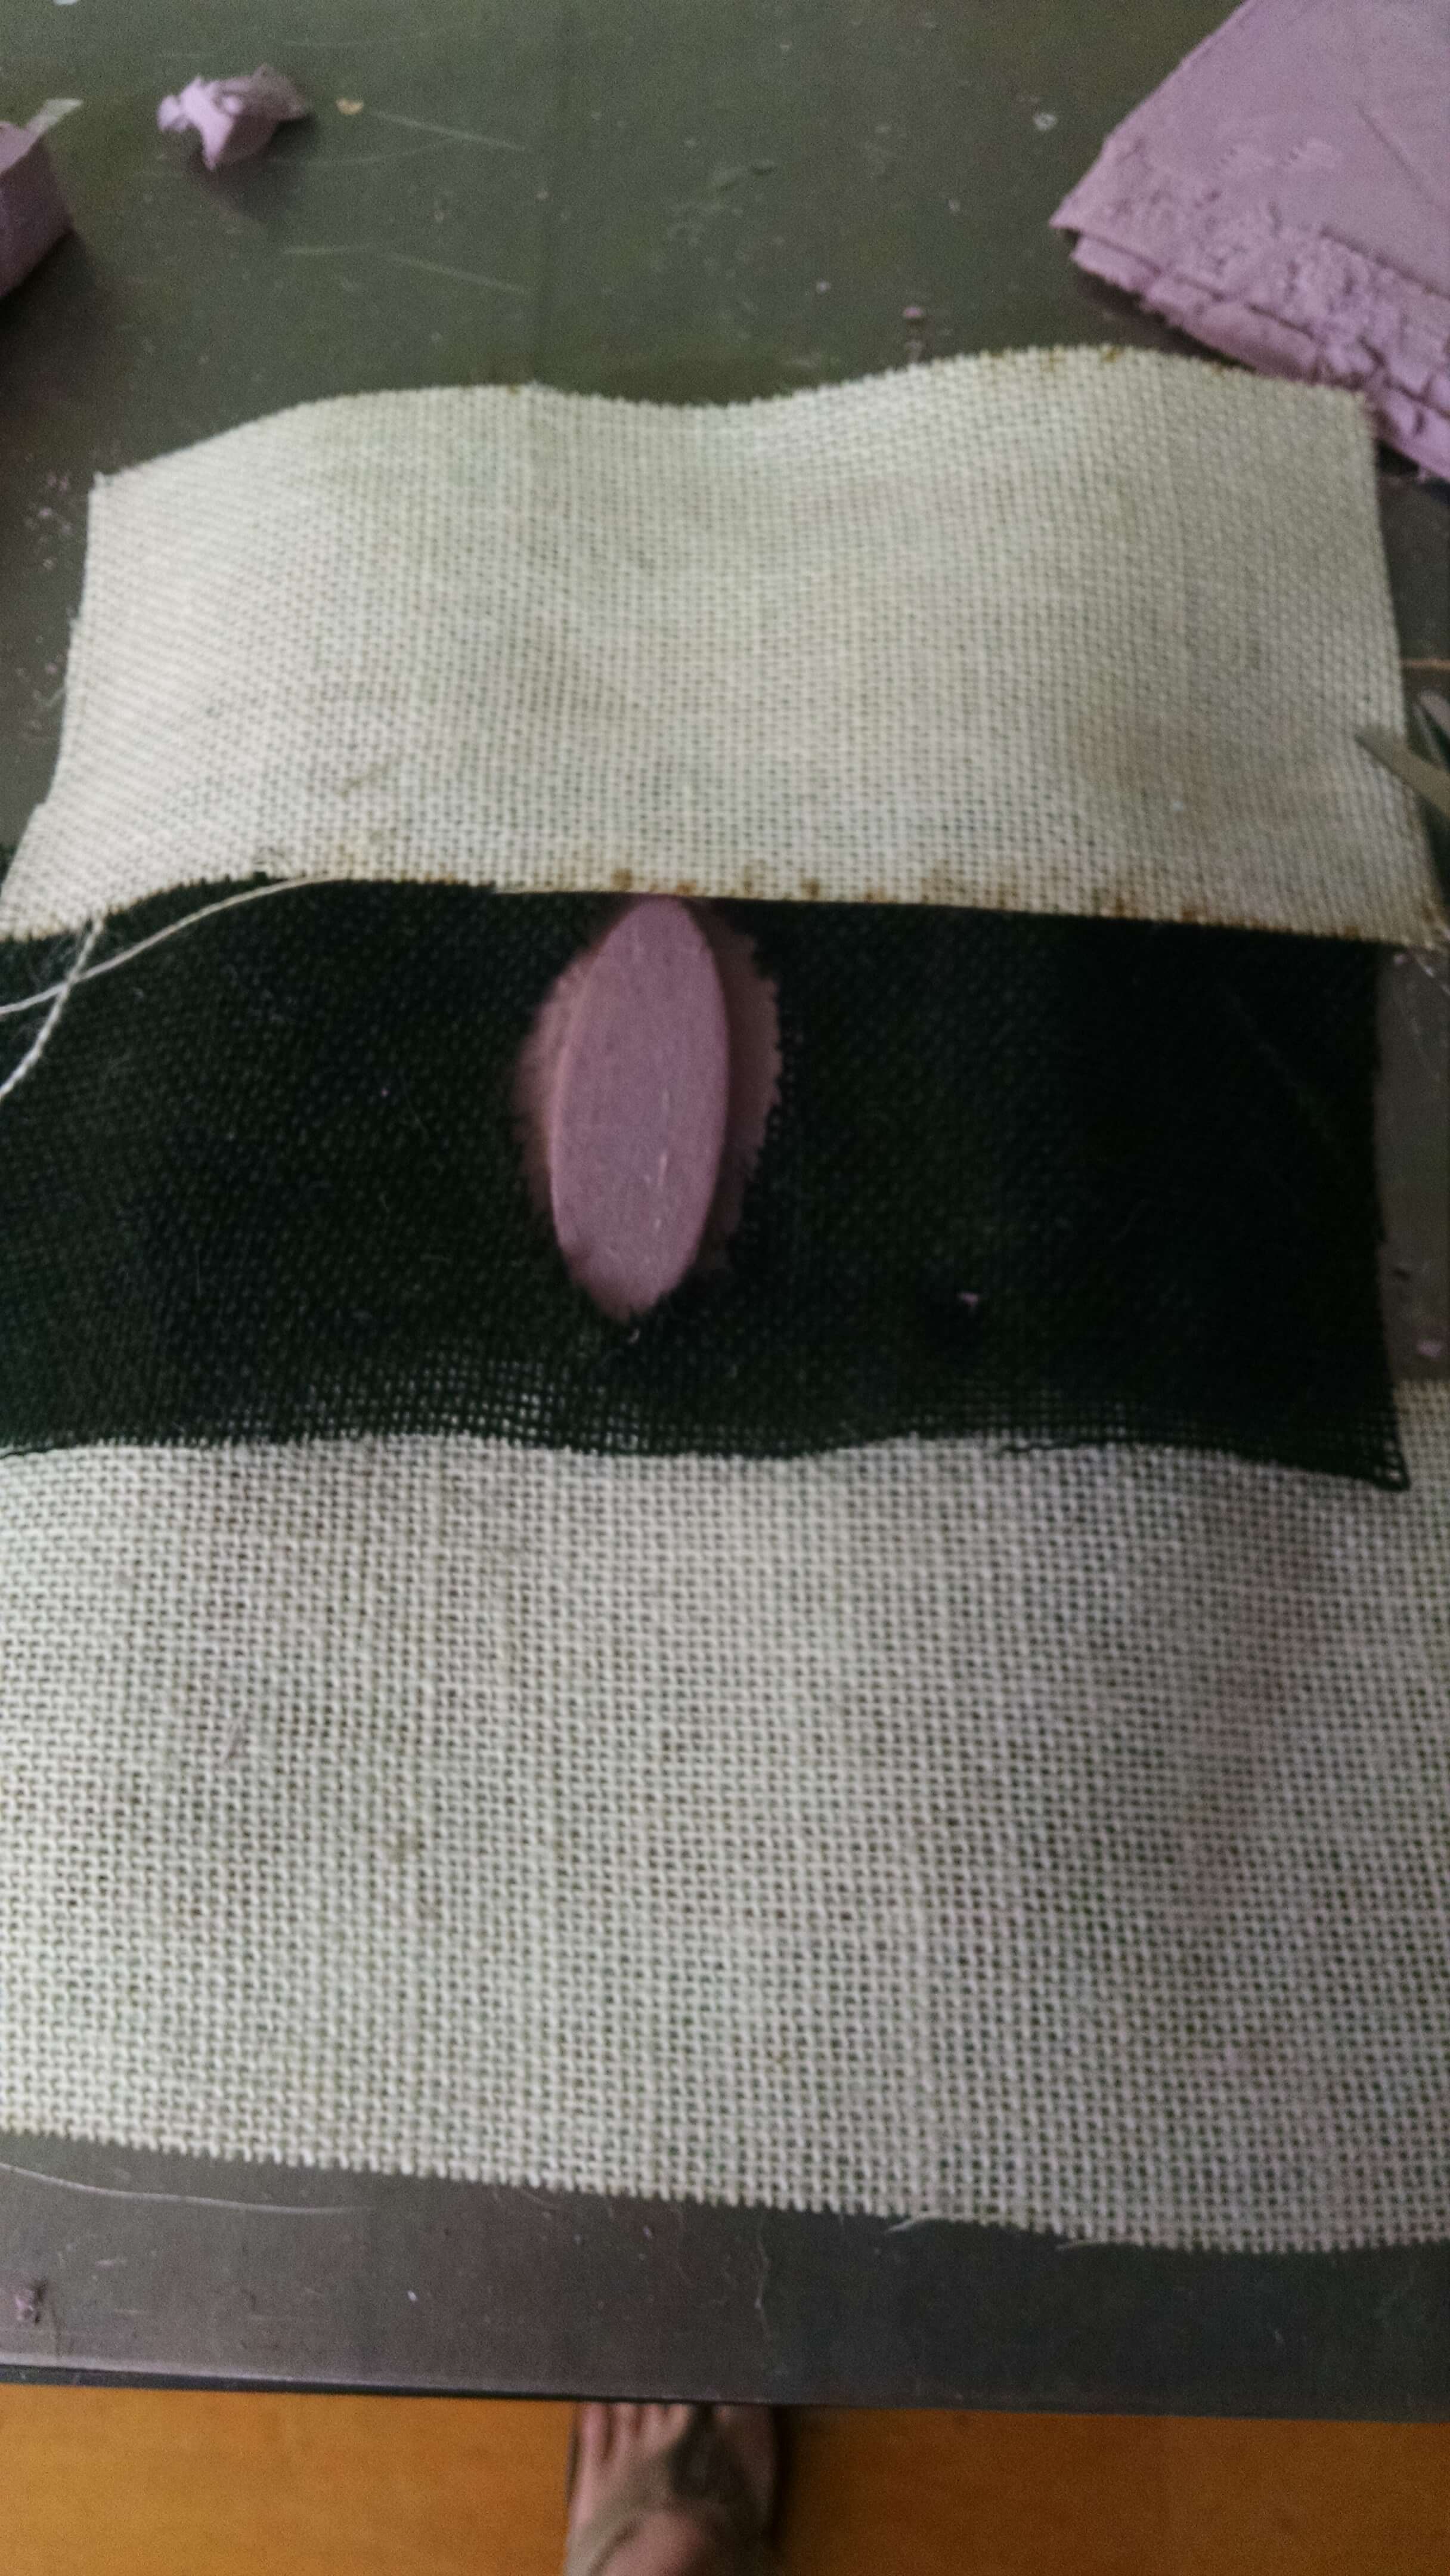
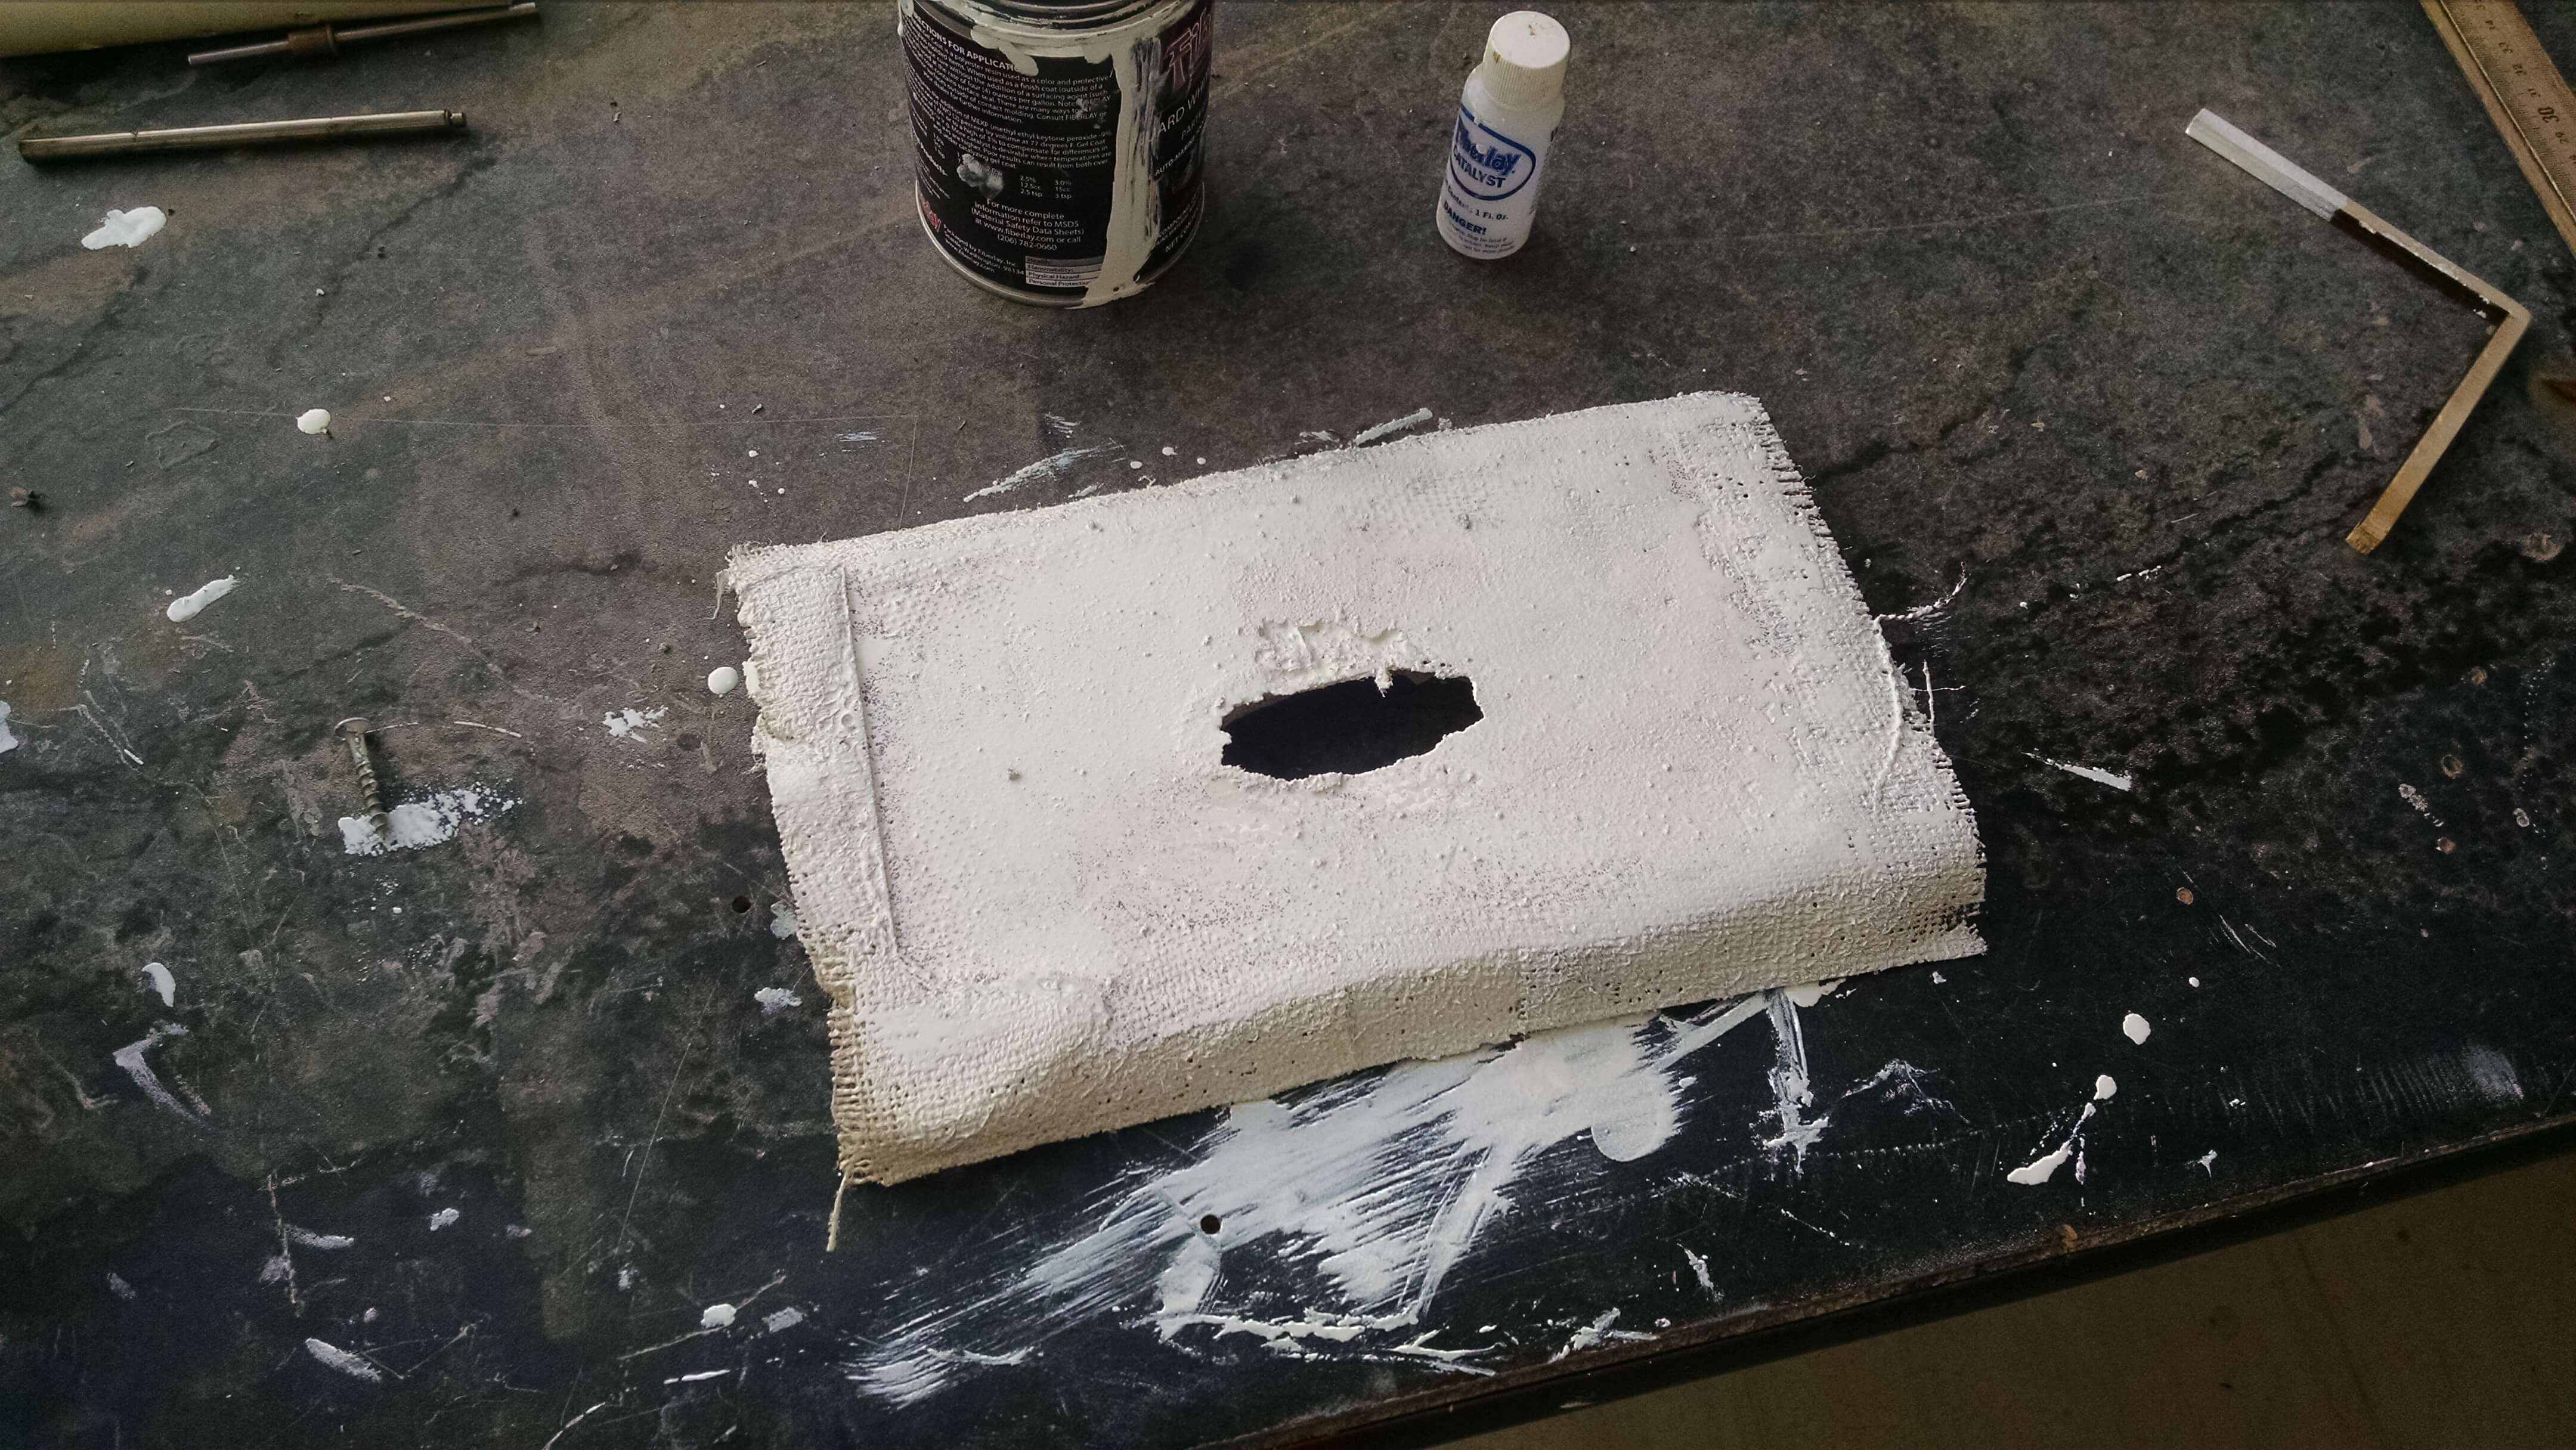
Making a coupon
A coupon is used to test the strength of a composite. I am going to make a small block that has 3 layers of resin and
burlap.
I poured then pulled the resin across 3 small pieces of resin. I decided to use a wood mold in the shape of a guitar
as a fun mold. This exercise is to build a small test example that I can use to explan concept. The mold I already had and
was coated with foil and wax so that the resin did not stick to the pores of the wood.
For this practice run, I wanted to try vacuum bagging since I will be using a compression technique with two molds for my final
piece.
1.) Non-traditional "coupon" w/ 3 layers 2.) Same w/ 5 layers
With vacuum bagging you can see the process a lot better. For me, that is better for understanding what is going on.
The burlap is noticable unlike the fiberglass composites that I have worked with before which seems to fade in the resin.
I think the ability to see the burlap will make a great chair because the fiber is so visible.
Building a Mold
The mold is going to be two pieces of pink foamular with our composite sandwiched between the two. A pair of clamps
will be used to force the two molds together. This forces the resin to spread in the fiber. This pressure helps to create
a thiner piece which should be a larger percentage of fiber to resin, leading to a stronger strength to weight ratio.
The material for the mold is pink foamular(from hardware store).
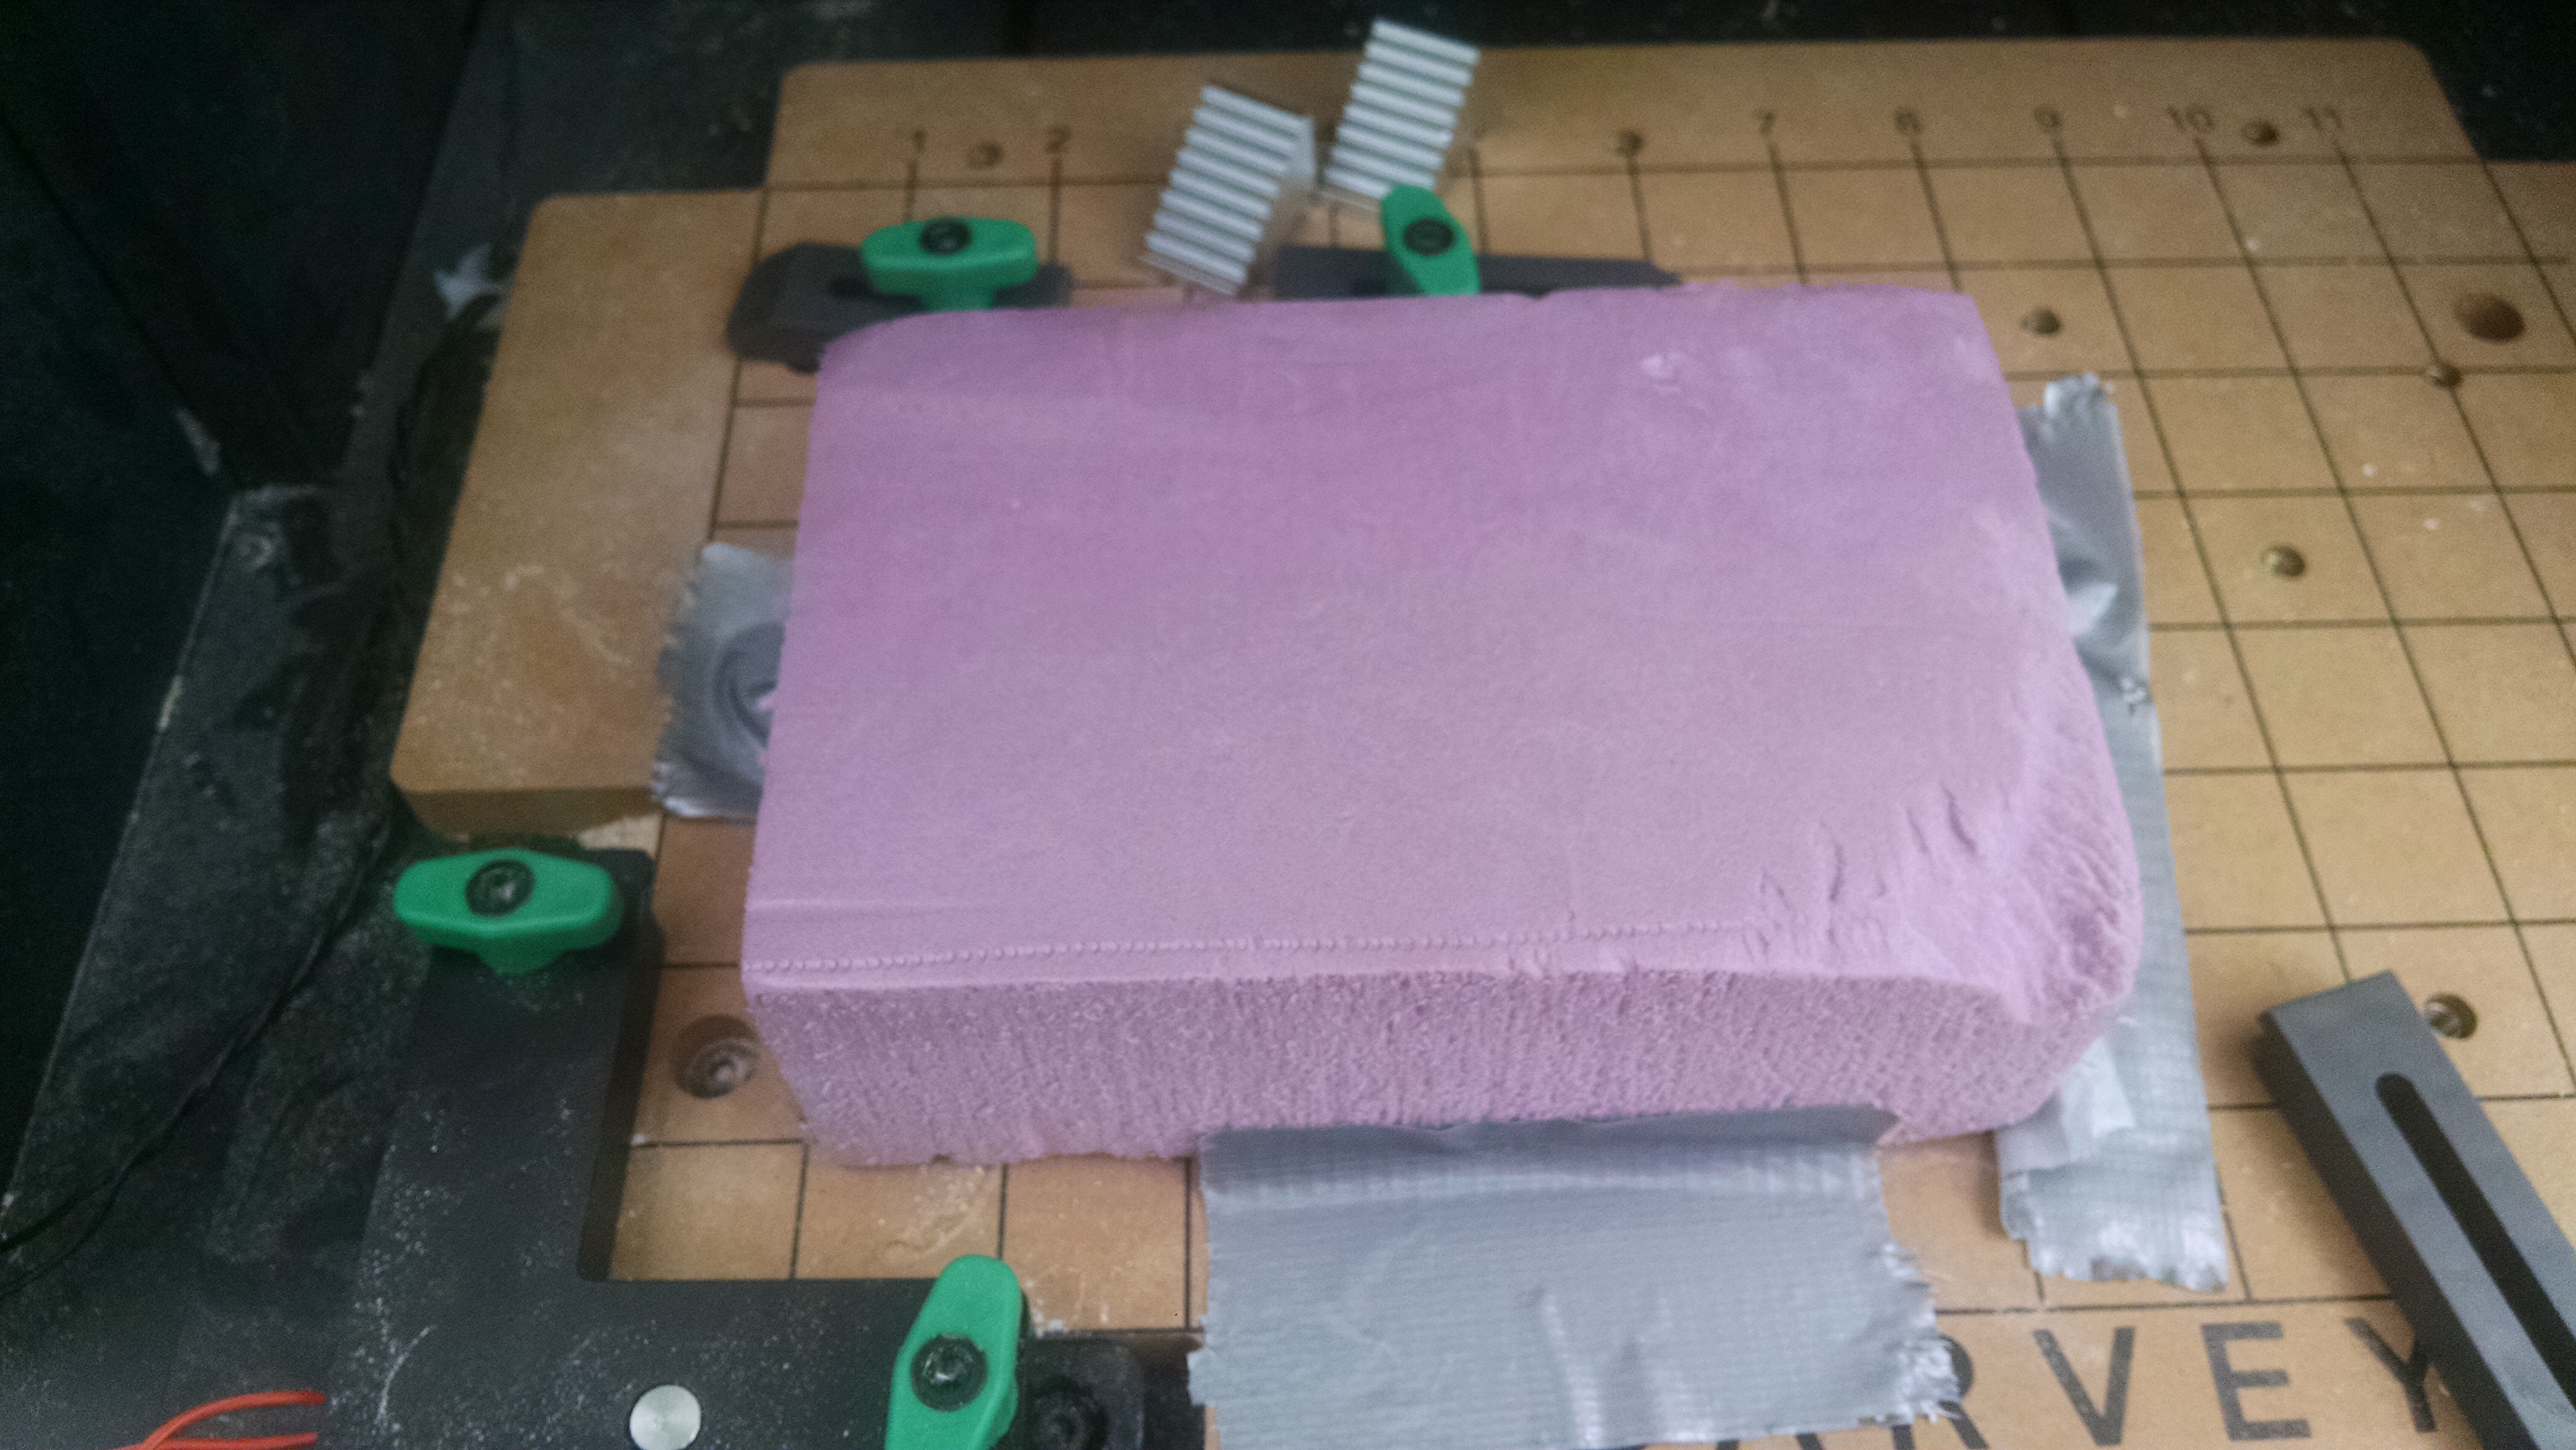
I am going to use the small CNC mill for this.
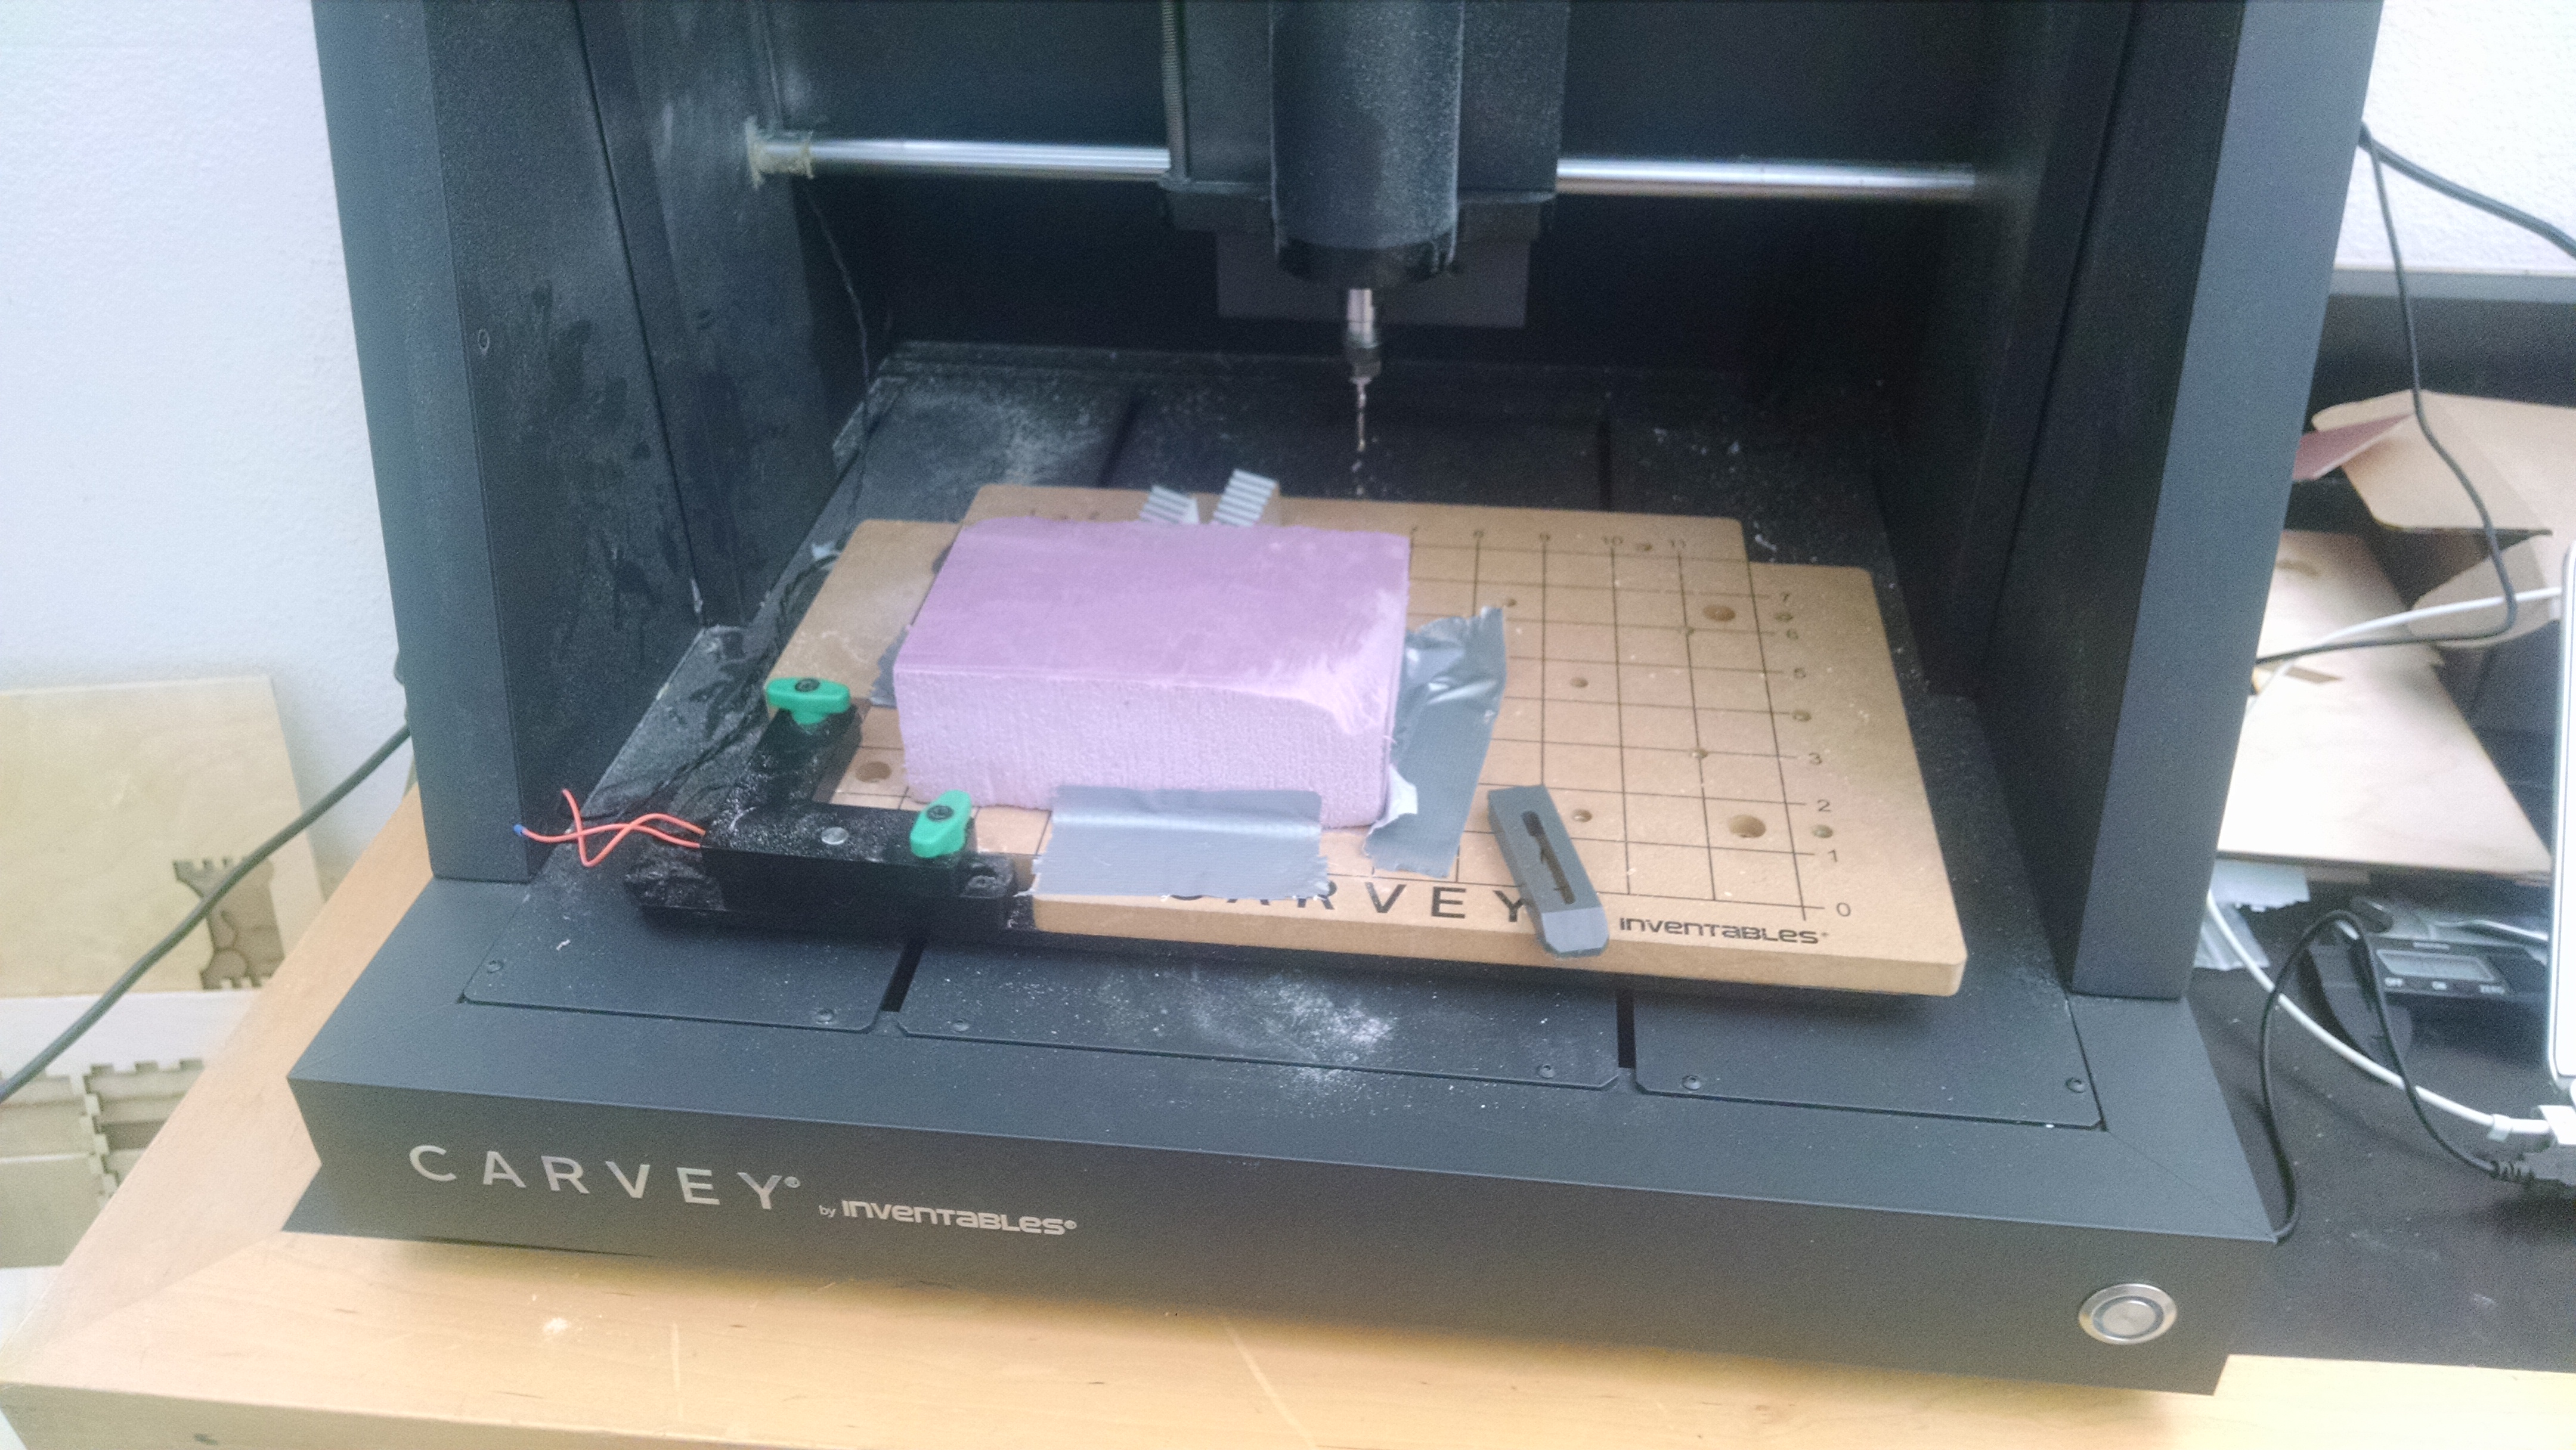
Designing a mold
I am using Fusion 360 to design a mold. The mold is going to be a stool seat.
Safety Information
SuperSap 100 datasheet
Data sheet
Precautions
To work with this material, the following safety equipment is needed:
gloves(butyl rubber gloves)
respirator
chemical goggles

Process
Vacuum Forming
This technique is used to use the atmospheric pressure ot provide an even pressure against a surface, even when that surface
is curved. The materials you need are a breather material, perforated film, release fabric, and a vacuum bag.
The Composite Building Project
After practicing the technique and process, I settled on making a simple stool and bench for the model.
Process:
Model the piece
Create molds of the piece
Mill the molds
Prep the molds
Cutout fibers(burlap)
Mix Resin
Combine the resin and fiber
Place in mold. Arrange.
Compress the composite using clampls and molds
Wait
De-mold
Cut off/ remove rough and uneven spots.
I chose to put a gel-coat on.
Final Surface coating.
Stress Test and build final product.
Here are the designs:

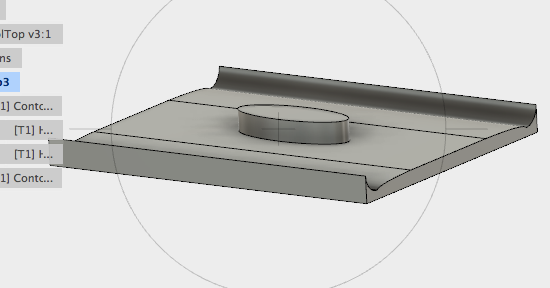
STL Links:
STL of Top STL of Bottom
The two images represent the two pieces of the mold. One looks like the actually desired piece.
The other image is the negative mold. It was constructed by subtracting the first piece from blank stock.
The designs were all done in Autodesk Fusion 360.
Here is the milled molds:
Here is prepping of the burlap layers:
Here is the mold just before being compressed. I like to use aluminum to back the molds. You do not want to clamp
directly to the molds. The pressure tends to deform the molds. The metal(or wood) distributes that
pressure better. The aluminum provides a smooth surface so that one resin runs out of the mold, it is easily cleaned
off.

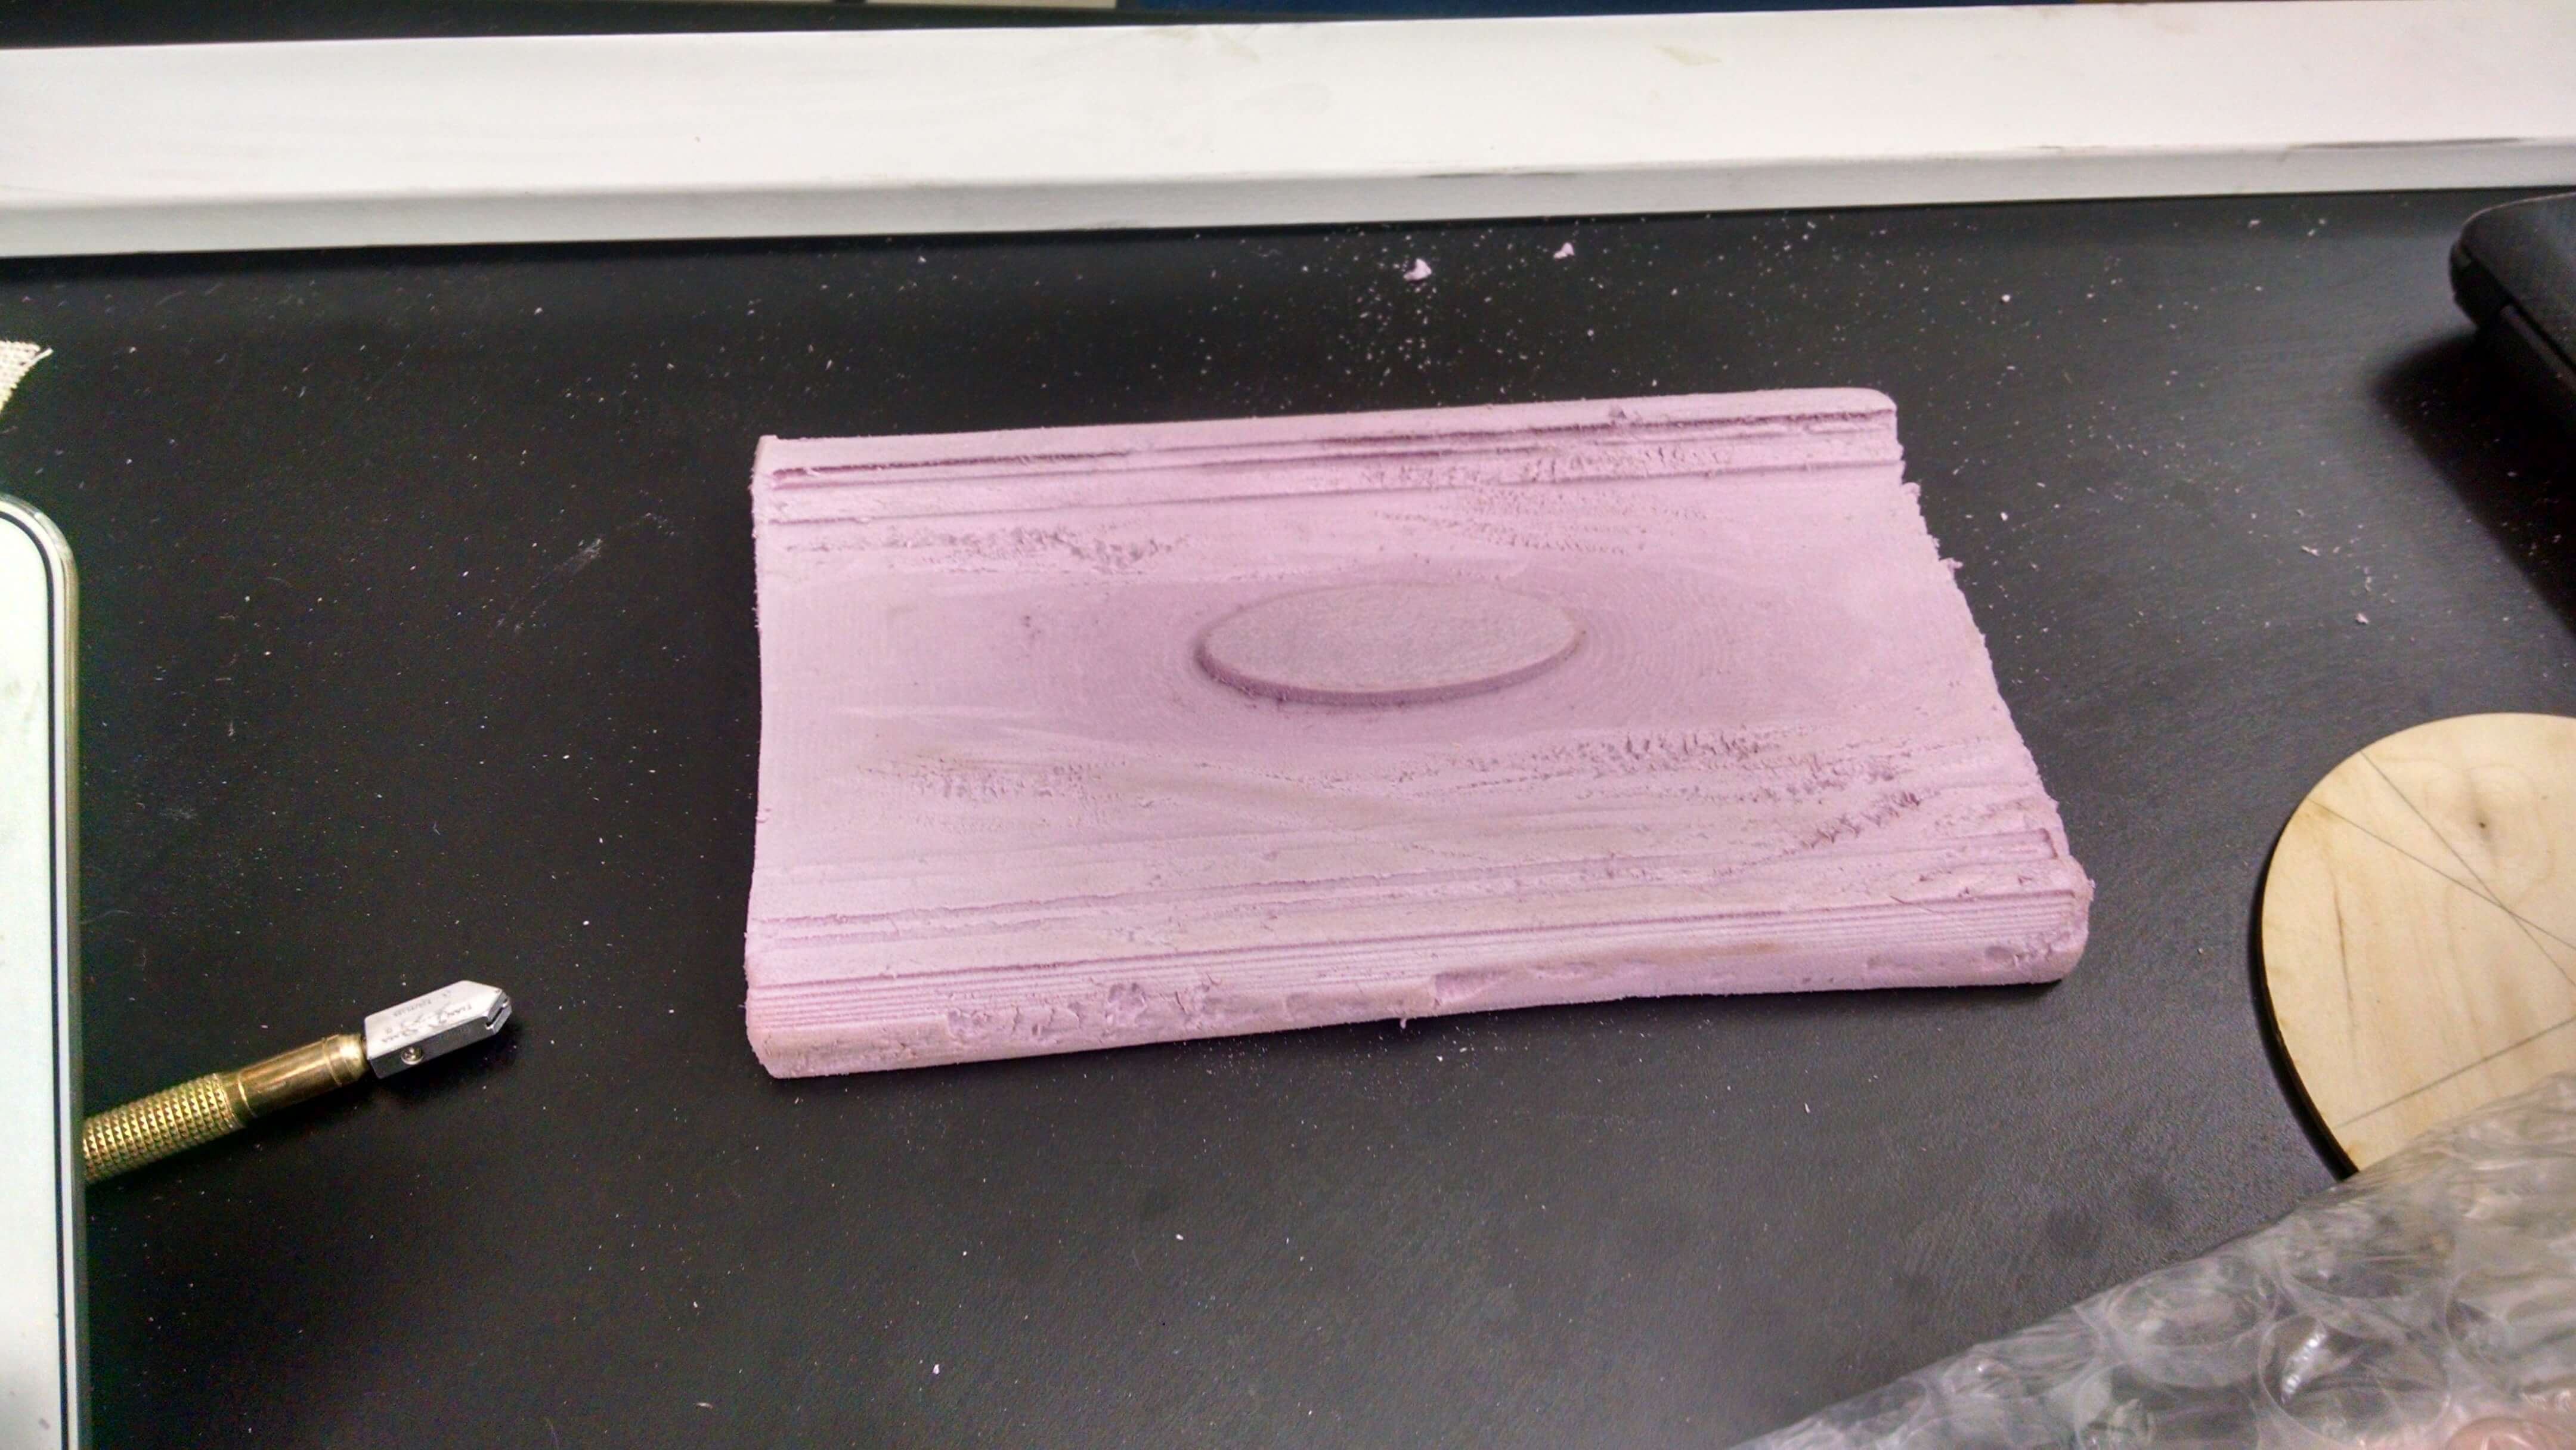
The piece was de-molded.
I sheared off the rough edges and even sanded away some of the resin.
Here is the piece with one gel coat:
Projects worth reading:
Burlap Speakers