I settled on a 2-axis CNC Hot wire cutter. It should have a purpose beyond this exercise even if
the motors and electronics find a home in other projects.
Other ideas:
A machine that can tie up a trash bag.
A machine to write Braille.
Planning the machine
I want to keep the design simple and the stages resusable. I first consulted and built the modular stages from
the course pages.
I wanted to design my own stages and used 1/4" wood instead of cardboard. The plan is to configure two stages so that they
can move an arm.
Modeling and Building the Machine
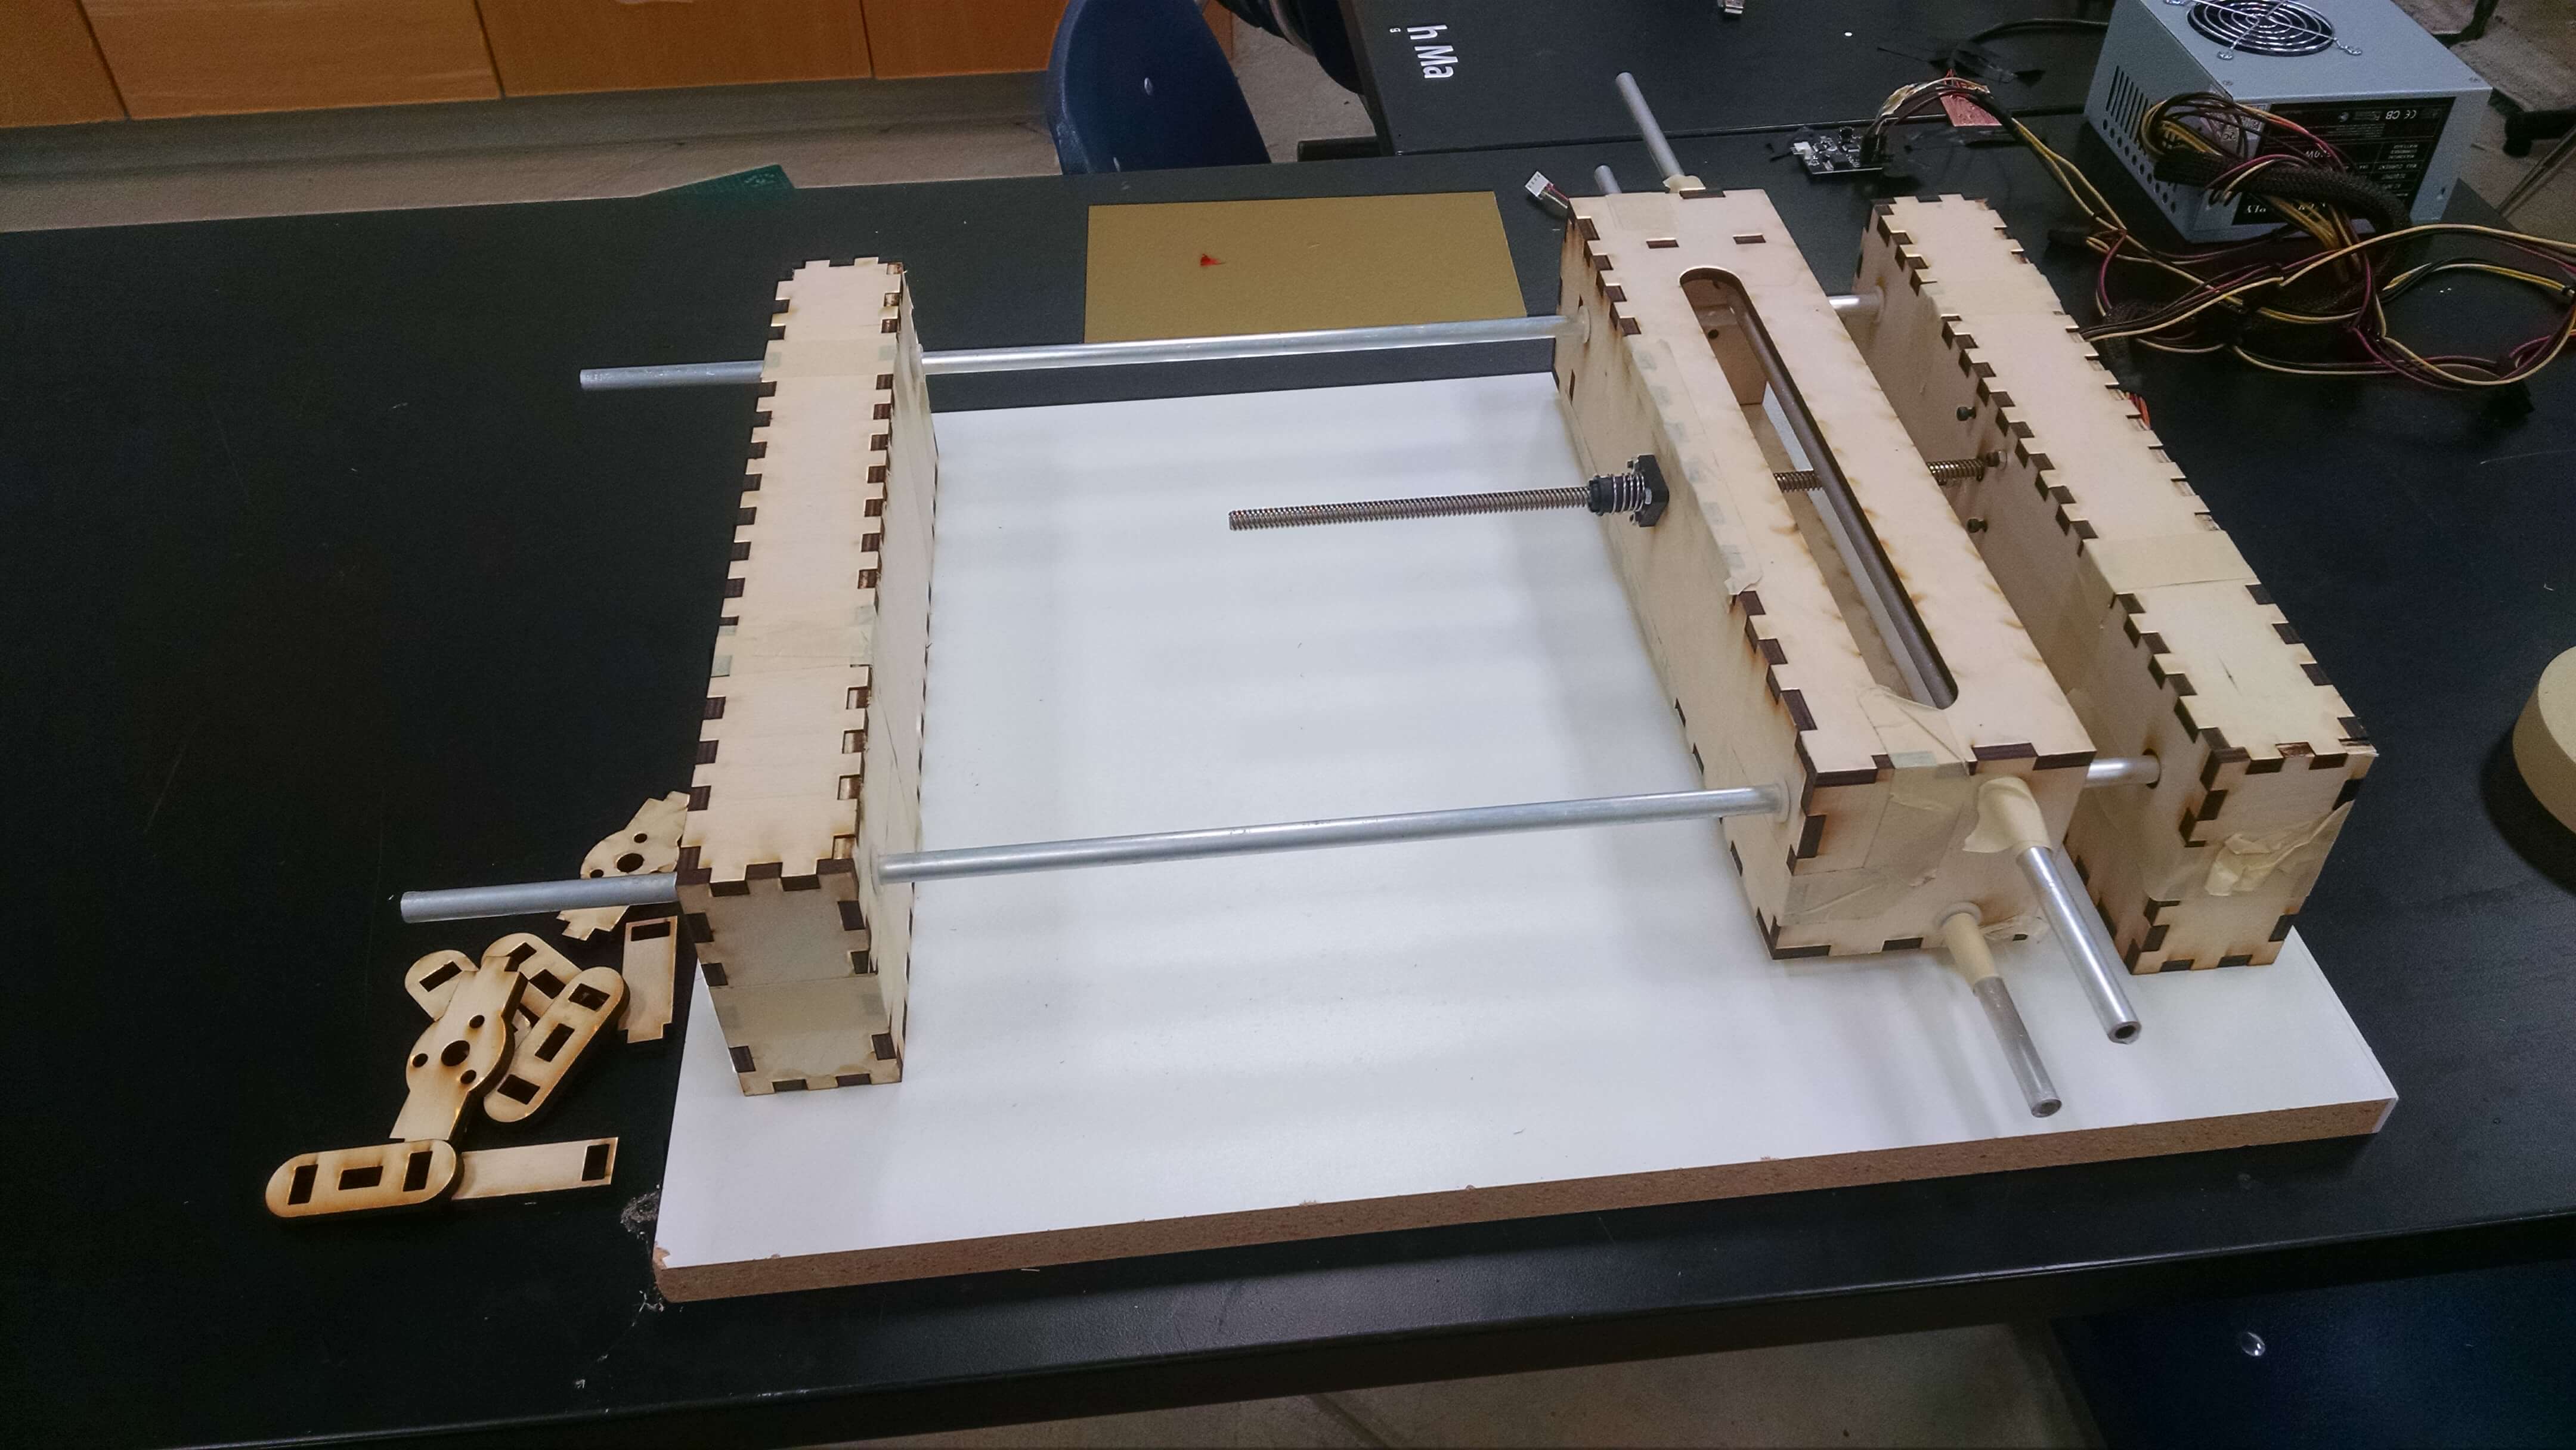
I started by building a 24" box in order to house the project. After assembly I realized that the motor lead screw is only
about 12". (Later I built 14" stages.)
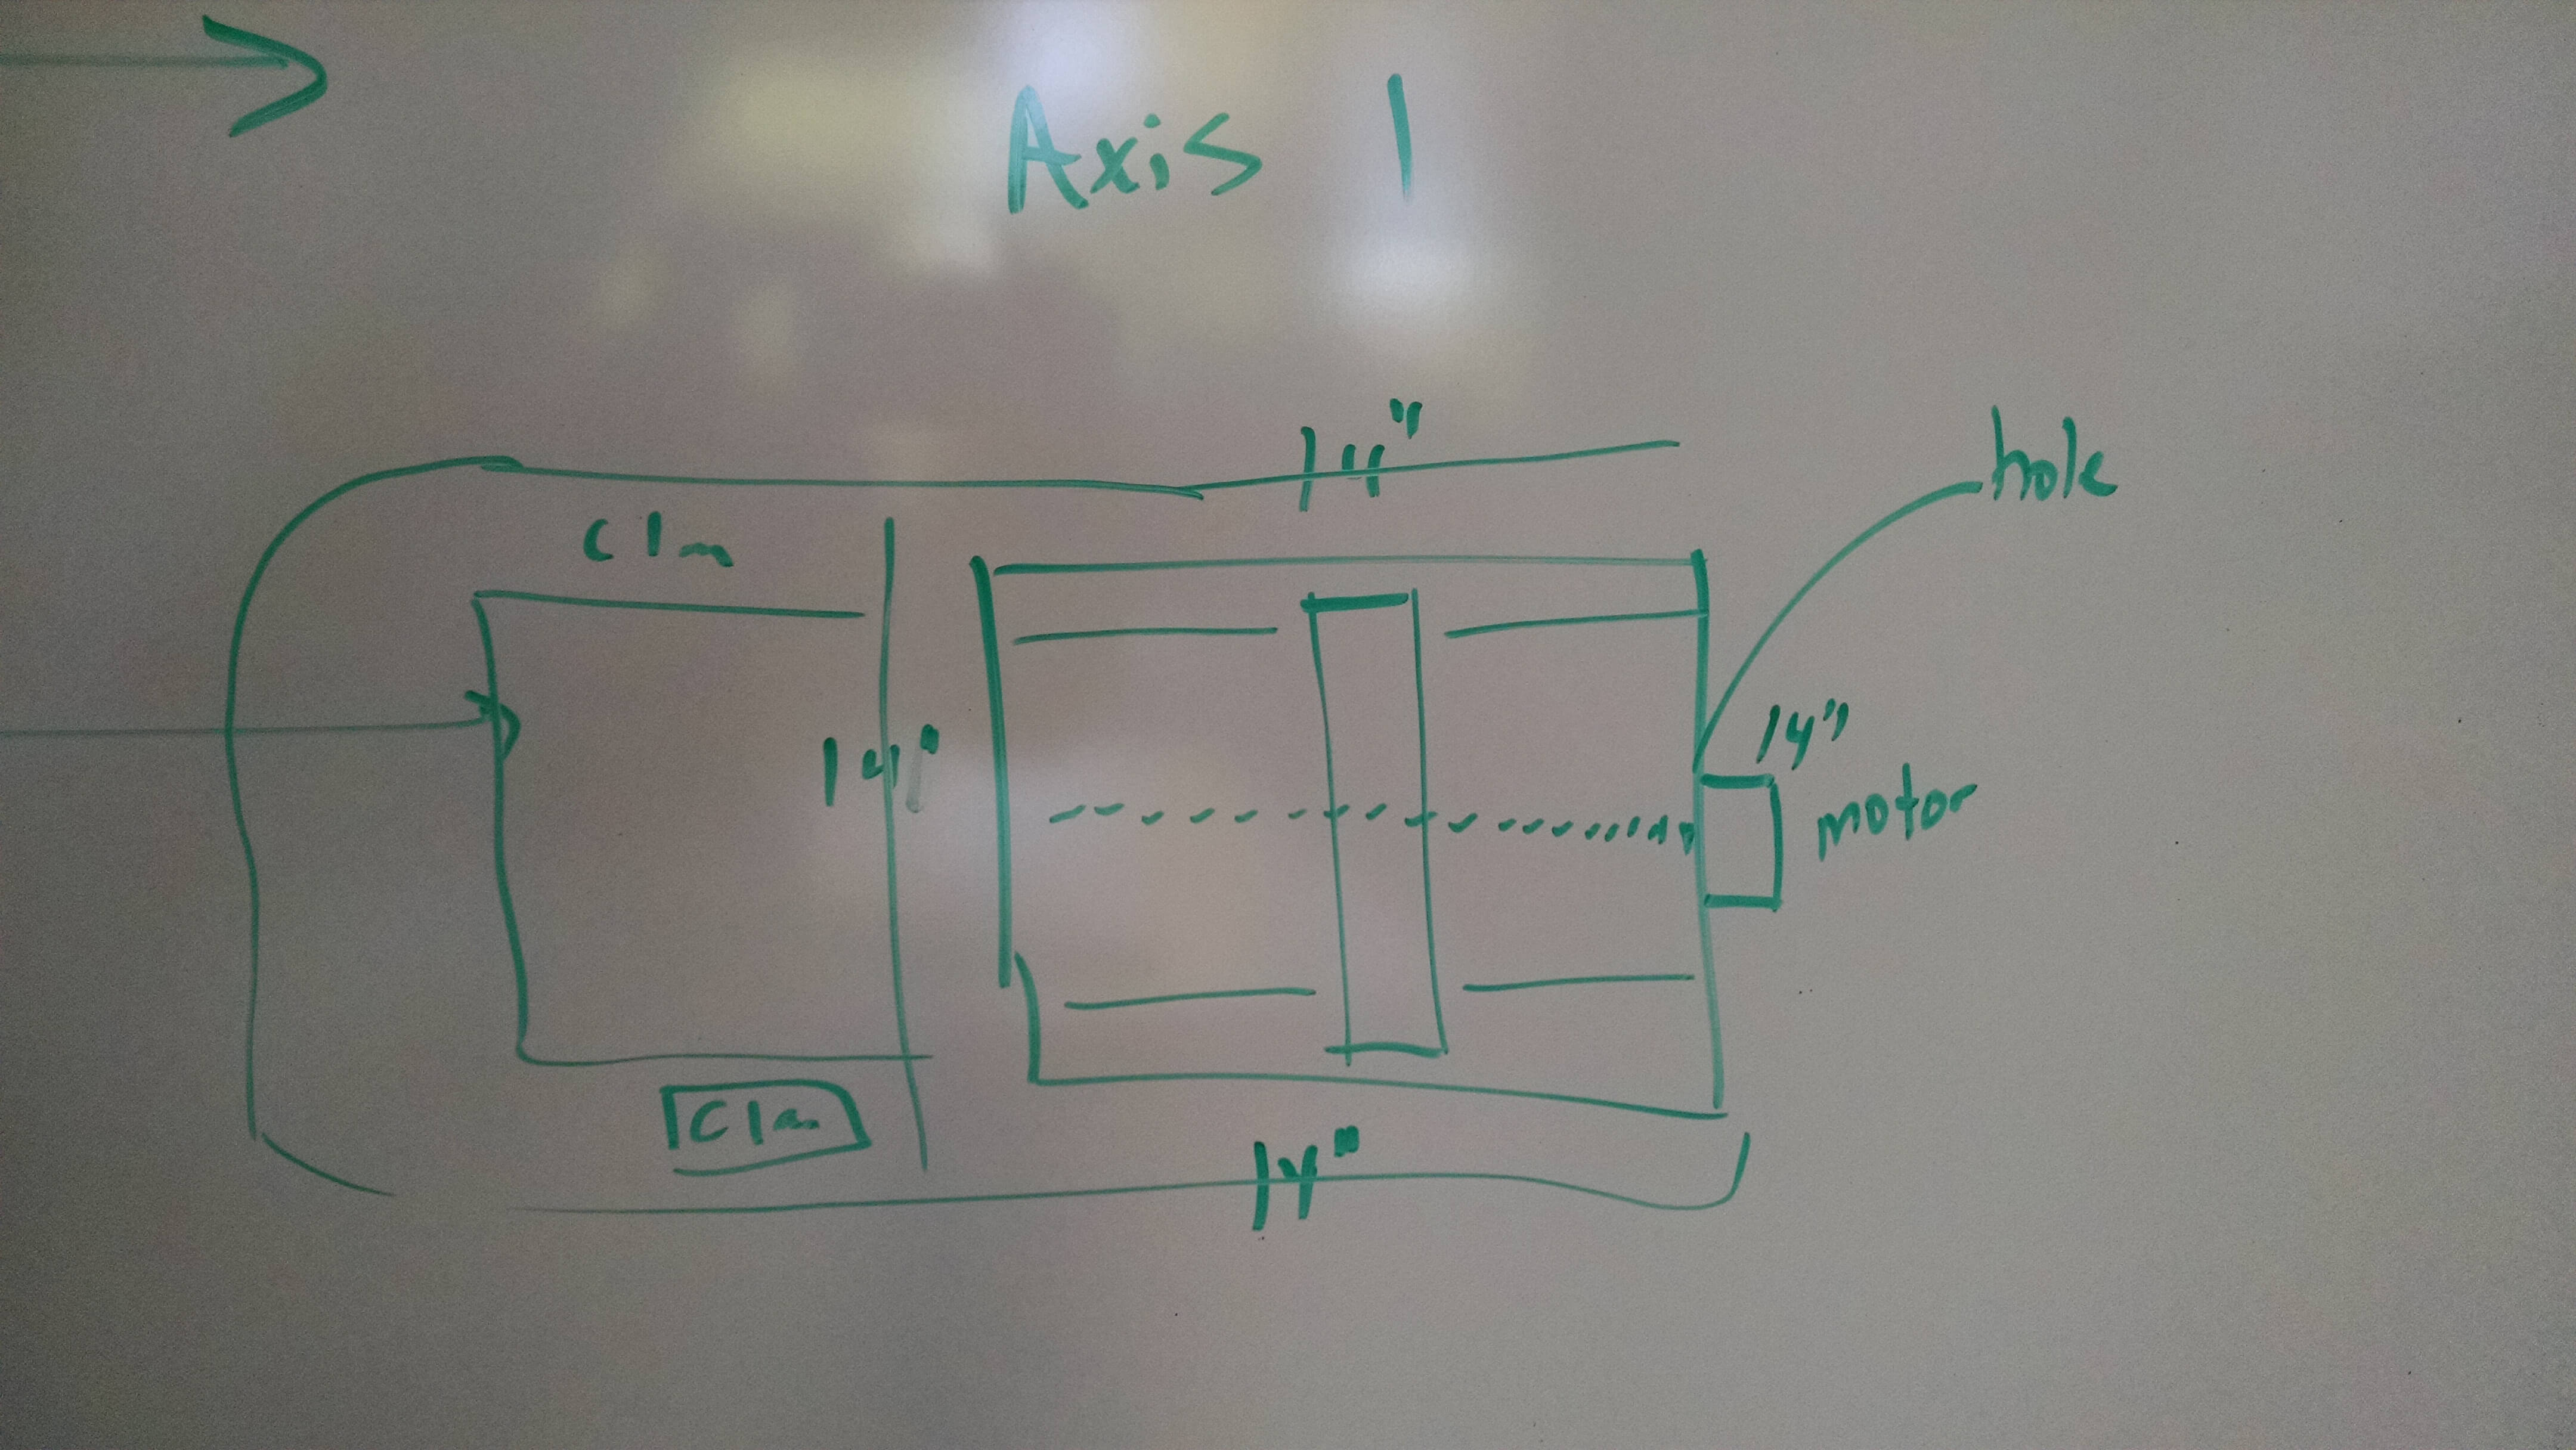
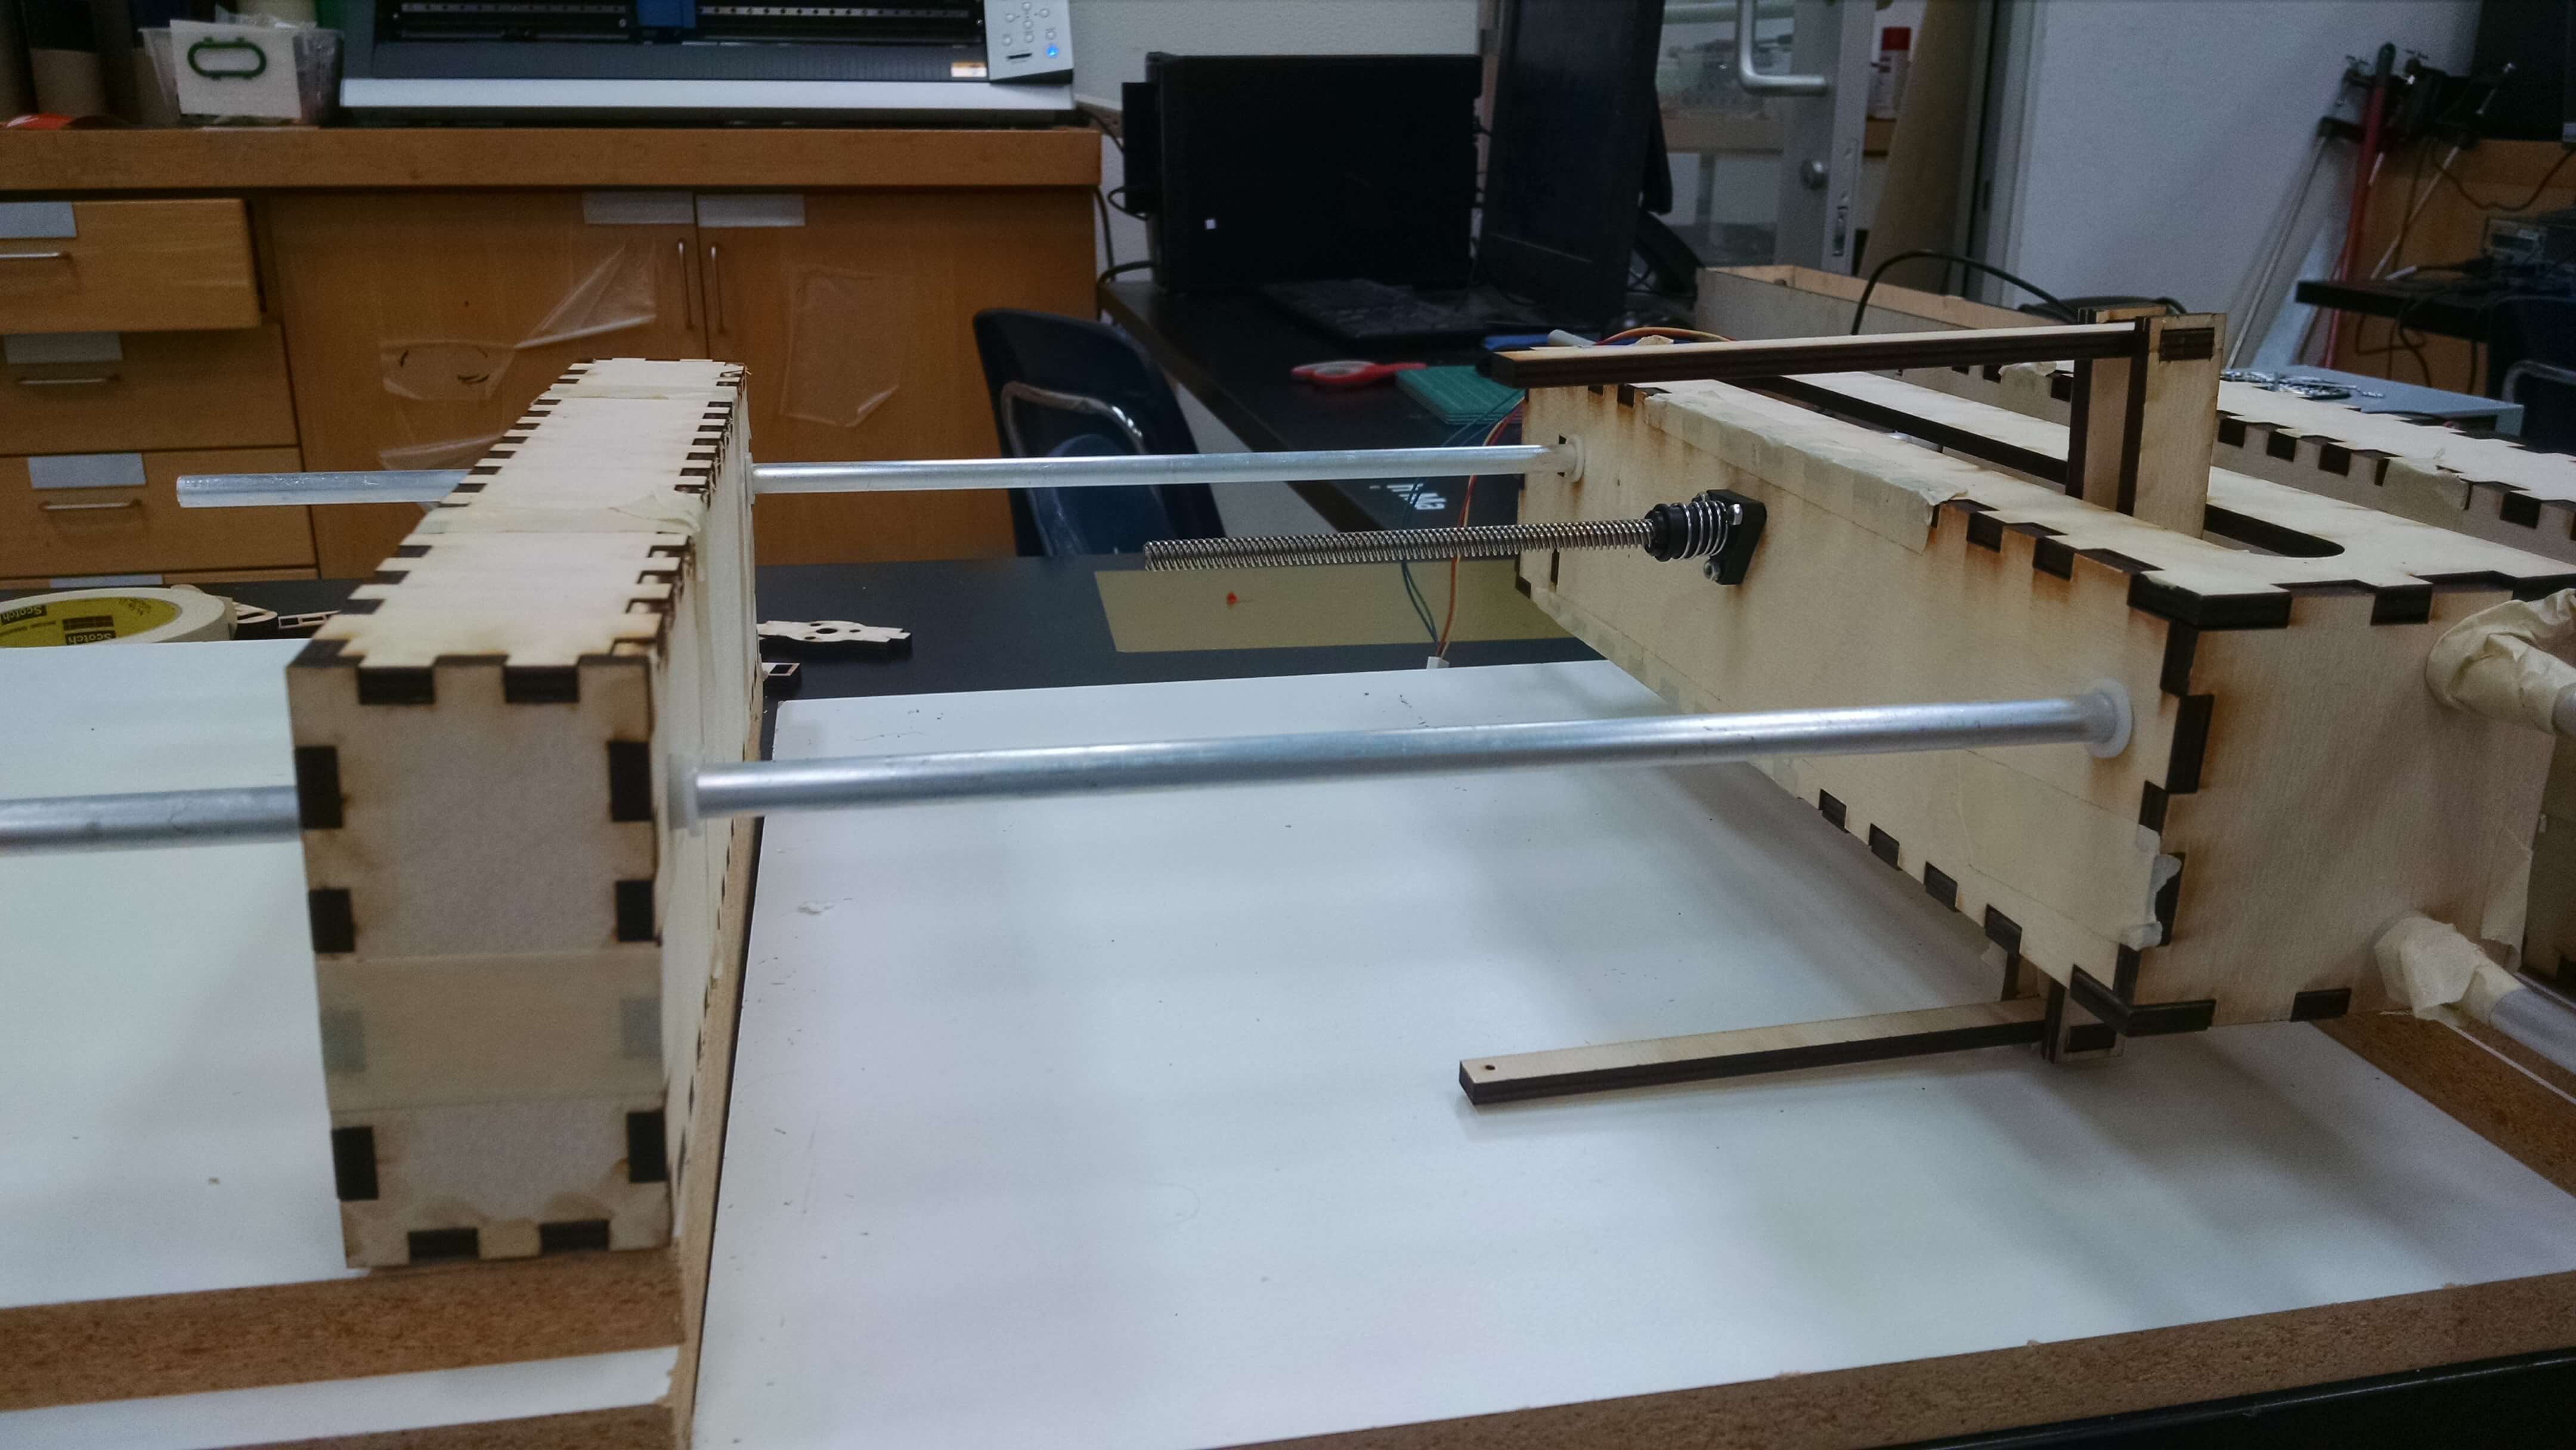
I built the first stage(X-stage) with slits in the upper and lower panels. This is where I am going to build the arm.
I attached the lead screw and the support rails. Everythings looks great.
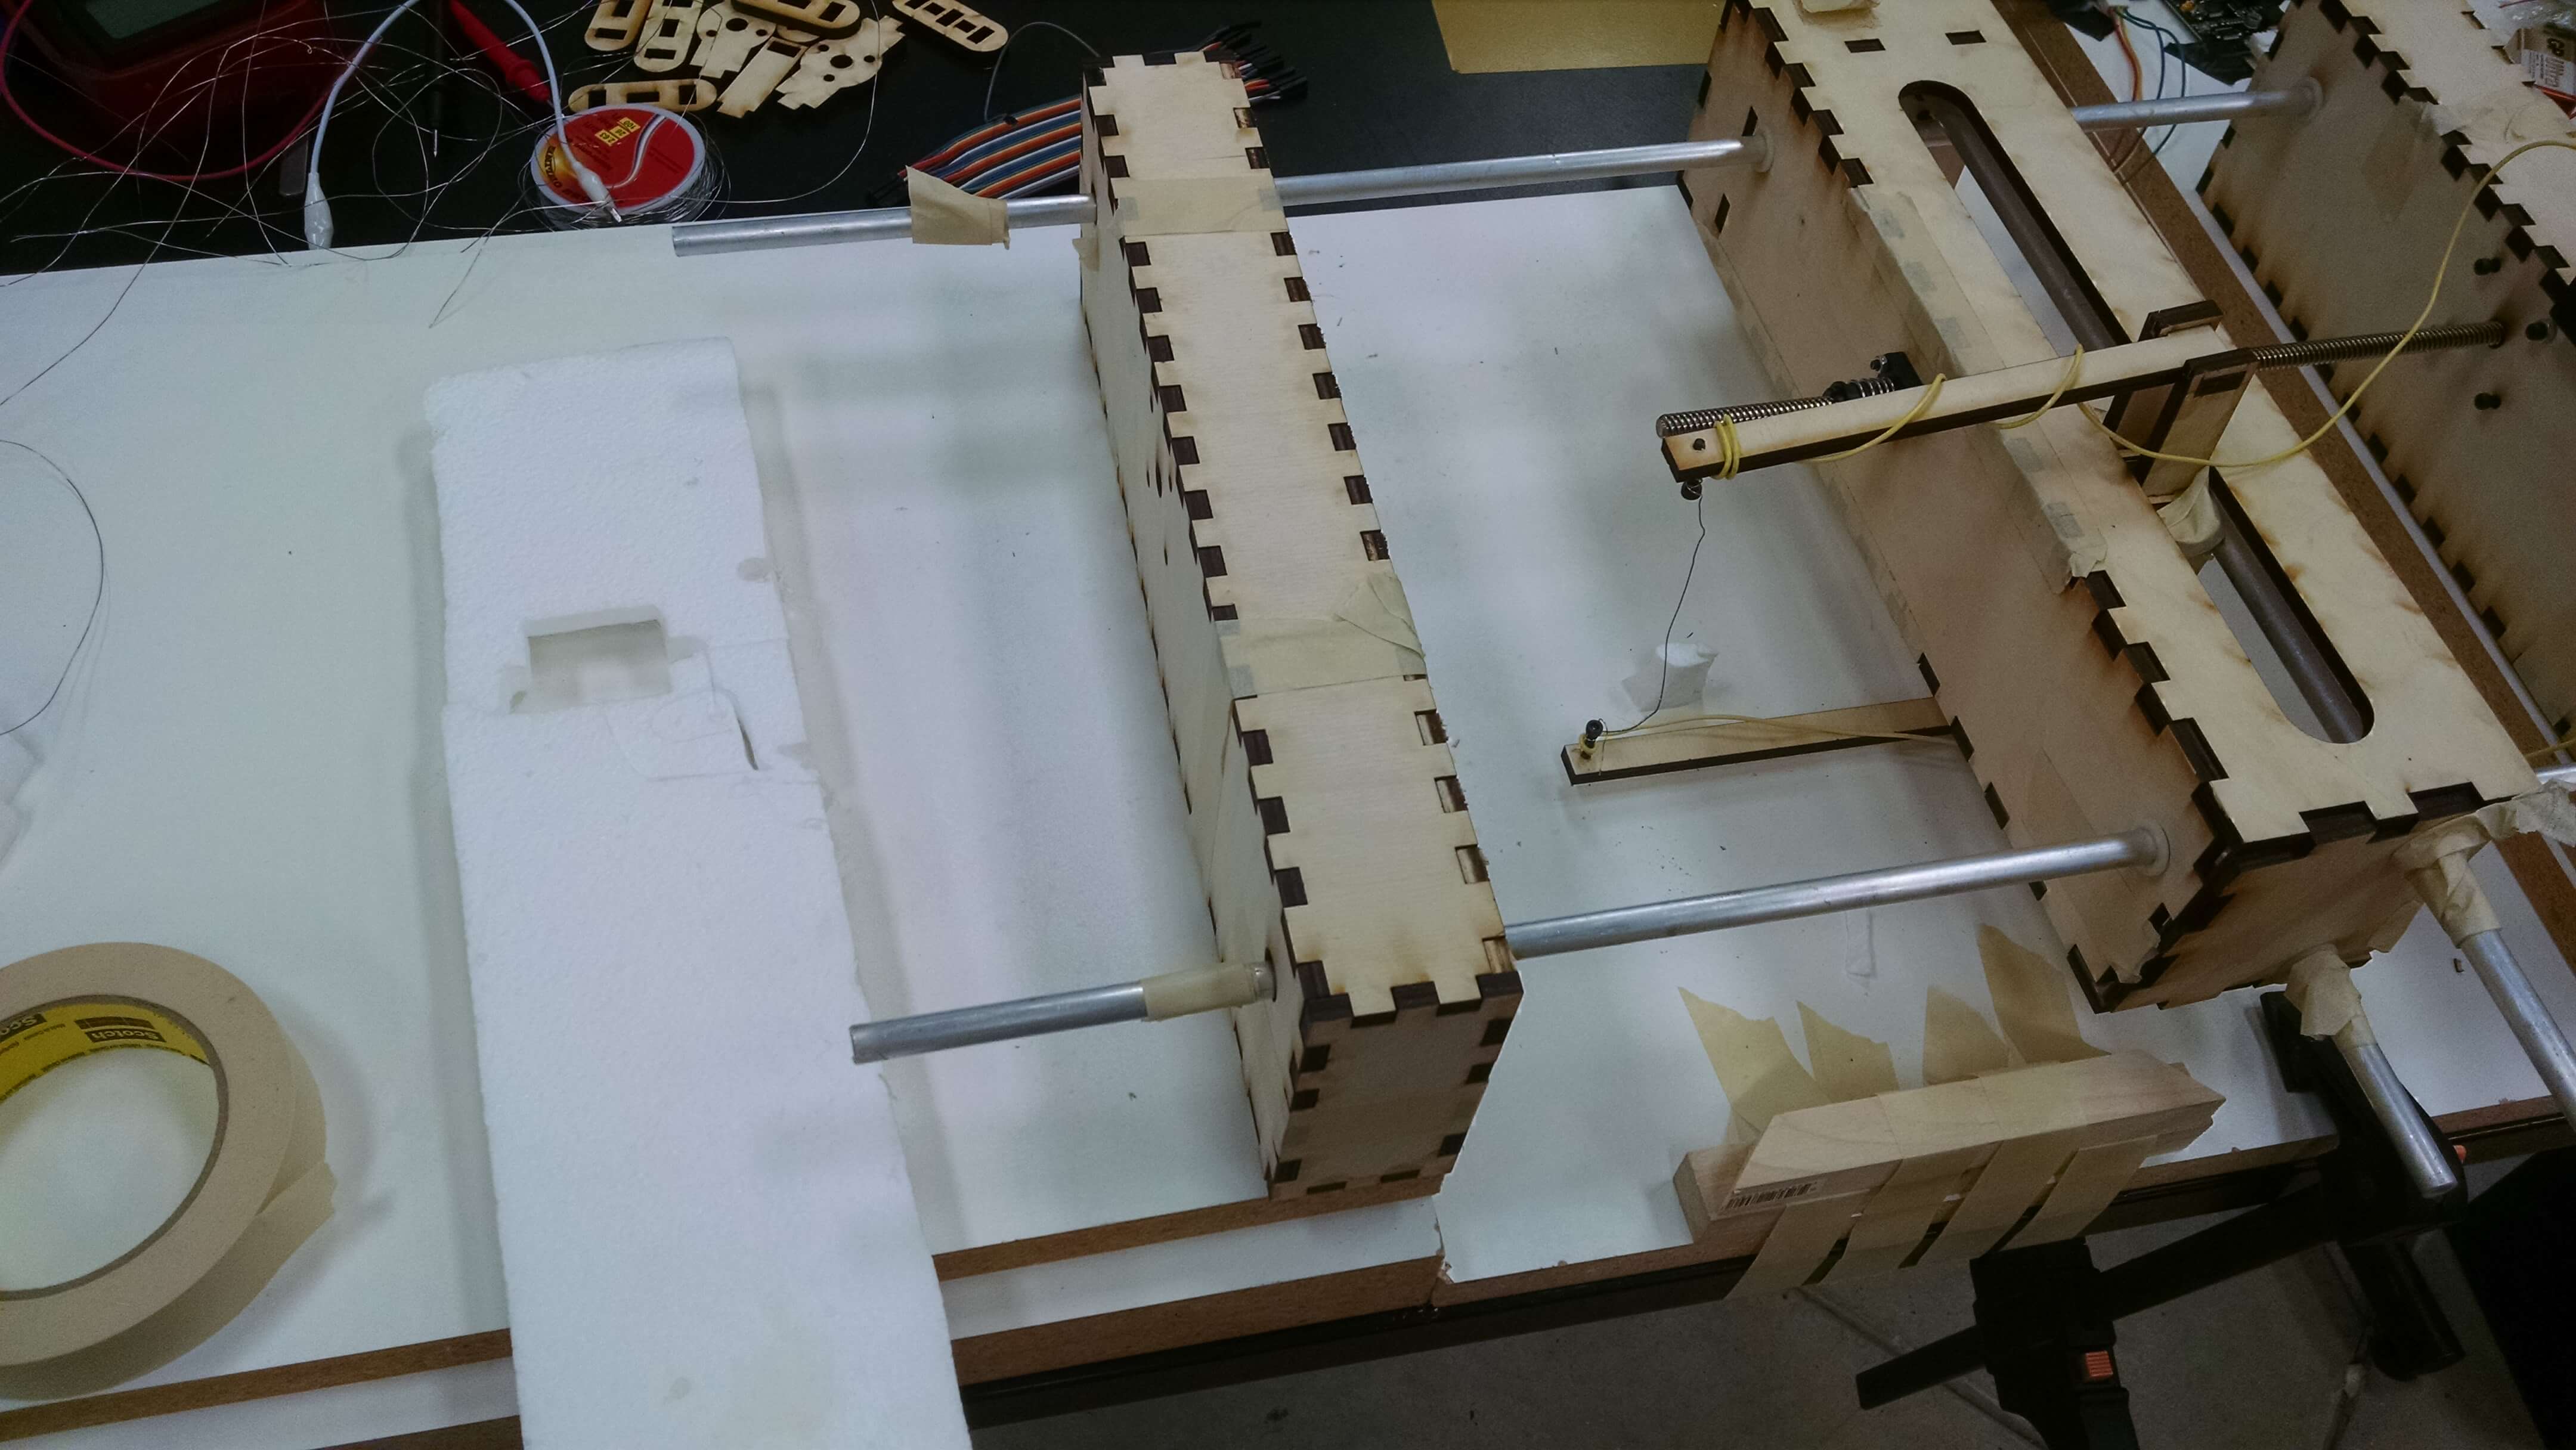
I built the second stage. I want to only use one lead screw(this was probably a mistake.) I put the connection between the X-stage
and the Y-stage in the middle of the X-stage. (Another mistake!) By placing the lead screw in the middle, I cut down the
effective area of cutting by half. The X-stage was not able to move past the Y-stage lead screw. Whoops! I don't have
a large enough piece of styrofoam on hand to make this an issue, but bad design on my part.
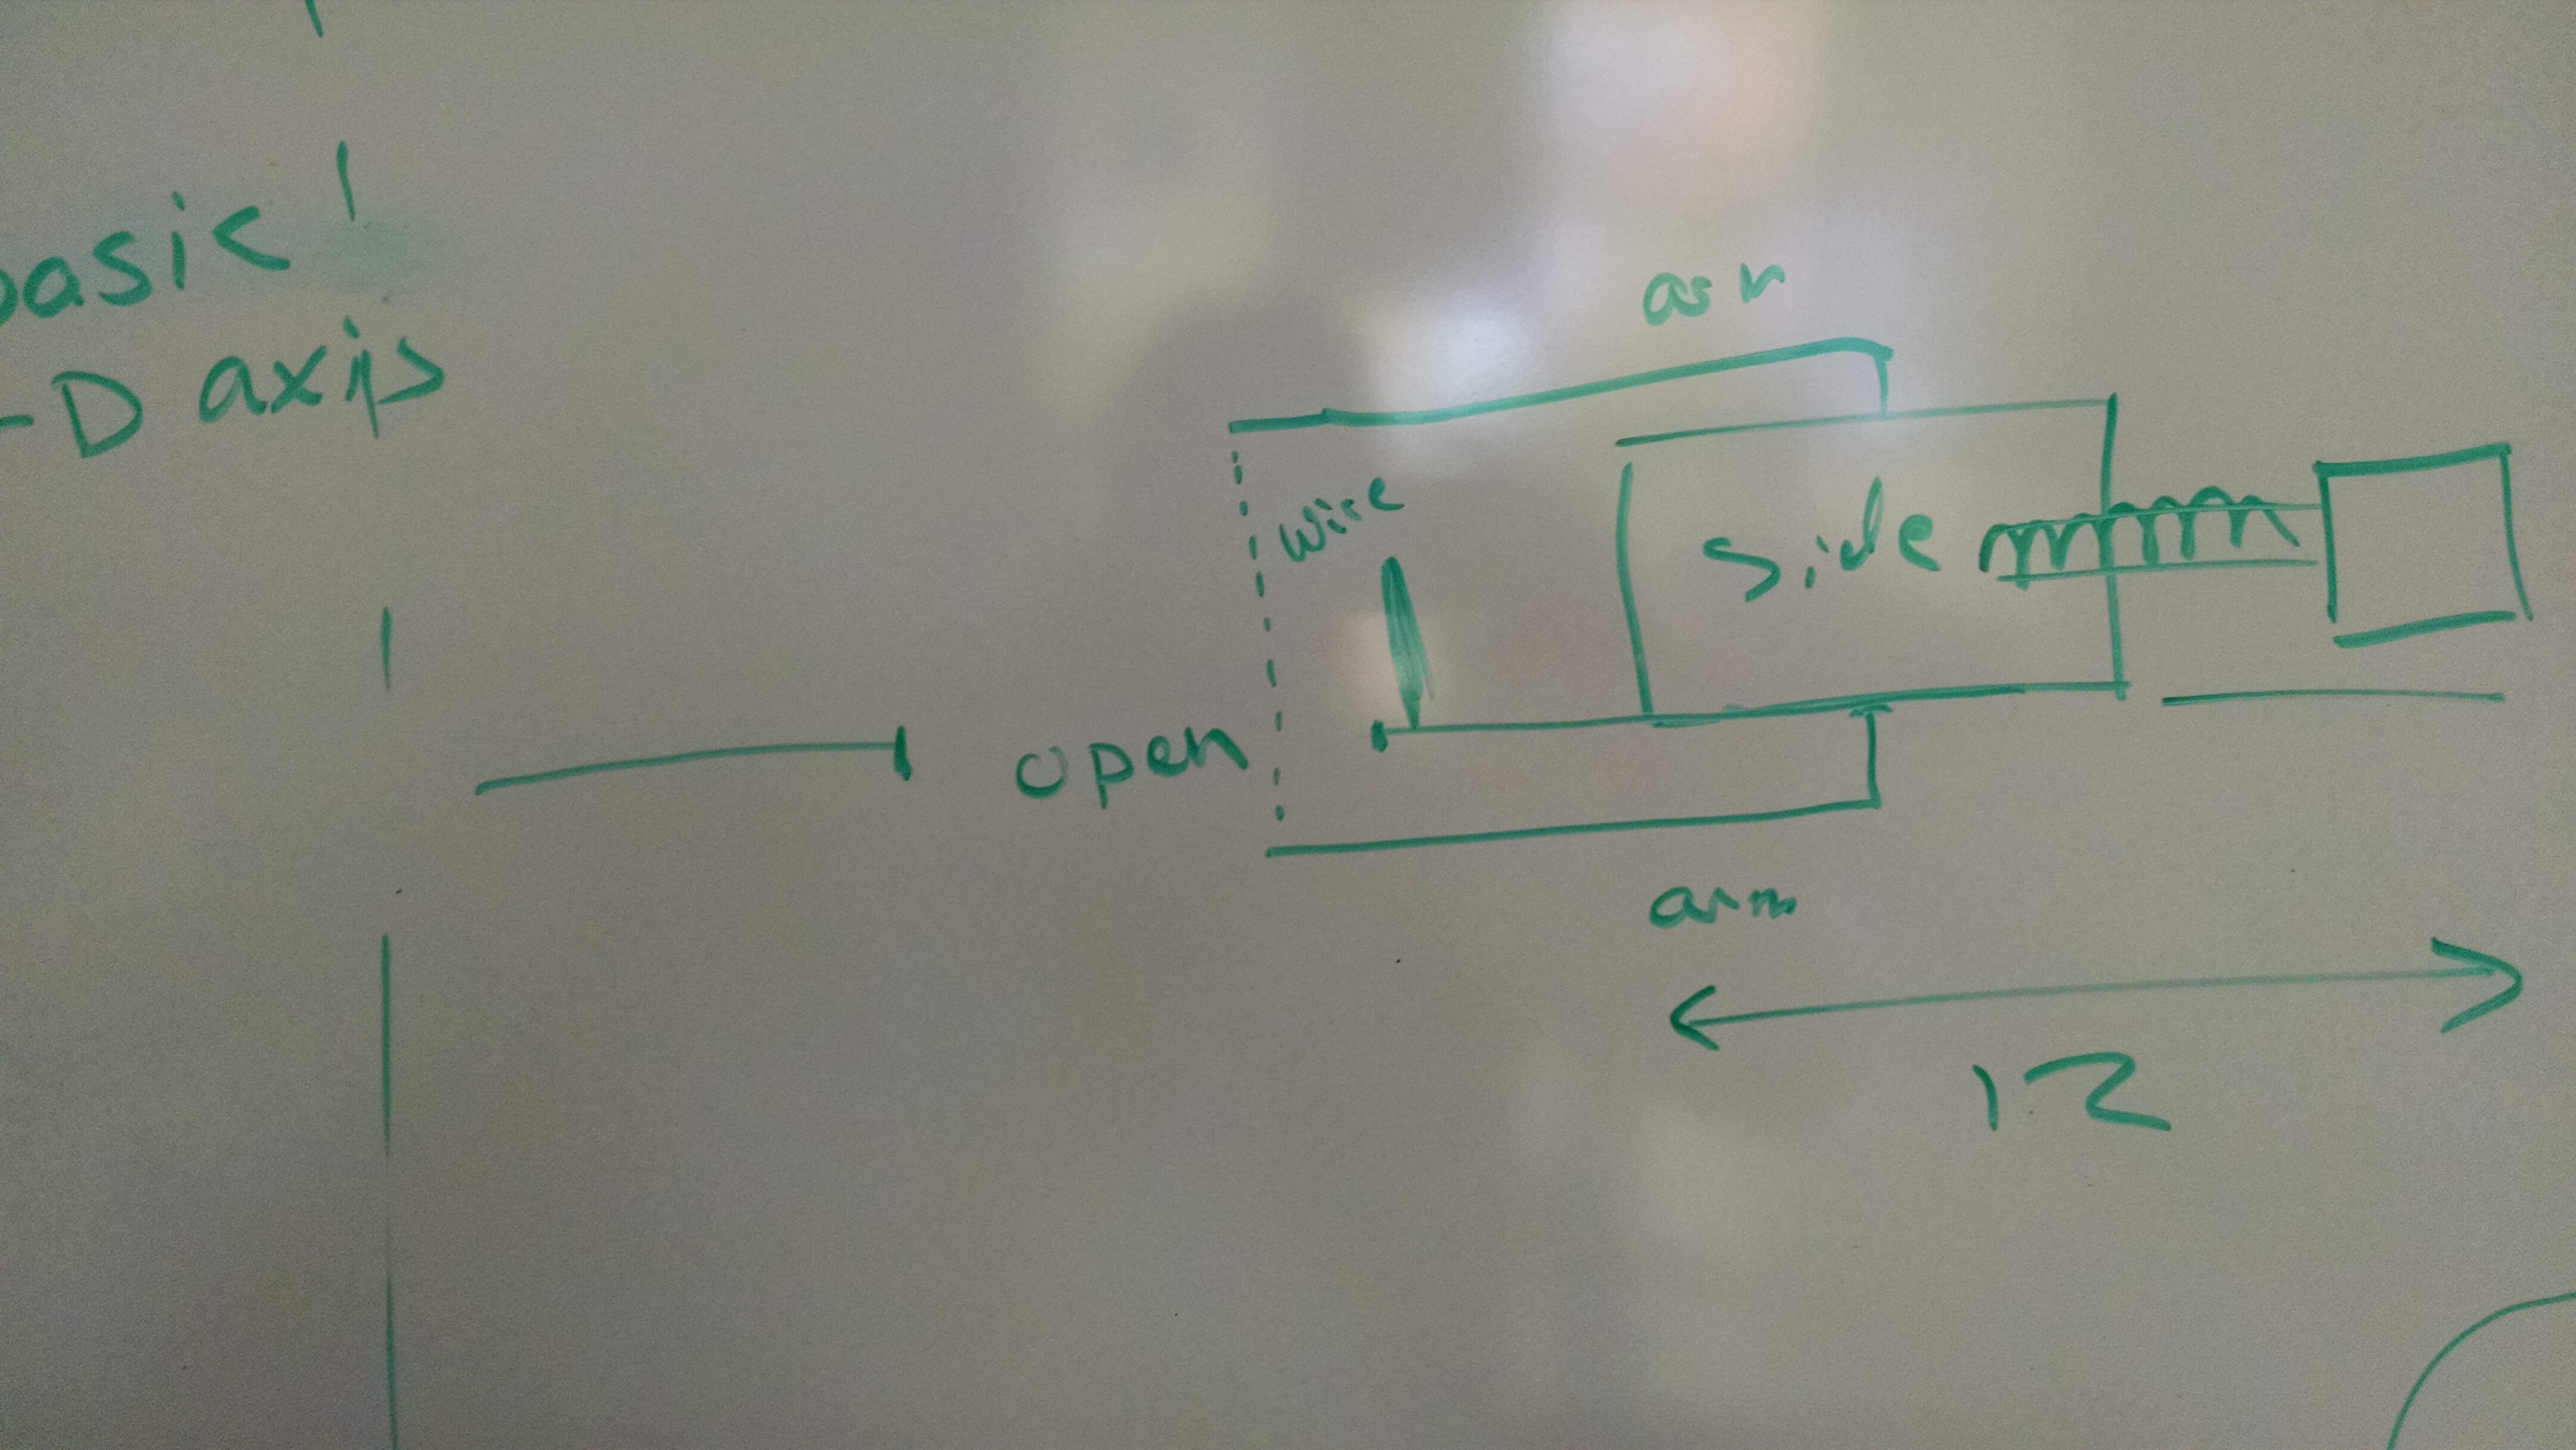
The arm was to extend out of the top and bottom of the X-stage. I designed a small arm to attach to the X-stage lead screw.
I wanted the arm to extend as far as possible, but know if I extend the arm to far, it will be less stable. I chose a 6"
arm. That cuts down my work area again. Its is now 6" in the Y-direction.(Design flaw to which I don't have a good solution yet.)
After many mistakes, successes, and other challenges, the machine is working.
I attached a battery to a 6" piece of nichrome wire. I connected them on the arm.
A future version of this machine could use some type of switch.
The pull up and pull down 600 ohm resistor was soldered between the two different leads.
The board was tested for shorts and connections.(It was fine.)
I plugged in the board.
My computer recognized the FTDI cable.
I downloaded and went through the setup of pygesstalt.
I tested the X-axis by running the singleNode.py example. This required setting the
port to the correct address.
This has gone very smooth. Working with these boards has been painless(enjoyable).
Automation
The xyPlotter.py example found in the pygestalt examples was all I needed. I connected the X-stage gestalt board to the
Y-stage gestalt board. I ran the program and both boards worked.( The test.vmp file saves the address for the boards.
When you first run the program, you tell the program which board is which by pressing the button on the board when prompted.
If you want to make changes, you need to delete the test.vmp file.)
xyPlotter.py file has coordinates listed for the operation. You can change those to control the movement.
Coding the machine
The move commands are located at the end of the file. It would be a great project to write an interface to send
the moves to the machine. Not today though. I just want to try a test square, so the coordinates are switched.
When running the program, the arm moves to fast for the wire cutter. I changed the line above them moves:
This sets the speed. After testing, the slowest speed worked the best. A simple test square was cut out.
Running the Machine
To Do:
Make the arm more rigid.
Move the y-stage connection and make the cutting area bigger.


 The arm was to extend out of the top and bottom of the X-stage. I designed a small arm to attach to the X-stage lead screw.
I wanted the arm to extend as far as possible, but know if I extend the arm to far, it will be less stable. I chose a 6"
arm. That cuts down my work area again. Its is now 6" in the Y-direction.(Design flaw to which I don't have a good solution yet.)
The arm was to extend out of the top and bottom of the X-stage. I designed a small arm to attach to the X-stage lead screw.
I wanted the arm to extend as far as possible, but know if I extend the arm to far, it will be less stable. I chose a 6"
arm. That cuts down my work area again. Its is now 6" in the Y-direction.(Design flaw to which I don't have a good solution yet.)
 After many mistakes, successes, and other challenges, the machine is working.
 Y-Stage